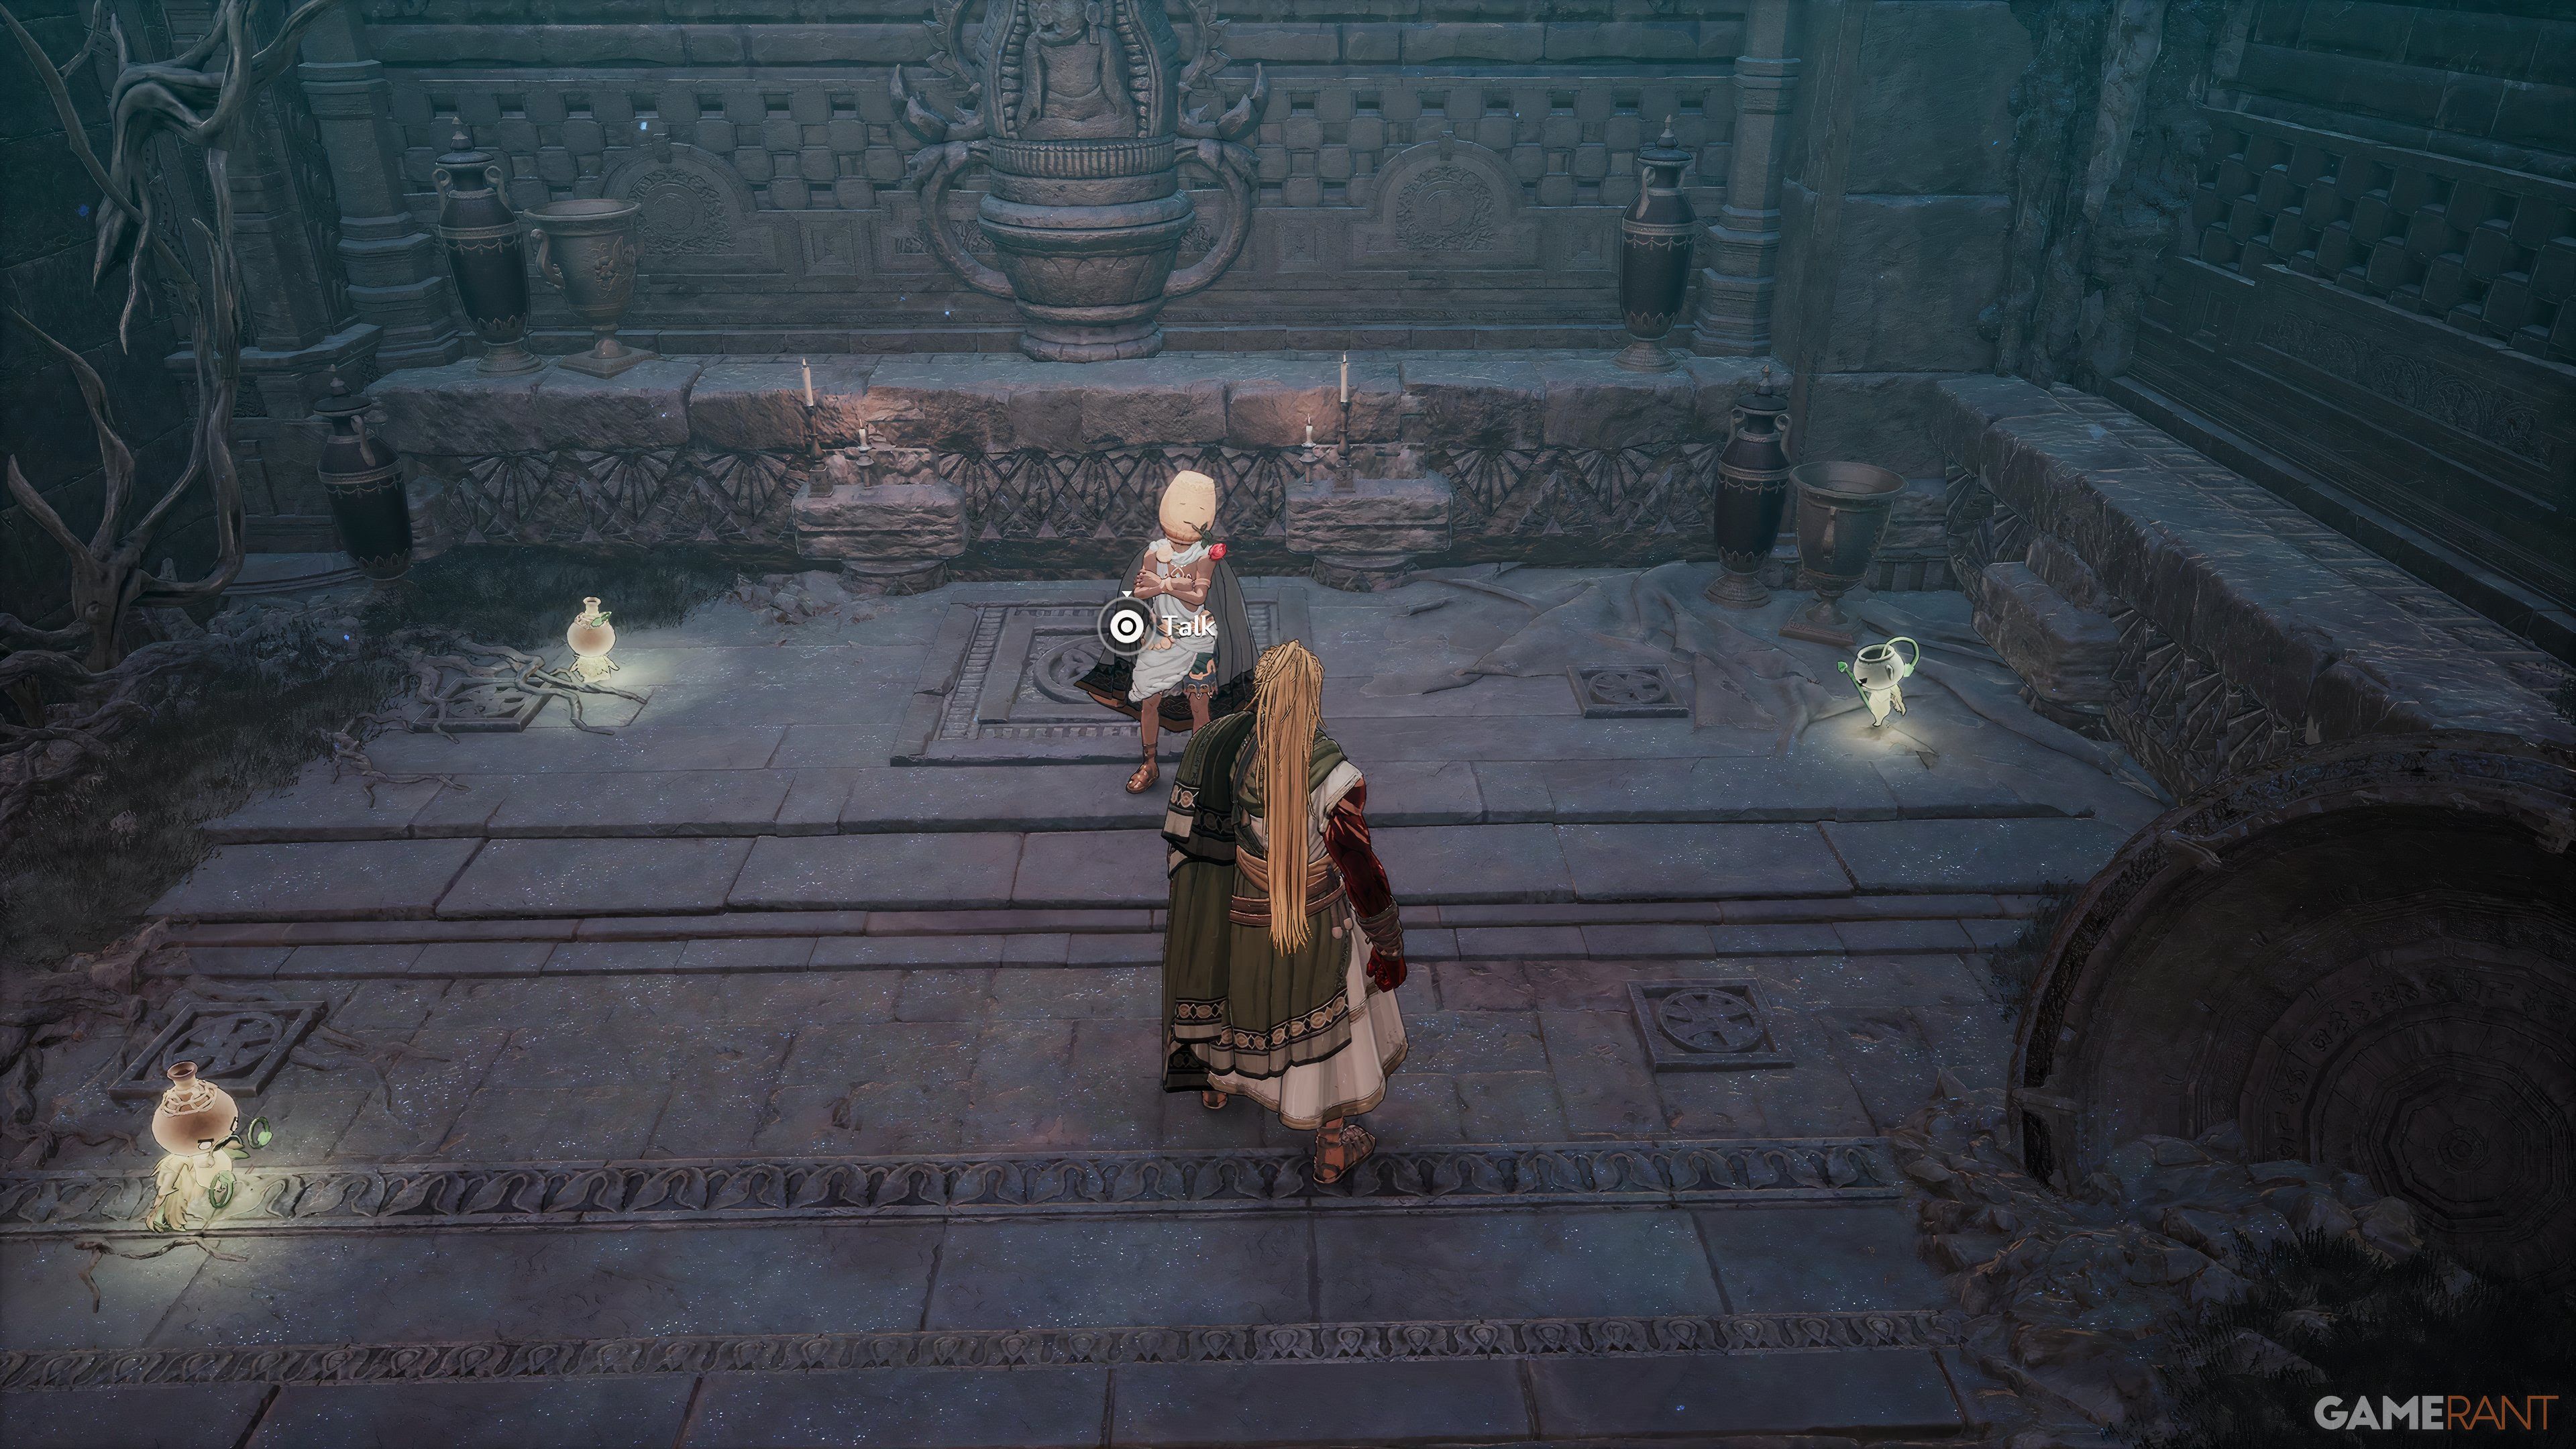
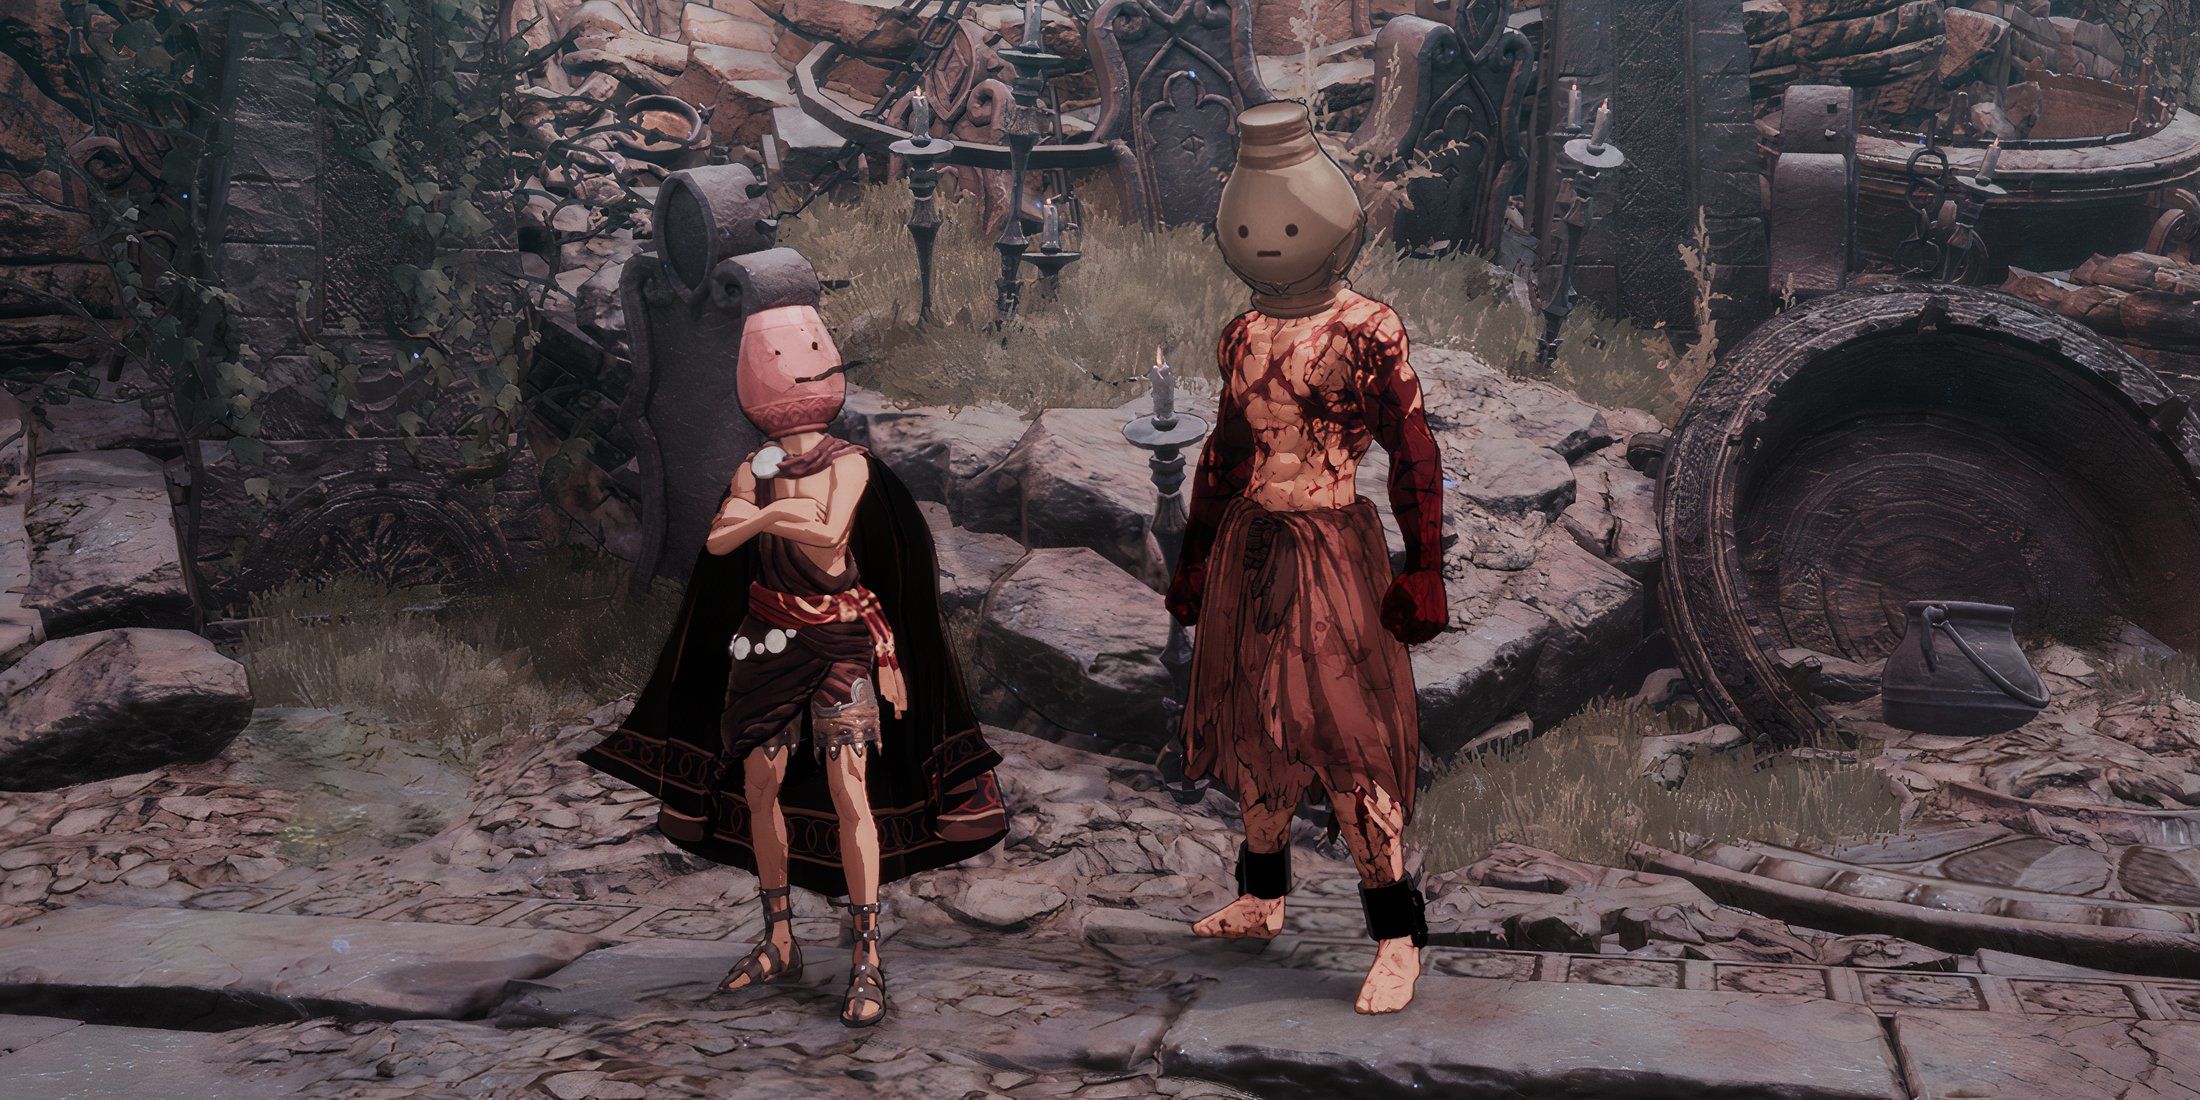
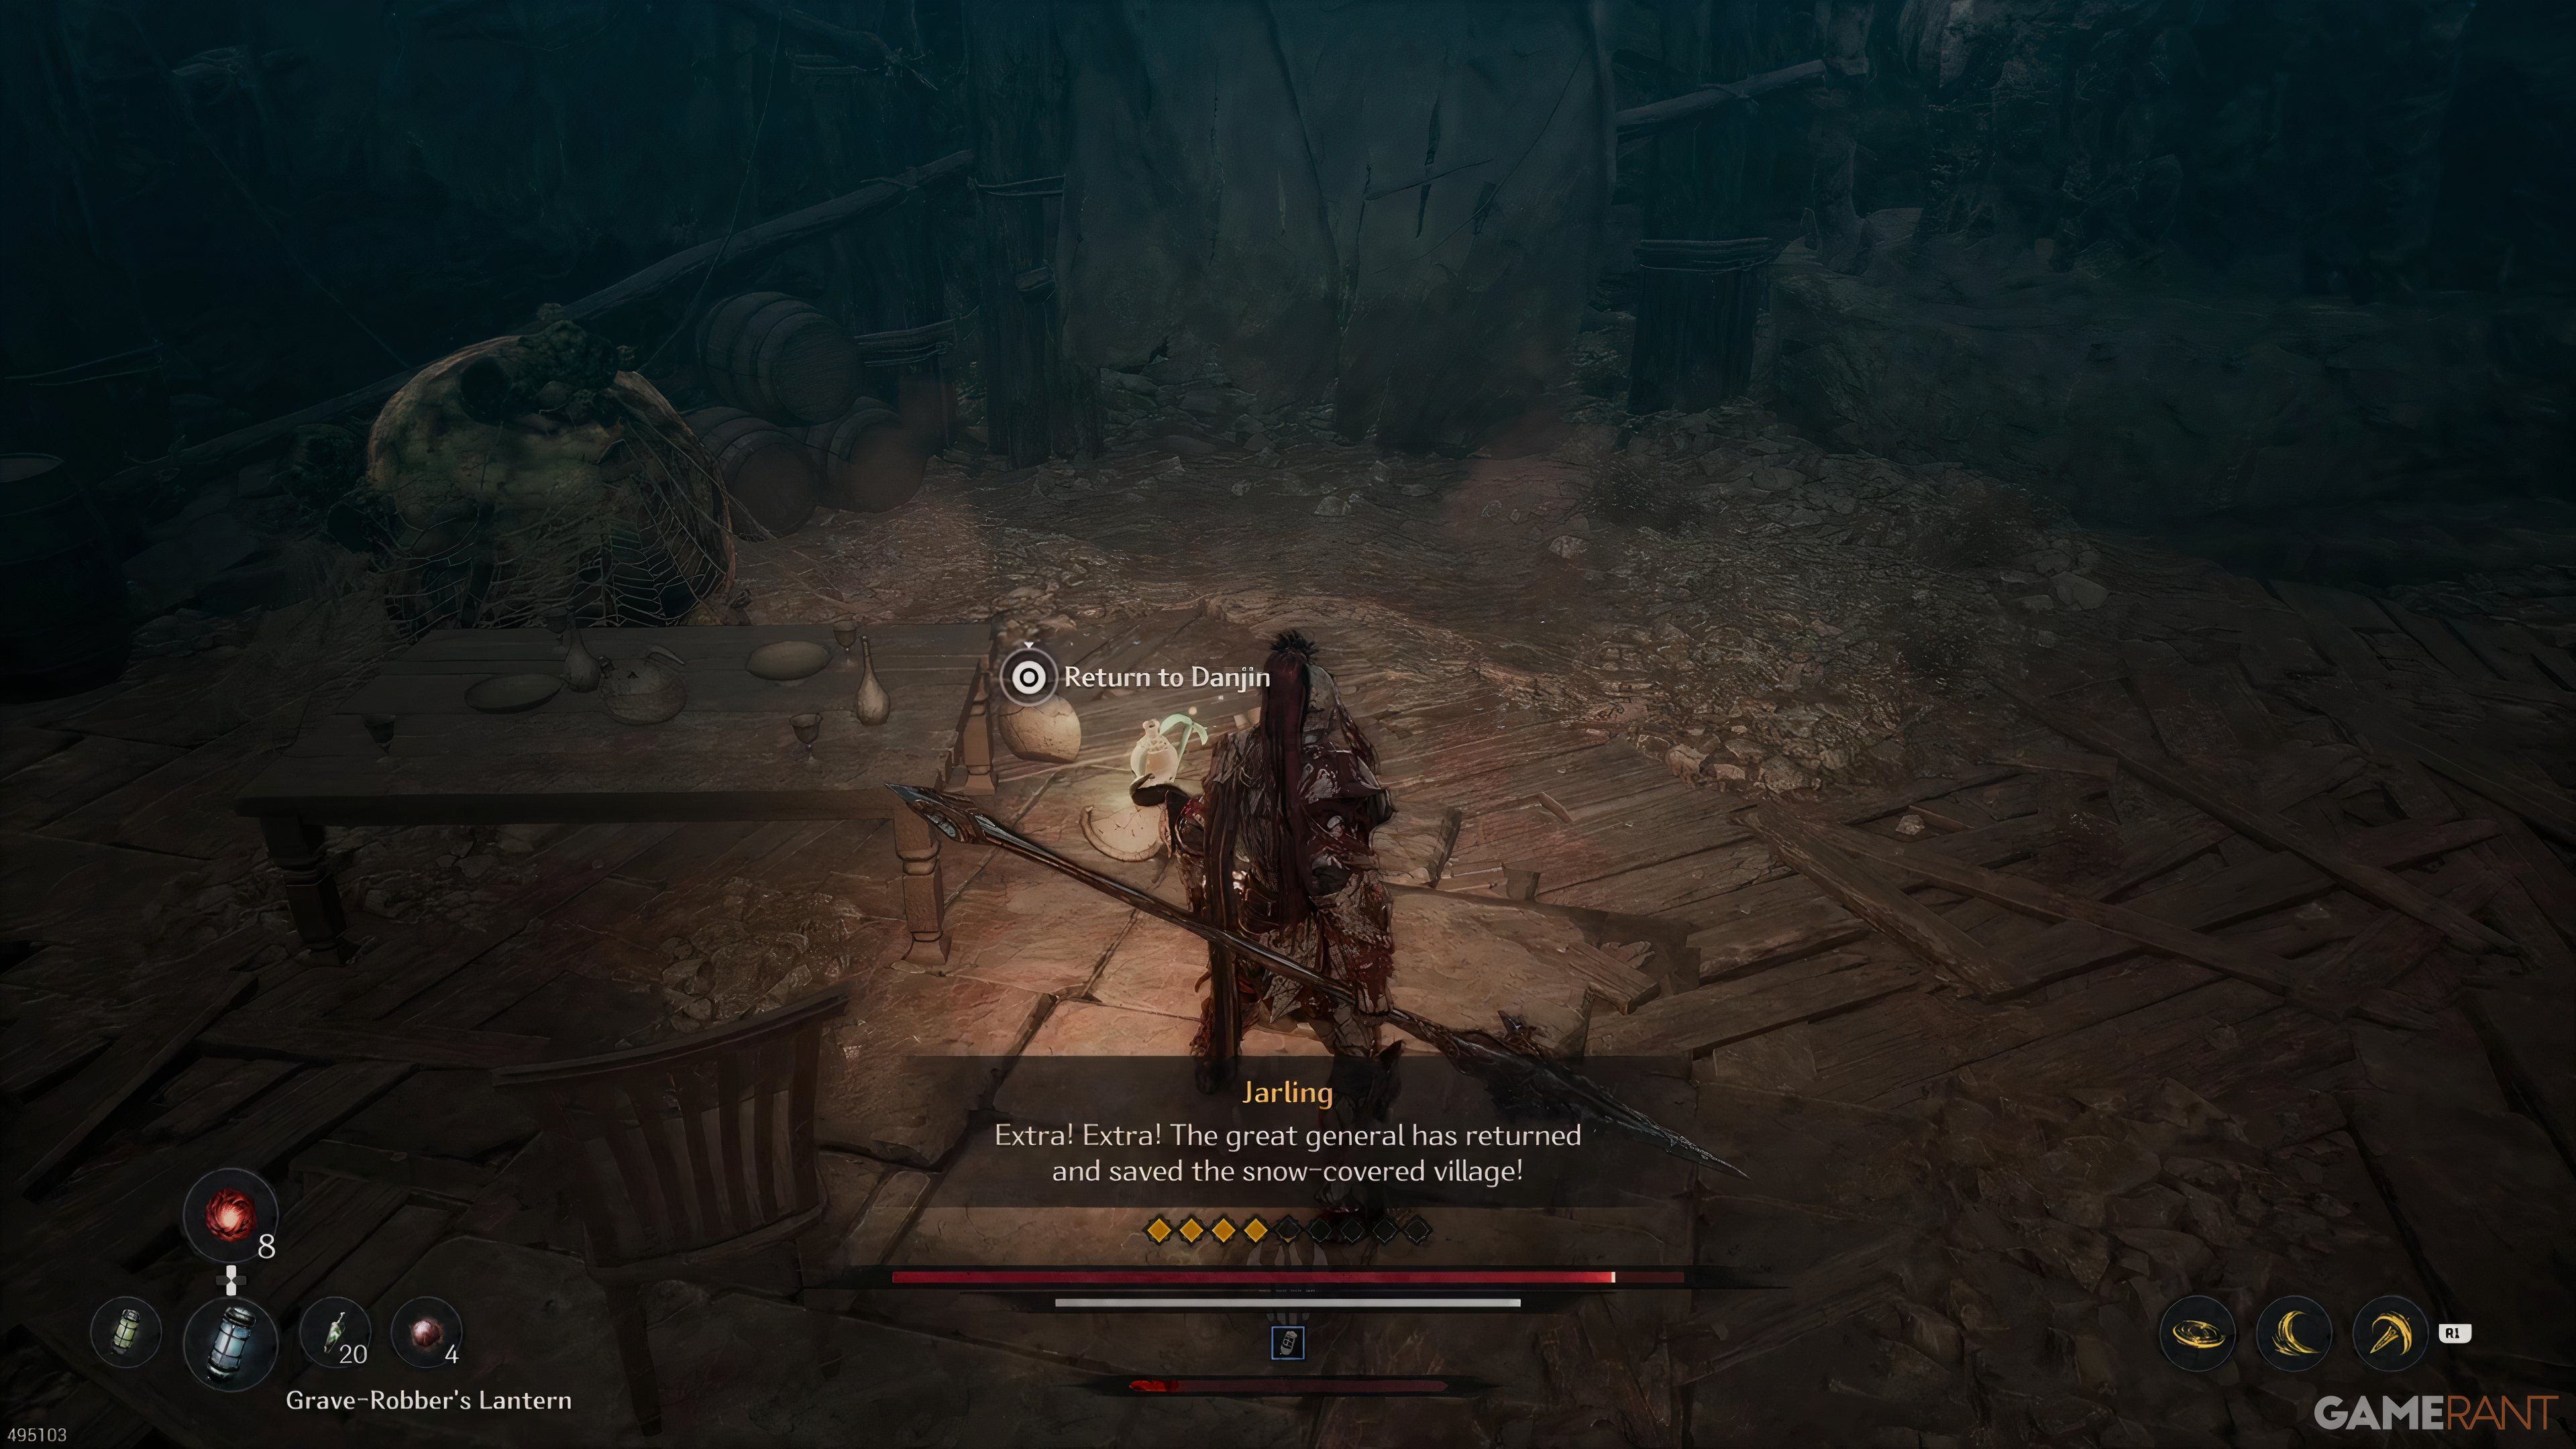
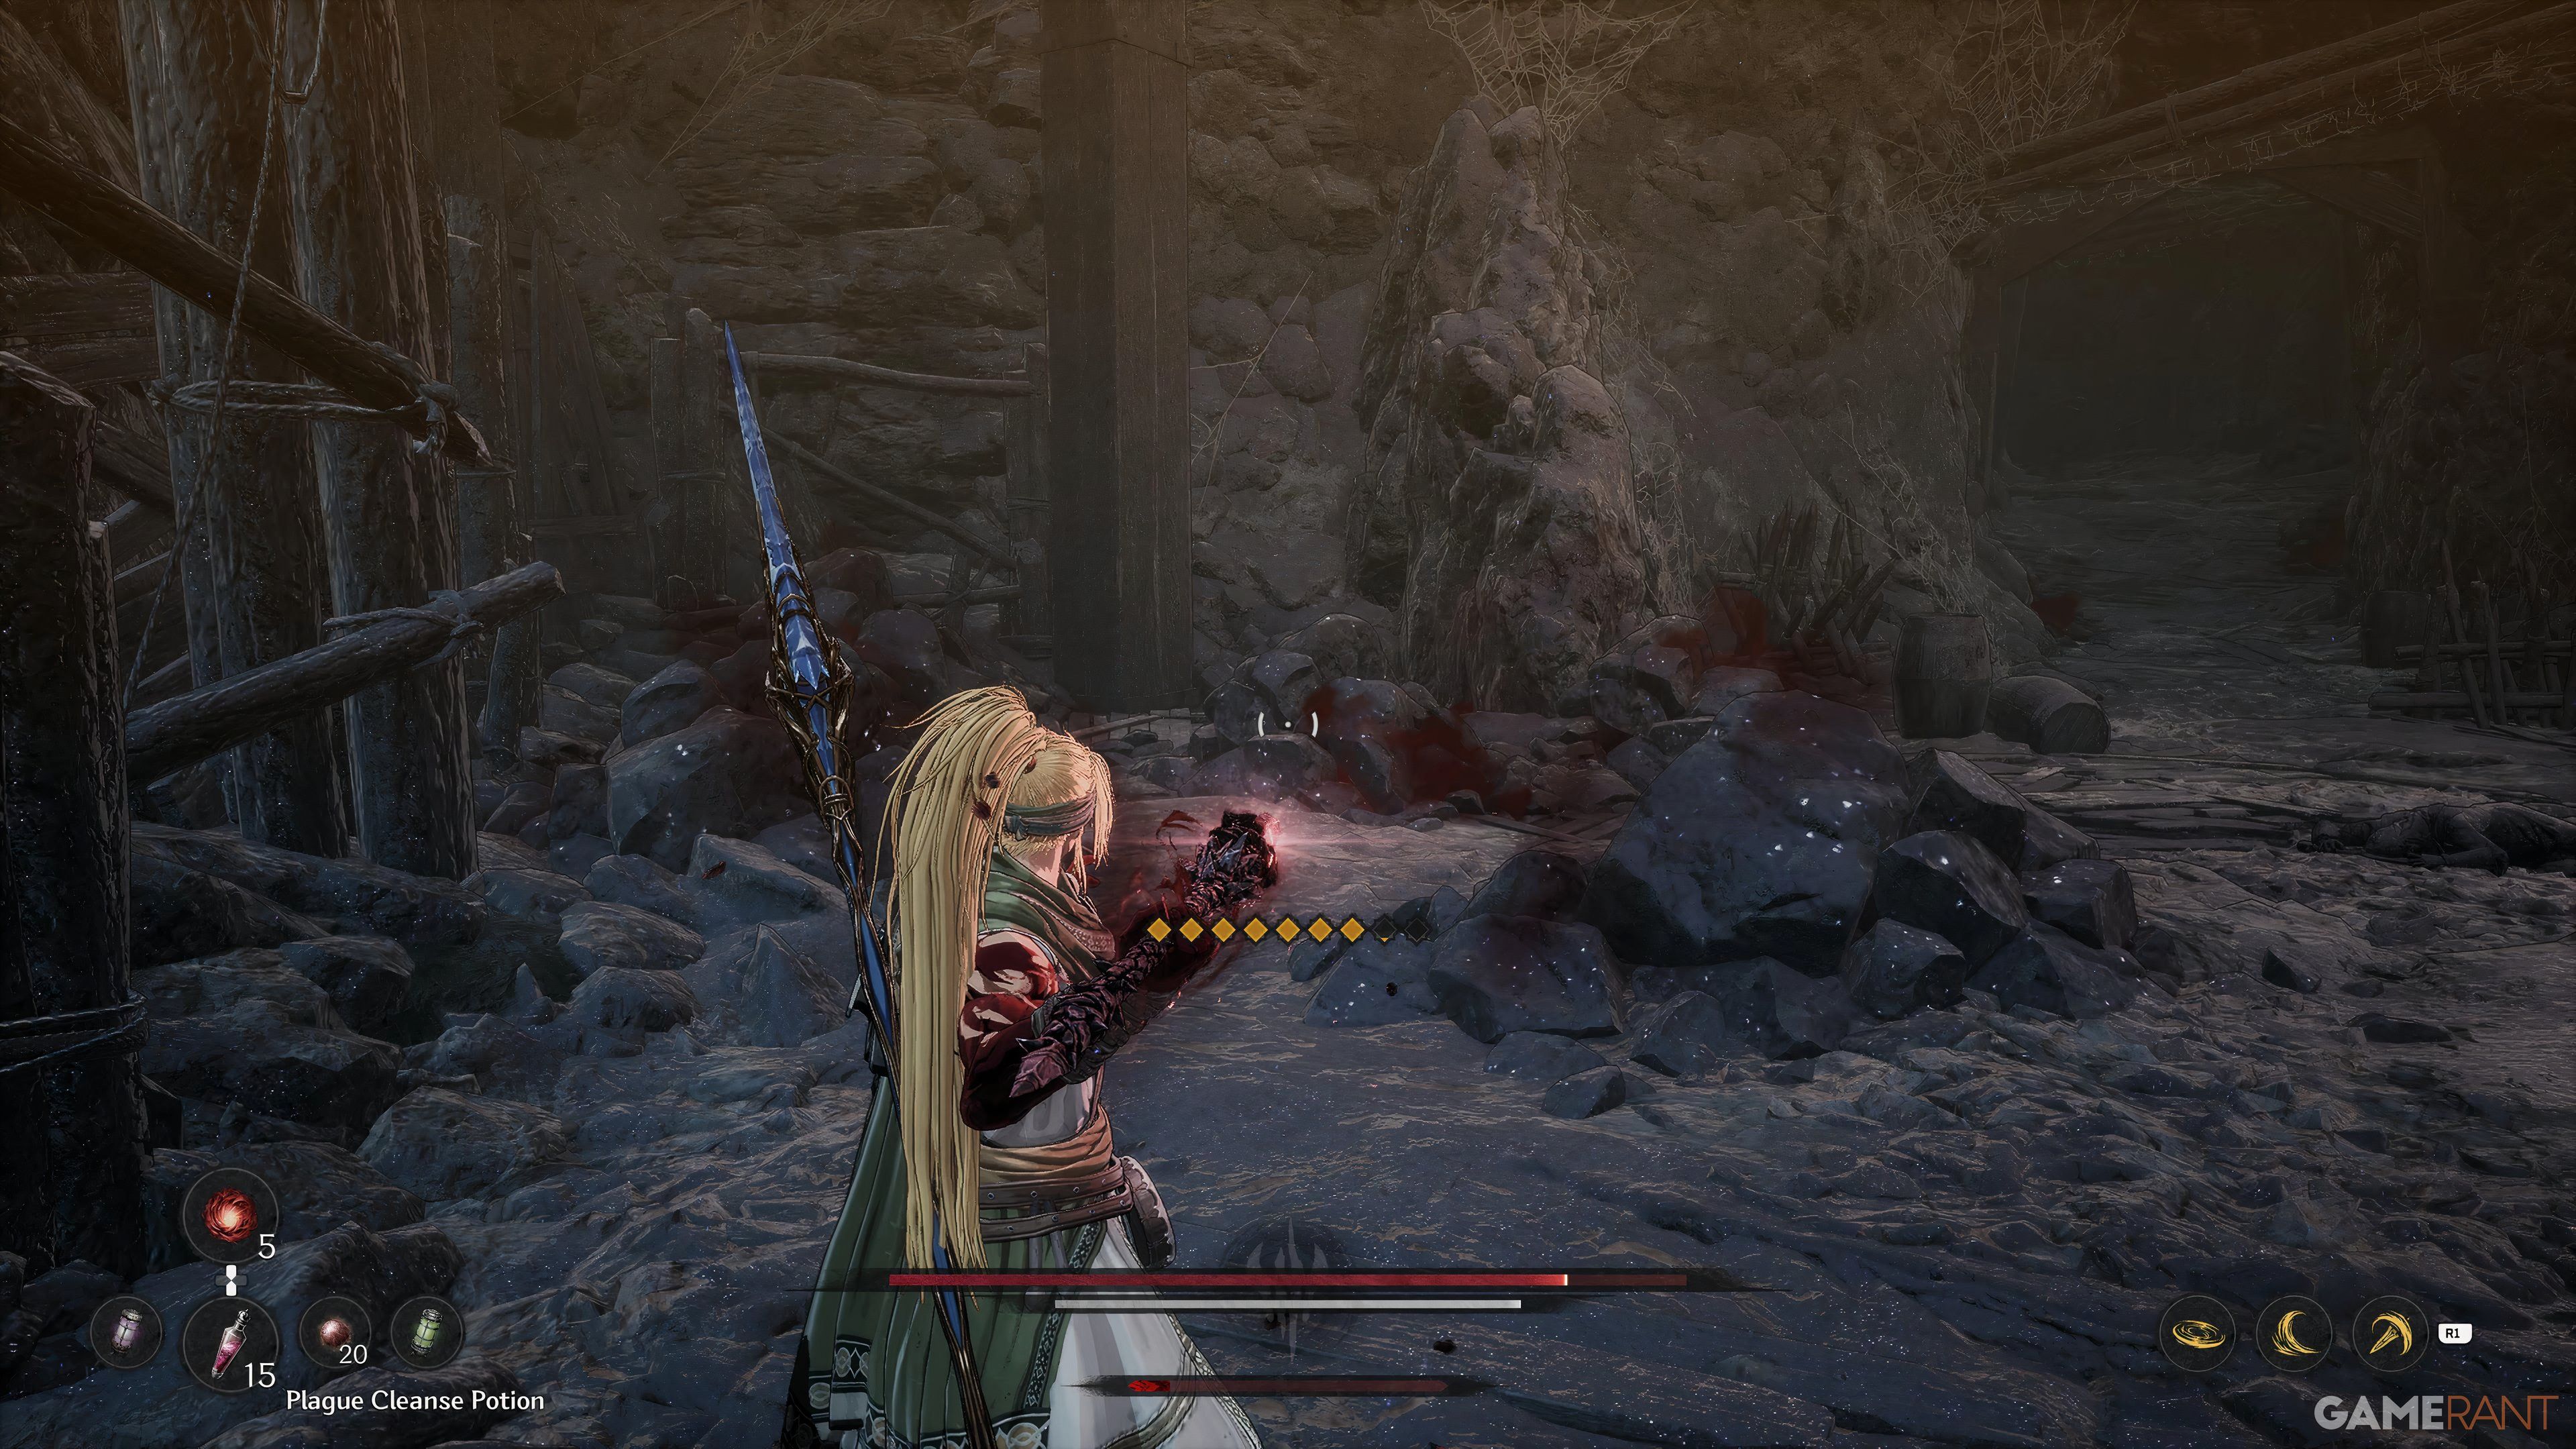
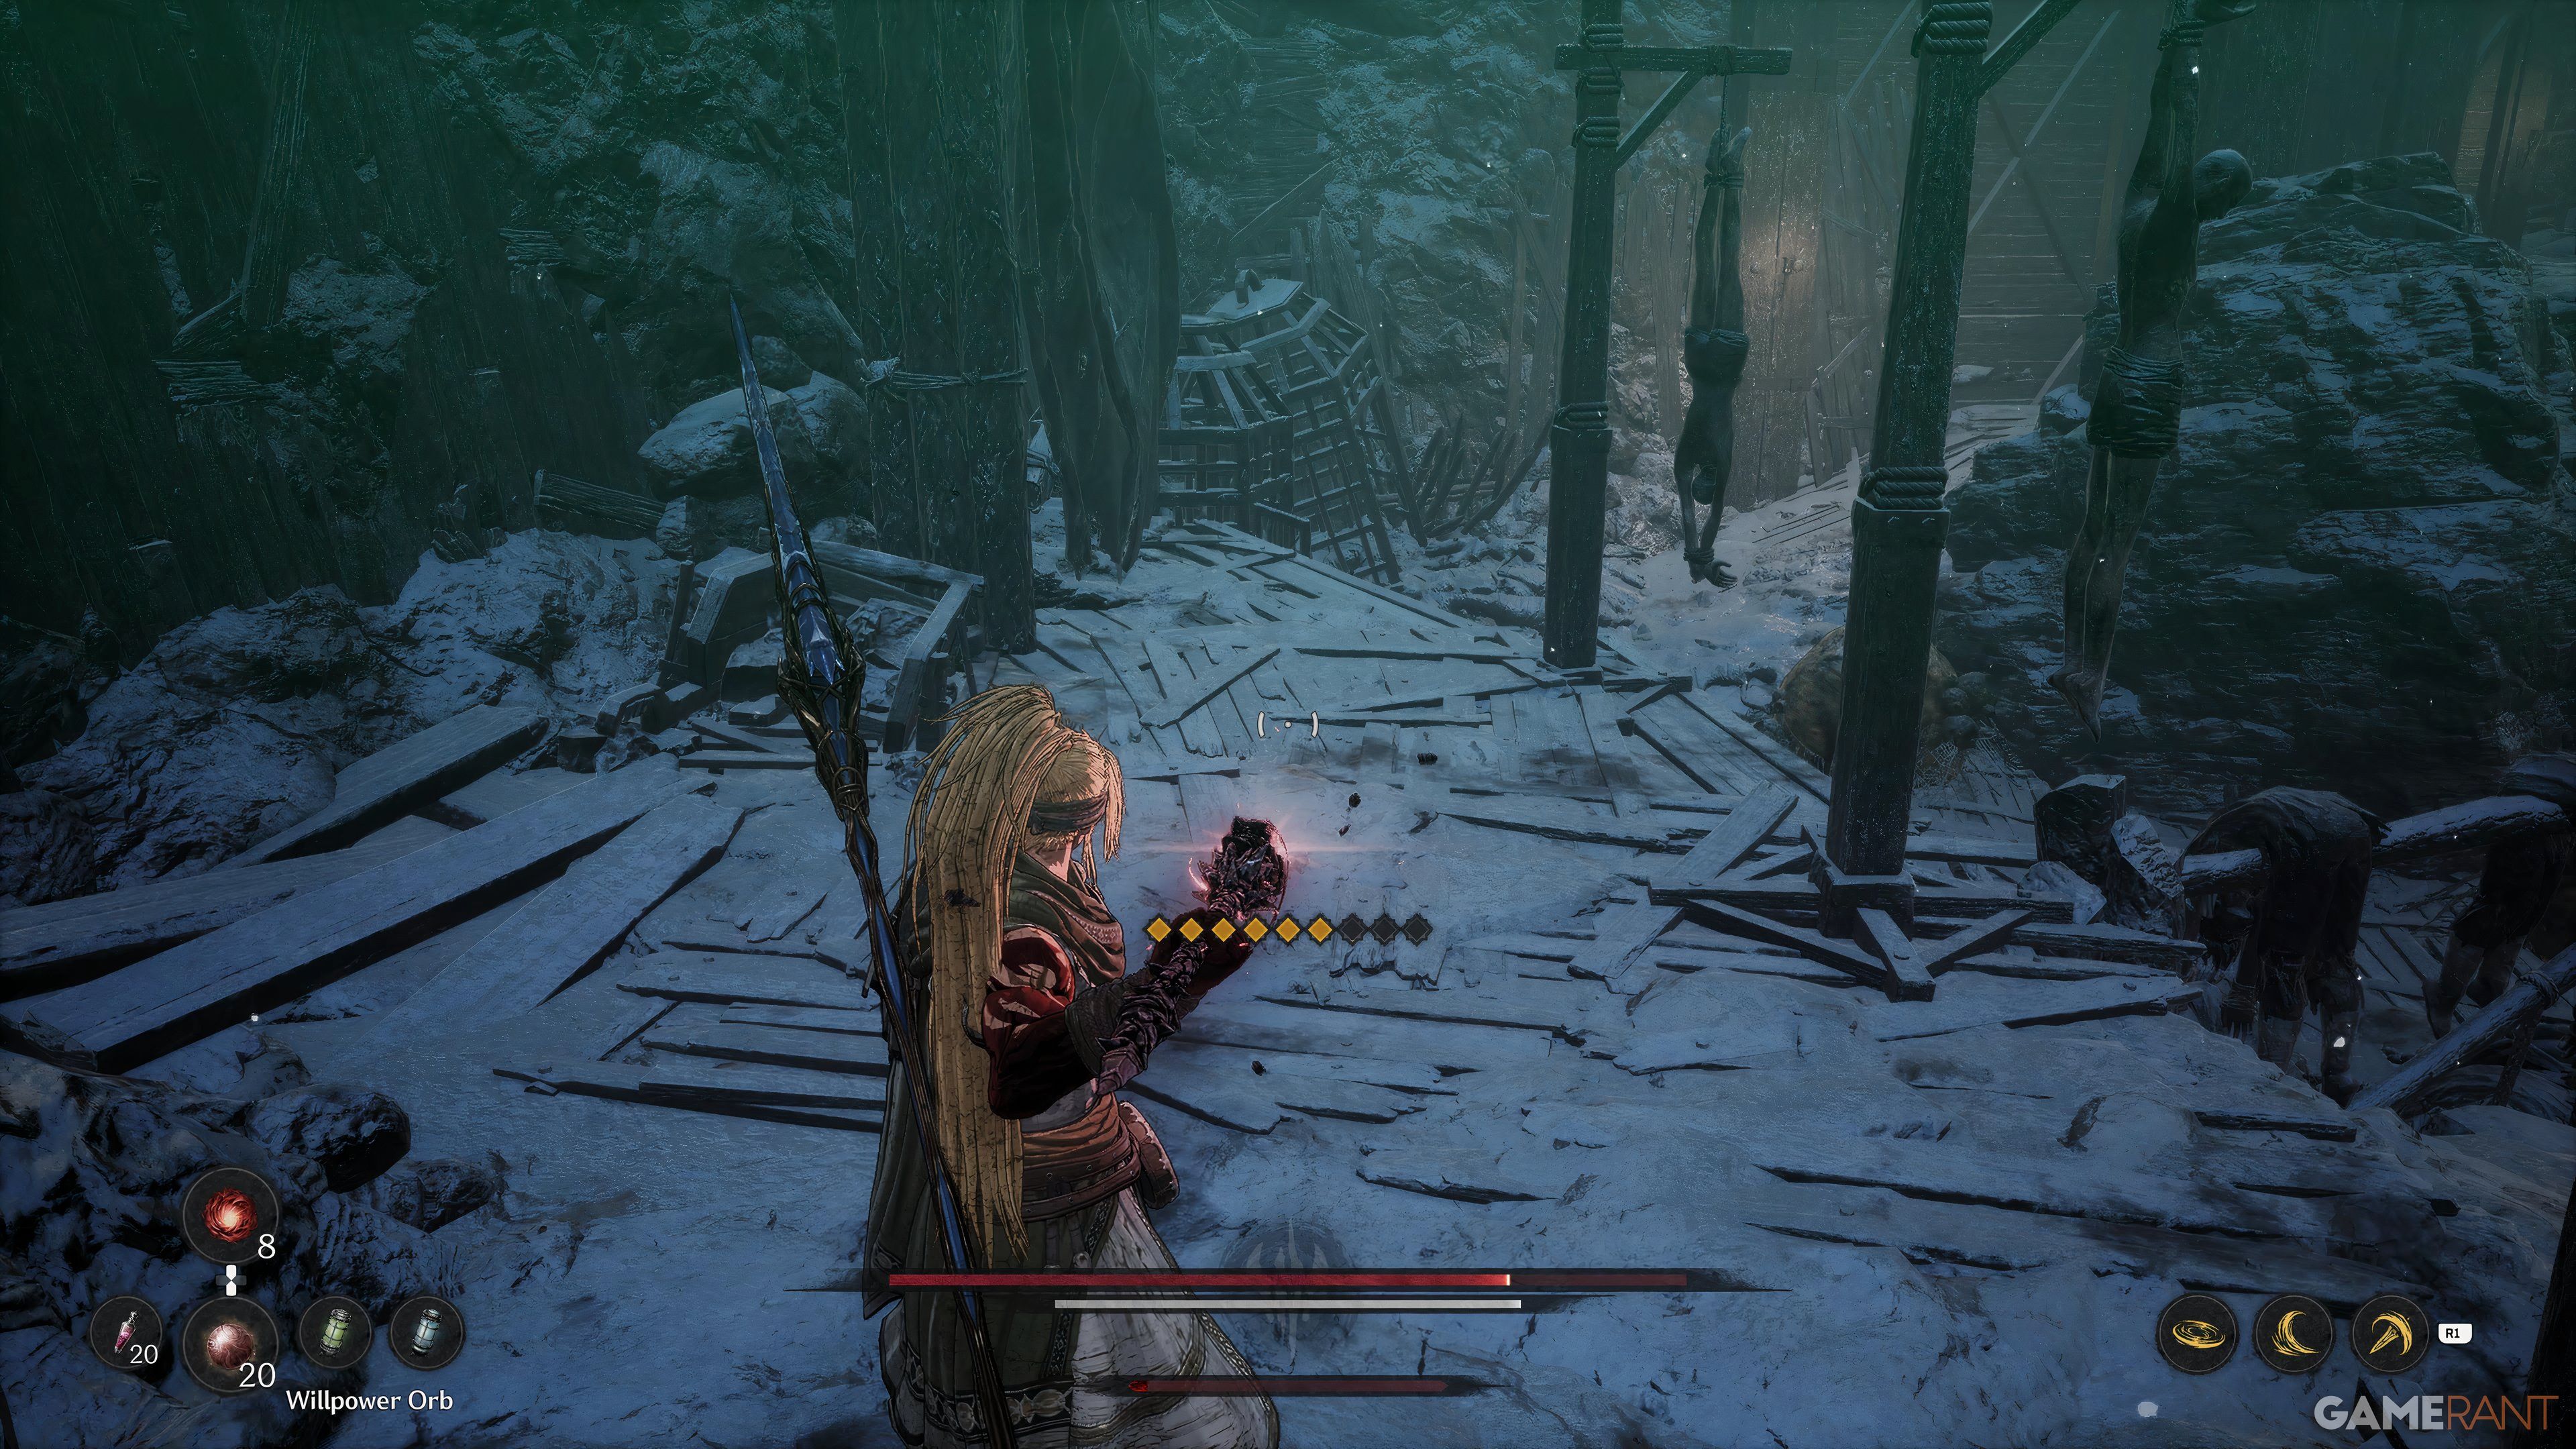
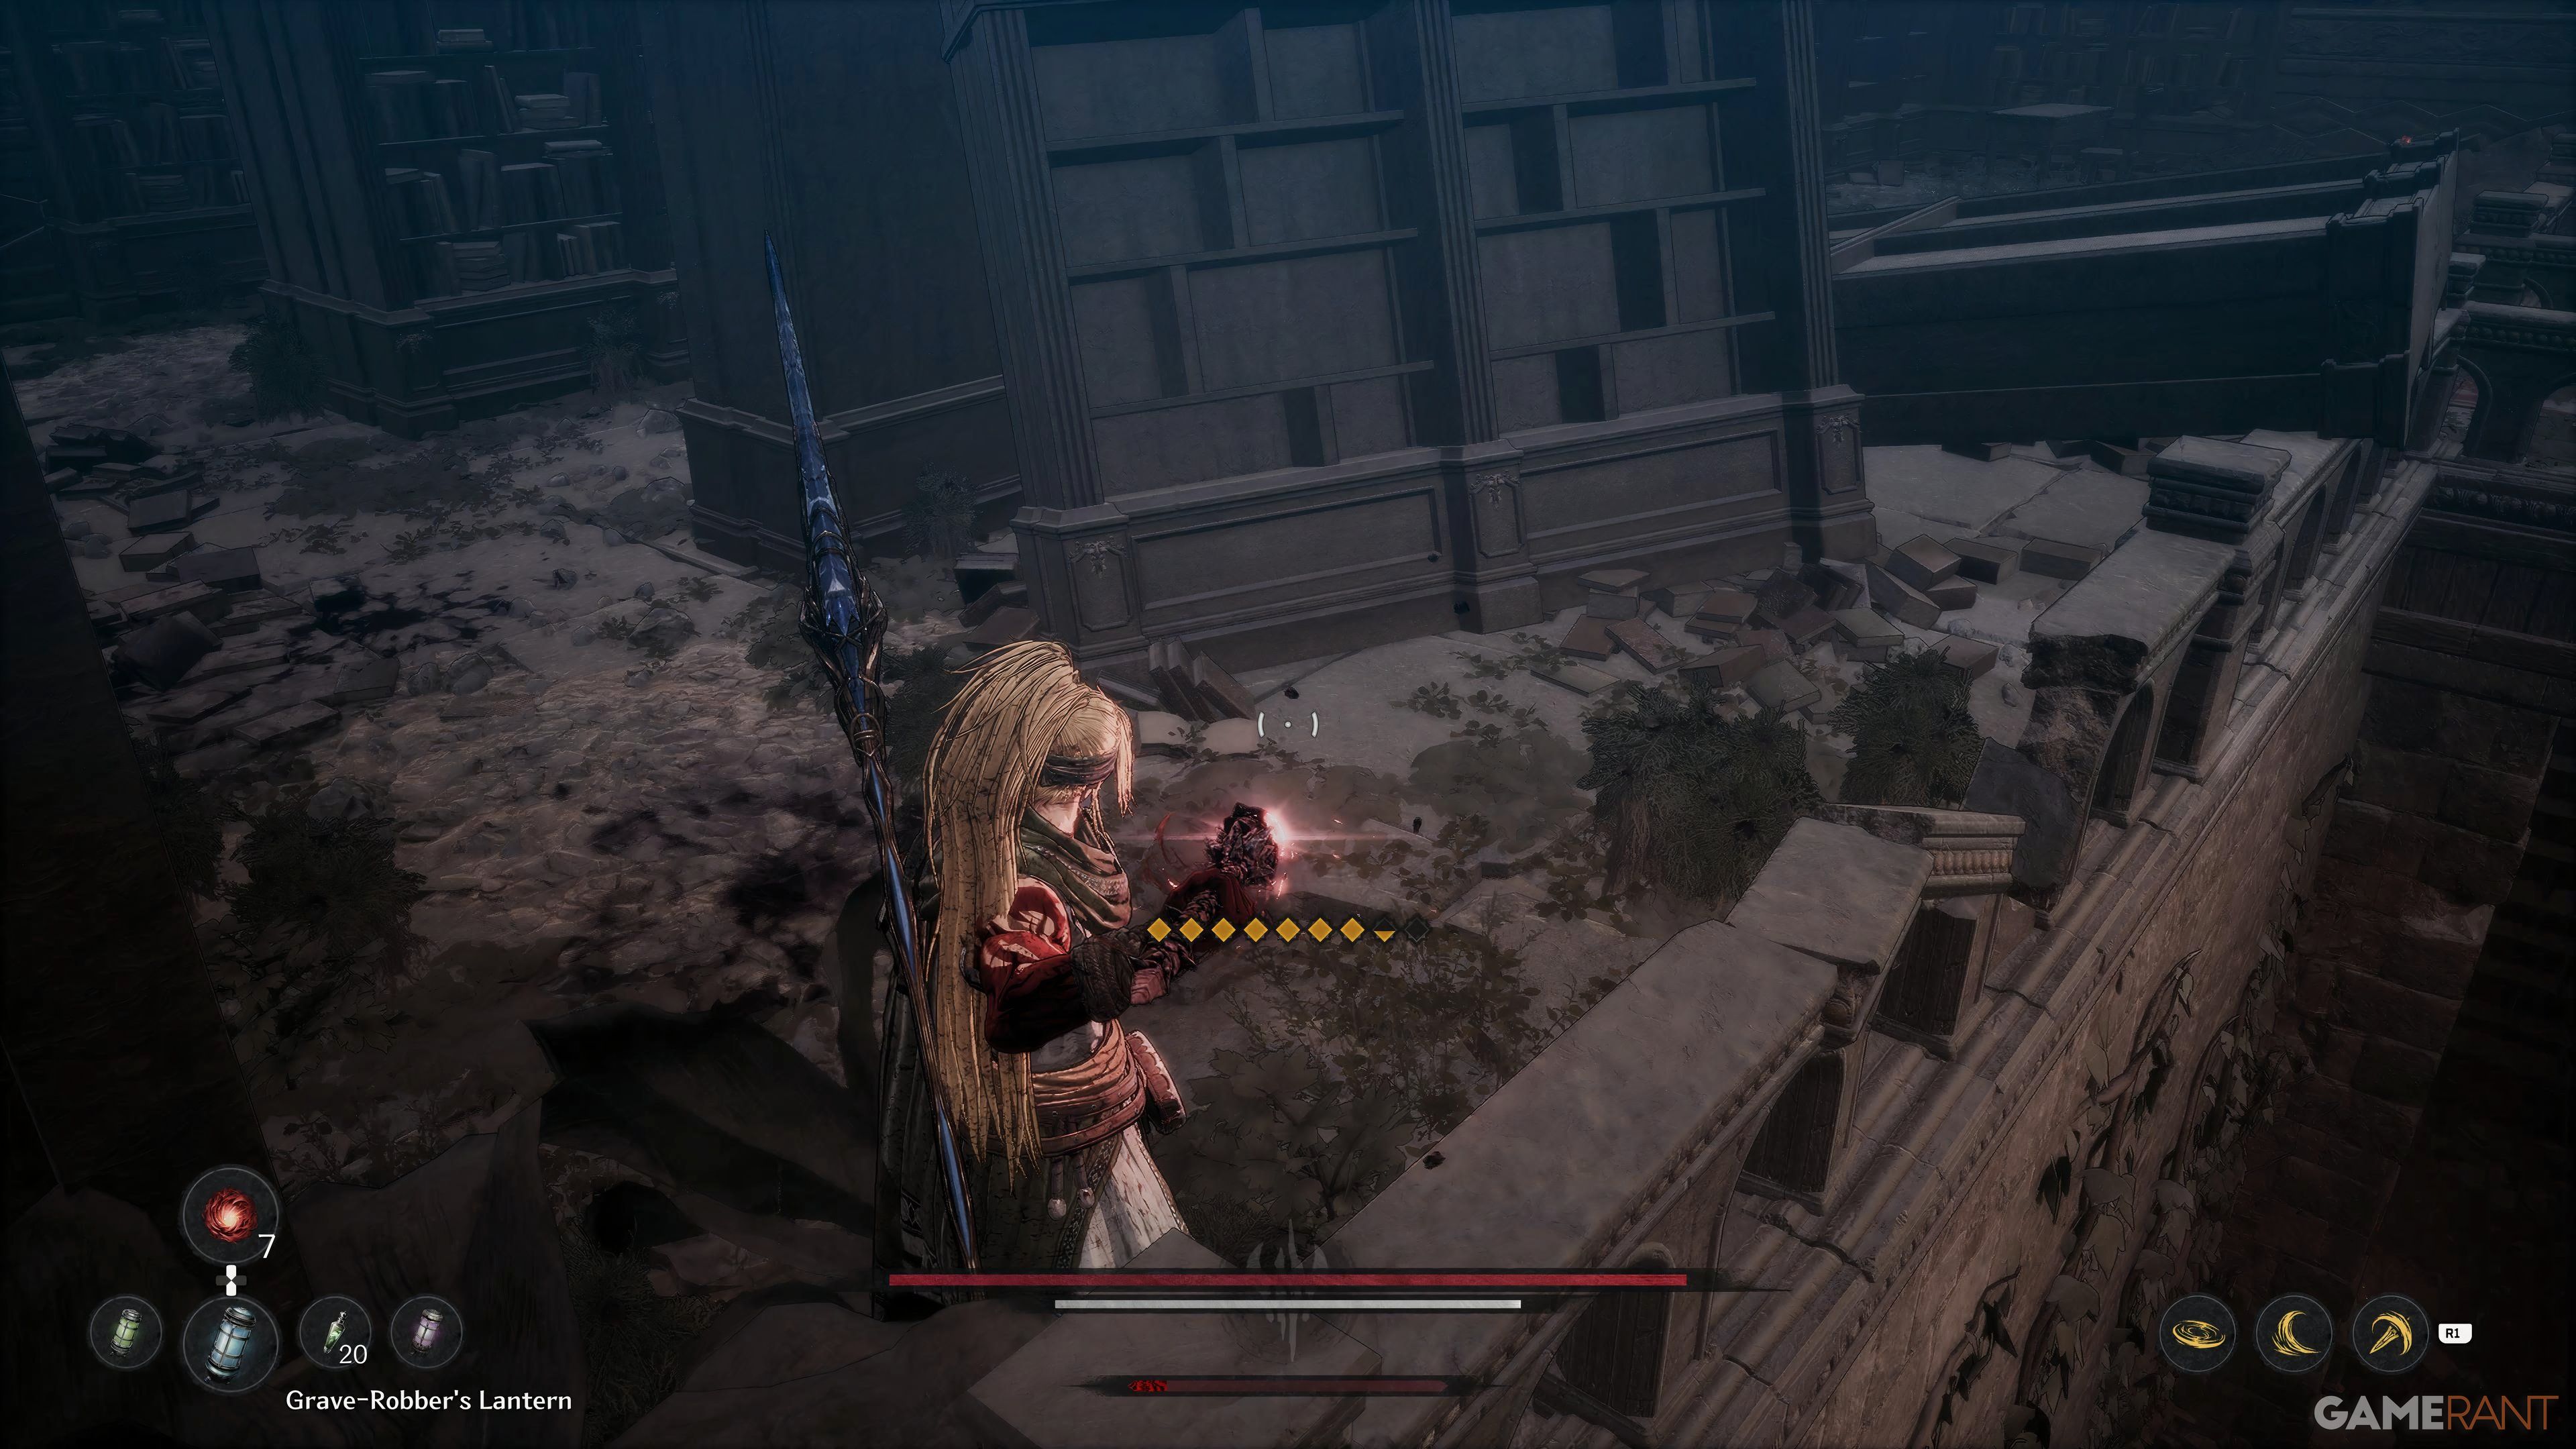
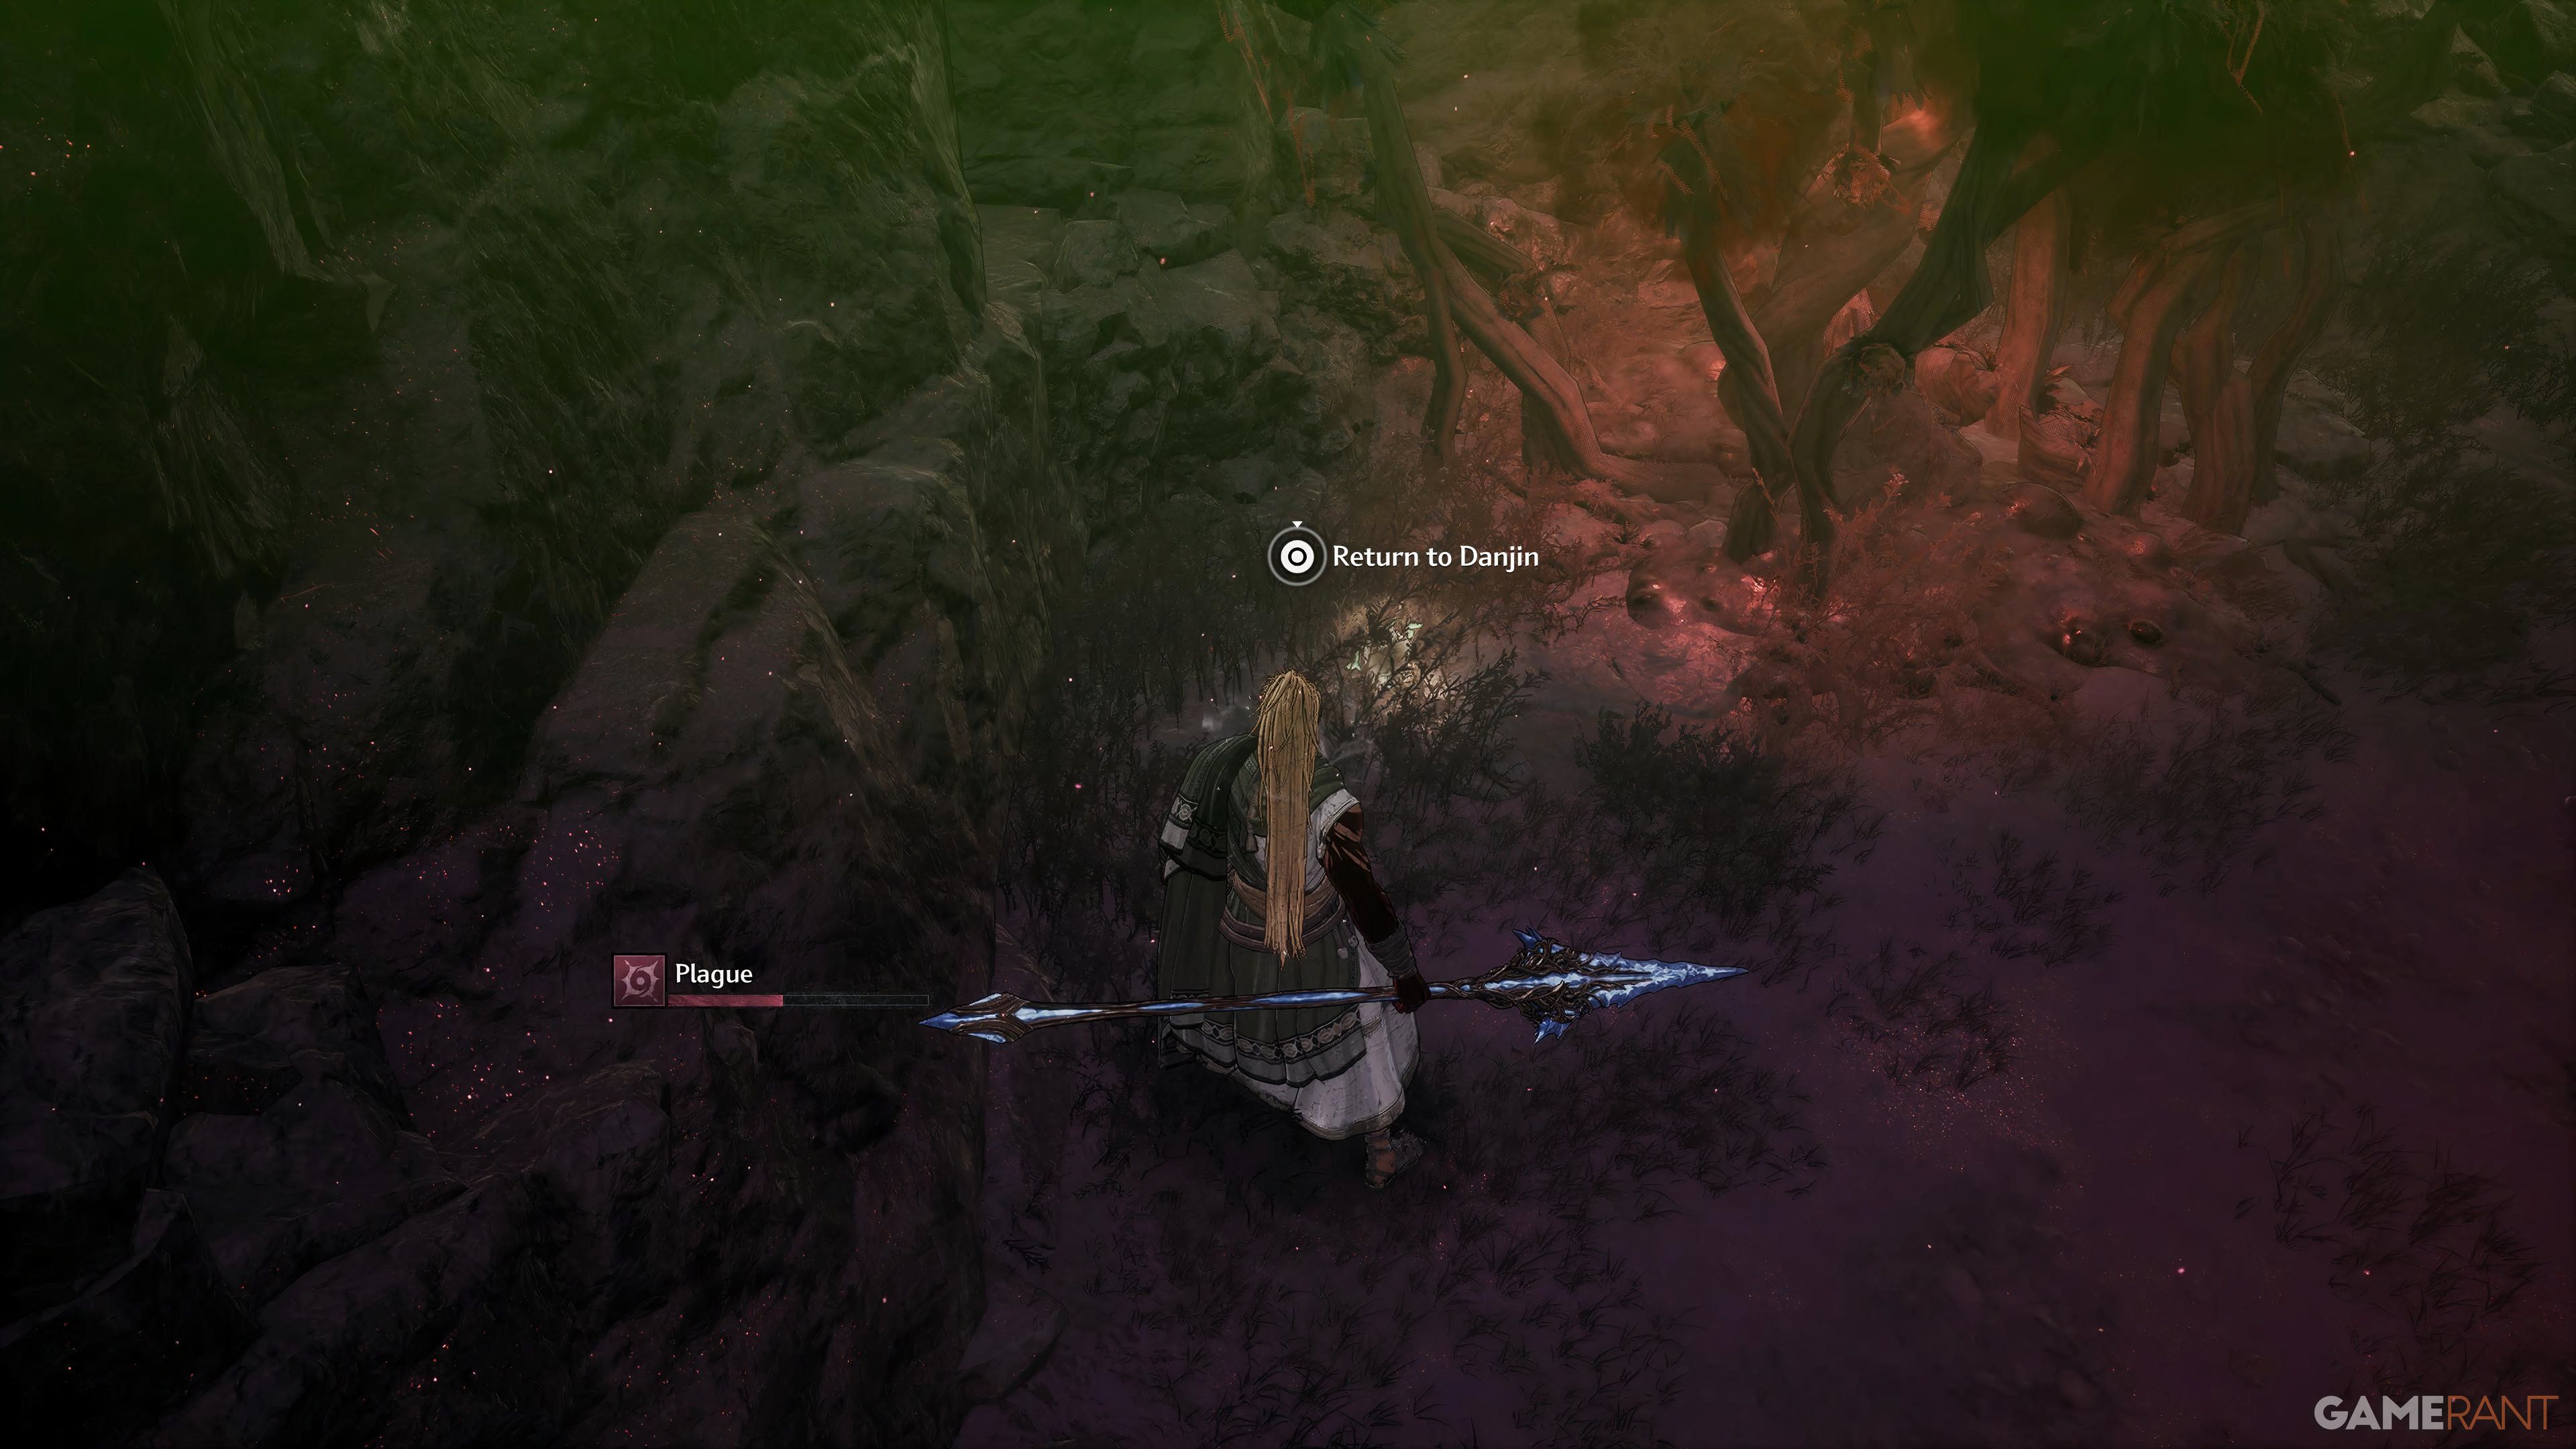
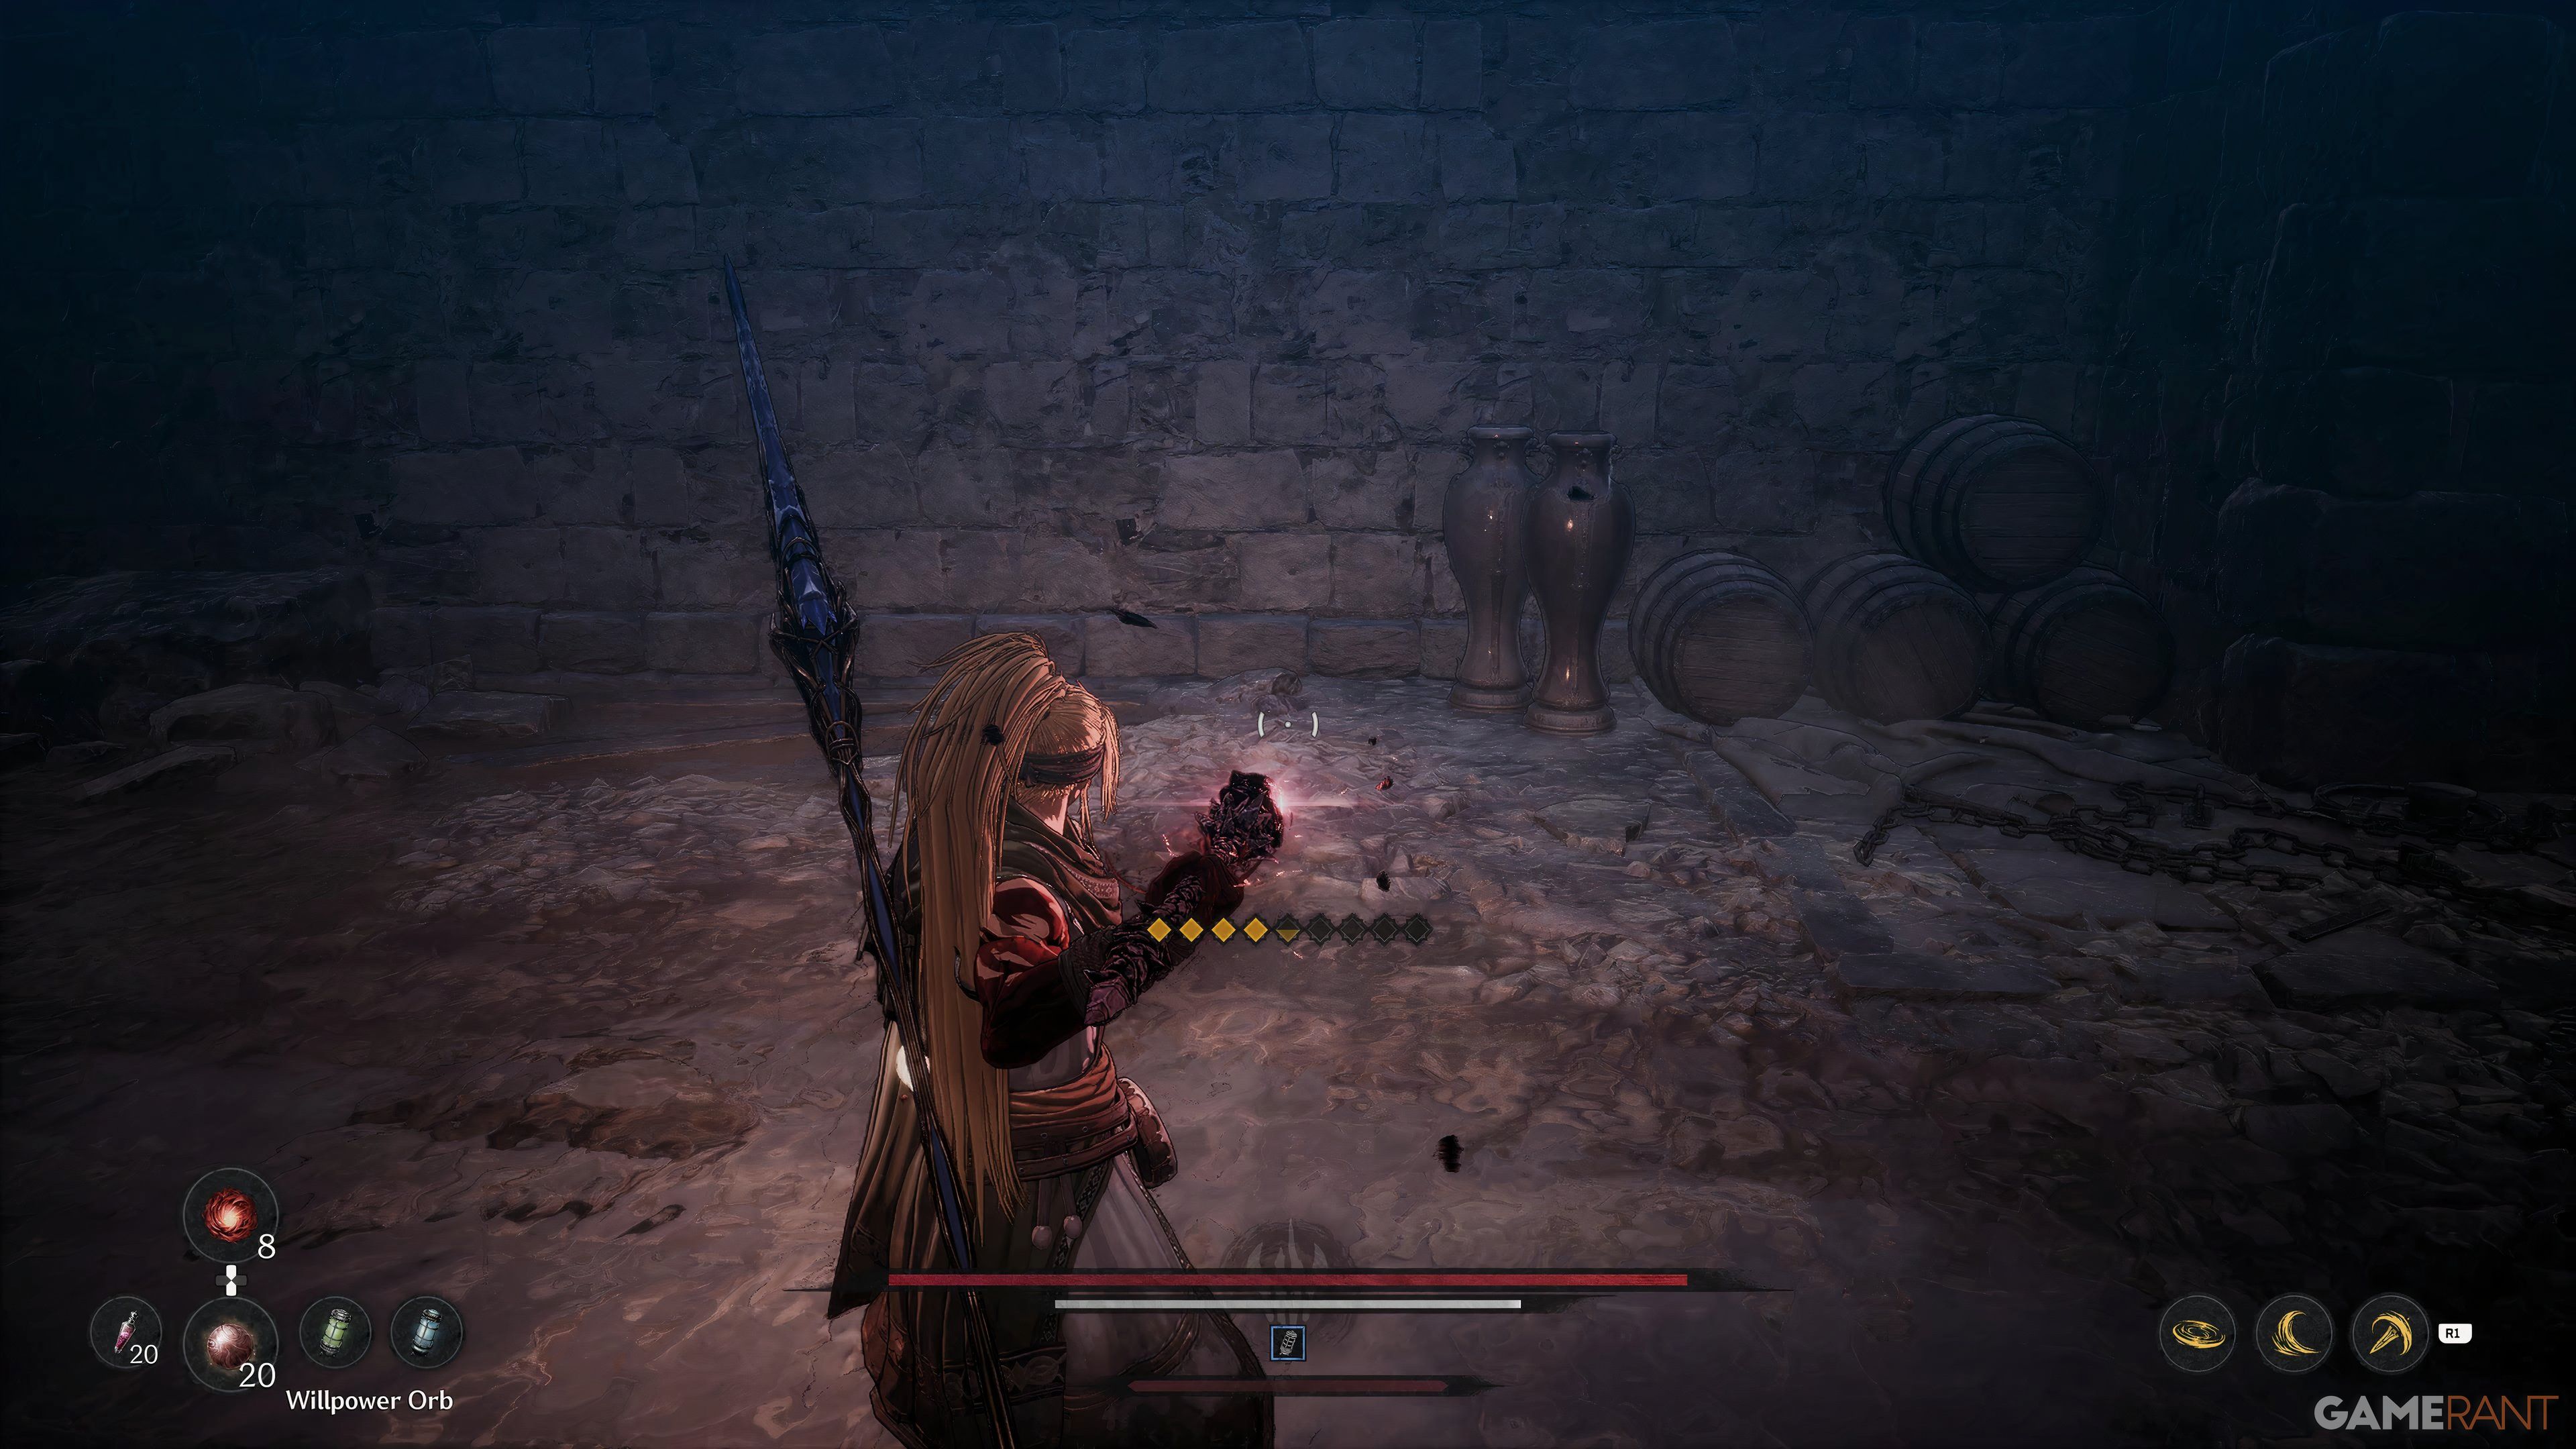
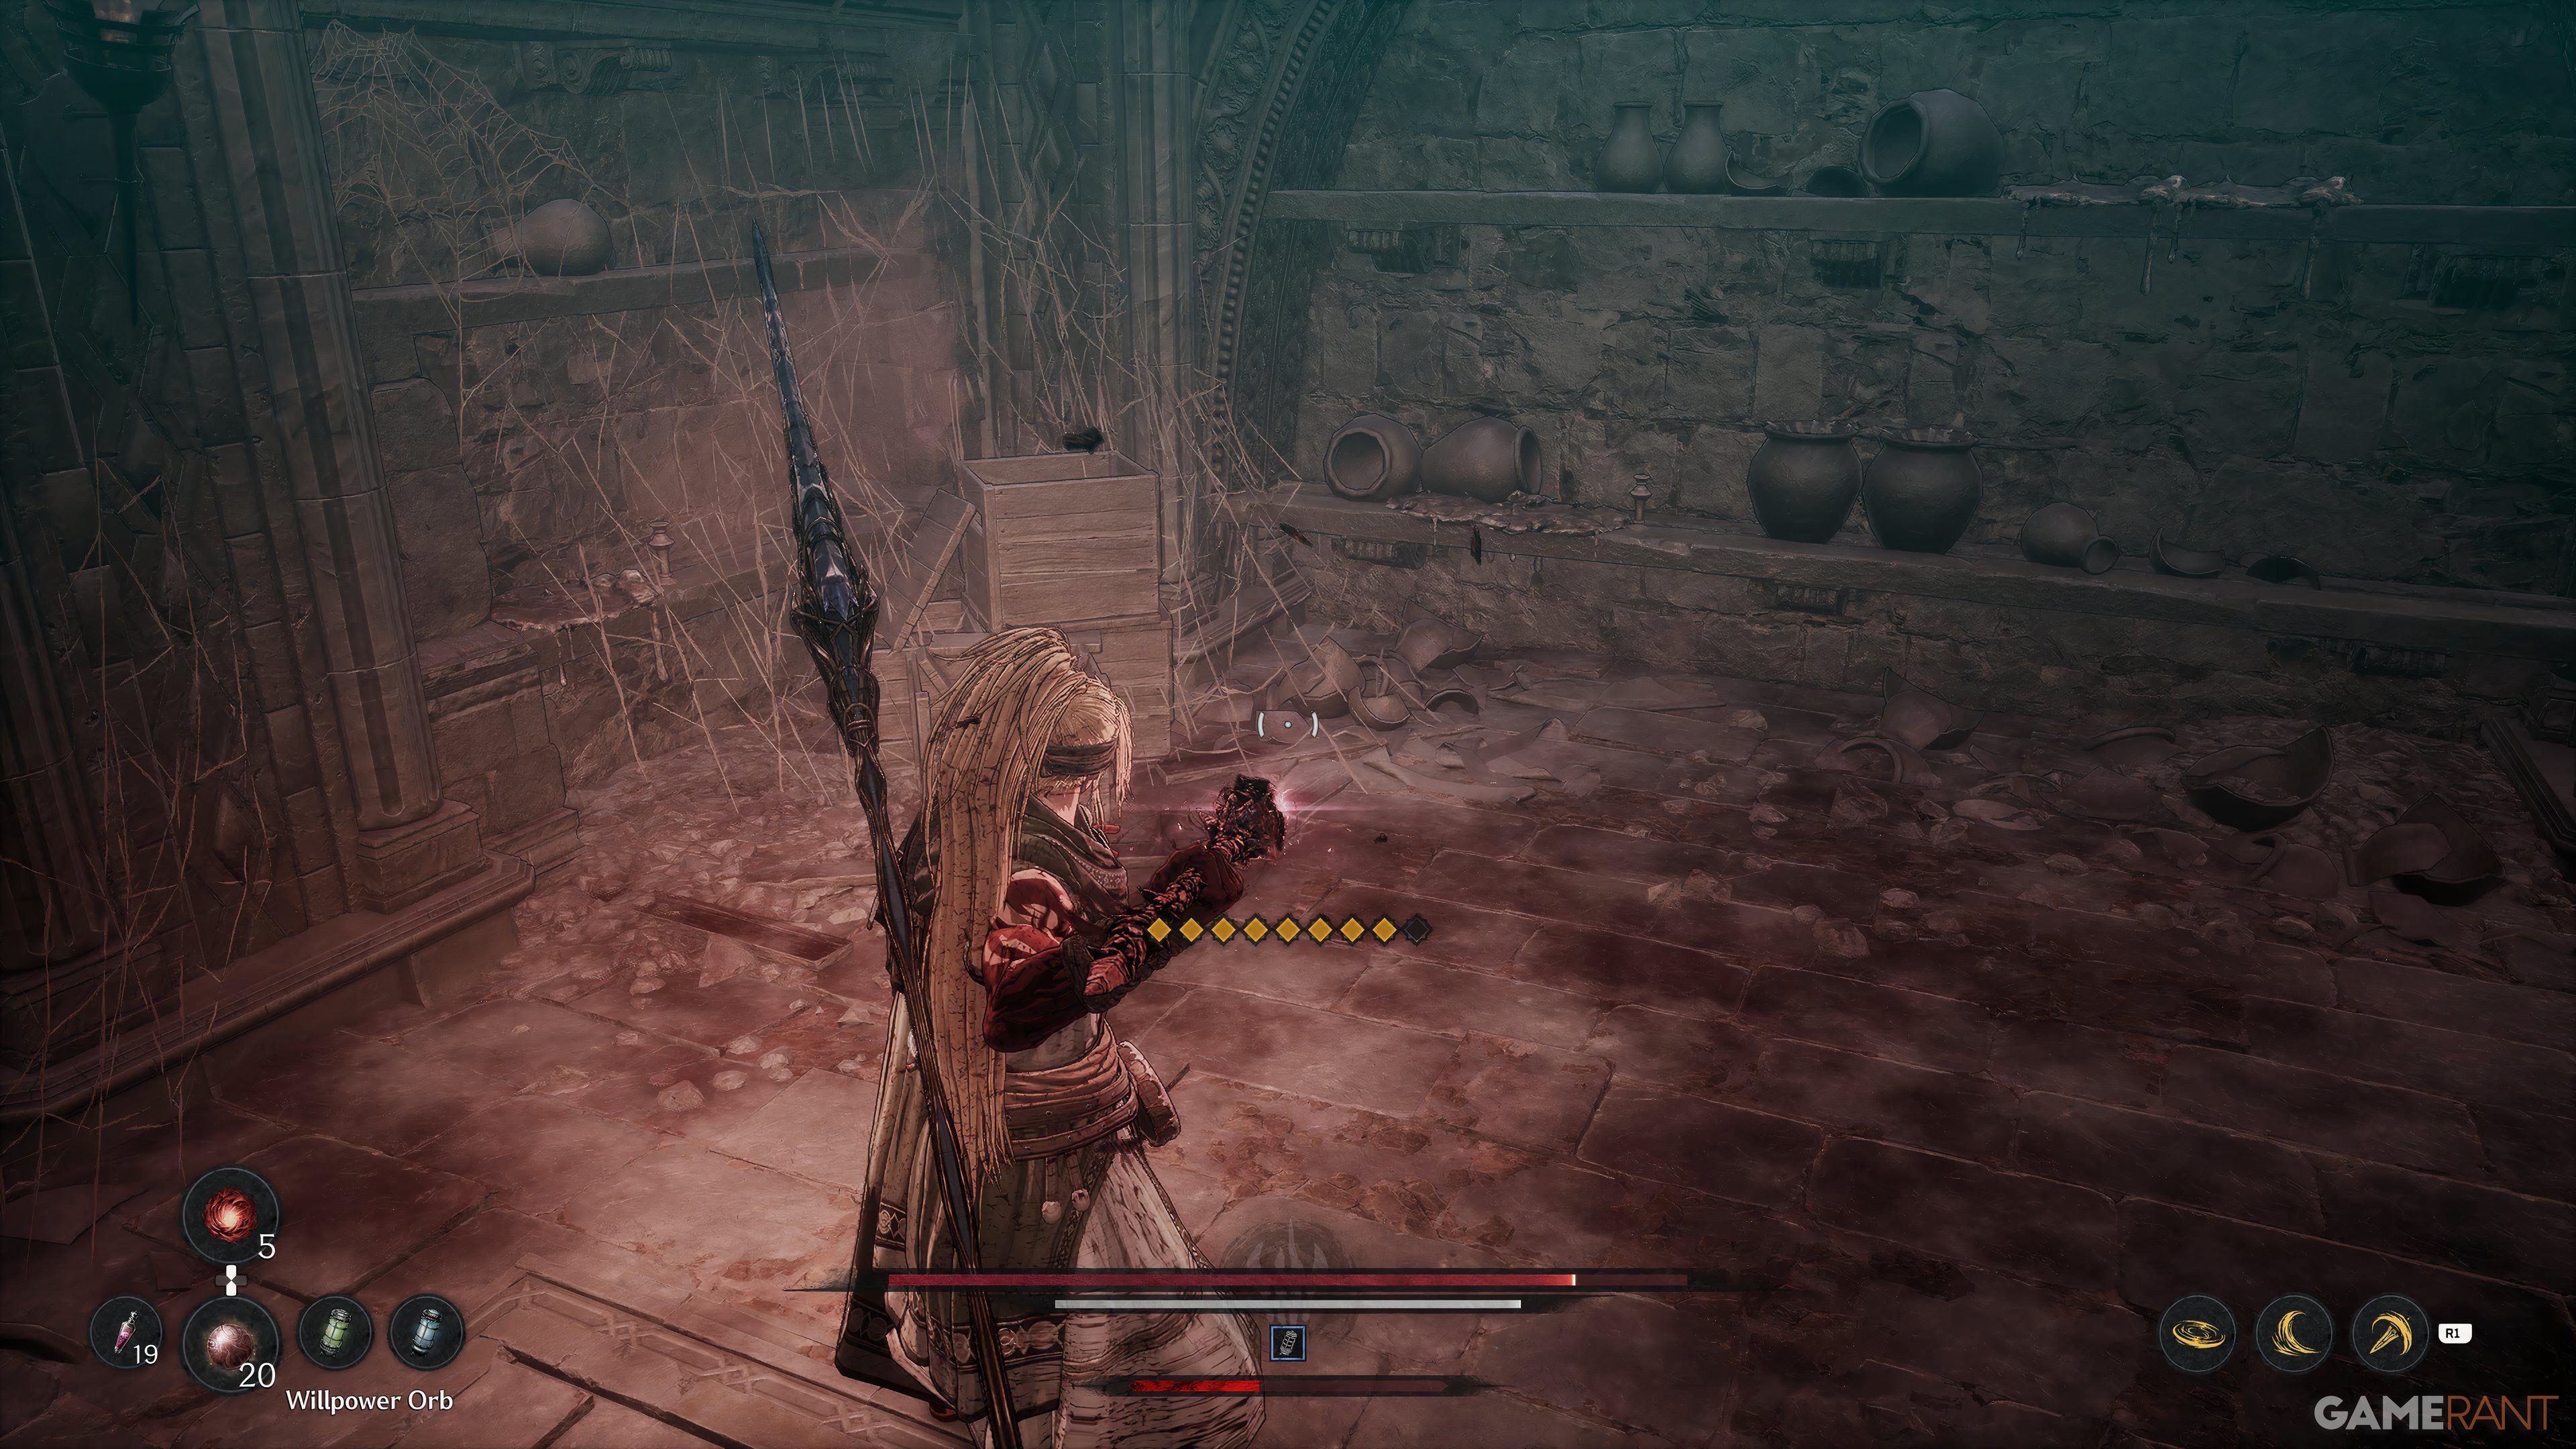
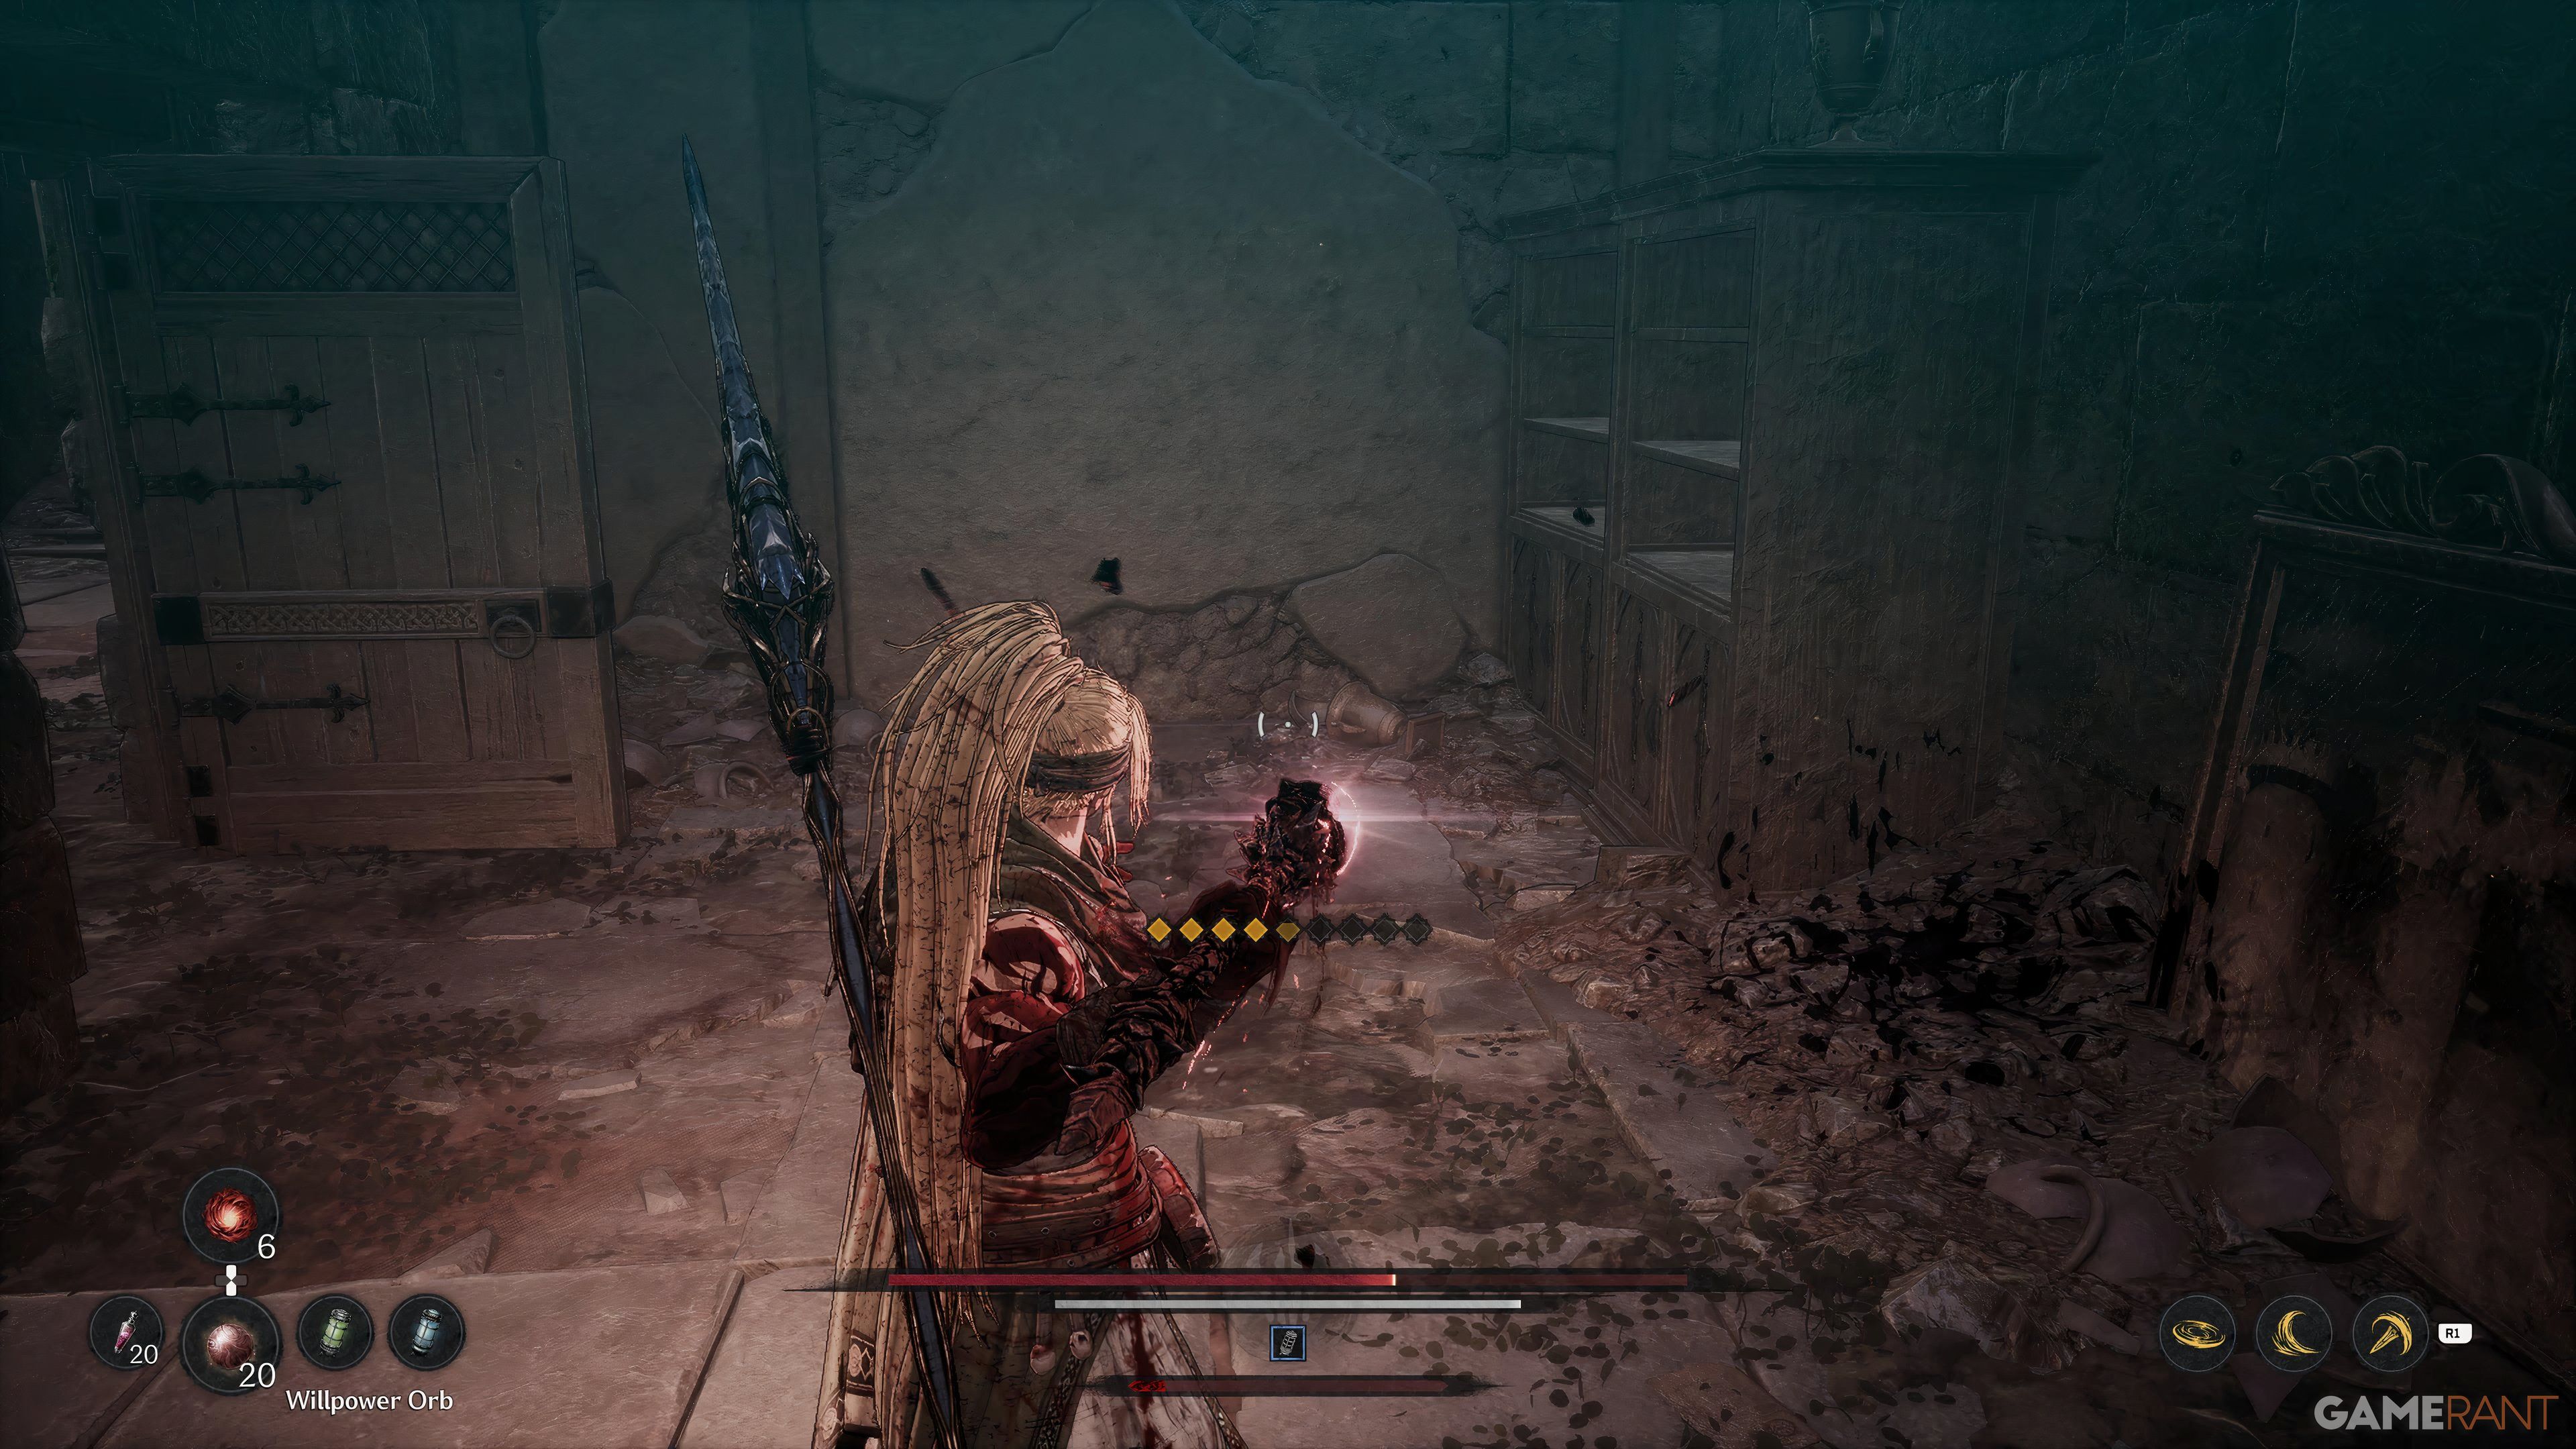
In the game, The First Berserker: Khazan is filled with numerous collectibles that come in handy. The characters known as Jarlings make their debut following Mission 4: First Act of Revenge. This occurs during a Bonus Mission called Jar Enthusiasts, where you can converse with Danjin. He initially assigns the player the task of locating six Jarlings in the region. Once these are found, players can discover one Jarling in every main and bonus mission thereafter. In total, there are 44 Jarlings scattered throughout the game, some so well-concealed that they might be overlooked entirely.
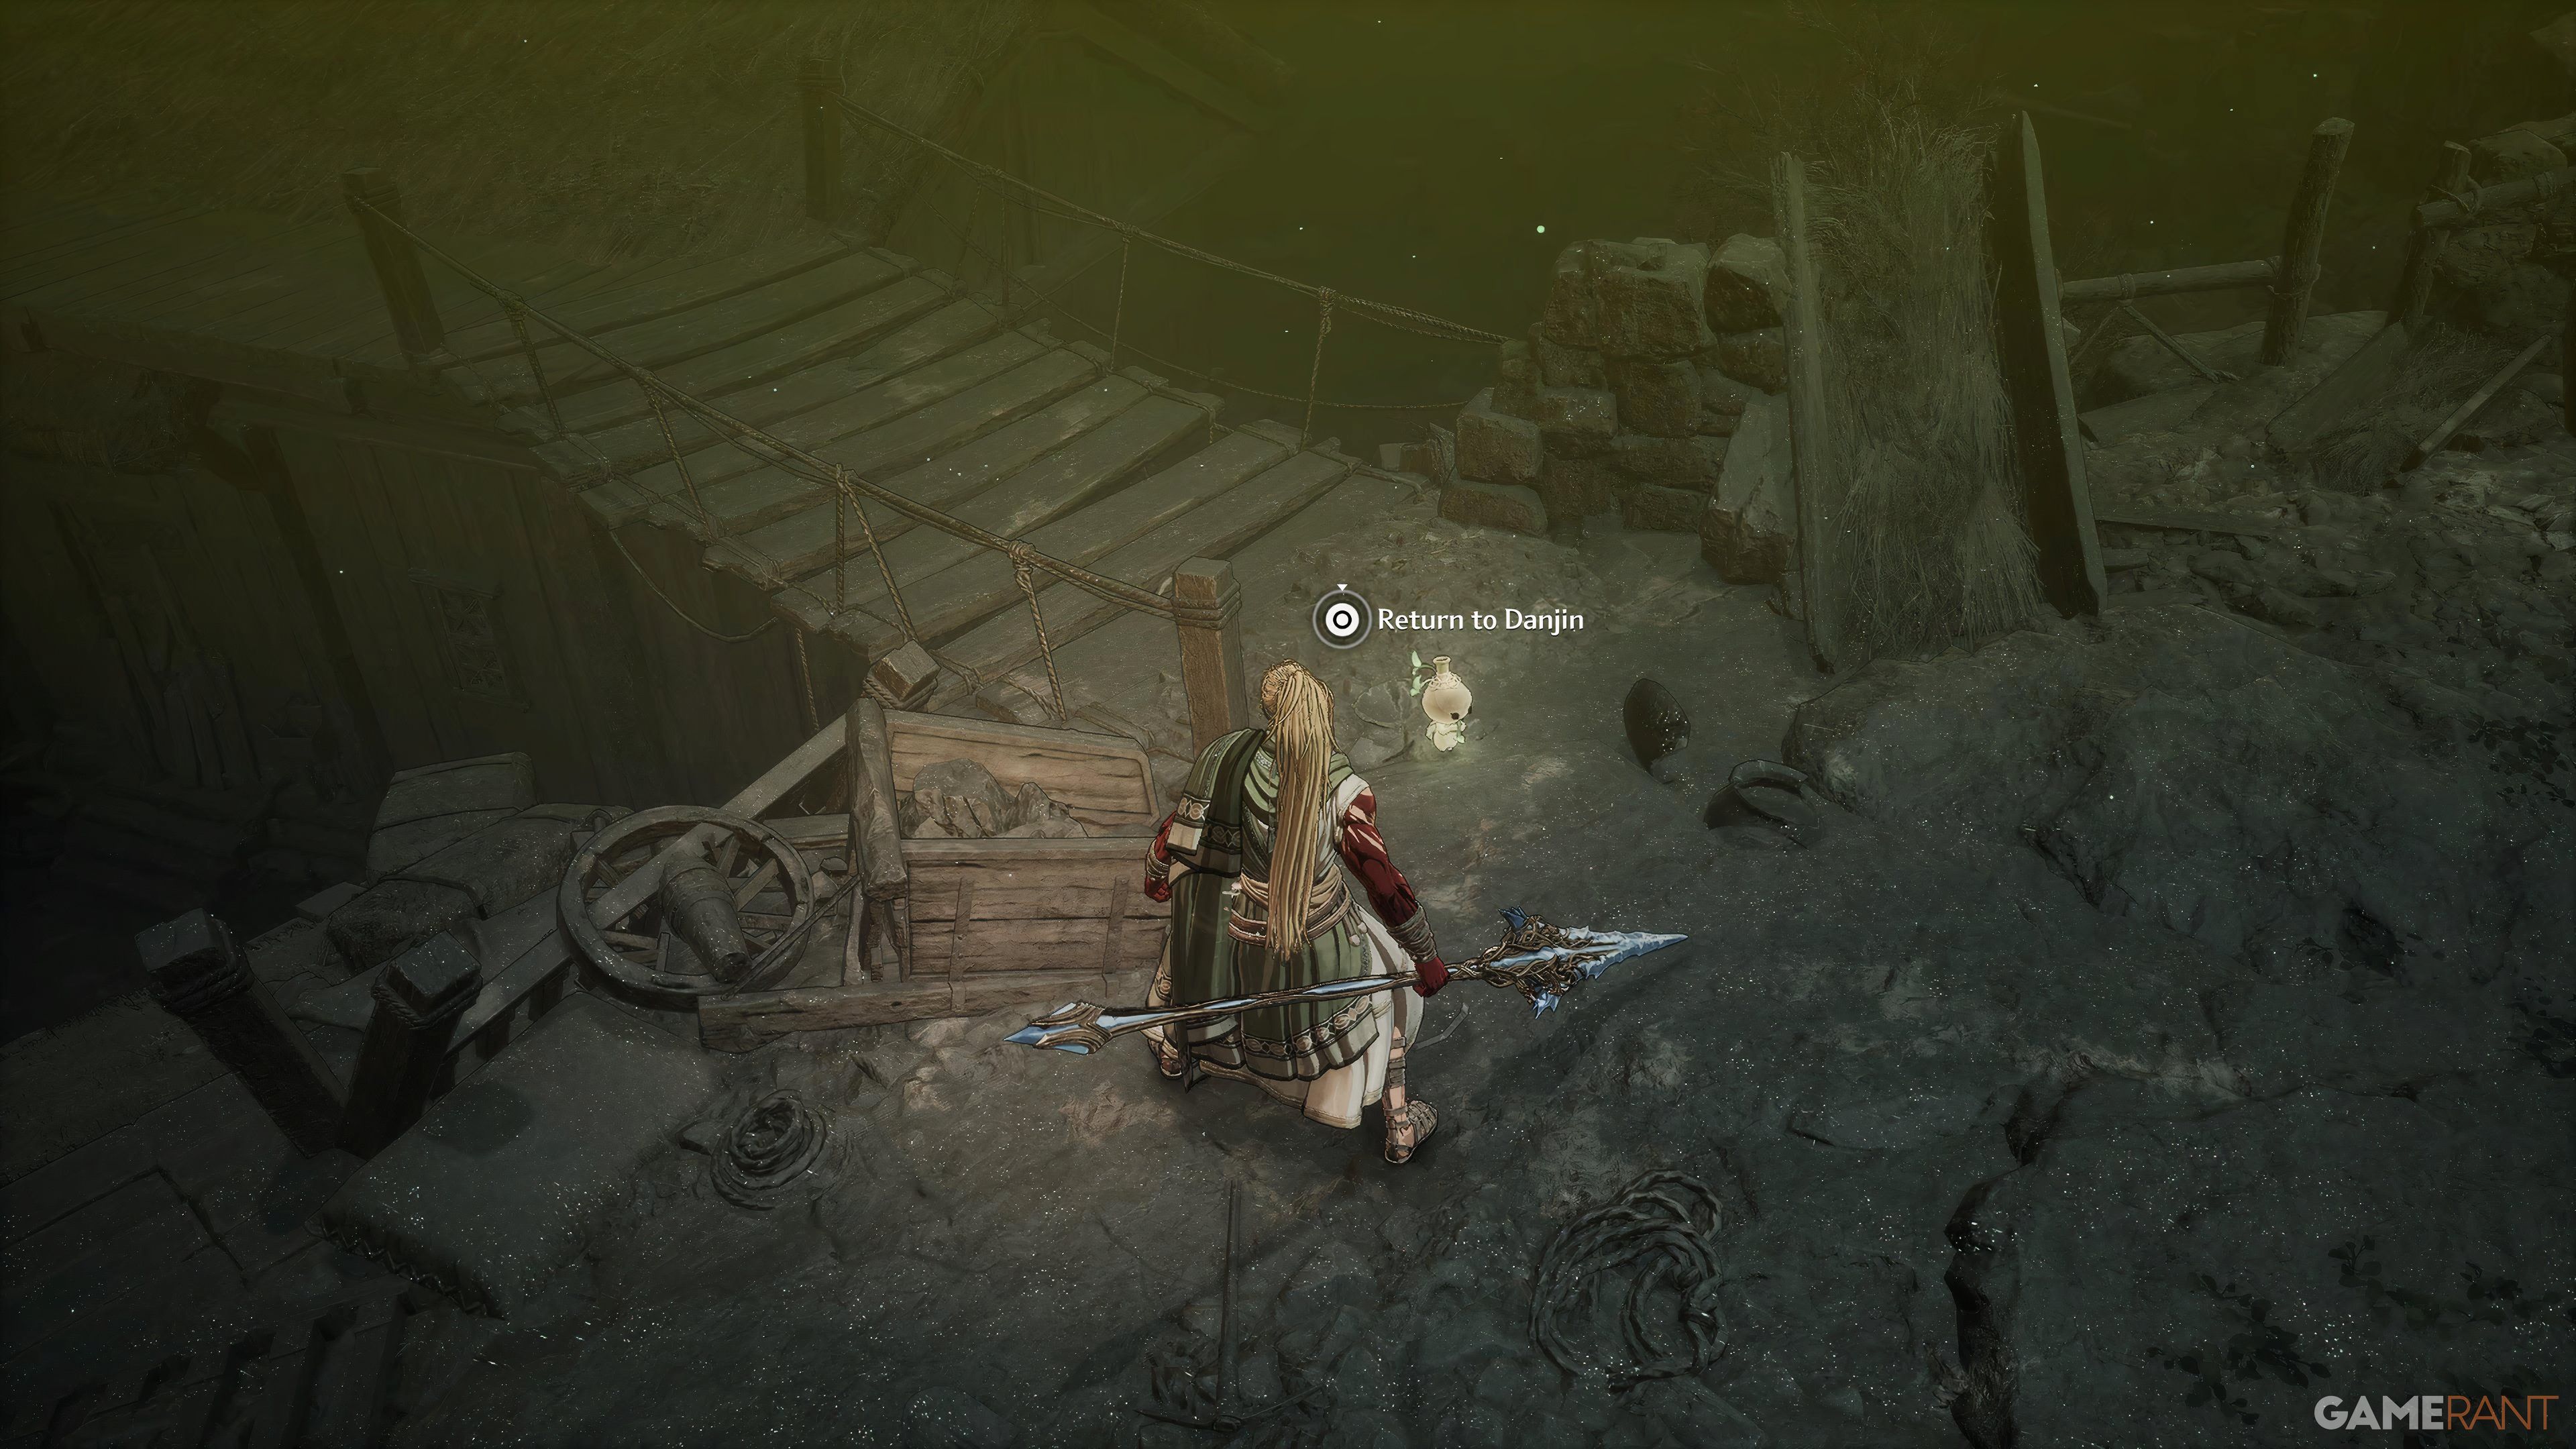
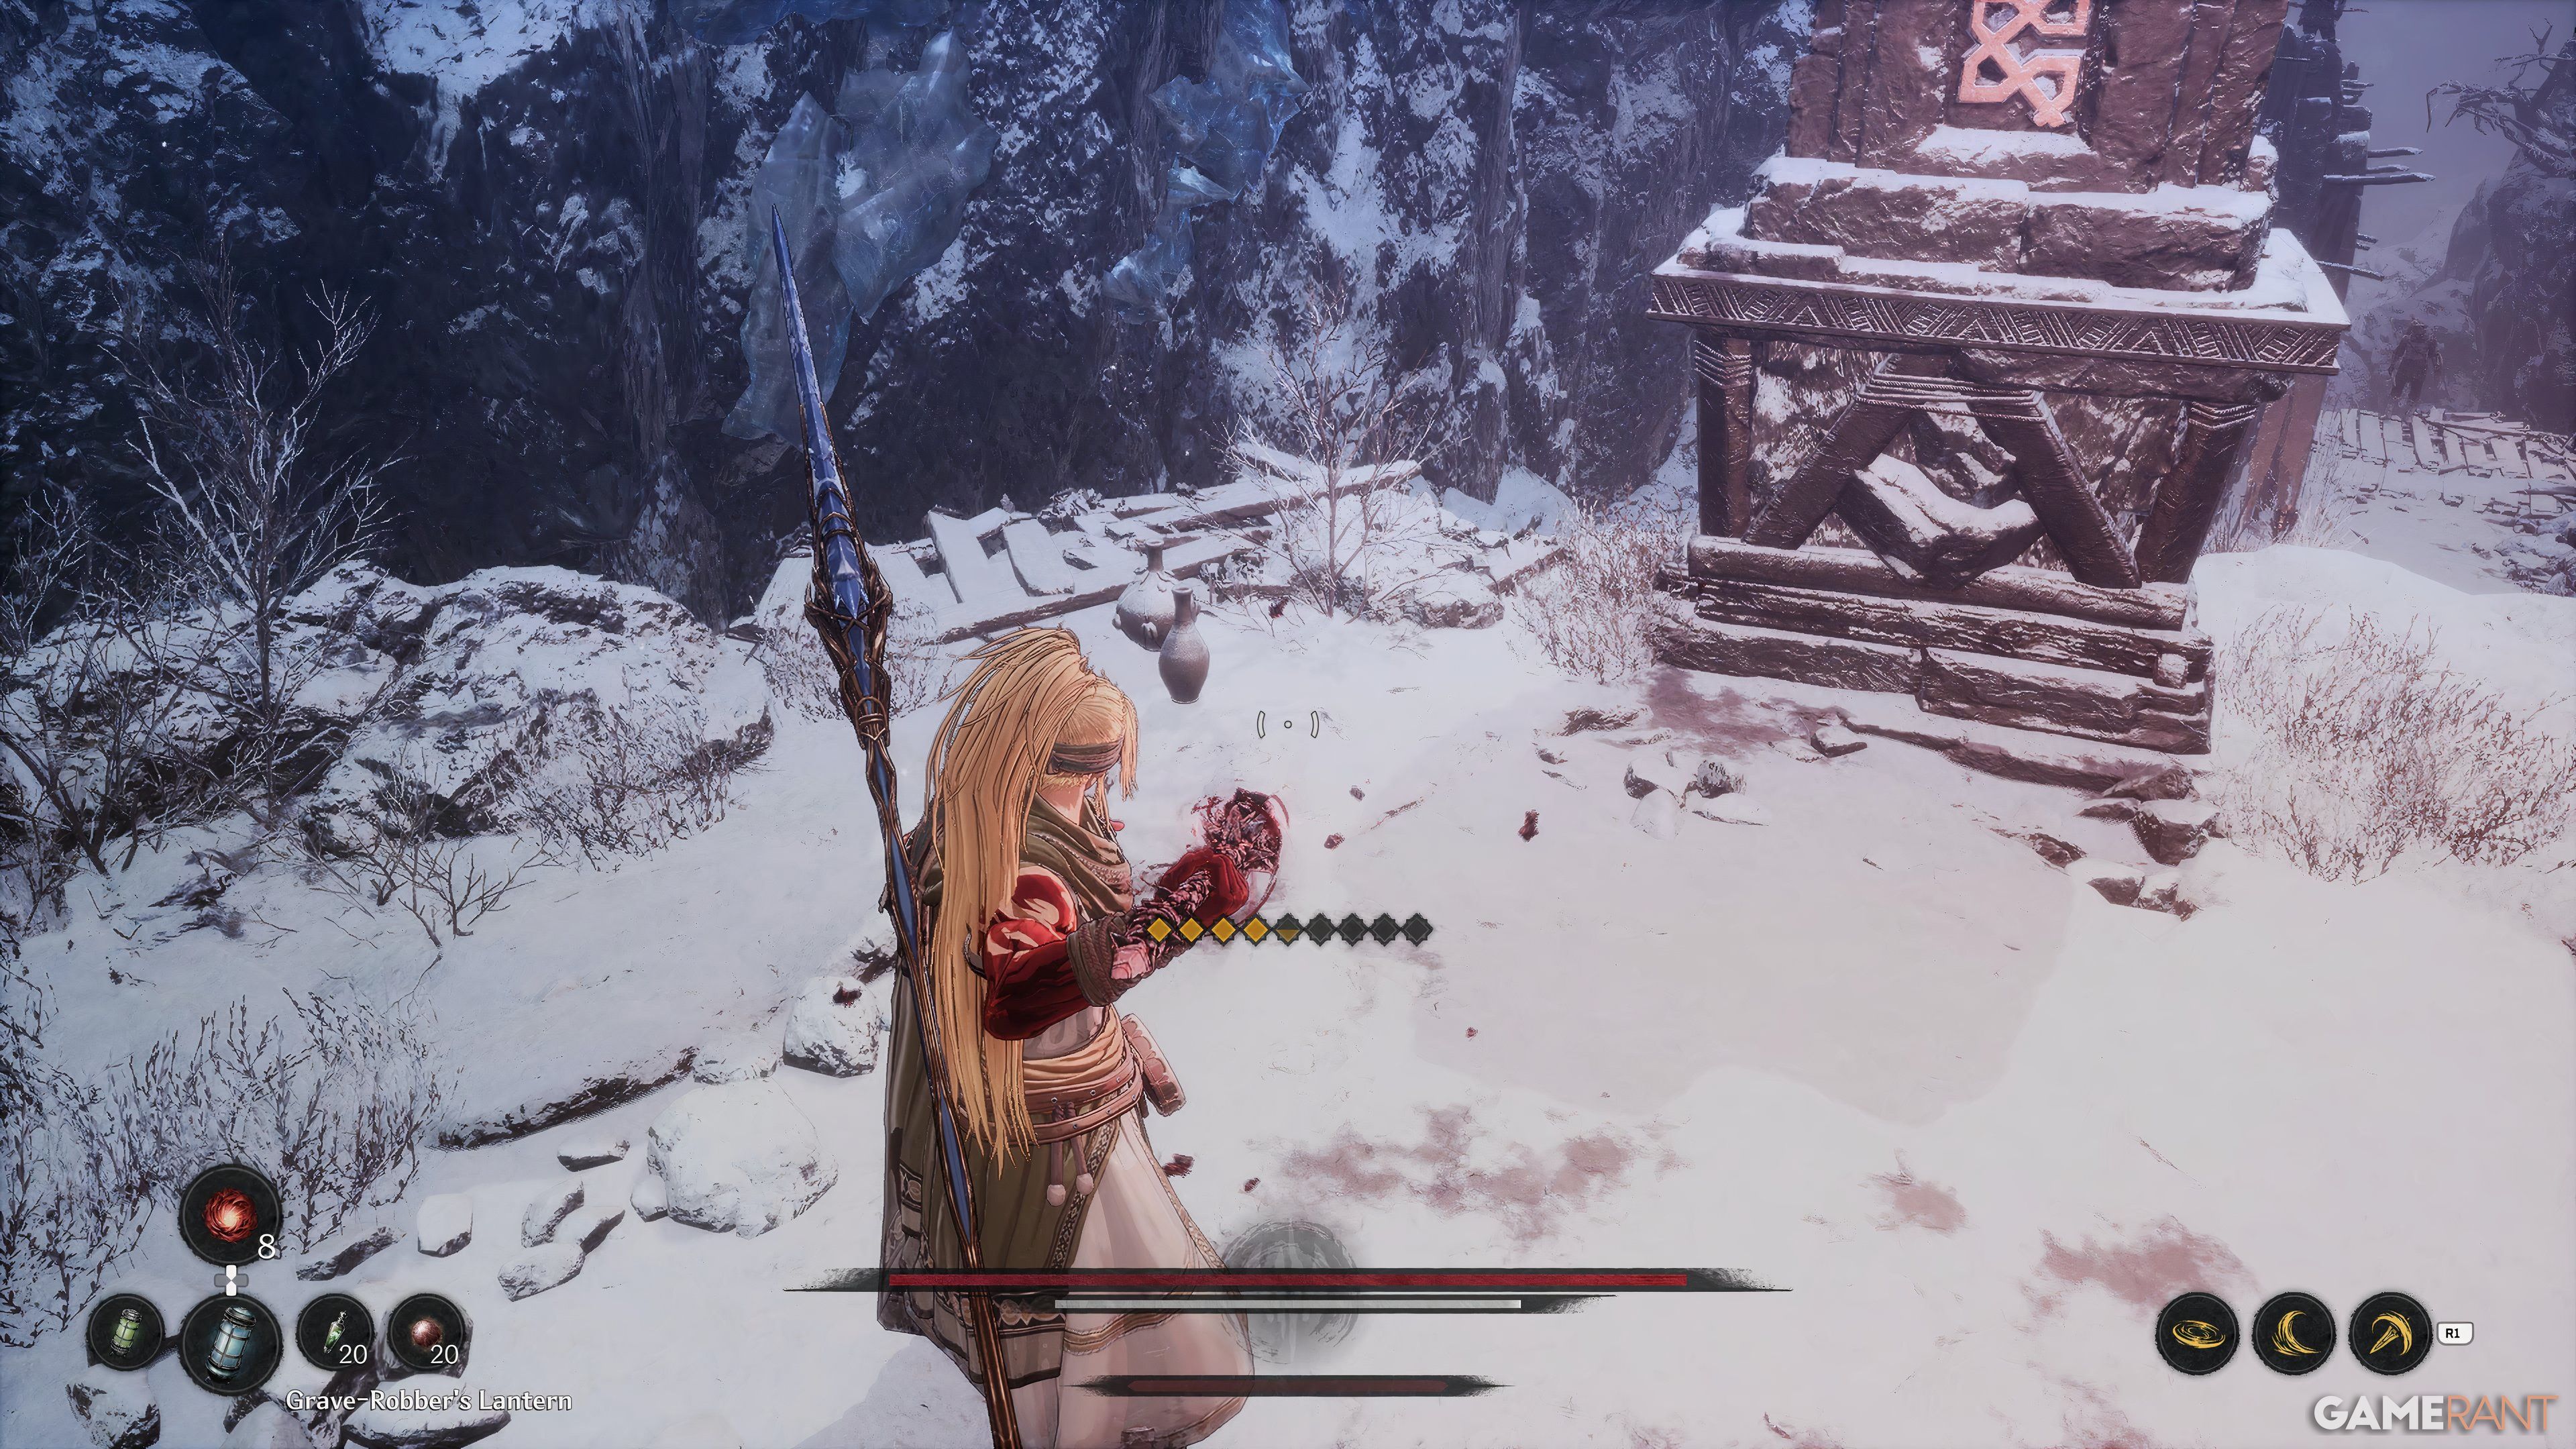
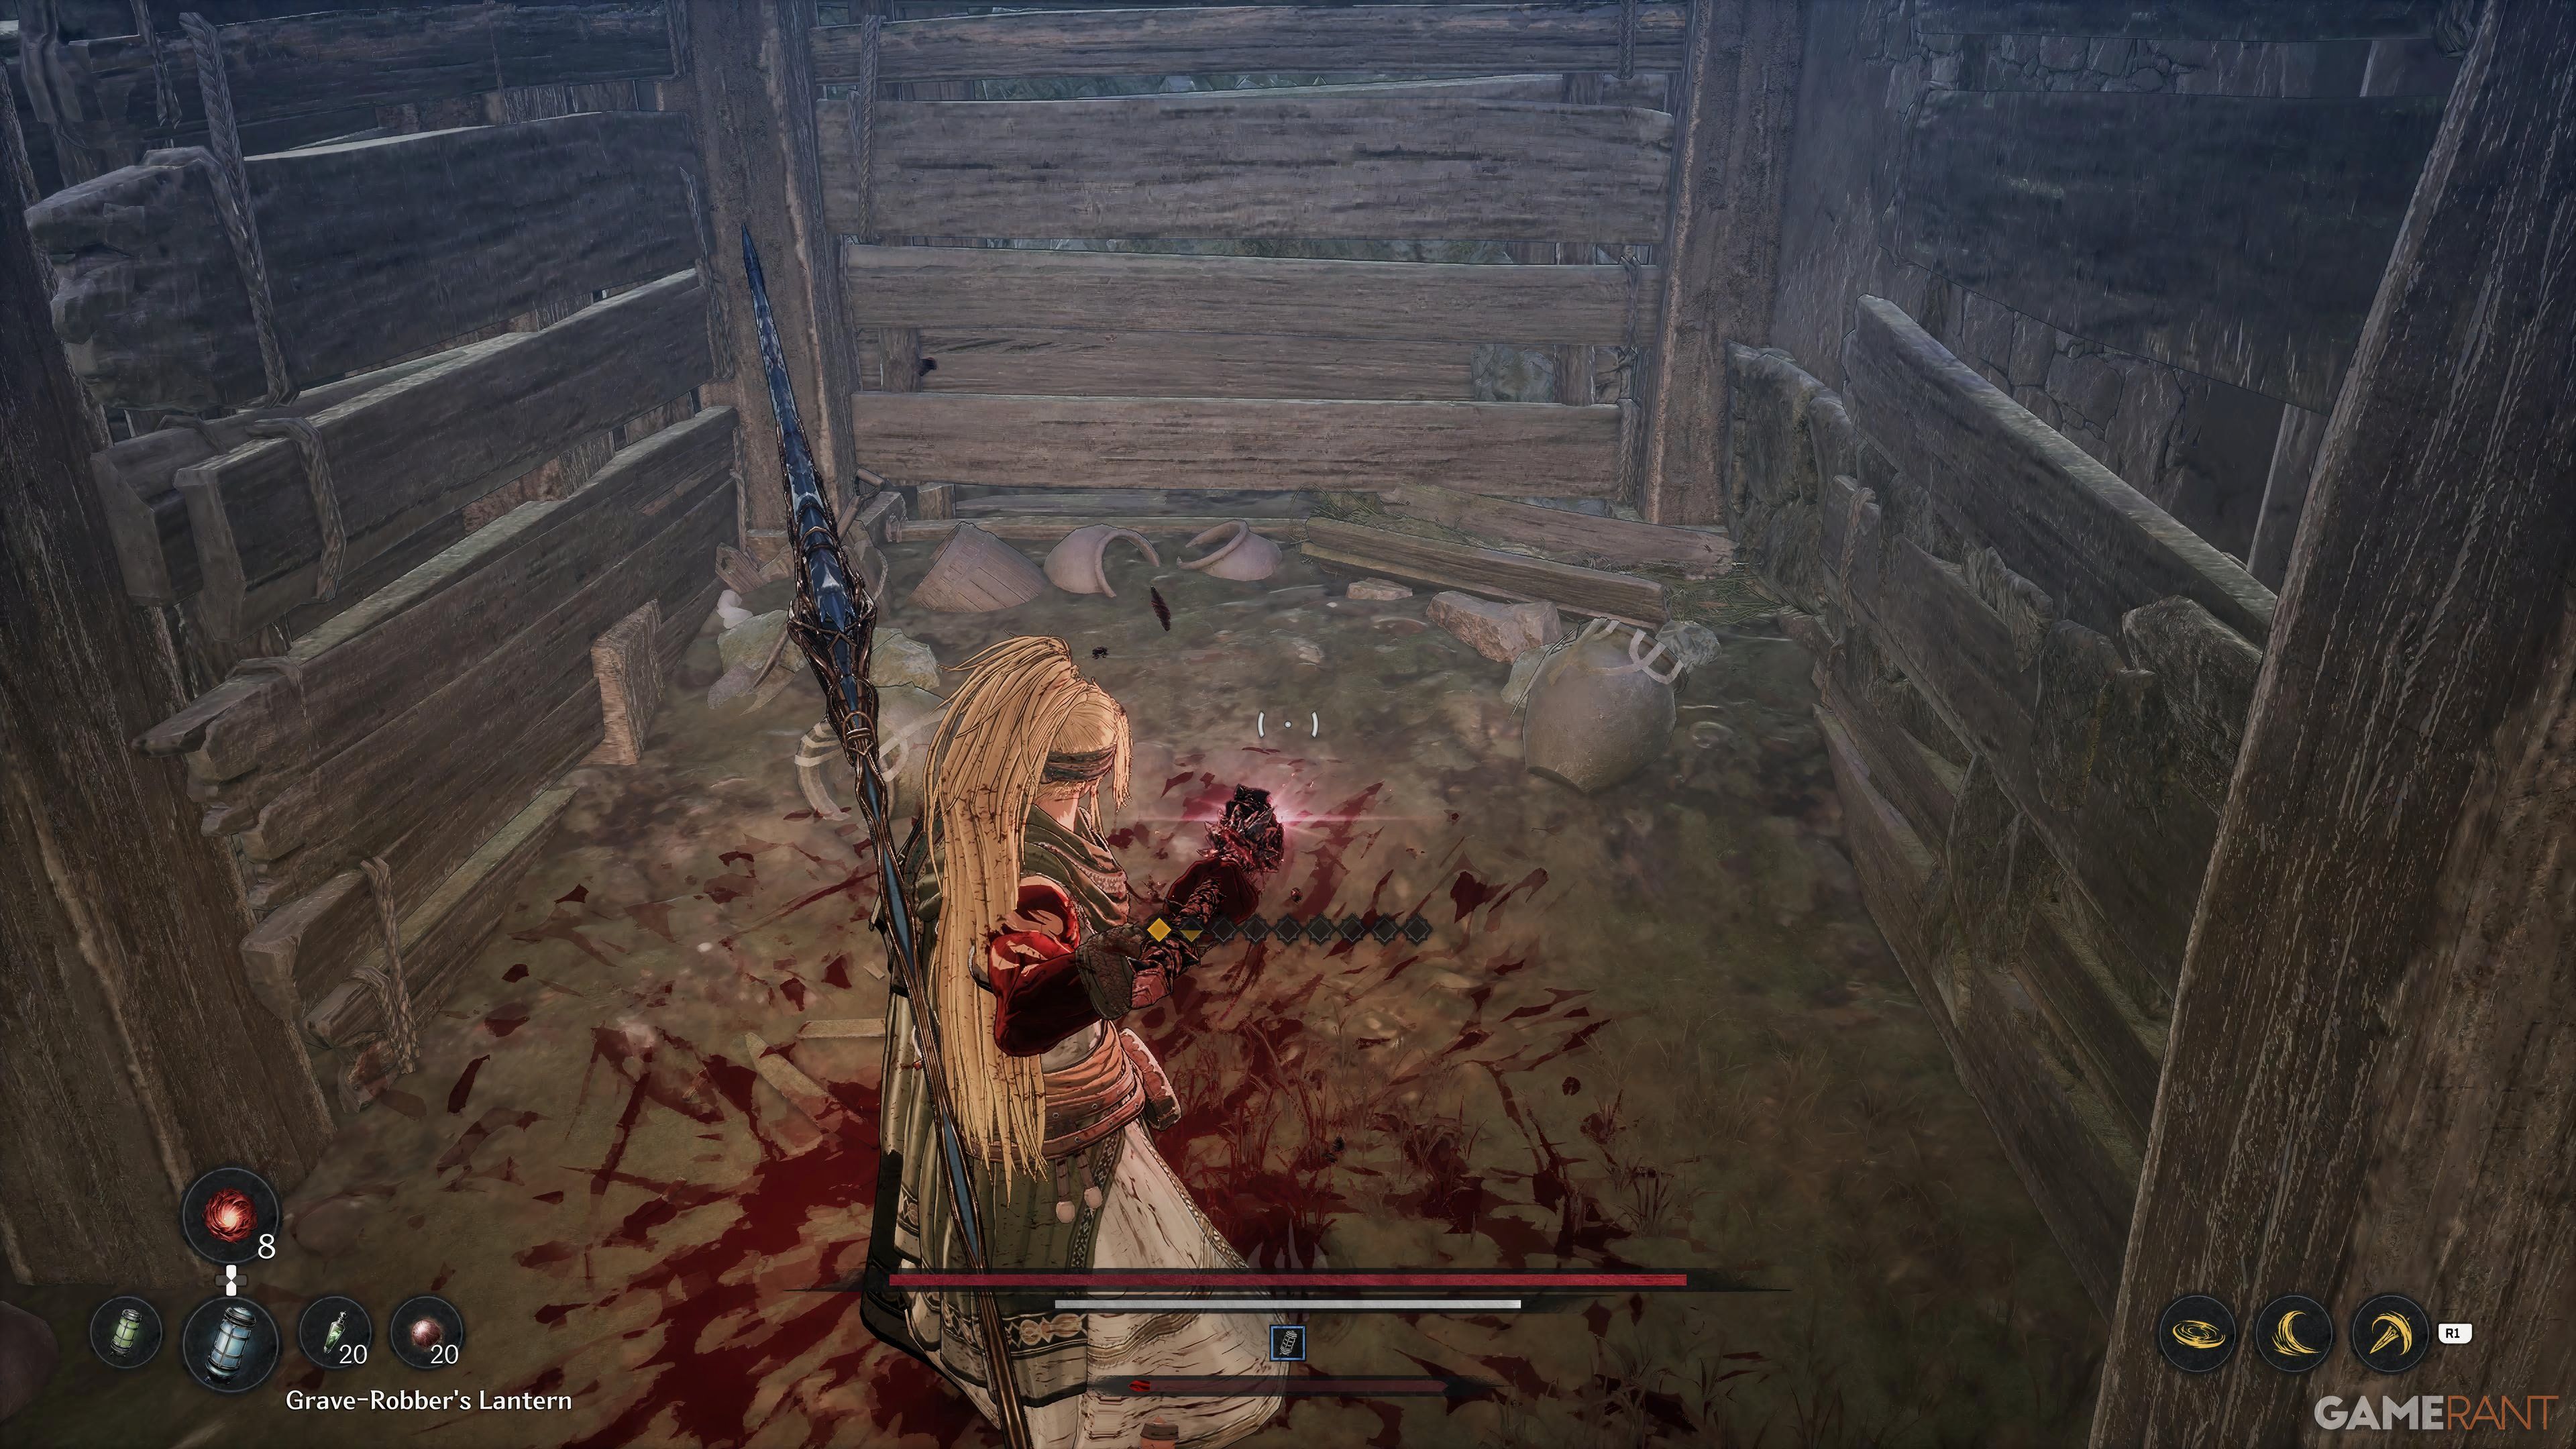
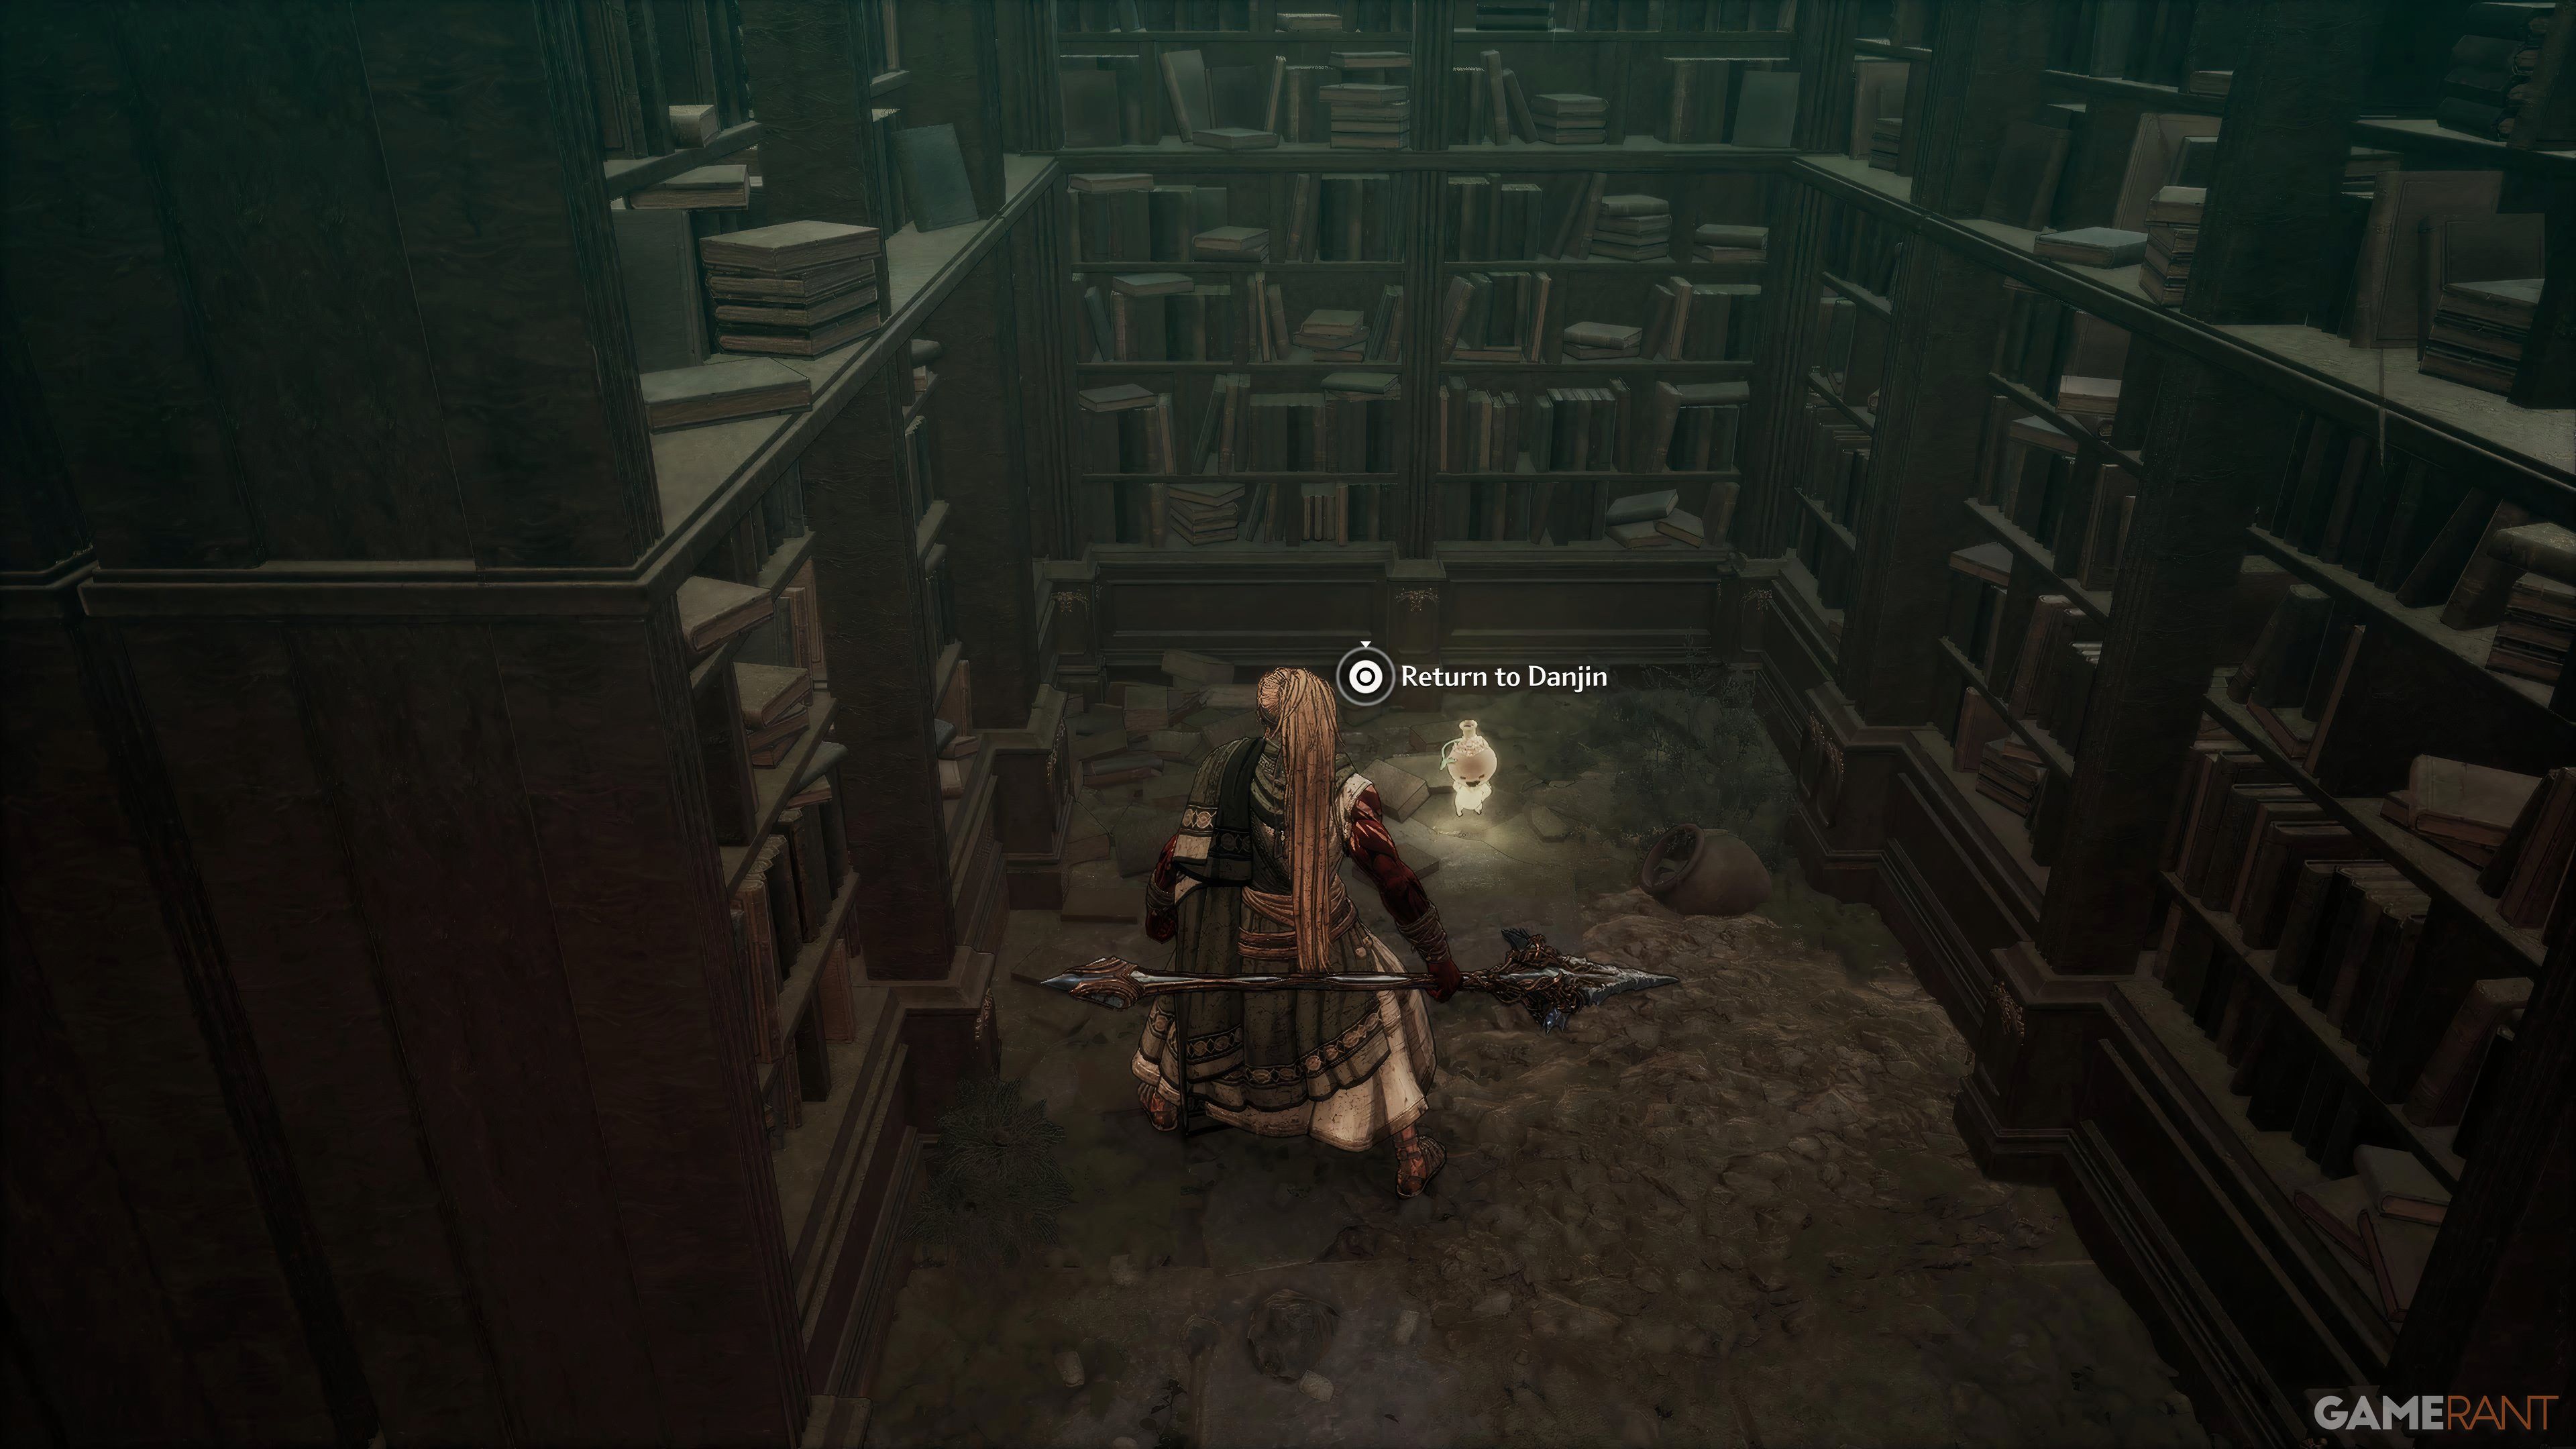
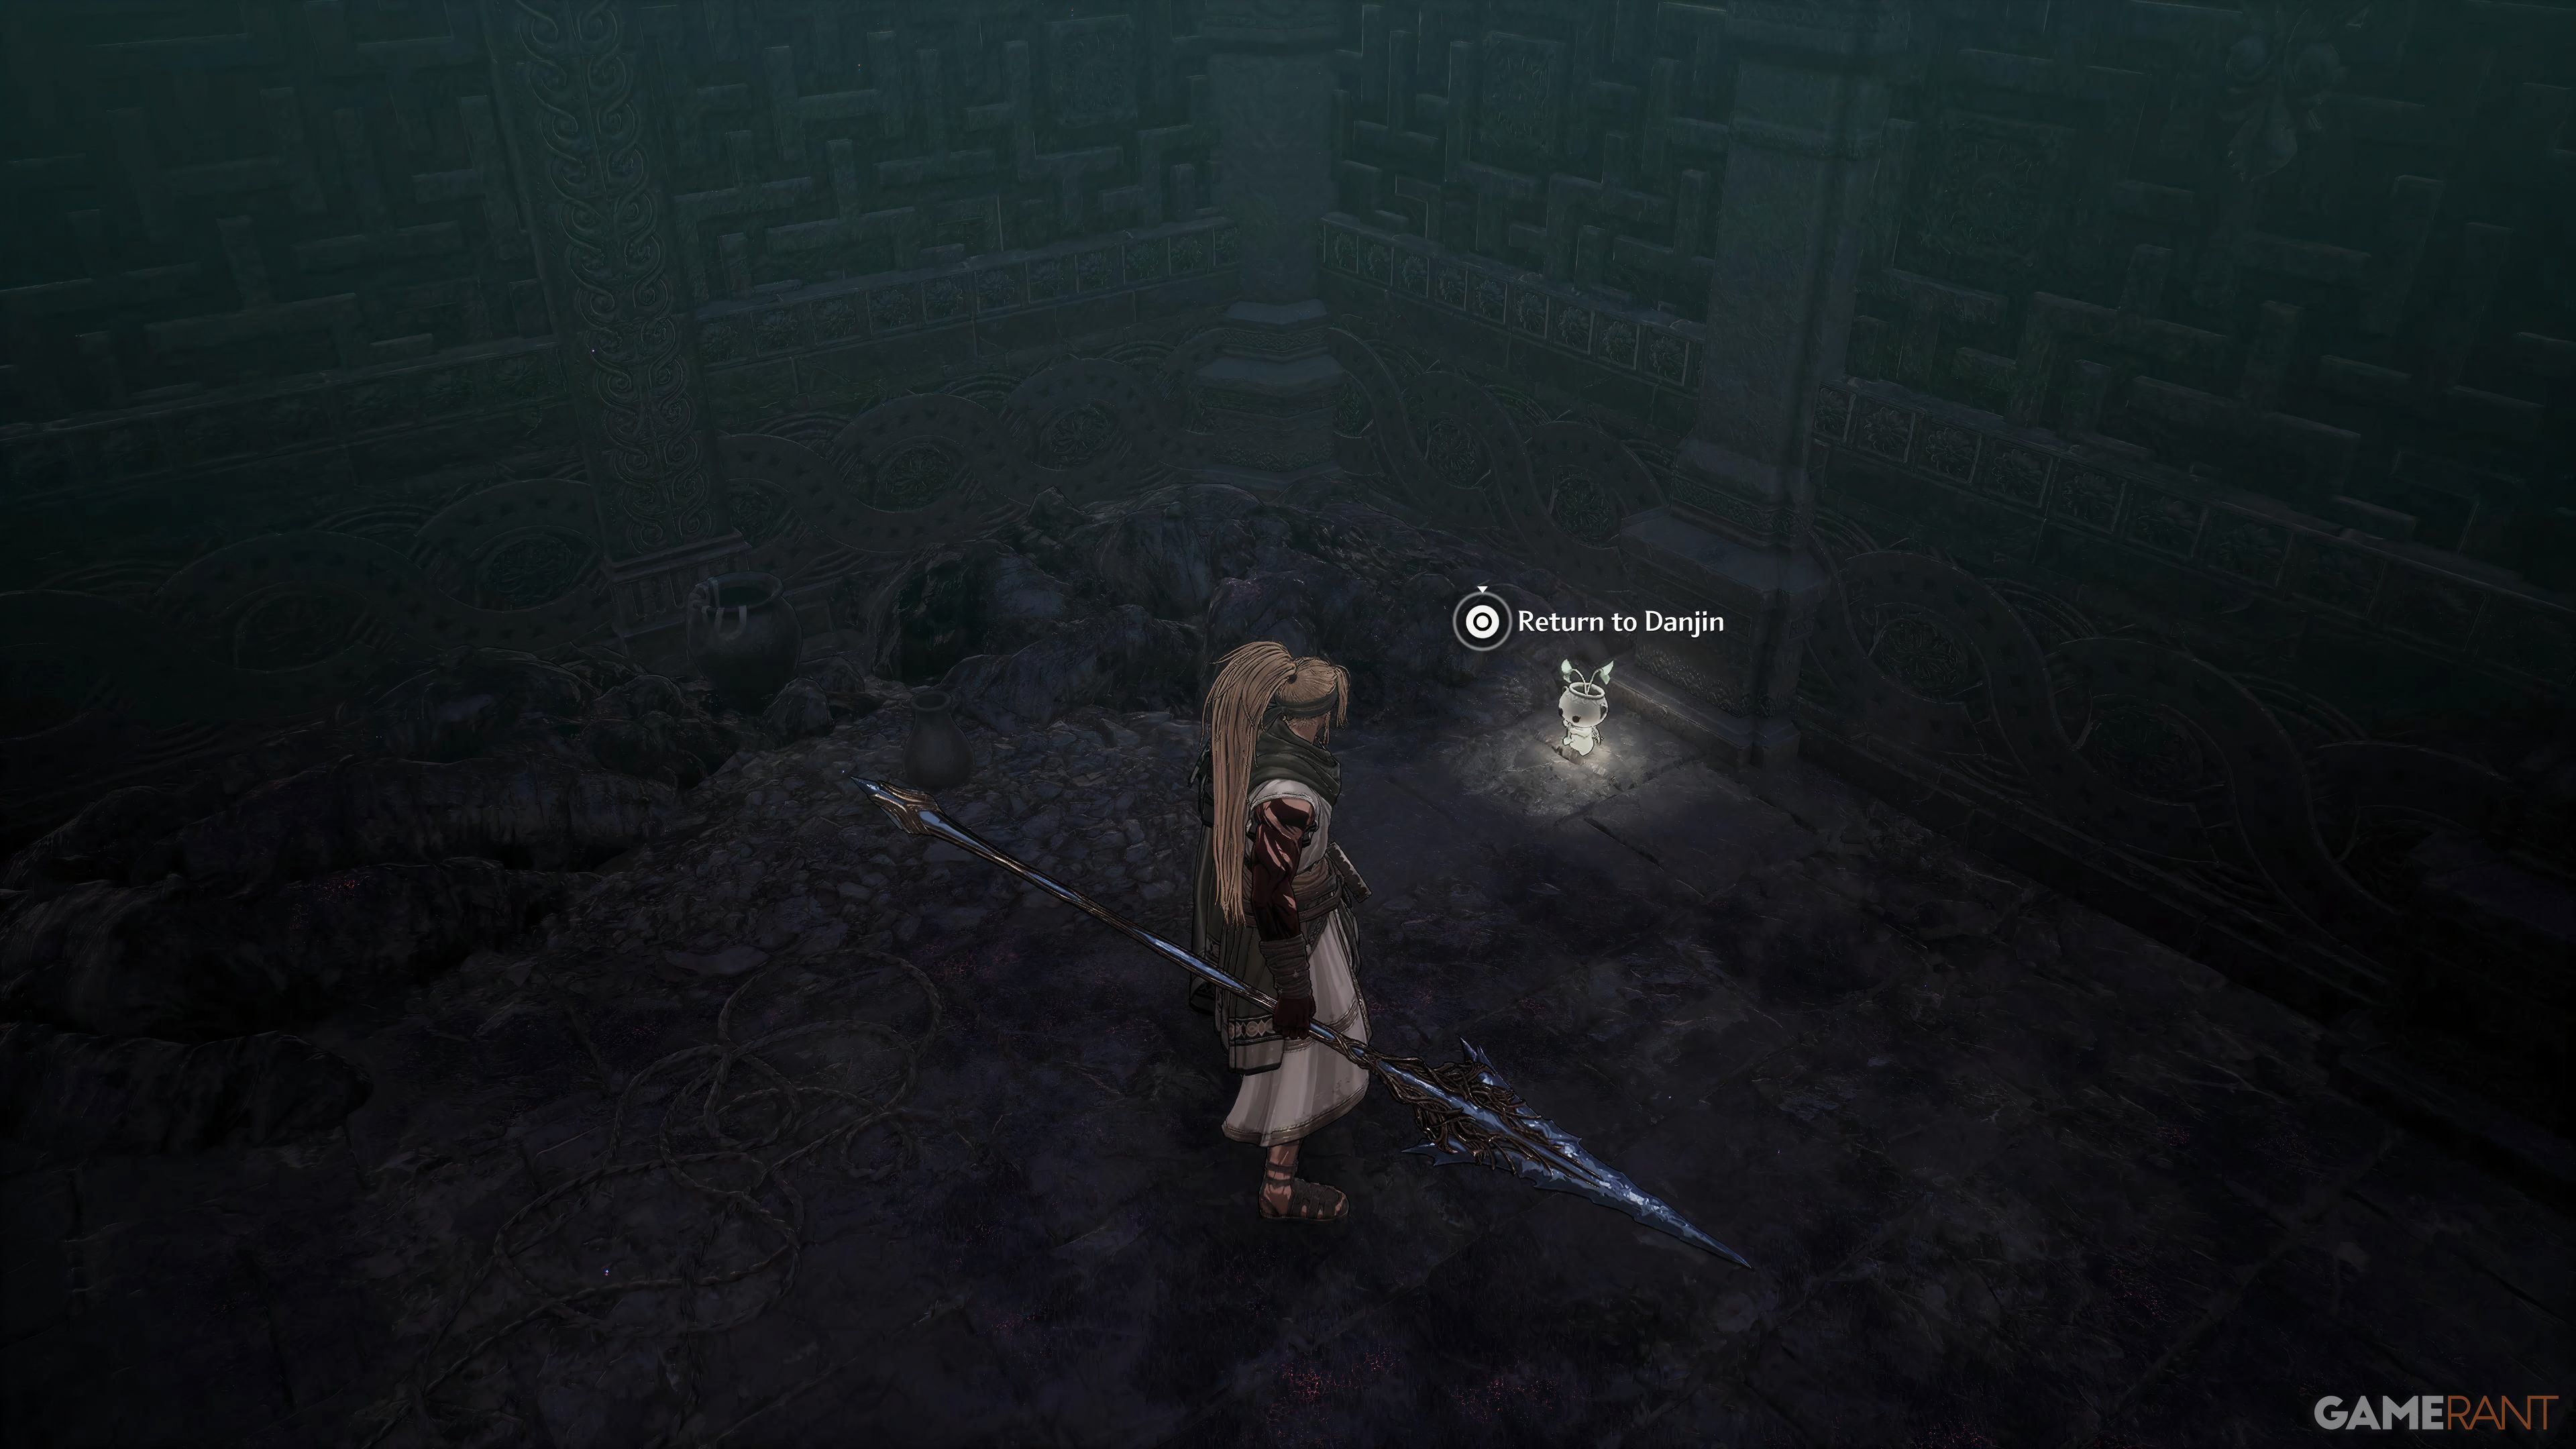
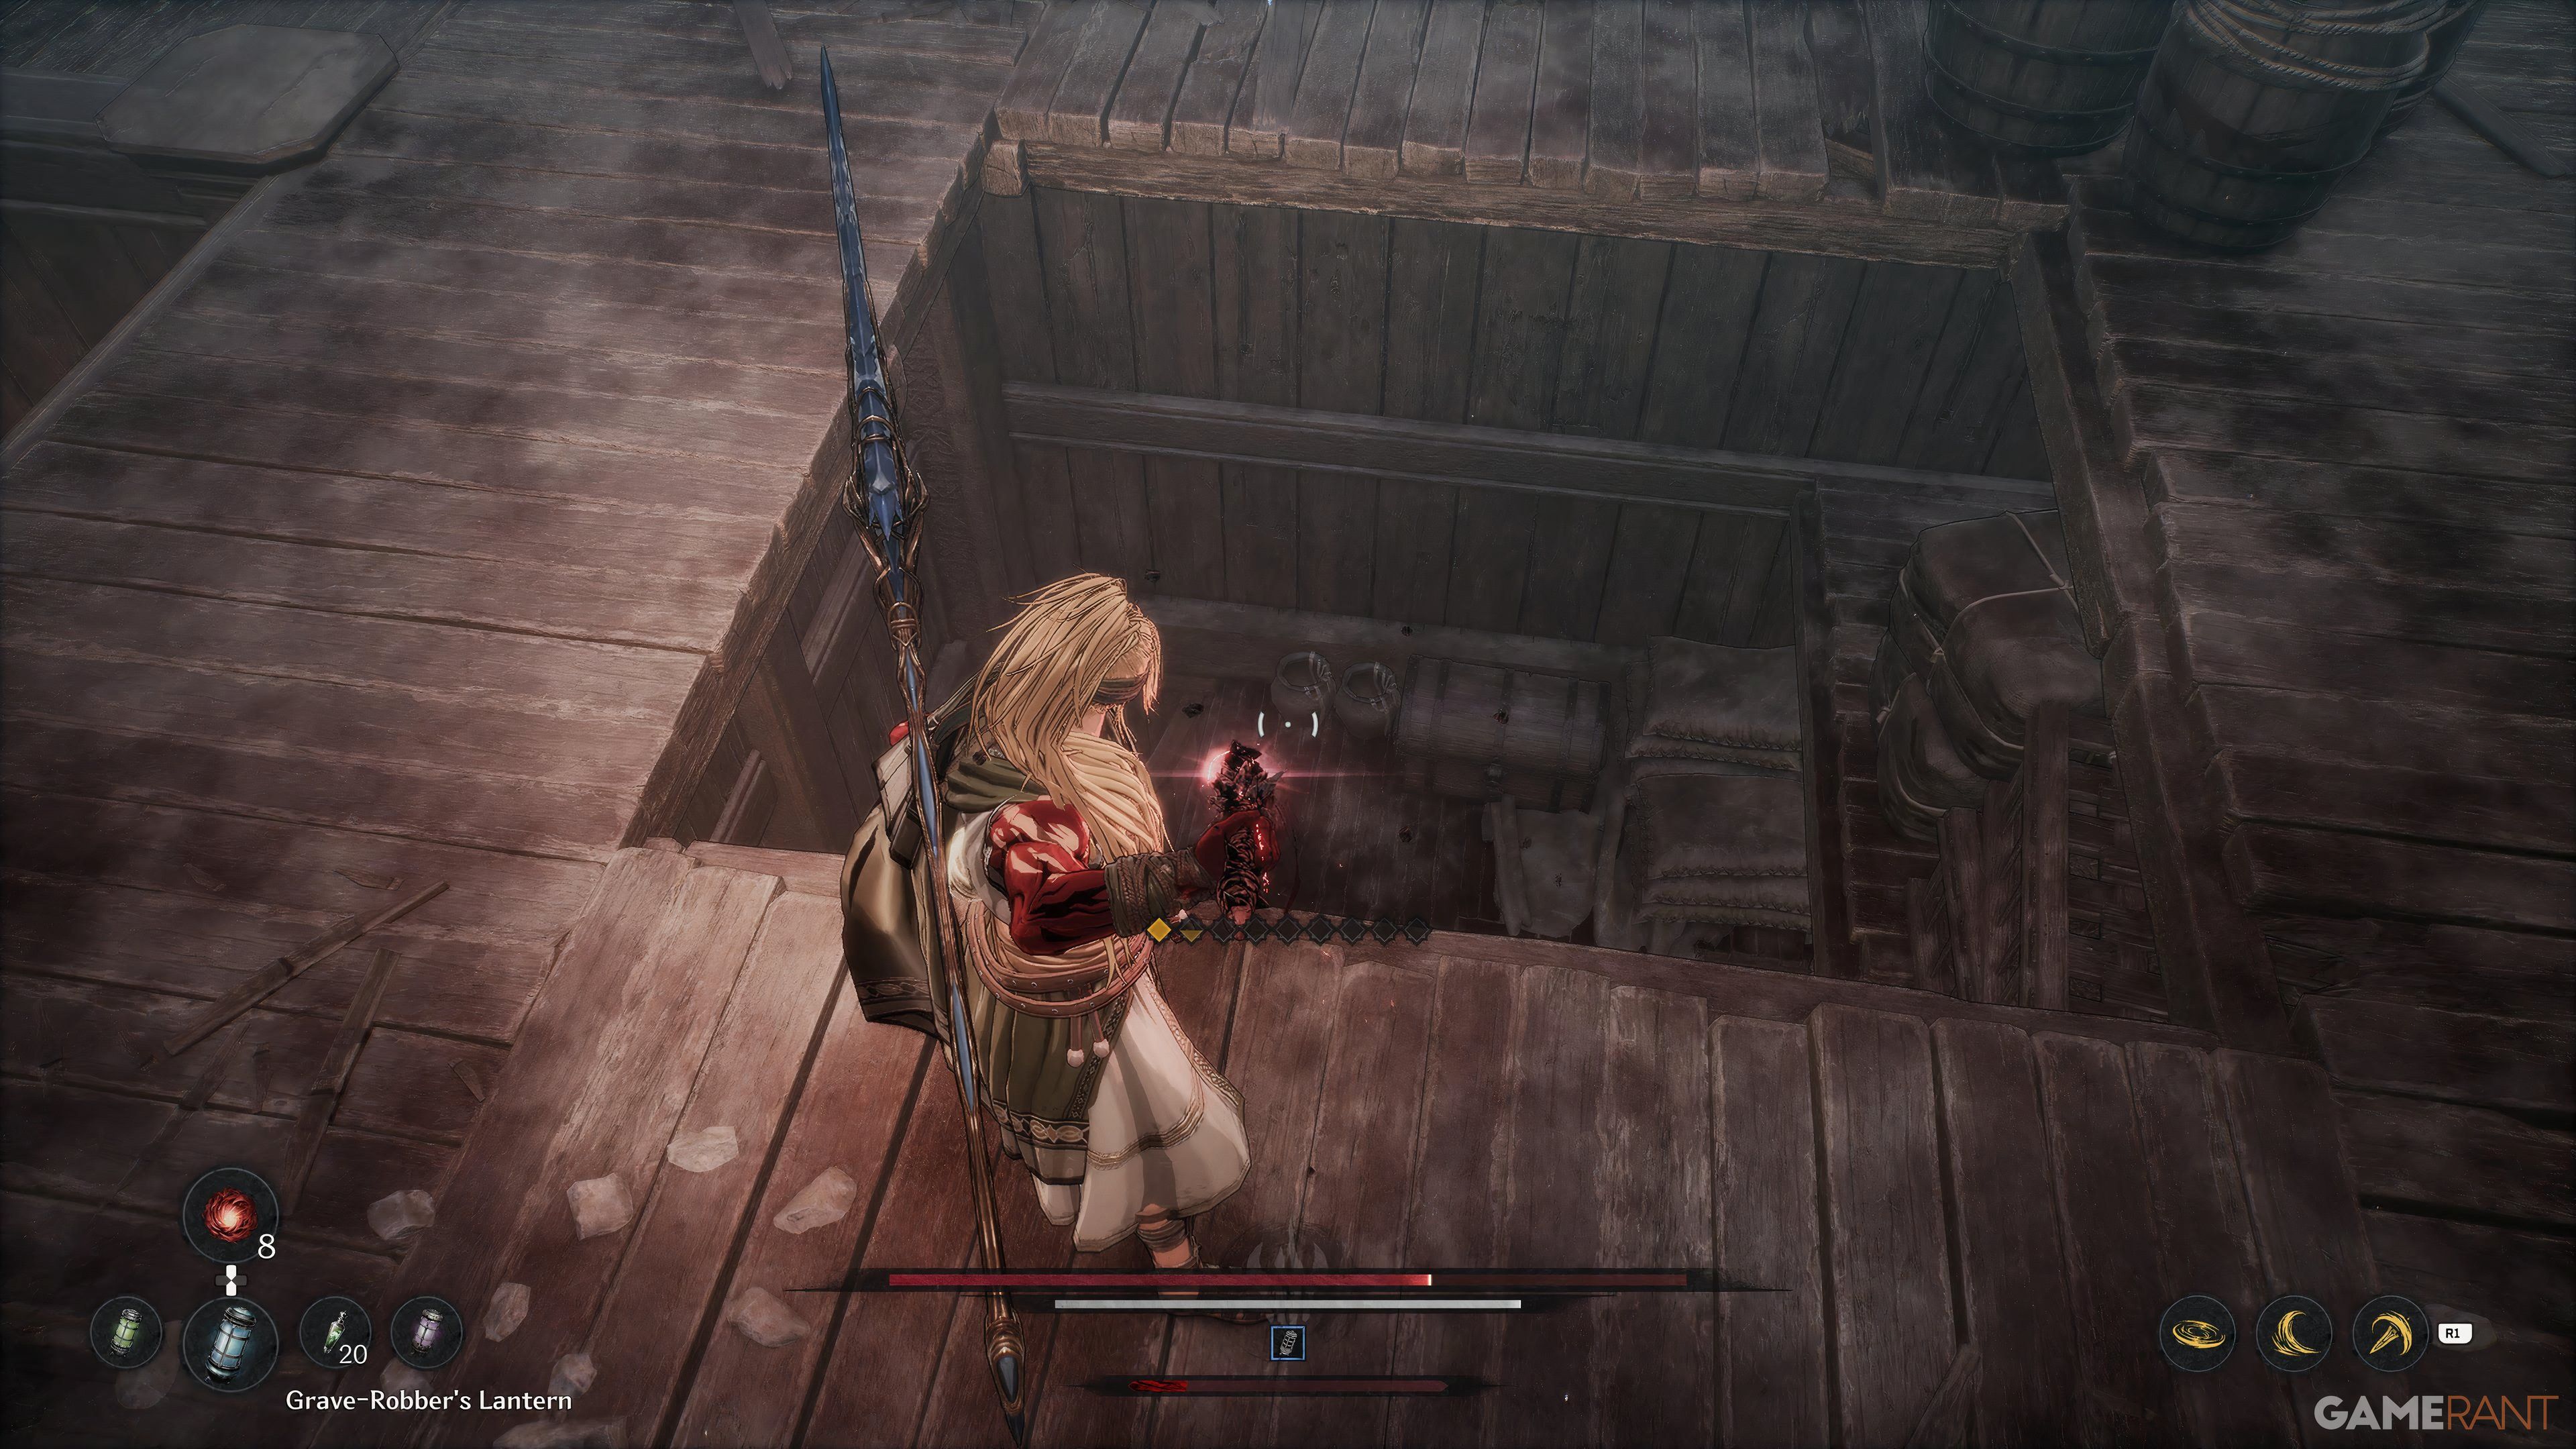
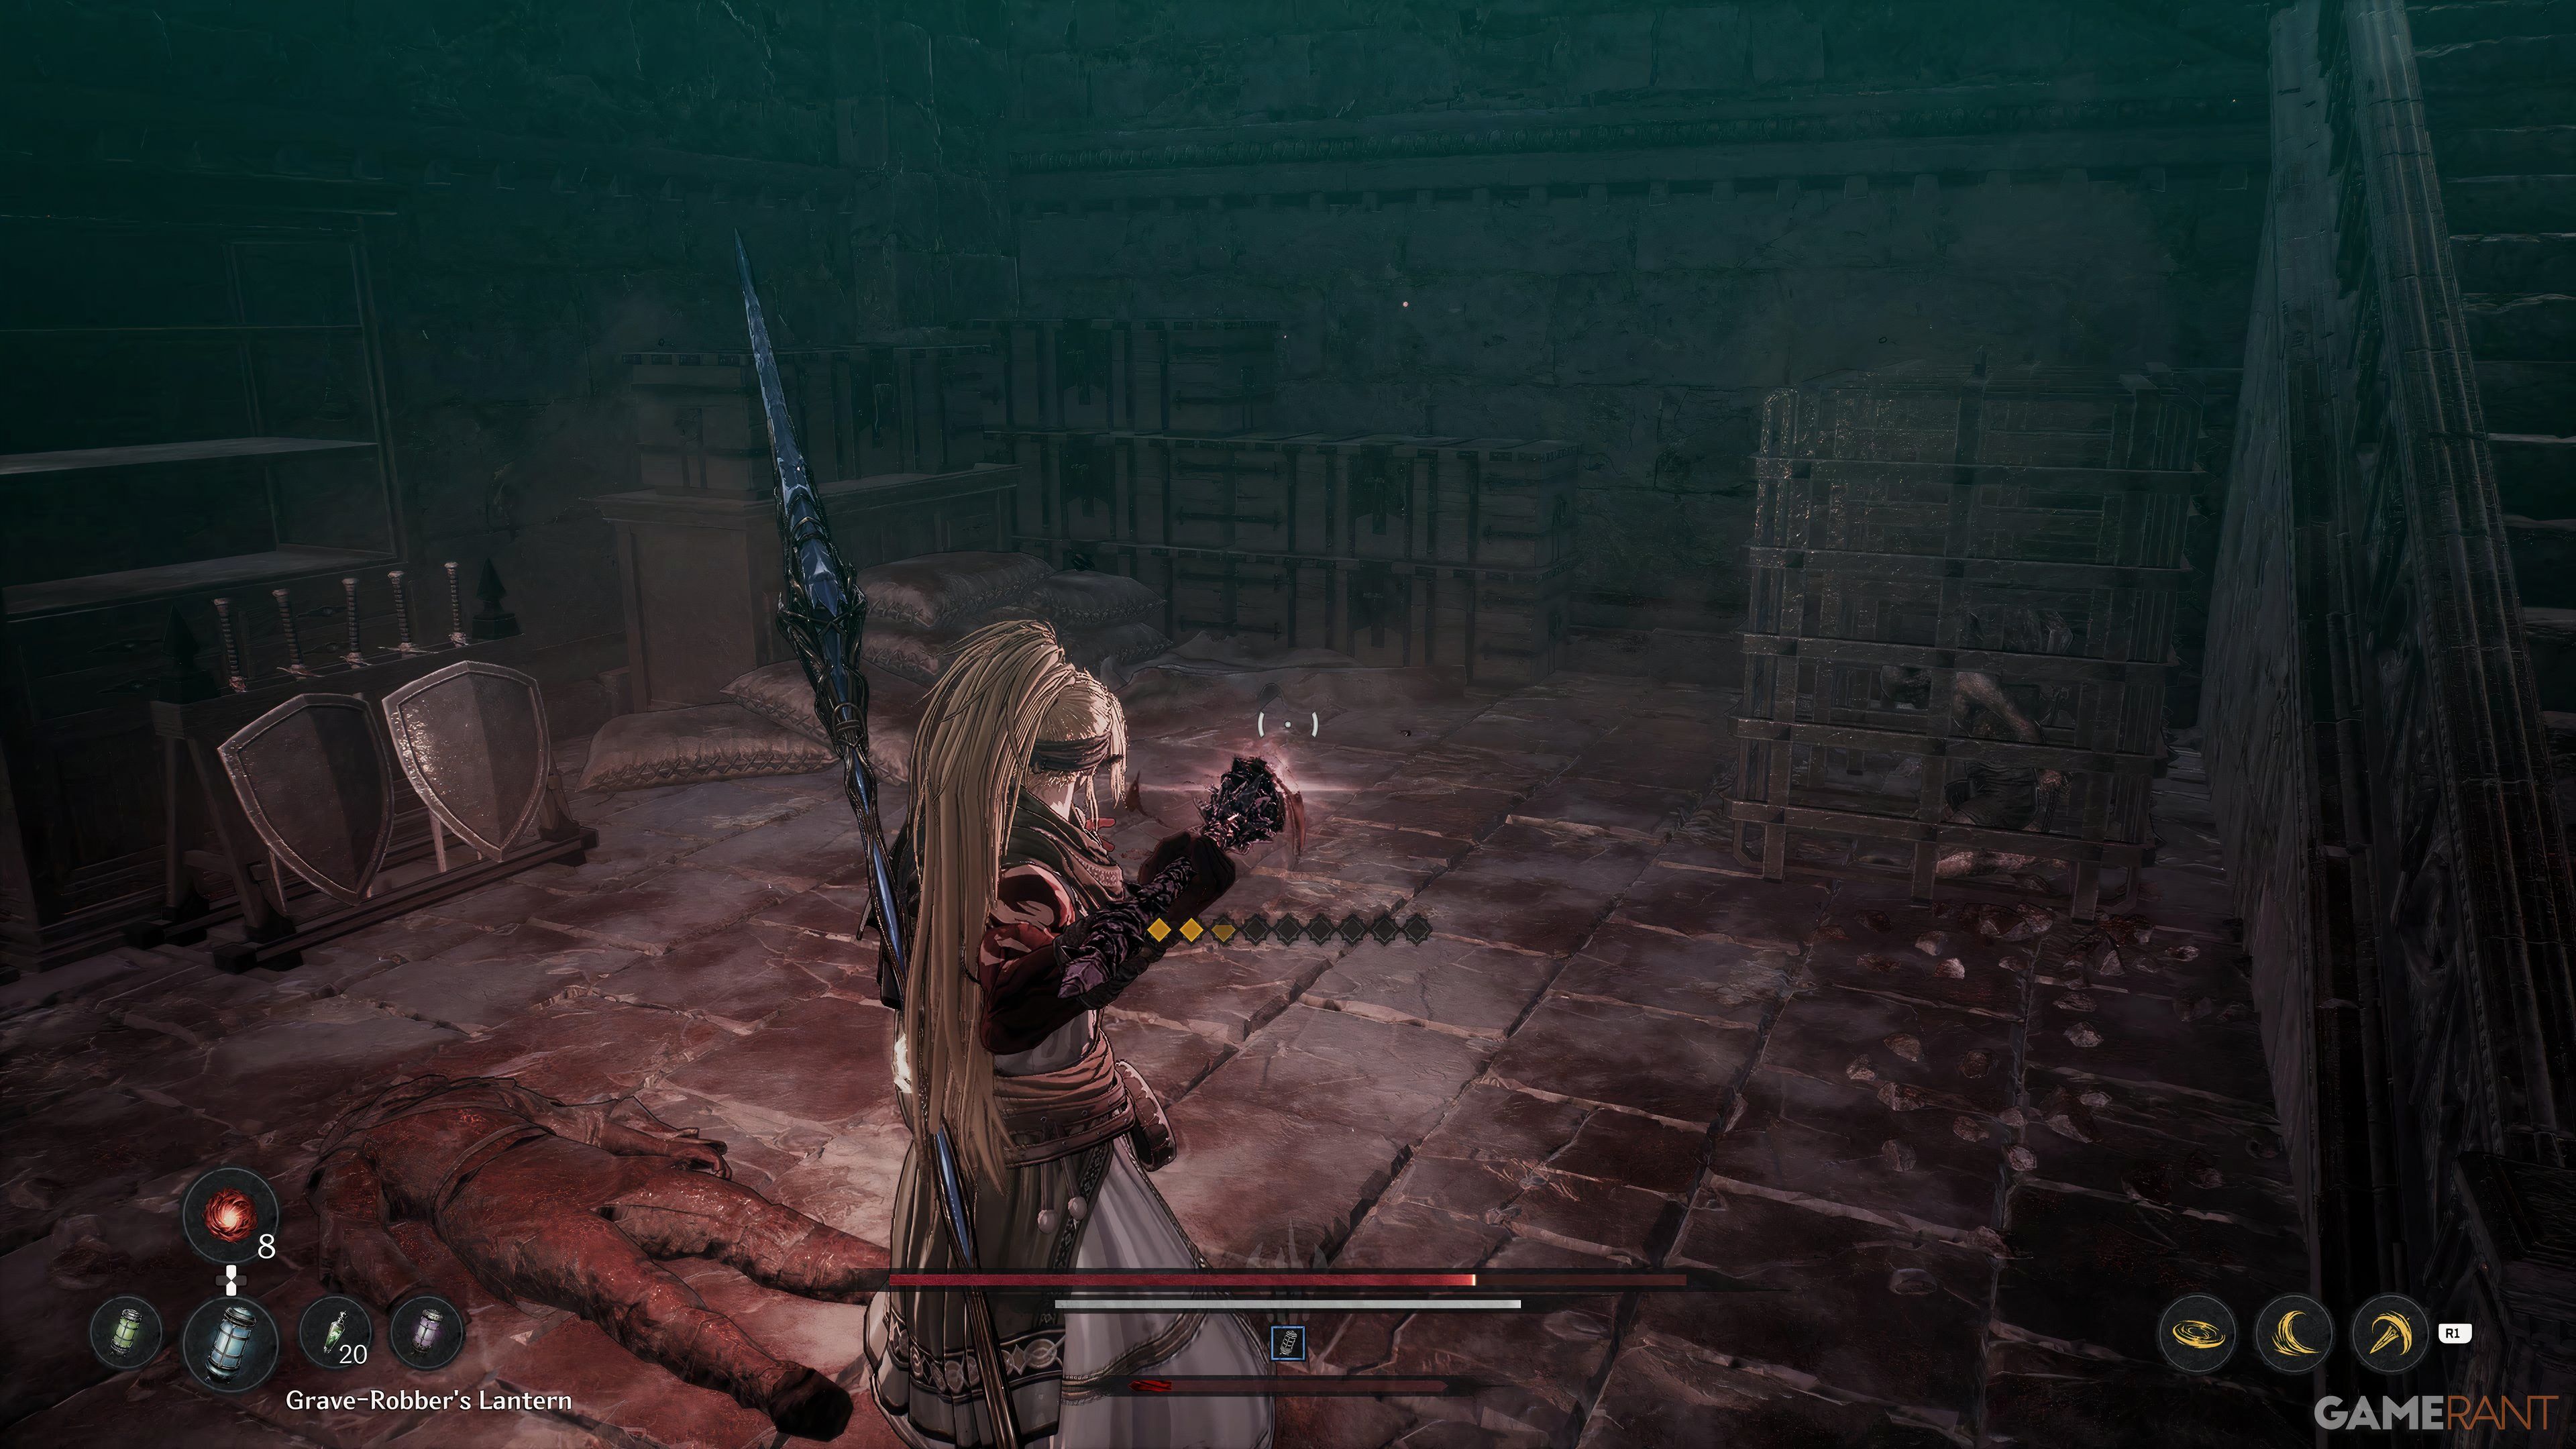
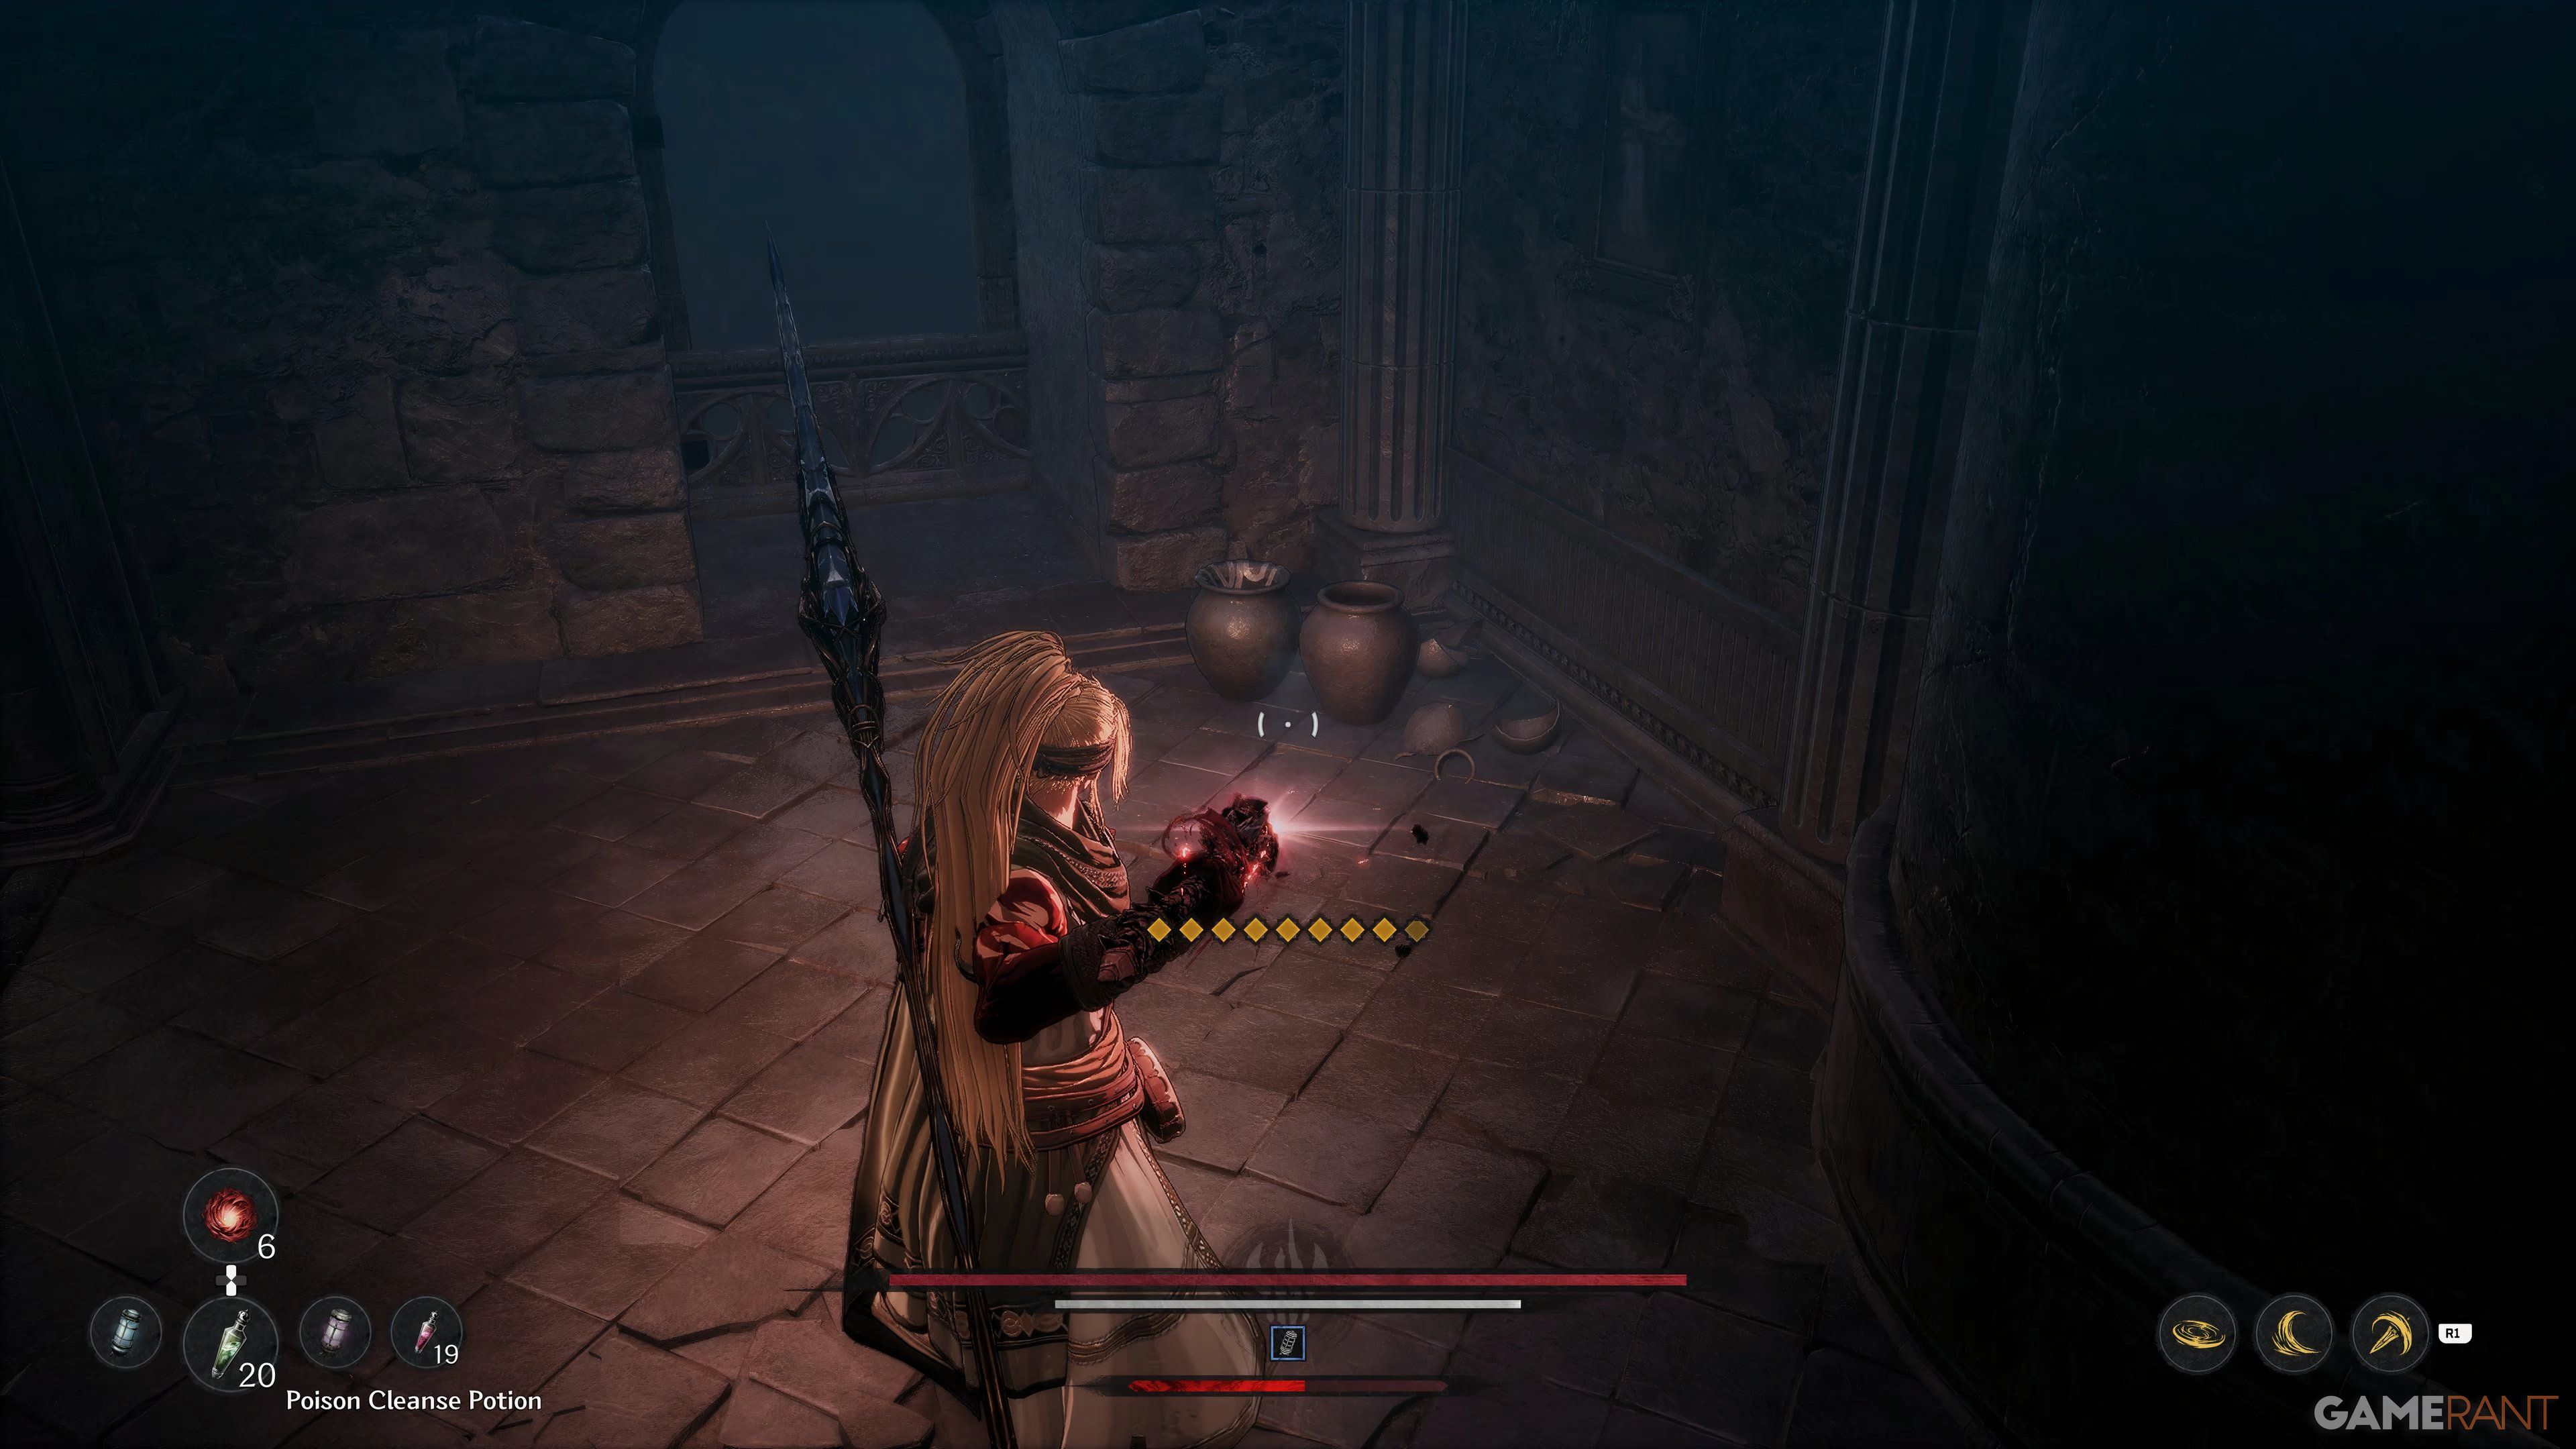
These tiny spirits emit a soft tinkling sound when you’re close, making it easier to find them. Typically, they conceal themselves within jars or vases that need to be shattered in order to communicate with them. Players have the option of acquiring Danjin’s Grave-Robber’s Lantern, an item that assists in locating treasure chests and collectible items such as Jarlings. This guide provides the exact location for every Jarling found in the game “The First Berserker: Khazan”.
Collecting all the Jarlings unlocks the Jar Enthusiast Trophy/Achievement.
All Jarling Locations in The First Berserker: Khazan
| # | Mission | Nearest Blade Nexus | Image | How to Find |
|---|---|---|---|---|
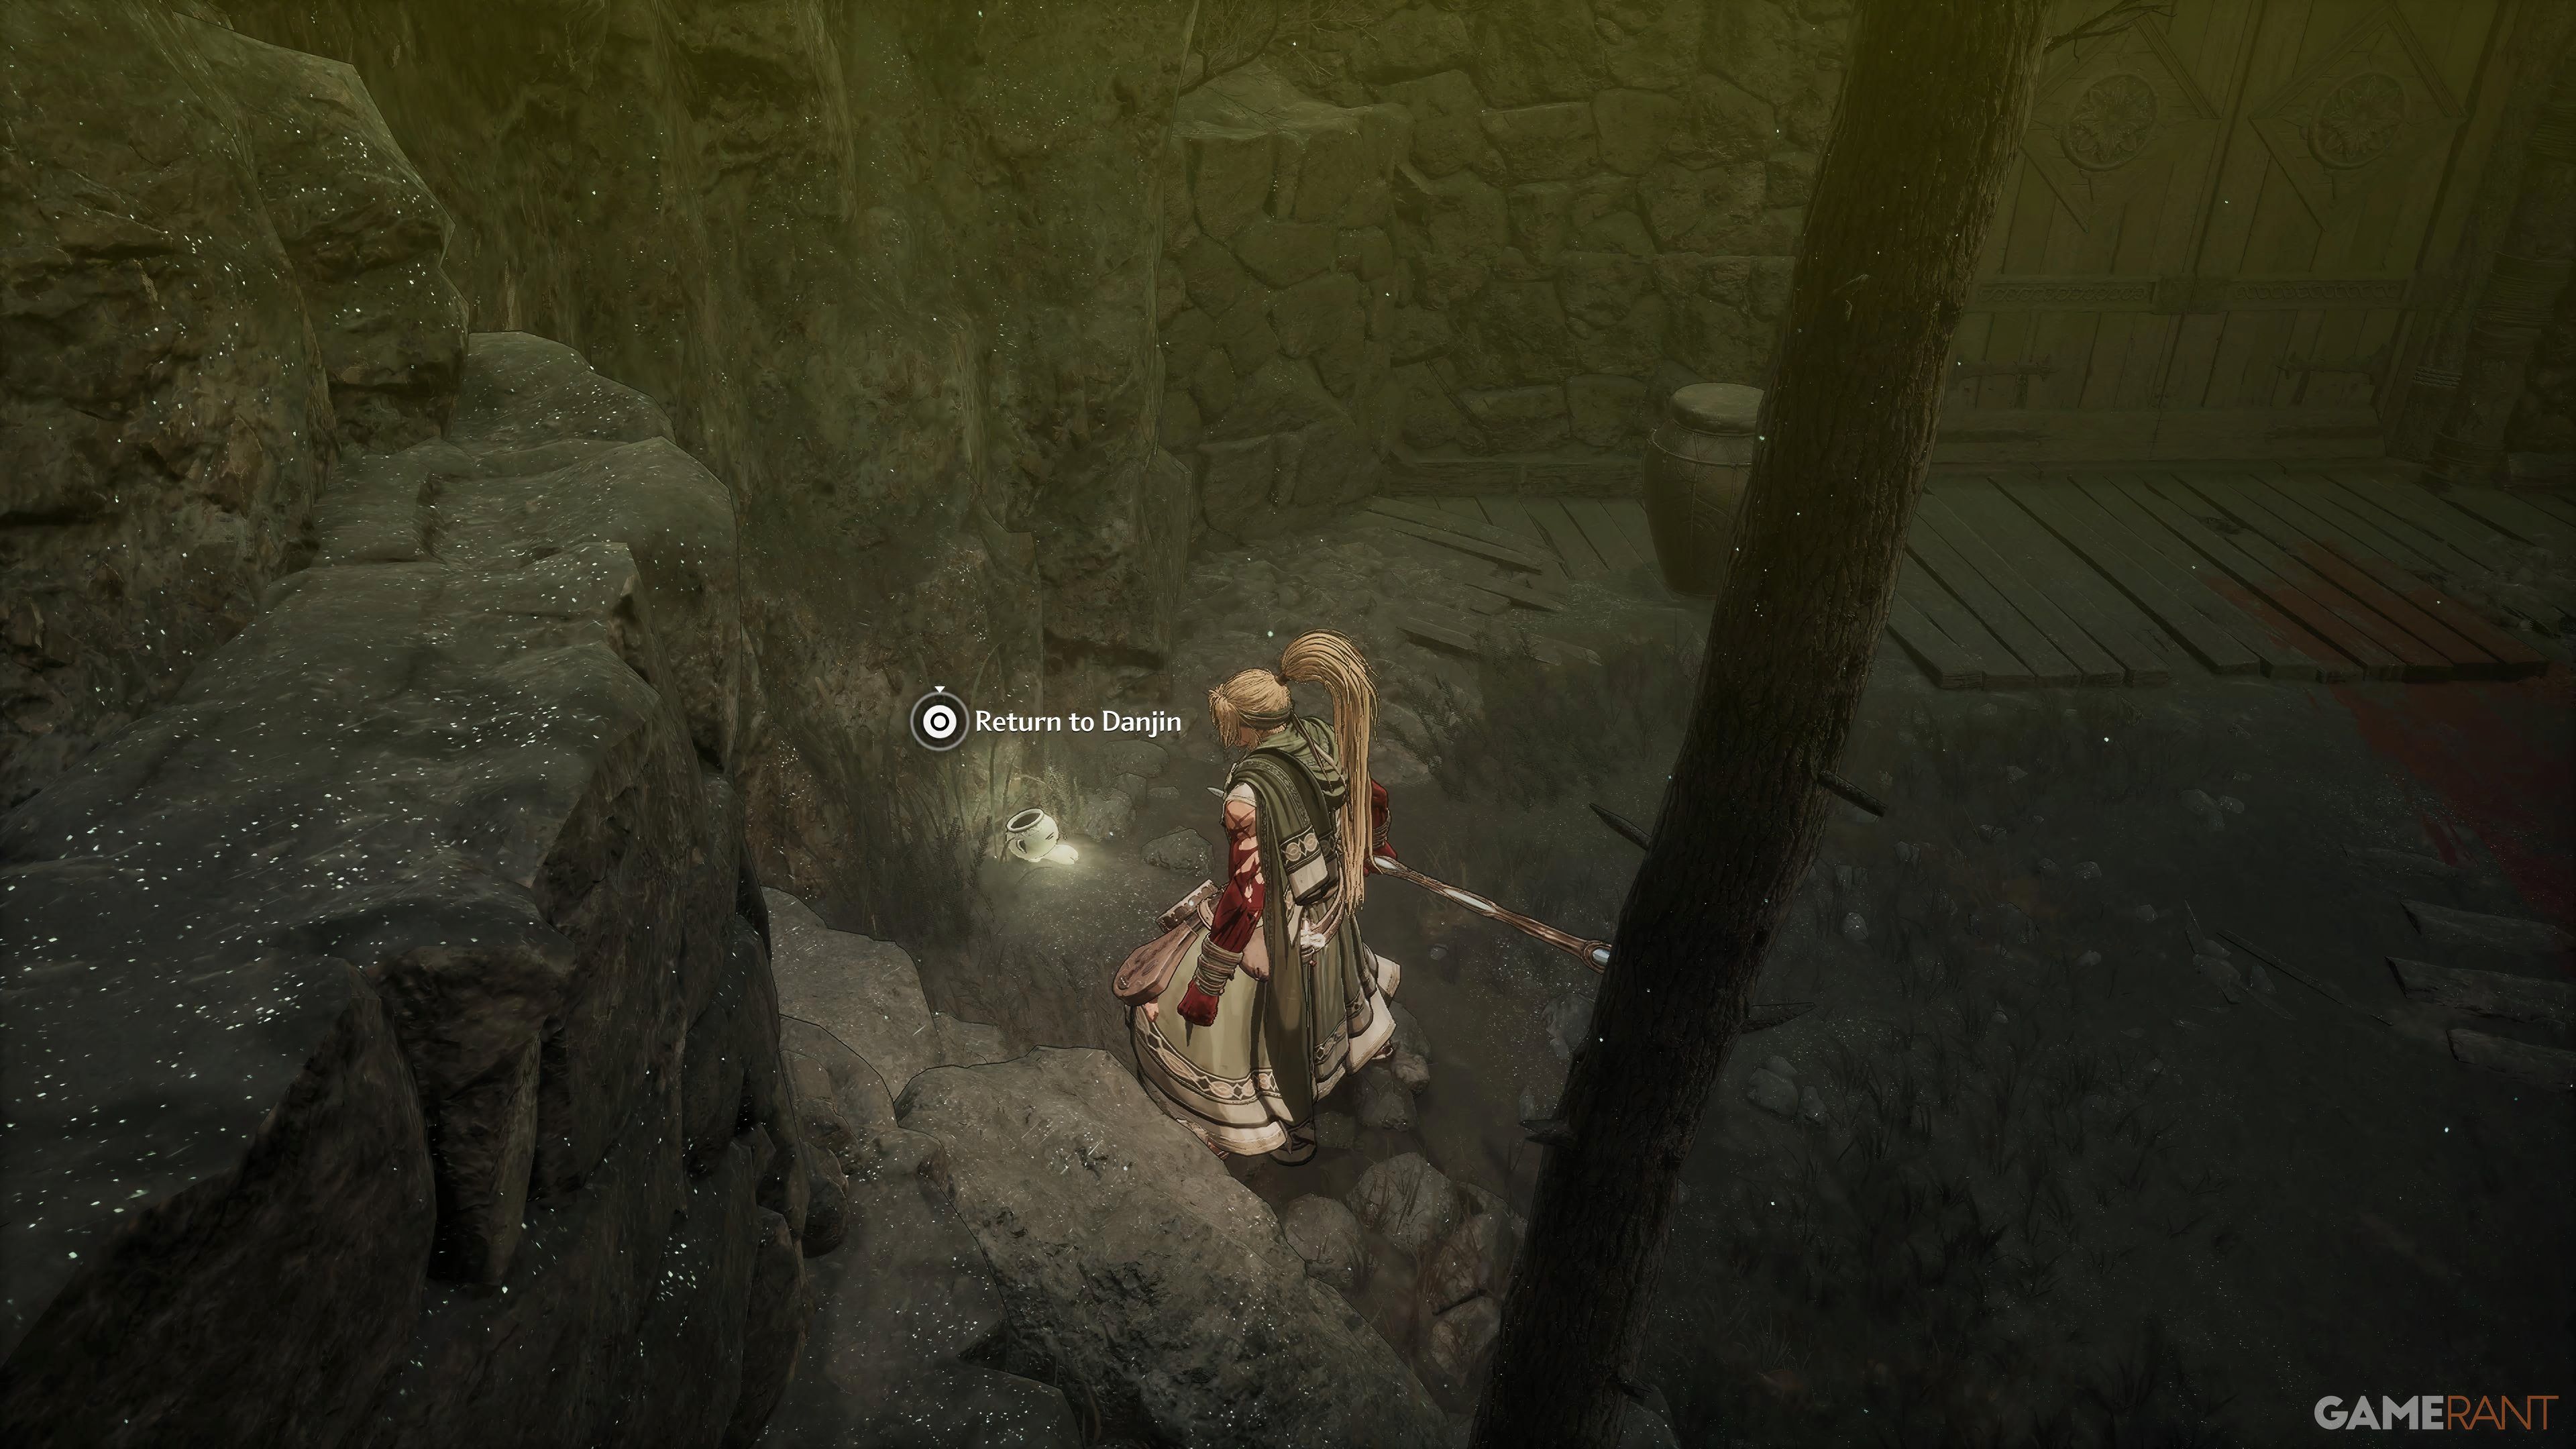
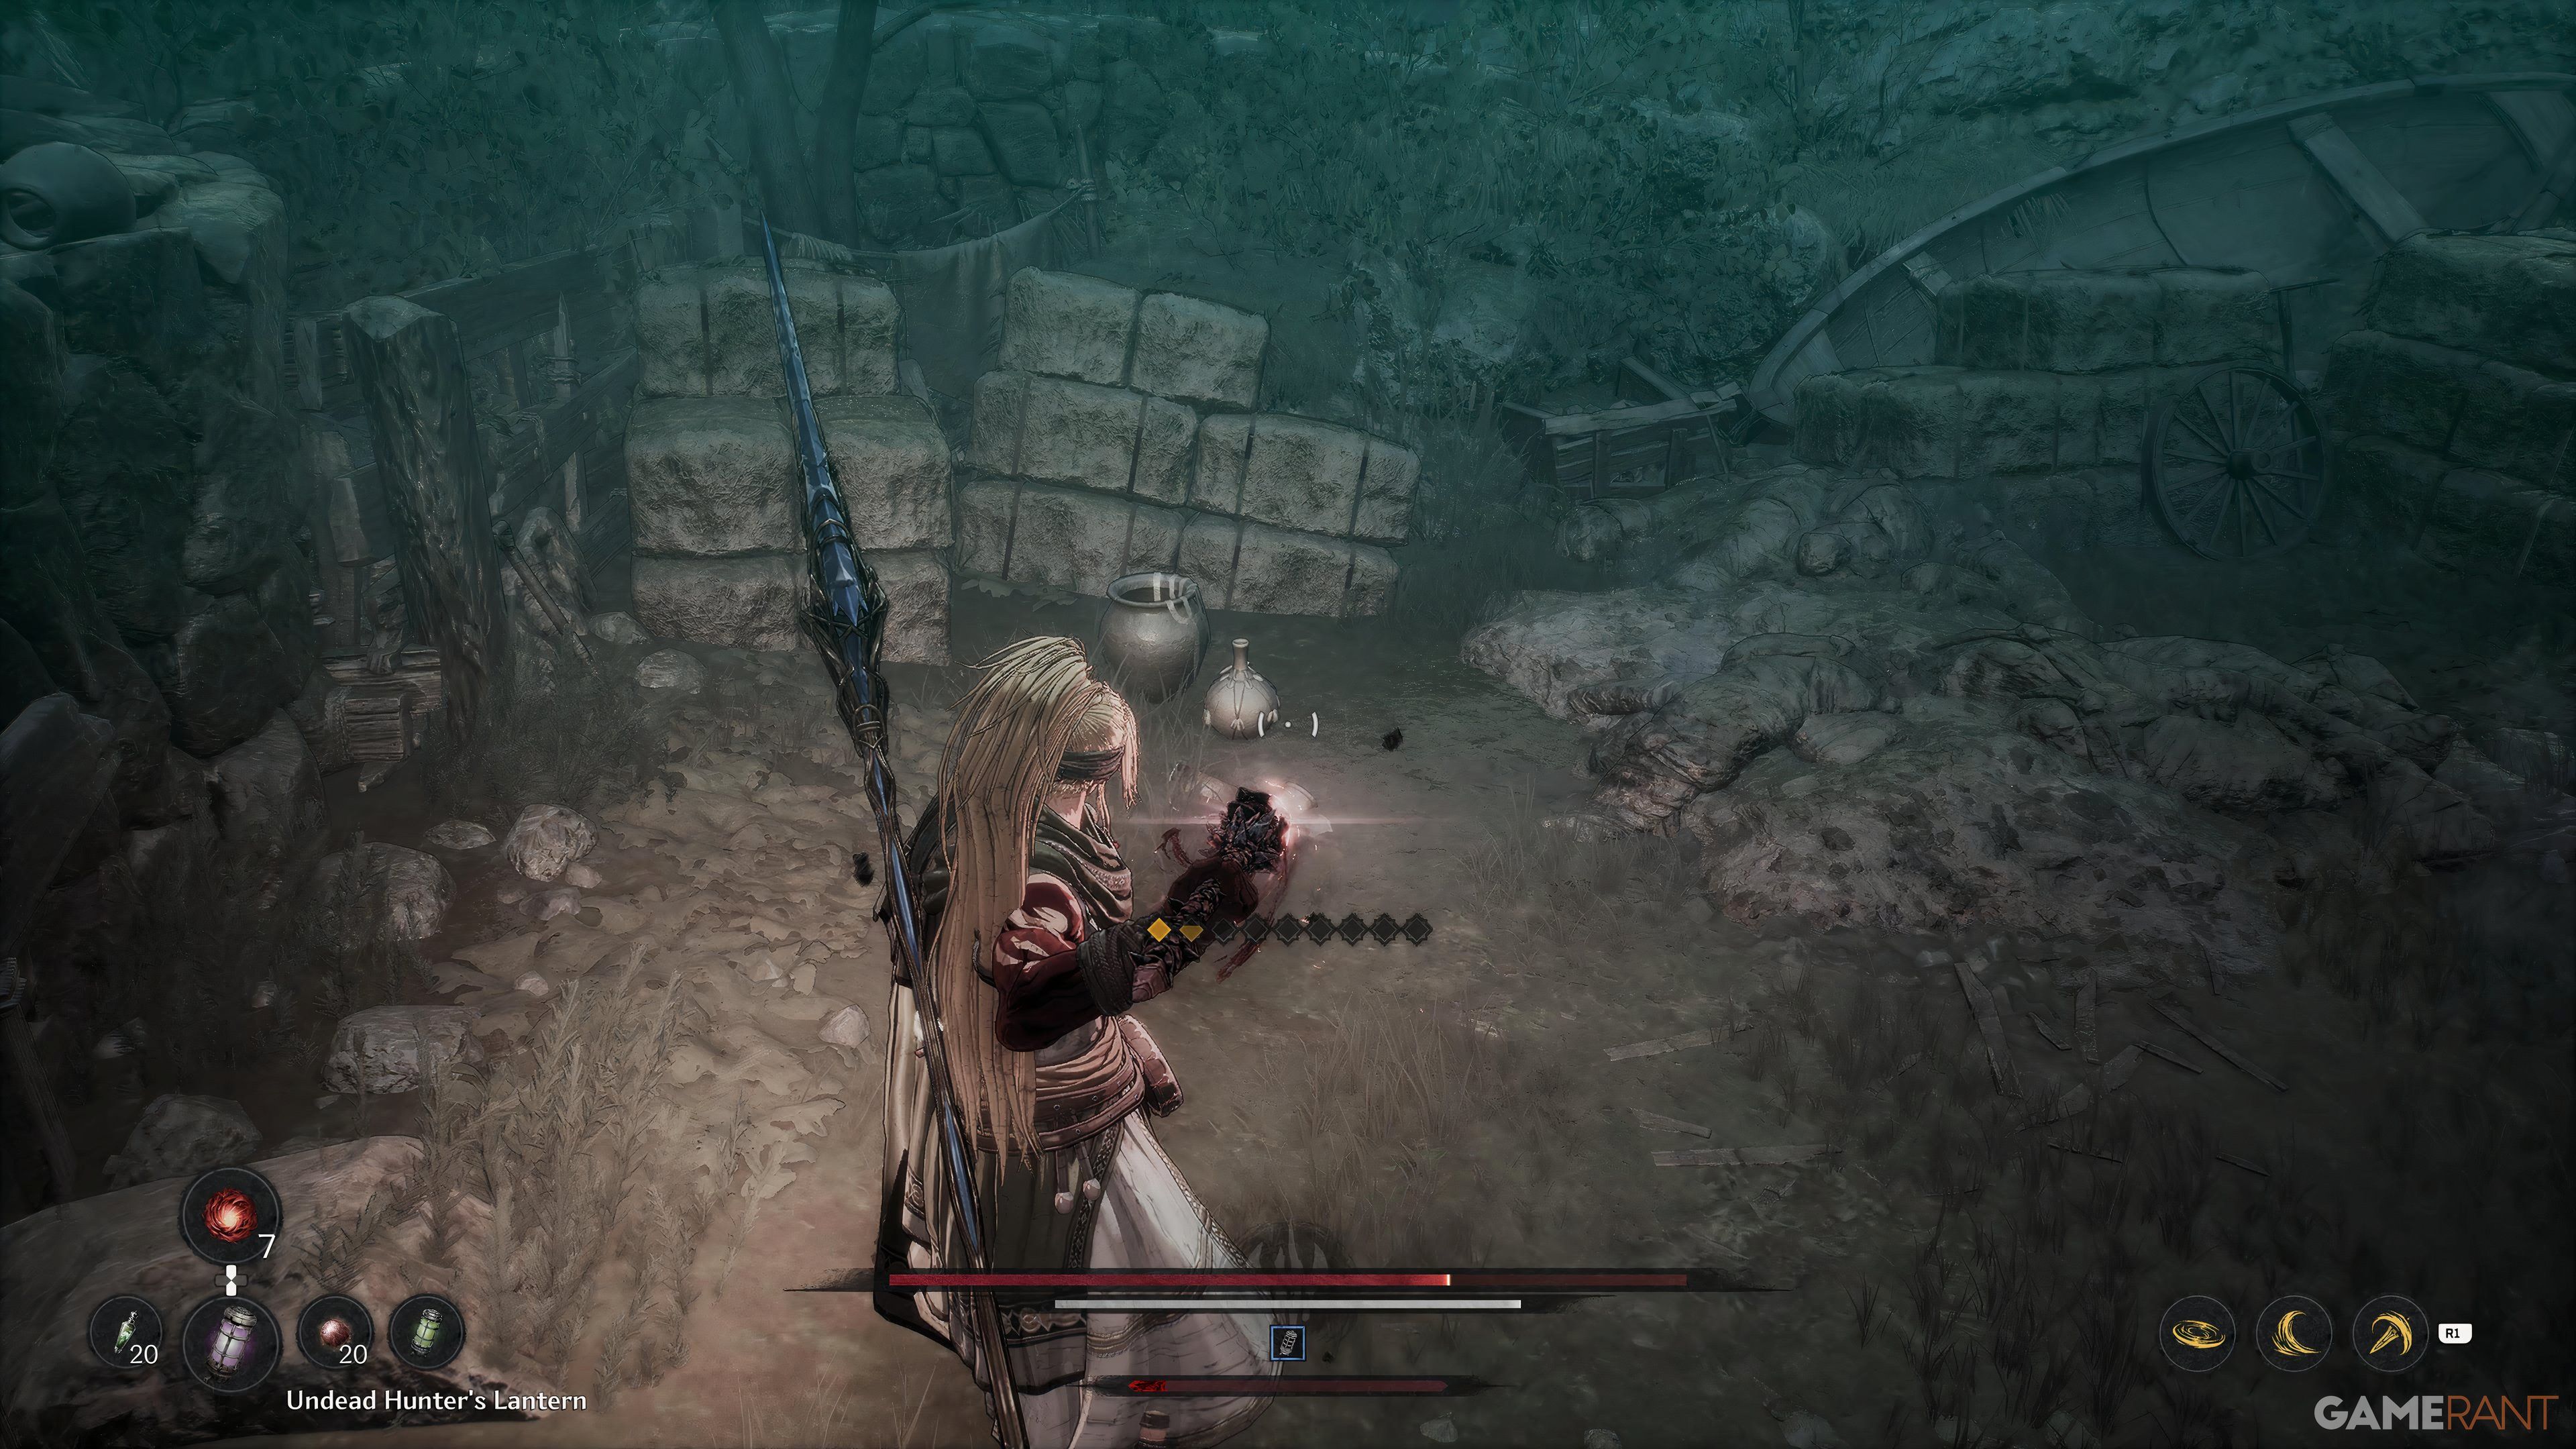
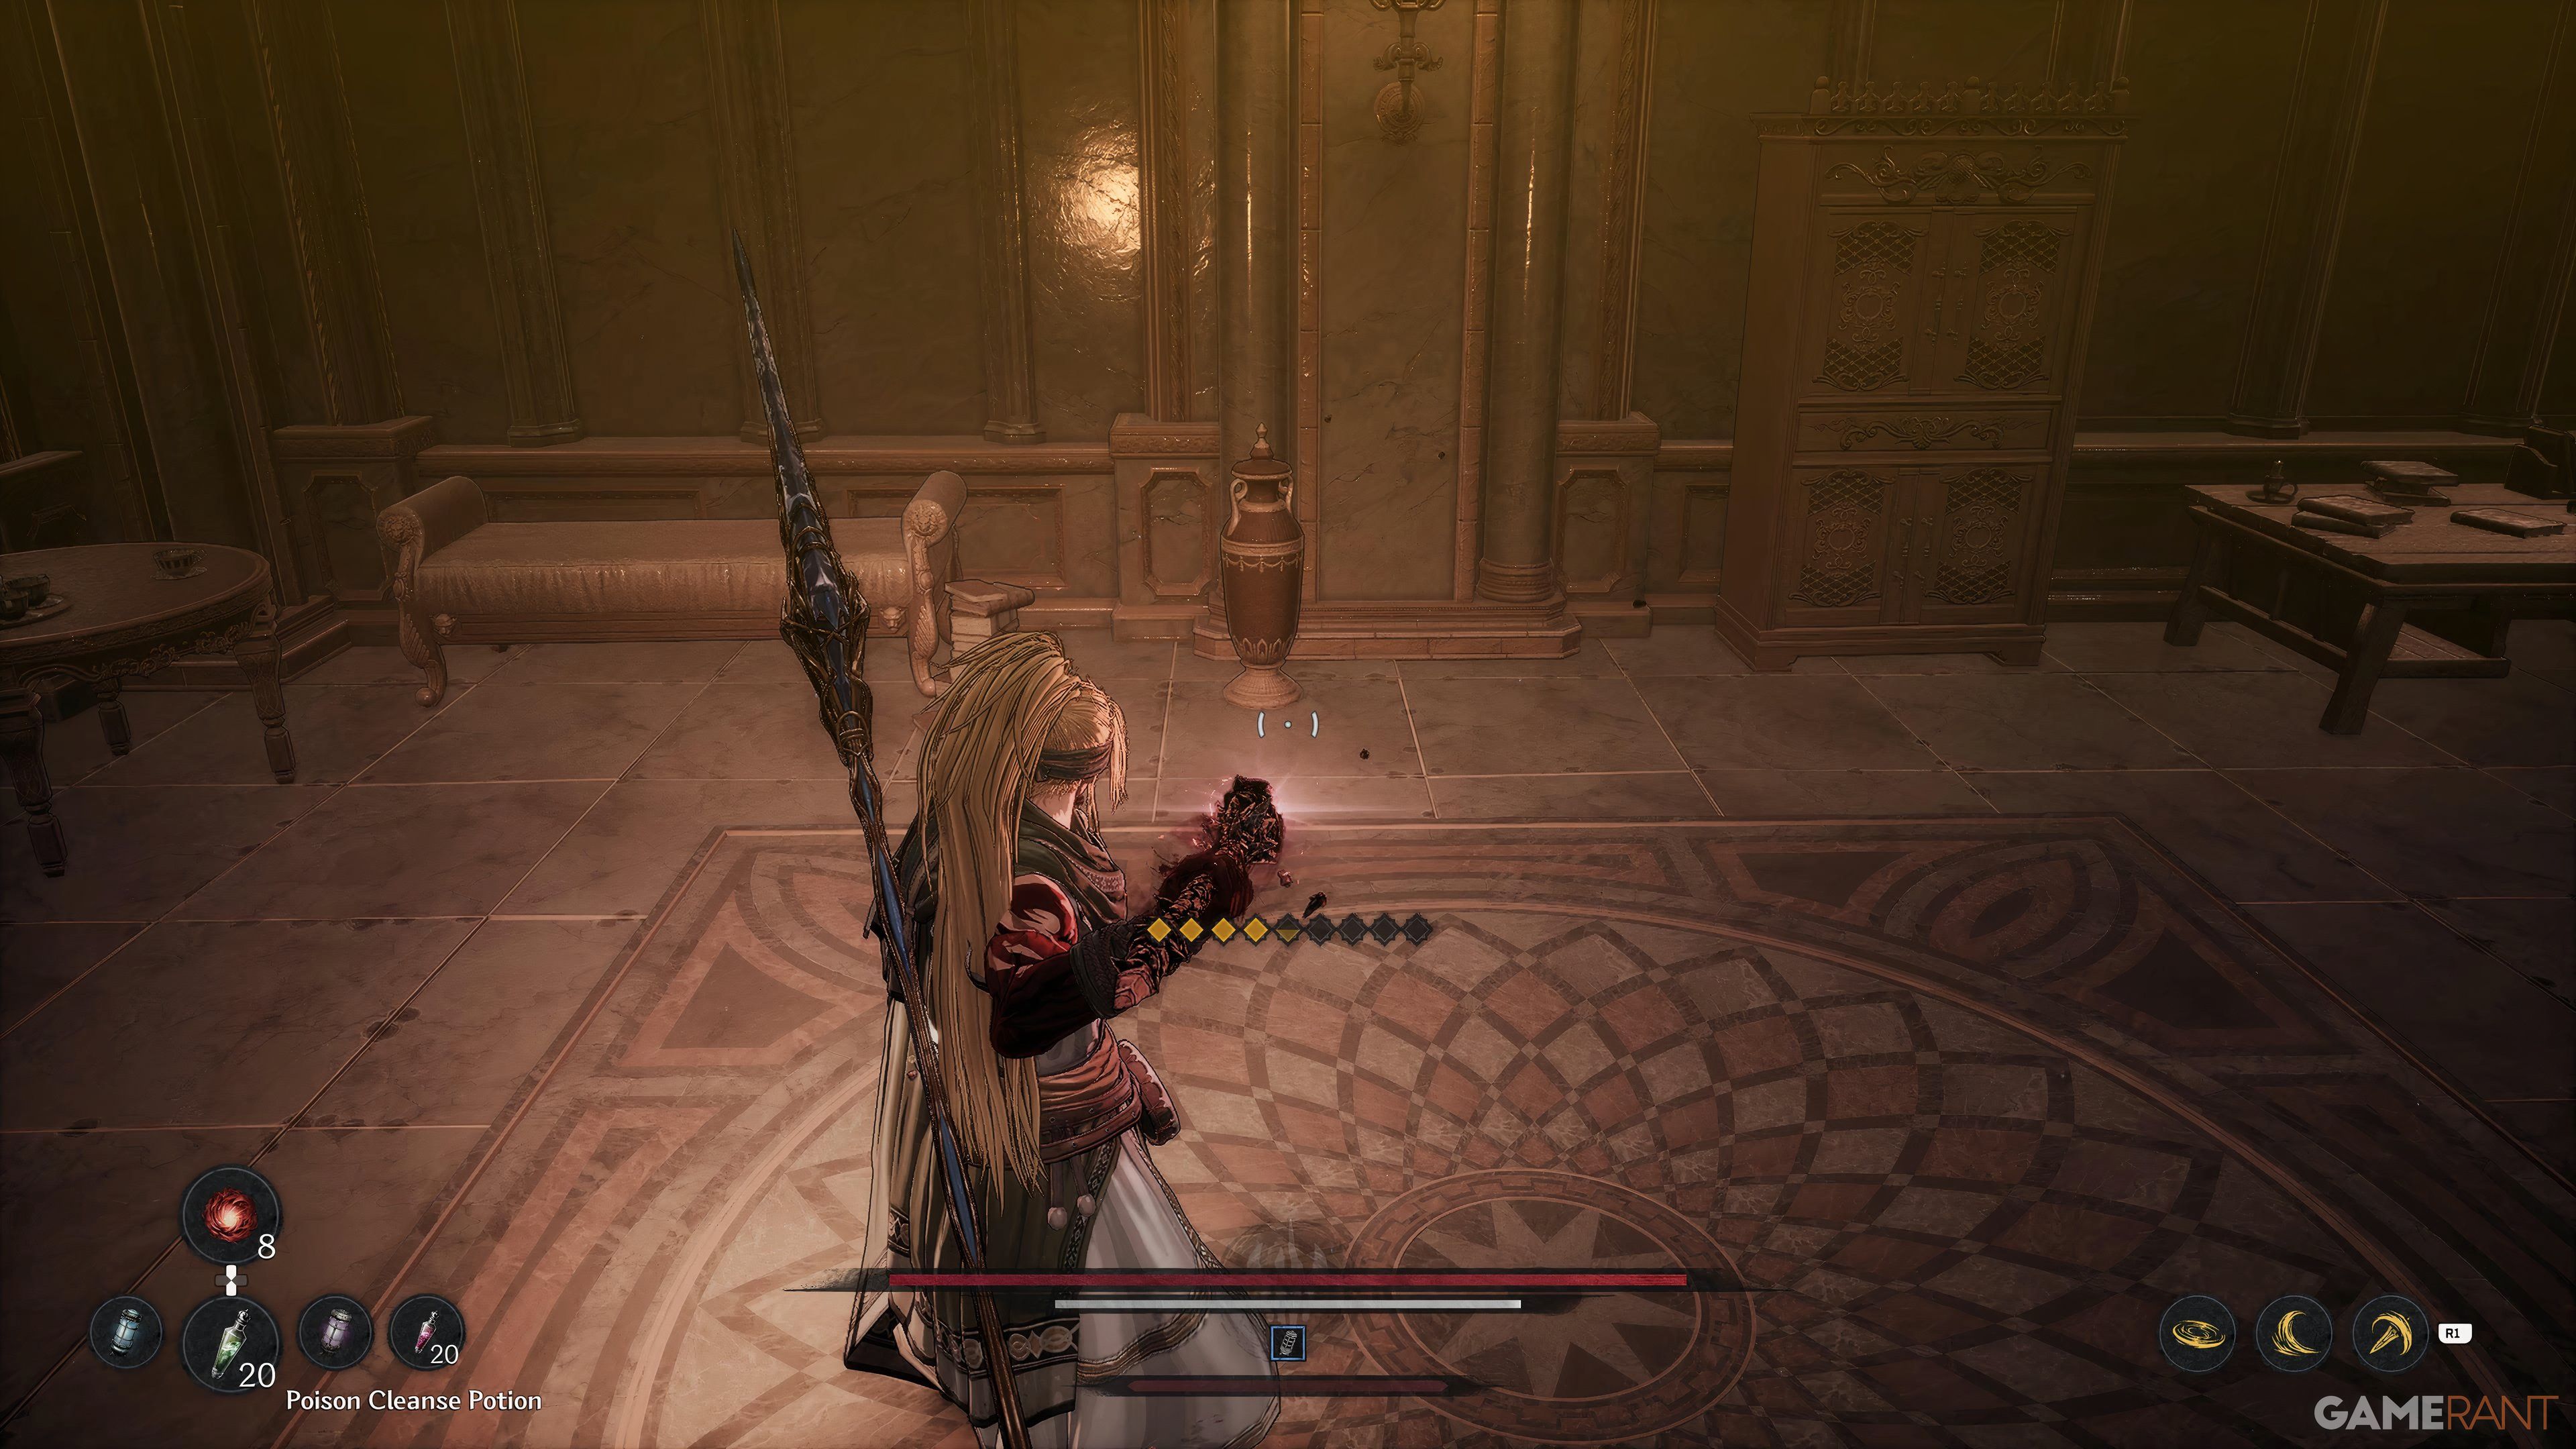
| 1 | Jar Enthusiast | Jar Observatory |
 |
From the Blade Nexus, head left, facing Danjin, and keep following the path until you spot a ladder. Deal with the Undead Assassin and go up the ladder to find the first Jarling next to the bridge. |
| 2 | Jar Enthusiast | Jar Observatory |
 |
From the previous Jarling location, continue along the bridge, then the rooftop, to climb down. Continue along the path, going down two more ladders, and as soon as you descend the last ladder, turn around. Inside the house, you can find the second Jarling. |
| 3 | Jar Enthusiast | Jar Observatory |
 |
Follow the main path again until you reach a house with a ladder inside, and climb up. Go forward and take the first left into the building, where you will find the third Jarling. |
| 4 | Jar Enthusiast | Jar Observatory |
 |
Exit the previous building by going down the steps on the right and go forward. As soon as you approach a path on your right, take a left instead into the house to find another Jarling. |
| 5 | Jar Enthusiast | Jar Observatory |
 |
Go towards the right path now, and just before going through the wooden tori gate, the Jarling will be to your right. |
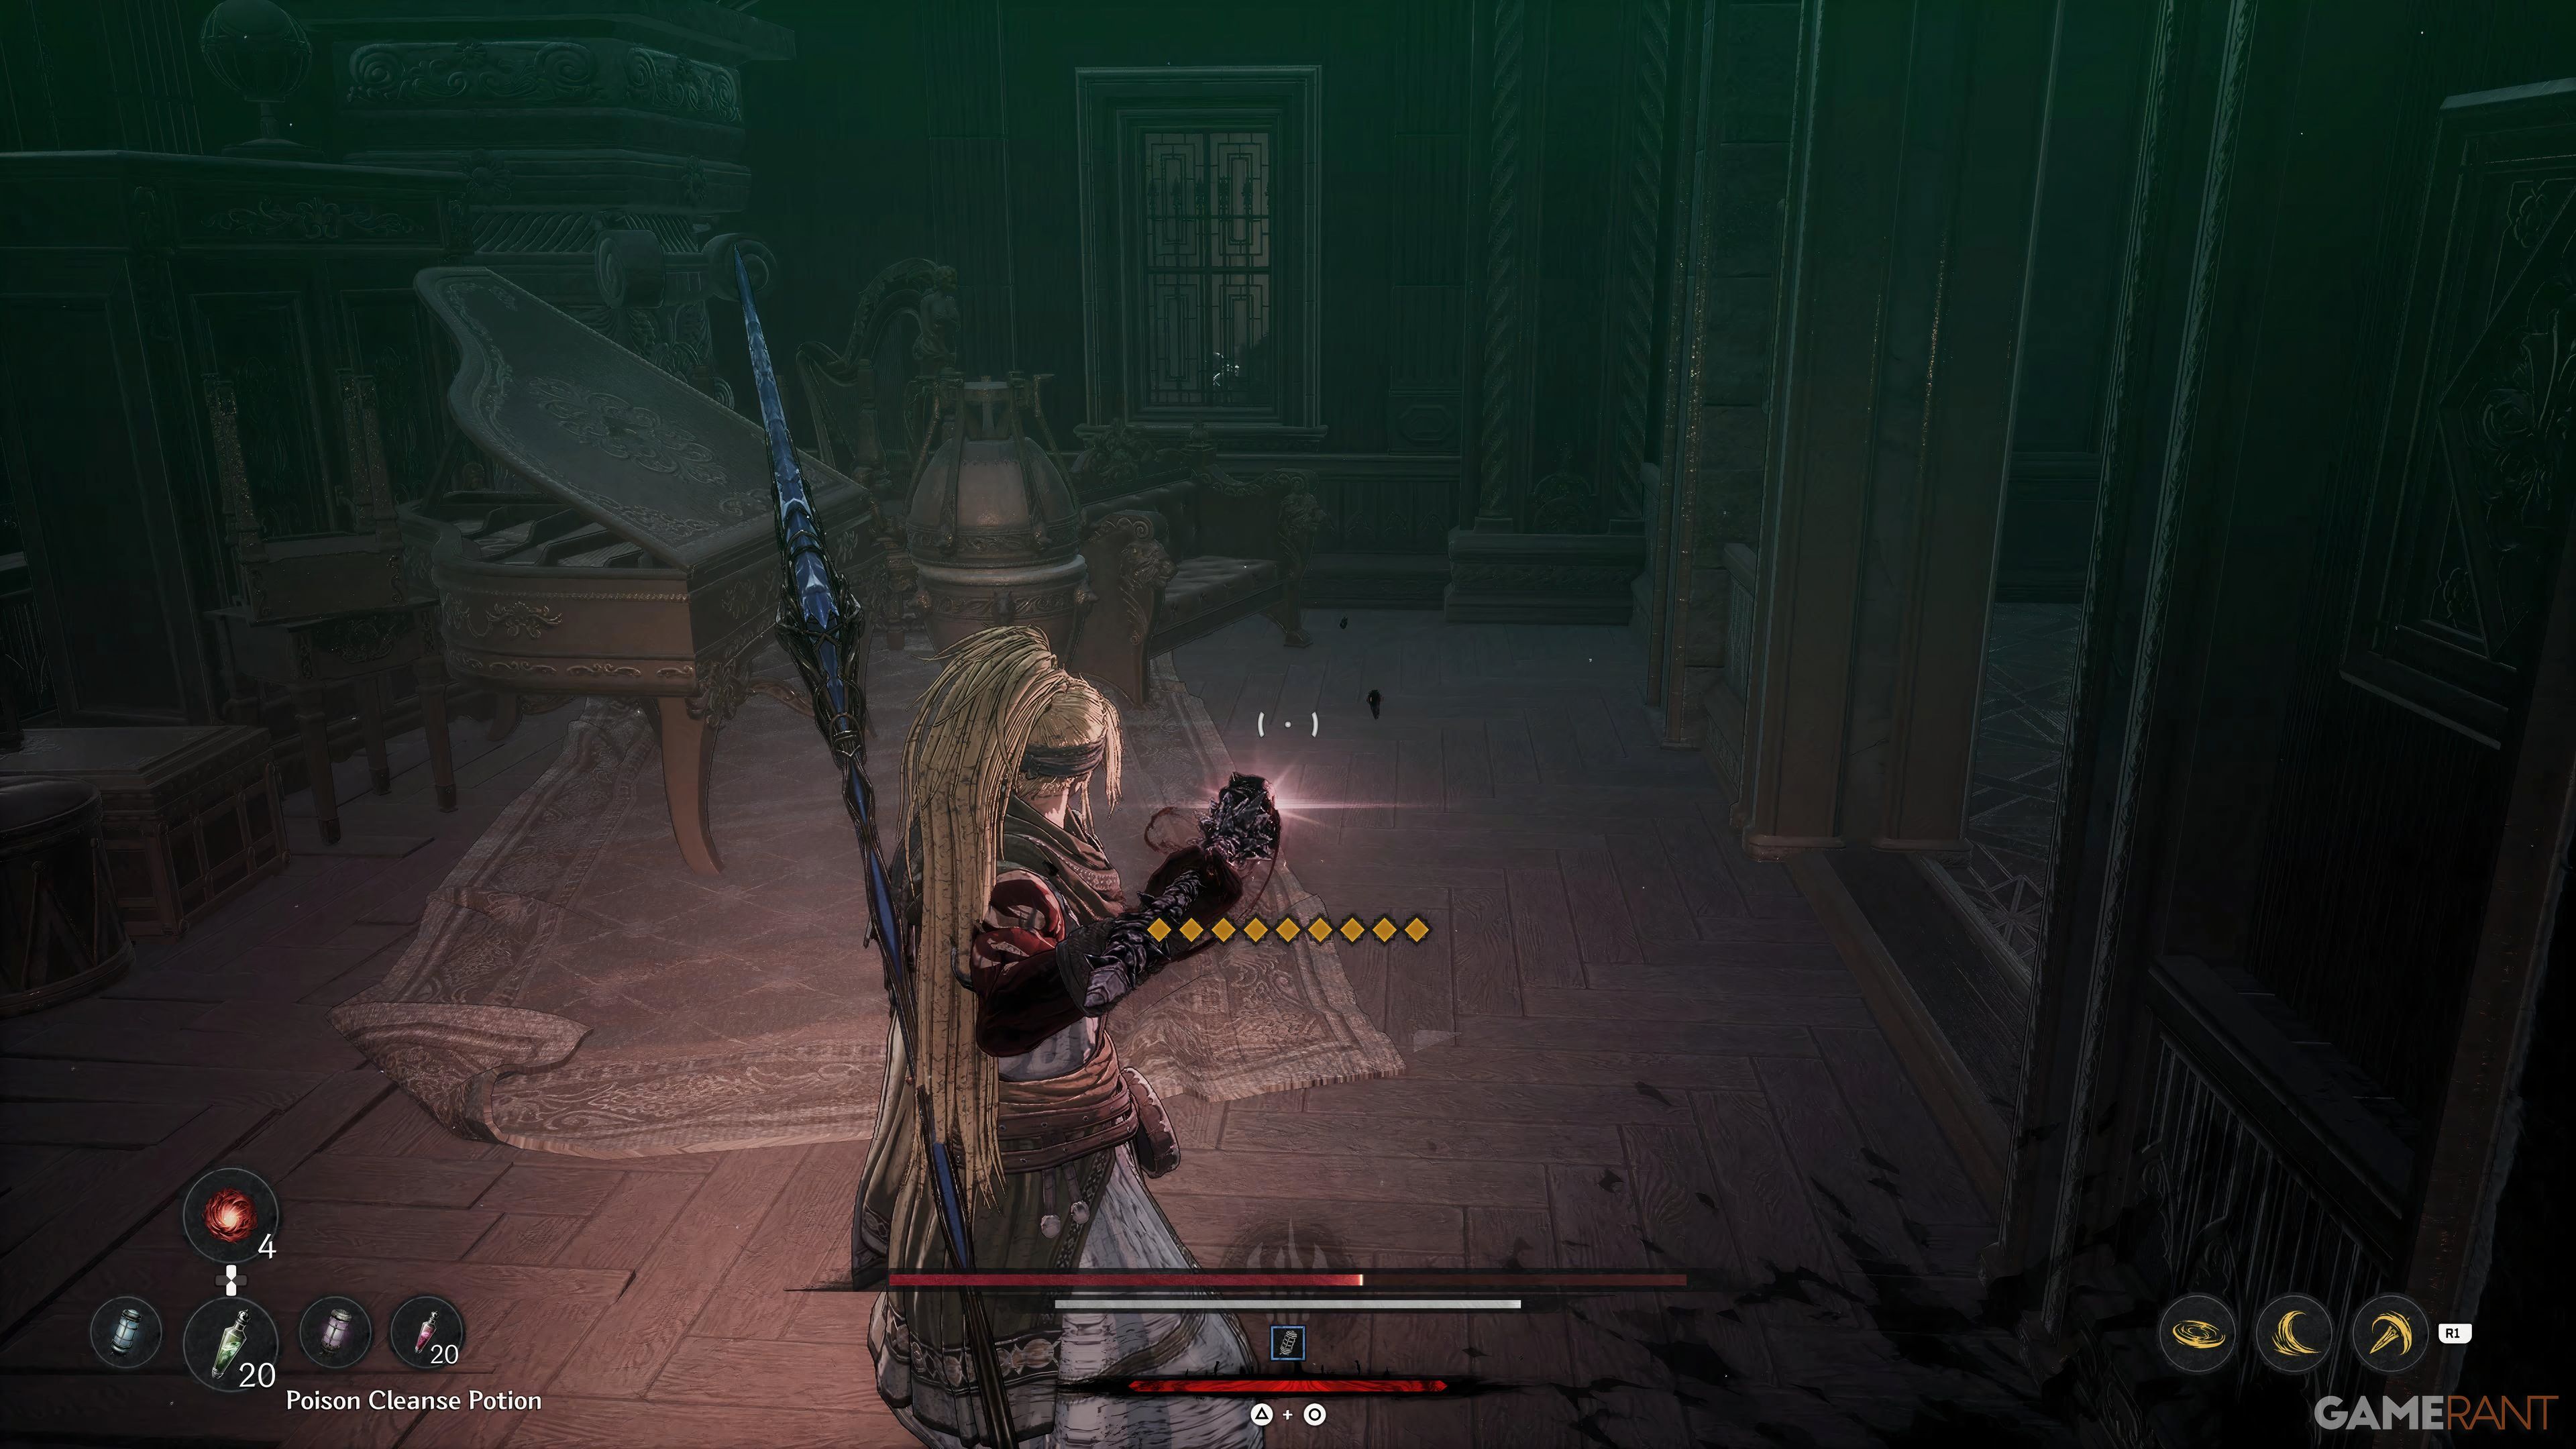
| 6 | Jar Enthusiast | Jar Observatory |
 |
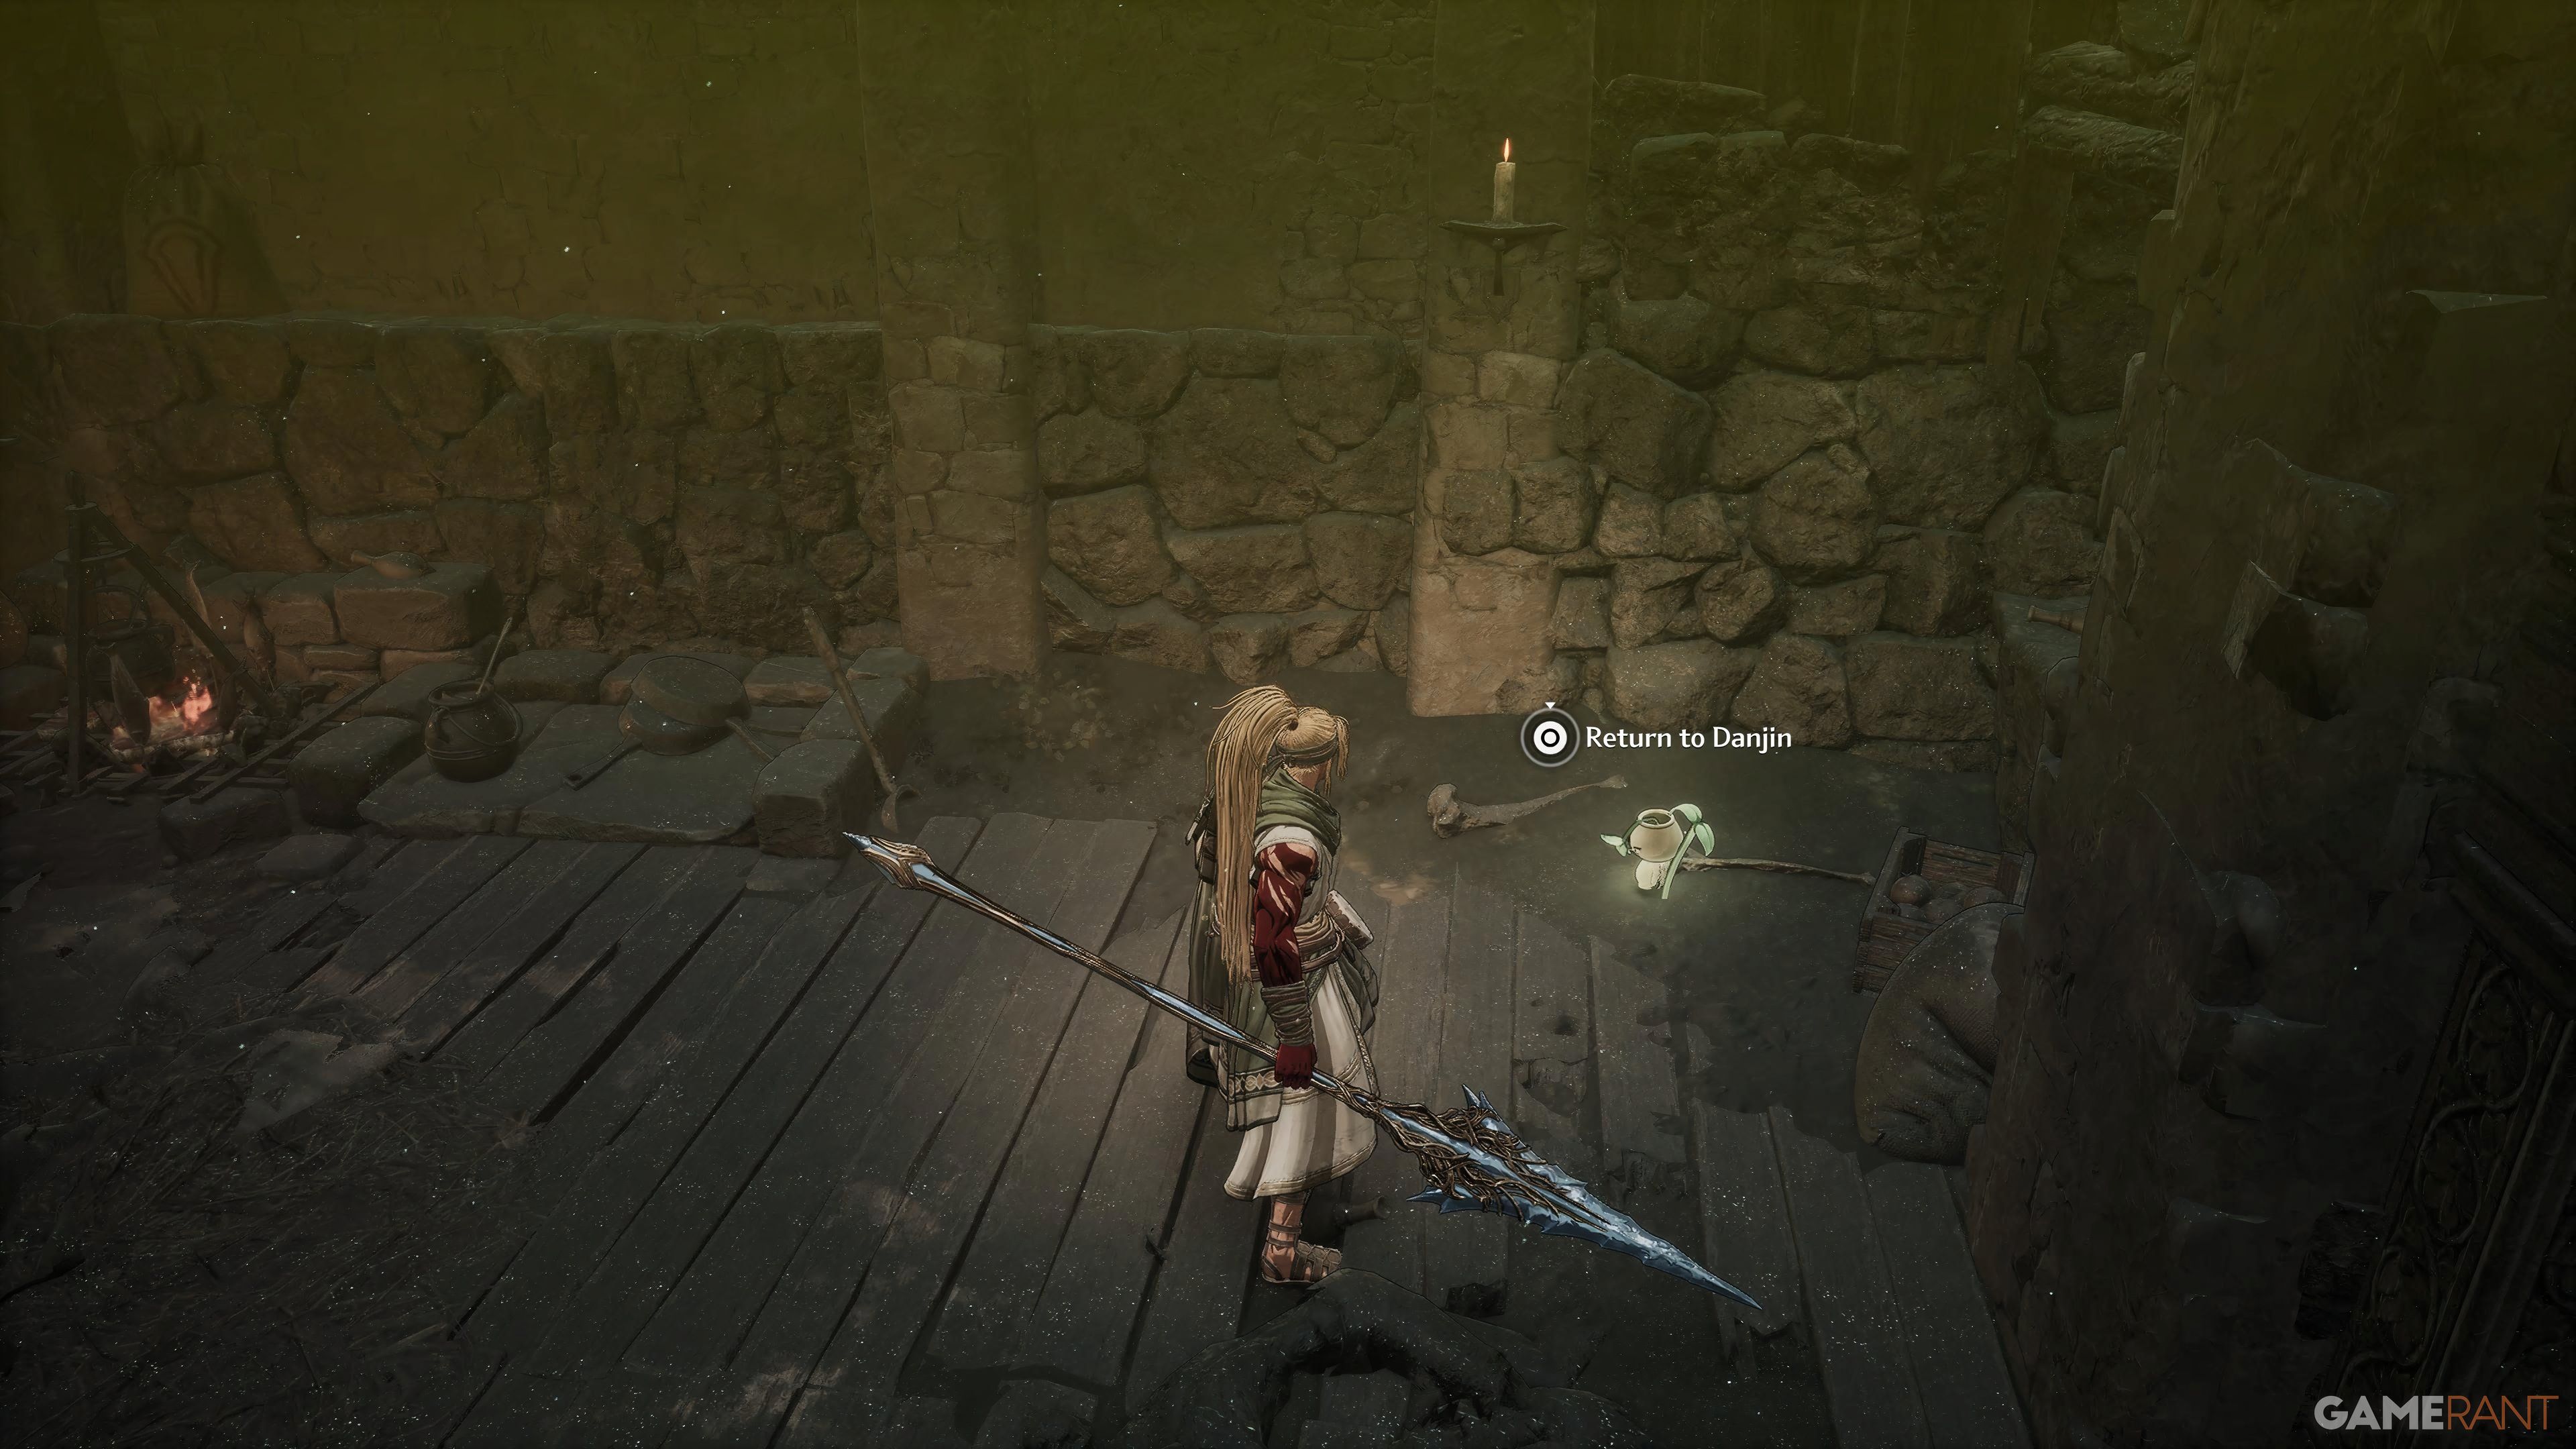
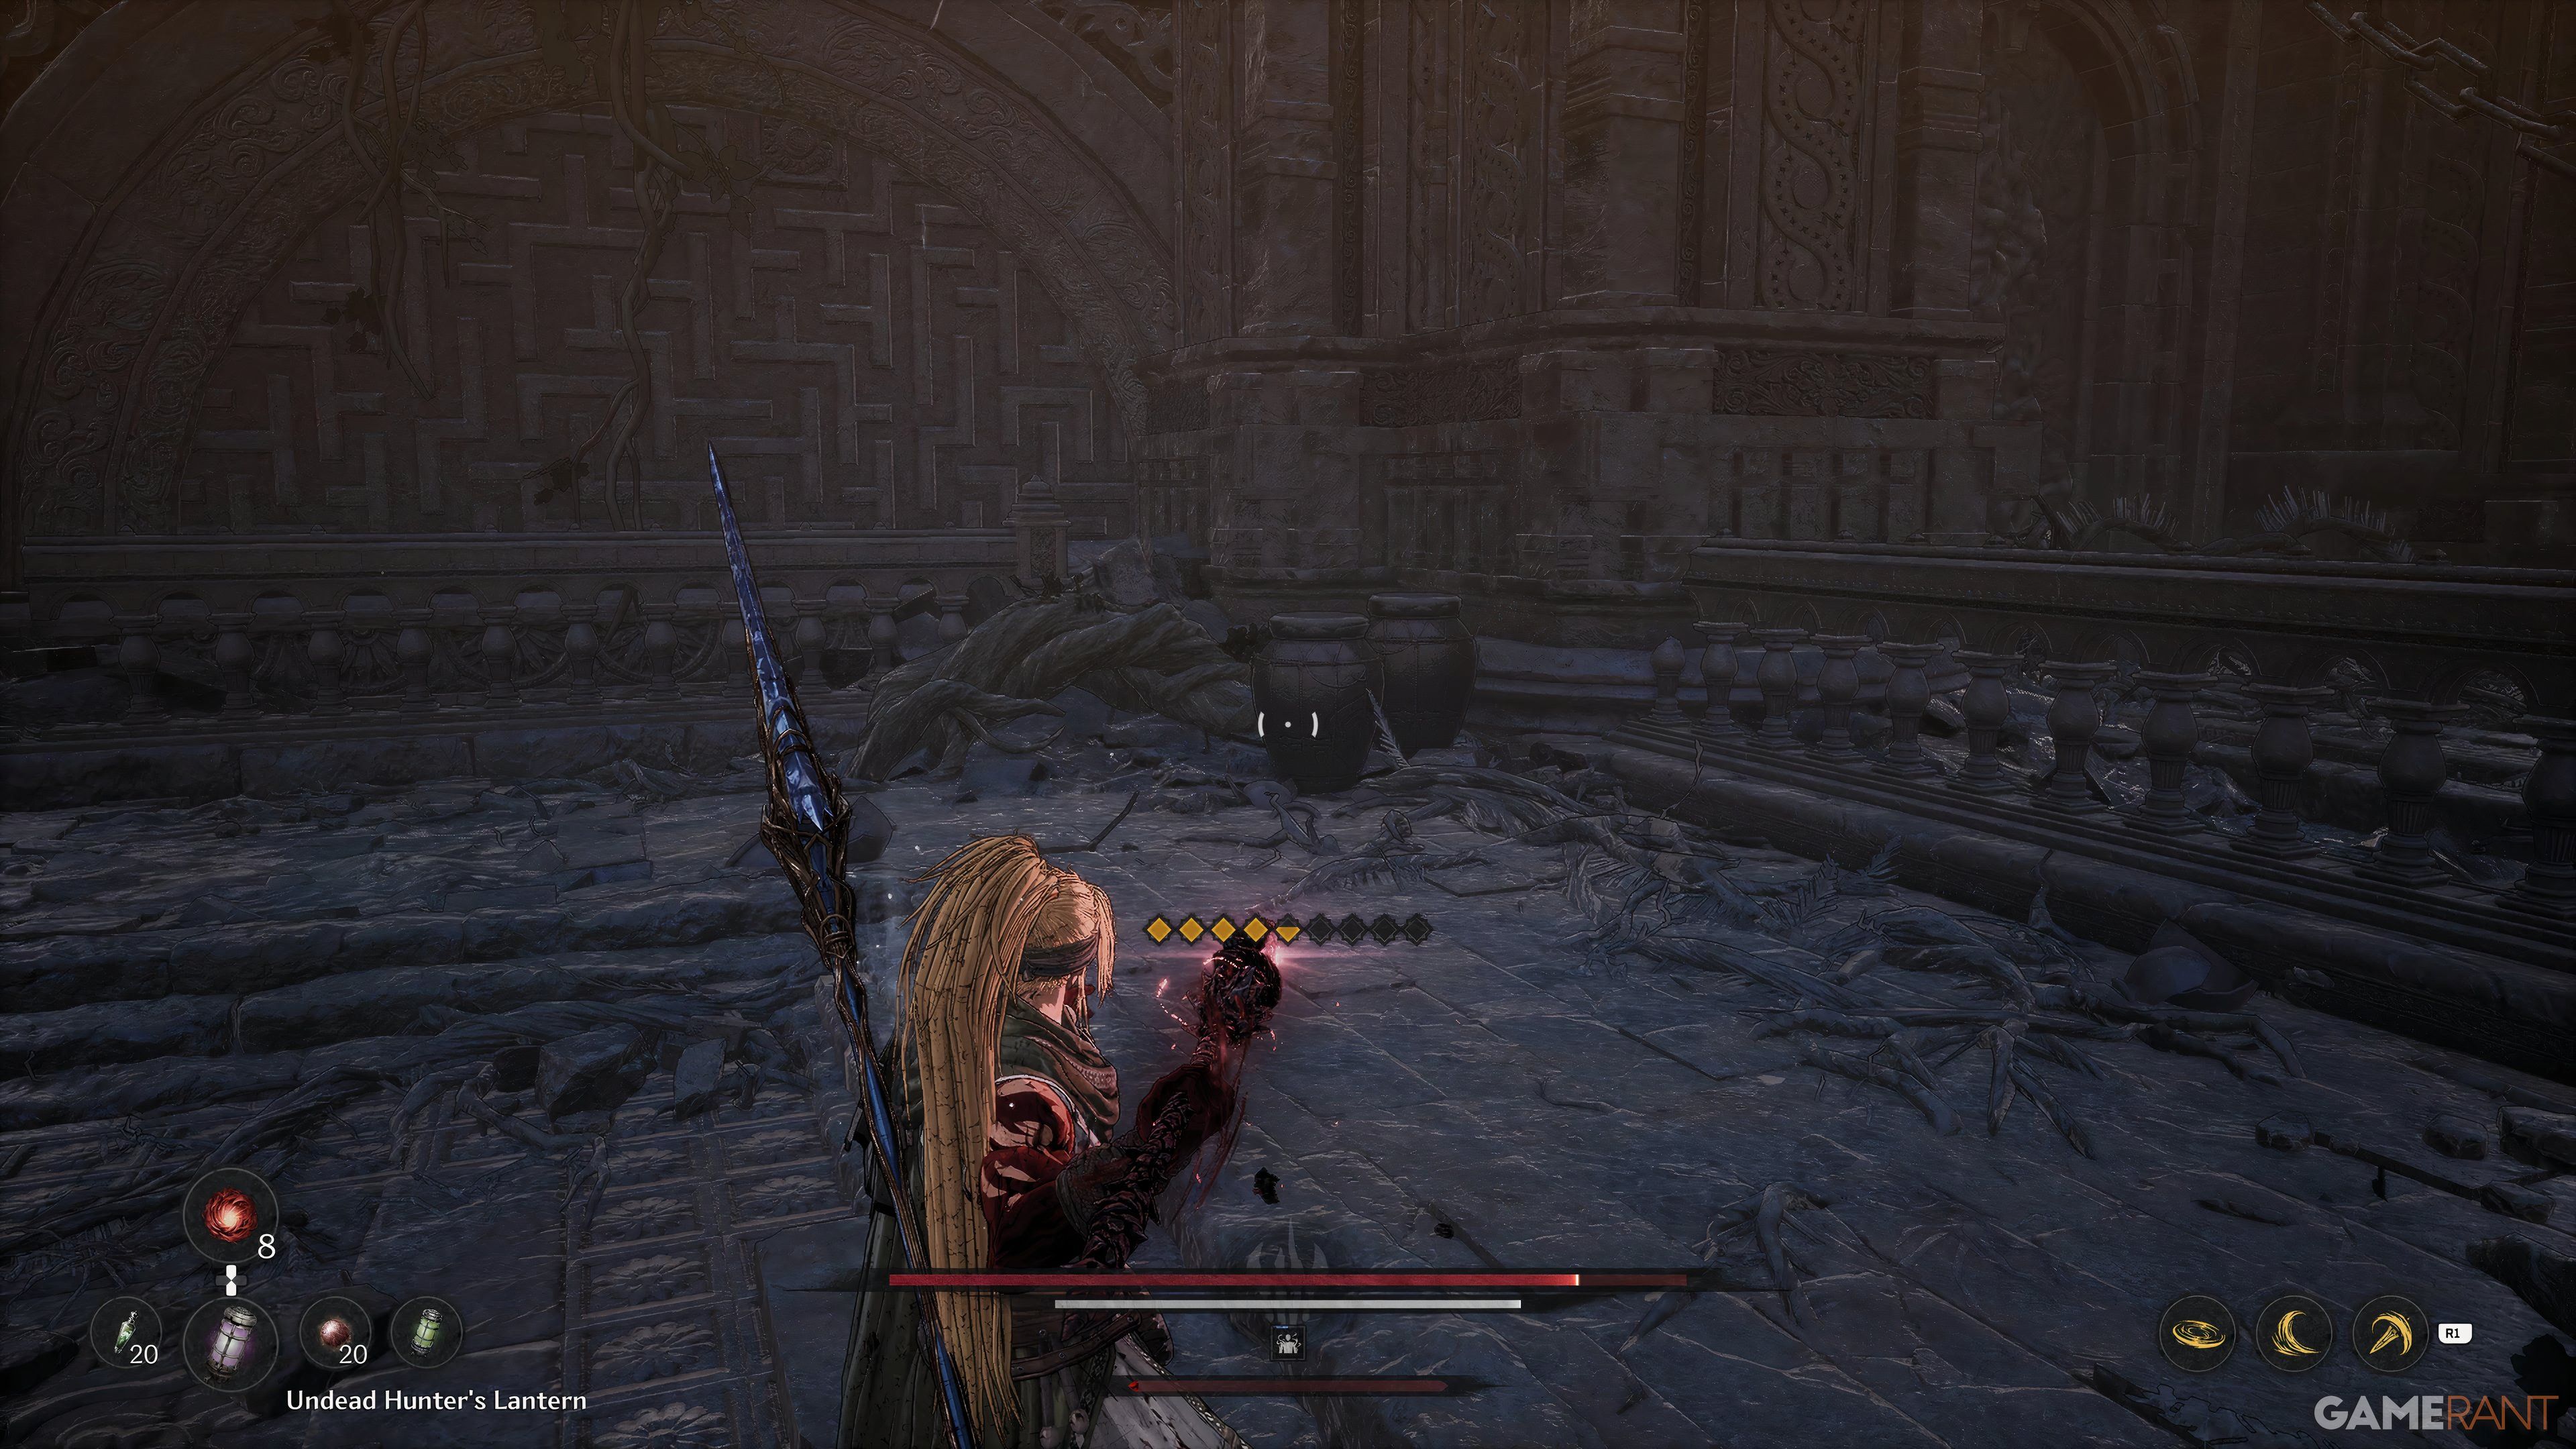
Go through the gate and continue forward until you reach the closed wooden door. On the left, you can find some vases to break, revealing the sixth and final Jarling in this Bonus Mission. There is also a Soulstone nearby that you can break. |
| 7 | Banished Hero | Crash Site |
 |
As soon as you spawn back in this area, break the first vase on your right to find the Jarling. |
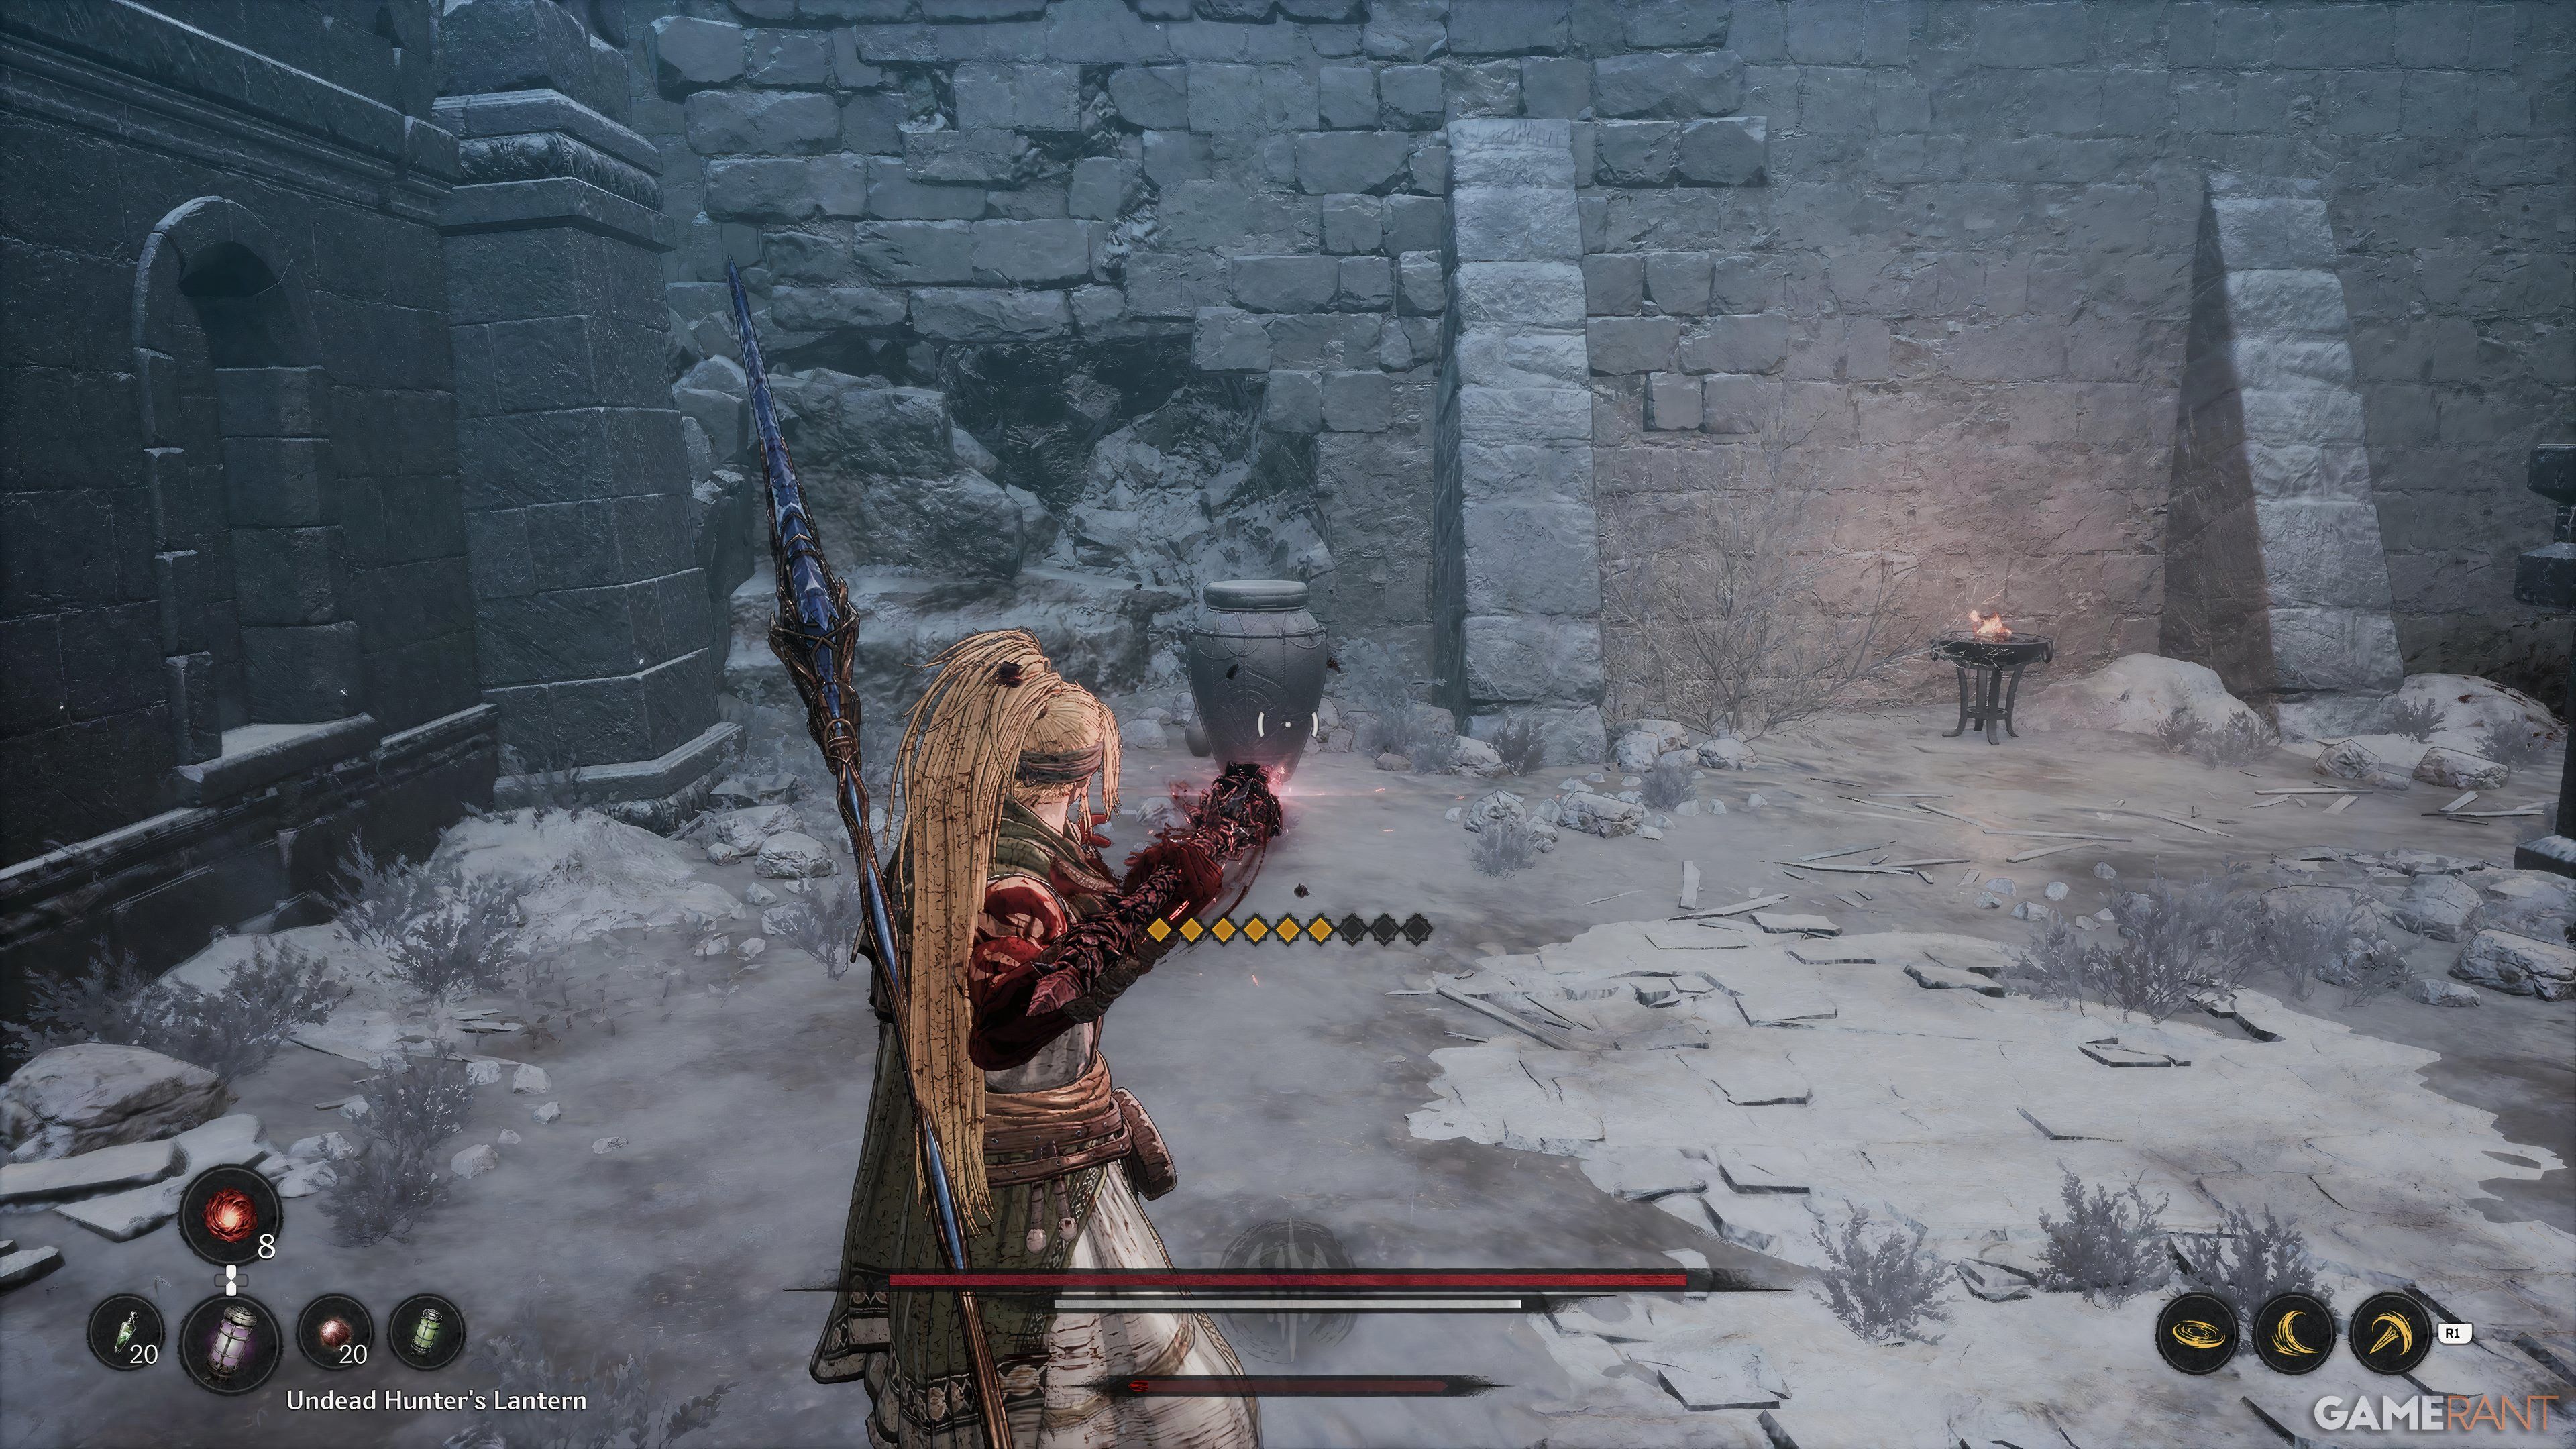
| 8 | Trials of the Frozen Mountain | Ice Canyon |
 |
The eighth Jarling is located right next to the Blade Nexus. |
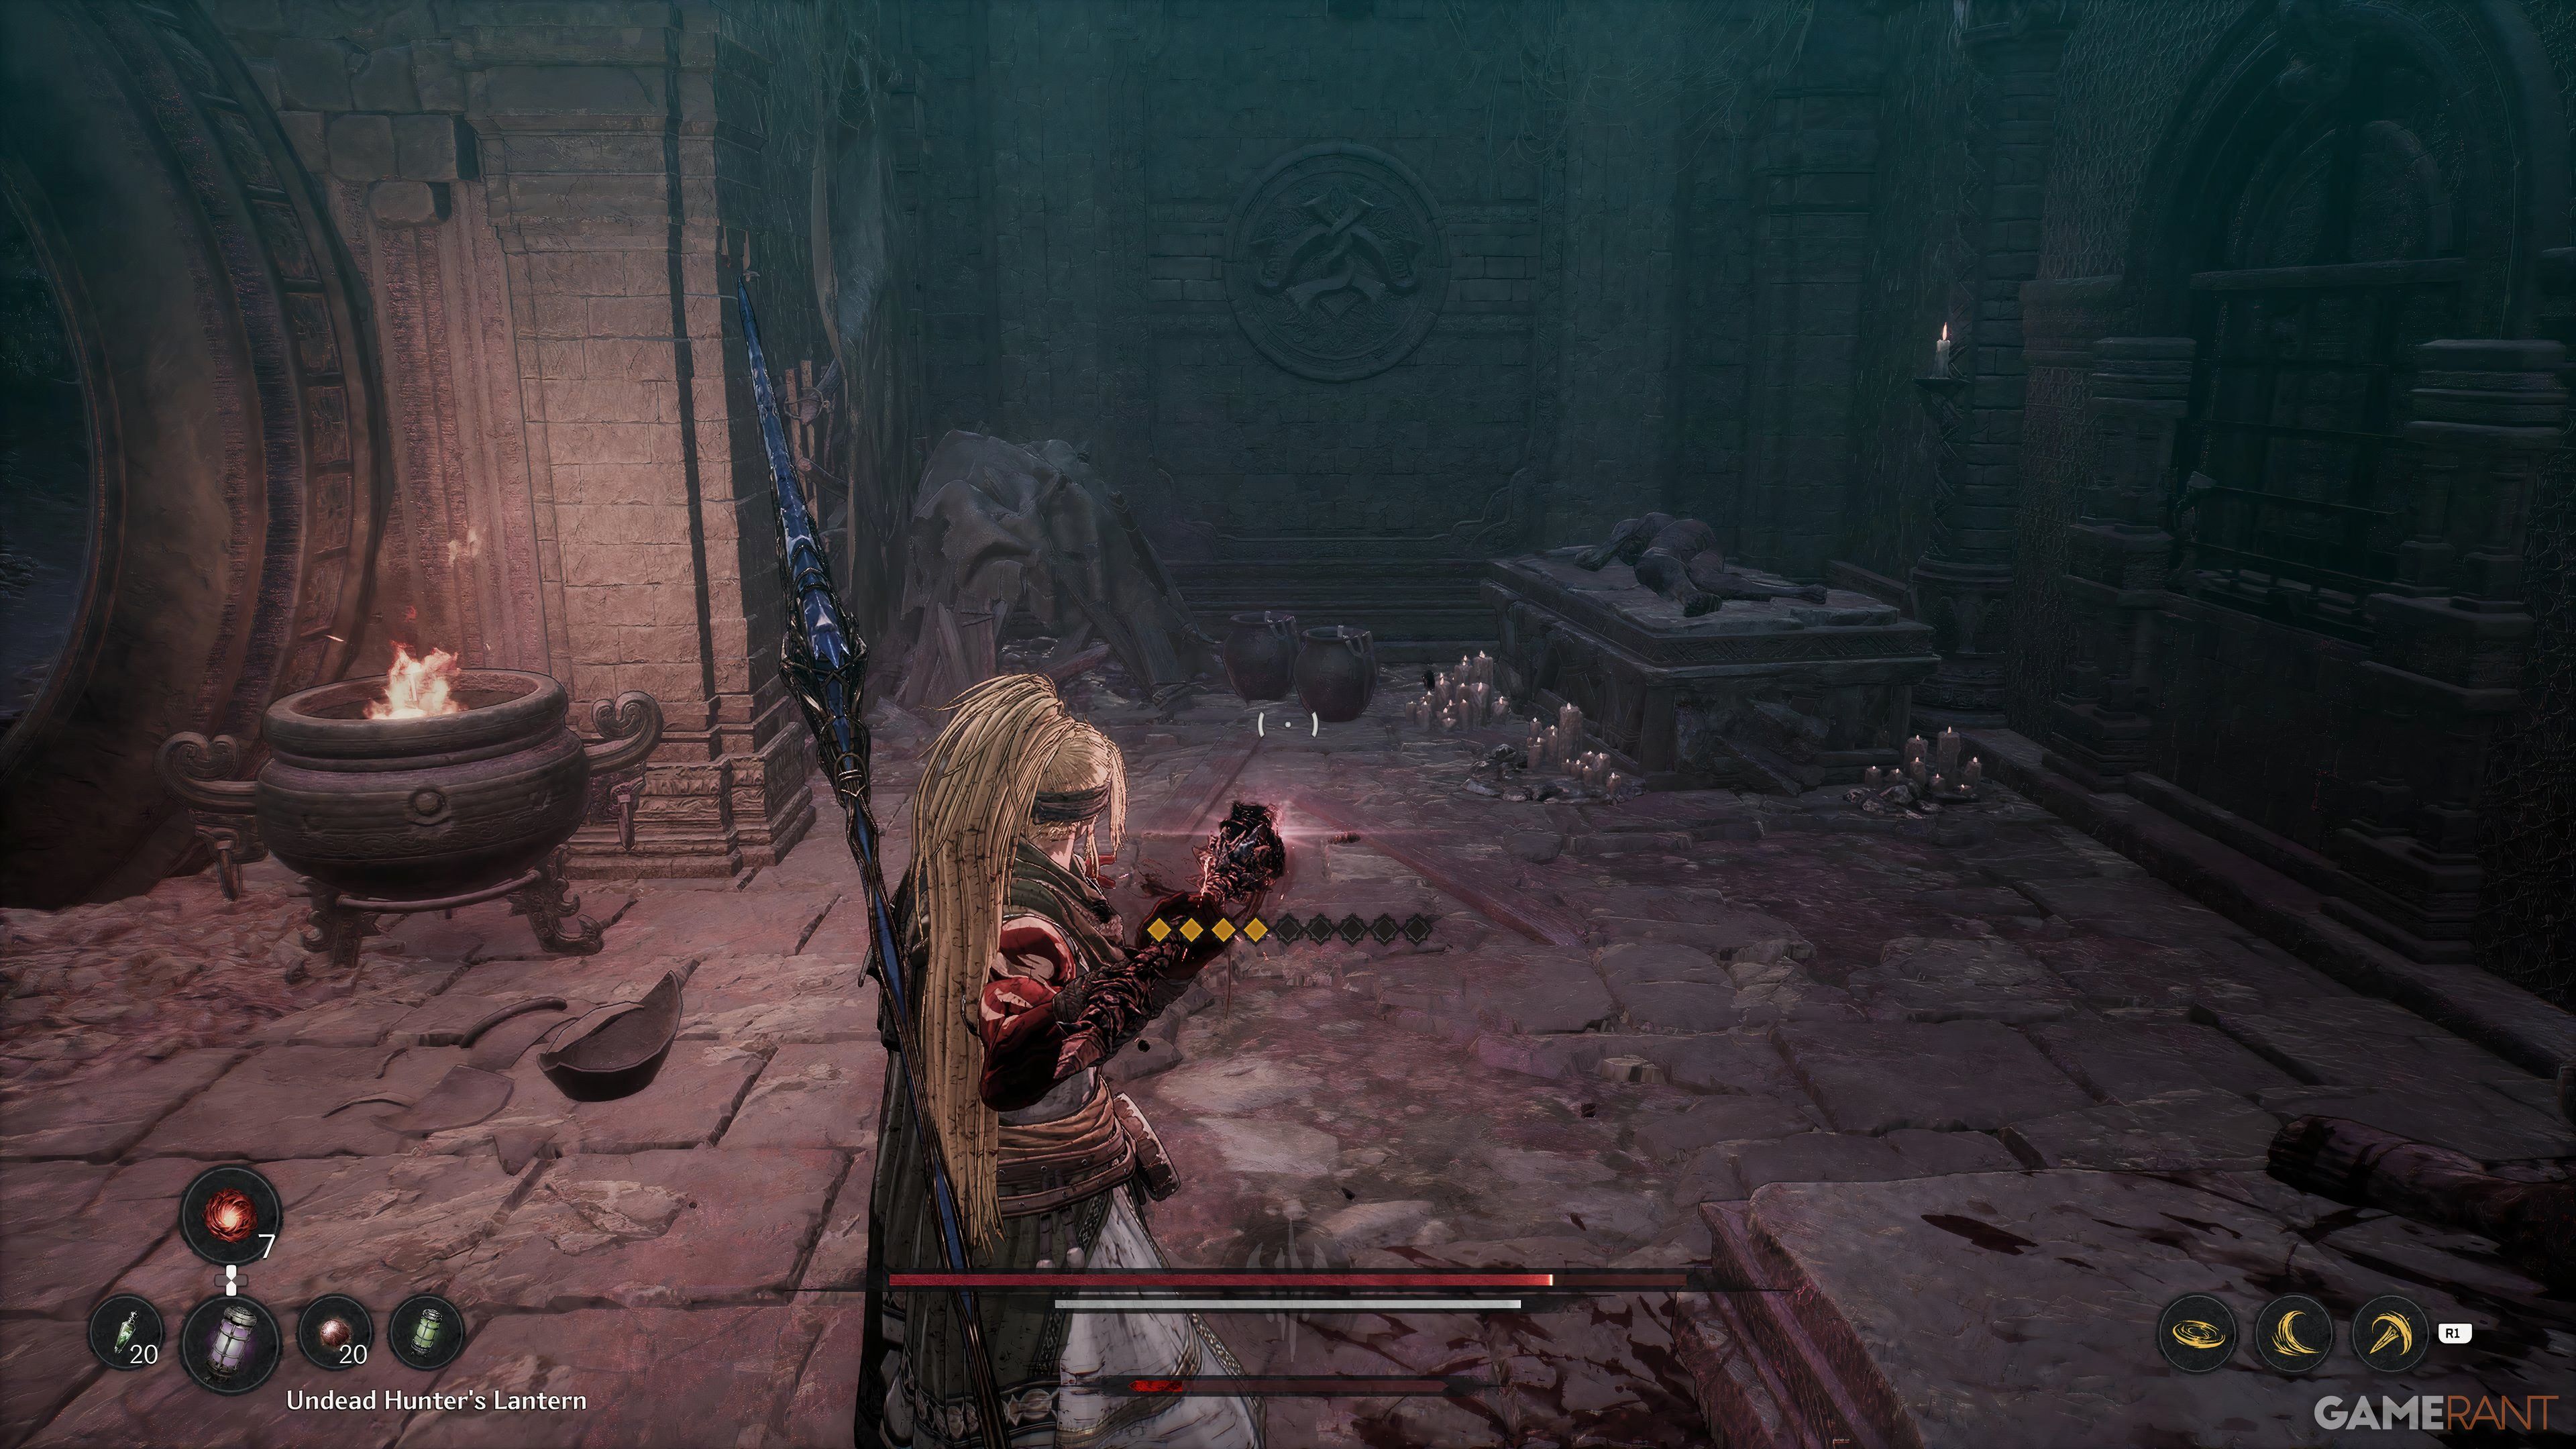
| 9 | Forgotten Temple | Beneath the Forgotten Temple |
 |
For this Jarling, you must progress through the area until you have interacted with two machines that stop the spinning device. When you are about to go down the stairs, look to the left to find a vase with the Jarling. |
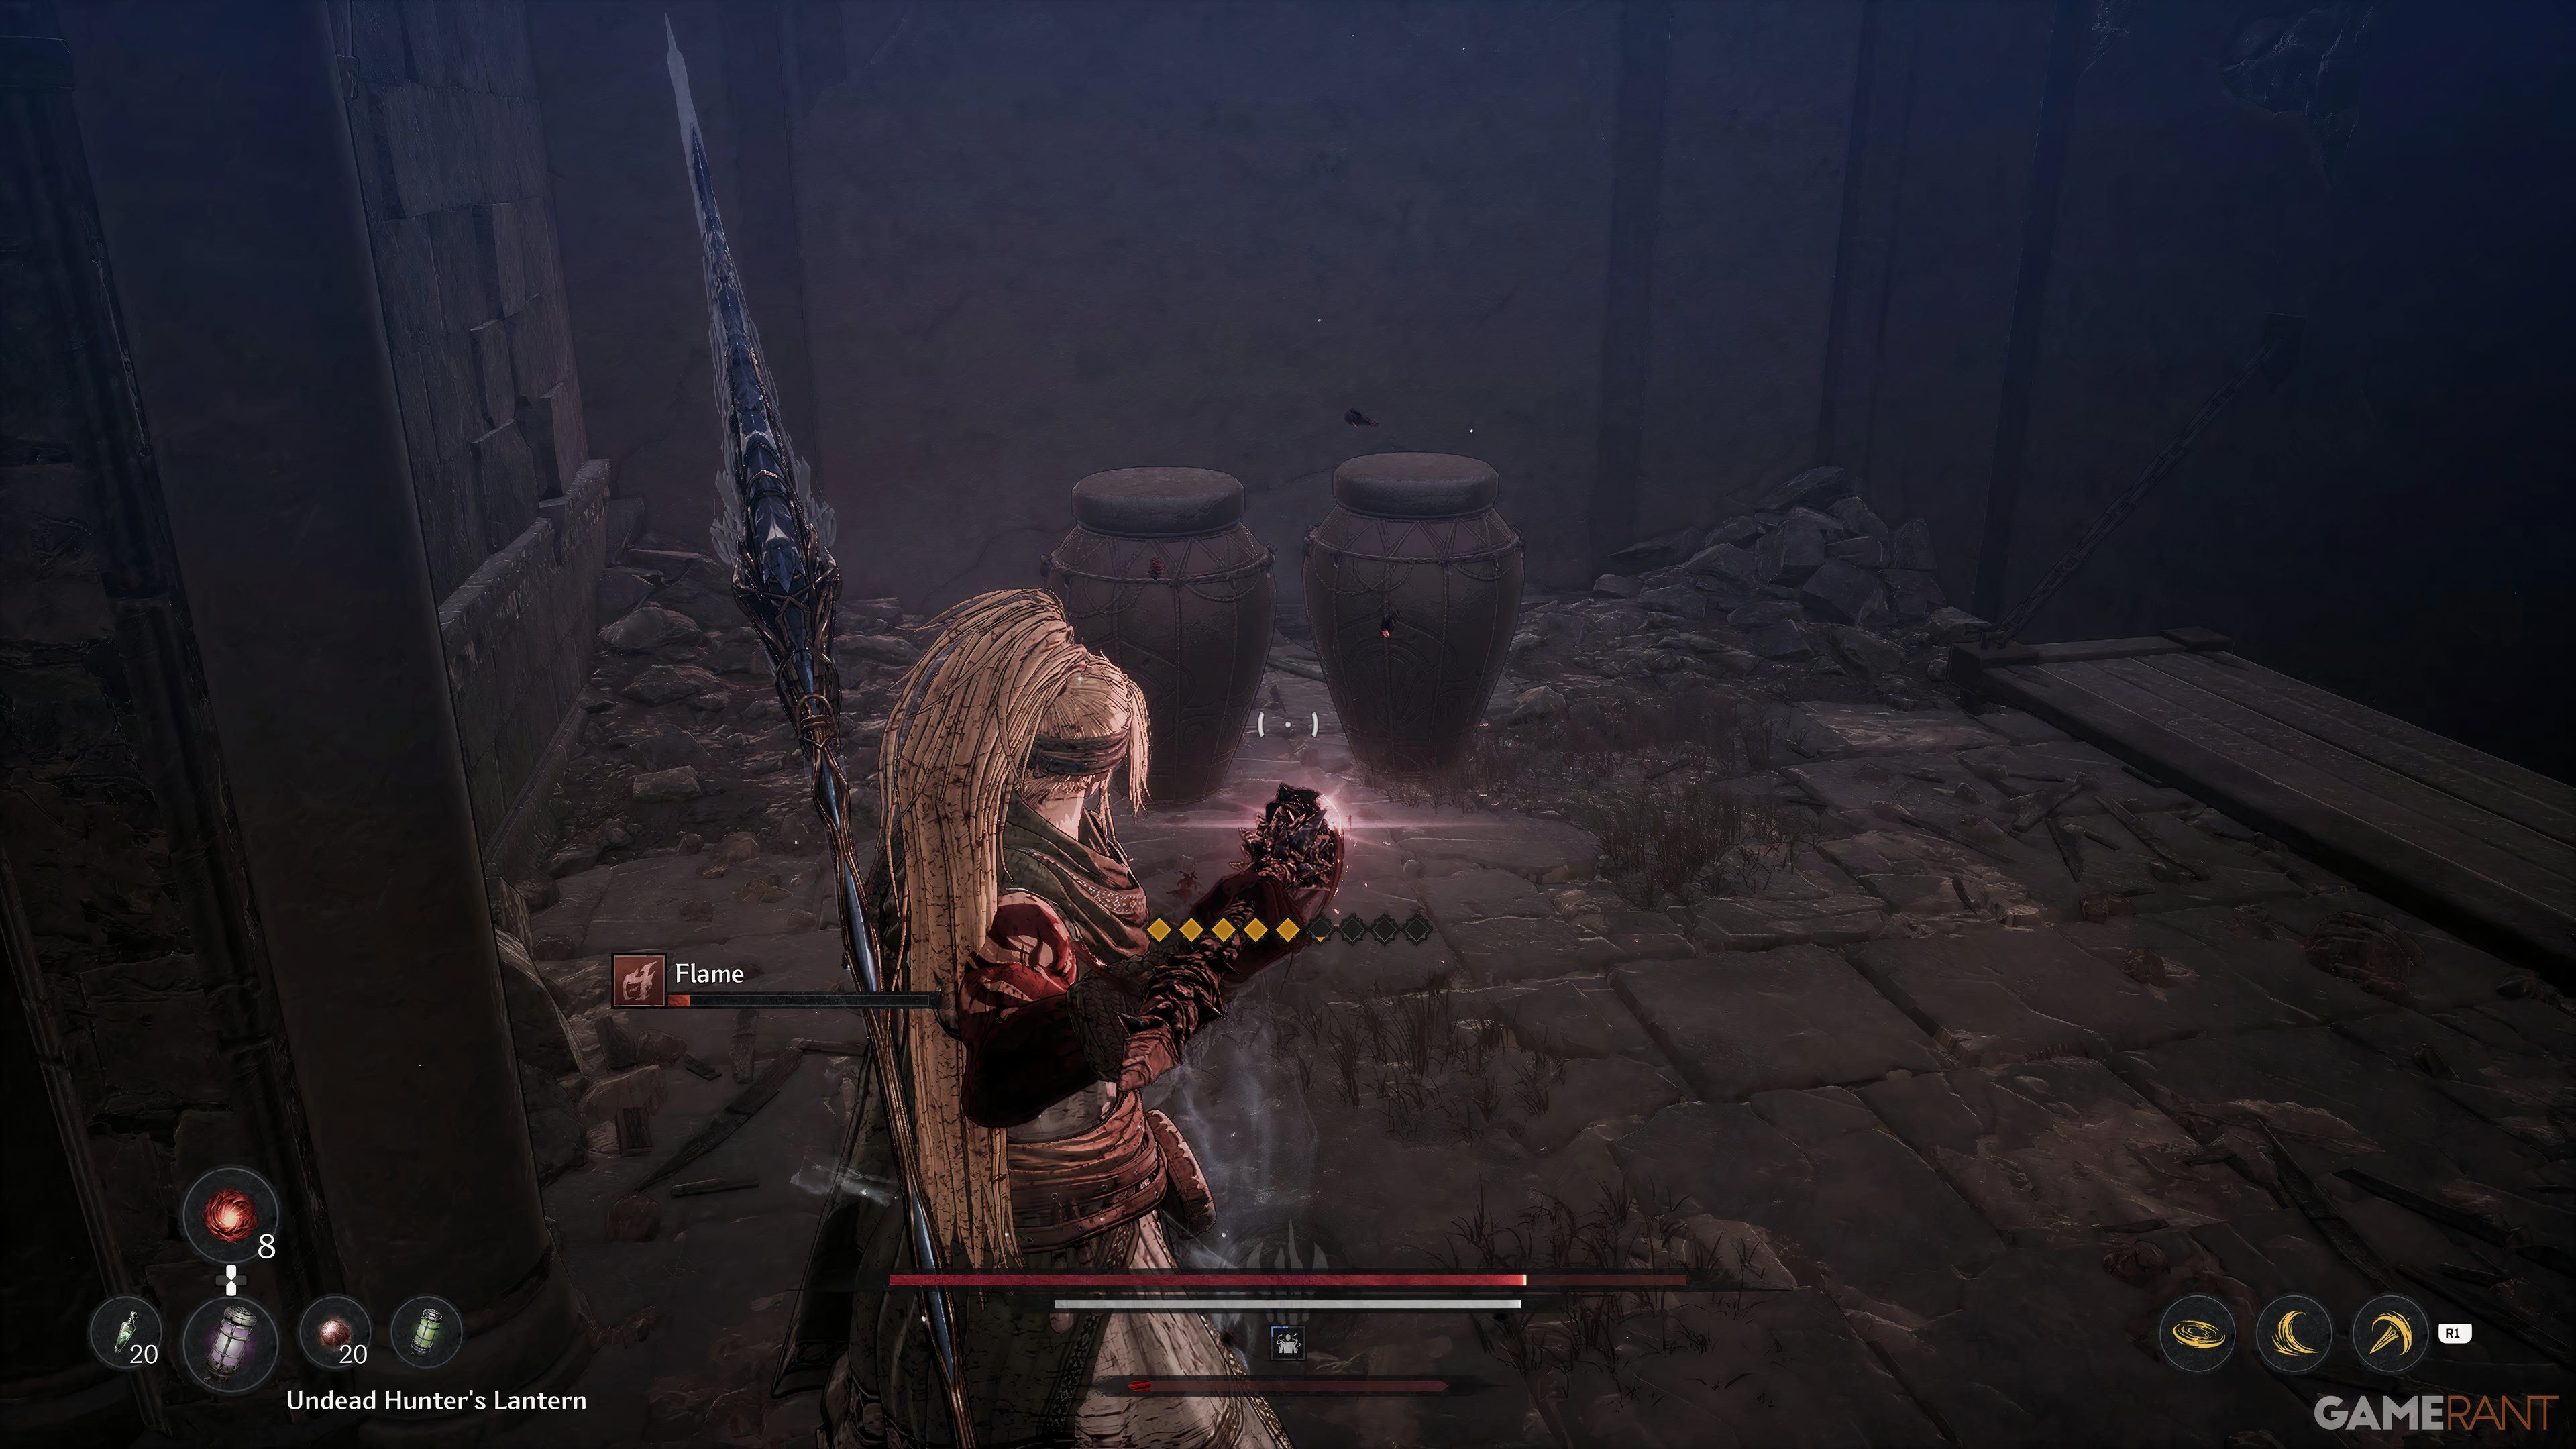
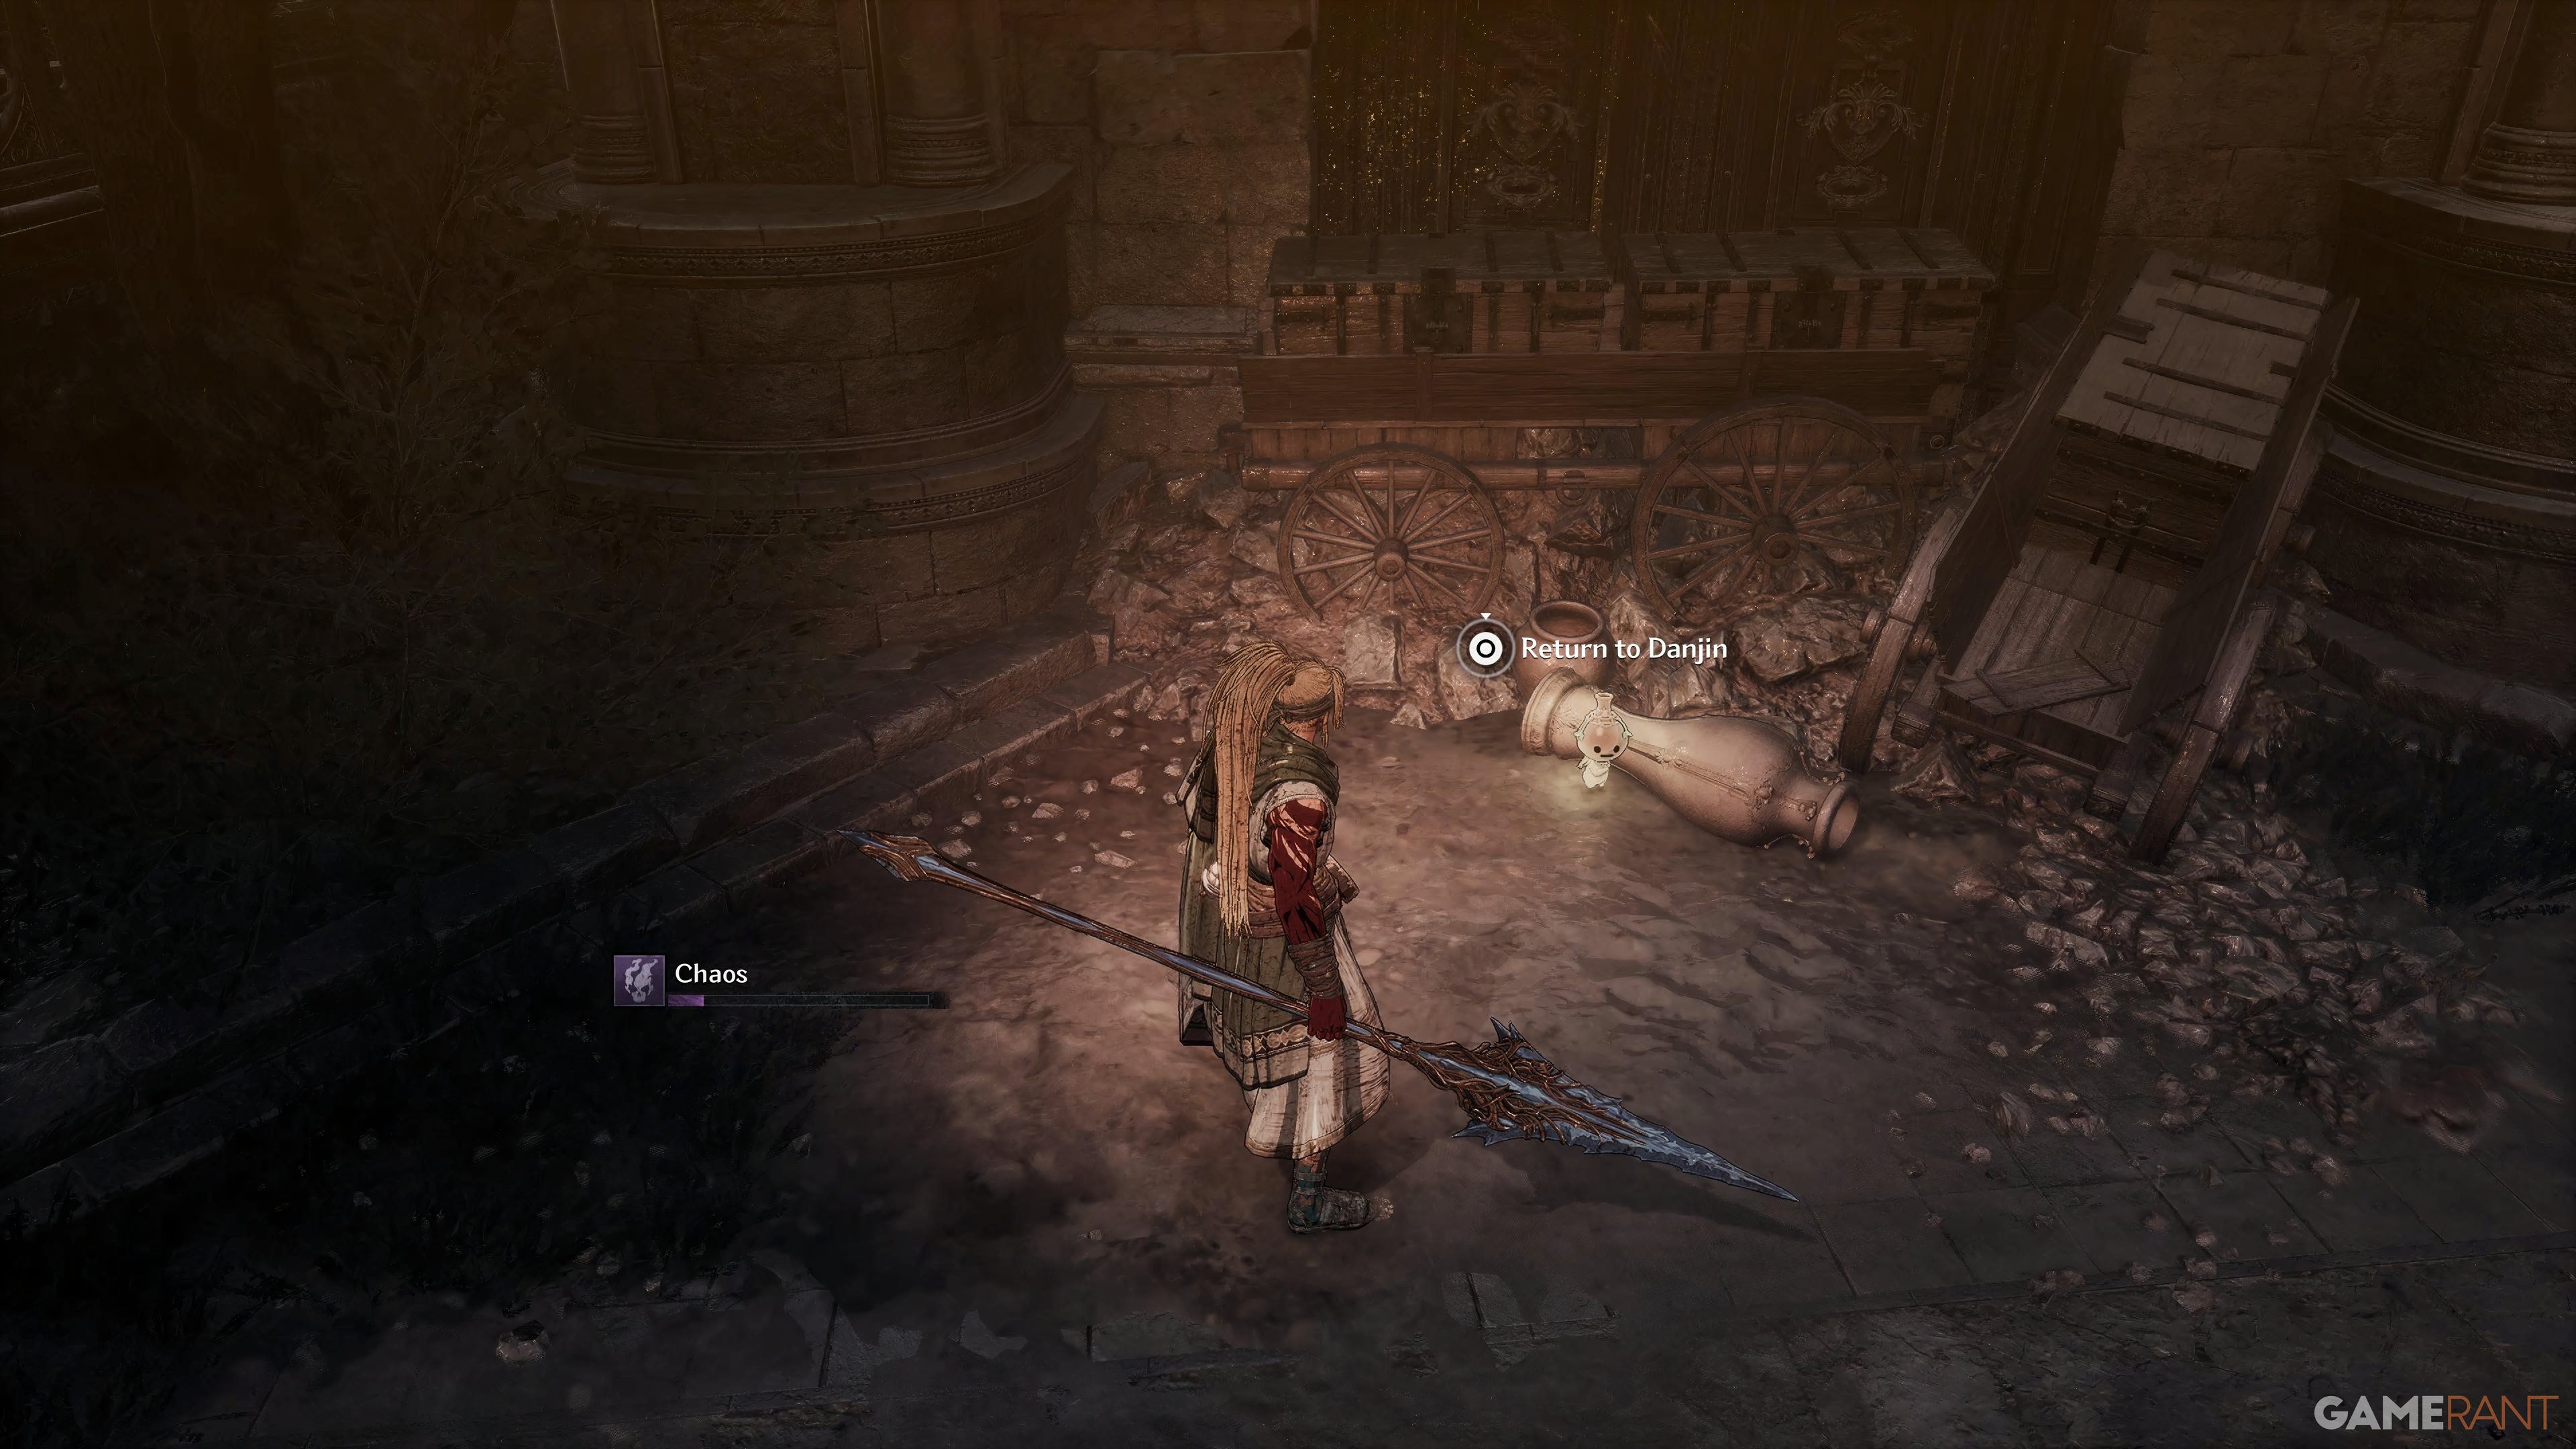
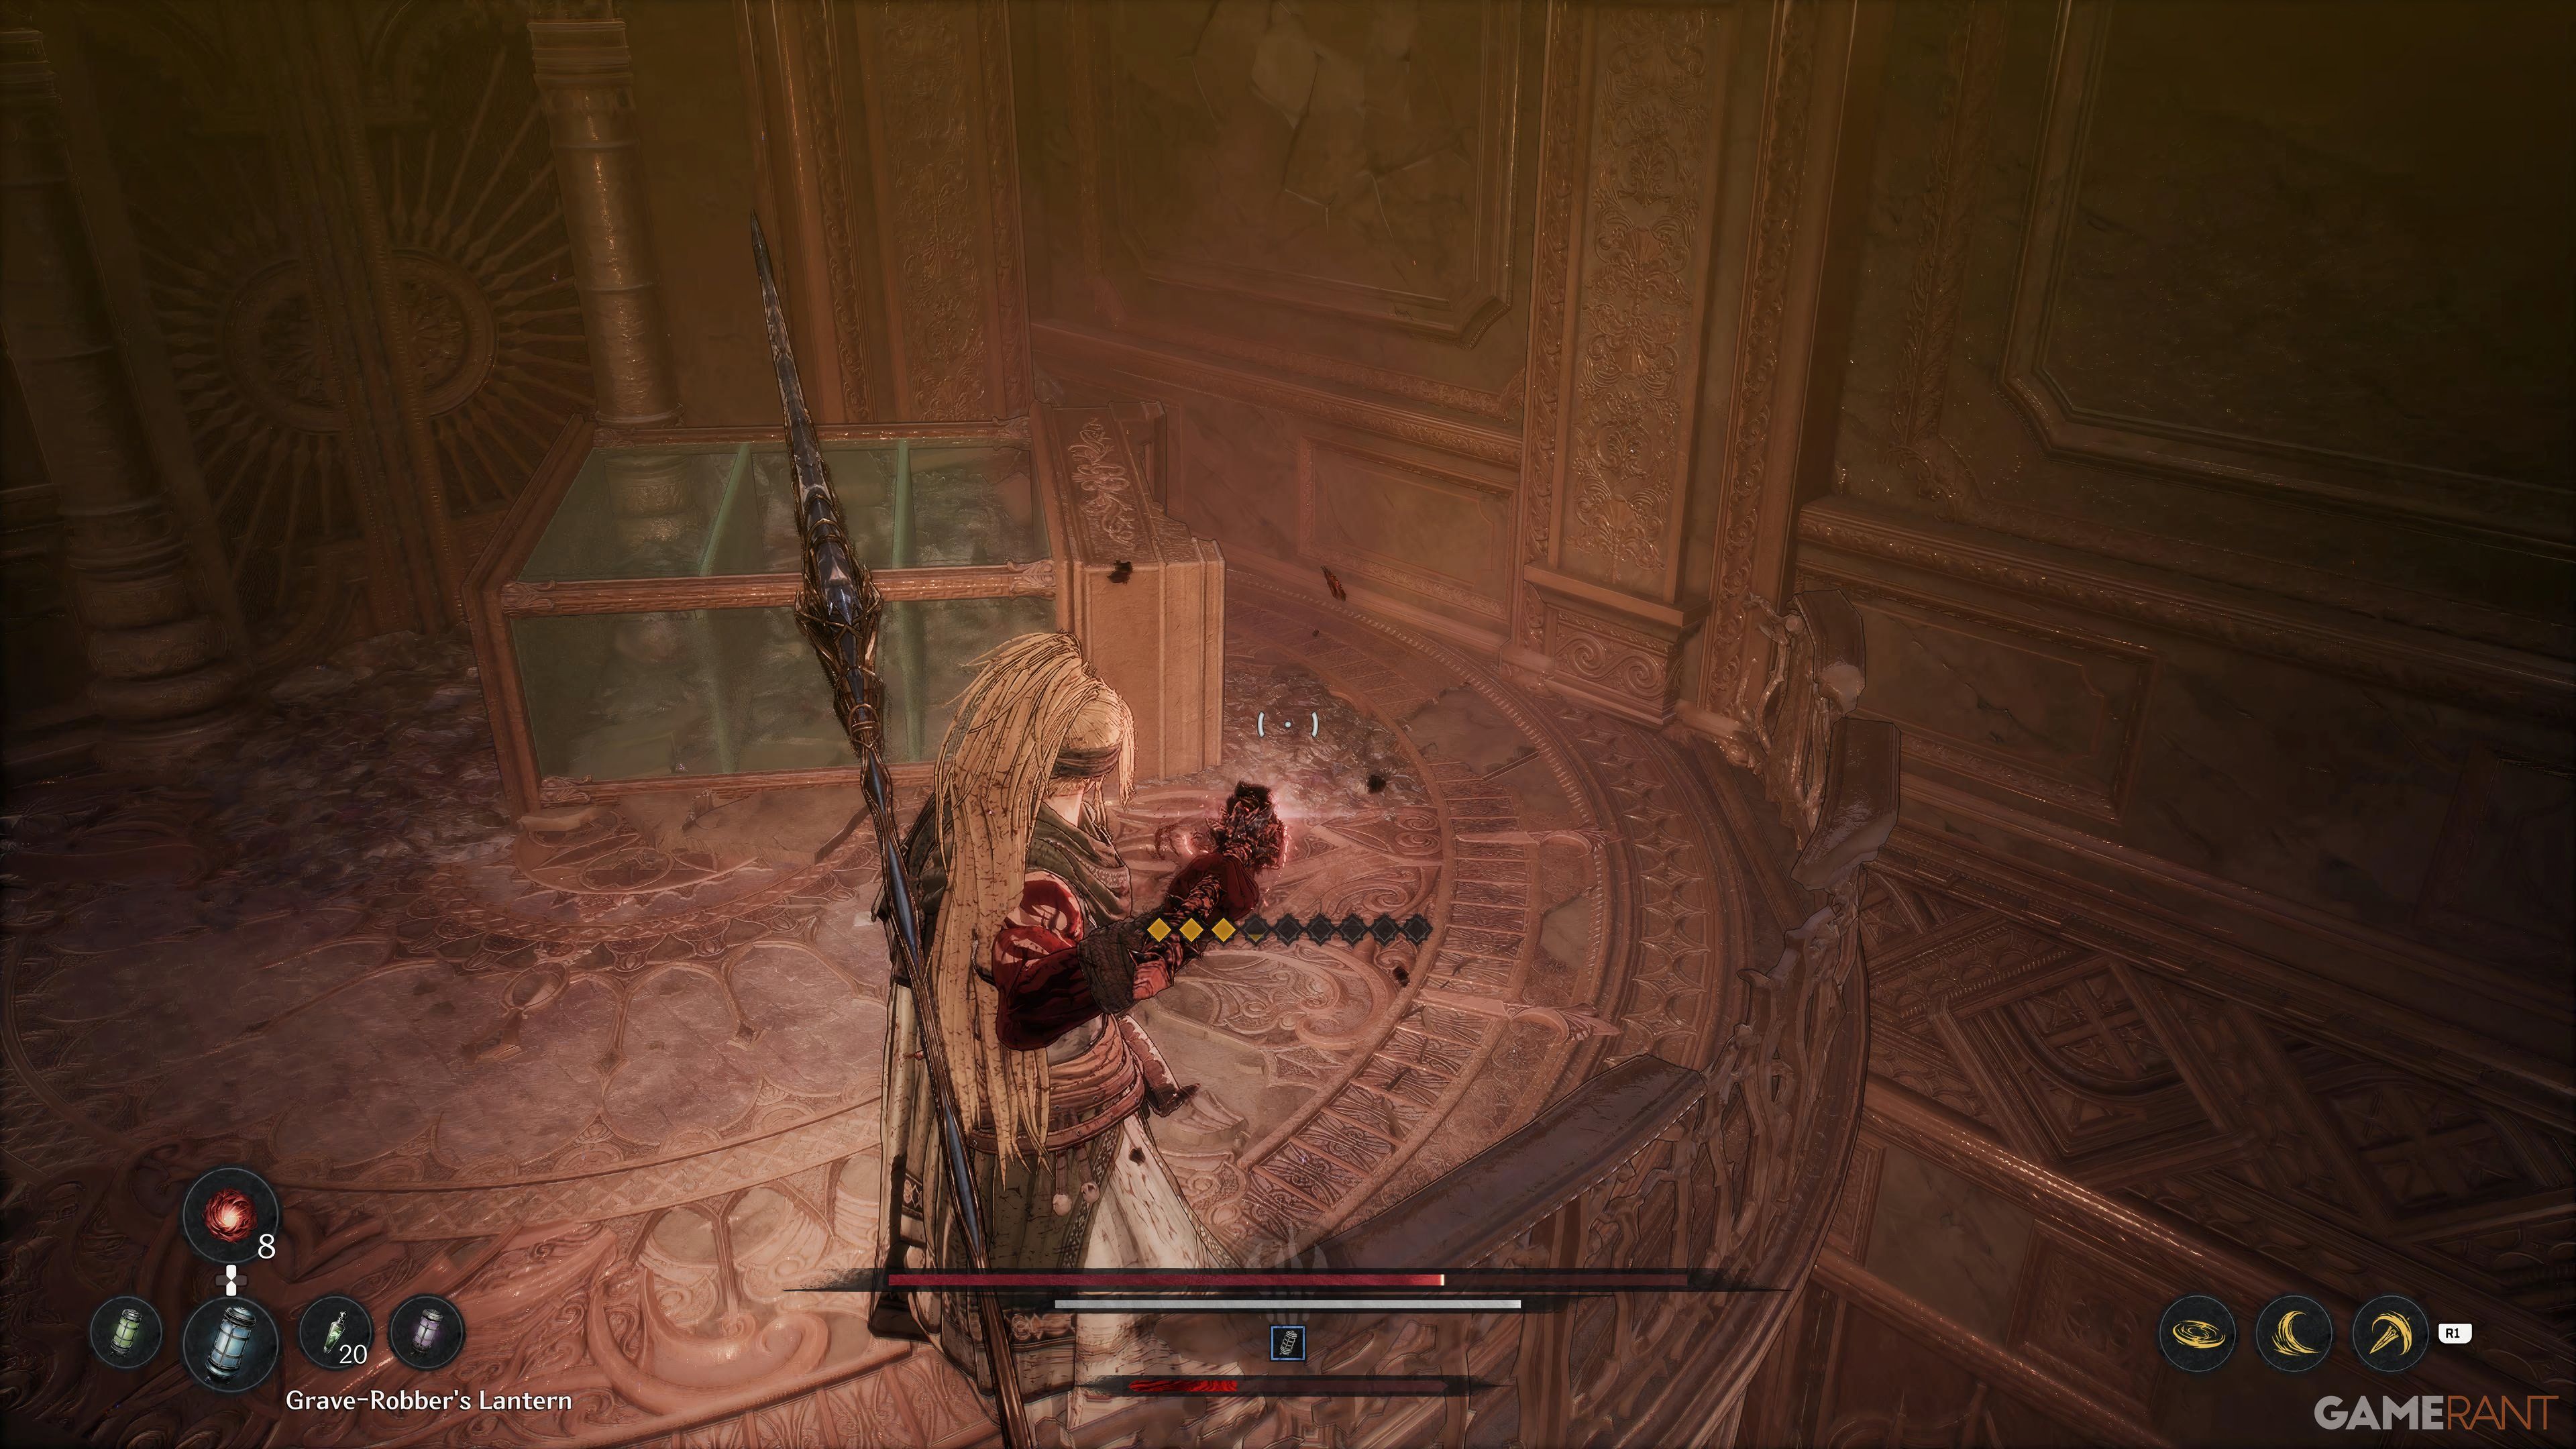
| 10 | First Act of Revenge | Central Storehouse Entrance |
 |
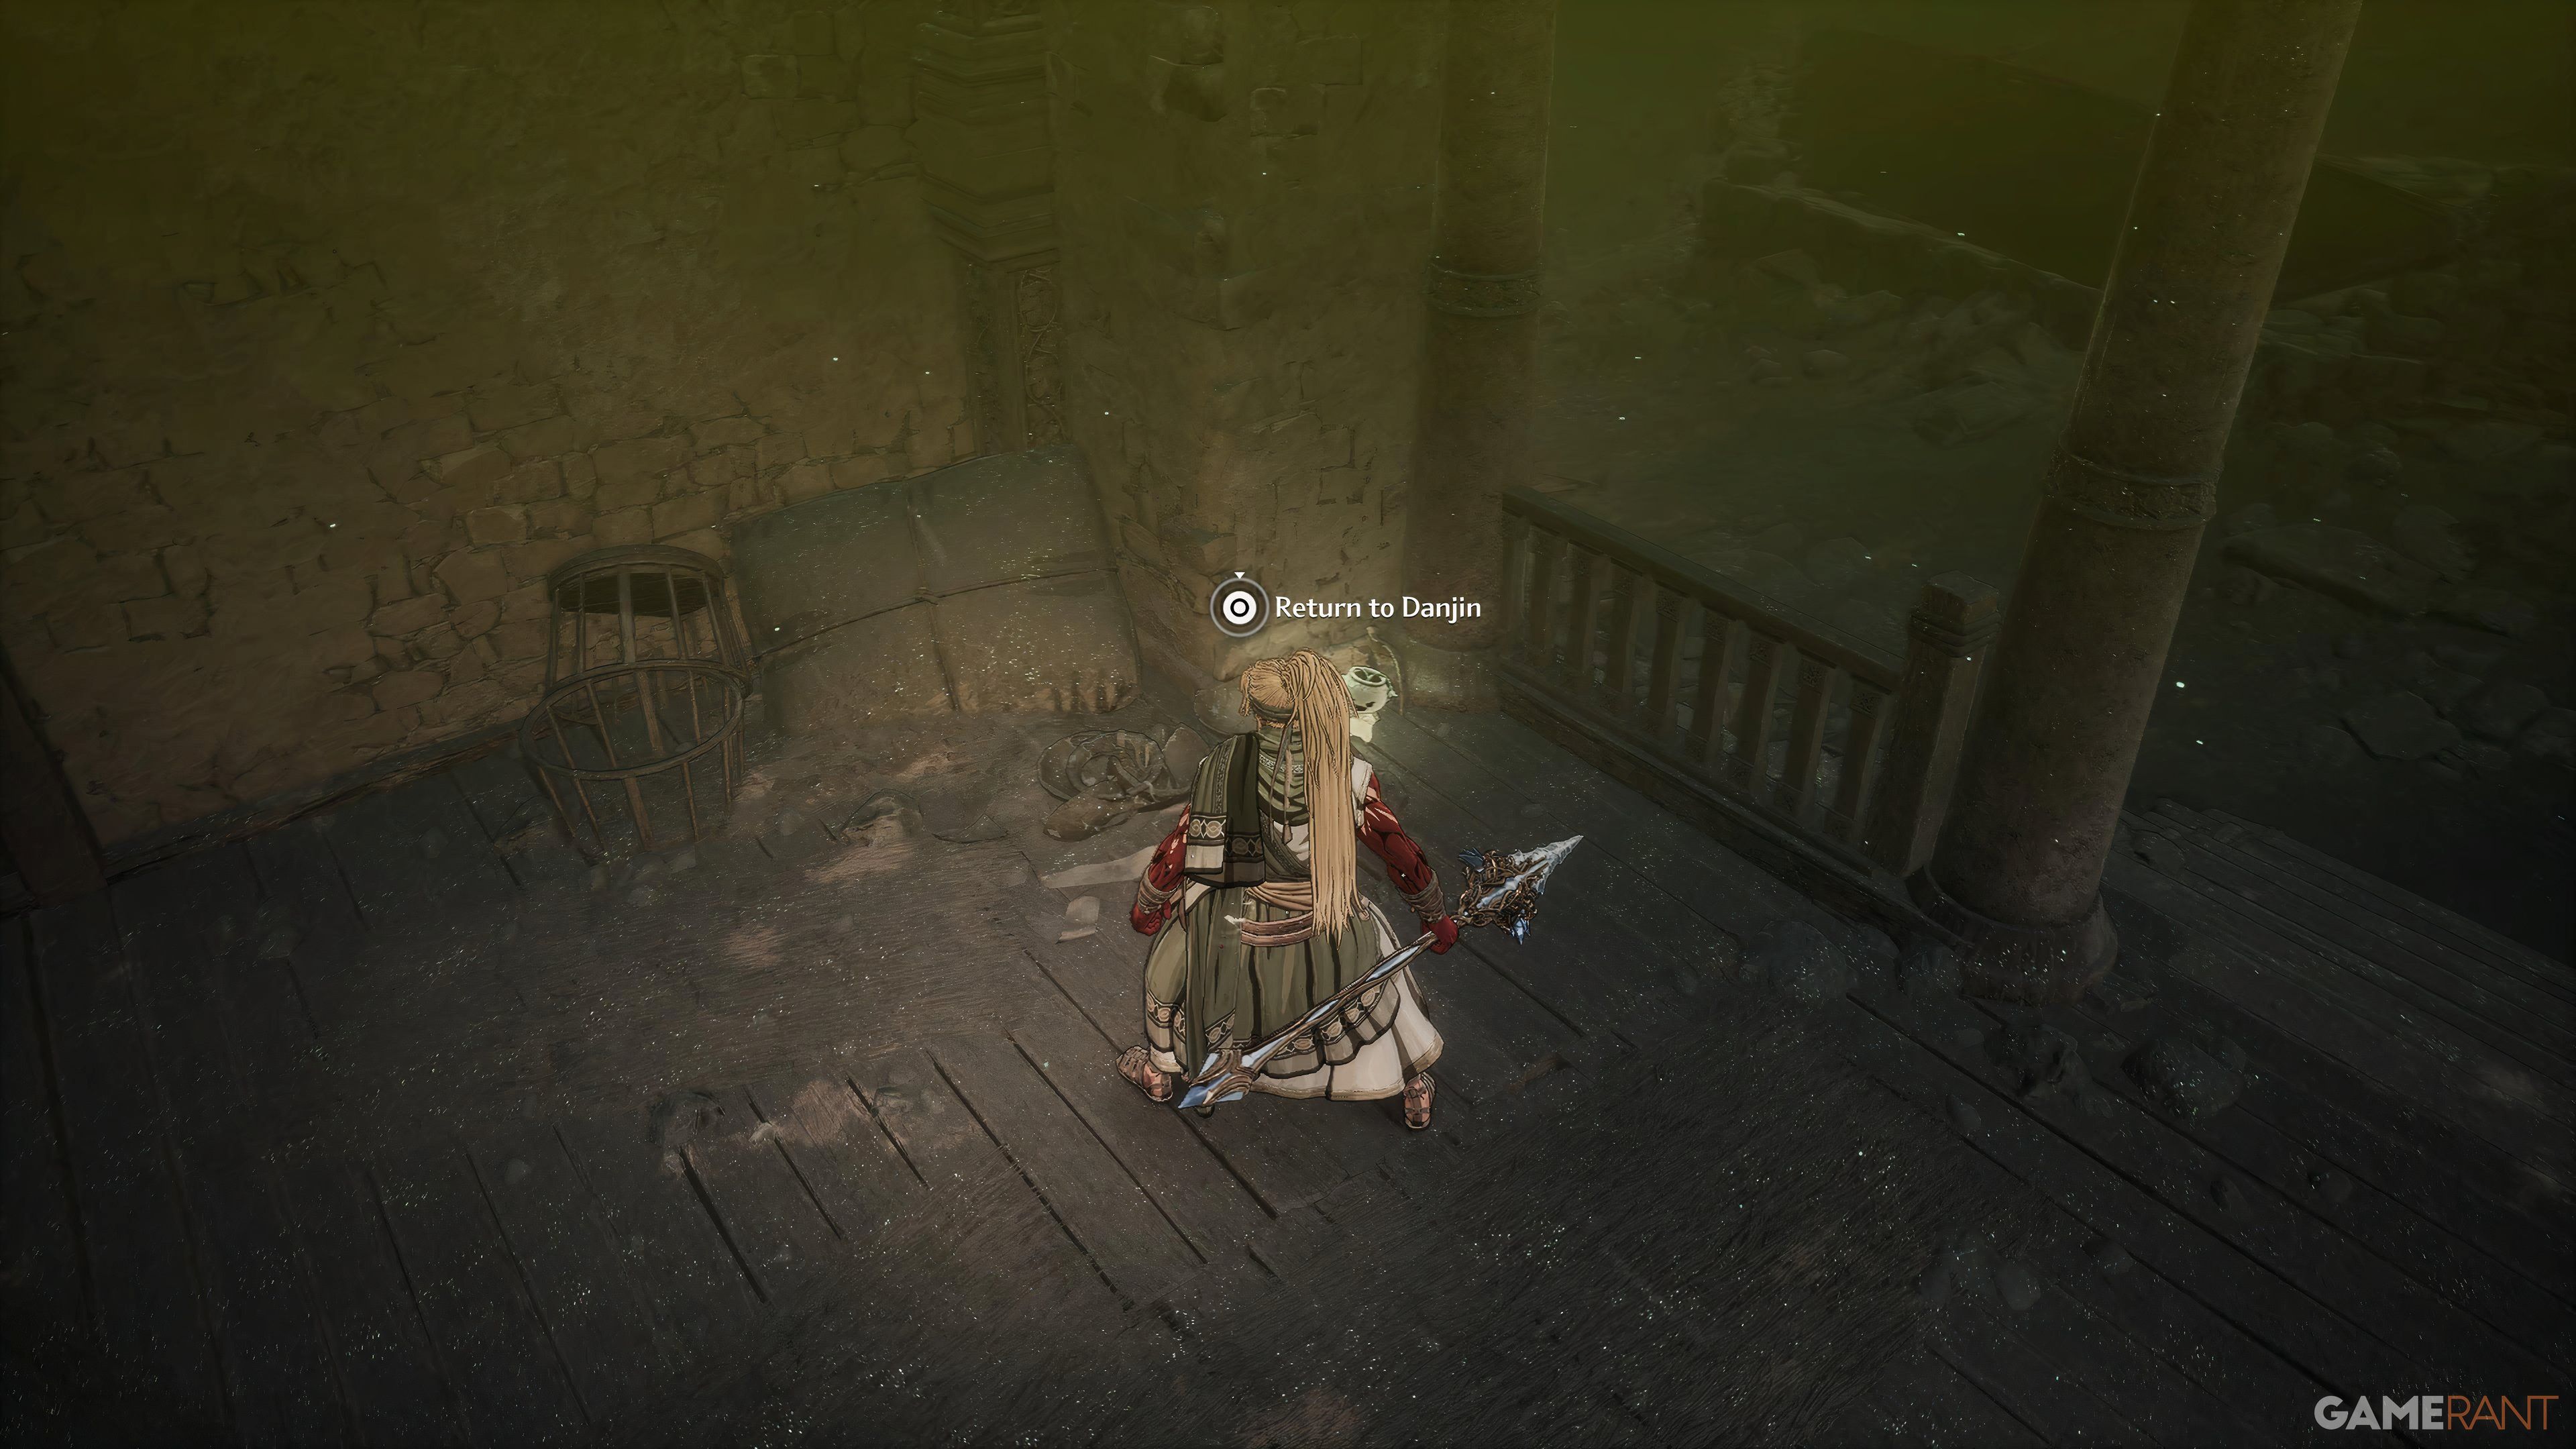
From the Blade Nexus, take a right, following the main path (not the path you open by kicking the cart). Drop down twice and deal with the Dragonkin in the next area. After dealing with them, go through the door and up the ladder. Drop down in the alleyway on your left, deal with the enemy, and break the vase at the dead end. |
| 11 | Night of Tragedy | Bhangau Lot |
 |
After interacting with the Blade Nexus, head right, going past the house, and take a right at the end to drop down. Here, to the left, you can find the Jarling. |
| 12 | Strange Stench | Collapsed Mine |
 |
From the Blade Nexus, climb the ladder and go along the beams until you reach the lift head, which you can send down to create a shortcut. From the lift, go forward, past the Red-Eyed Boulder Bat, and turn left at the end. You will soon reach a large room filled with Plague and Polluted Husks. After dealing with all of them, look towards one of the tables, which has a small vase next to it with the Jarling inside. |
| 13 | Blacksmith’s Heirloom | Dead Spiders’ Tomb |
 |
Follow the main path from the Blade Nexus, and as you approach the first open door with wooden barricades in front of you, look to the right to go up a slope and find the Jarling next to some wooden barrels. |
| 14 | Traitor Revealed | Fallen Citadel |
 |
After reaching this Blade Nexus, progress through the level until you find the Palemion Citadel Key, which opens the gate to the room on the ground floor. Open the gate and turn right at the end. Once you reach the room with multiple soldiers and a staircase that goes down, attack to break down the wall in front of you. You will find the Bard Scroll and the Jarling. |
| 15 | Kaleido | Temple’s Underground Passage |
 |
For this Jarling, you need to go through the level until you reach the room with the rotating flame devices on top of a structure that you can climb onto. Ignore the structure and go straight down the stairs. You will find the Jarling towards the right side of the room, next to one of the pillars. |
| 16 | Veiled Knives | Throne of the Veil |
 |
From the final Blade Nexus in the area, backtrack along the path until you reach the area with the fallen statue, where the Knivesveil enemy runs to ring the bell, alerting all the enemies. You can find the Jarling in this area, inside the partially broken-down structure. |
| 17 | Human Xilence | Main Cavern Stairway |
 |
Go past the Blade Nexus and the broken pillar to find some vases on the other side, with the Jarling inside. |
| 18 | Final Conquest | Rain-Drenched Training Ground |
 |
For this Jarling, exit the house with the Blade Nexus and turn right twice to find a vase at the end of the path. |
| 19 | Devoured Village | Sinister Prison |
 |
From the Blade Nexus, head straight, then turn right to go up the stairs. Take the first exit and hug the left wall to go all the way down the stairs. Turn right at the end and keep turning right at every corner until you reach the room with the tunnel-like entrance and blood on the ground. To the left of the room, you will start hearing noises indicating the Jarling is inside the small vase there. |
| 20 | Pavel’s Final Words | Overrun by Bandits |
 |
Go straight from the Blade Nexus and follow the path until you fight the Elite Enemy. After the encounter, turn left as you exit the room and head straight to find the Jarling. |
| 21 | Inconceivable Truth | Underground Shaft |
 |
In this area, follow the main path until you reach the room with plague bursting out of the rocks, right after crossing the bridge. Take the path going down and keep going until you exit the narrow pathway. As soon as you do, you’ll start hearing the chime, and the Jarling is located to your left, behind a small wall. |
| 22 | Why Have You Forsaken Us? | Sector No. 4 Laboratory Wing |
 |
From the Blade Nexus, head straight, drop down, and turn left to reach the steps. Climb down the ladder and lean left to find a lift that takes you up. Go straight, then turn left twice to arrive at the wooden beams. Here, you must carefully drop all the way down, one beam at a time. You will arrive in a room with the Jarling to your right, next to the bookshelf. |
| 23 | Escaping Linon Mine | Mine No.2 Central Management Hub |
 |
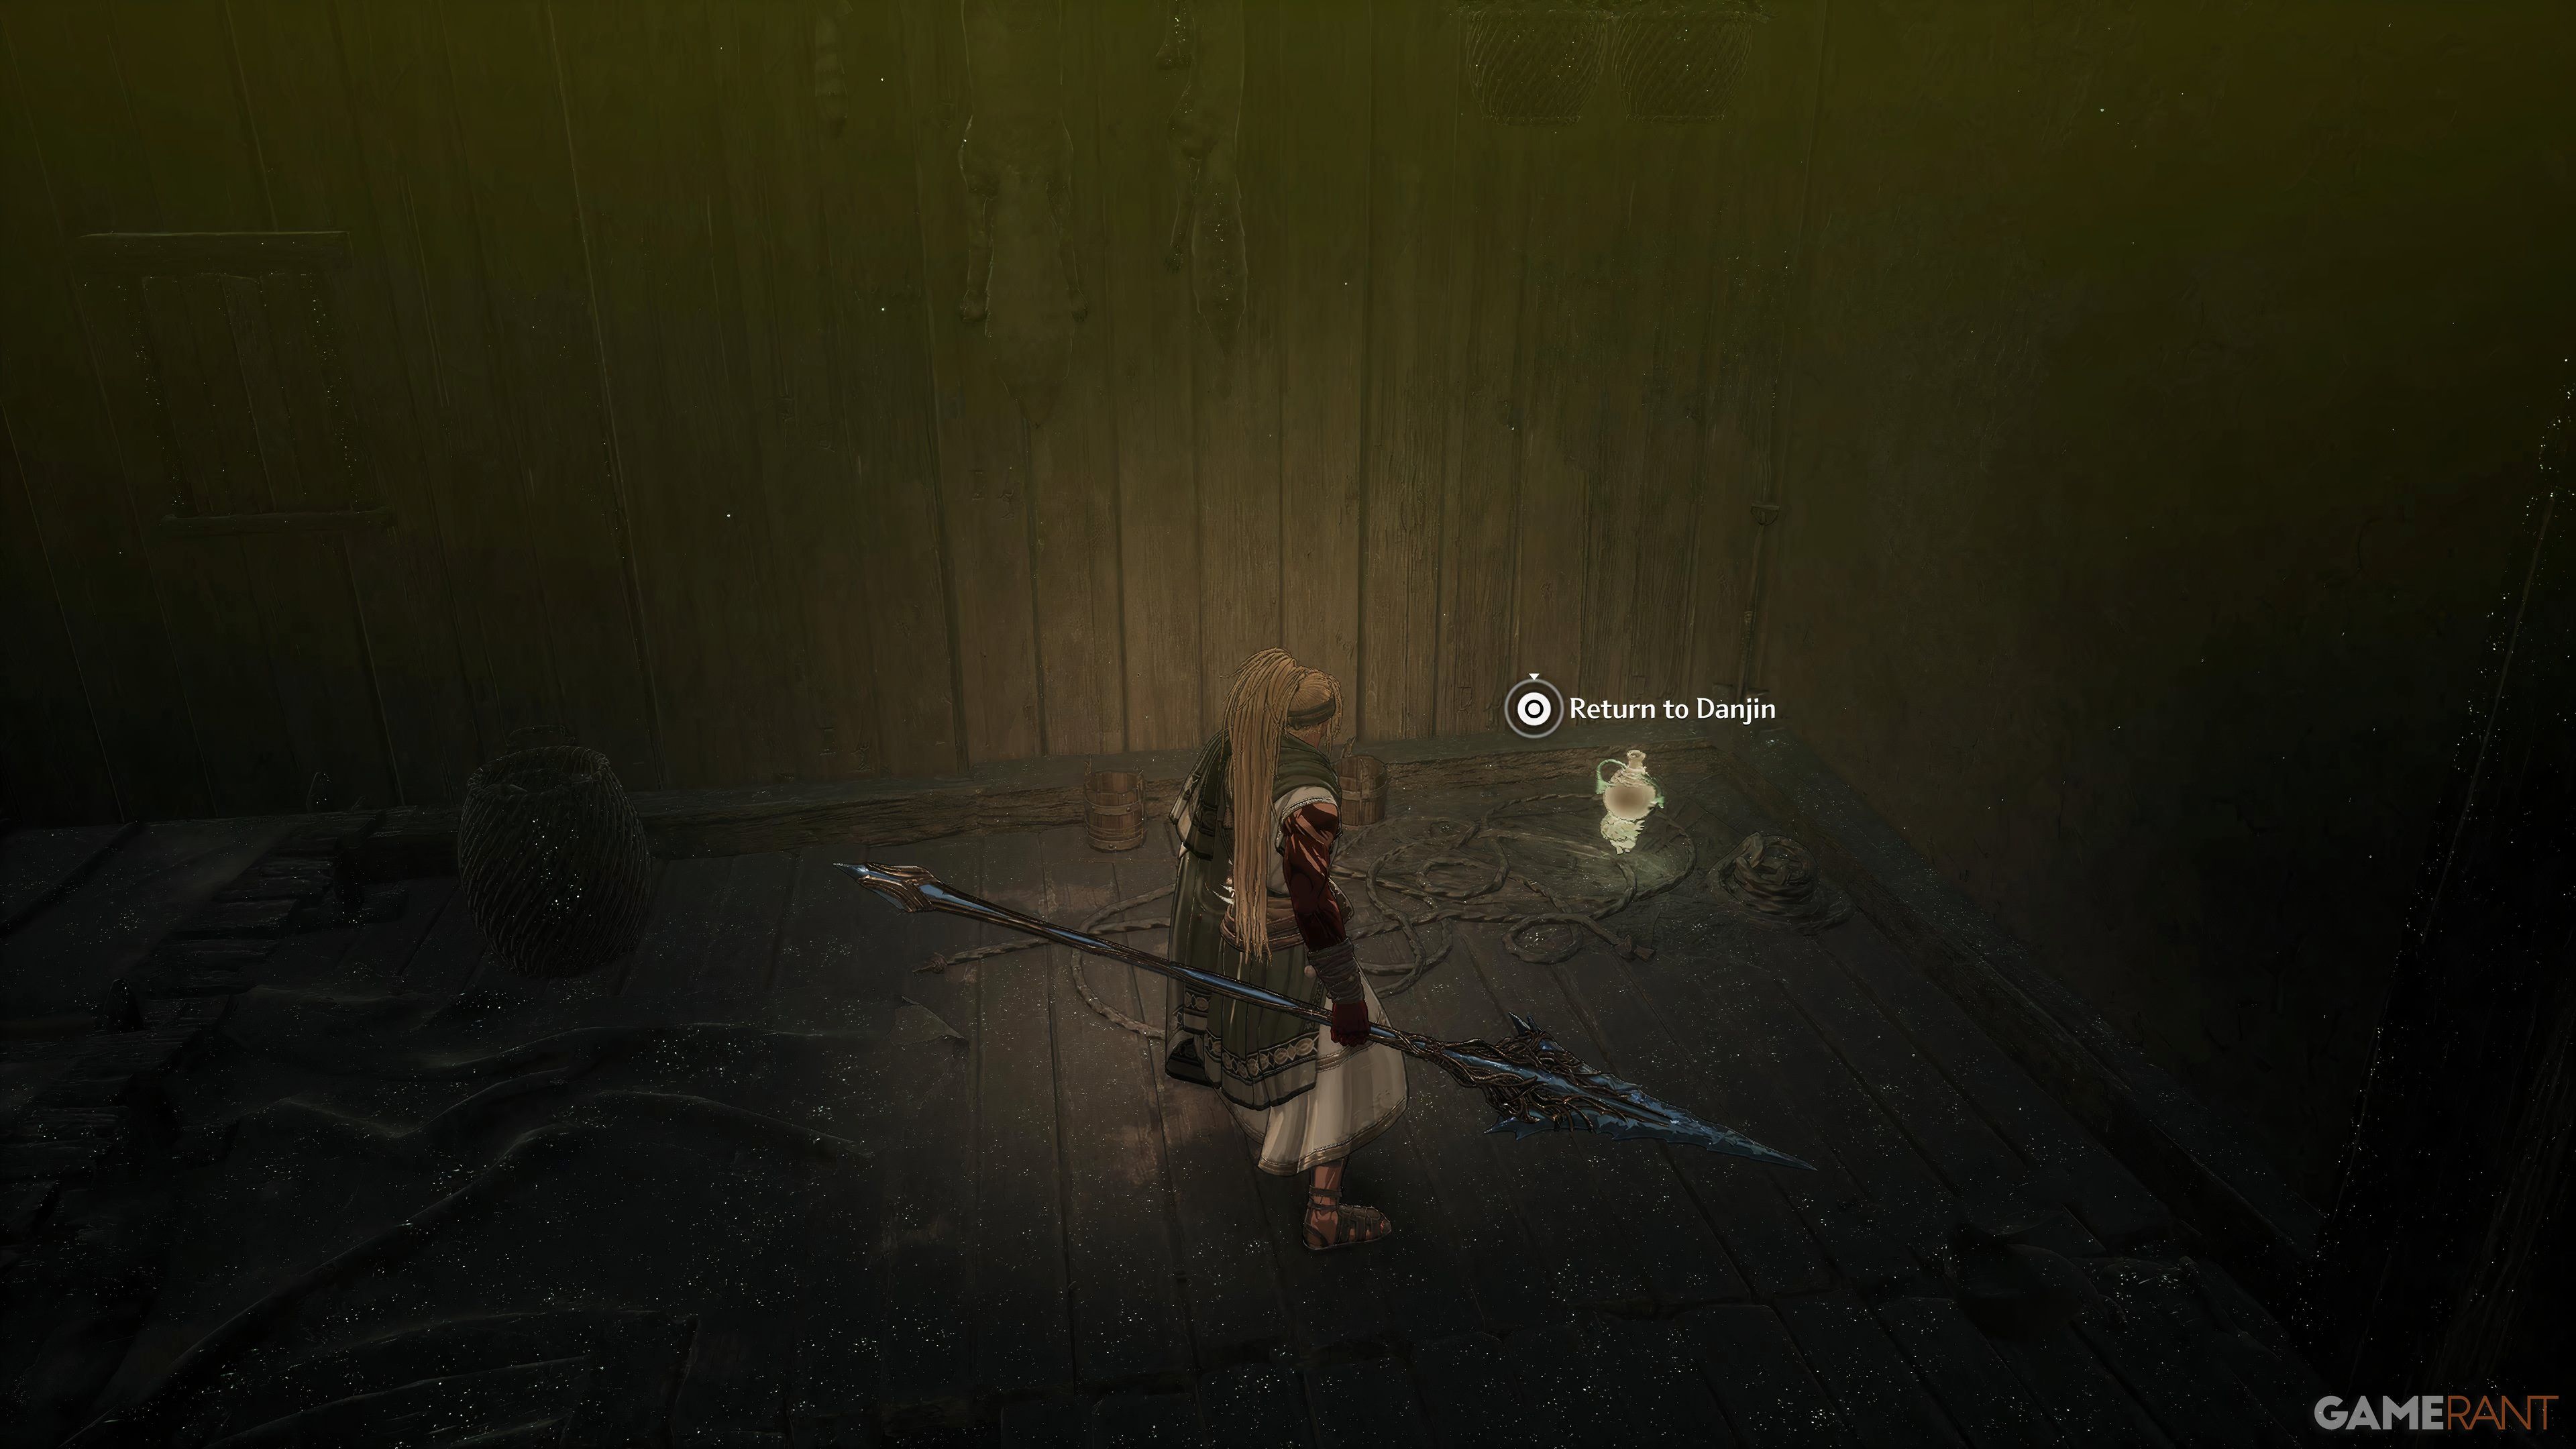
Go straight up the ramp, then turn left and drop down to the area below. Go straight and turn right to find the Jarling next to the posts with the hanging dead bodies. |
| 24 | Last Command | Death Row Prisoners’ Camp |
 |
Head down the stairs and descend the ladder. Go straight, then down the building and exit it through the left side. Follow the path and enter the second house, which you will have to exit through the side where the bowman is shooting arrows from. Once you are outside, deal with the second bowman, and you can find the Jarling at the end, next to the caged soldiers. |
| 25 | Witch’s Castle | Aldevir Citadel |
 |
From the Blade Nexus, head straight and open the door. Deal with the Beast of Madness and proceed up the stairs, then go left. Once you enter the library, head upstairs and turn left three times to find the Jarling located in a corner next to a bookshelf. |
| 26 | Lacrima | Outskirts of Aldevir Central District |
 |
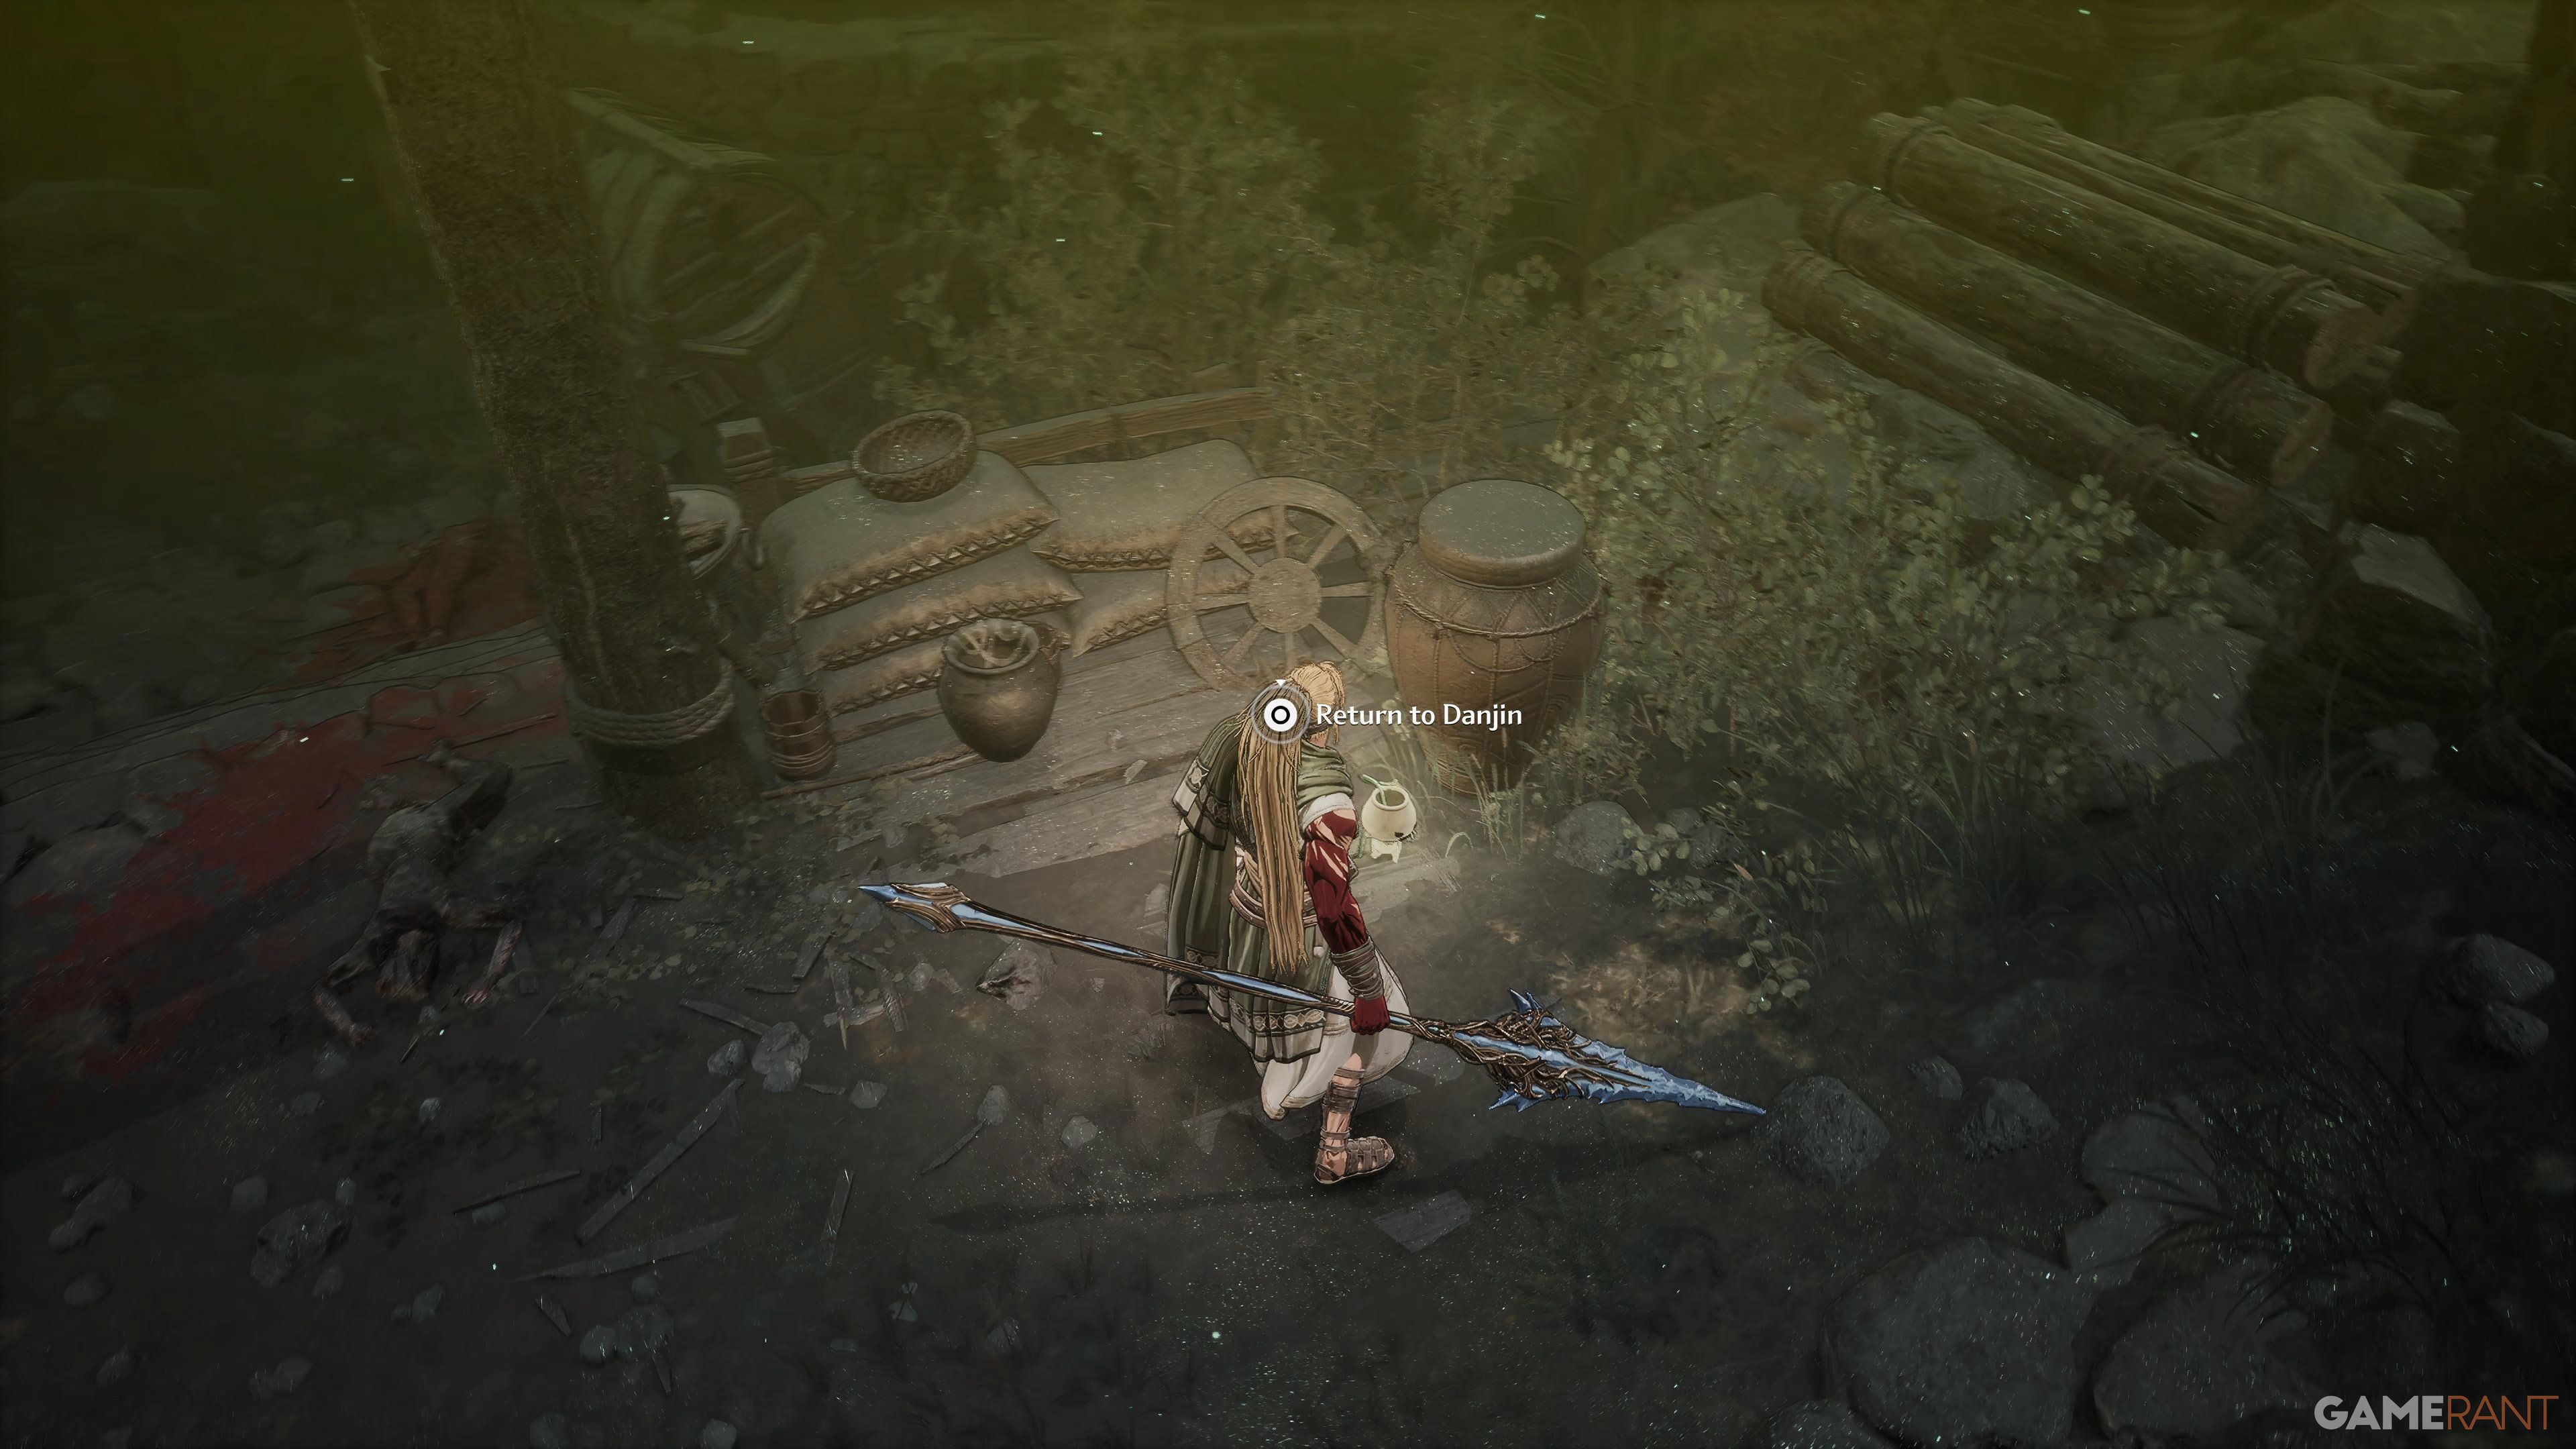
During this Bonus Mission, go down the stairs, take a left, drop down, and go outside. In the distance, you will spot a Failed Creation. To the left of this area is an entrance to a building that has the Jarling on the left side, next to the wooden barricade. |
| 27 | Unrequited Love | Vine-Covered Entrance |
 |
From the Blade Nexus, go straight, take a left, and go up the set of ladders. Once above, go straight and drop down on the left to enter the library. Exit through the door on the left and go to the opposite side of where you are now. As you enter the room, head upstairs and hug the left side until you reach the bookshelf, where you will find the Jarling. |
| 28 | Valus’s Axe | Laboratory Basement |
 |
Turn right and head straight, keeping in mind that you will need to turn off the power to go through the doorways. You will come across an Elite Enemy; defeat it, then head left and hug the right side, going through the doorway. You will find an Undead Assassin in this room, alongside the Jarling at the far end. |
| 29 | Hermit Mountains | Abyssal Bridge |
 |
From the Blade Nexus, go all the way down the stairs. When you reach the wooden barricades, look to the left path to notice a ladder that you can climb down to meet the Bard and also find a Jarling. |
| 30 | Atlante the Precise | Where Death Lingers |
 |
Go down the steps and continue forward. You will soon spot a vase on your left with the Jarling inside. |
| 31 | Corruptors’ Fortress | Massive Gate |
 |
Head left of the Blade Nexus and turn left up the first few steps. Head up the stairs ahead and then take the stairs on the right. Enter the building, turn right, and then go up the stairs. Here, you can spot a rectangular cutout on the floorboard that you can drop down. Drop down to the platforms with the three small vases, inside one of which is the Jarling. |
| 32 | Crimson Trace | Bloodstained Fountain |
 |
From the Blade Nexus, head straight, and after defeating the second Elite Enemy, take a left up the stairs to enter a building, with the Jarling right in front of you. |
| 33 | Last Sentinel | Fortress’s Great Bridge |
 |
For this Jarling, follow the main path and head inside the main building where you fight the Revenant Devourer. Head left through this area and go down the set of stairs until you reach a spiral staircase right after the Elite Enemy. Go all the way up the stairs to find the Jarling on your right. |
| 34 | Transcendental Sword | Tomb of the Forgotten |
 |
Drop down, take a left, and follow the path until the end. You will find another space to drop down below, which takes you to an open area with a statue in the middle. Proceed forward, and after fighting the Renowned Spellblade’s Shadow, turn left, avoiding the trap below, and find the Jarling on the far left. |
| 35 | Strange Melody | Grand Central Theatre |
 |
Turn around from the Blade Nexus and turn right to go up the stairs. Follow this path and take the first left to find an illusory wall that you can attack to go through, where you will find a chest and the Jarling in the room. |
| 36 | Centurial Order | Annex Corridor |
 |
Follow the main path until you go down the steps next to the Ballista. Turn left and enter the doorway in the distance to find this Jarling. |
| 37 | Remnants of Chaos | Laboratory No. 3 |
 |
From the Blade Nexus, turn around, turn left, and keep going straight to find an illusory wall on your left. Attack it to go through and find the Unending Tragedy Scroll and the Jarling. |
| 38 | Fall of Empire | Church |
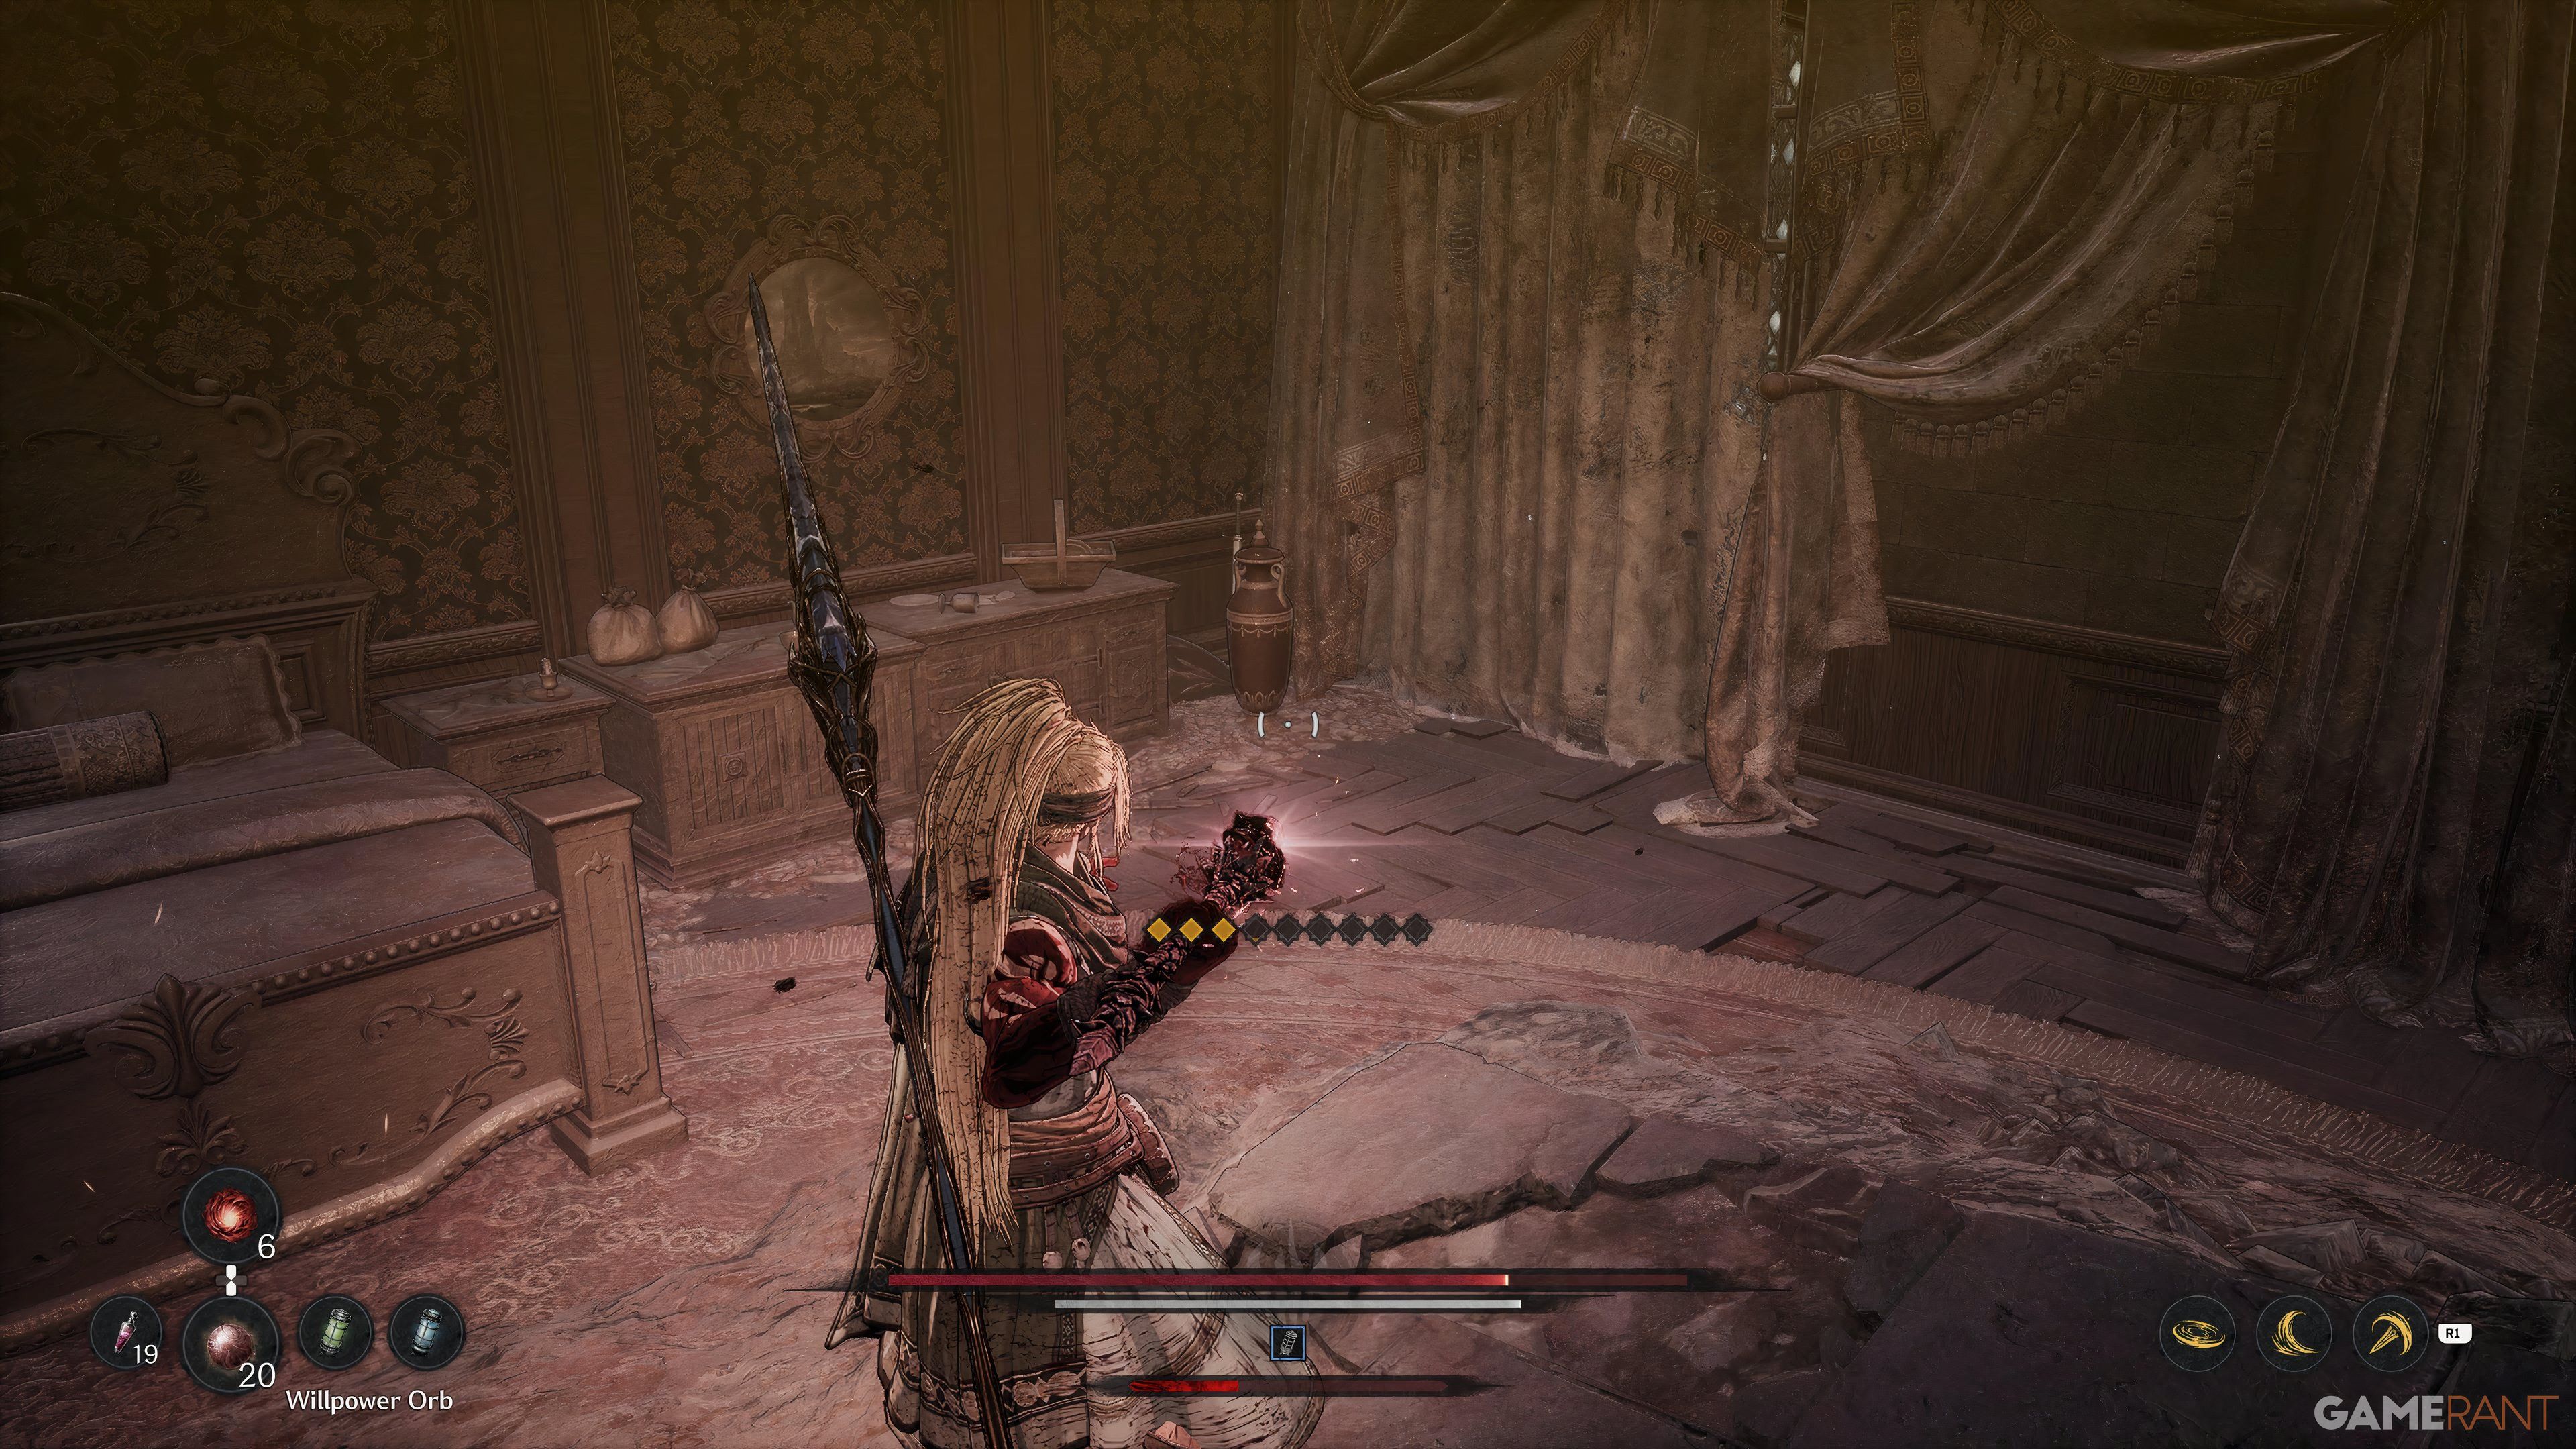 |
Go outside the building and take a left, going past the enemies and entering the building on the left side. Go up the stairs on the left and enter the room on your right. Keep going up the stairs, across the hallway, and up another set of stairs to finally reach a room on the left, with the Jarling on the other side of the bed. |
| 39 | Disobedience | Crumbled Residence |
 |
Drop down, turn left, and go up the stairs to find the Jarling at the end. |
| 40 | Charon’s Chain | Where Despair Echoes |
 |
This Jarling is directly in front of the Blade Nexus. |
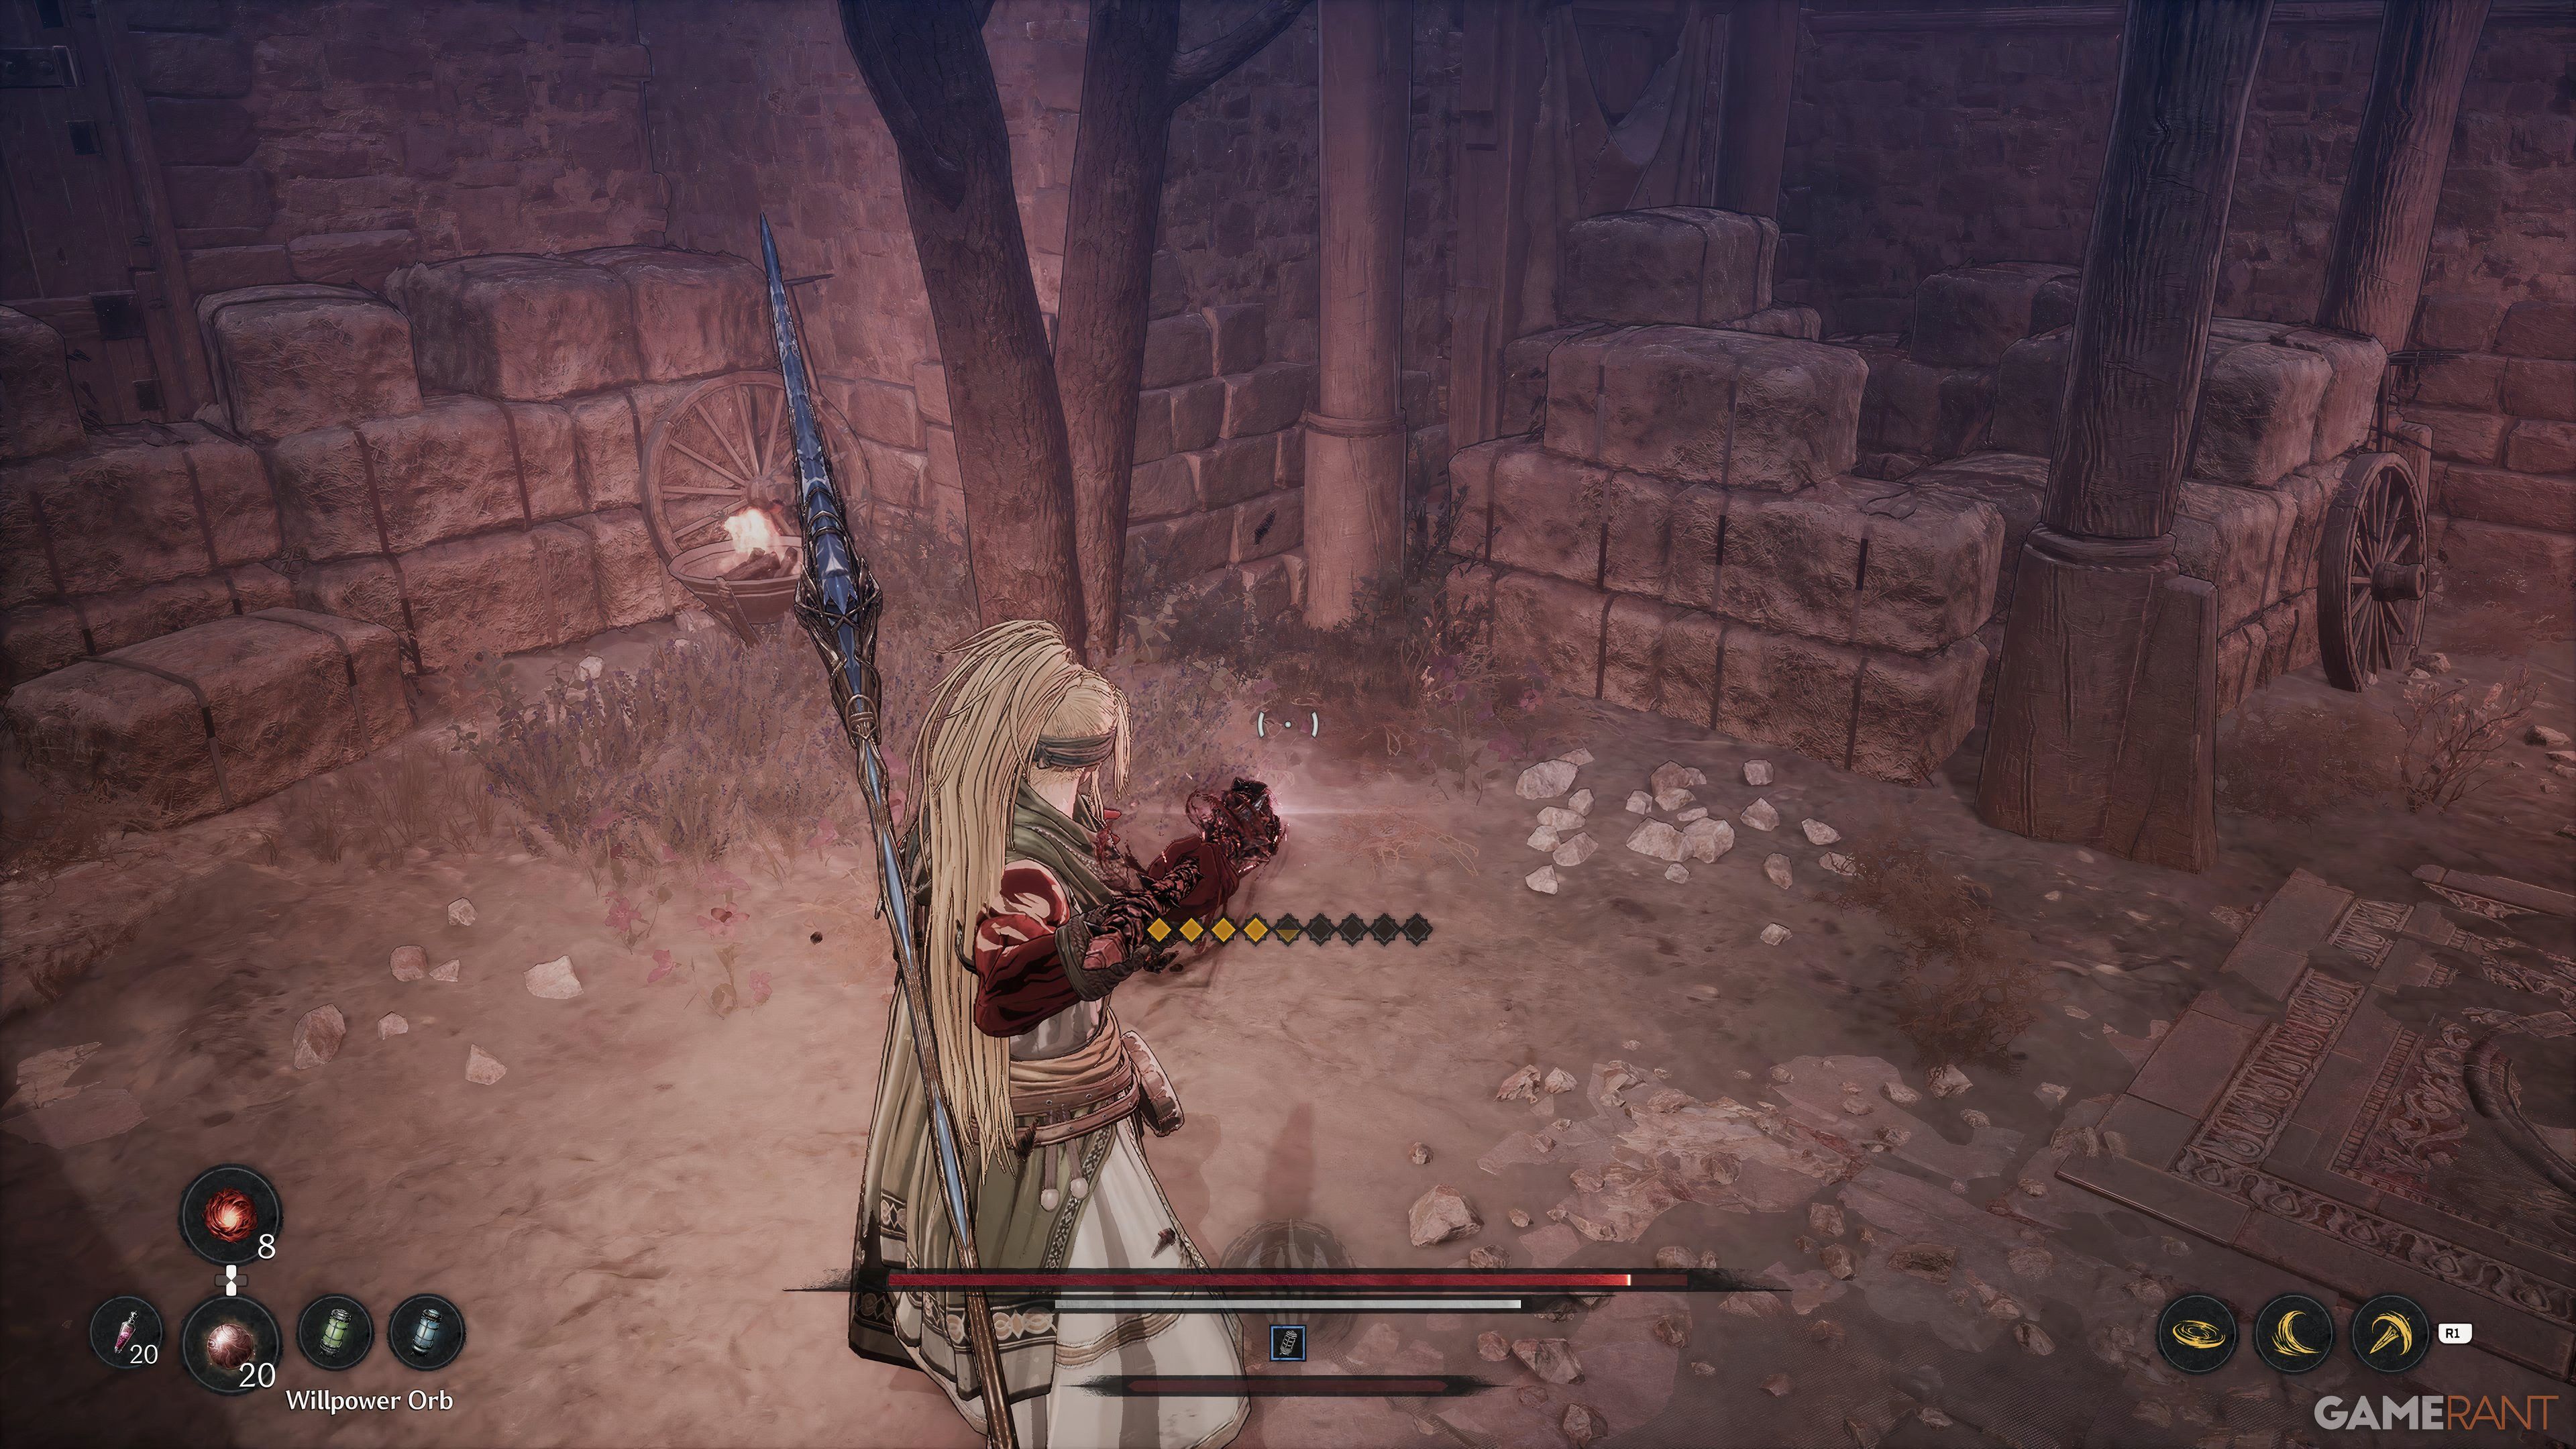
| 41 | Birth of Evil | Destroyed Bridge |
 |
From the Blade Nexus, head towards the bridge to the right of the stairs, cross it, and stay on the left side. Soon, you will come upon a few jars, inside which is a Jarling. |
| 42 | The Vow | Forbidden Passage |
 |
Go left of the Blade Nexus and go down the stairs. Hug the left wall and go down the ladder, after which you must drop down onto the Elite Enemy below. Open the gate and go through, then take a left, followed by a right to reach another room. Head right to go up the stairs, then take another right to come upon a ladder that you must ignore. Look around the room for the Jarling. |
| 43 | Bloodied Sanctuary | Main Entrance of the Temple |
 |
Take a left and go down the lift. Head down the stairs and open the first door on your left to find the Jarling inside. |
| 44 | Master of Chaos | Imperial Palace Garden |
 |
From the Blade Nexus, go straight and then down the stairs. Take the first right, then go up the stairs on the right side. At the end of this path, you will find the final Jarling. |
Read More
- Apothecary Diaries Ch.81: Maomao vs Shenmei!
- Gold Rate Forecast
- Batman and Deadpool Unite: Epic DC/Marvel Crossover One-Shots Coming Soon!
- Who was Peter Kwong? Learn as Big Trouble in Little China and The Golden Child Actor Dies at 73
- Mobile MOBA Games Ranked 2025 – Options After the MLBB Ban
- Hunter Schafer Rumored to Play Princess Zelda in Live-Action Zelda Movie
- 30 Best Couple/Wife Swap Movies You Need to See
- Netflix’s ‘You’ Season 5 Release Update Has Fans Worried
- Gachiakuta Chapter 139: Rudo And Enjin Team Up Against Mymo—Recap, Release Date, Where To Read And More
- Summer Game Fest 2025 schedule and streams: all event start times
2025-04-21 02:09