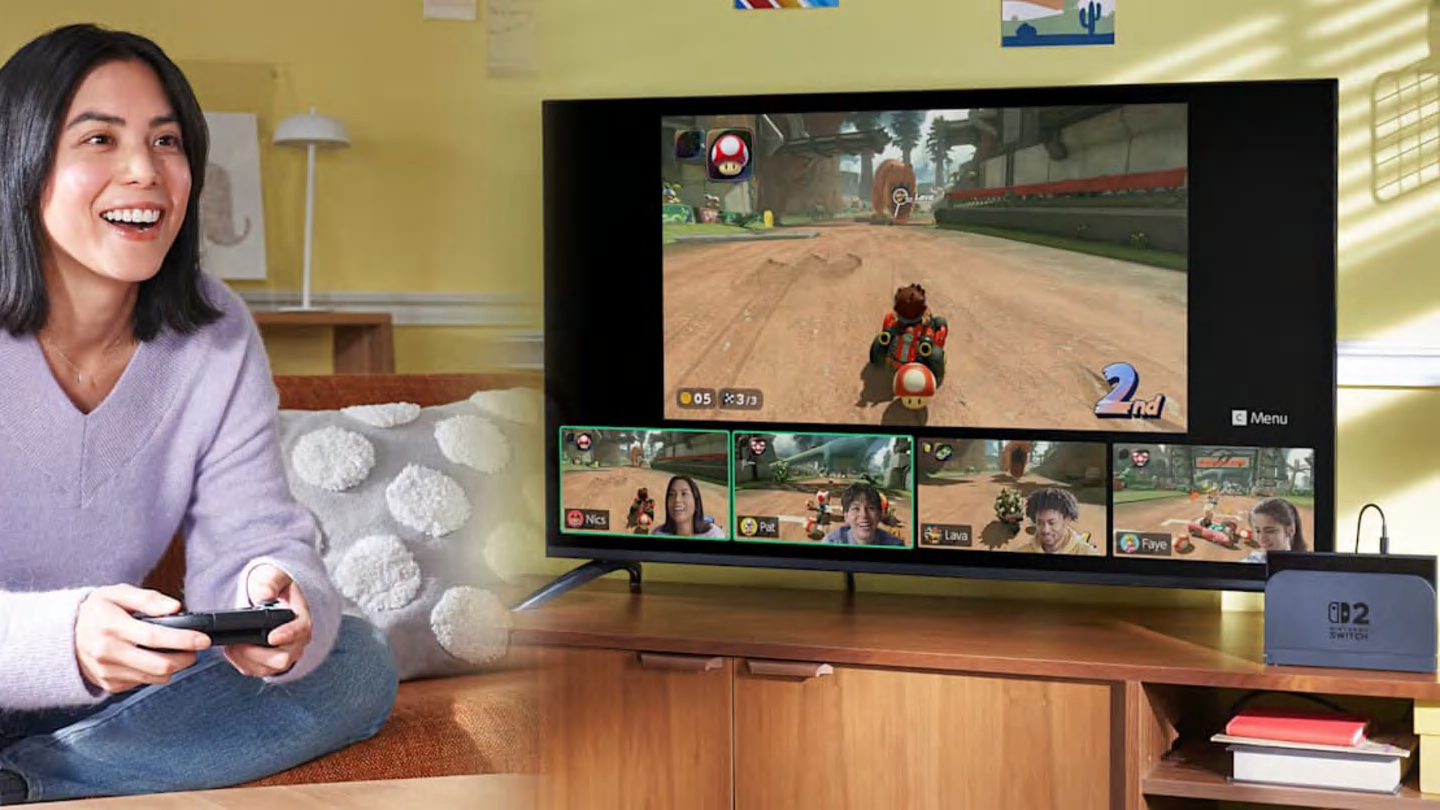
One of the significant aspects of Nintendo Switch 2 is the GameChat feature, which Nintendo seems to have prioritized highly, as indicated by the inclusion of a dedicated button on both Joy-Con 2 and Pro Controller 2. In essence, GameChat functions as an integrated chat system for Nintendo Switch 2 users, enabling voice calls, video chats, screen sharing, and occasionally gameplay sharing with other players online.
To get started with GameChat, there are a couple of initial procedures you’ll need to follow, such as SMS verification. Here’s a step-by-step guide to help you set up and operate GameChat on your Nintendo Switch 2.
Switch 2: How to set up GameChat
Initially, click on the GameChat logo on your Switch 2’s main screen or press the C button on your controller. Regardless of your method, they both lead to the same result. Upon doing so, you will encounter a notice stating that GameChat is free until March 2026. Following this period, having a Nintendo Switch Online subscription becomes necessary for its usage.
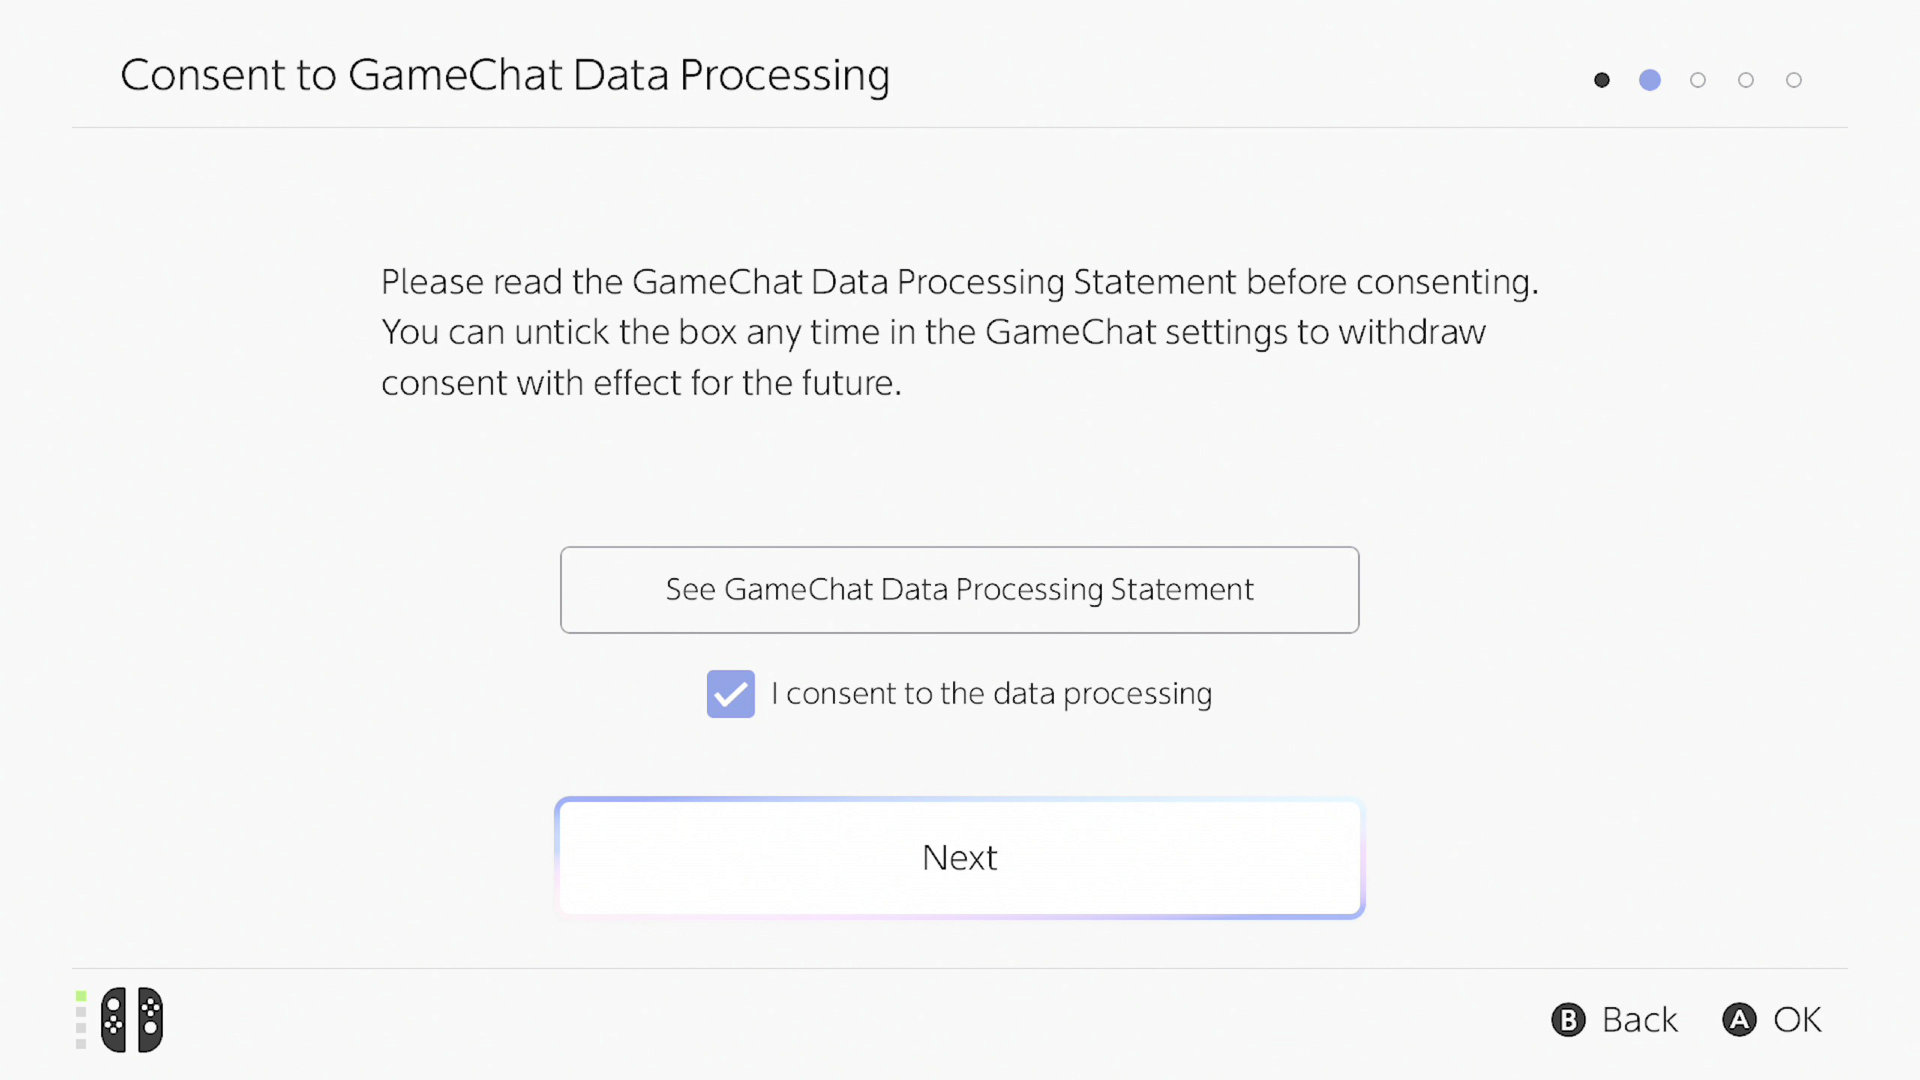
Upon turning on The Switch 2, you’ll be prompted to review the GameChat Data Usage Policy, a summary detailing the types and methods of data that Nintendo will gather, primarily for the purpose of reporting other users while engaged in GameChat. This includes the automatic recording and storing of the last three minutes of your GameChat conversation, whether audio or video. If you choose to report another user, this data may be optionally sent to Nintendo servers. You can decide to opt out of this feature after completing the setup process for GameChat.
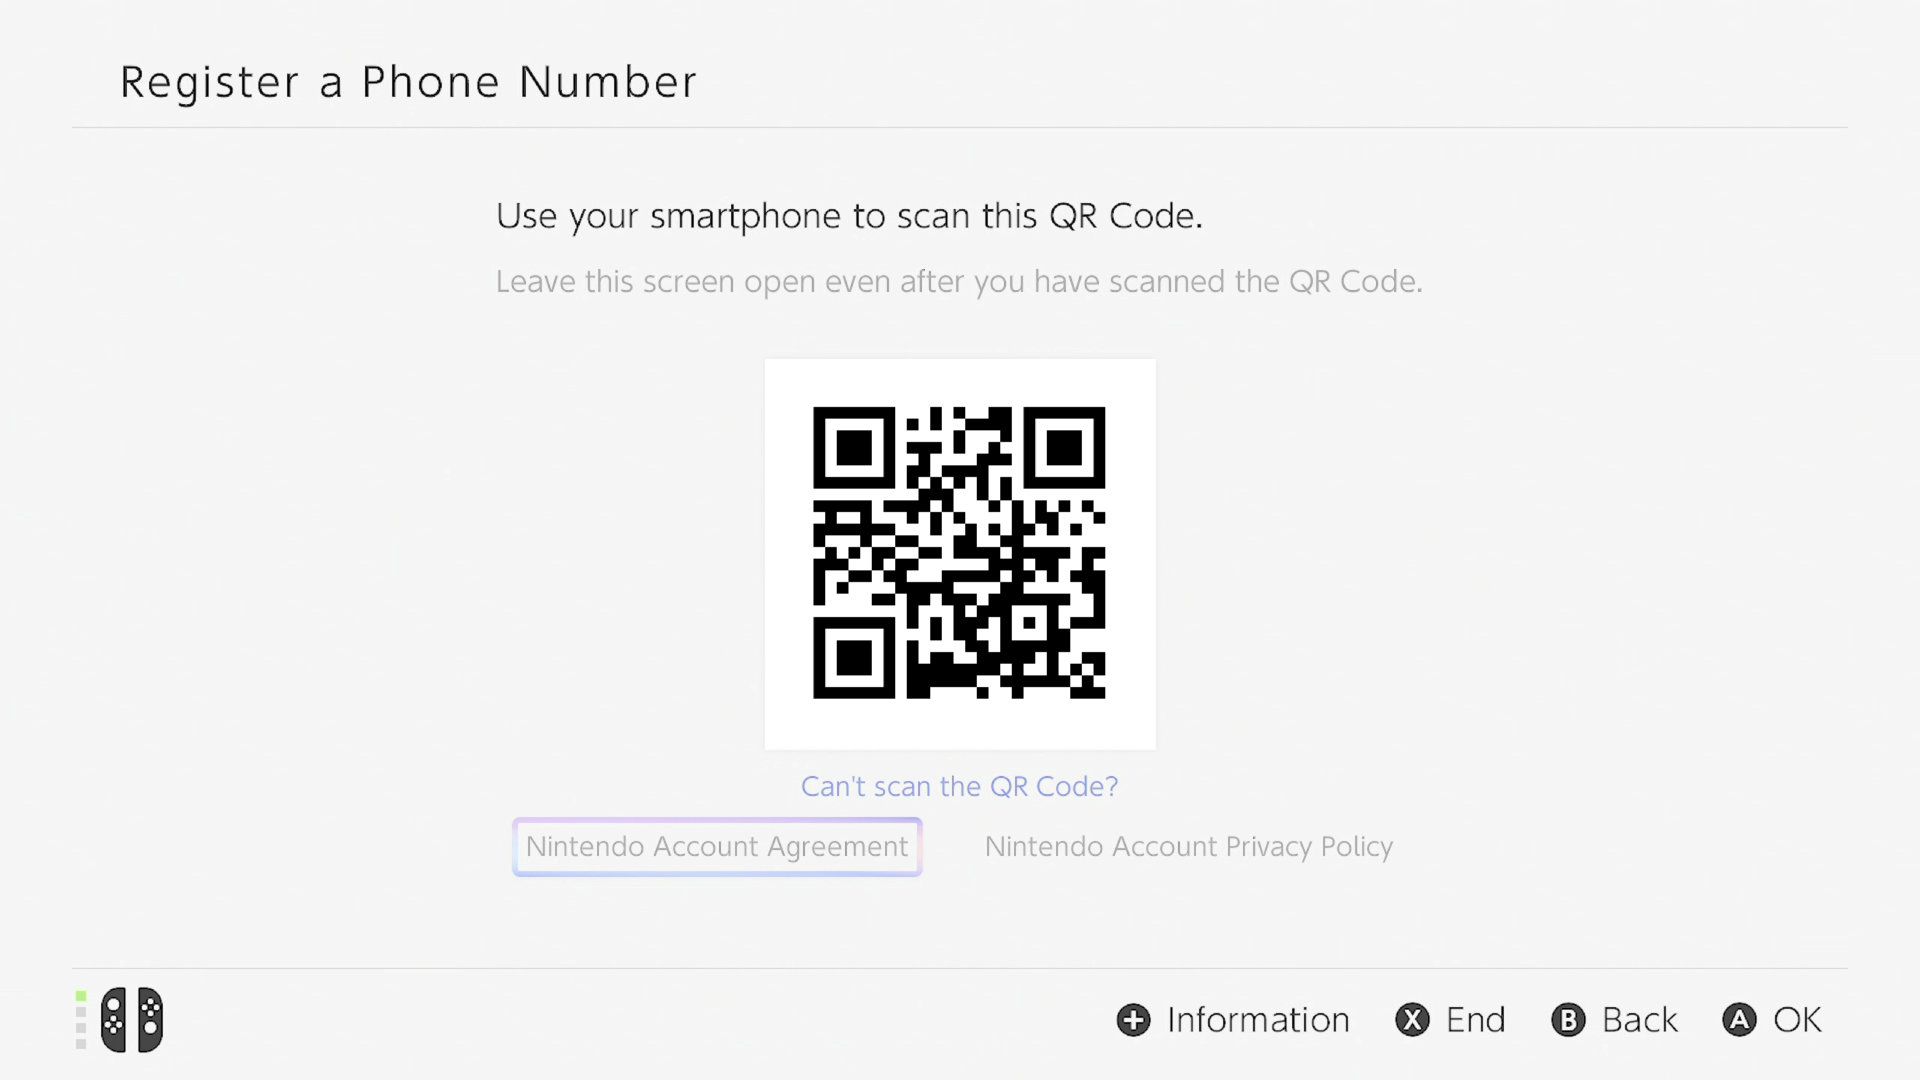
After that, you’ll be directed to utilize our SMS verification system designed to minimize misuse. Simply scan the displayed QR code using your mobile device and adhere to the instructions as they appear, providing your phone number whenever requested.
Cell phone numbers from the following regions are supported:
Here are some countries: The United Arab Emirates, Albania, Argentina, Austria, Australia, Aruba, Bosnia and Herzegovina, Belgium, Bulgaria, Bolivia, Brazil, Canada, Switzerland, Chile, Colombia, Costa Rica, Cyprus, Czech Republic, Germany, Denmark, Dominica, Ecuador, Estonia, Spain, Finland, France, United Kingdom, Greece, Guatemala, Hong Kong, Honduras, Croatia, Hungary, Ireland, Israel, Italy, Japan, South Korea, Liechtenstein, Lithuania, Luxembourg, Latvia, North Macedonia, Malta, Mexico, Malaysia, Nicaragua, Netherlands, Norway, New Zealand, Panama, Peru, Philippines, Poland, Portugal, Romania, Serbia, Saudi Arabia, Sweden, Singapore, Slovenia, Slovakia, El Salvador, Thailand, Turkey, Trinidad and Tobago, Taiwan, United States, Venezuela, South Africa.
Another way to phrase it could be: This list includes the following countries: The United Arab Emirates, Albania, Argentina, Austria, Australia, Aruba, Bosnia and Herzegovina, Belgium, Bulgaria, Bolivia, Brazil, Canada, Switzerland, Chile, Colombia, Costa Rica, Cyprus, Czech Republic, Germany, Denmark, Dominica, Ecuador, Estonia, Spain, Finland, France, United Kingdom, Greece, Guatemala, Hong Kong, Honduras, Croatia, Hungary, Ireland, Israel, Italy, Japan, South Korea, Liechtenstein, Lithuania, Luxembourg, Latvia, North Macedonia, Malta, Mexico, Malaysia, Nicaragua, Netherlands, Norway, New Zealand, Panama, Peru, Philippines, Poland, Portugal, Romania, Serbia, Saudi Arabia, Sweden, Singapore, Slovenia, Slovakia, El Salvador, Thailand, Turkey, Trinidad and Tobago, Taiwan, United States, Venezuela, South Africa.
A third option could be: Here is a list of some countries: The United Arab Emirates, Albania, Argentina, Austria, Australia, Aruba, Bosnia and Herzegovina, Belgium, Bulgaria, Bolivia, Brazil, Canada, Switzerland, Chile, Colombia, Costa Rica, Cyprus, Czech Republic, Germany, Denmark, Dominica, Ecuador, Estonia, Spain, Finland, France, United Kingdom, Greece, Guatemala, Hong Kong, Honduras, Croatia, Hungary, Ireland, Israel, Italy, Japan, South Korea, Liechtenstein, Lithuania, Luxembourg, Latvia, North Macedonia, Malta, Mexico, Malaysia, Nicaragua, Netherlands, Norway, New Zealand, Panama, Peru, Philippines, Poland, Portugal, Romania, Serbia, Saudi Arabia, Sweden, Singapore, Slovenia, Slovakia, El Salvador, Thailand, Turkey, Trinidad and Tobago, Taiwan, United States, Venezuela, South Africa.
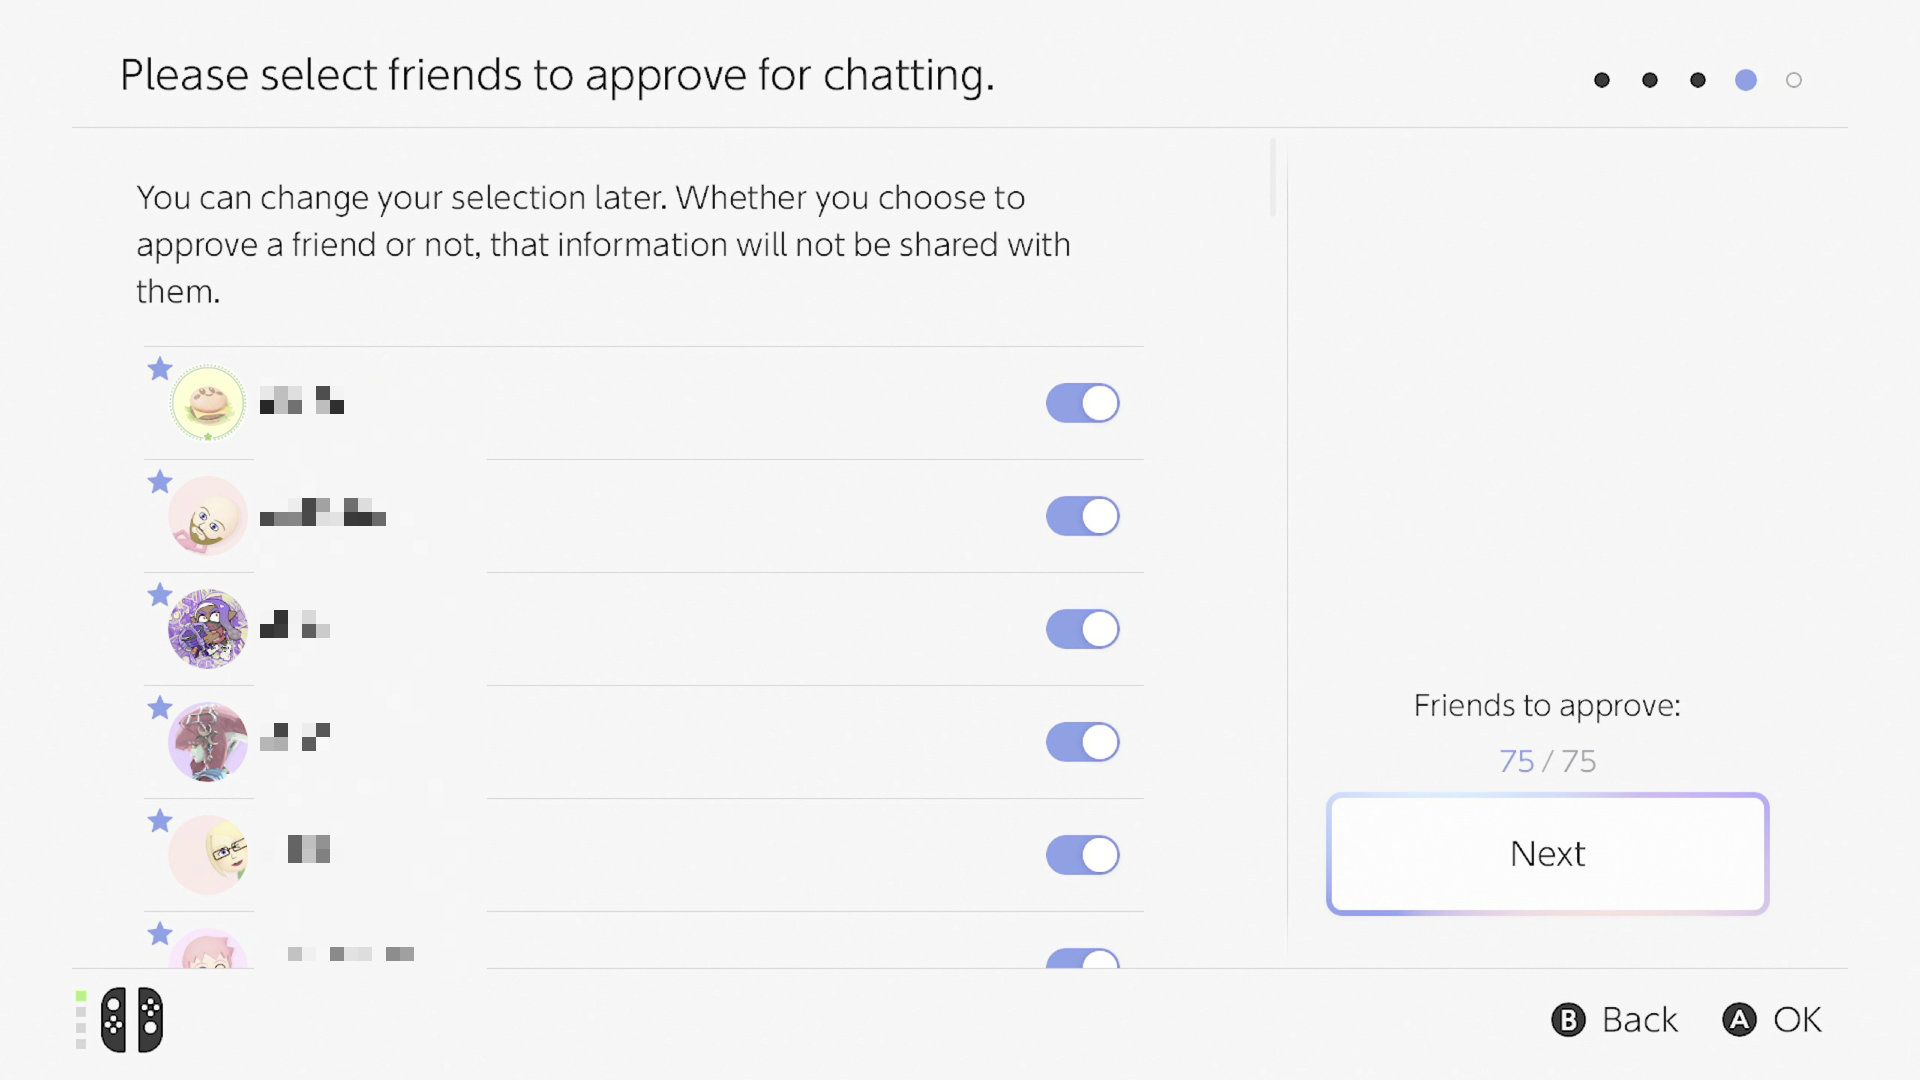
Once you’ve confirmed your phone number, you will then be given the option to approve your GameChat contacts. These are individuals who have the ability to call you within GameChat, and it’s crucial to note that this list also includes those who are restricted from doing so. You can turn each contact on or off at your convenience.
And that’s it, you’re now ready to use GameChat.
Nintendo Switch 2: How to start a GameChat
To initiate a GameChat call, hit the GameChat icon on your home screen or press the ‘C’ button on your controller. A list of friends who are currently online and have given you permission for GameChat will appear. Simply choose the friend you want to talk to, and a GameChat session will begin.
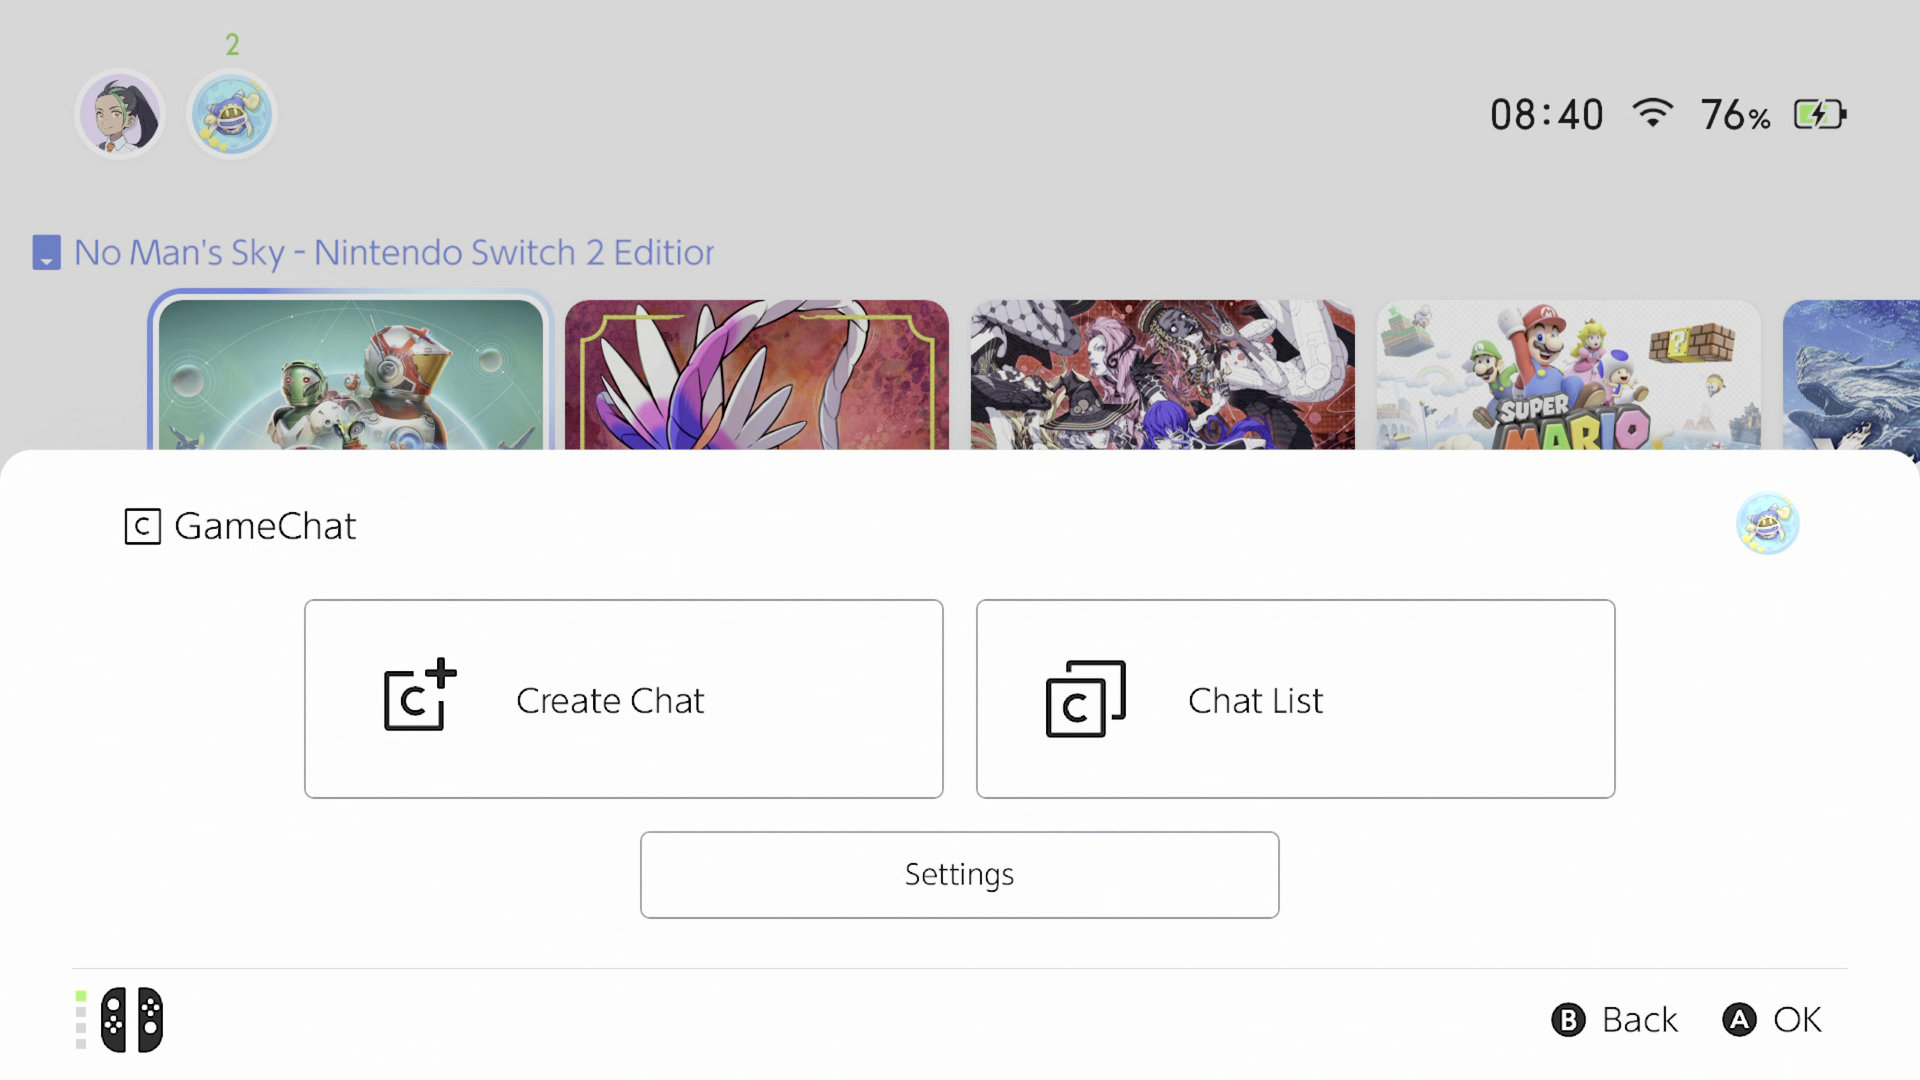
If a friend has extended an invitation to a GameChat, simply opt for the Chat List selection rather than creating a new chat. This will display a variety of accessible GameChats for you to participate in.
Read More
- Apothecary Diaries Ch.81: Maomao vs Shenmei!
- 30 Best Couple/Wife Swap Movies You Need to See
- Gachiakuta Chapter 139: Rudo And Enjin Team Up Against Mymo—Recap, Release Date, Where To Read And More
- Gold Rate Forecast
- Every Minecraft update ranked from worst to best
- Netflix’s ‘You’ Season 5 Release Update Has Fans Worried
- Mobile MOBA Games Ranked 2025 – Options After the MLBB Ban
- Batman and Deadpool Unite: Epic DC/Marvel Crossover One-Shots Coming Soon!
- Who was Peter Kwong? Learn as Big Trouble in Little China and The Golden Child Actor Dies at 73
- Ncuti Gatwa Exits Doctor Who Amidst Controversy and Ratings Crisis!
2025-06-05 10:16