
Quick Links
- Starting The Quest
-
Lullaby Sleeping Potion
-
A Dress for Margaret
-
Your Clothes
-
The Tailor Merchant Latsek
-
Completing the Quest
In the enchantingly historical landscape of “Kingdom Come: Deliverance 2“, there are numerous characters and quest-givers hidden away from the main trail, ready to engage with you.
One effective method the game uses to entice you to meet these characters is by providing engaging conversations filled with a touch of enigma, which primarily depend on your inclination to aid someone in need.
If you’re interested, you can initiate the side quest known as “Victimised” by first finishing a prior quest and then conversing with Margaret in Pschitoky once that’s done.
This tutorial will walk you through each stage to help you achieve success in the game “Victimised” within “Kingdom Come: Deliverance 2”.
Starting The Quest
In this mission, you’ll be devising a strategic plan, partnering with a character who may either win Henry over or reveal herself as dishonest during dealings with a suspected ruthless merchant. With numerous paths to explore and a variety of questionable underworld encounters, the side quest “Victimised” promises to challenge your courage and intelligence.
To start this journey, it’s essential that you finish two prerequisite tasks first: Main Quest 18, “Taking French Leave,” and the associated task called “Damsel in Distress.” Only after these quests are done can you interact with Margaret. Following the completion of these quests, there will be a delay of several days within the game for the side quest “Victimised” to become available.
When you see a quest symbol hovering above the inn located south of Pschitoky, it means the quest is ready for you to undertake.
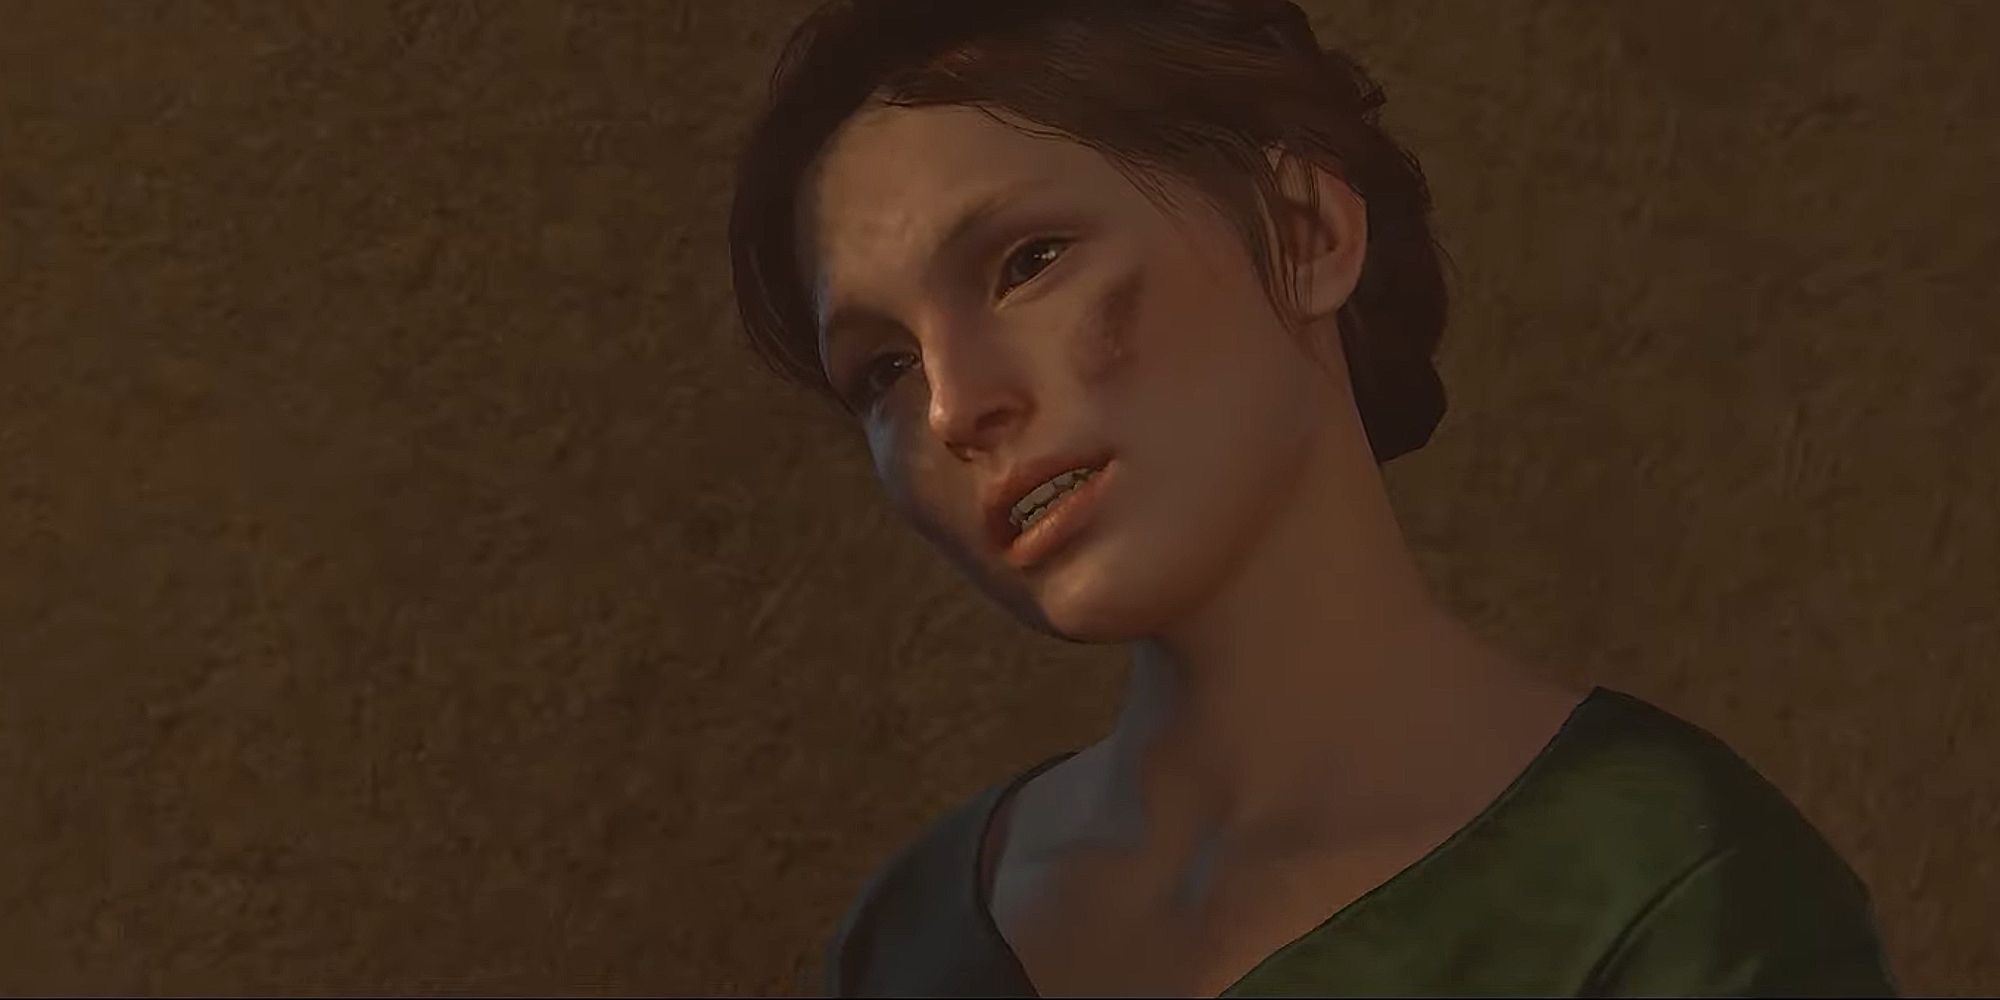
When the mission becomes active, you’ll find both the girl from the shack and a character from your earlier quest pleading for aid, located outside Pschitoky Inn. You might recall that you had assisted her before, but she needs help again.
Engaging with Margaret may lead to an extended discussion about her predicament and potential ways you could assist if you choose to do so. It’s important to note that although she has a history of theft, Margaret has fallen victim to it herself. Moreover, her friend is currently in a tight financial spot and requires some Groschen.
When talking to her, you can choose to give her 1000 Groschen, but I suggest waiting on this offer since it bypasses the entire journey we have with her.
It seems that Margaret has already devised a strategy to acquire funds and retaliate against a particular merchant who has wronged her and her companion. Margaret’s proposed scheme, which involves your assistance in a heist of a rich individual residing in Kuttenberg, necessitates some items you need to procure:
- A Lullaby sleeping potion
- A dress for Margaret
- Some fancy clothes (high in charisma) for yourself
Lullaby Sleeping Potion
To begin, the Lullaby potion is obtainable from any apothecary, like the one you’d find in Pschitoky. Alternatively, if you take pleasure in gathering herbs and practicing alchemy, you can brew it yourself.
You can also sometimes find Lullaby potions on enemies or in chests.
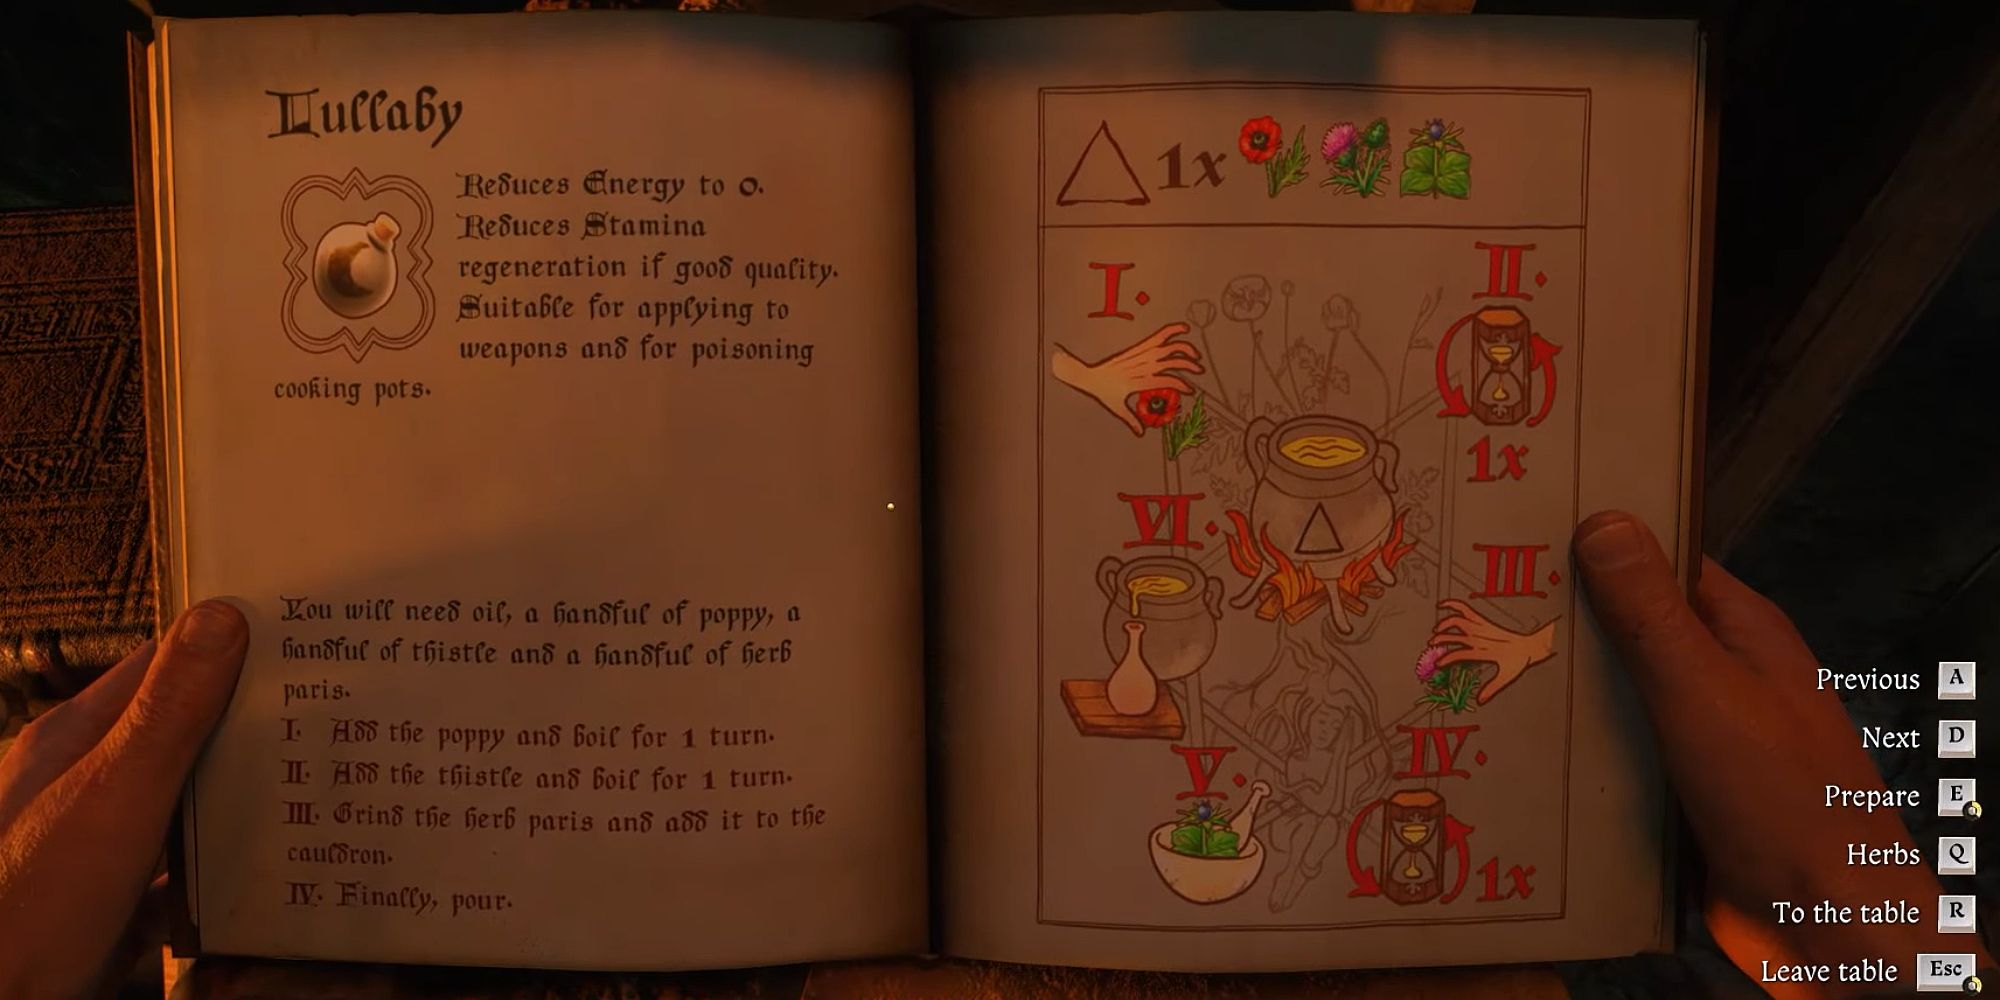
In the case that you’d like to make the potion yourself, here is what you will need:
- Poppy x1
- Herb Paris x1
- Thistle x1
With a base of oil, you can brew up the lullaby potion through these steps:
- Add the Poppy and boil for 1 turn.
- Add the Thistle and boil for 1 turn.
- Grind the Herb Paris and add it to the cauldron.
- Pour and finish.
A Dress for Margaret
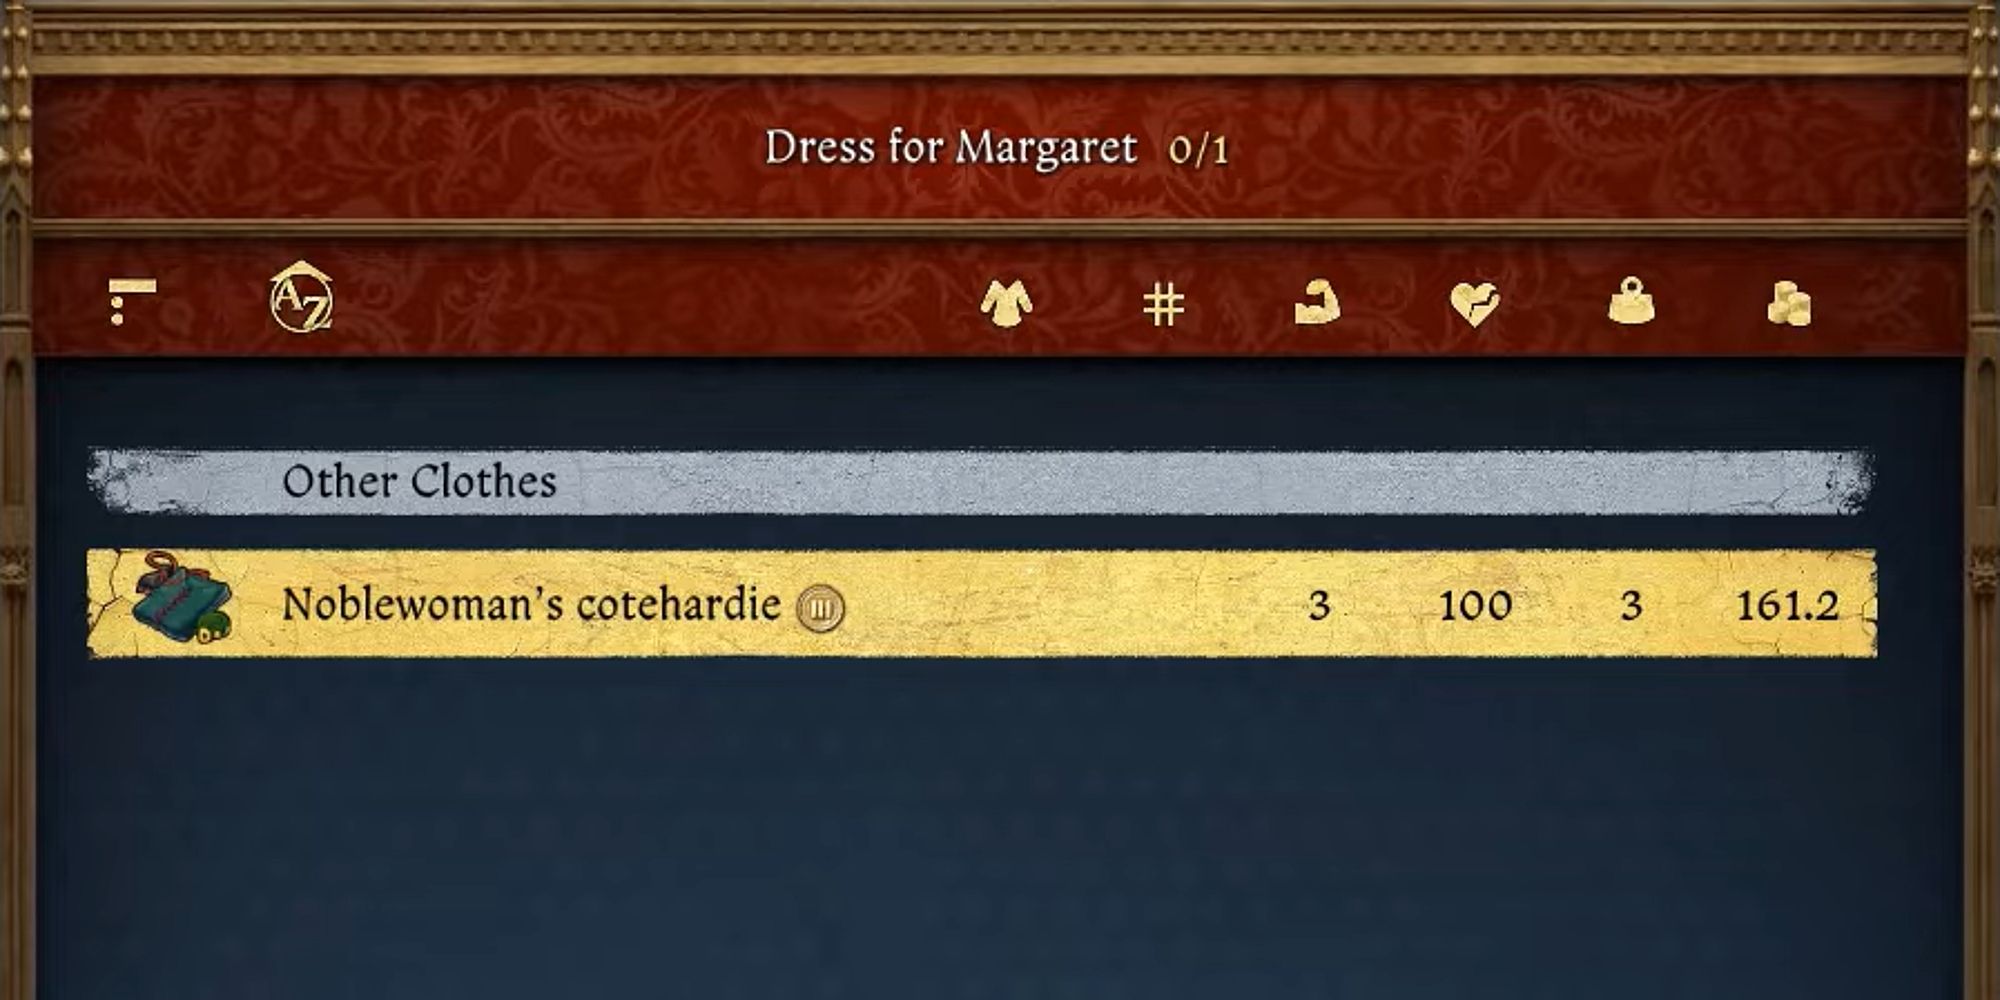
The item of clothing you need is called the “Noblewoman’s Cothardie.” You can buy it at either the tailor’s shop in Kuttenberg, or from the merchant trader in Miskowitz.
Based on the assortment of items offered, you might encounter various iterations of the Noblewoman’s Cothardie. However, the key distinction among these garments relevant to this mission lies solely in the color of the gown selected for Margaret. Regardless of your choice, Margaret will don the dress throughout the duration of this subquest.
To wrap things up, don’t forget to take care of your outfit, ensuring it’s appropriate when you meet with the tailor.
Your Clothes
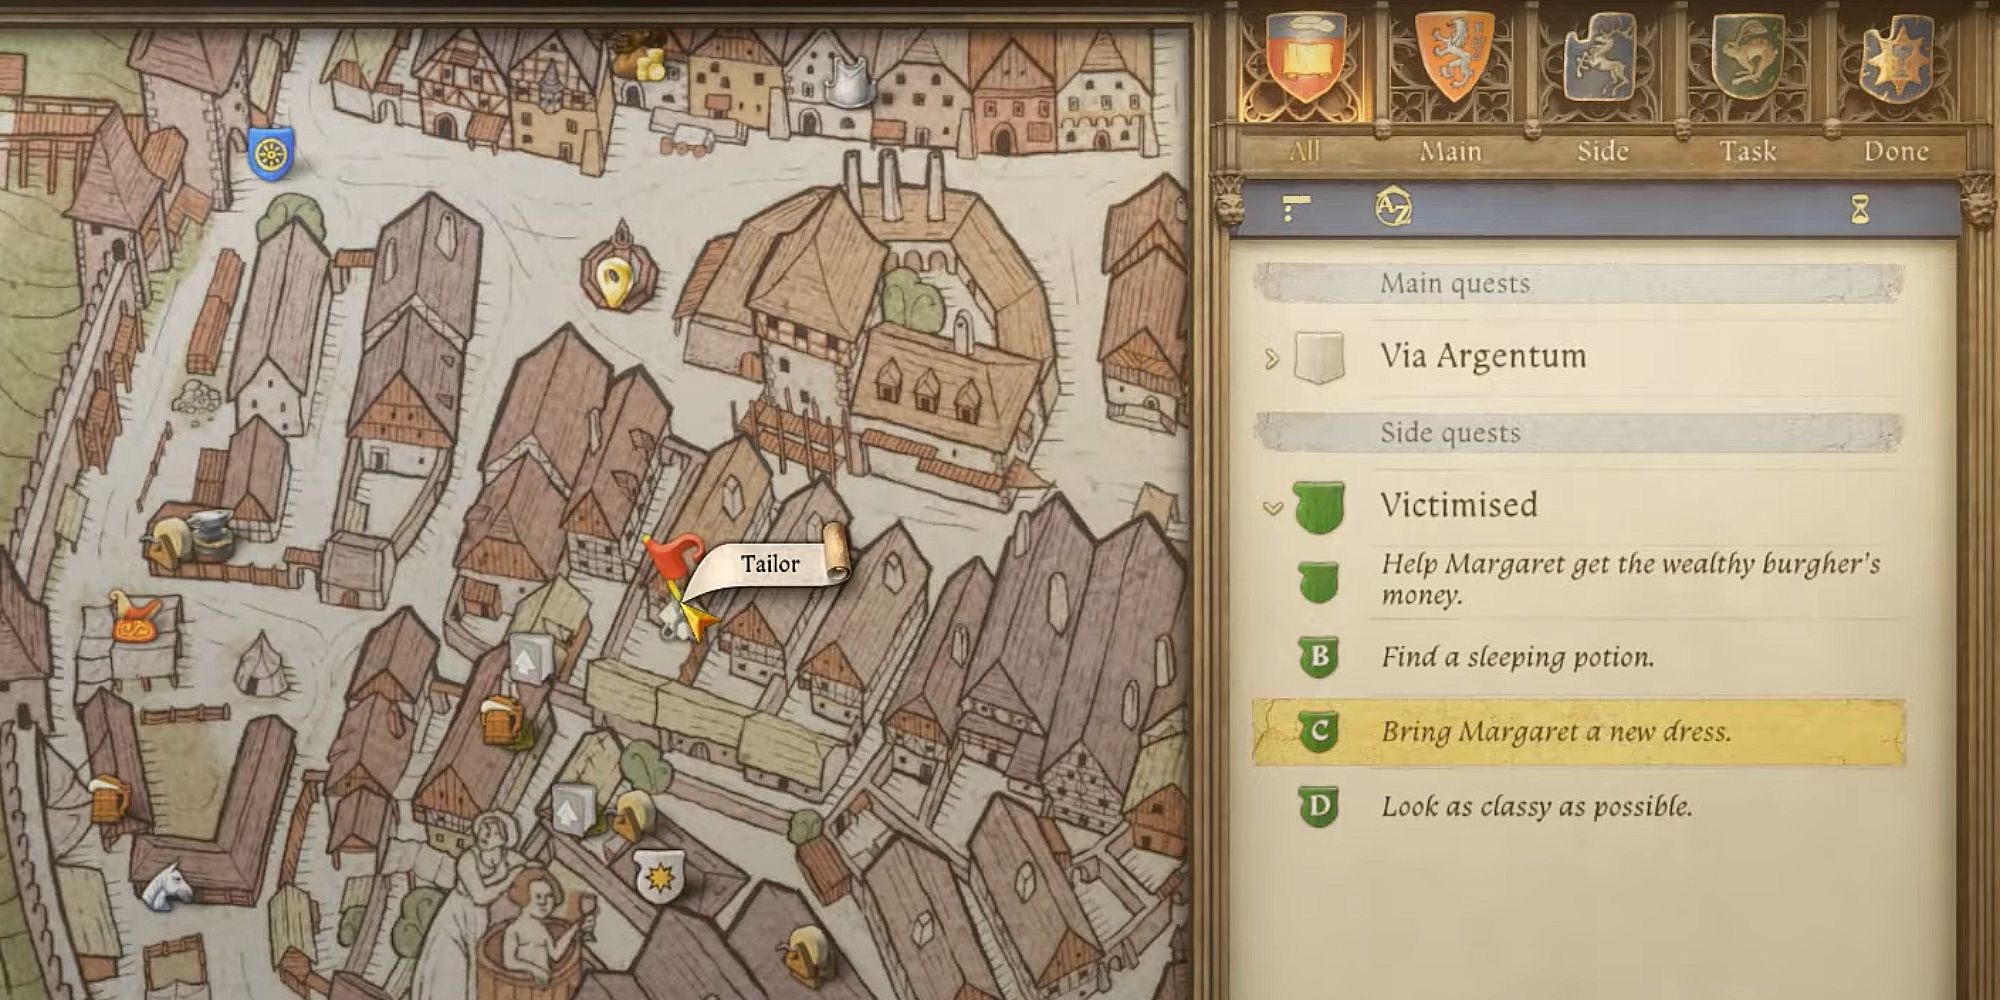
You could also buy the suitable outfits for you from the tailor located in Kuttenberg. I recommend checking out clothing items with a strong appeal or those labeled as “Noble,” like the Burgher coat and the Noble’s hood. Feel free to come back to Margaret whenever you want, dressed in the outfit of your preference, to see her reaction to it.
To put it simply, it’s not necessary to reach a particular “charisma level” in your attire for this purpose, but always make certain that your chosen elegant outfit is clean and free of stains or grime. If you notice any blood or dirt symbols on your clothing within your inventory, remember to clean up using soap at the closest washing area.
If Margaret approves of your appearance, she’ll ask you to connect with her in Kuttenberg during the evening hours. Upon arrival in Kuttenberg, you’ll notice her quest symbol, and as you get nearer to her, the daytime will transition seamlessly into nighttime.
The Tailor Merchant Latsek
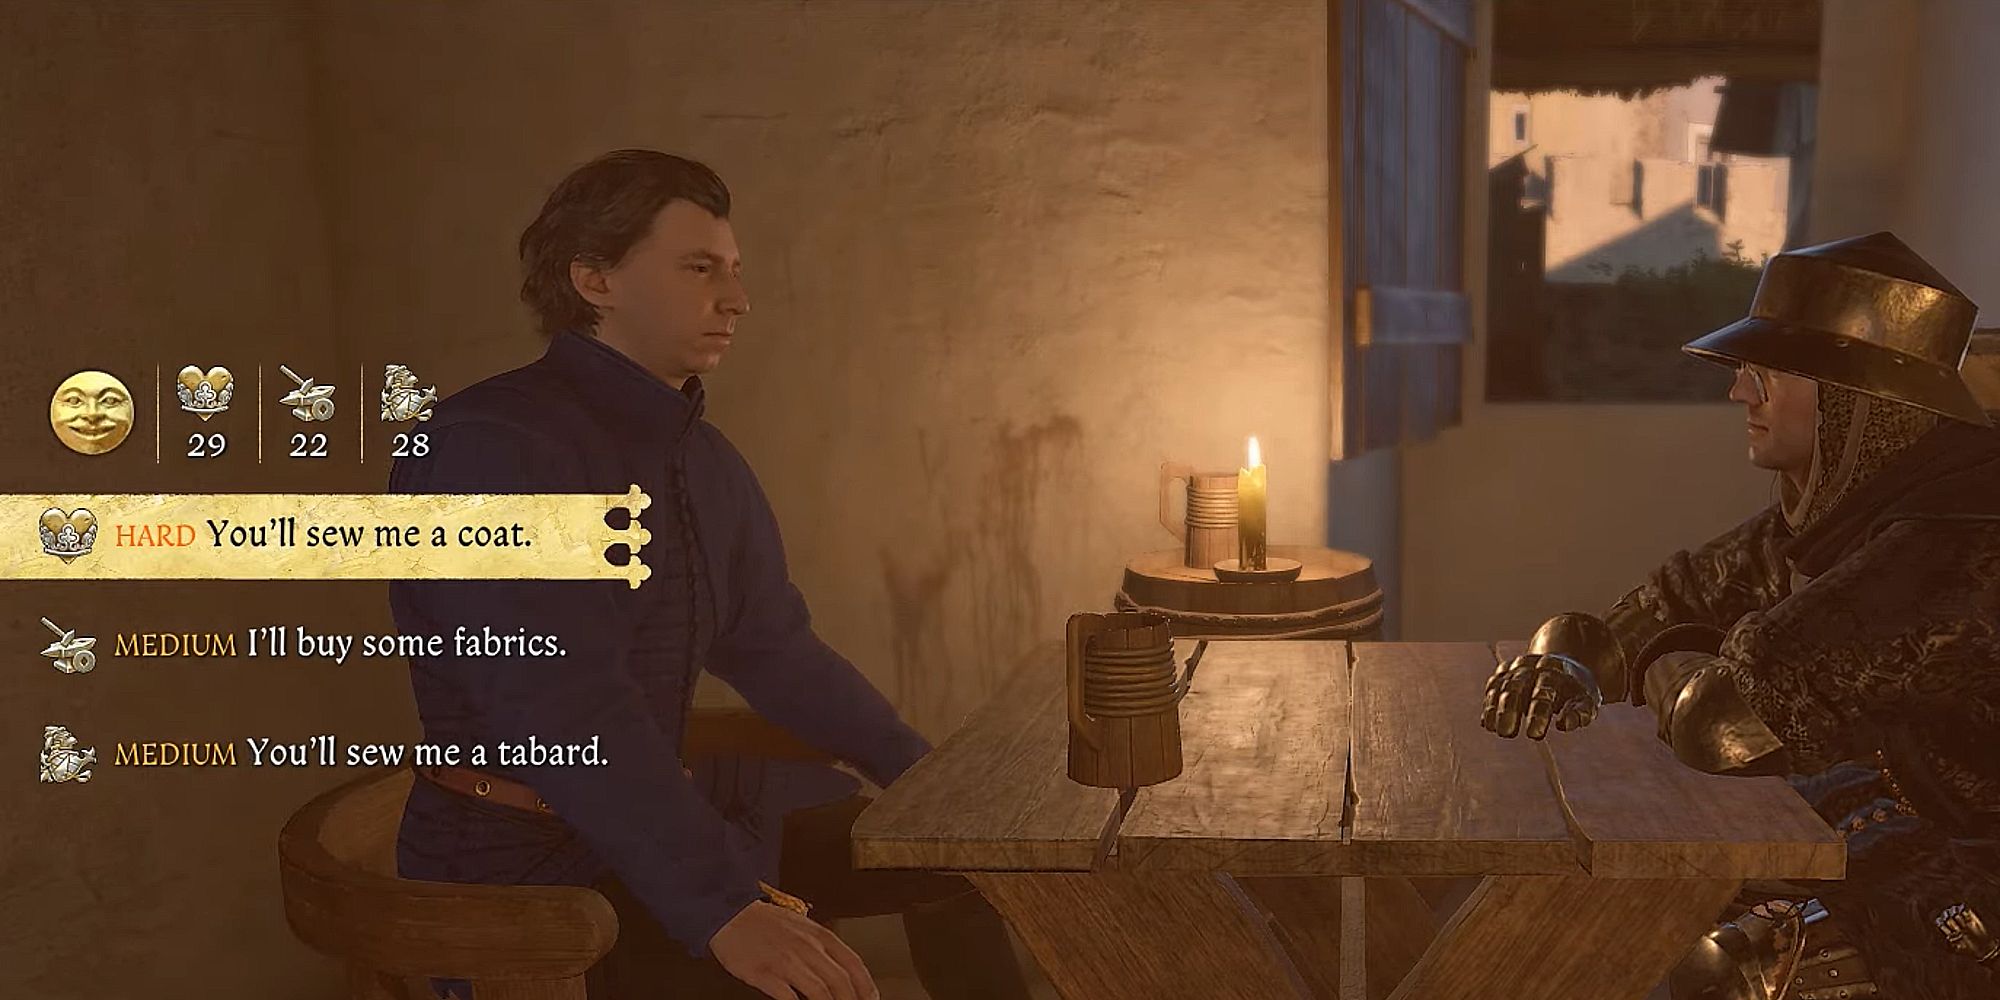
Dressed sharp, Margaret at the ready, it’s time to stride into the dimly lit Hangman’s Haltern tavern. Make your way toward the back where merchant Latsek is settled. Your mission: chat him up and pass a few persuasion tests so he gets up for a bathroom break, leaving his drink unattended on the table – perfect for spiking.
After Latsek has fully disappeared from sight, feel free to engage with the cup in front of you to carefully pour in the soothing Lullaby Potion.
He needs to come back to the table and talk to you before he can drink from his cup. In just a little while, the sleeping potion will kick in. (This version simplifies the sentence structure slightly, but maintains the original meaning.)
Later on, Latsek will rise once more from the table and head outdoors. Trail behind him, and eventually, he’ll faint right at the entrance of the tavern. At that point, you can help him up from the ground and escort him to the spot where you previously met Margaret.
It appears that, to my astonishment, it seems no one in town is concerned about you carrying an unconscious man on your back right now. However, be mindful to keep your torch hidden or the guards might reprimand you. Just ensure you’re not being furtive, and there shouldn’t be any issues with your actions.
If you’re not familiar with that part of the city, when you arrive at the specified location with Margaret, first leave the body where it is for now, then use a lockpick to open the hayloft door. After gaining entry, put the unconscious body of Latsek onto the floor instead.
Completing the Quest
As a gamer, I chatted with Margaret to ensure our plan worked like a charm, and she requested me to give her some space. I took some downtime, knowing I’d naturally awaken in no time at all. Back in the hayloft, I noticed Margaret struggled with Latsek – it was clear we needed to step up and tackle him right away without any delay.
Following Margaret and encountering Latsek, the two of you will engage in a series of exchanges. If Margaret handles the conversation without any interruptions from your end, she should be able to force him into a confession or extraction of something valuable.
In the end, having a chat with Margaret following the confrontation gives you the chance to claim your prize. The outcome hinges on your response towards Margaret.
- If you decide to kiss Margaret, she will steal 20% of the Groschen you have on you.
- If you turn down the kiss, you will be able to choose how much Groschen you receive.
As a gamer, I find myself at a crossroads. Each choice I make moves the story forward, but if I’d voiced my doubts about Margaret to Latsek earlier, the outcome of this quest might have taken a drastically different turn.
If during your previous conversation with her and Latsek, you chose to insert comments using dialogues other than “Leave me out of this!”, it becomes evident that everything Margaret shared about Latsek was false or misleading.
You have a time-limited choice: either prevent Margaret from departing or allow her to go, based on your true feelings towards her and her questionable behavior. If you choose to confront her, you can either threaten to take her to the gallows or execute her on the spot. However, in both cases, she manages to evade you, and the conversation continues with various skill checks that uncover more details about her deceptions.
It’s interesting to note that her profession involves perpetrating such deceitful and forceful swindles. During this encounter, there are two opportunities for you to strong-arm Margaret into repaying the merchant or giving you the money through intimidation. If you can pull off either of these challenges, she’ll abandon the money for you or Letsek and flee in haste.
With that accomplished, you’ve wrapped up the side mission titled “Victimised”, and for your diligent work uncovering Margaret’s shady business and thwarting her schemes, you receive a reward of 250 Groschen or more.
Read More
- Apothecary Diaries Ch.81: Maomao vs Shenmei!
- Mobile MOBA Games Ranked 2025 – Options After the MLBB Ban
- Who was Peter Kwong? Learn as Big Trouble in Little China and The Golden Child Actor Dies at 73
- Gold Rate Forecast
- Batman and Deadpool Unite: Epic DC/Marvel Crossover One-Shots Coming Soon!
- Summer Game Fest 2025 schedule and streams: all event start times
- Elden Ring Nightreign update 1.01.1 patch notes: Revive for solo players, more relics for everyone
- ‘This One’s About You’: Sabrina Carpenter Seemingly Disses Ex-Boyfriend Barry Keoghan in New Song Manchild
- Netflix’s ‘You’ Season 5 Release Update Has Fans Worried
- Every Fish And Where To Find Them In Tainted Grail: The Fall Of Avalon
2025-03-23 01:40