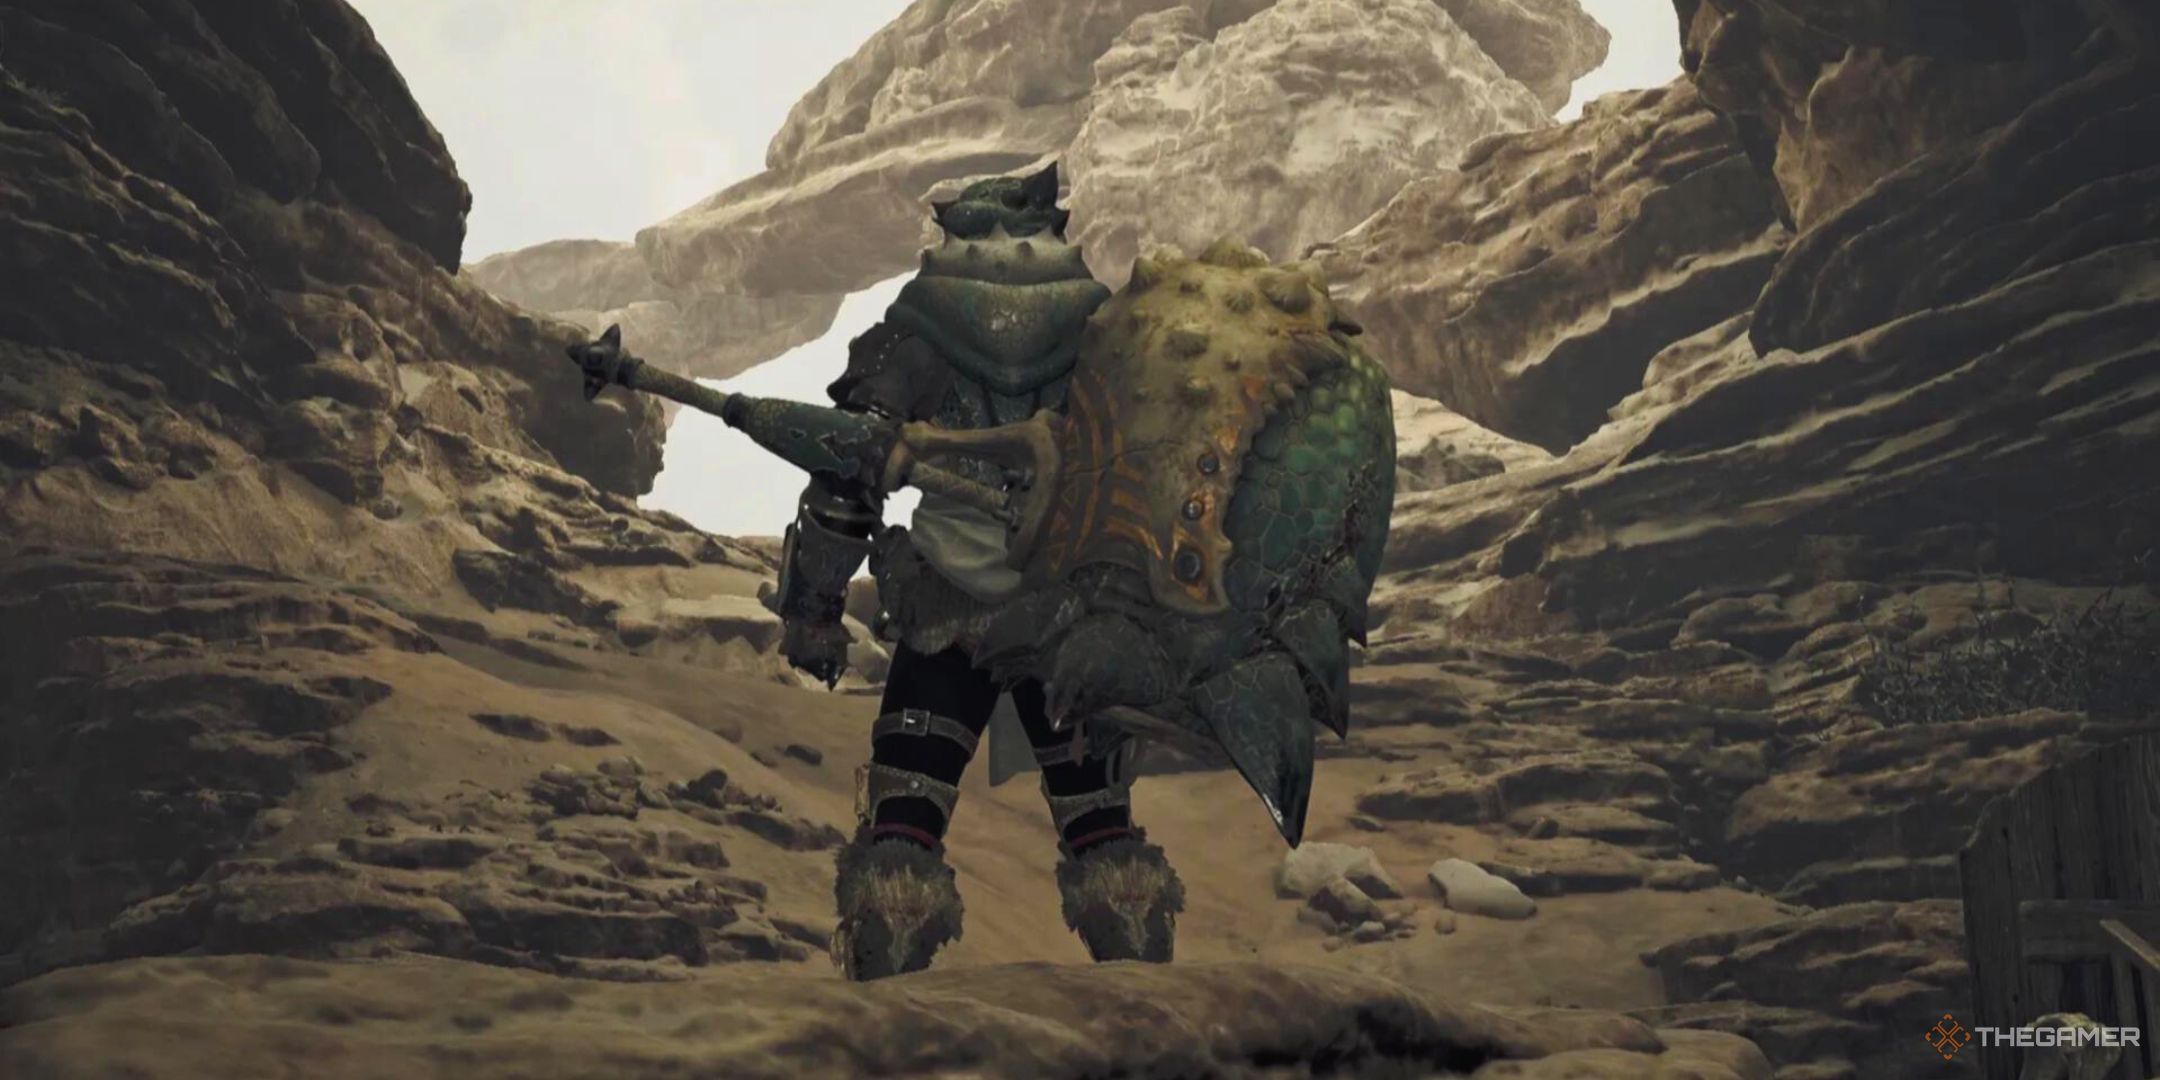
Just like many games in the Monster Hunter series, you’ll find a variety of weapons at your disposal for your monster hunting adventures in Monster Hunter Wilds. This particular game boasts up to 14 distinct weapons, each functioning uniquely compared to the others. They come with their own set of advantages and disadvantages, making each one a unique choice.
Among those weapons, one is the Hammer, known for its powerful strikes. Although it may not be the most nimble option, it possesses an unique skill that enables a dodge. When utilized effectively, the Hammer can seize opportunities brilliantly; however, if used incorrectly, you could find yourself taking heavy blows.
To find the detailed instructions for using the Hammer on your device, navigate to Settings, then select Info, followed by Play Guide, and finally Weapon Controls, where you’ll find the settings for the Hammer.
Hammer Overview
The Hammer operates in a straightforward manner, primarily used for delivering strong impacts. In simpler terms, one could describe it as an easy-to-handle tool for forceful striking.
Hammer Charge
From a mechanical perspective, the Hammer isn’t overly complex; you can actually charge it up, which enables you to execute powerful damage-dealing attacks instantly, without requiring any specific combos to be executed first, and there’s a mobility skill associated with this charging effect that we’ll explain in more detail shortly.
There are three different levels to your Hammer charge:
- Charge Level One will activate after you’ve held the charge for about half a second and is indicated by your Hunter flashing white.
- Charge Level Two, which is indicated by your Hunter flashing yellow.
- Charge Level Three, which is indicated by your Hunter flashing red. From here, your Hammer will deal a large amount of damage on your next attack, and you’ll have access to one specific attack only available at this charge.
While you’re charging your Hammer, you can maintain a regular pace, but you won’t be able to sprint. If you charge your Hammer while moving down a moderate slope, your Hunter will glide or slide down the incline as they continue to charge their Hammer.
Charge Step
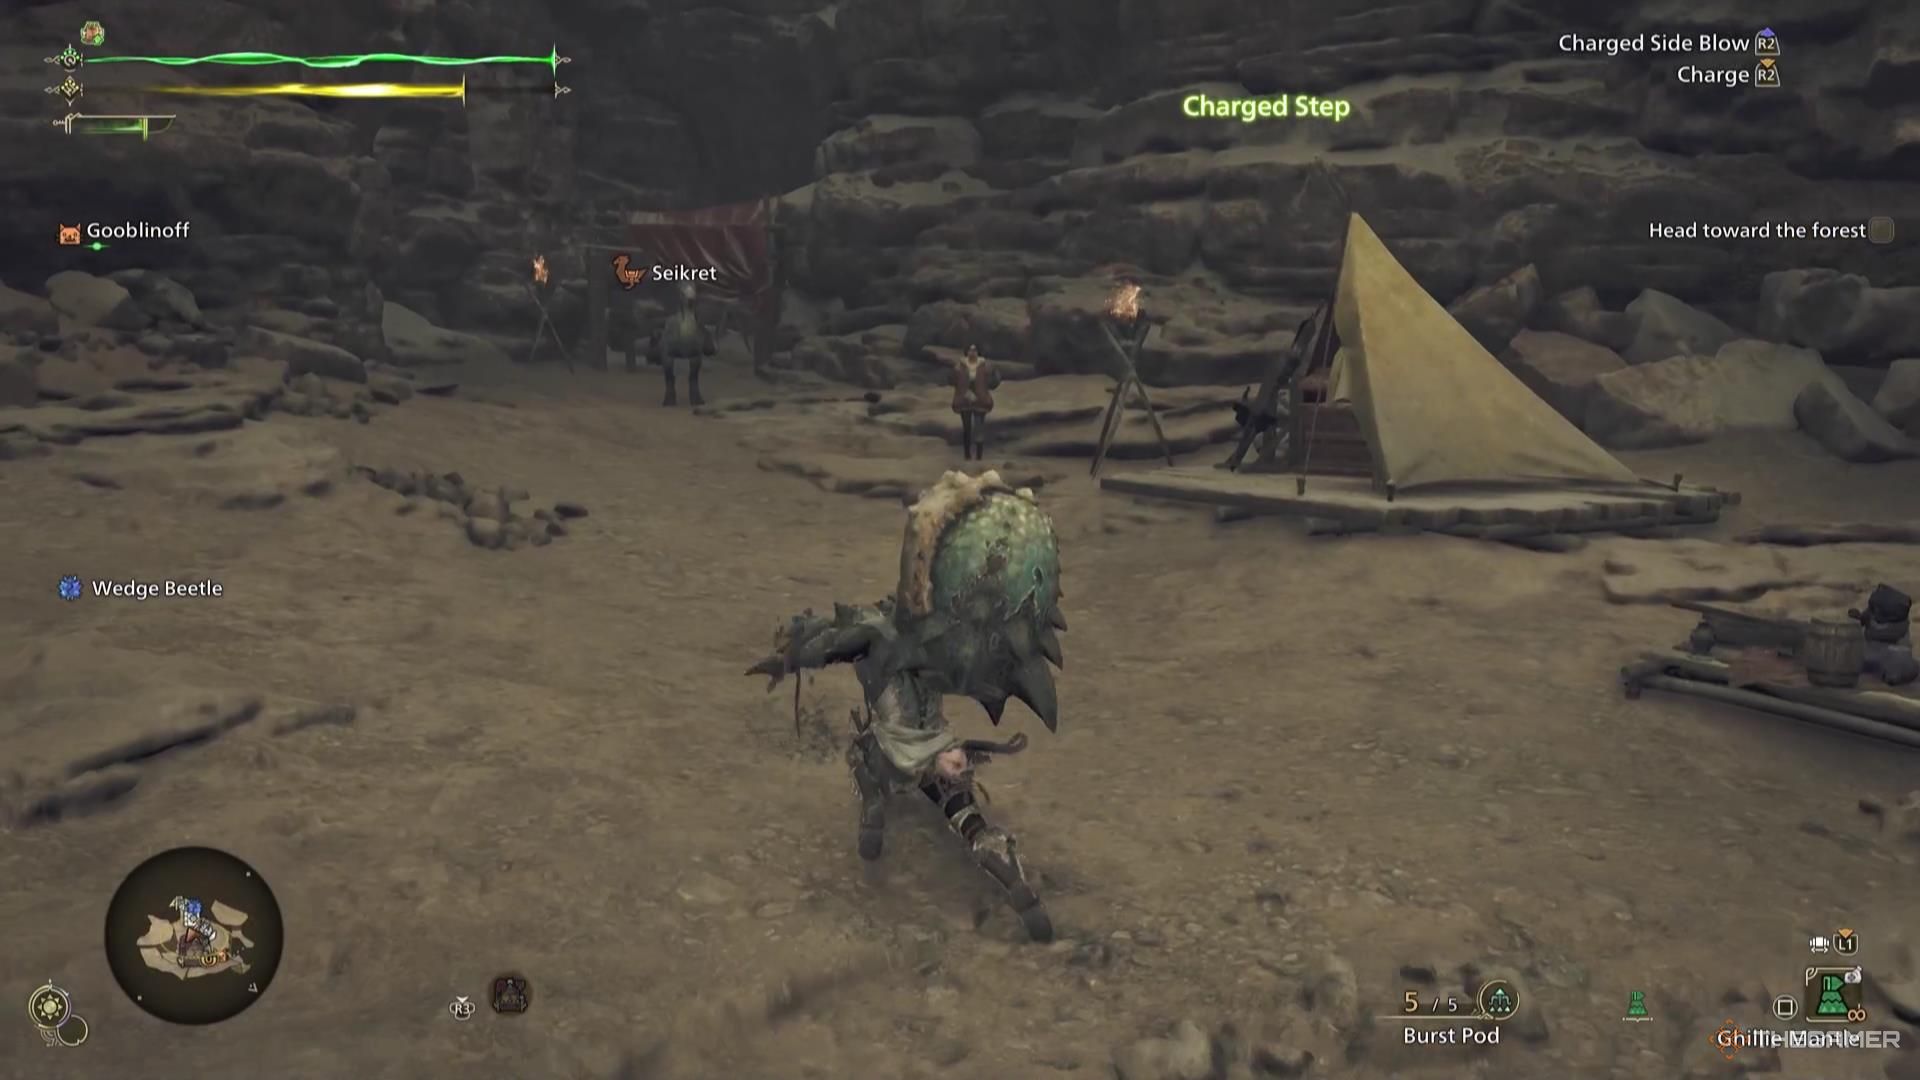
Mastering the Charge Step will become second nature for you. Maintaining your charge, you can deftly dodge in any direction by simply pressing your standard attack key.
In this way, the action is more fluid and easier to grasp, making it suitable for a wider range of players.
This move surpasses regular dodges since it allows you to keep the charge on your Hammer. This implies that you can charge your Hammer, evade an attack, and then launch a fully charged attack all in one continuous action.
For the Hammer, with its generally sluggish speed and limited mobility, mastering its unique skill can be transformative. Utilizing this skill effectively will significantly boost your damage output.
Hammer Strengths
The strengths of the Hammer include:
- High damage on most hits. The Hammer can methodically chunk an enemy’s health down, making great use of moments when the monster is recovering.
- The Hammer is blunt and can inflict quite a bit of stun on a monster. This is going to daze them, giving you moments where you can attack the monster without fear of the monster attacking back.
- While the Hammer is slow, the combos with it are mostly pretty piecemeal. You aren’t often locked into a very long animation or committed to staying in a certain spot. You can end most combos on any hit and move out of the way if need be, rather than taking a blow you didn’t have a chance to dodge.
Hammer Weaknesses
The Hammer generally lacks significant flaws, yet it might not suit every user’s preferences or enjoyment level.
- It is not a particularly mobile weapon and isn’t going to afford you many quick-moving options. You will be able to dodge attacks if you move in the right direction with Charge Step, but it isn’t going to create any distance between you and the monster.
- The Hammer does not have impressive range. For such a large weapon, its reach is quite low. You’re always going to have to be right up on a monster to keep in attack range; for some monsters, this can be a blessing, and for others, a curse.
Hammer Combos And Tips
There are quite a few Hammer combos, each with its own use cases.
Basic Combo
With each swing of the Hammer, you perform a powerful overhead strike against your foe; interestingly, you can perform this move twice consecutively. On the third strike, however, the hammer’s movement transforms from an overhand smash to an upward swing.
This combination packs a substantial punch over a short period, yet when it comes to pure damage capability, it’s surpassed by the following combo. In certain scenarios where you aim to throw off a monster, this combo will prove useful. However, in numerous instances, there are superior alternatives available for you.
To execute this weapon combo effectively, it’s important to remain stationary. If you move, the initial strike will become a Side Smash.
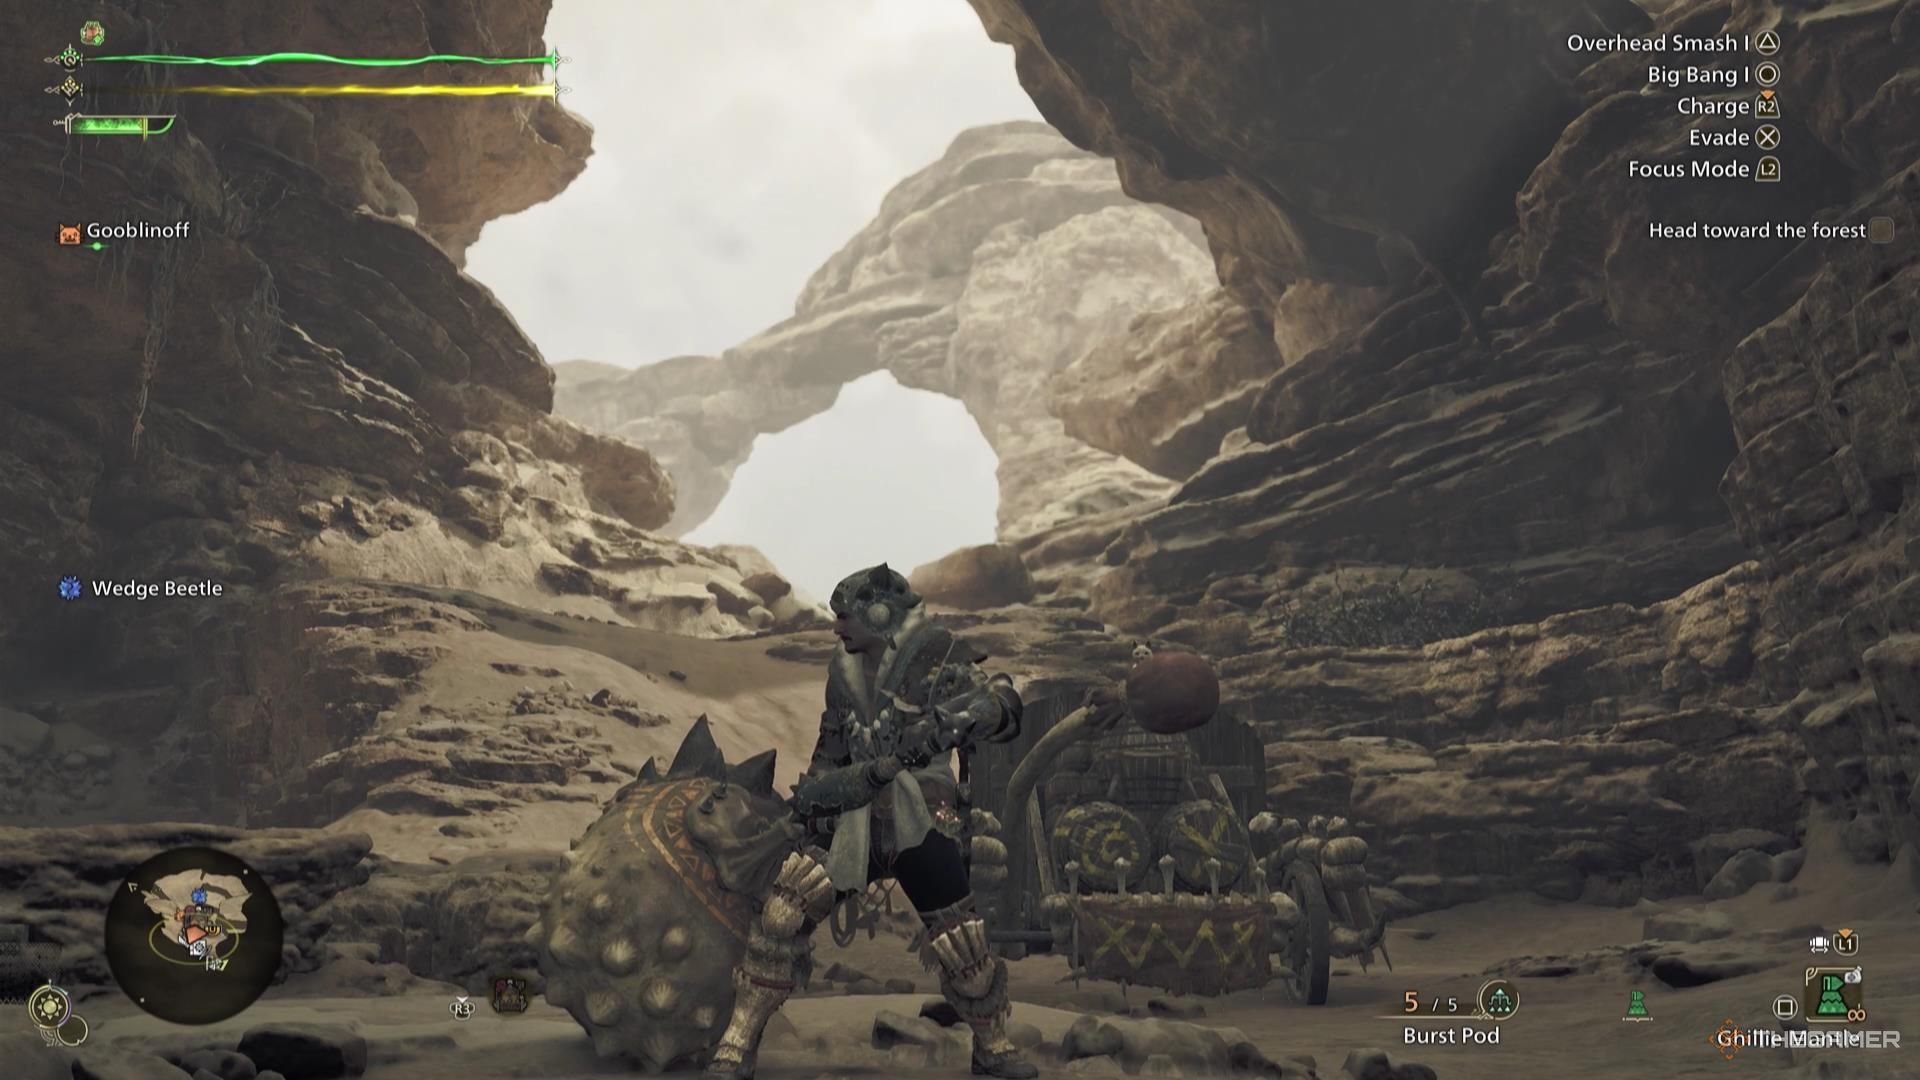
Big Bang
The Big Bang is a more potent combination move compared to the Basic Combo, but it does carry certain conditions along with it.
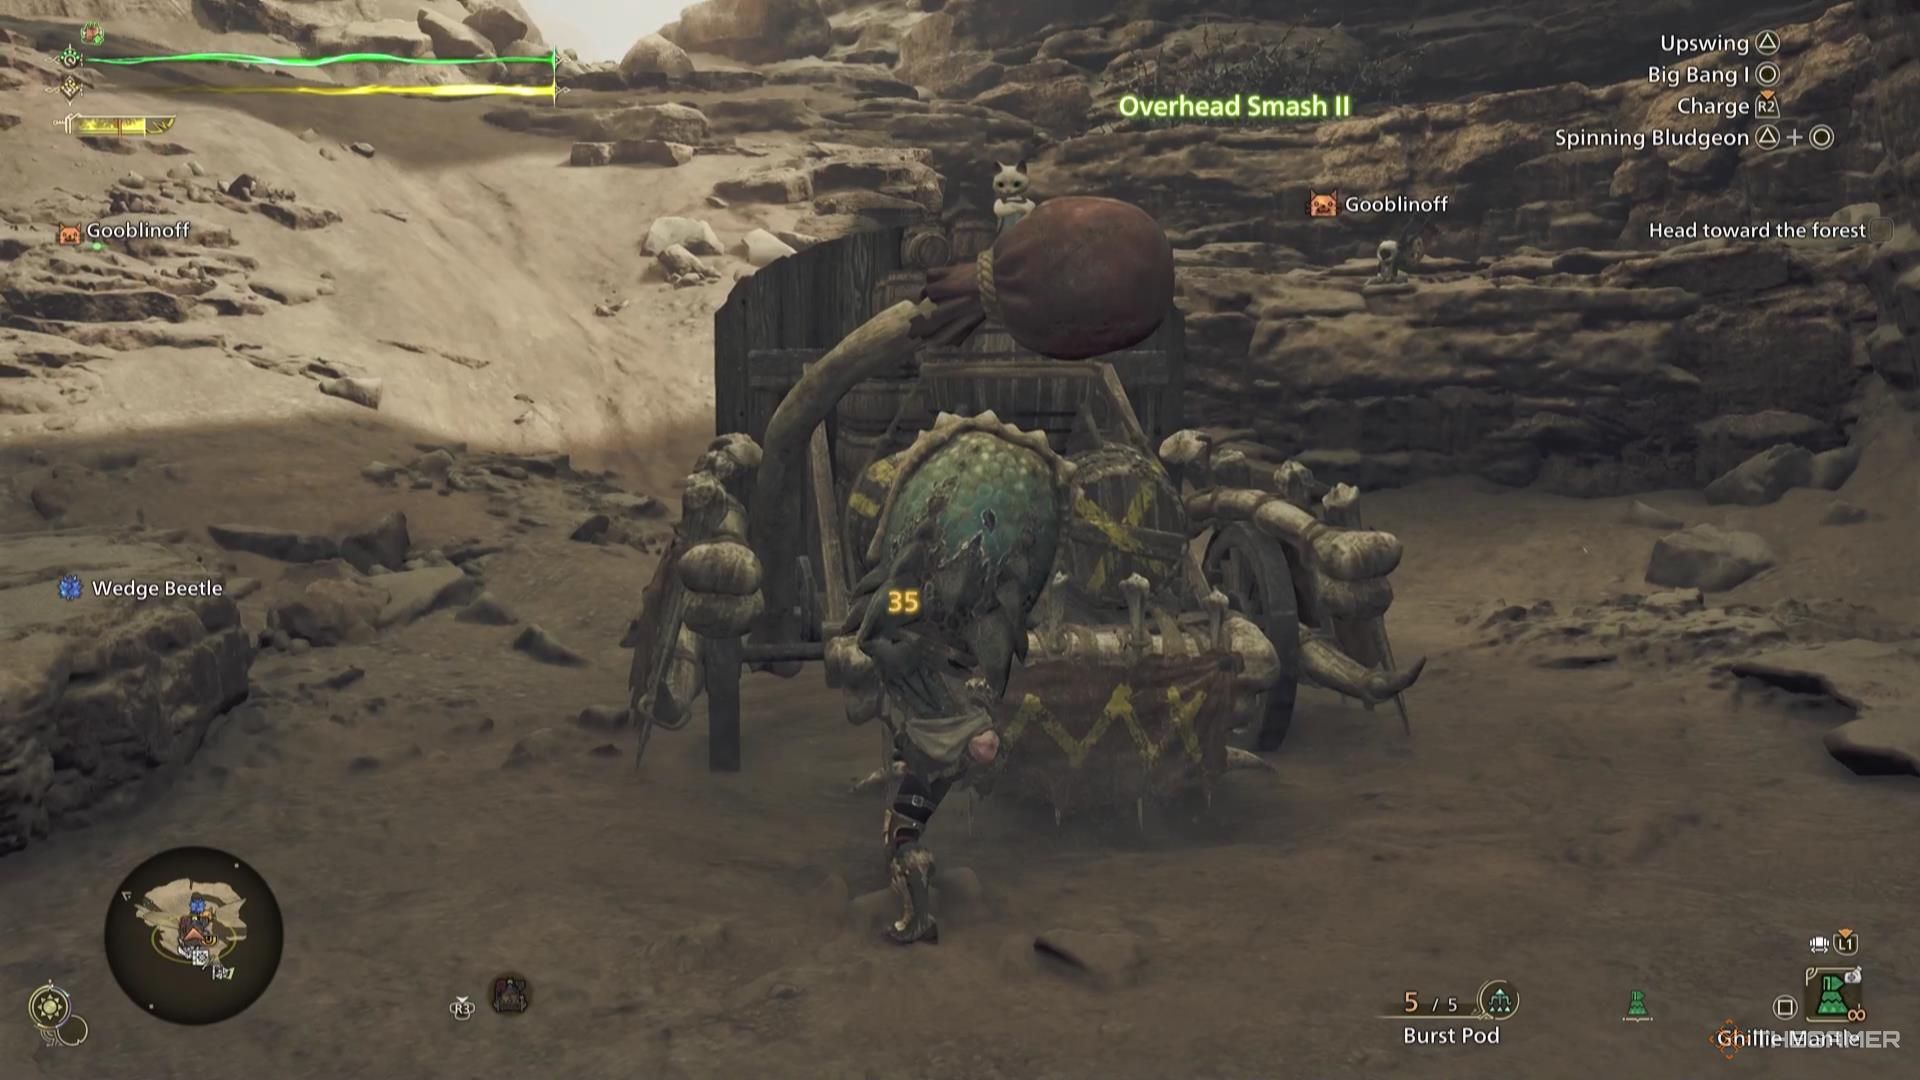
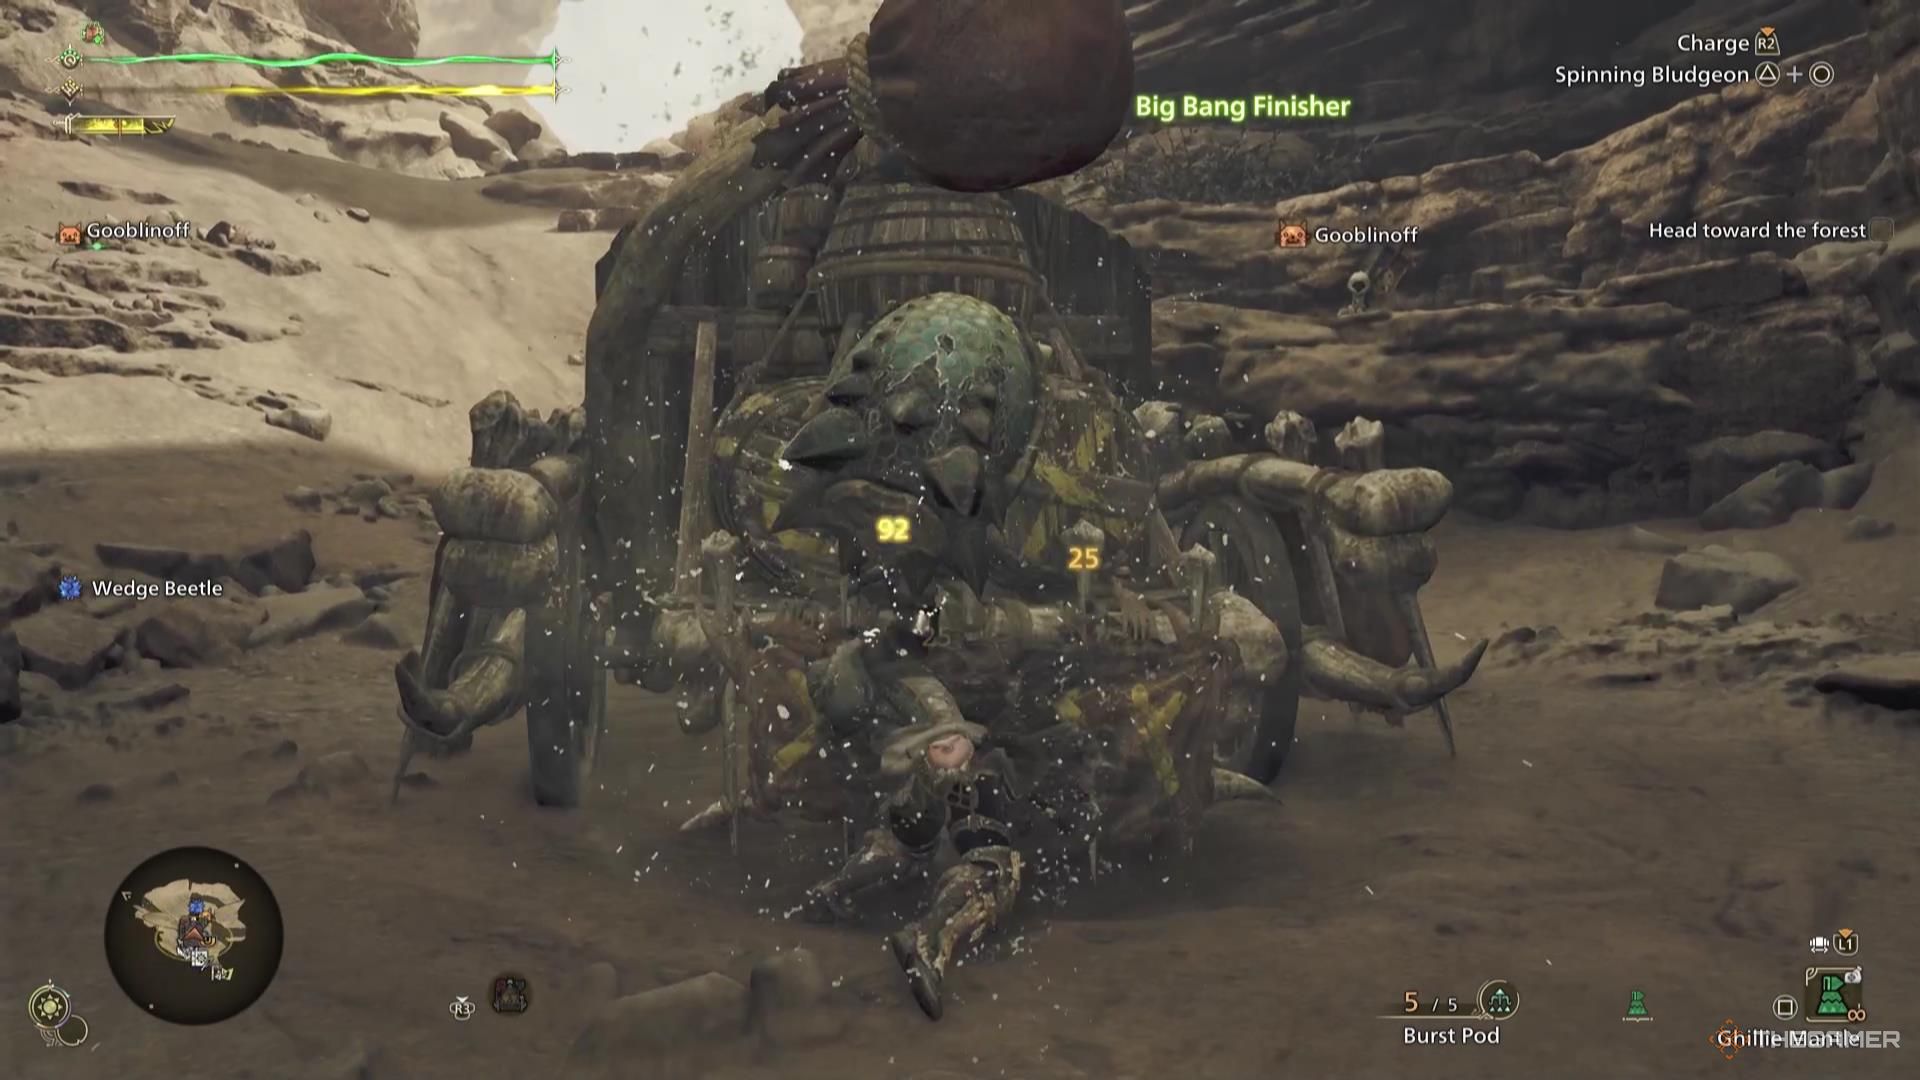
To execute the Big Bang sequence, simply tap your Standard Attack key. You have the ability to chain this action up to five times, making each consecutive strike increasingly powerful as it slams downwards. The last hit will divide into three separate damage figures, with the concluding one dealing the maximum amount of damage so far.
This is a bread-and-butter attack for the Hammer.
As I stand toe-to-toe with this beast, about to land a series of unmissable blows, it’s my moment to truly outshine. However, if I happen to miss a single strike in this sequence, the entire combo comes crashing down.
Since the Hammer doesn’t offer a lot of range, it’s important for you to be near the monster for the best results when using this combo.
Charge Attacks
When charging your Hammer, you’ll have a few different attack options (aside from the Charge Step):
- Charged Side Blow, which is dealt by releasing your charge at Level One. This will deal minimal damage, but is a fairly quick attack.
- Charged Upswing, unleashed by releasing your charge at Level Two. This is a slightly lower-damage version of the upswing finisher from the Basic Combo, but it doesn’t require the previous attacks before it.
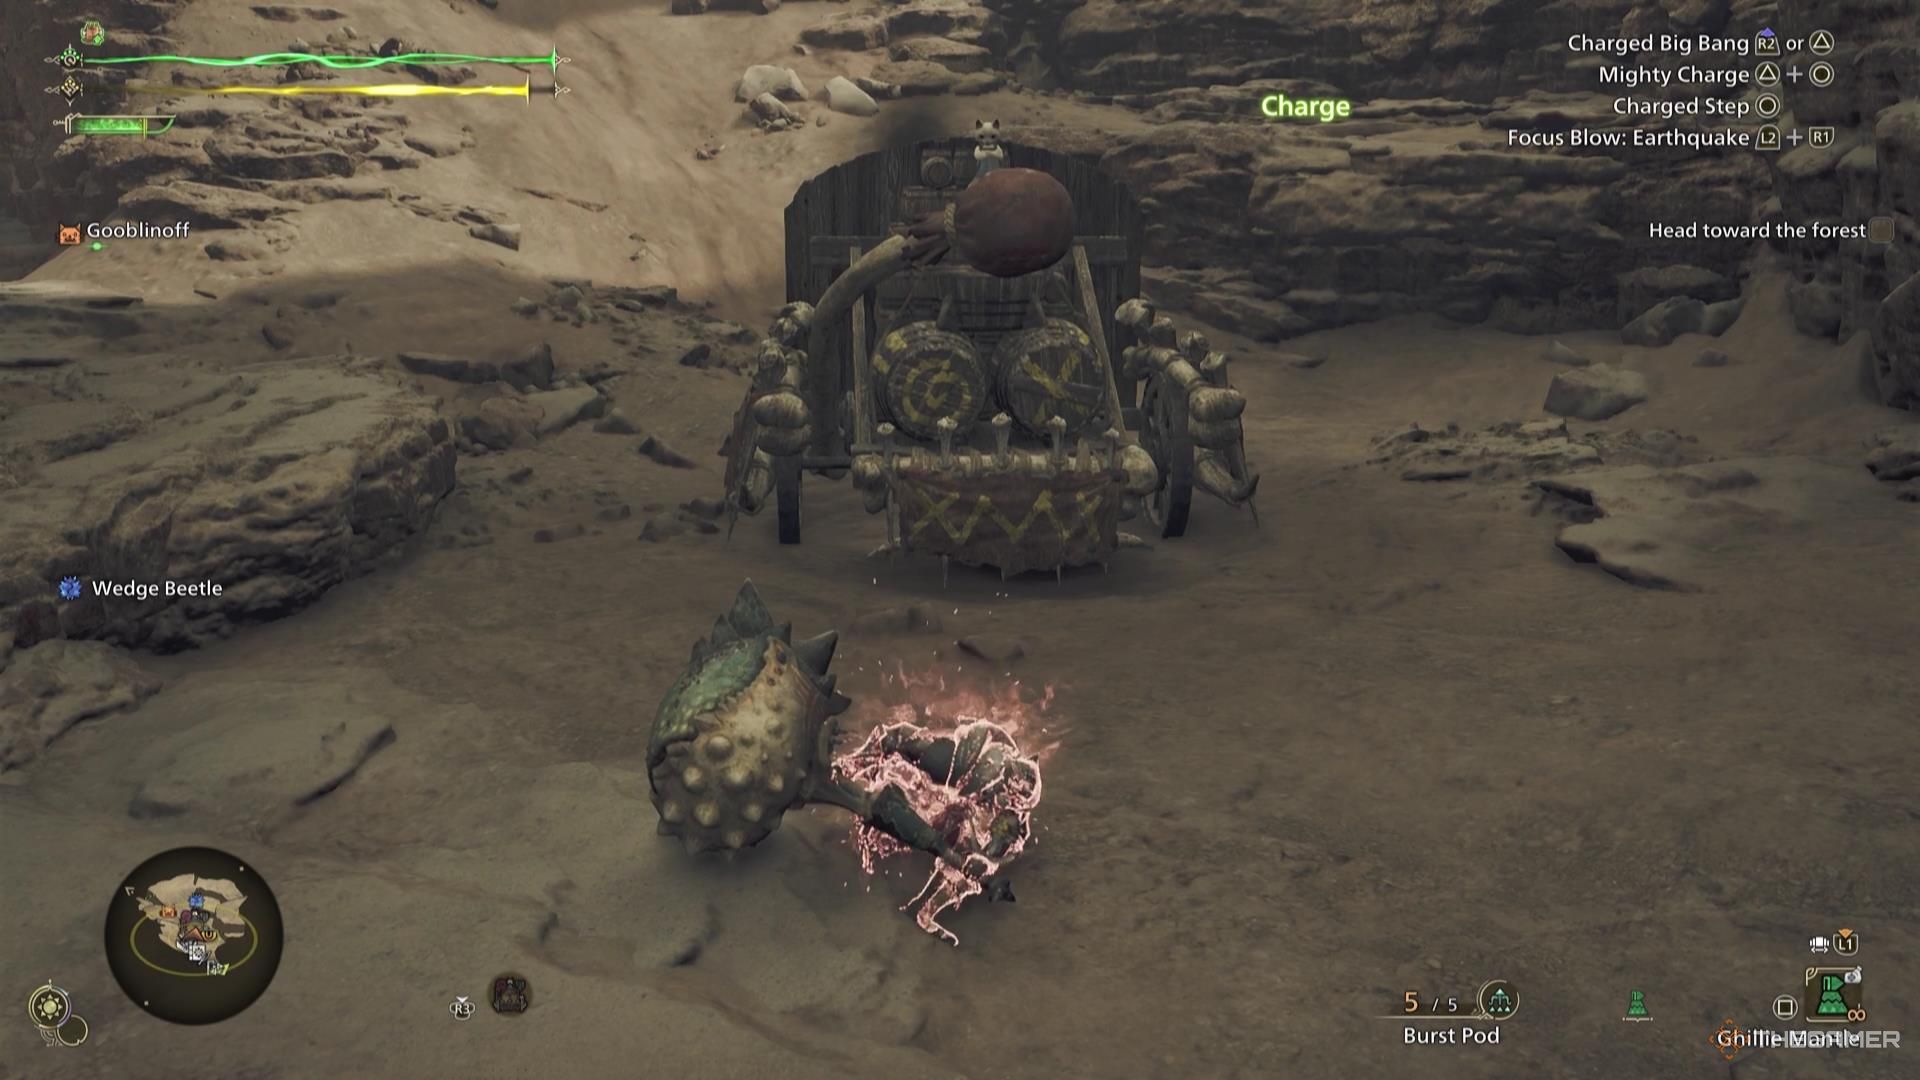
- Charged Big Bang is a variation on the finisher in the Big Bang combo. This version hits twice instead of three times, but does almost as much damage, and doesn’t require the previous attacks to chain into it.
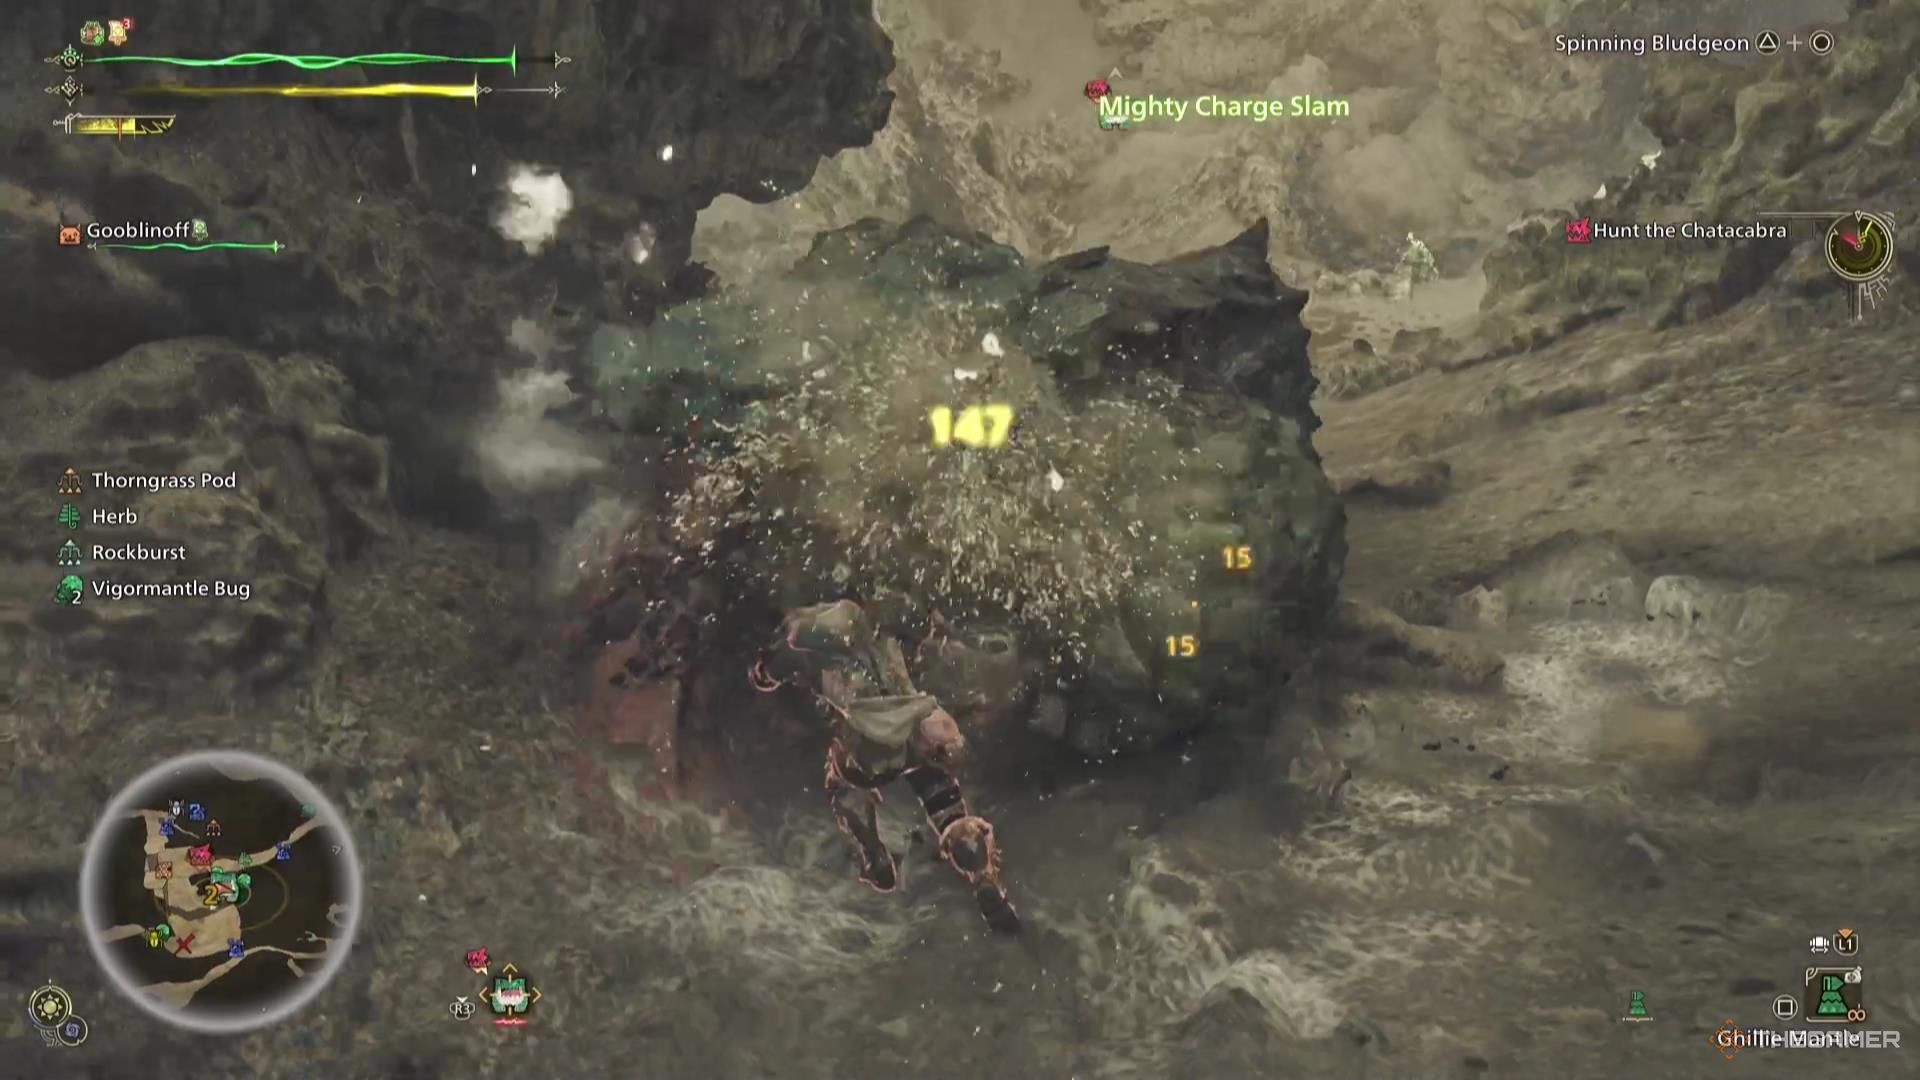
- Mighty Charge can only be activated from Charge Level Three. Once at Charge Level Three, press both attack buttons at the same time. Your Hunter will begin swinging their hammer. Once you release your Hammer charge, your Hunter will smash their Hammer, dealing damage three times, with the third attack dealing tremendous damage.
- Focused Blow: Earthquake is a variation of the Focused Blow when charging your Hammer. This is the only way you should ever use Focused Blow with the Hammer, as doing it from a Hammer charge not only unleashes the focus blow on a wound, but it also unleashes a Hammer charge attack immediately afterward.
Regarding raw damage, Mighty Charge is among the top choices for a Hammer user, especially when you have a chance to strike an opponent unopposed, it’s an excellent choice.
Spinning Bludgeon
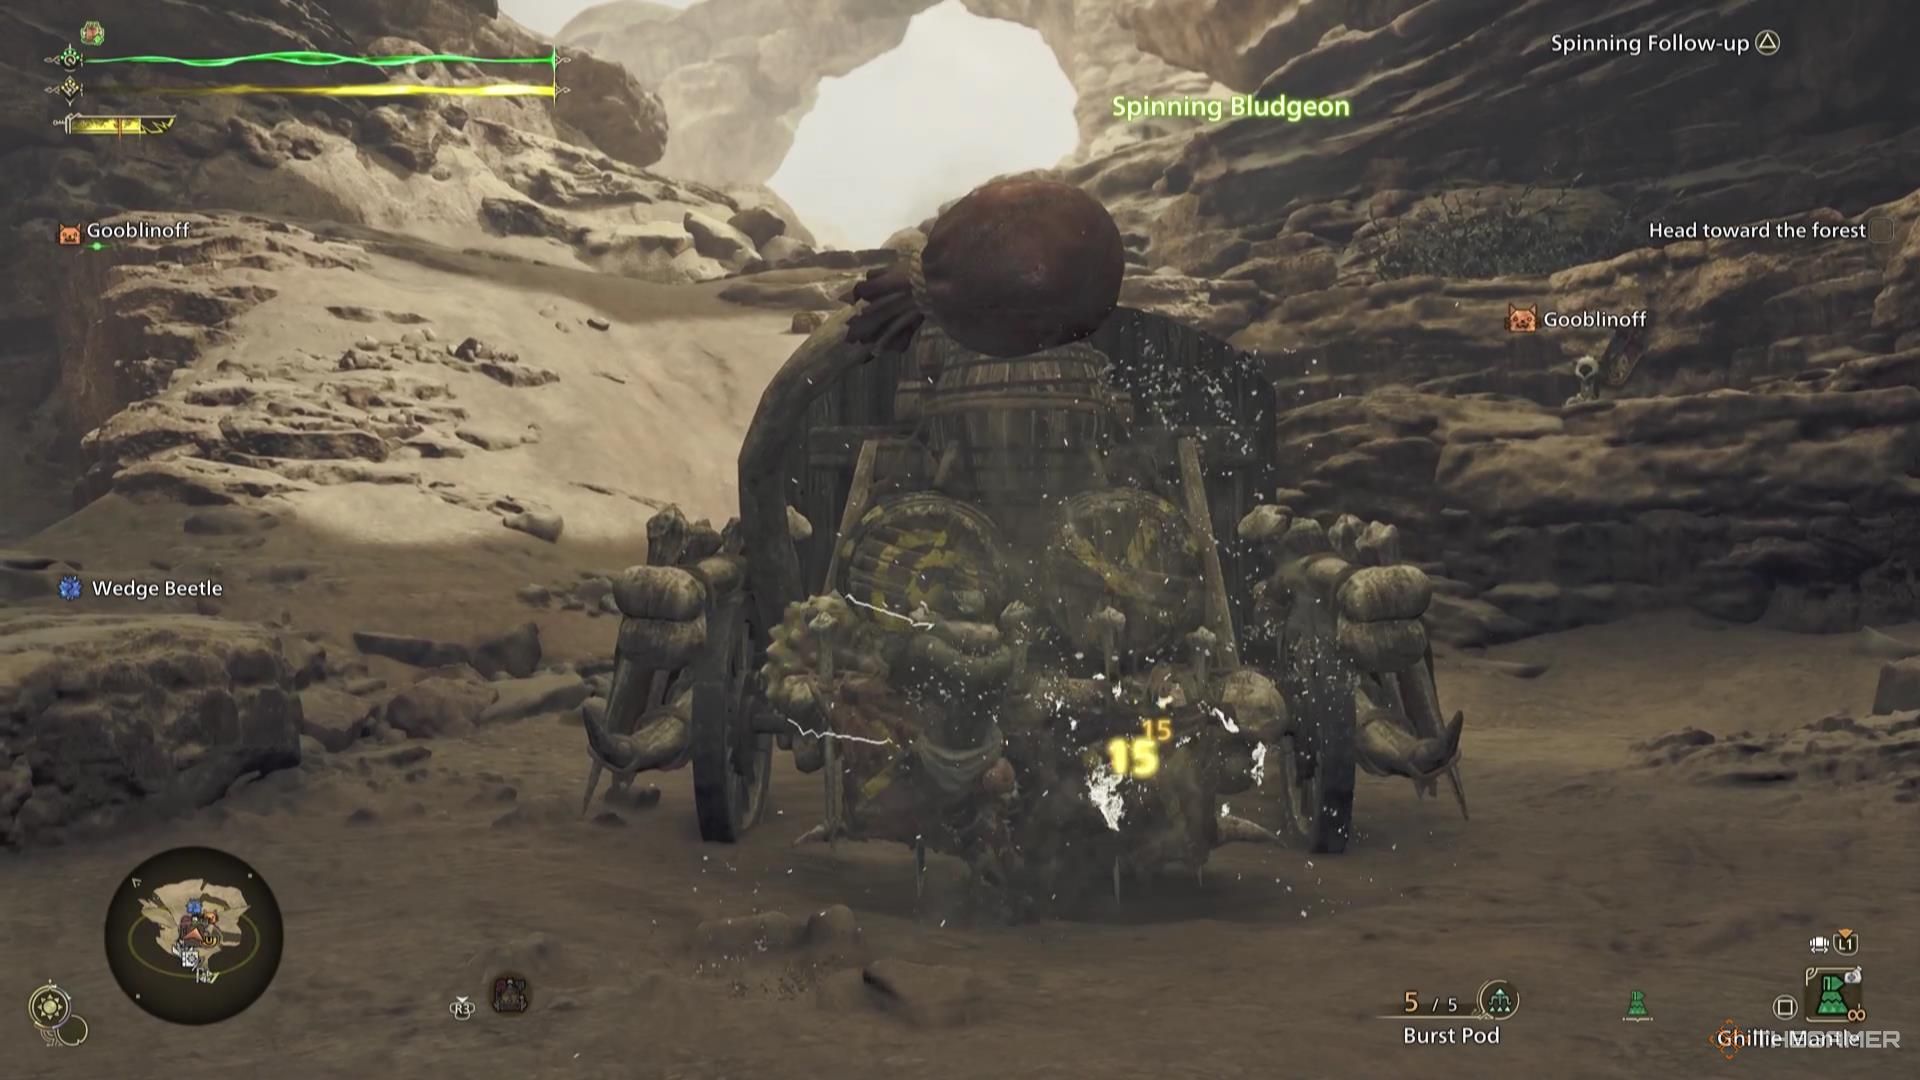
As a seasoned gamer, I’ve got a trick up my sleeve – the Spinning Bludgeon move! Unlike other attacks, this one is a follow-up, meaning I can unleash it right after another attack. And here’s the cool part: I can use it even after the swift Side Smash, making it a versatile addition to my gaming arsenal.
The Spinning Bludgeon is the most daring move in the Hammer’s arsenal, offering both significant reward and potential danger. When executed correctly, it can consistently deal damage and accumulate stun to a Monster, with the finale of the spin serving as a high-damage concluding blow to the combination. The nature of this final blow varies depending on the number of spins performed.
The problem with the Spinning Bludgeon is that it traps you in an animation from which it’s hard to escape swiftly. If timed incorrectly, a monster will manage to strike you with its attack while you are stuck, leaving no choice but for you to endure the hit.
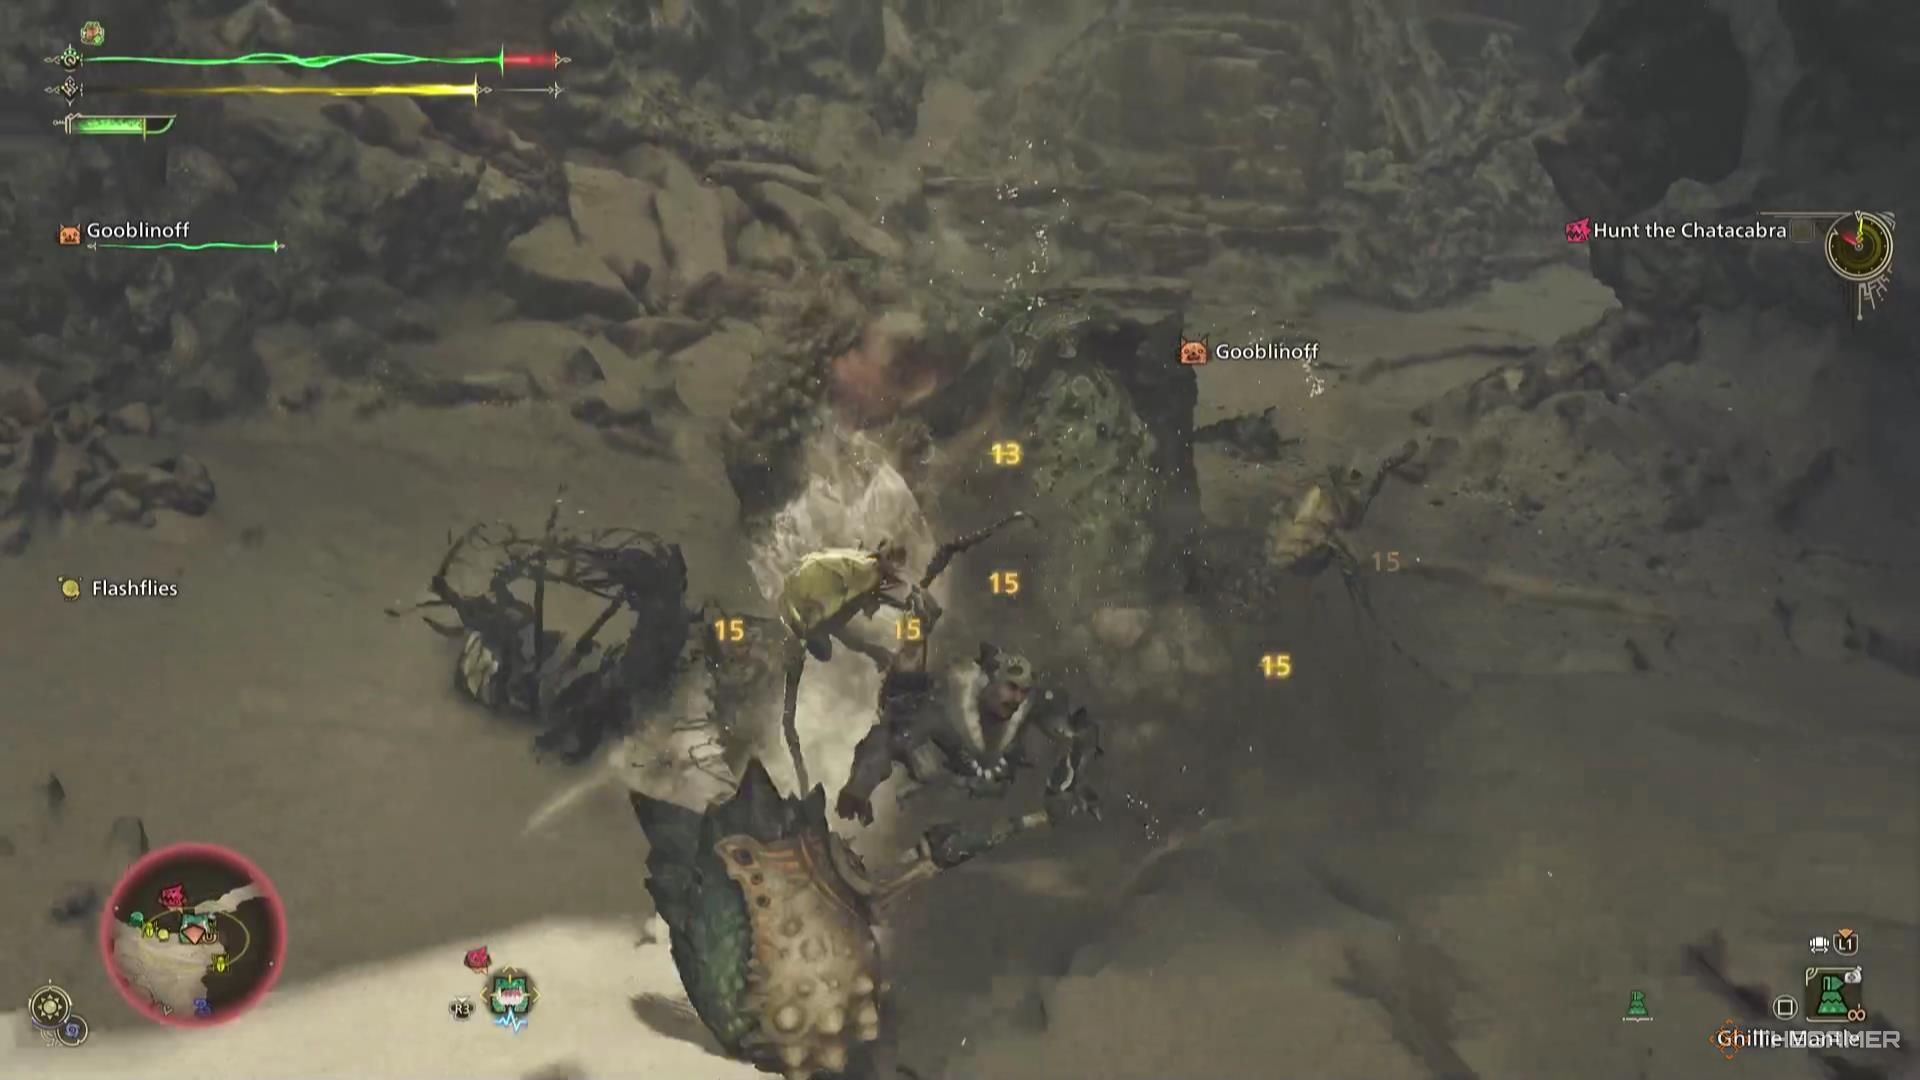
As a gamer, I find the Spinning Bludgeon incredibly useful when taking on a horde of creatures, particularly those on the smaller side. It ensures that I can maintain a clean field of view while dishing out substantial damage to several foes simultaneously, making quick work of them.
Read More
- Apothecary Diaries Ch.81: Maomao vs Shenmei!
- Gold Rate Forecast
- Batman and Deadpool Unite: Epic DC/Marvel Crossover One-Shots Coming Soon!
- Who was Peter Kwong? Learn as Big Trouble in Little China and The Golden Child Actor Dies at 73
- Mobile MOBA Games Ranked 2025 – Options After the MLBB Ban
- Hunter Schafer Rumored to Play Princess Zelda in Live-Action Zelda Movie
- 30 Best Couple/Wife Swap Movies You Need to See
- Netflix’s ‘You’ Season 5 Release Update Has Fans Worried
- Gachiakuta Chapter 139: Rudo And Enjin Team Up Against Mymo—Recap, Release Date, Where To Read And More
- Every Minecraft update ranked from worst to best
2025-03-01 17:06