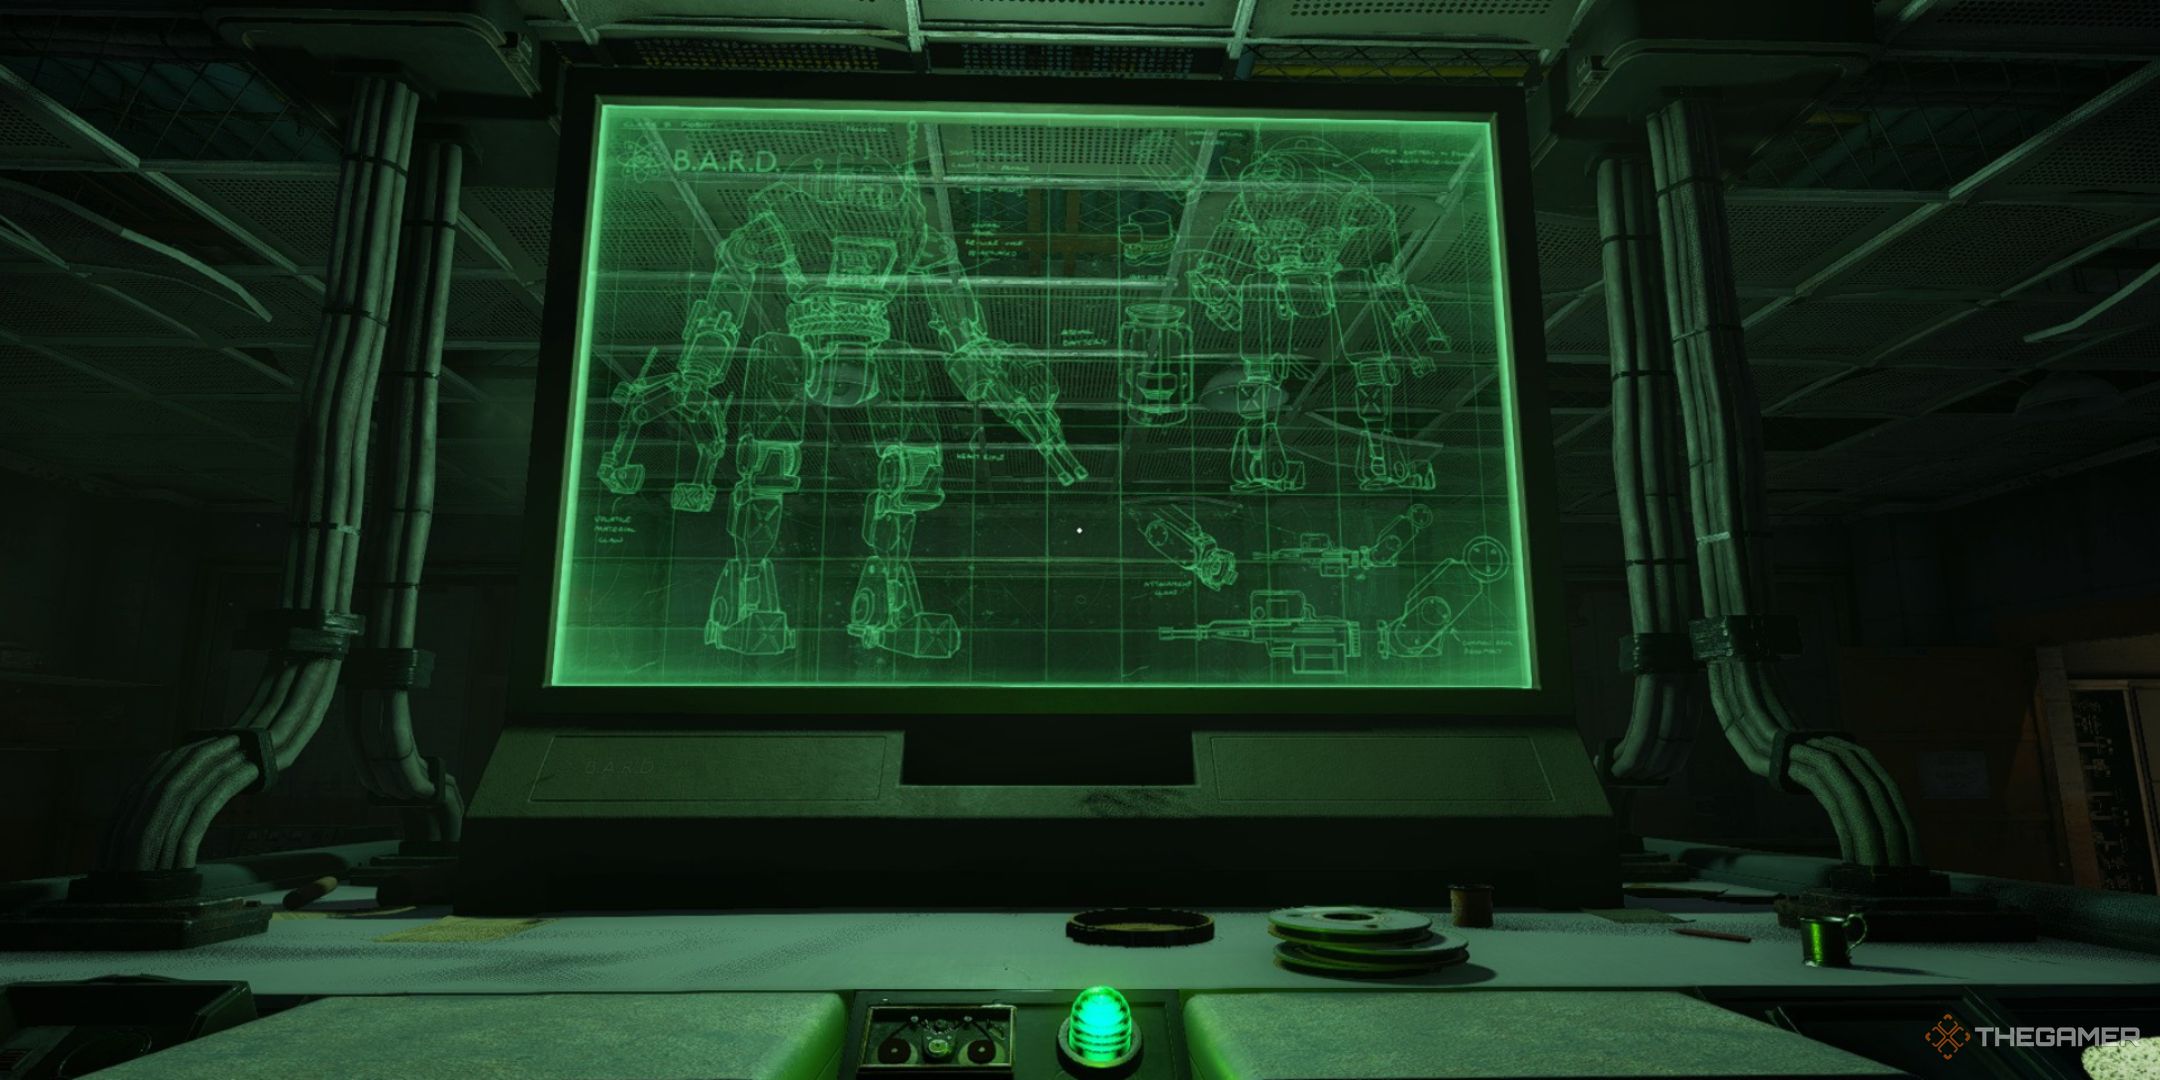
The Interchange is brimming with Atomfall’s deepest mysteries, and no areas within it are more securely protected than the Robotics Lab. Given its reputation, it’s not surprising that it’s equipped with autonomous turrets and potentially lethal combat robots, along with other potential dangers.
The Robotics Lab may be a risk worth taking due to the valuable supplies it holds such as Training Stimulants and ammunition. However, if you aim to uncover all the game endings, it’s essential to venture into the lab since it’s linked to Doctor Garrow’s narrative. Her research notes are kept in her office, and she won’t exit the Quarantine Zone without them.
How To Reach The Robotics Lab
The Robotics Lab can be found beneath the Interchange, with Data Stores Bravo and Delta on either side of it. To reach this lab, you should access the Interchange from either Skethermoor or Slatten Dale.
OR
The Robotics Lab lies at the base of the Interchange, sandwiched between Data Stores Bravo and Delta. You can get to it by entering the Interchange via Skethermoor or Slatten Dale.
From the two options available, it’s suggested that you proceed from Skethermoor. To unlock the Robotics door, Data Store Bravo needs to be switched on. Additionally, you’ll need a Signal Redirector, which can be acquired at either Skethermoor Prison or the Protocol Field Station.
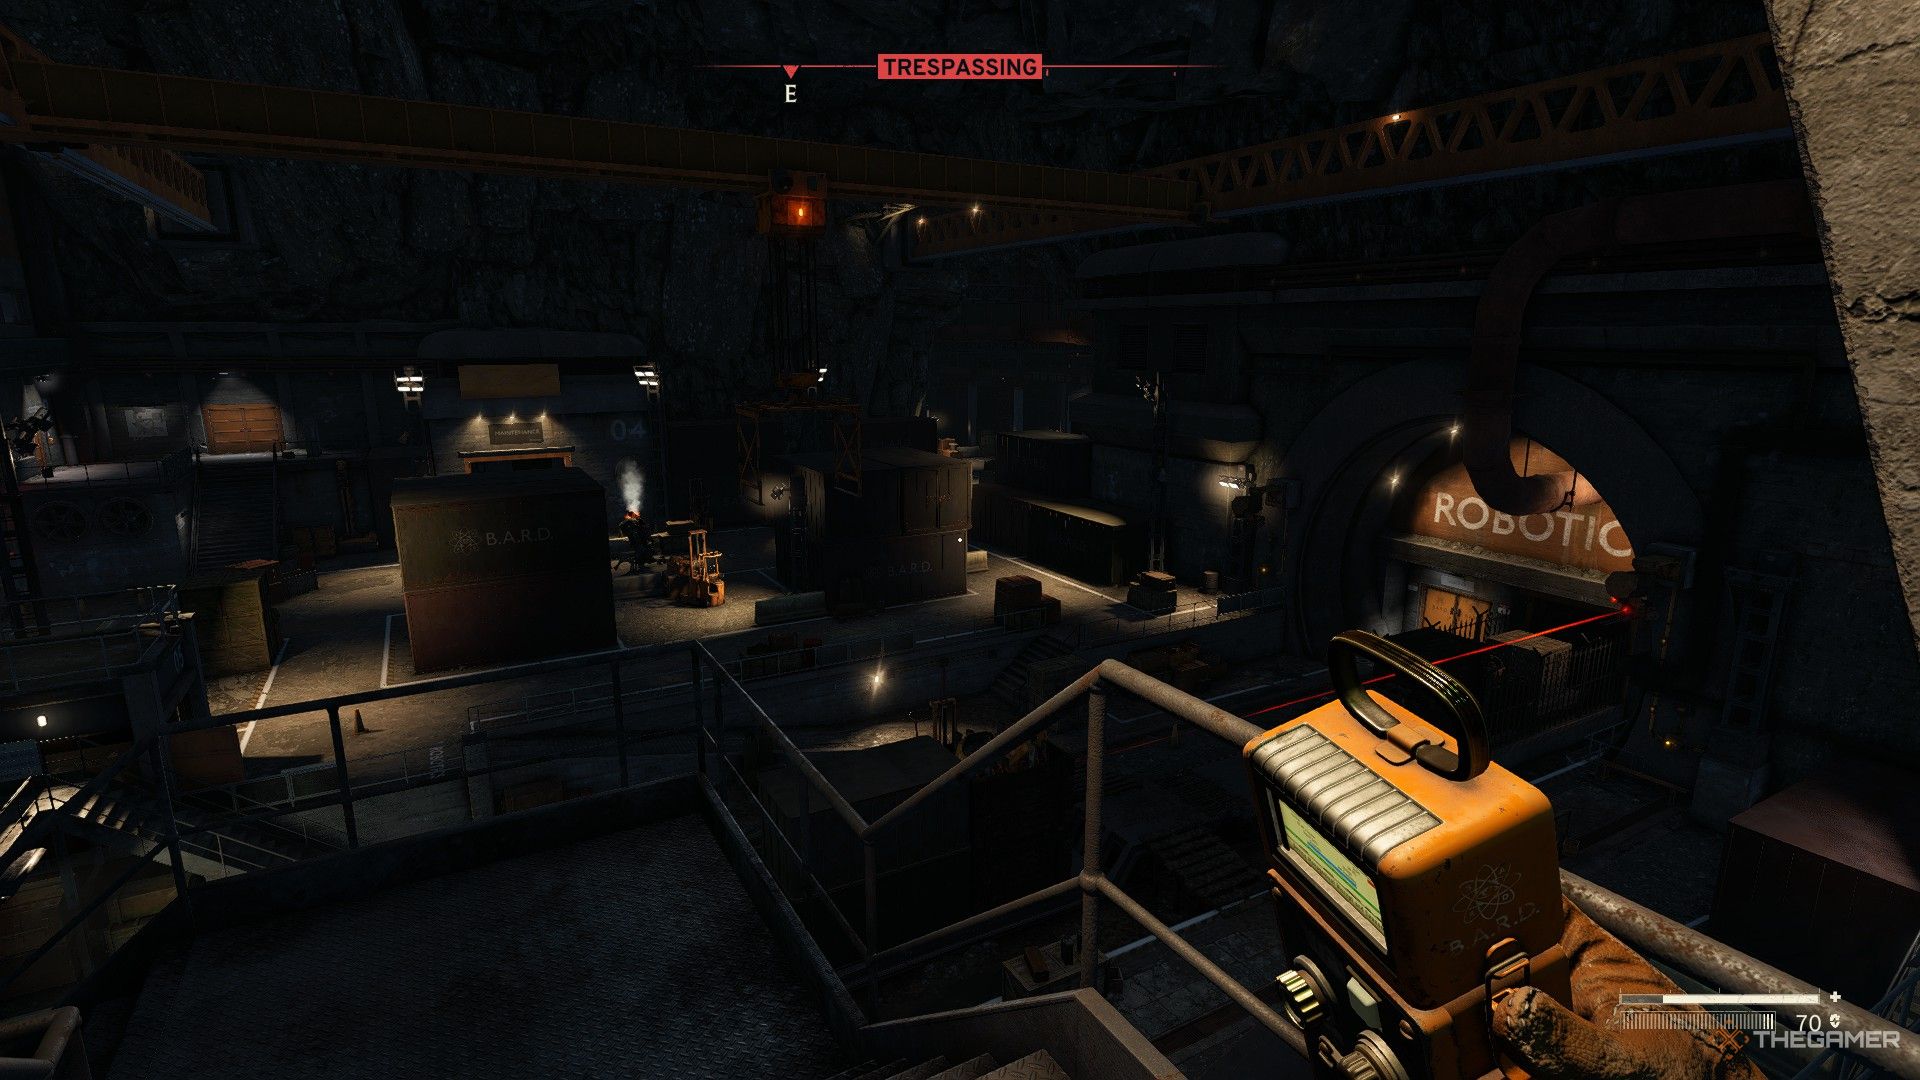
The entrance is protected by a pair of gun emplacements, and there are two robots roaming the surrounding region; one carries a machine gun, while the other has a flamethrower. Either evade or neutralize these robots (overcoming them will provide you with Atomic Batteries which can be used to energize additional Data Centers), and then make your way to the sides of the Robotics Lab Door to employ the Signal Redirector and disable the turrets.
A deceased scientist found by the entrance appears to have penned a note hinting at a Hidden Signal Redirector within the Robotics Lab, but investigating this lead would likely be a futile endeavor – the files within the Lab will only direct you back to Skethermoor, requiring one of the two items specified.
Preparing To Enter The Robotics Lab
Before you go to the Robotics Lab, you should make sure you have the following:
- A Signal Redirector.
- A rifle, handgun, and shotgun, and a good supply of ammo for each.
- Bandages and crafting material to make more.
- Burn Salve.
- Painkillers are optional, but very useful against machine guns.
How To Get The Control Room Keycard
Upon entering the Robotics Lab, please deposit any unnecessary items in the designated Storage Tube for safekeeping. Next, procure the additional ammunition from the desk located in the security room to your left. Then, follow the rail tunnel towards the main area, and your initial assignment is to gain access to the Control Room.
Head towards the left staircase, which you can access by passing through the Cafeteria, where there’s food available but beware of the numerous rats lurking about. Once you reach the upstairs area, proceed to the end of the hallway and locate Room 4 (marked on the floor). On the opposite side of the room, you’ll find a vent. Crawl through it to get to the desk where you can pick up the keycard. With this keycard, you can open the door to exit, and then unlock the Control Room that’s located just around the corner from Room 4.
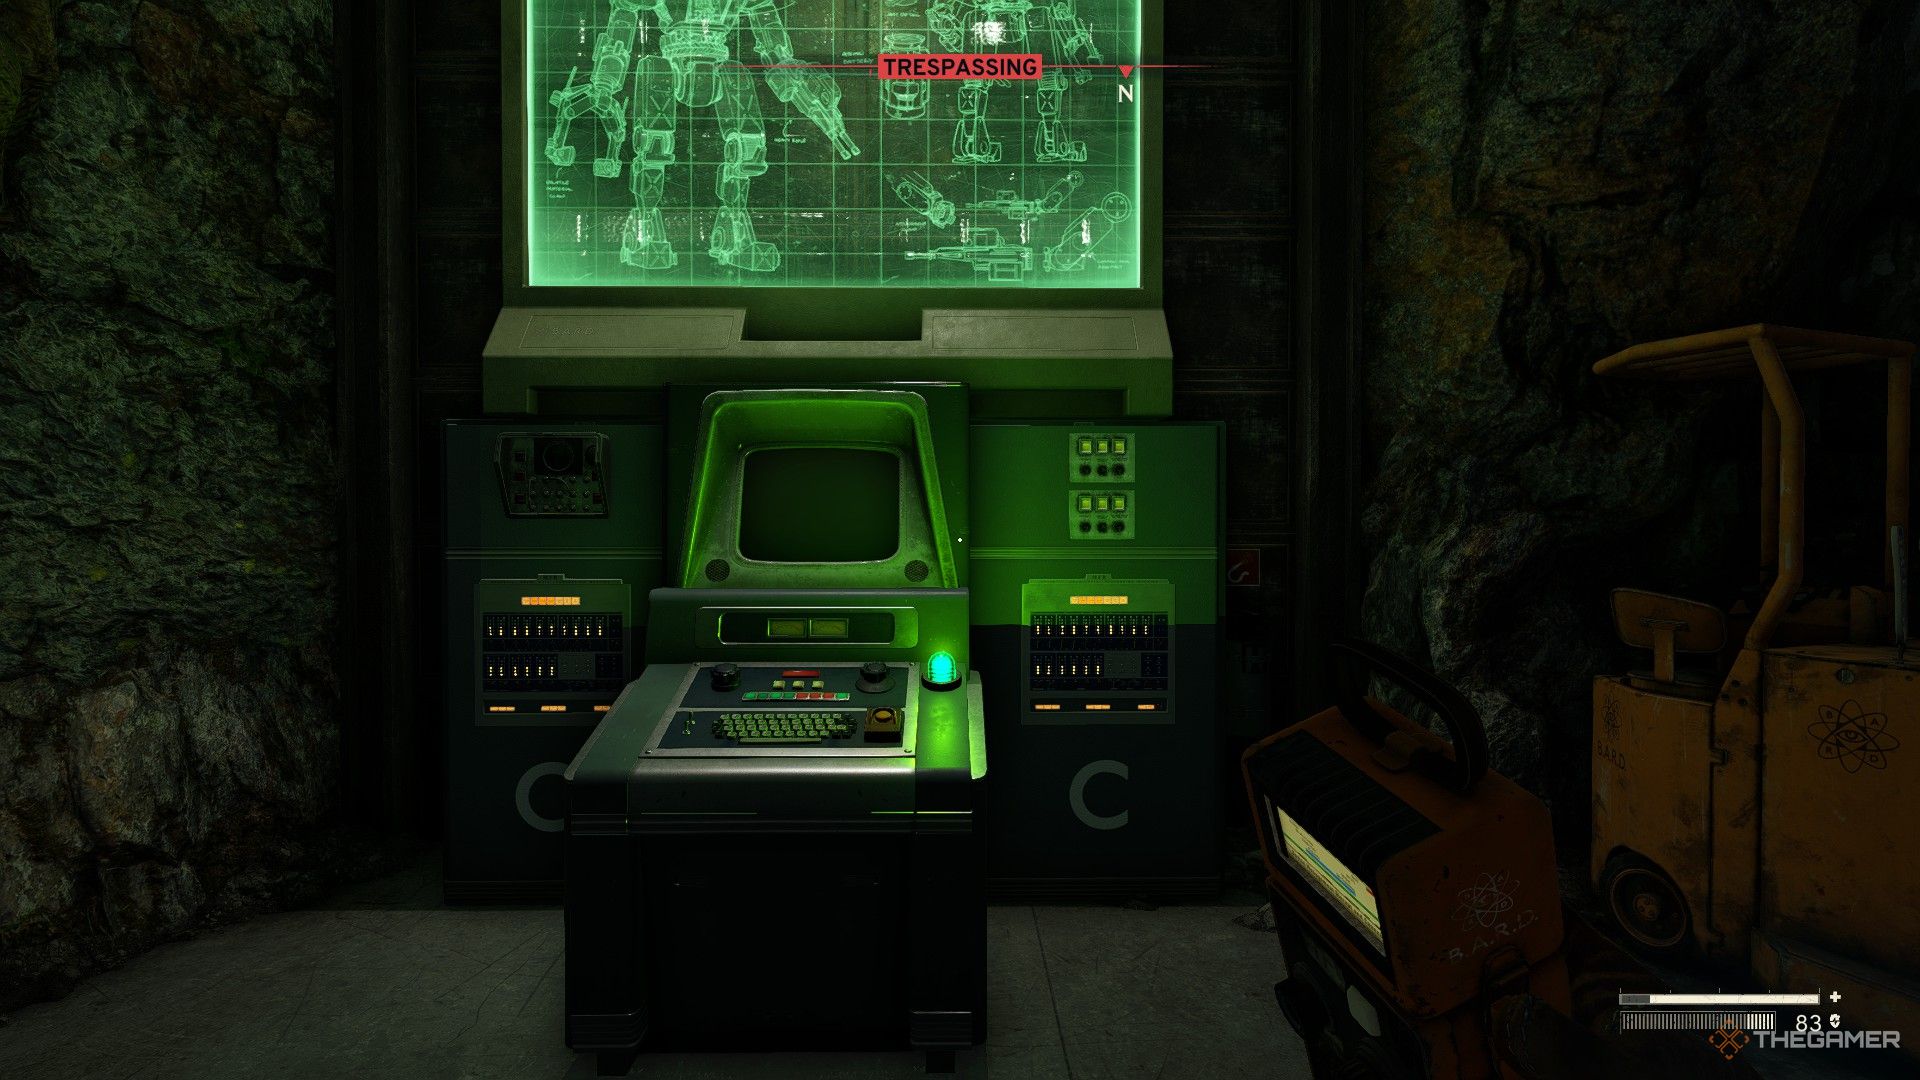
In the Command Center, you’ll find various resources such as Training Aids. Pressing the button here will provide clues about the location of the Signal Redirector, should you not have found it yet. Additionally, it will energize the rooms beneath, which means the turrets will become active and a machine gun robot will be deployed.
How To Get The Storage Room Key
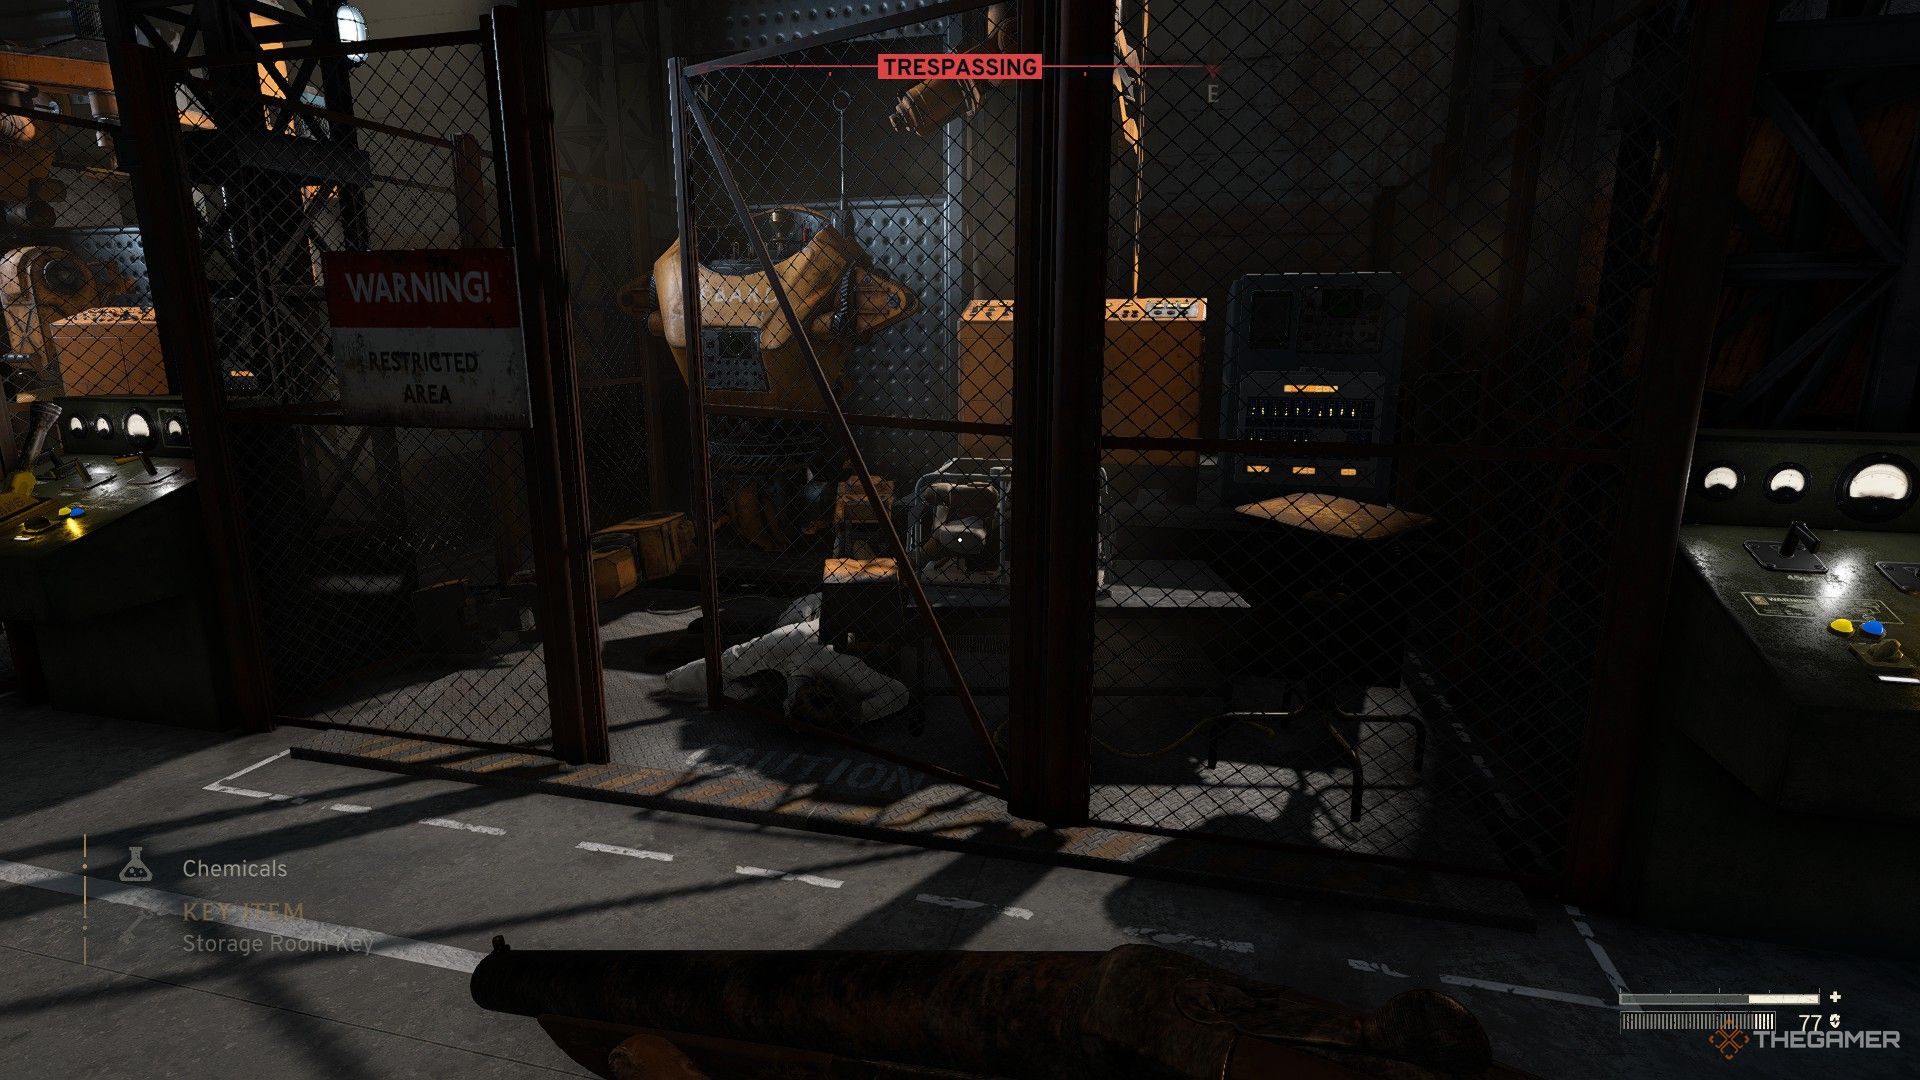
On the right side of the central hub, opposite where you discovered the Control Room, you’ll find the Robot Manufacturing Facility. After activating power, the nearest handle on the right will lower a deceased scientist from a crane, providing you with a key to the storage room overhead. This is an effective method for obtaining additional resources, but be prepared to encounter a guarding robot while making your way there.
How To Access The Secure Lab
At the distant end of the room, the security barrier requires power supply from not just one but both sides of the building. After the power is restored, it’s essential to activate the Signal Redirectors located in various Junction Boxes to facilitate the flow of electricity towards the door.
Left Side
Initially, make your way down to the room beneath the Control Room, which functions as the switch room. Inside this room, you’ll find a Signal Redirector next to a box across from the door. Use this device to activate the panel. Once activated, locate the lever situated near the area of interest and pull it. This action will direct power towards the door, but also create an electric charge on the floor water, posing a significant danger.
Instead of taking the shortcut, head up the longer route upstairs, all the way to the top near the electrified swimming pool. Once there, you’ll be in a position to flip another circuit breaker, thus making the floor safe once more.
If you’re having difficulty locating a Junction Box, try this instead: Point your Signal Redirector and observe as the needle adjusts to the right. The more it moves, the nearer you are to the Junction Box!
Right Side
Head towards the yellow doors situated to the right of the barrier; depending on the robot’s movement pattern, you might need to neutralize it or wait for it to move on before it’s safe to proceed. Utilize the Signal Redirector near the window to engage the Junction Box across from you, which will enable you to unlock the door.
Move all the way to the rear of the room, then find the lever there and activate it. Afterwards, retrace your steps and scale the crates on the right-hand side to get to a Junction Box close to the ceiling. This box controls the power supply for the right portion of the bulkhead.
When both sides of the partition are active, navigate through by utilizing the control panel situated on its left side. Keep in mind that sliding down the damaged elevator shaft is necessary for progression, implying that returning via this route won’t be possible after descending.
How To Get Doctor Garrow’s Research Notes
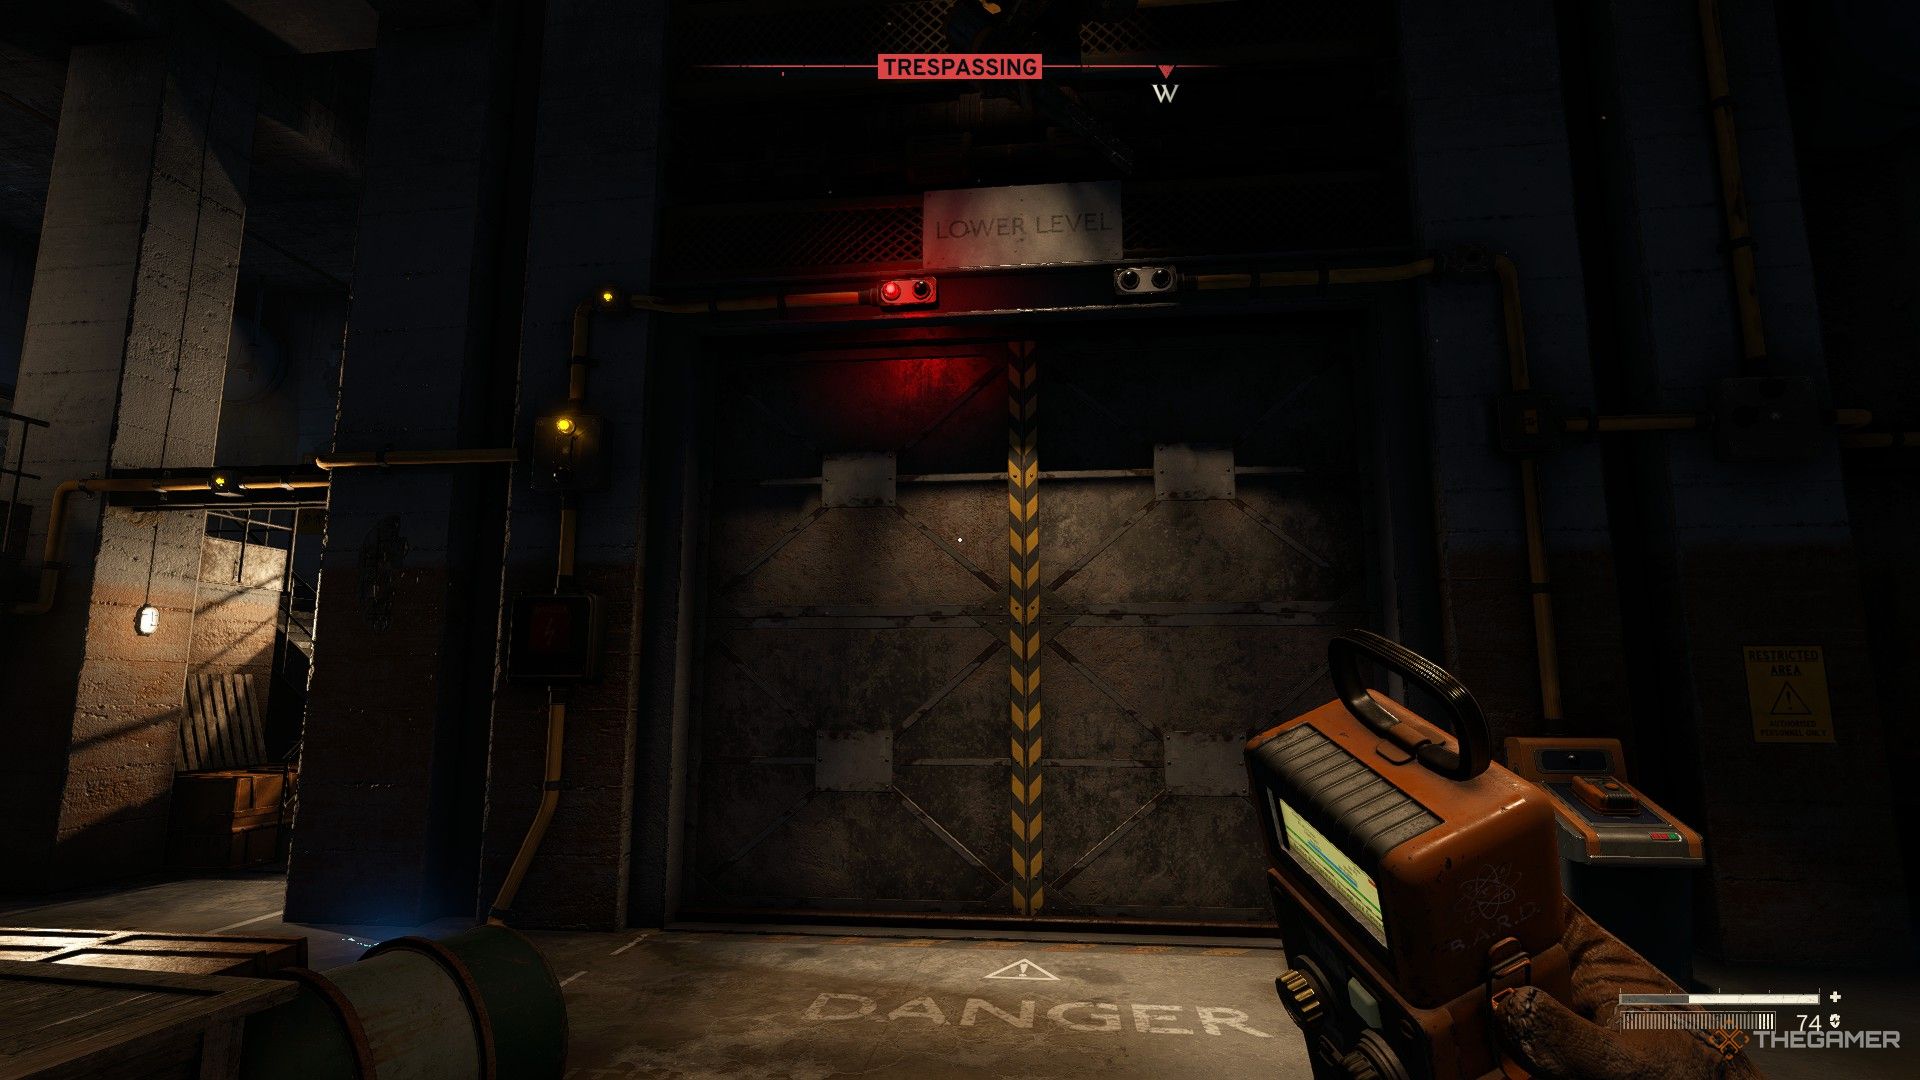
At the base level, you’ll find even more turrets and robots. In case of emergency or if you need to restock, there’s a convenient exit tunnel to your right when entering the lower level that takes you back to the Interchange.
Since the exit path is teeming with wild creatures, carrying a shotgun would be a wise choice to ensure your safety.
When you get to the primary part of the lower lab, consider taking the path on your right instead. Moving straight ahead in this case will lead you straight towards the turrets, and they might quickly cause harm to you.
To move forward, start by turning on consoles marked as A, B, and C in sequence. Navigate along the path on your right, going against the clockwise direction, and pass by a locked door with three lights. If you encounter any turrets during this journey, disable them using the Signal Redirector tool, and be cautious of the robots as well.
After setting off, you’ll encounter Console C fairly quickly. Once you’ve engaged it, proceed cautiously, moving counterclockwise after the stairs. Beyond the hallway lies Console B. Keep in mind that you might need to confront a robot to get there.
After that, navigate through the bathrooms until you find yourself directly beneath the final standing turret. Use the Signal Redirector to disable it, but be mindful of the exact Junction Box you choose; there’s another one nearby that will electrify the water on the bathroom floor if activated, which could potentially fry you instantly.
After lowering all the towers, make your way into the central chamber to engage Console A, located in one of the enclosed spaces. Once you’ve activated all three consoles, the yellow doors will automatically open. Grab some additional ammunition off the counter to the left, and pick up the Keycard from the fallen scientist on the floor, labeled as the ‘Head Office Keycard’.
To access Doctor Holder’s office, which is located up the staircase from Console B, first retrace your steps to the Interchange via the exit tunnel. Then, deliver the keycard to her to advance her storyline.
Read More
- Apothecary Diaries Ch.81: Maomao vs Shenmei!
- Mobile MOBA Games Ranked 2025 – Options After the MLBB Ban
- Who was Peter Kwong? Learn as Big Trouble in Little China and The Golden Child Actor Dies at 73
- Gold Rate Forecast
- Batman and Deadpool Unite: Epic DC/Marvel Crossover One-Shots Coming Soon!
- Summer Game Fest 2025 schedule and streams: all event start times
- Netflix’s ‘You’ Season 5 Release Update Has Fans Worried
- Hunter Schafer Rumored to Play Princess Zelda in Live-Action Zelda Movie
- Every Fish And Where To Find Them In Tainted Grail: The Fall Of Avalon
- SEGA Confirms Sonic and More for Nintendo Switch 2 Launch Day on June 5
2025-03-27 22:35