As a gamer, I’d put it like this: “Immediately after taking down Trokka in The First Berserker: Khazan, you’ll stumble upon an engaging side quest – Lacrima. To initiate this adventure, head to the Spectral Portal Heart of Pell Los and select Lake City Aldevir as your destination. Once there, look for the mission marked as Lacrima.
To navigate through the region, you’ll encounter multiple Defeated Beasts. While battling them can be frustrating, understanding their attack patterns will increase your chances of victory. Additionally, we’ll provide information about their moves, and offer guidance on locating the Jarling and a Soulstone during this assignment.
How To Complete The Lacrima Quest
Jarling Location
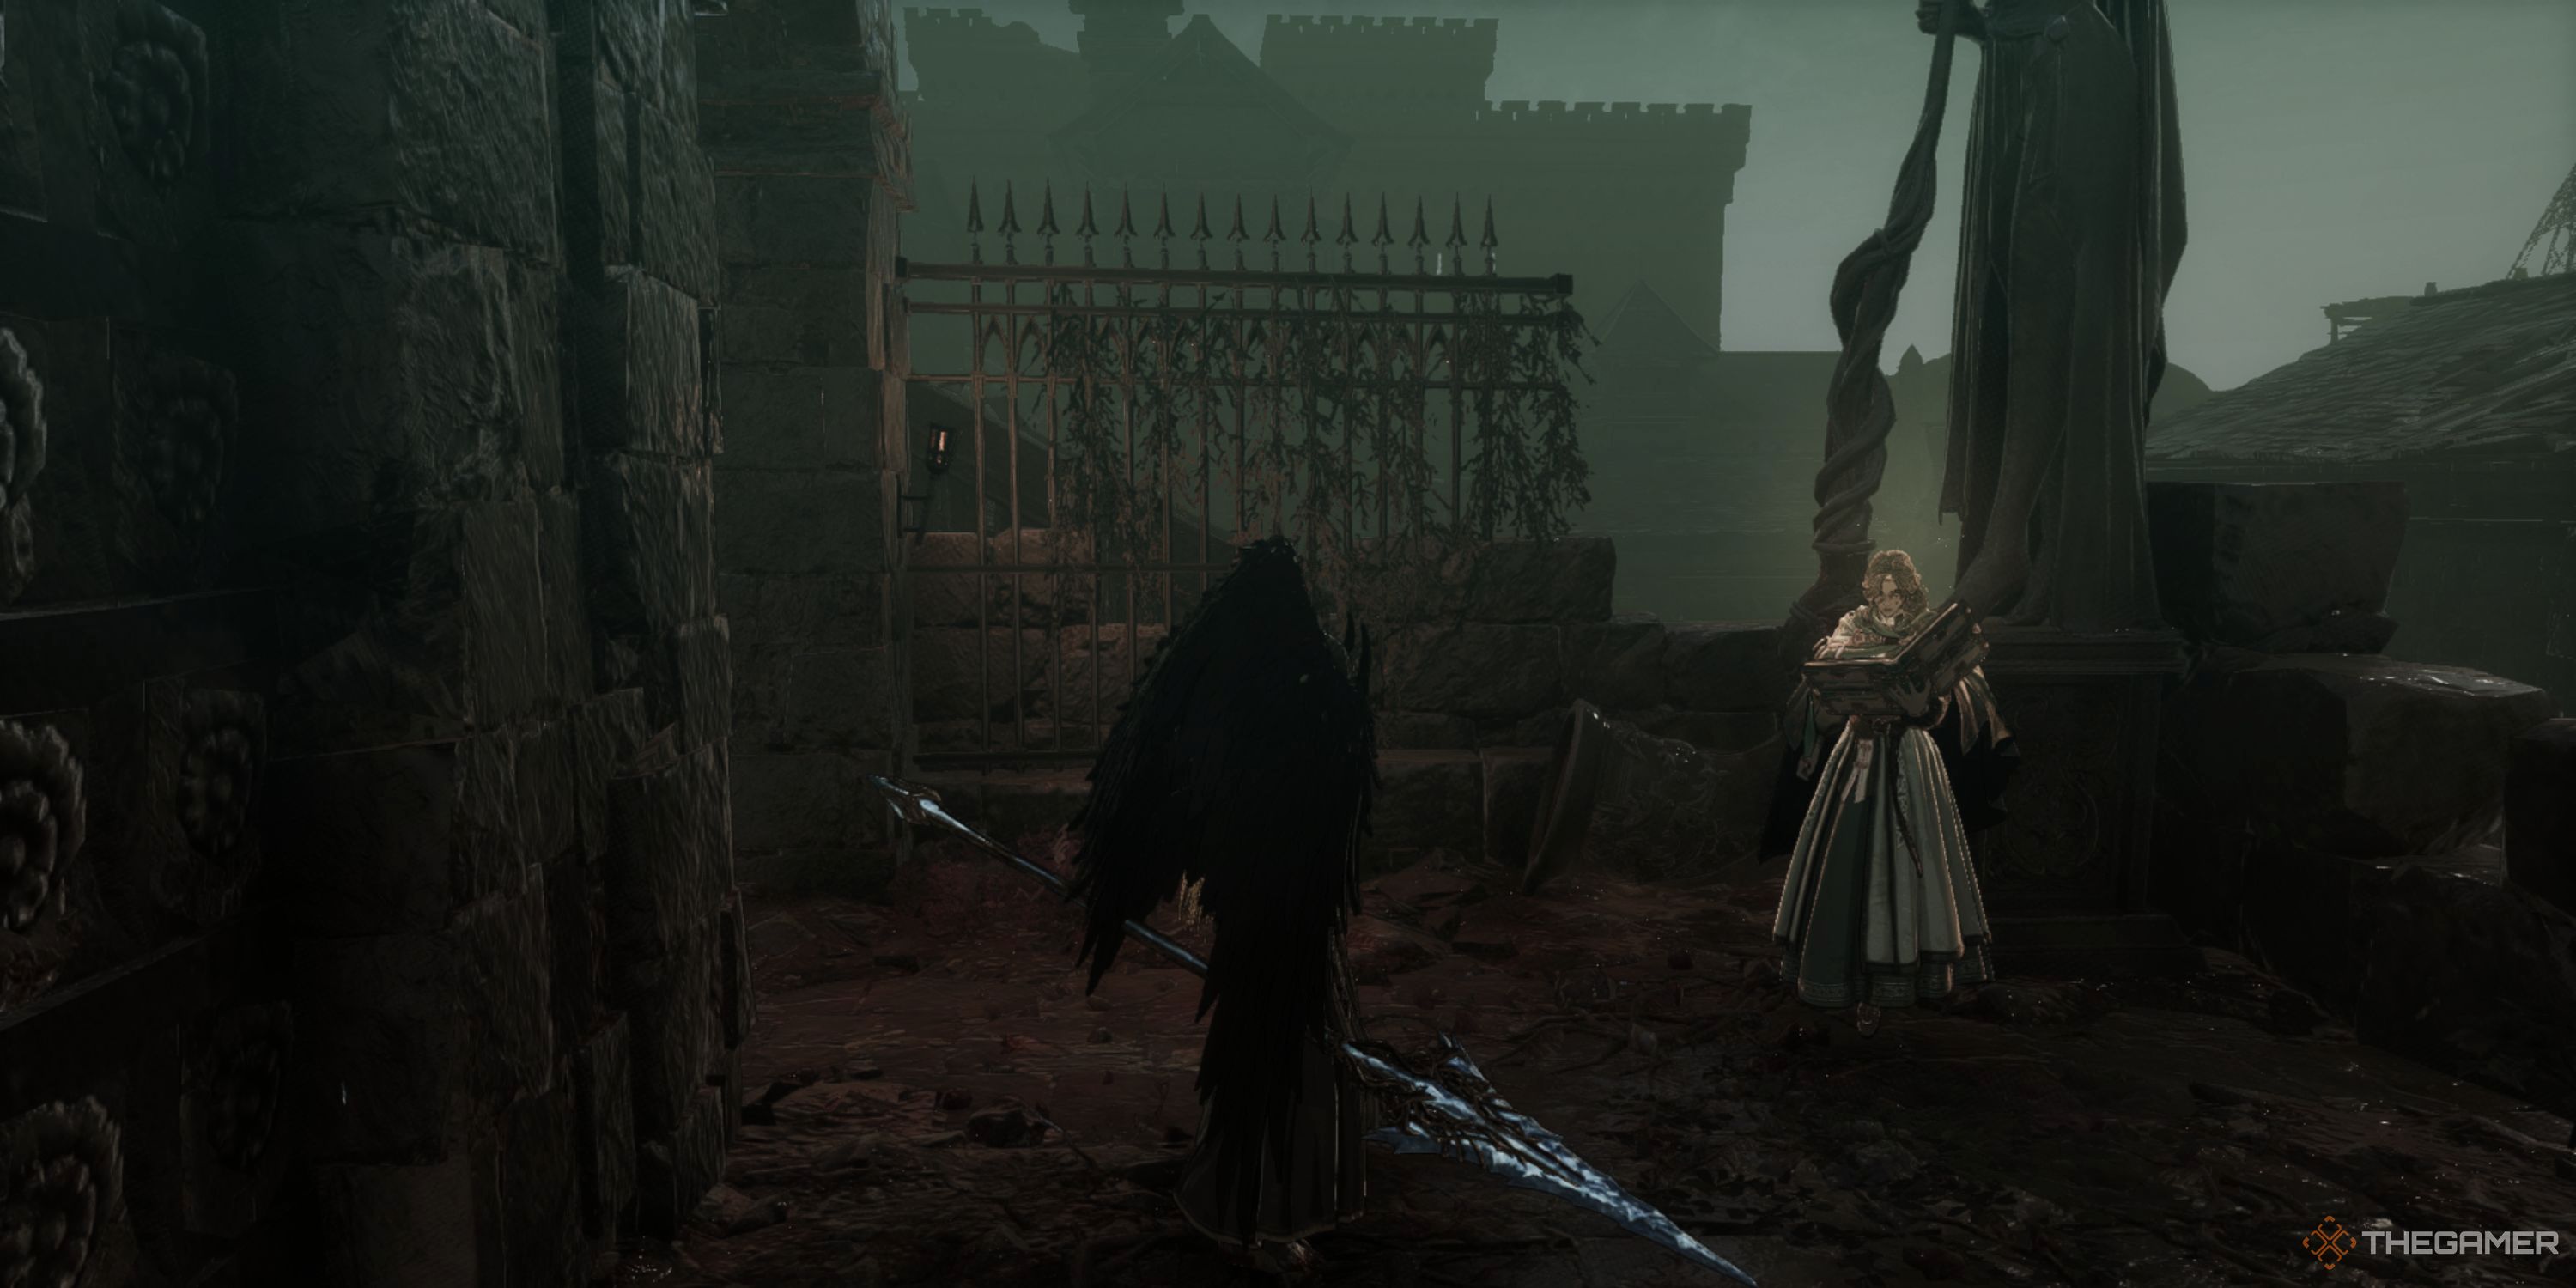
After you’ve been transported to the quest zone, please activate the Blade Nexus that lies straight ahead. Following this, you’ll encounter Daphrona. Engage in conversation with her, then proceed to your left.
Continue moving forward; you’ll encounter adversaries further on. Eliminate them before they detonate near you. Should they leap at you, be ready to swiftly evade when they’re about to make contact to dodge the explosion.
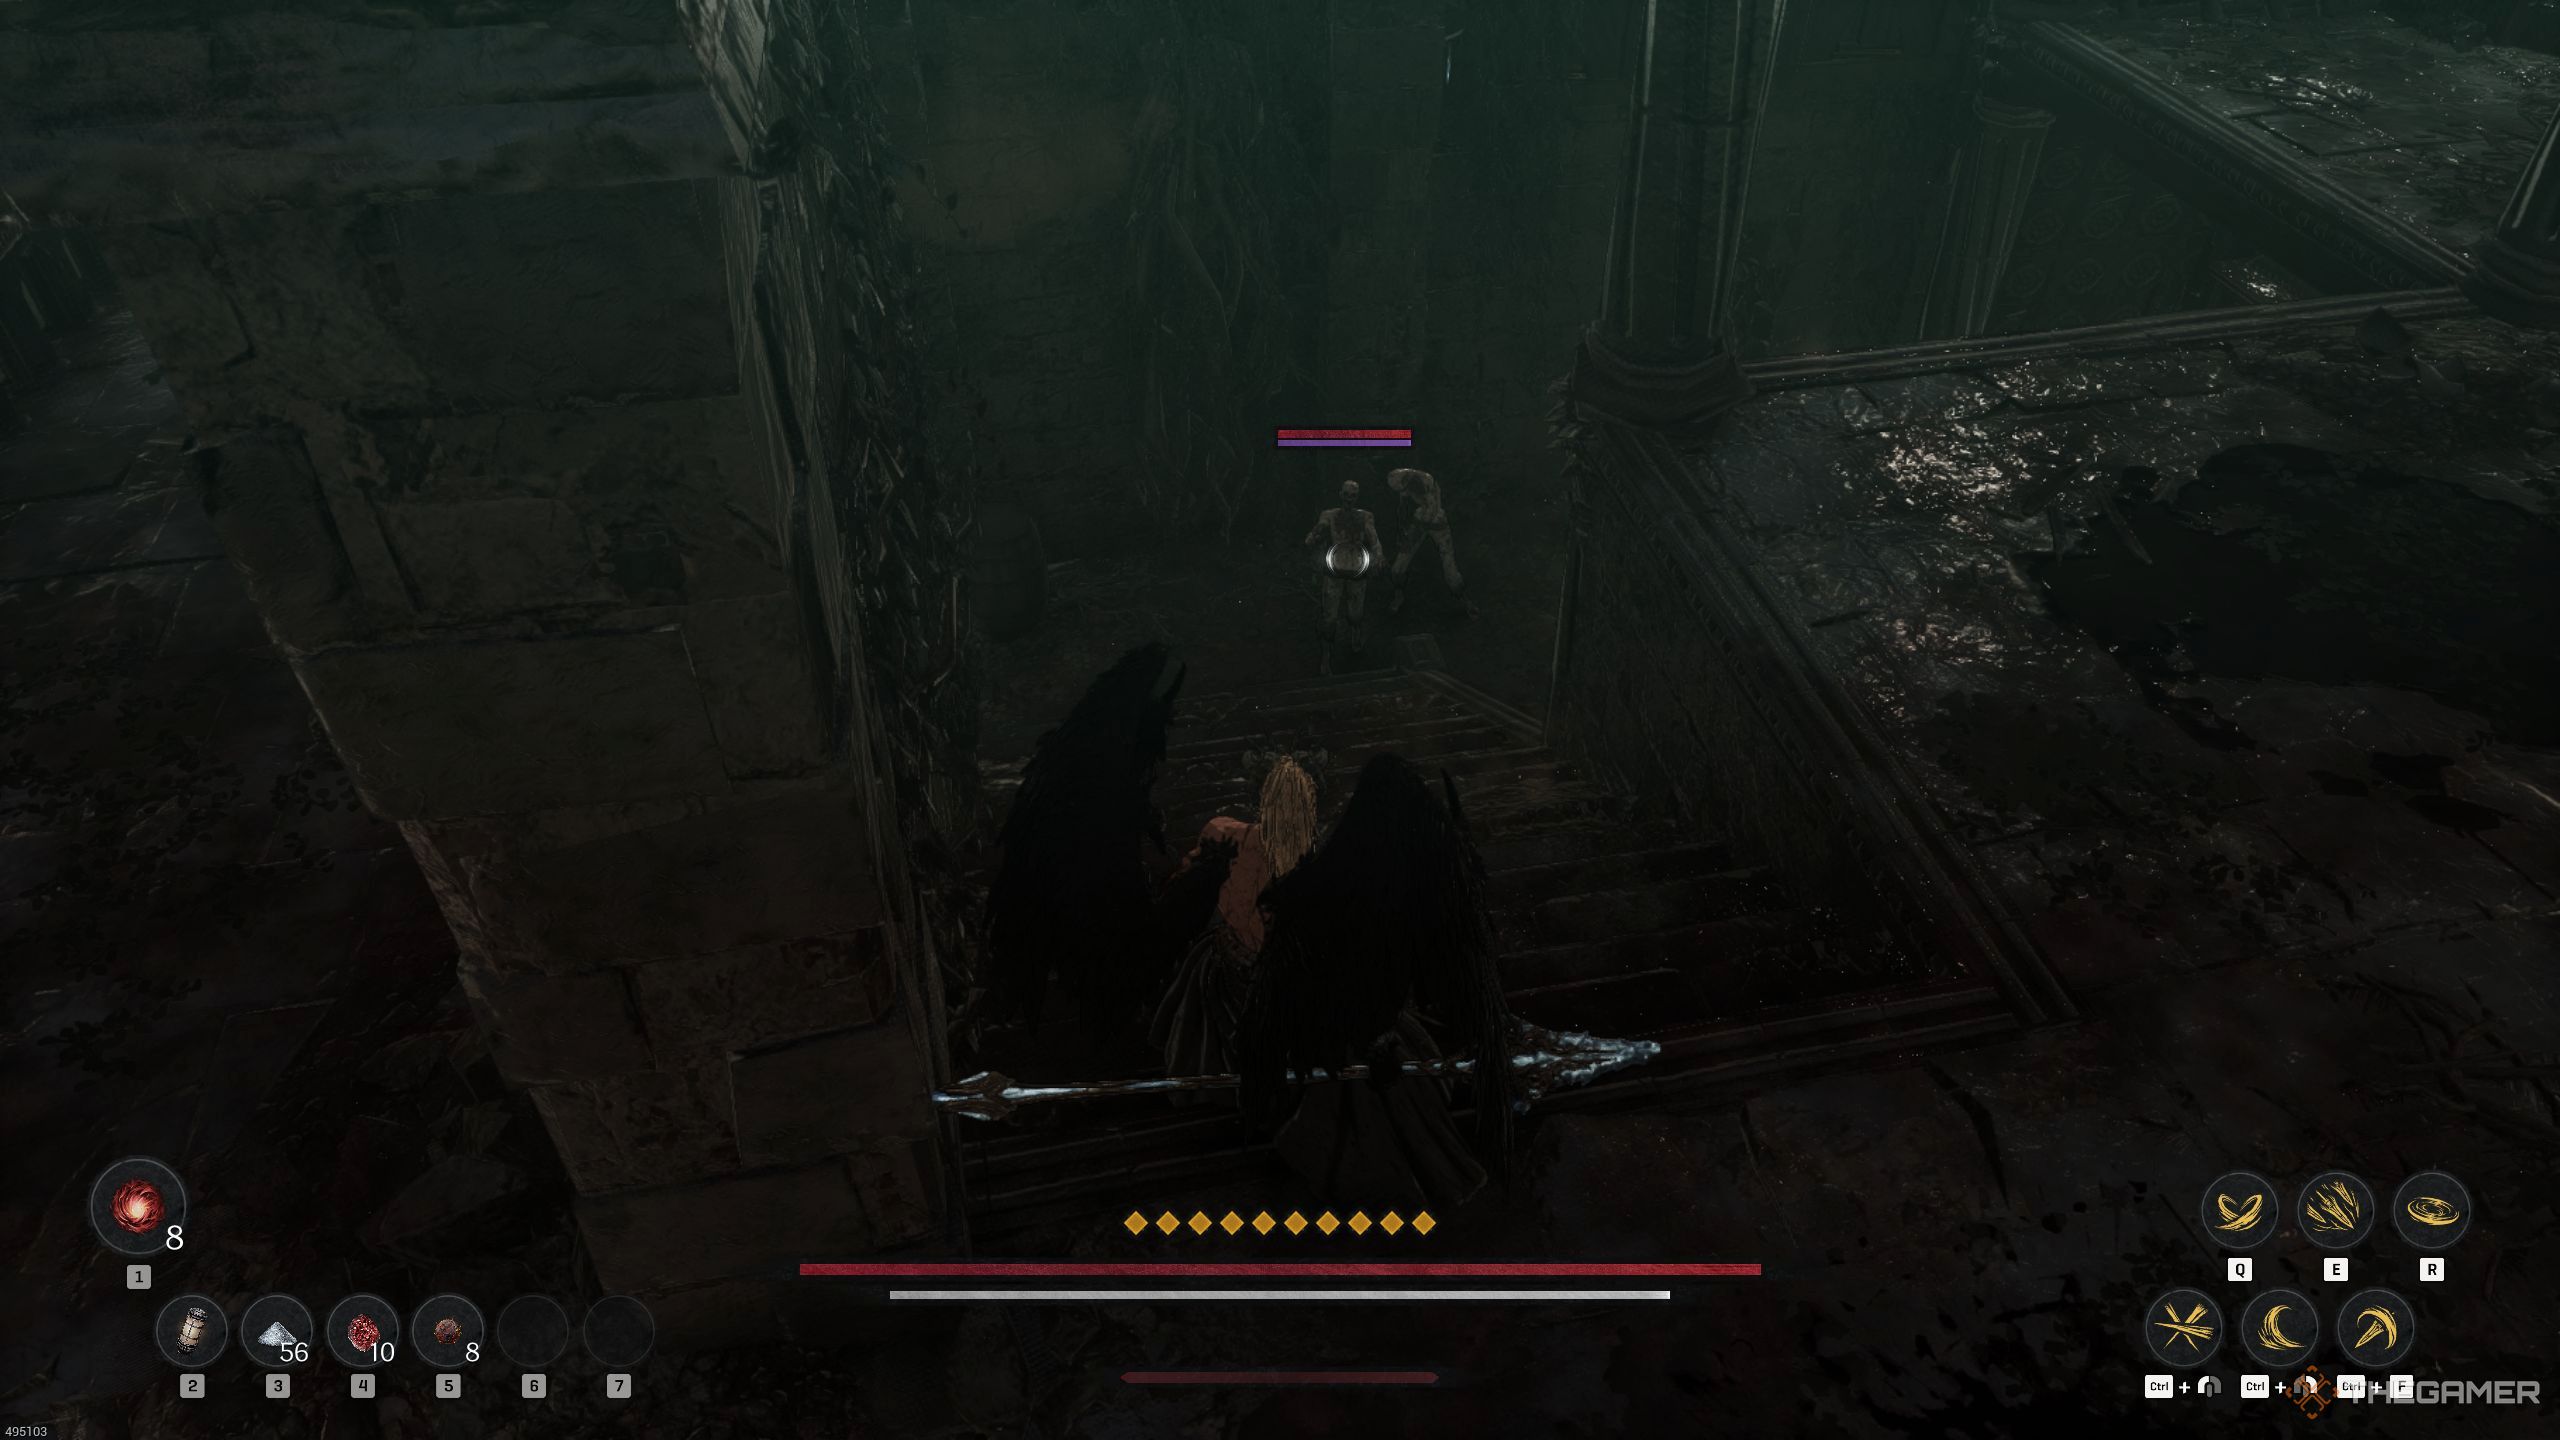
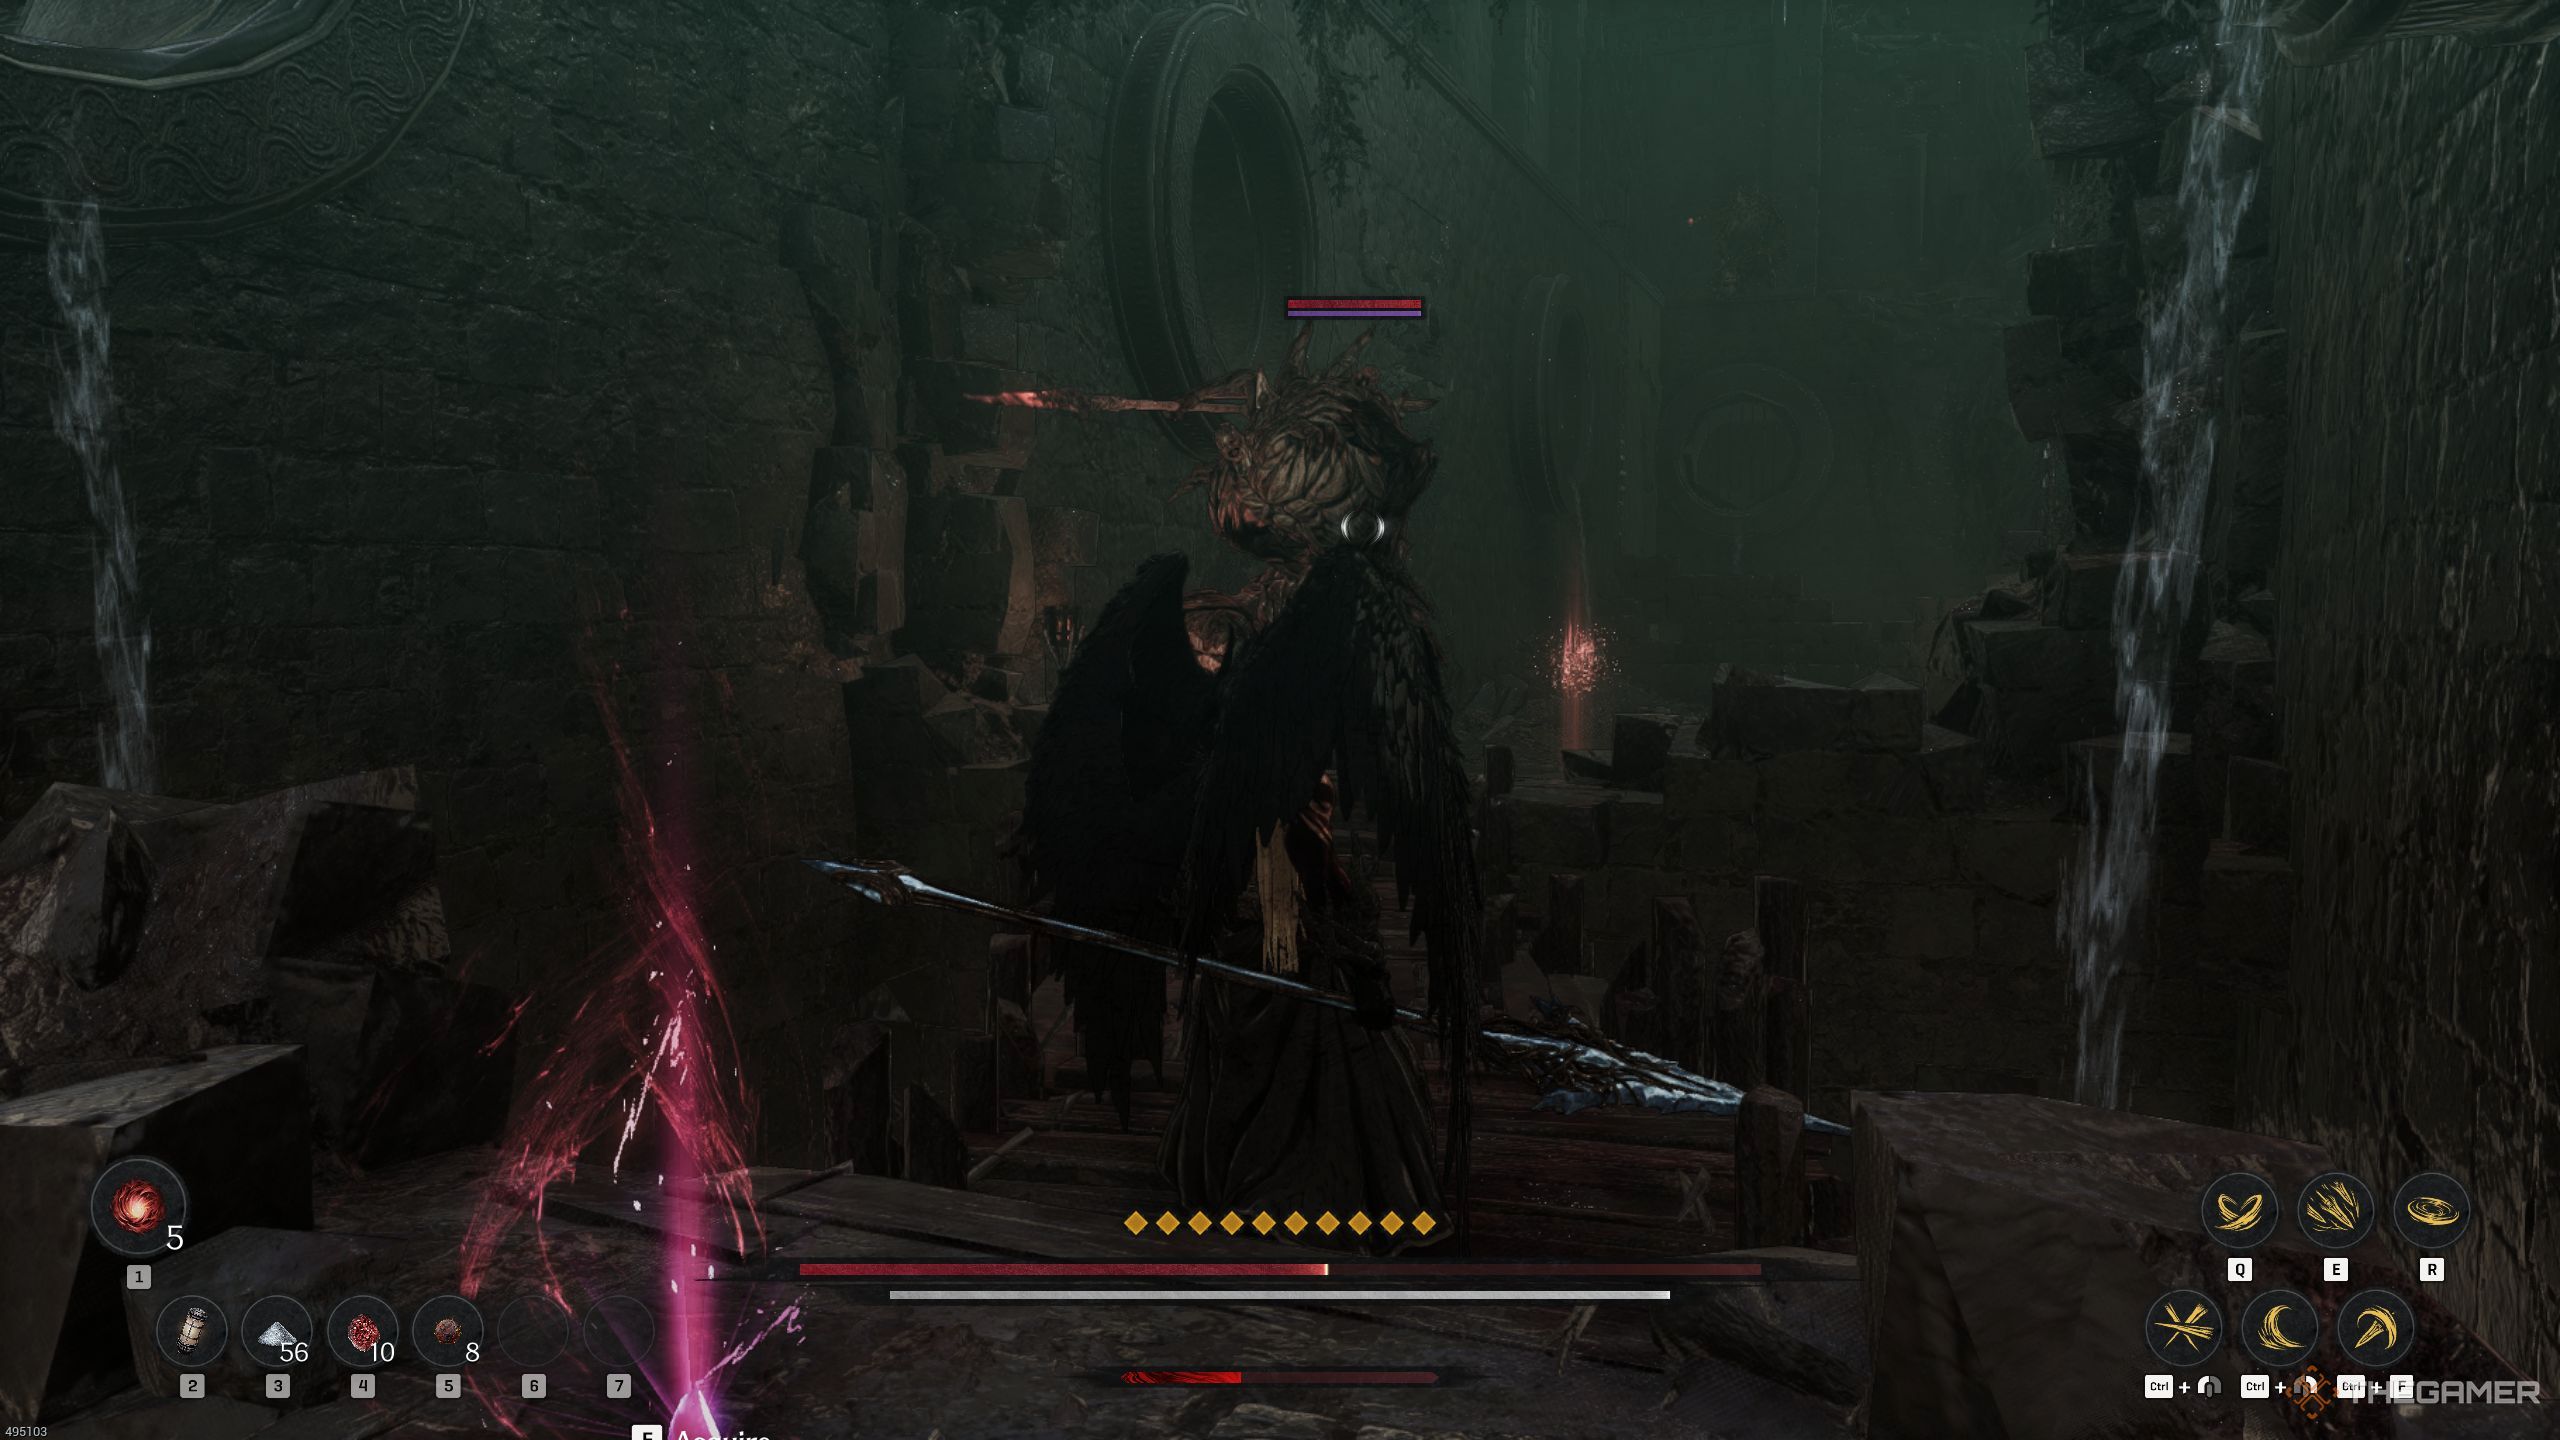
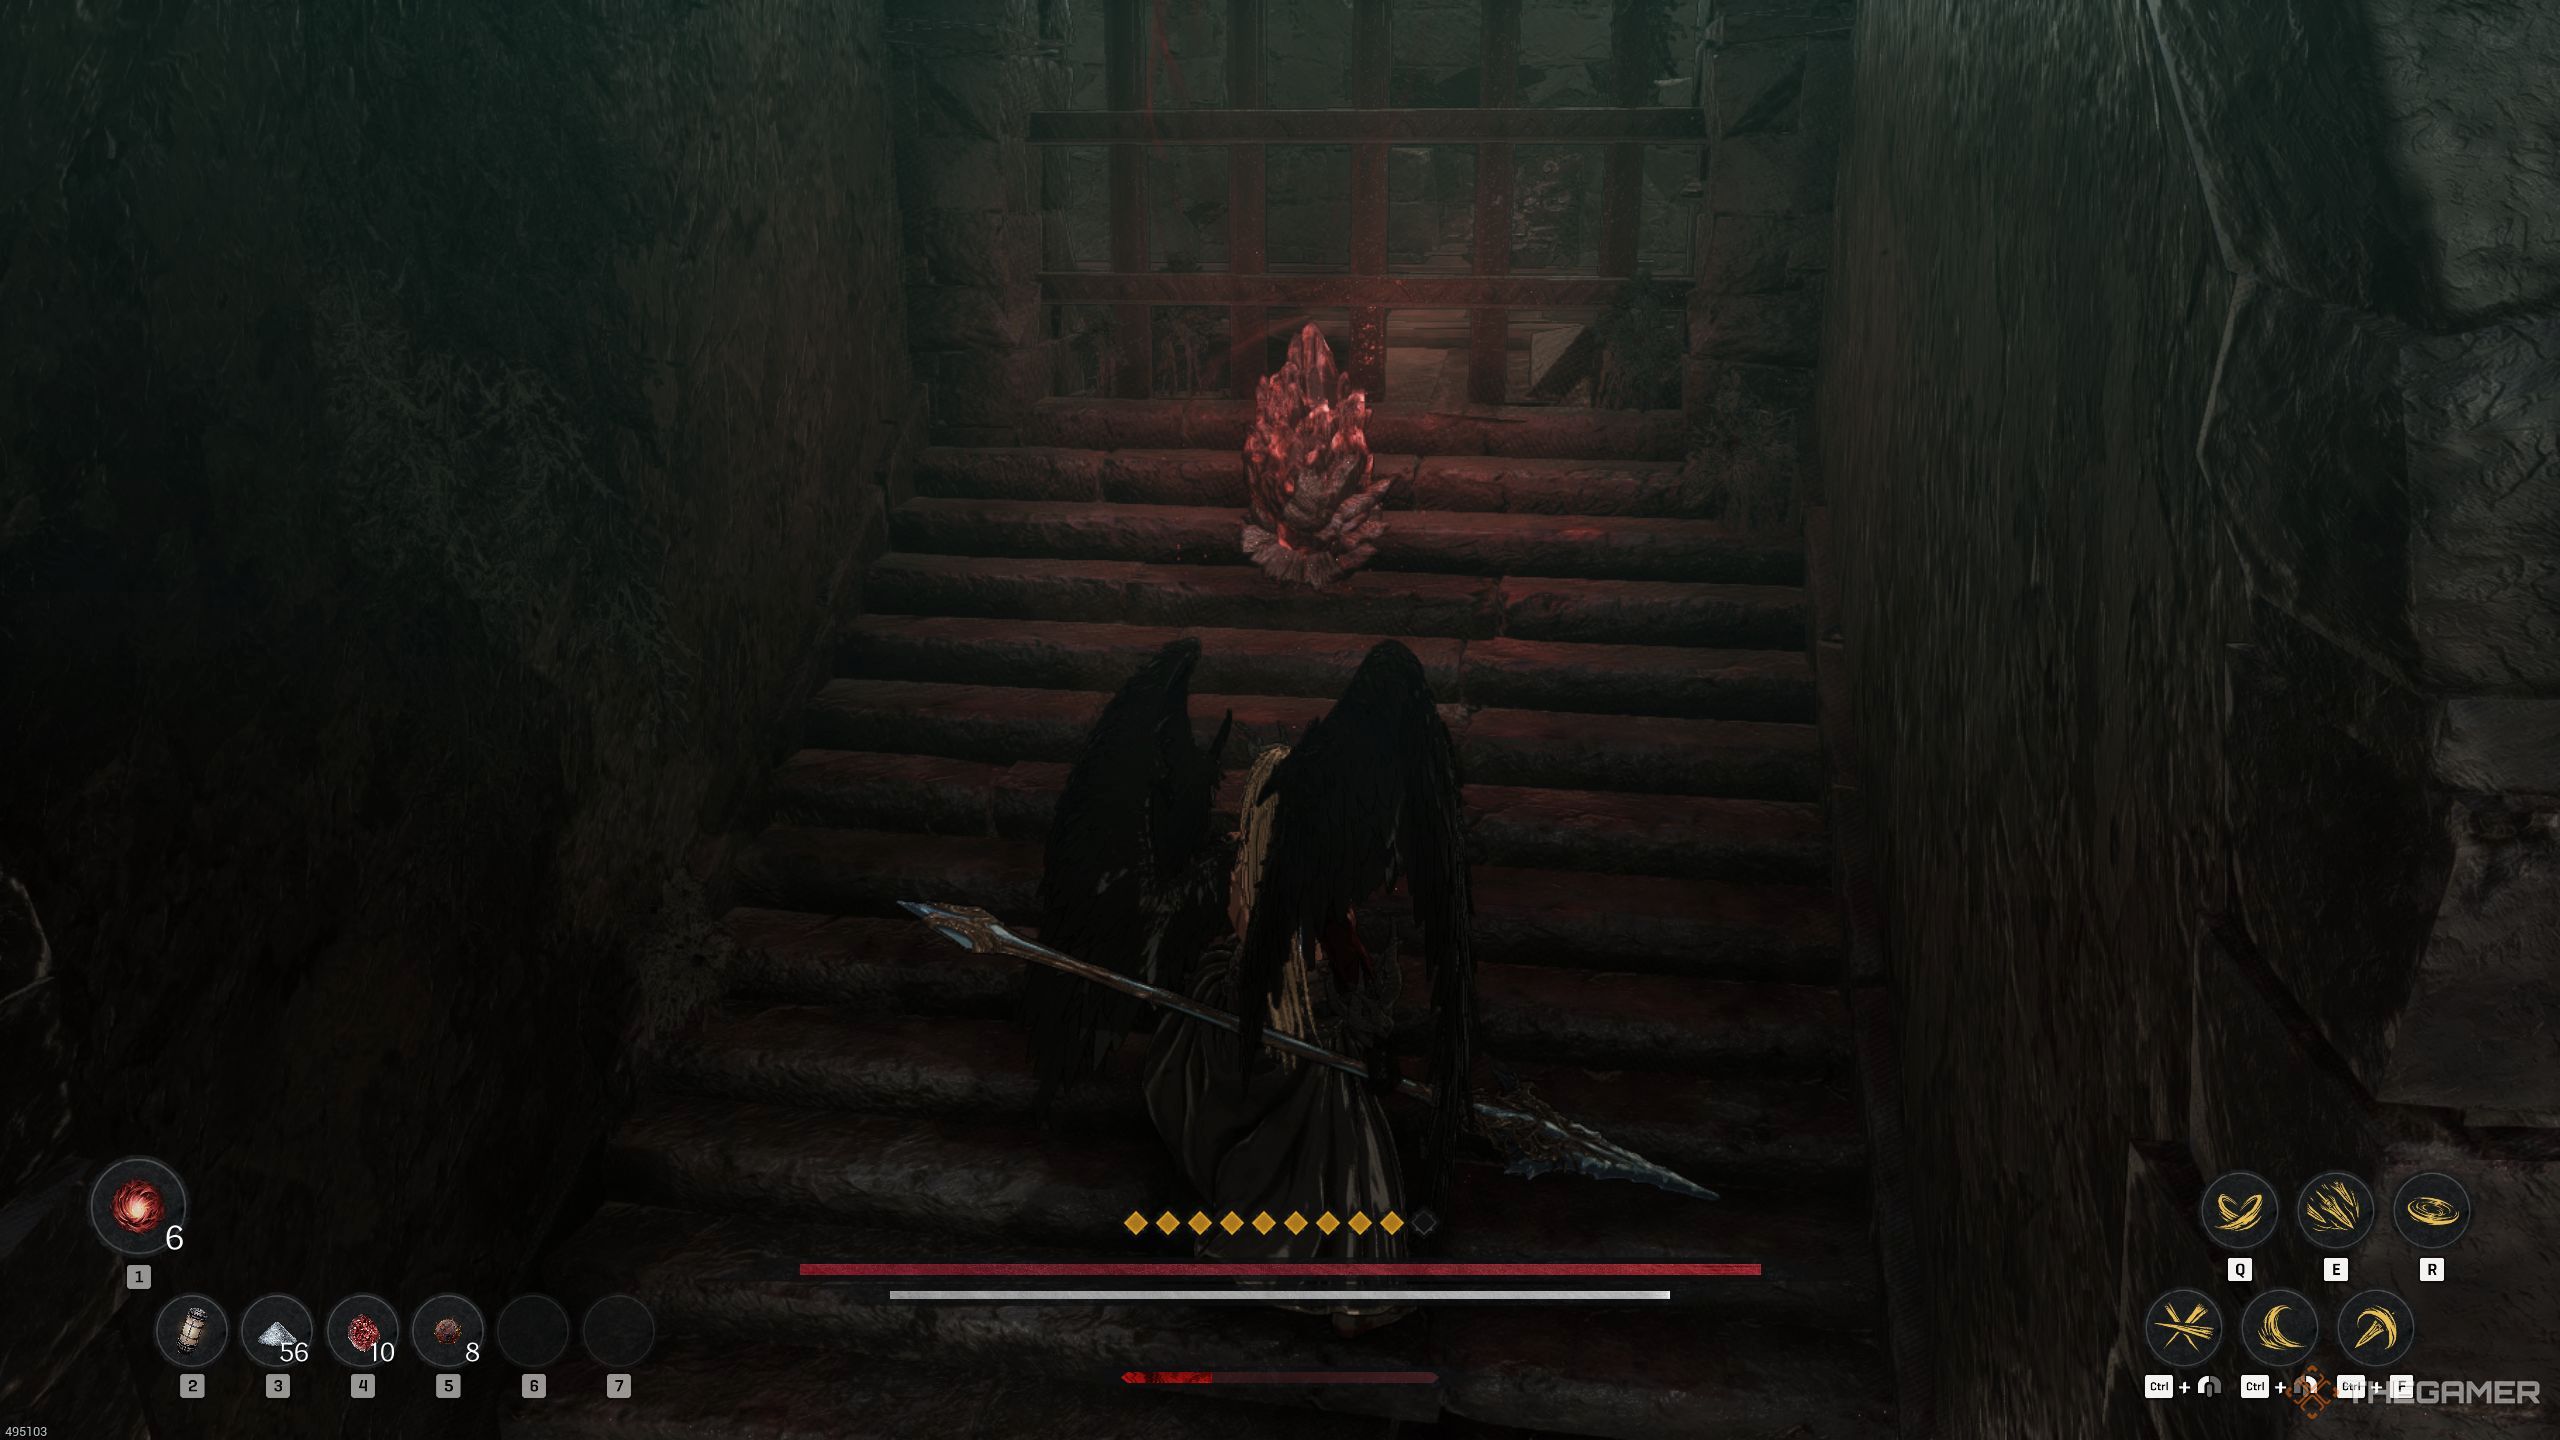
As you descend, be prepared to encounter additional adversaries. The colossal one requires special attention since ordinary blows won’t stun him. However, vanquishing these smaller opponents should prove effortless, so do so and exit the room. Beyond the bridge lies a Failed Creation.
Draw nearby foes towards your position and eliminate them first, then evade The Failed Creation who will be firing from afar. Begin by taking shelter on the left side at the start of the bridge (this position is safe from his fireballs). Utilize your long-range attacks to subdue The Failed Creation effectively.
Ensure you deliver a powerful blow to his head for the highest possible damage, then finish him off. The crimson artifact you’ll find there is none other than the “Soul Eater’s Scroll.
As you proceed, make a left turn and then another one right after that. You’ll spot some barrels: knock those over, and the Jarling will be in close proximity. Then, head right to plunder the treasure chest.
Soulstone Location
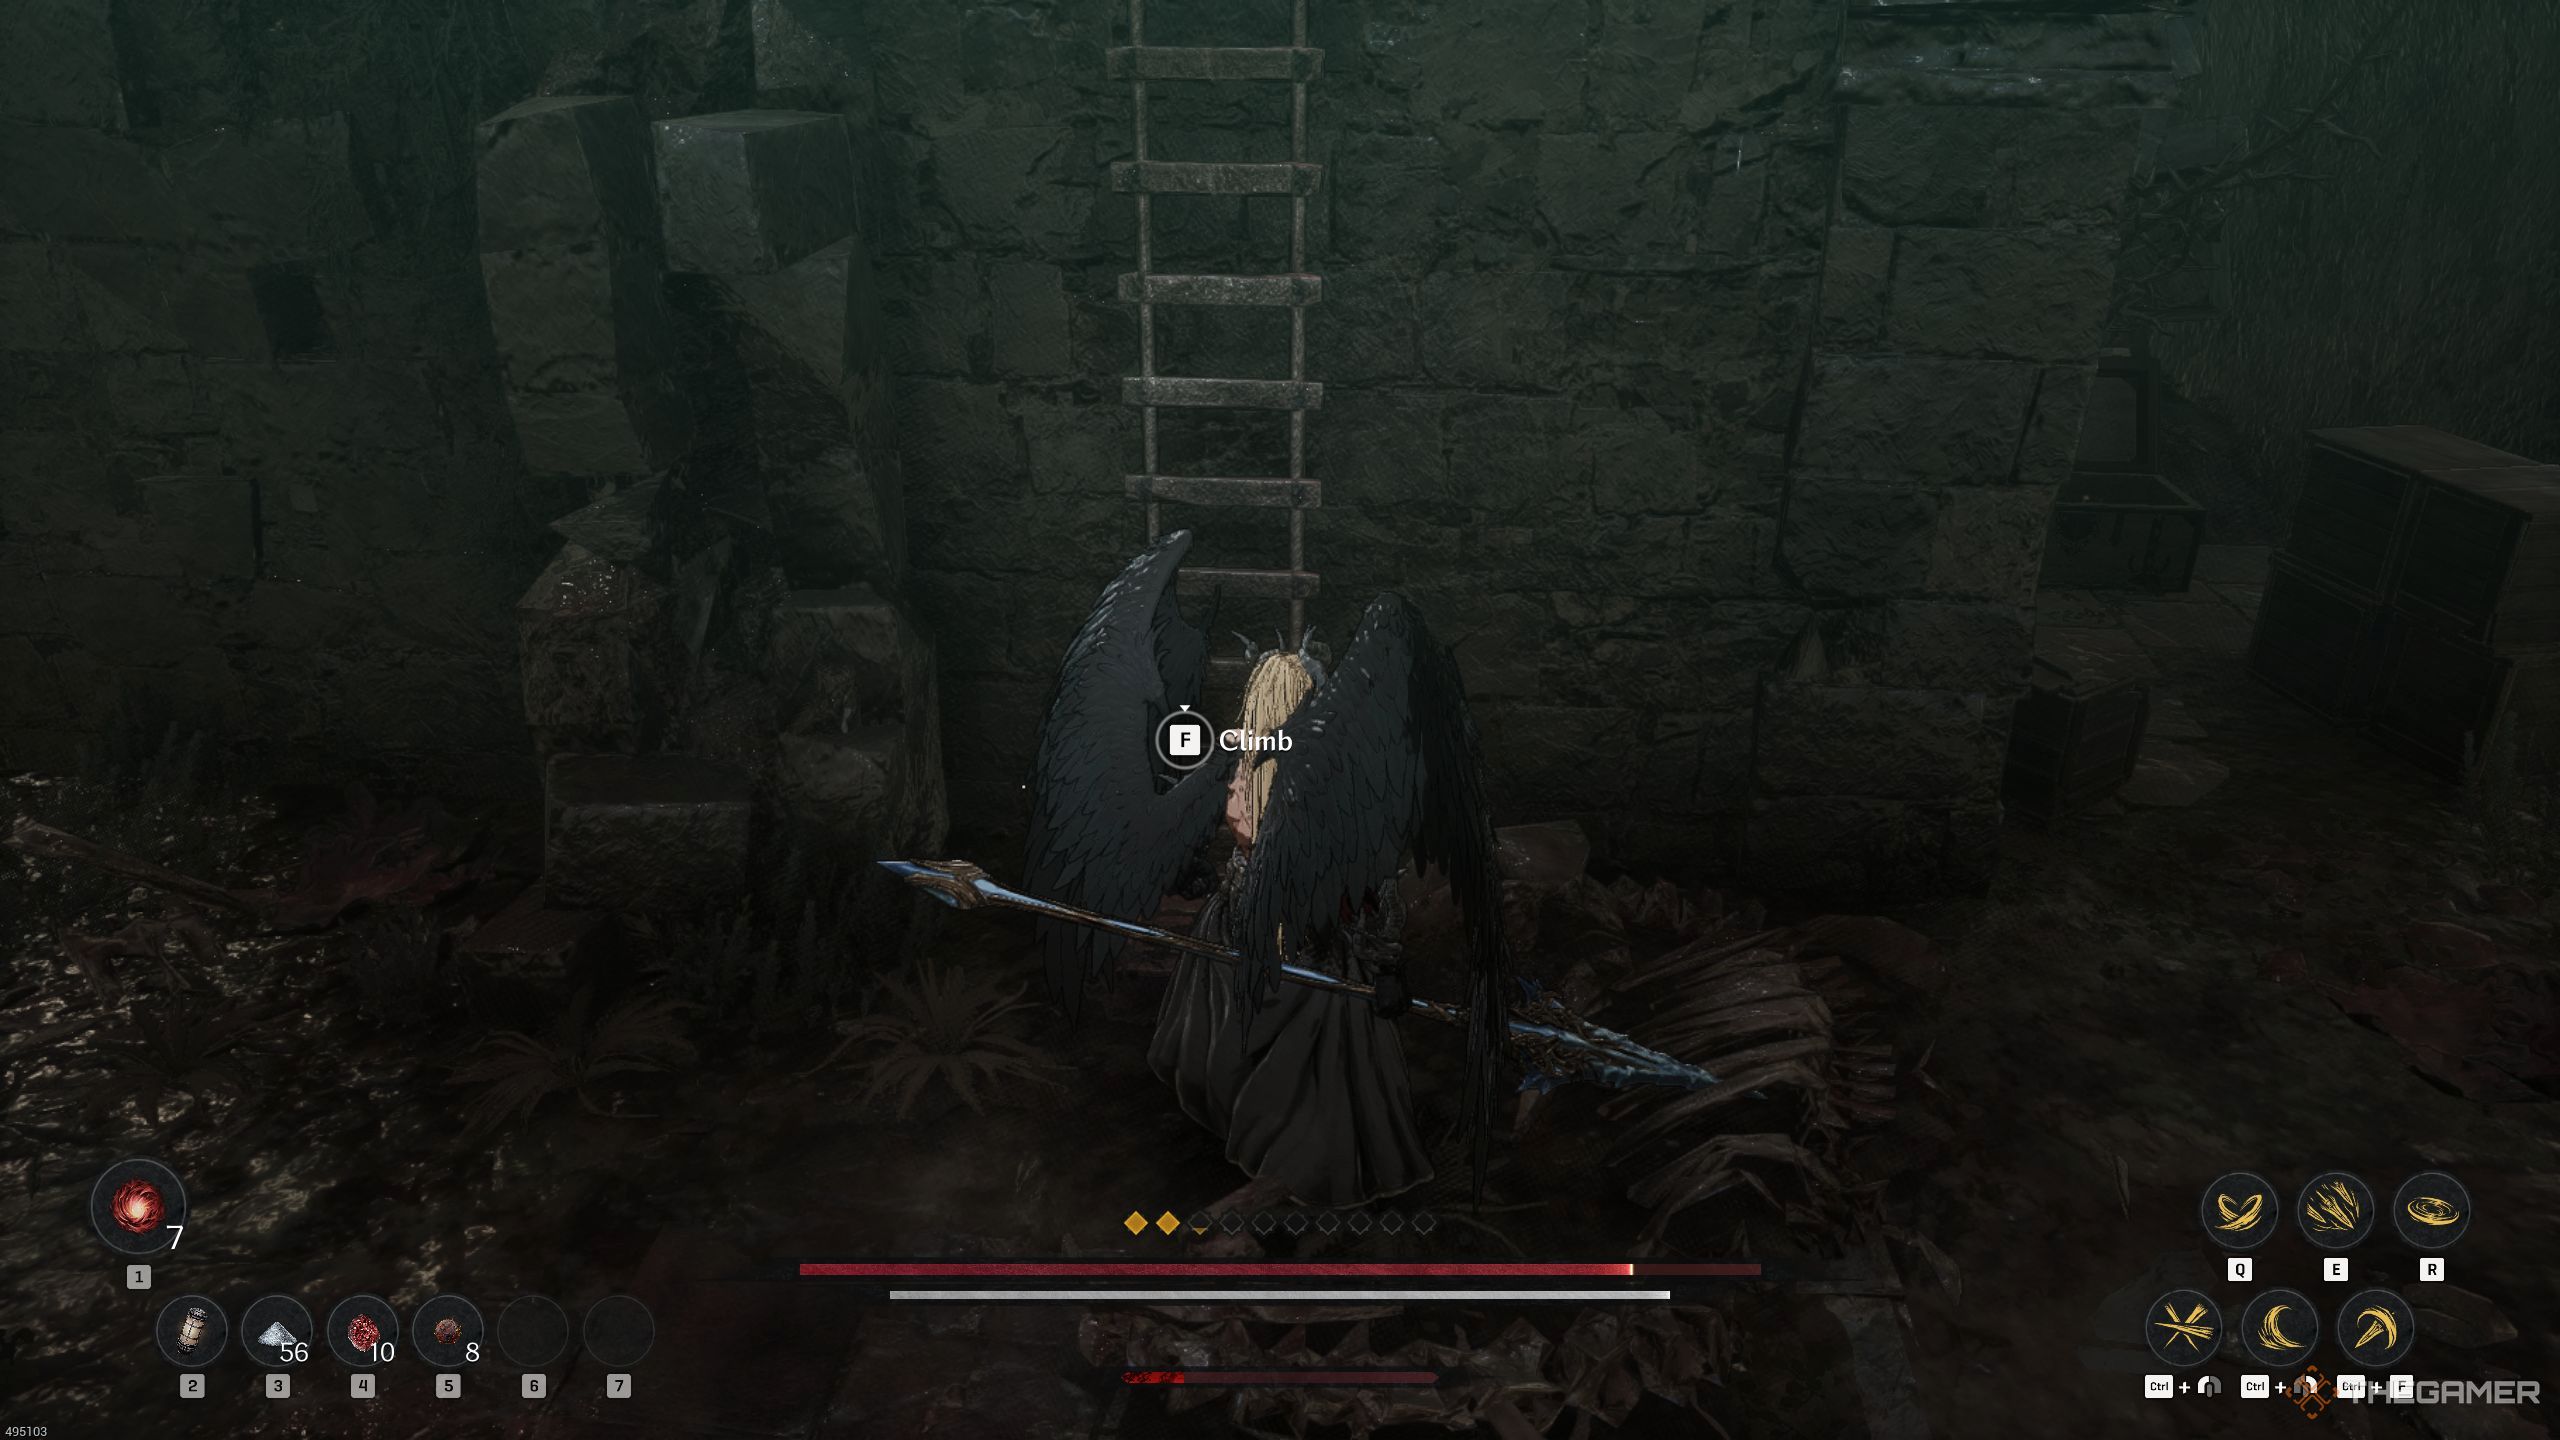
Once you’ve emptied the chest, retrace your steps to the original room and head towards the eastern direction. Descend the staircase that follows, vanquish the adversary you encounter. After overcoming him, collect the Lacrima and veer left. For now, don’t jump off just yet. Position yourself on the left wooden platform, and when you reach its end, drop from the left side.
After descending, grab the Ghost Hilt before going down again. This time, you’ll encounter some enemies that explode and a golem-like creature. Defeat them all and exit the room. On your right side, there’s another exploding enemy. Make sure to defeat it and collect three Netherworld Minerals.
Descend first, then grab the Ghost Hilt as you descend again. In this area, you’ll find some explosive enemies and a golem-like creature. Defeat them all before leaving the room. On your right, you’ll encounter another exploding enemy, so make sure to defeat it for three Netherworld Minerals.
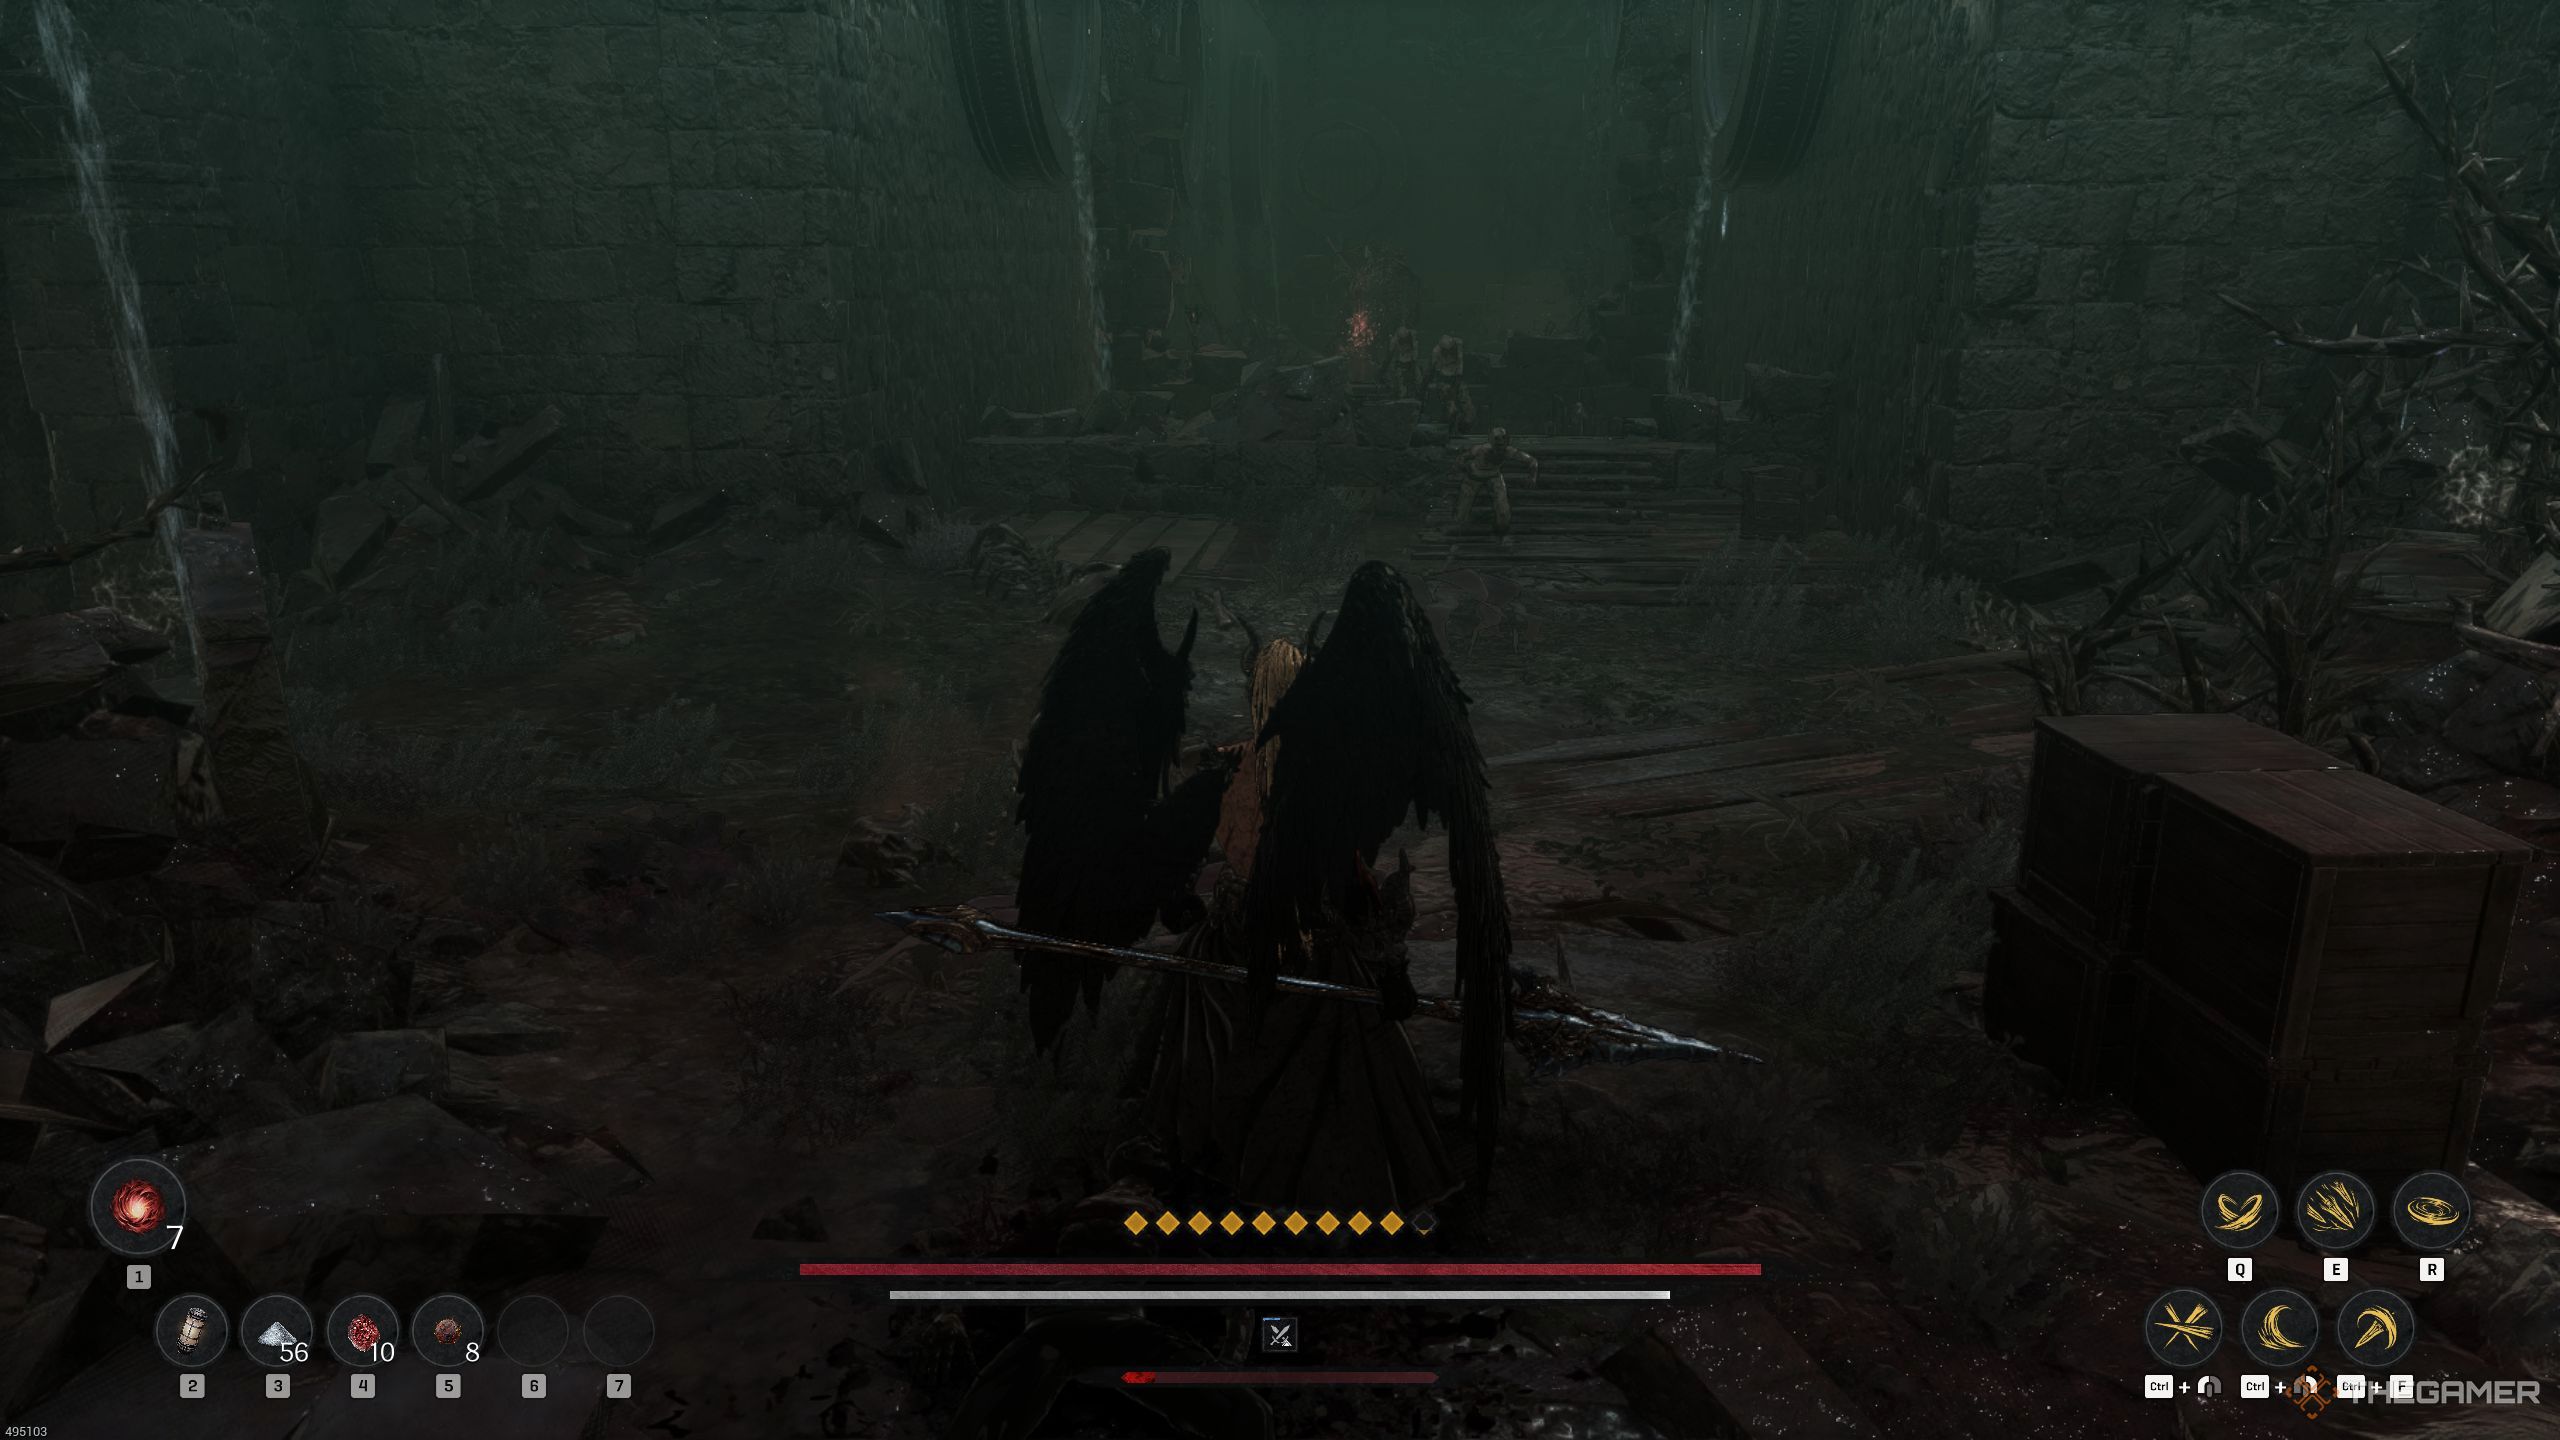
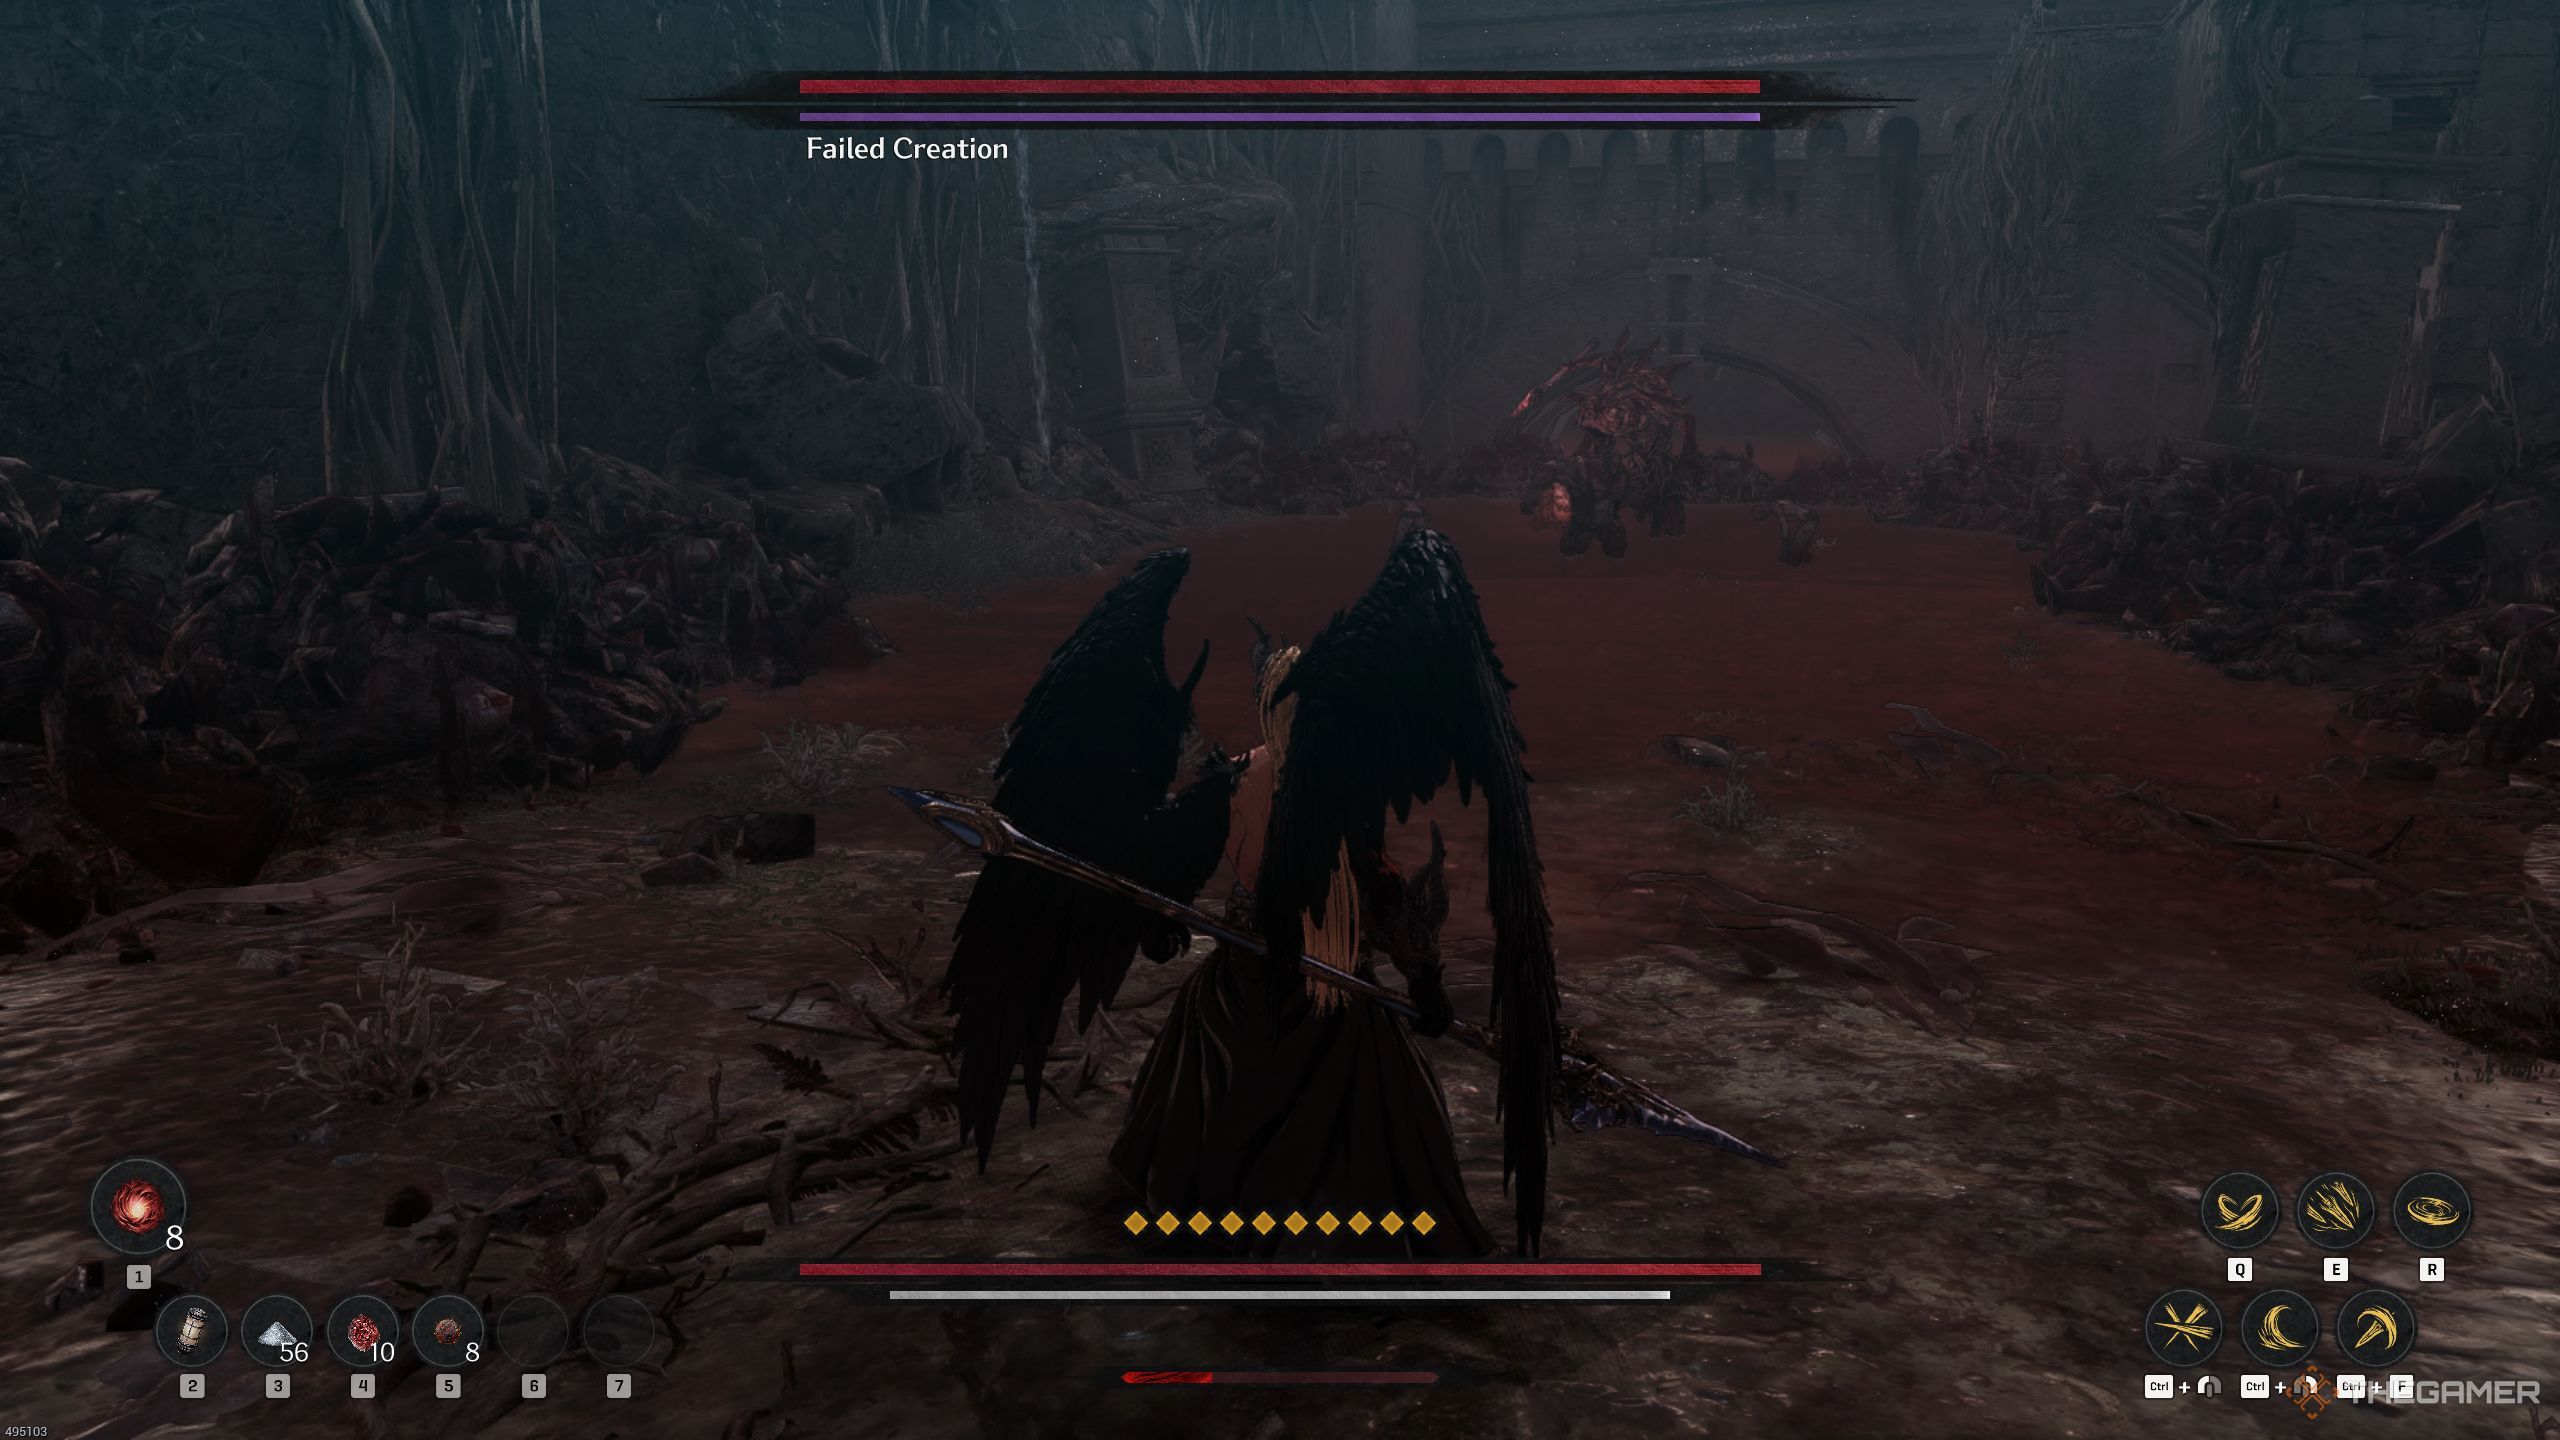
As I stand on this wooden bridge, I spot another Failed Creation across the way. There’s a wall to his left that’s slightly taller, offering an advantage for ranged attacks – but don’t be fooled, it also limits my sight. In other words, engaging him from afar might not be the best strategy due to the obstruction. Instead, I think it’d be wiser to tackle this enemy up close and personal for a fairer fight.
Overcome the minor opponents initially, then proceed towards the Forlorn Realm. You could entice the adversaries onto the opposite side of the bridge so you can engage them beforehand.
How To Defeat The Failed Creation
As a fan, I can’t stress enough that this adversary becomes exceptionally irritating during close combat. Therefore, it’s crucial for me to stay alert and vigilant at all times.
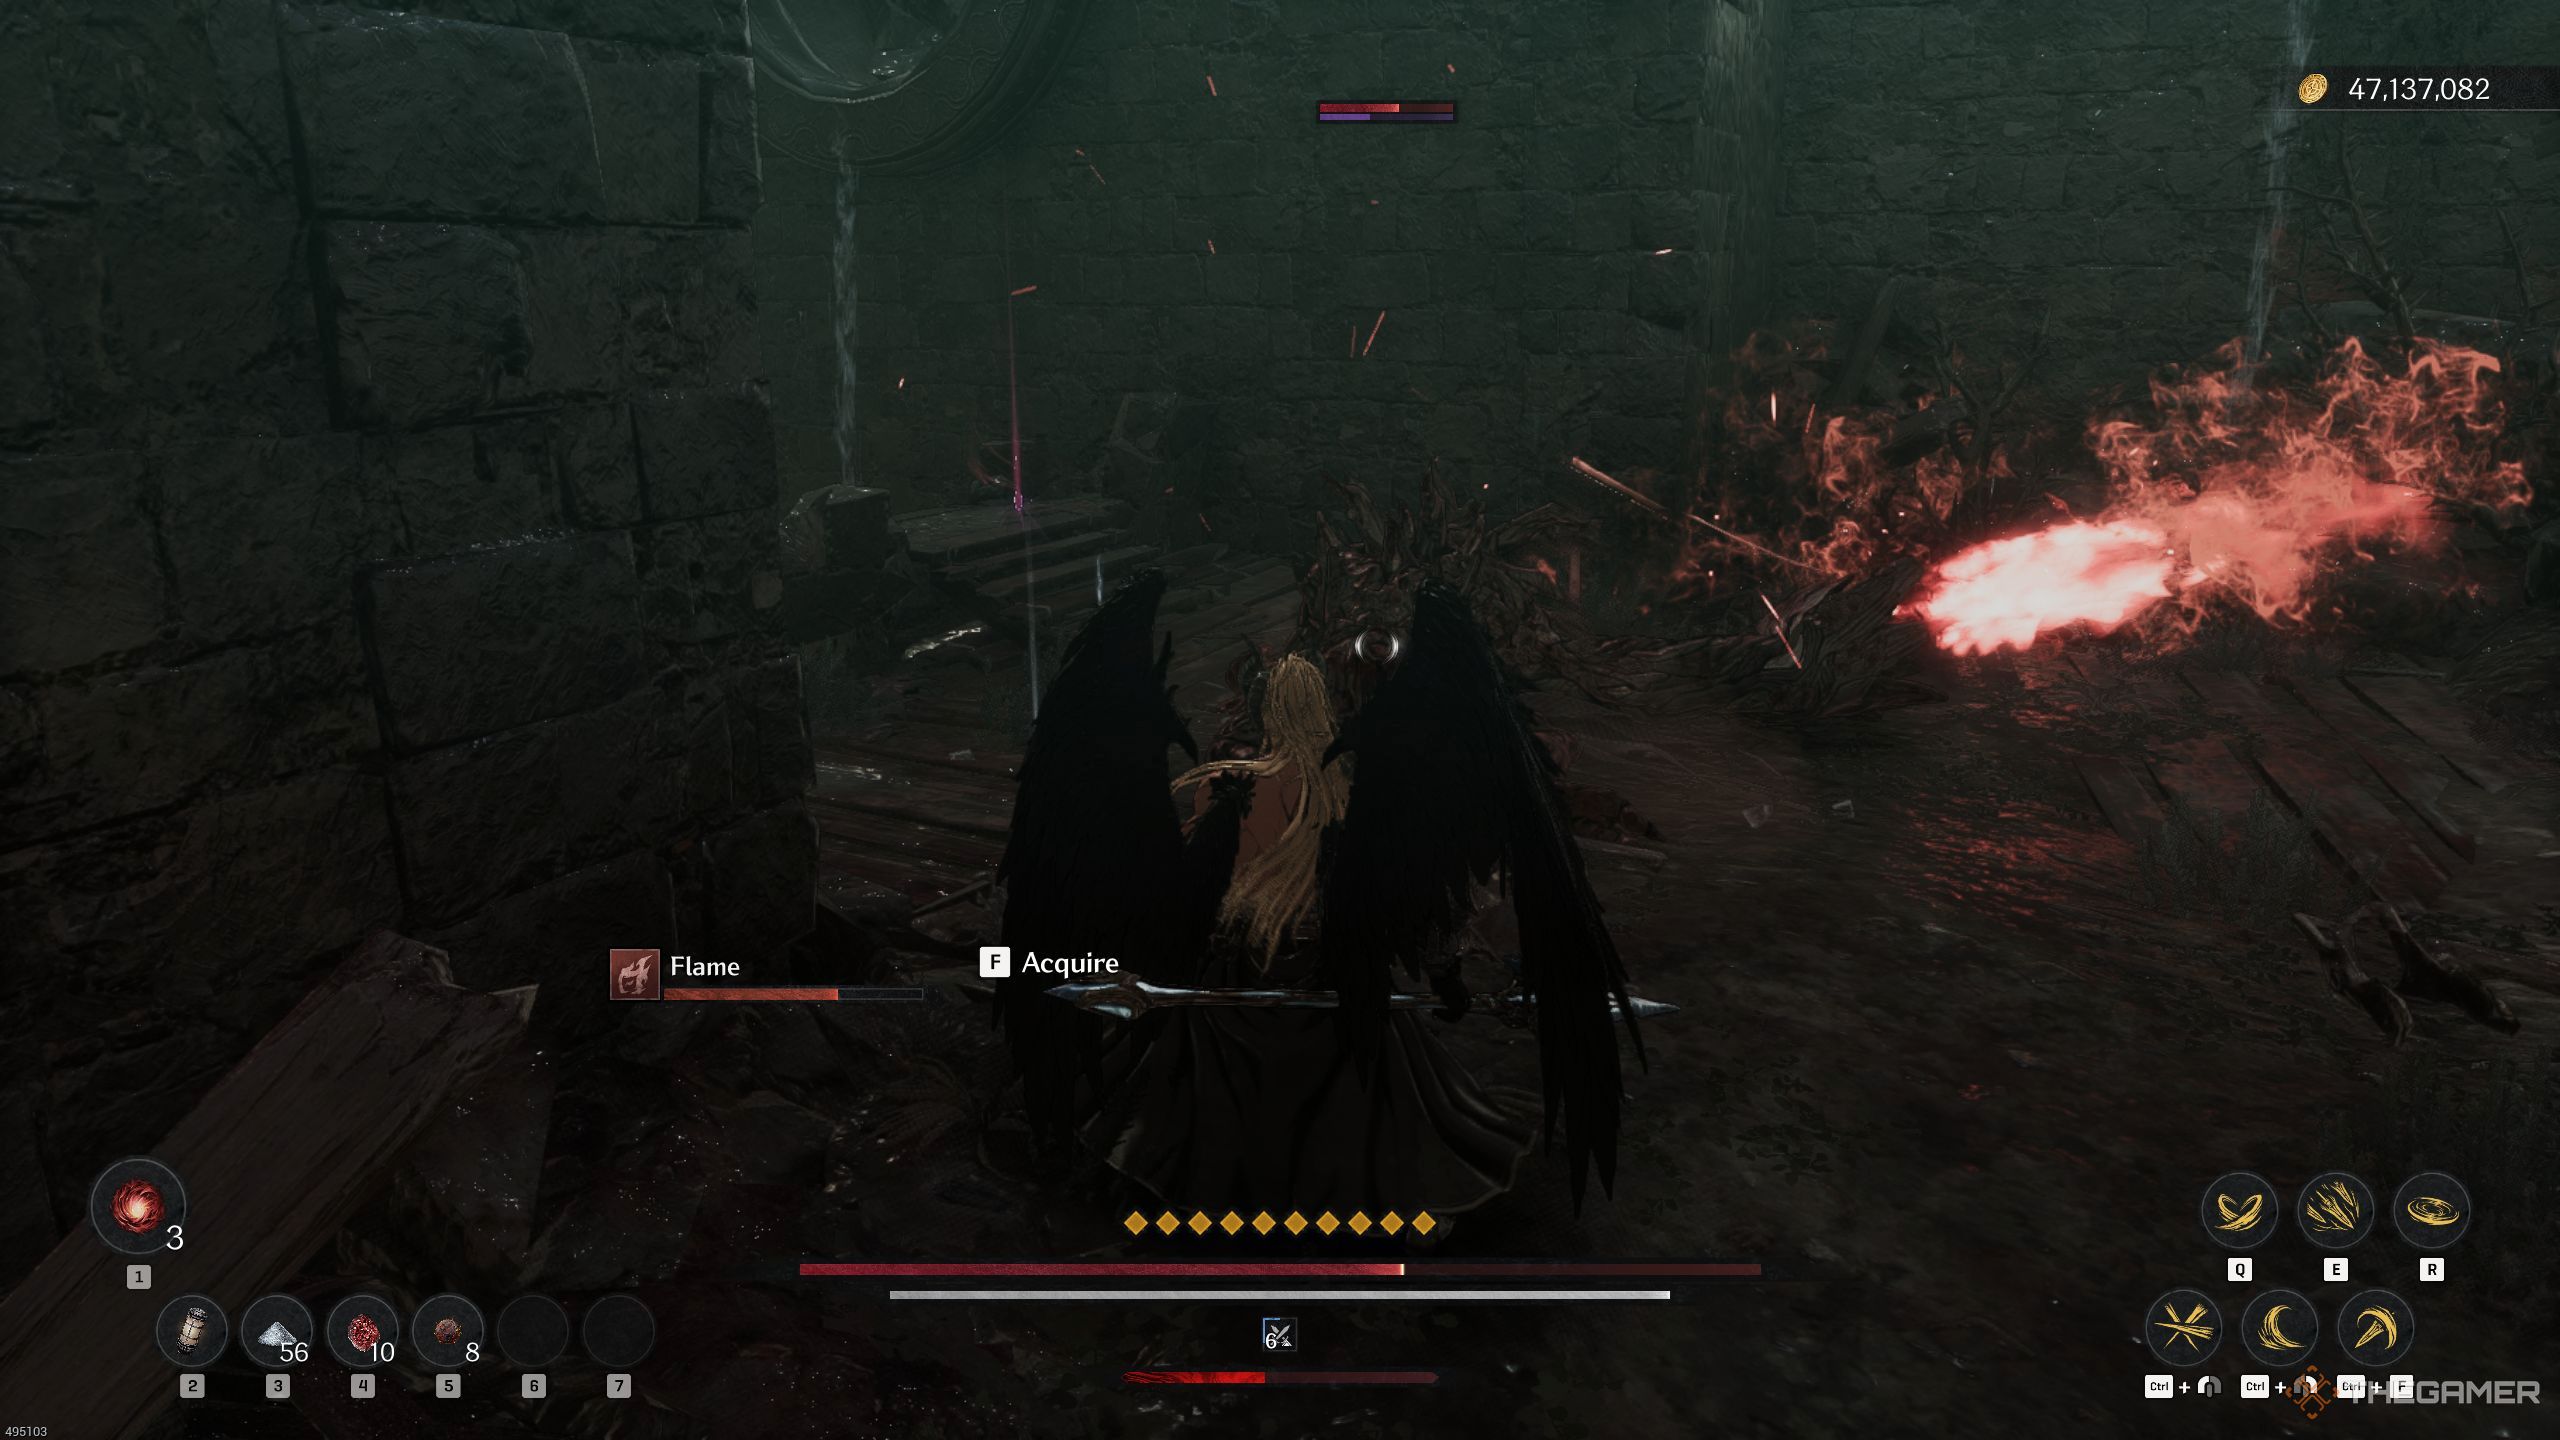
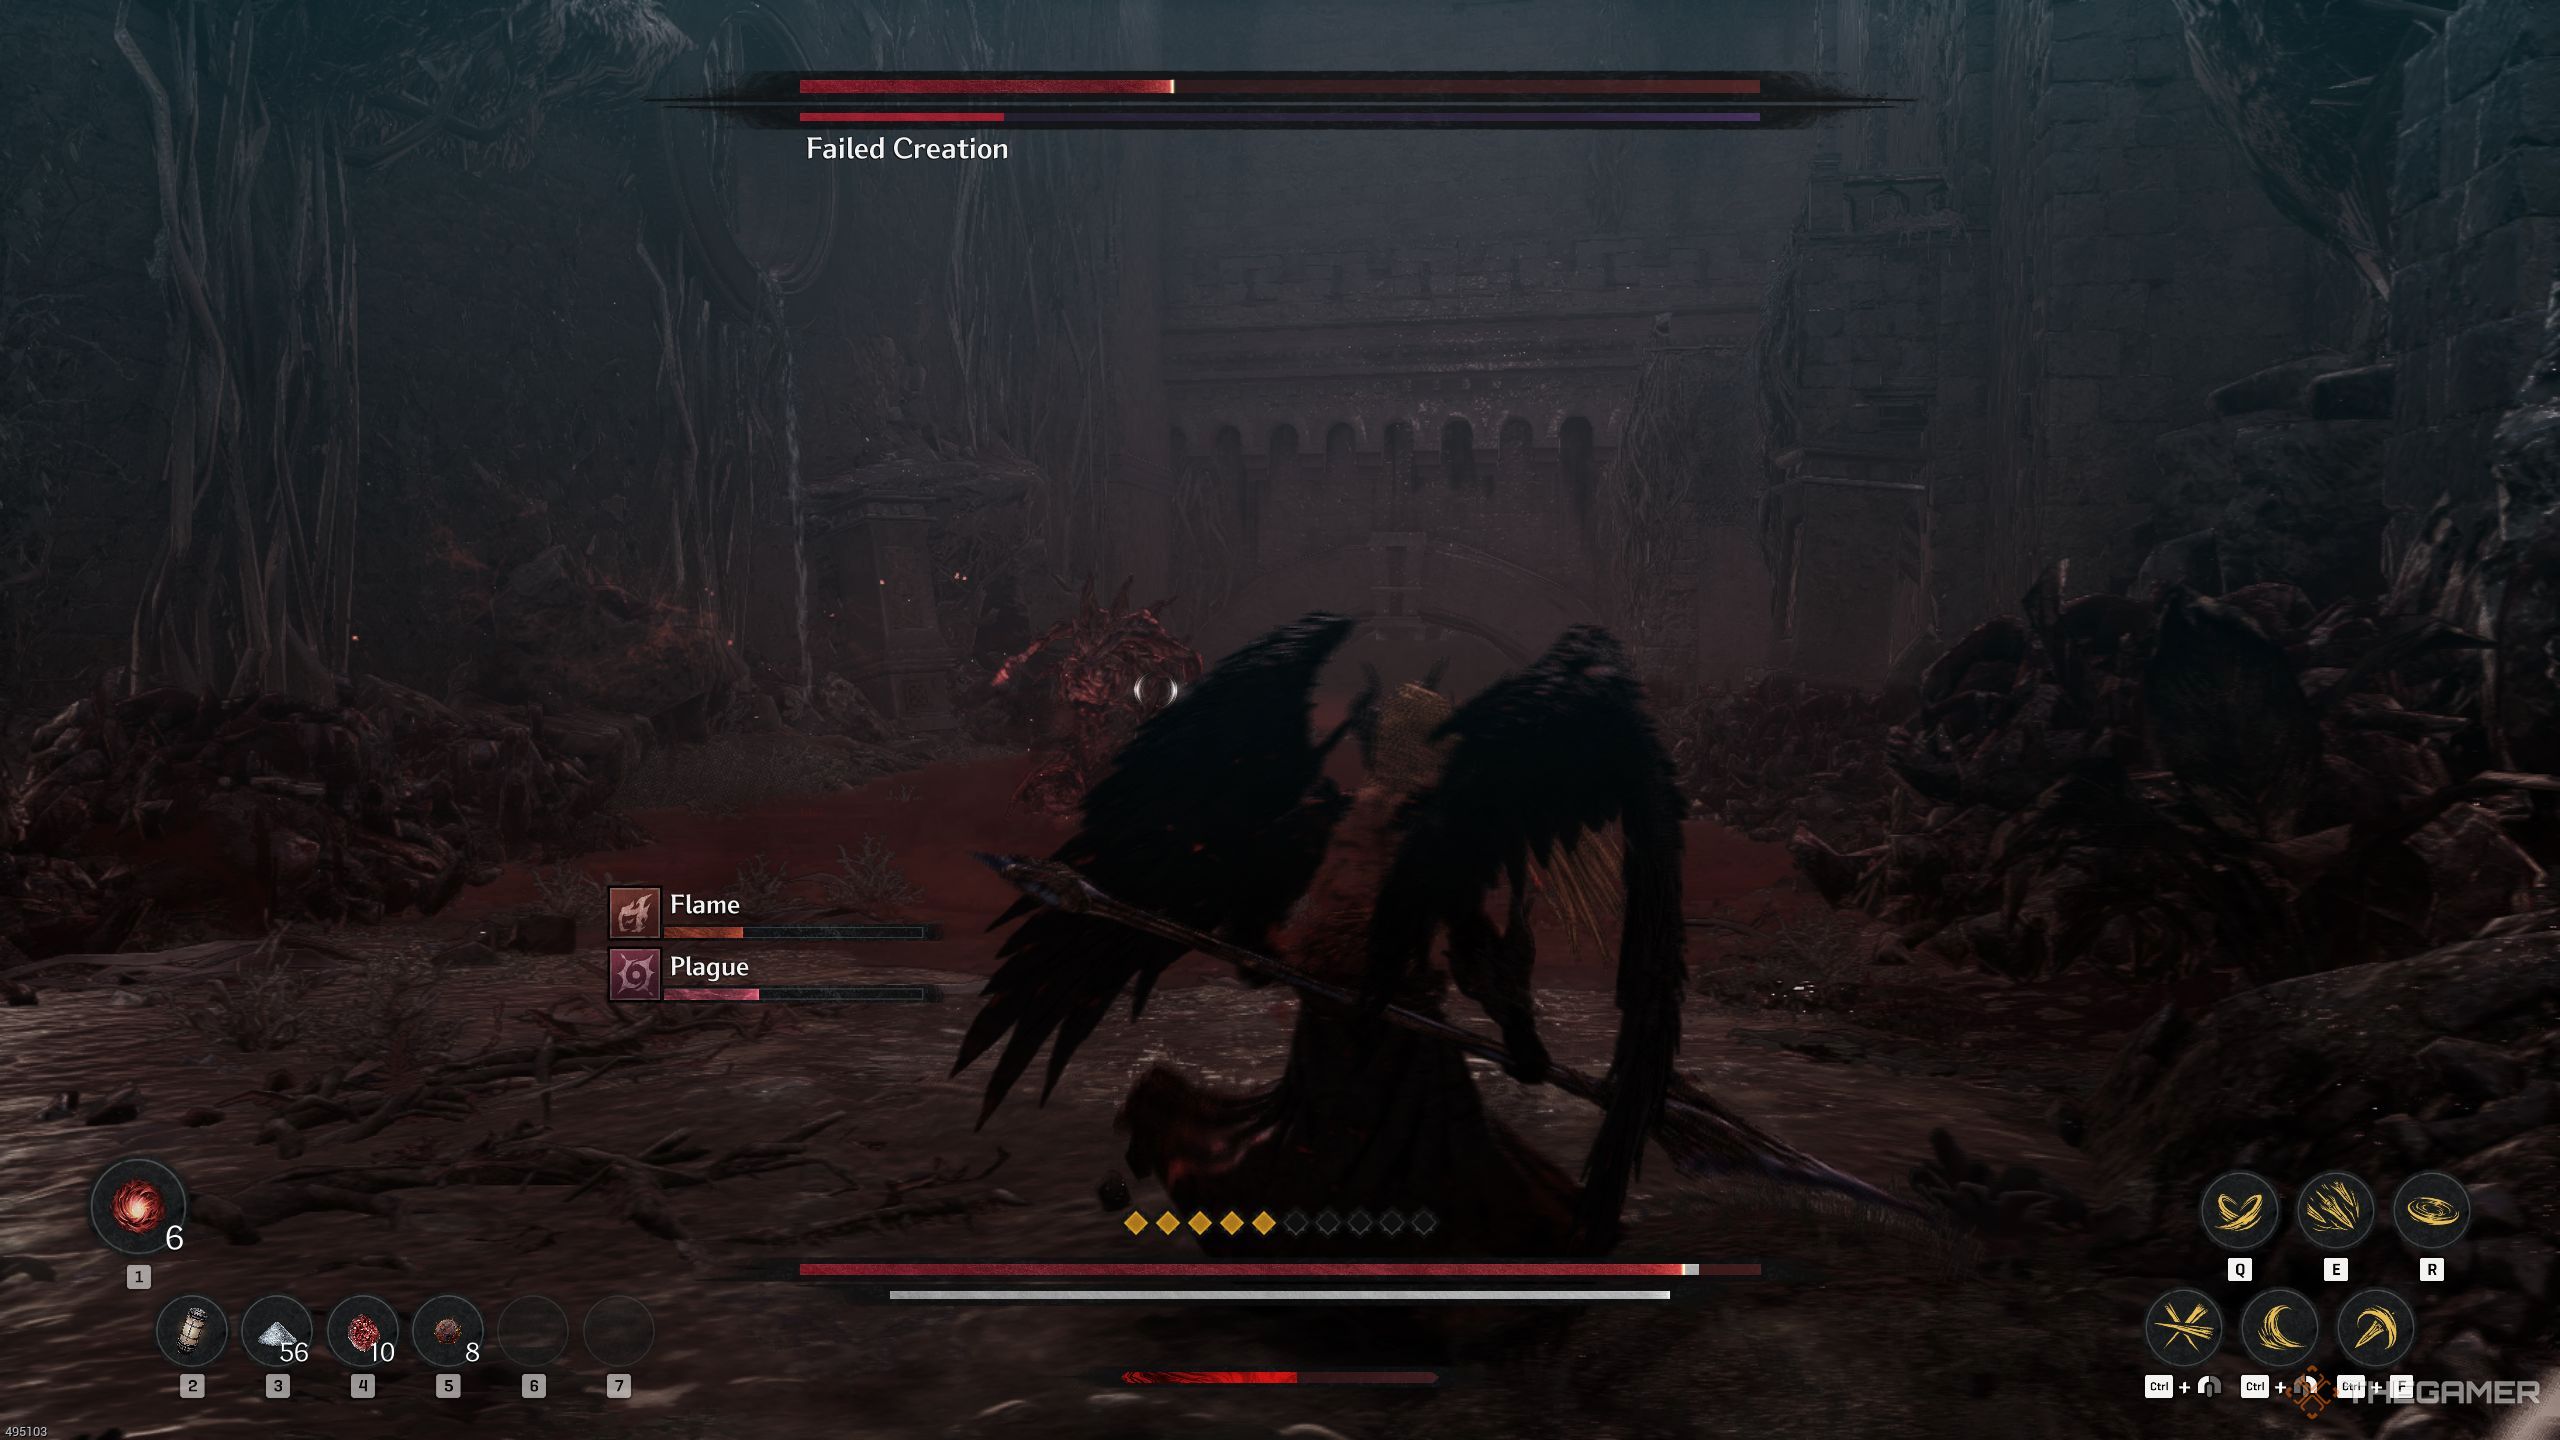
As you get near the foe, he could retaliate with a flamethrower-like move, sweeping his hand from left to right. In such a situation, it would be wise to dart towards him (moving inside) and exploit this opening to inflict some damage on him.
As I get closer to him, he often initiates the conflict with an attack that is impossible to block or parry. The Failed Creation will power up his right hand and strike. There’s a slight delay, so once he jumps towards you, counterattack immediately. If you prefer not to take a risk, you can just evade instead.
If you counterattack successfully, though, you will get a big window to damage him.
His most frustrating move is when he strikes you and performs a roll. The Failed Creation will extend both of its hands diagonally and deliver a punch with his right hand. Make sure to block or evade this attack as he rotates. After rolling on the ground, he will strike again, so be prepared to dodge or block.
The battle isn’t finished just yet, as the Unsuccessful Creation is about to hurl fire your way. It would be wise to flee in the opposite direction to avoid being hit by the flaming status. Additionally, be aware that he will keep moving his spear towards the area where he’s shooting flames, making it more prudent to escape instead.
If the adversary decides to attack you with his spear, be ready for it. He’ll thrust and strike, so make sure your defense is timed correctly. After the initial blow, he’ll follow up with another strike soon after. Block both attacks and then counterattack in sequence.
Be wary of an attack where he suddenly conjures fire in his right hand. Once you spot this, prepare to block his imminent attack from his spear, followed by a powerful strike with his right hand. Block his blow, then counterattack against your foe.
Additionally, he uses a distinct form of this assault. You can identify it by the positioning of his hand. The Incomplete Creation won’t deliver the attack as forcefully. It will seem like he is now unbalanced and unable to counterattack, but that’s when he will strike you with the spear, so stay vigilant to dodge or block. The adversary might attack you with the spear twice.
During combat, he might unexpectedly jab with his spear. A different approach could be describing that when his hands are lowered, he’ll thrust the spear downward for an overhead strike, then follow up with a swift slashing attack. Continue your assault, and you should be able to deliver the final blows now.
Currently, you’ll find a room to your right as you ascend the stairs. Enter it and unlock the chest for some treasure. After that, climb the stairs again, and you’ll encounter another ‘Failed Creation’ on the opposite side of the raised platform.
As a devoted follower, I’d stride towards him with confidence, mirroring my past victories. Once he’s down, I’ll ascend the stairs to the east, ready to shatter the Soulstone that lies ahead.
Finishing The Quest
As a fan, I’d say: “Alright, head back using the wooden platform. Once you reach the other side again, there’ll be more Lacrima to absorb at the end of the room. But beware, there’s another Failed Creation nearby. Take him down first before moving on.
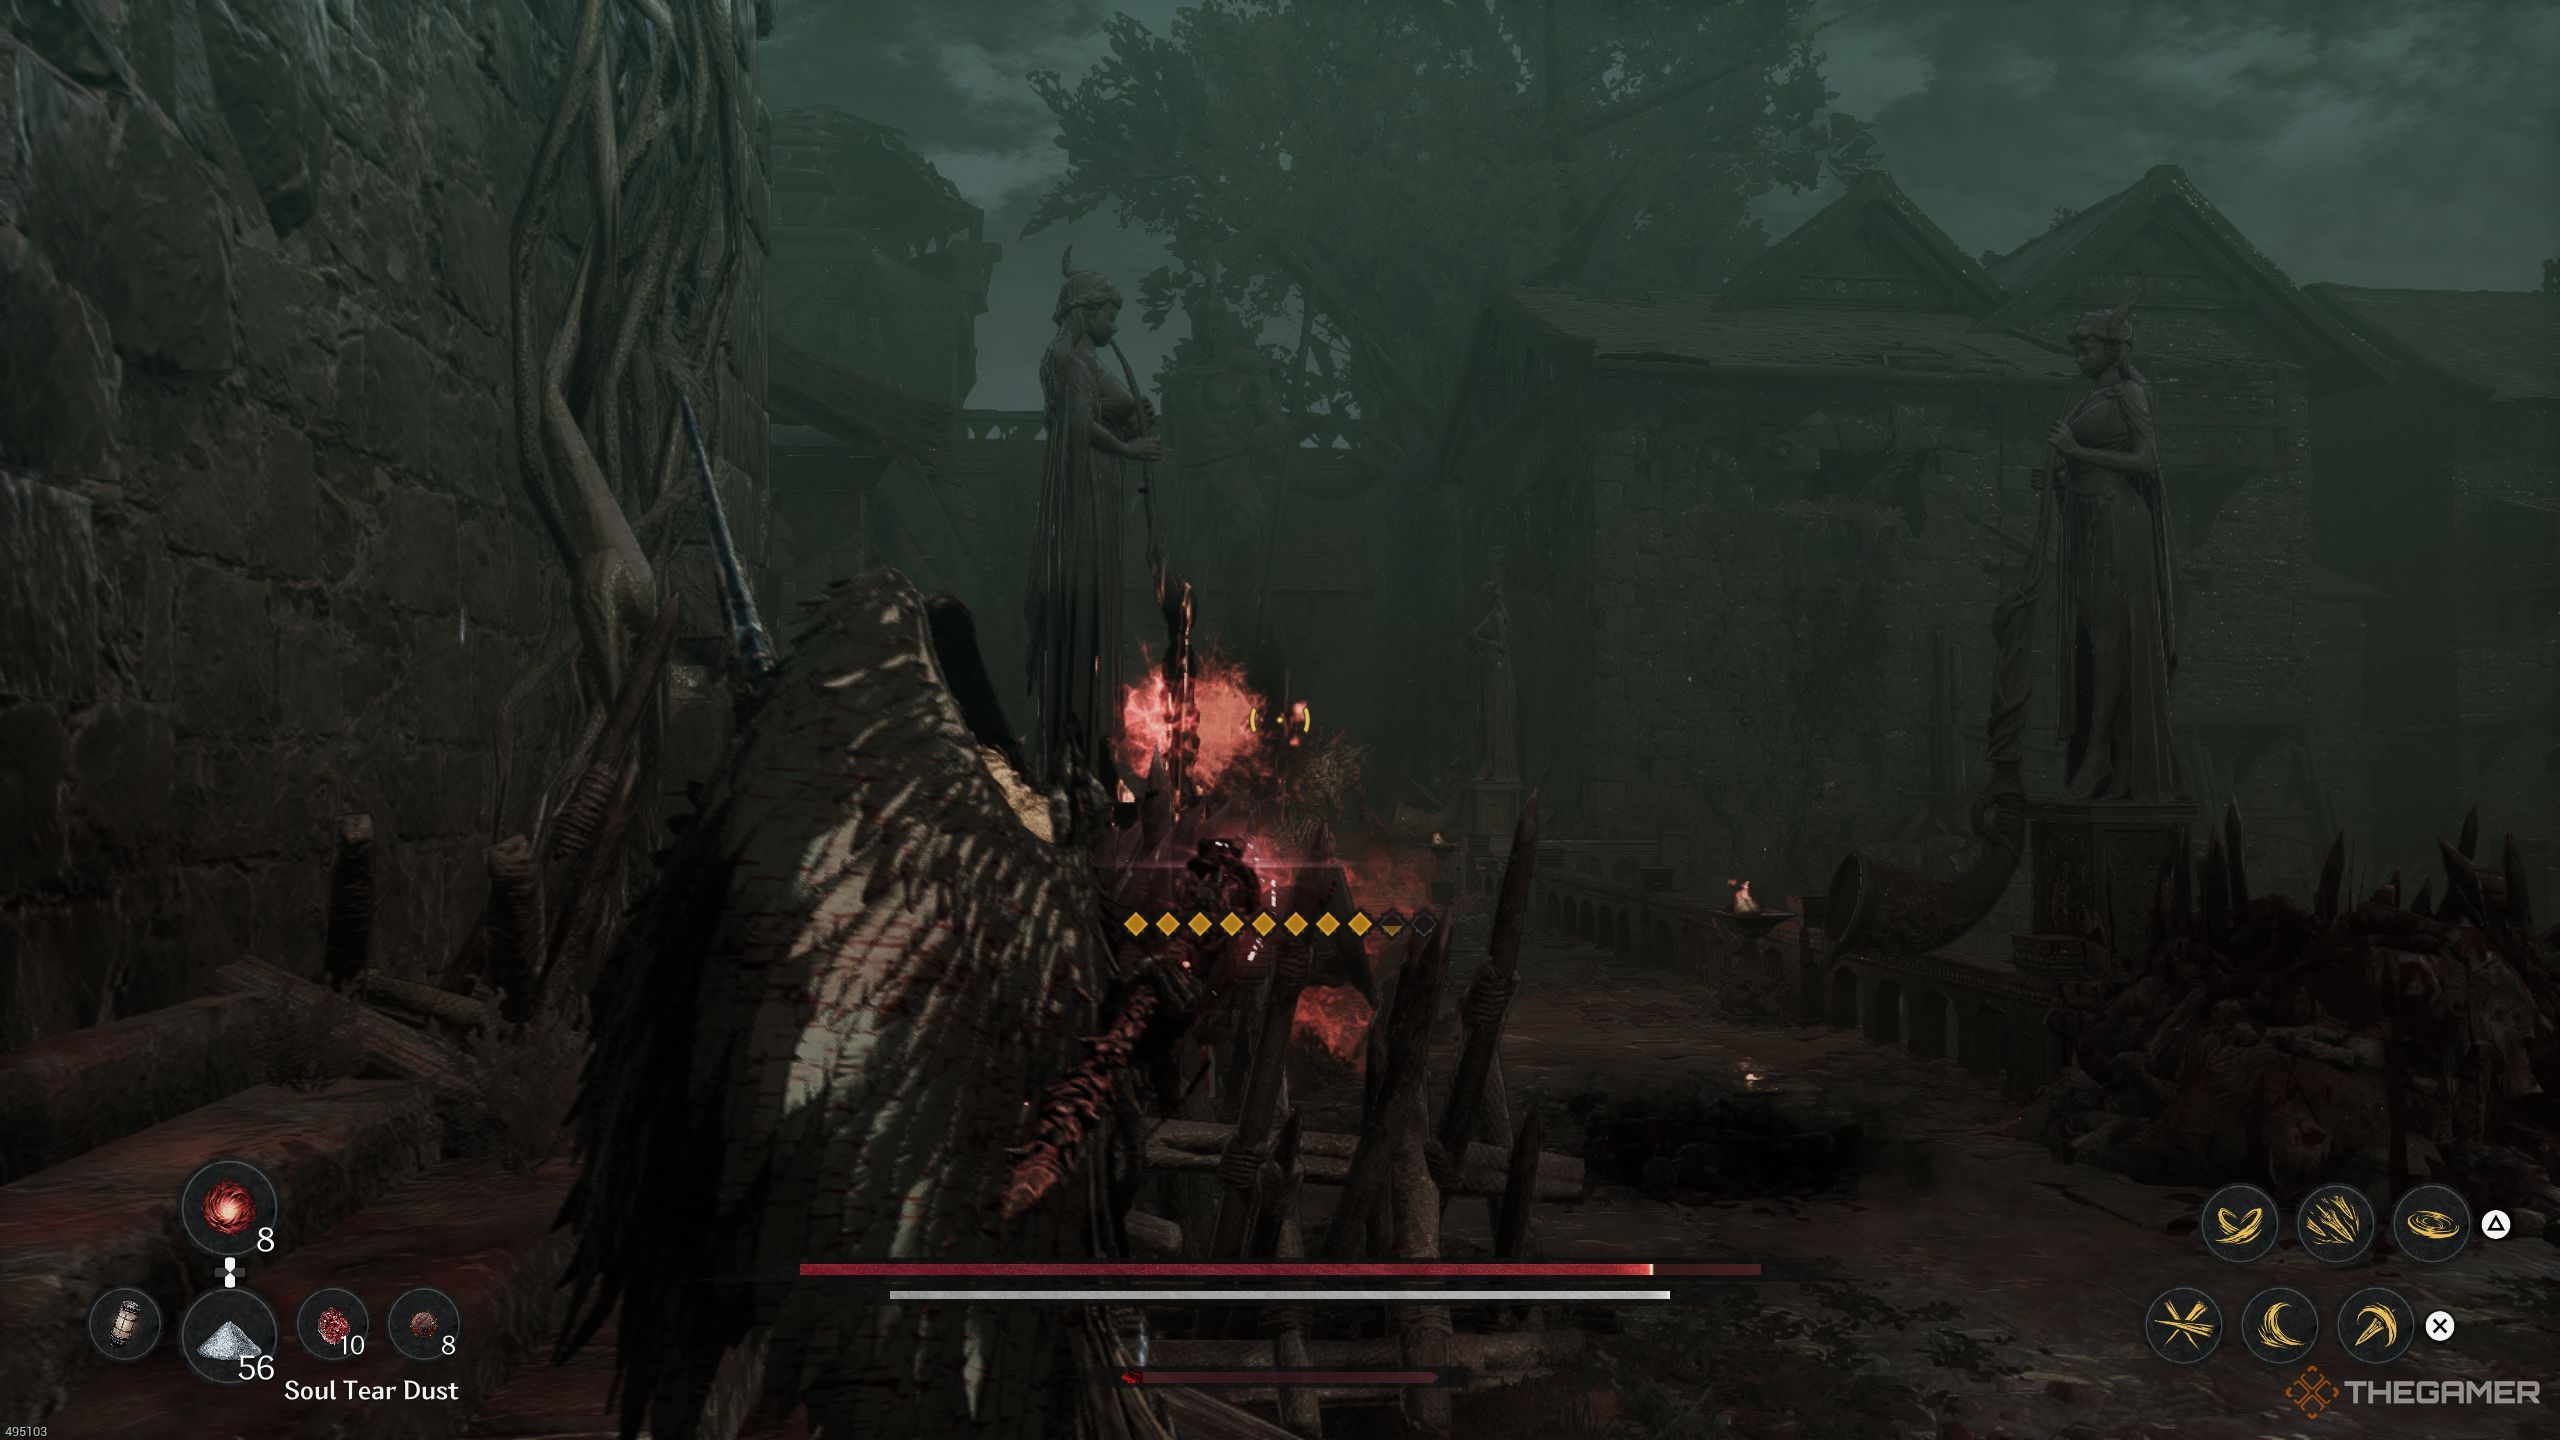
As you journey towards the Ruined Sculpture, you might’ve caught sight of some steps. Take these to descend and trigger the Spiral Forge. Right before you lies the climactic battle of this quest.
In simpler terms, you can consider the boss as yet another ineffective creation, meaning you should find it relatively easy to conquer him. That being said, there might be other adversaries accompanying him, so it’s best to take care of those enemies initially before focusing solely on the boss.
To avoid being struck by flamethrower attacks, simply dodge left or right from a safe distance. Additionally, provoking the boss to perform another attack can be done by approaching it. However, before attempting this tactic, ensure that all enemies are on the opposite side of the battlefield so you can handle them effortlessly.
Keep in mind that the foes you recently vanquished could reappear, so make haste and strive to end the battle swiftly to avoid any unnecessary delays.
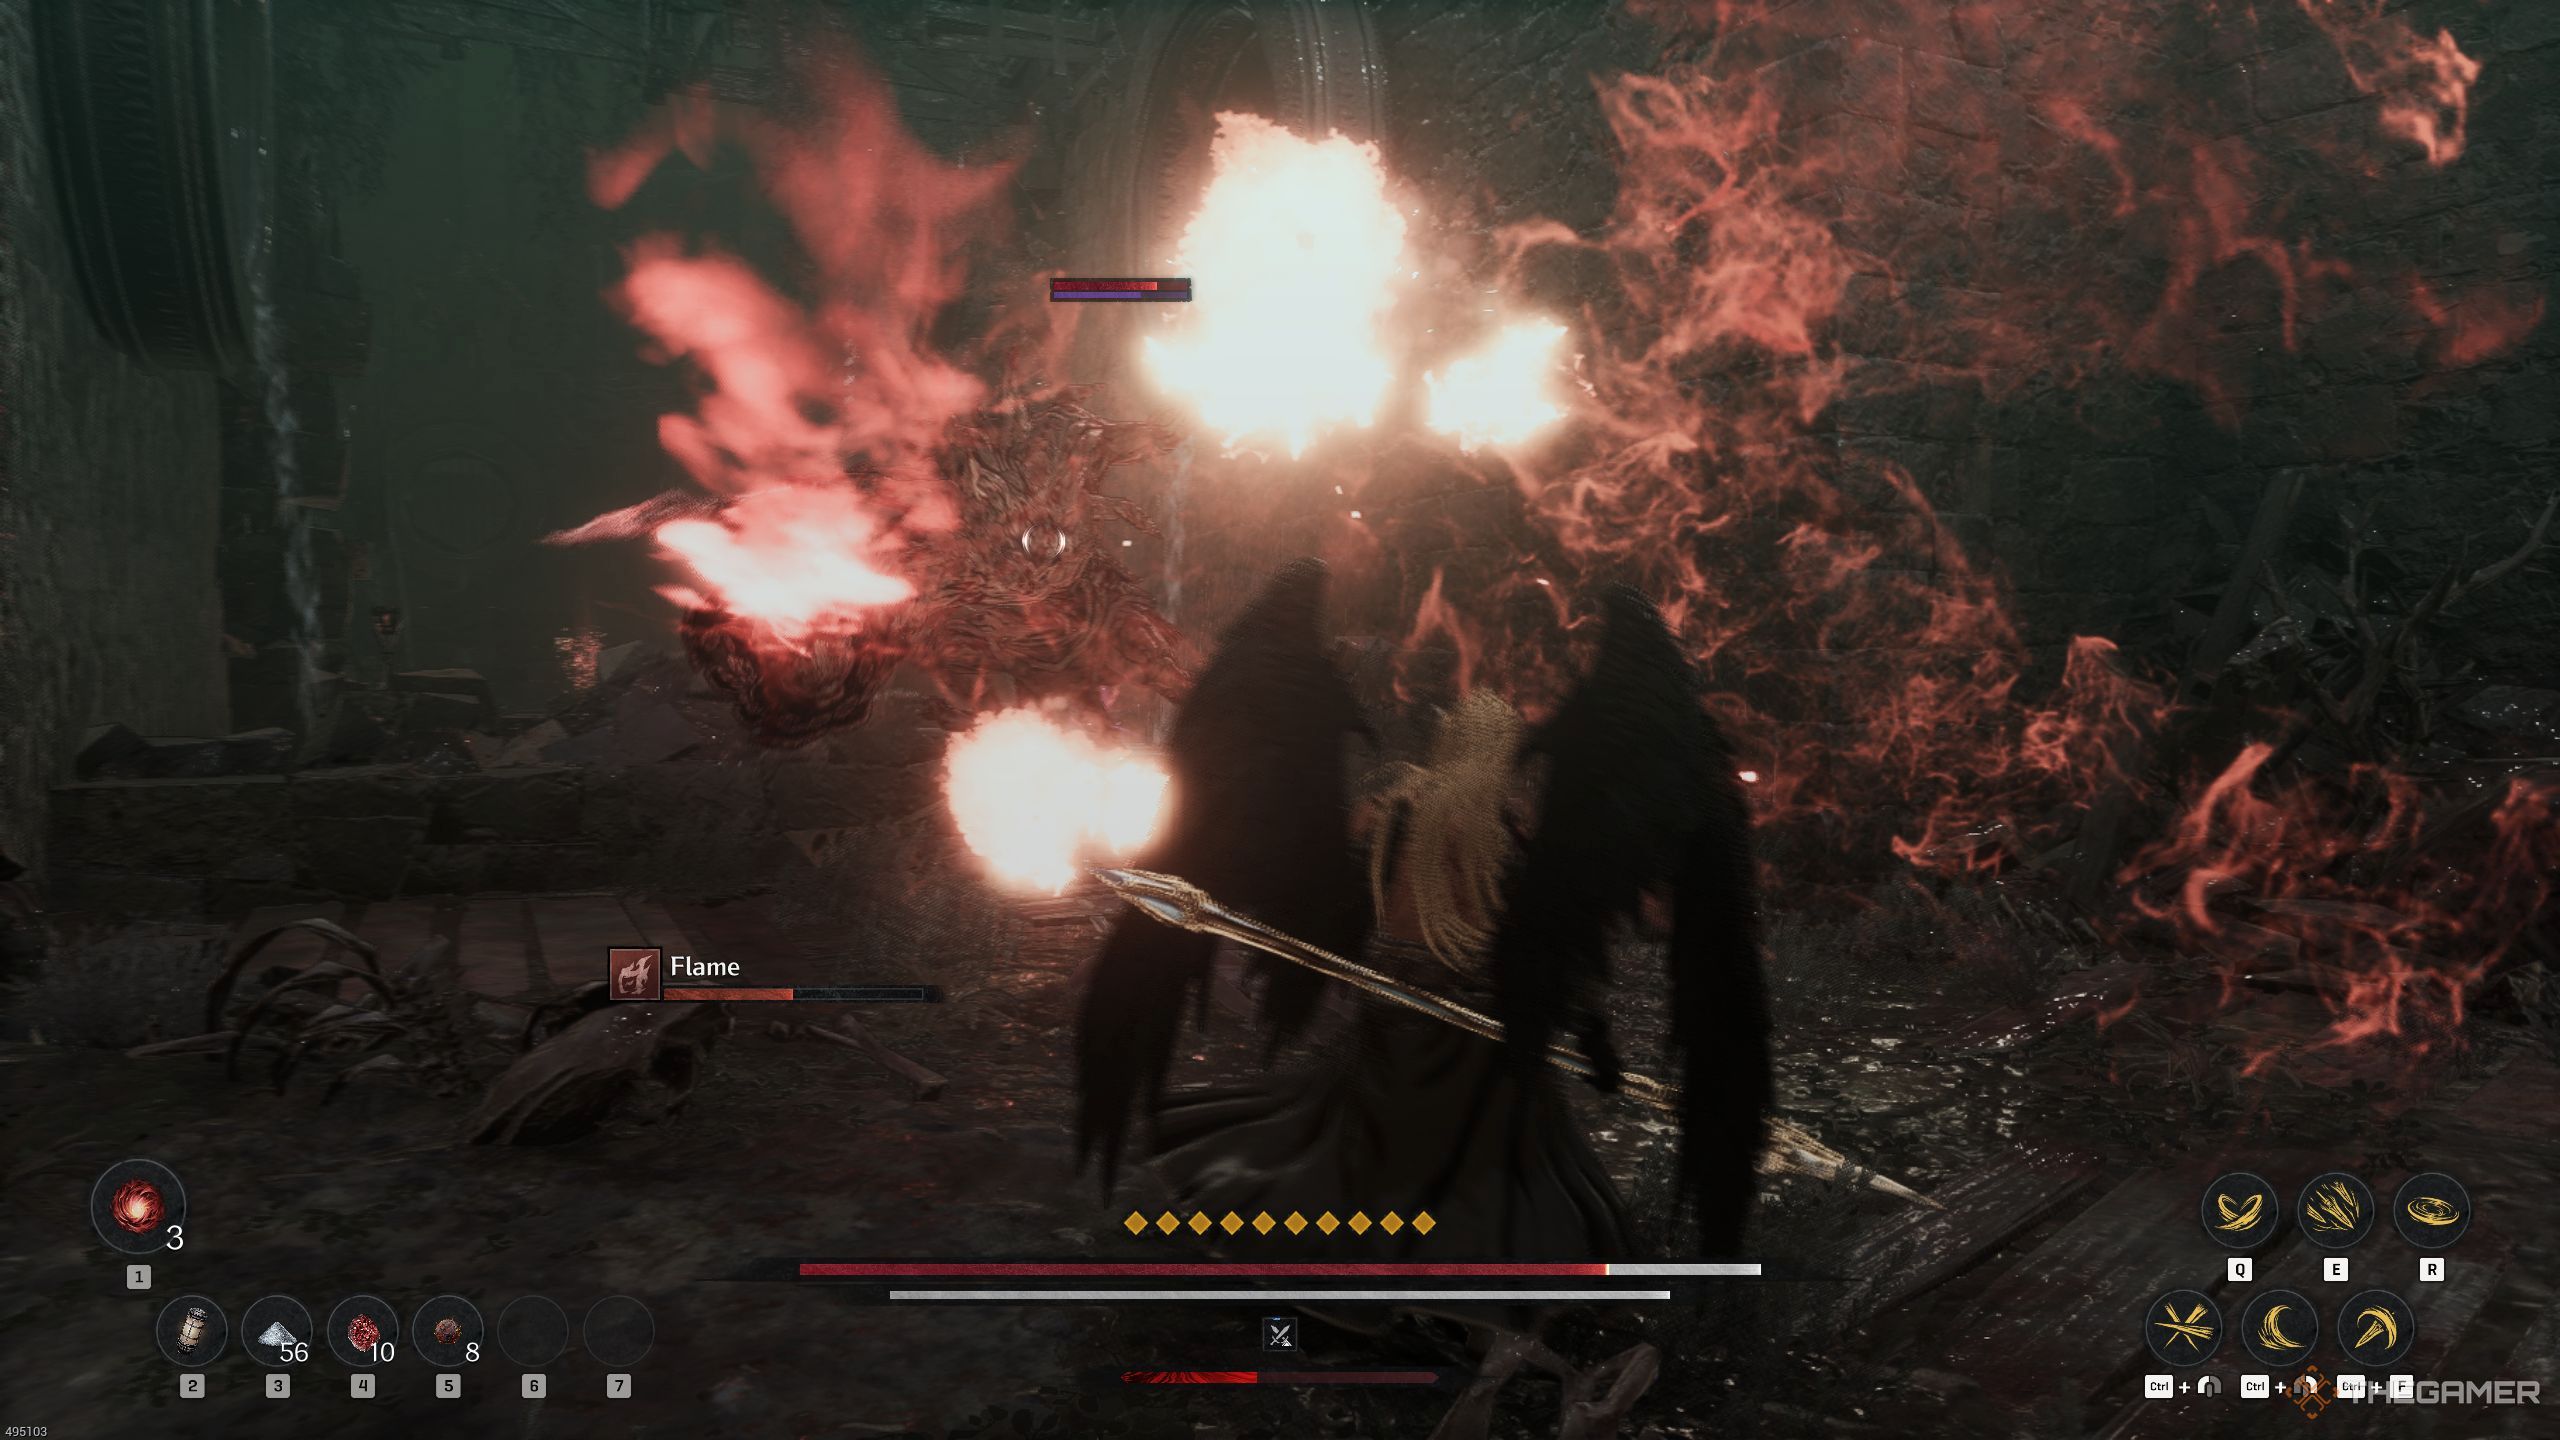
Once you reduce the boss’s health by more than half, he will emit flames all over his body. When you notice this fiery display, it’s best to retreat immediately. He can unleash a barrage of flames from his hands, and these can be fatal if you aren’t careful.
In case you encountered those Unsuccessful Creations before, they have the capability to perform this specific attack as well. However, you’ll probably encounter this attack more frequently during the main battle with the Boss character.
Lacrima Quest Rewards
As I bring down my final blow, the thrilling adventure of this mission will come to an end. Upon his defeat, I’ll be rewarded with the elusive Transmutation Mist and Transmutation Shard. Additionally, there’s a chance I’ll acquire a brand-new weapon or accessory, and perhaps even a rare piece from the Great General Set.
Read More
- Apothecary Diaries Ch.81: Maomao vs Shenmei!
- Gold Rate Forecast
- Batman and Deadpool Unite: Epic DC/Marvel Crossover One-Shots Coming Soon!
- Who was Peter Kwong? Learn as Big Trouble in Little China and The Golden Child Actor Dies at 73
- Mobile MOBA Games Ranked 2025 – Options After the MLBB Ban
- Hunter Schafer Rumored to Play Princess Zelda in Live-Action Zelda Movie
- 30 Best Couple/Wife Swap Movies You Need to See
- Netflix’s ‘You’ Season 5 Release Update Has Fans Worried
- Gachiakuta Chapter 139: Rudo And Enjin Team Up Against Mymo—Recap, Release Date, Where To Read And More
- Summer Game Fest 2025 schedule and streams: all event start times
2025-04-12 22:36