
Similar to Hollow Knight: Silksong’s predecessor, it boasts a large, explorable map with some degree of open-endedness, which can lead to feelings of being lost amidst its expansive territory, especially when the way forward isn’t immediately apparent. To aid your journey, we’ve created this walkthrough guide that provides an overview of all the diverse regions in the game and suggests an optimal order to explore them for a smoother gaming experience.
Act 1 best route – HK: Silksong
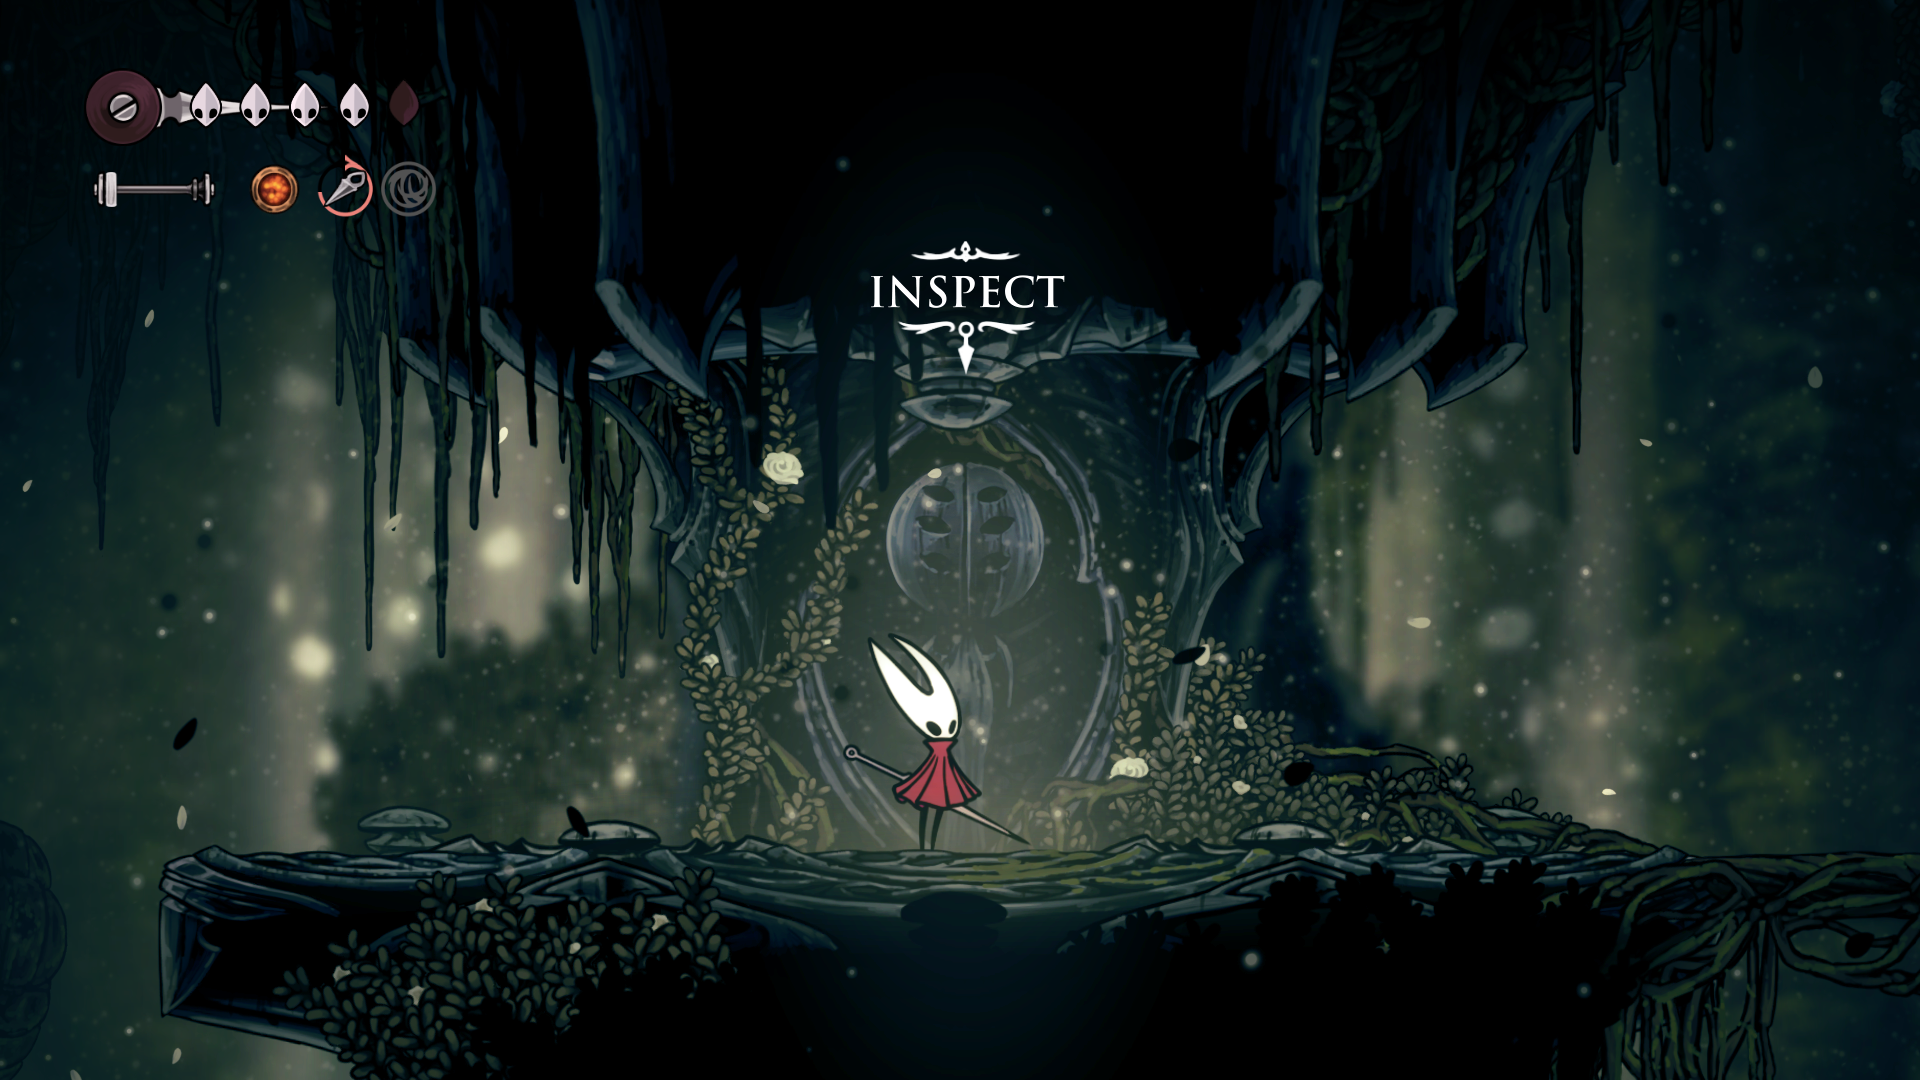
Moss Grotto
This spot serves as the game’s launchpad. It’s quite simple really; it’s just a straightforward path that leads you into the game. The only reason you might revisit this place is to wrap up the Mossberry side mission, which can be completed effortlessly.
Bone Bottom
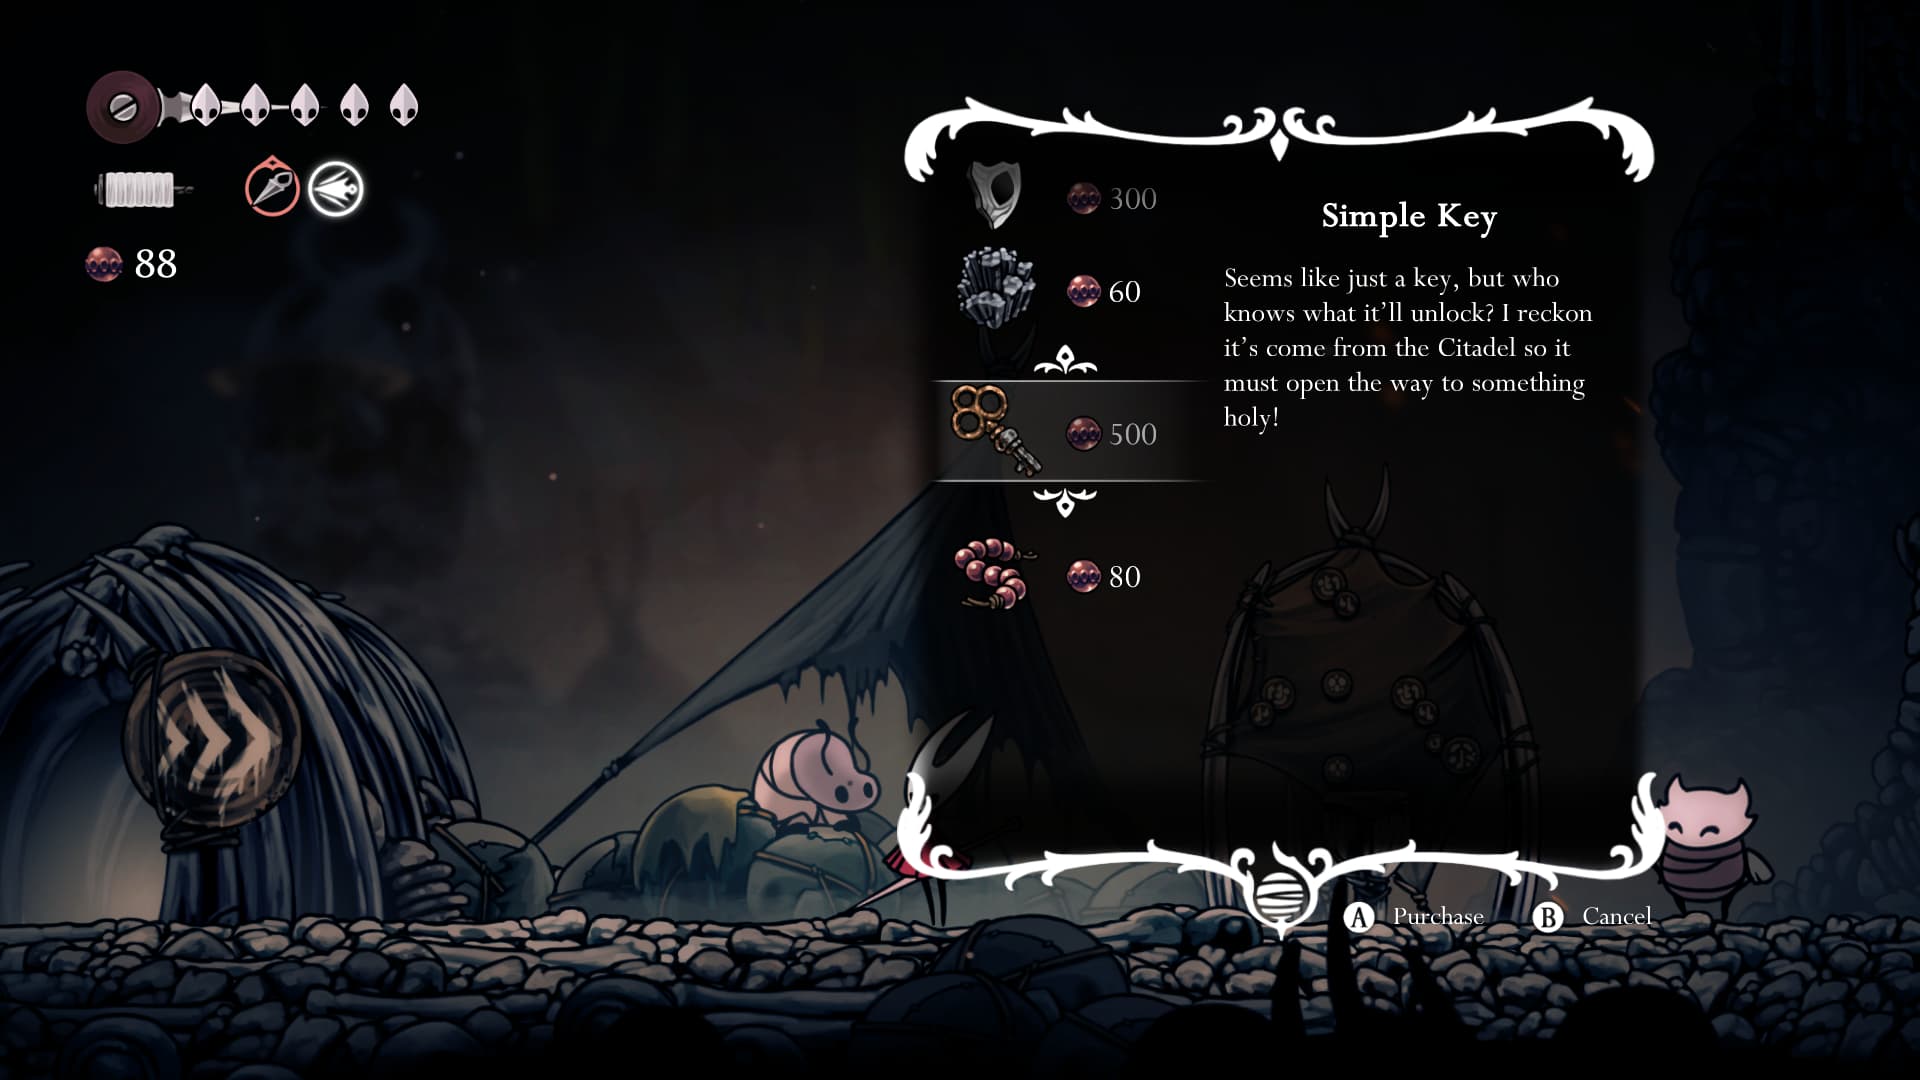
In Silksong, the first of several significant town regions introduces you to various attractions. Among them, a merchant showcases some captivating goods, such as the Simple Key. Interestingly, there’s also a station present, although currently it’s not operational for your use.
The Marrow
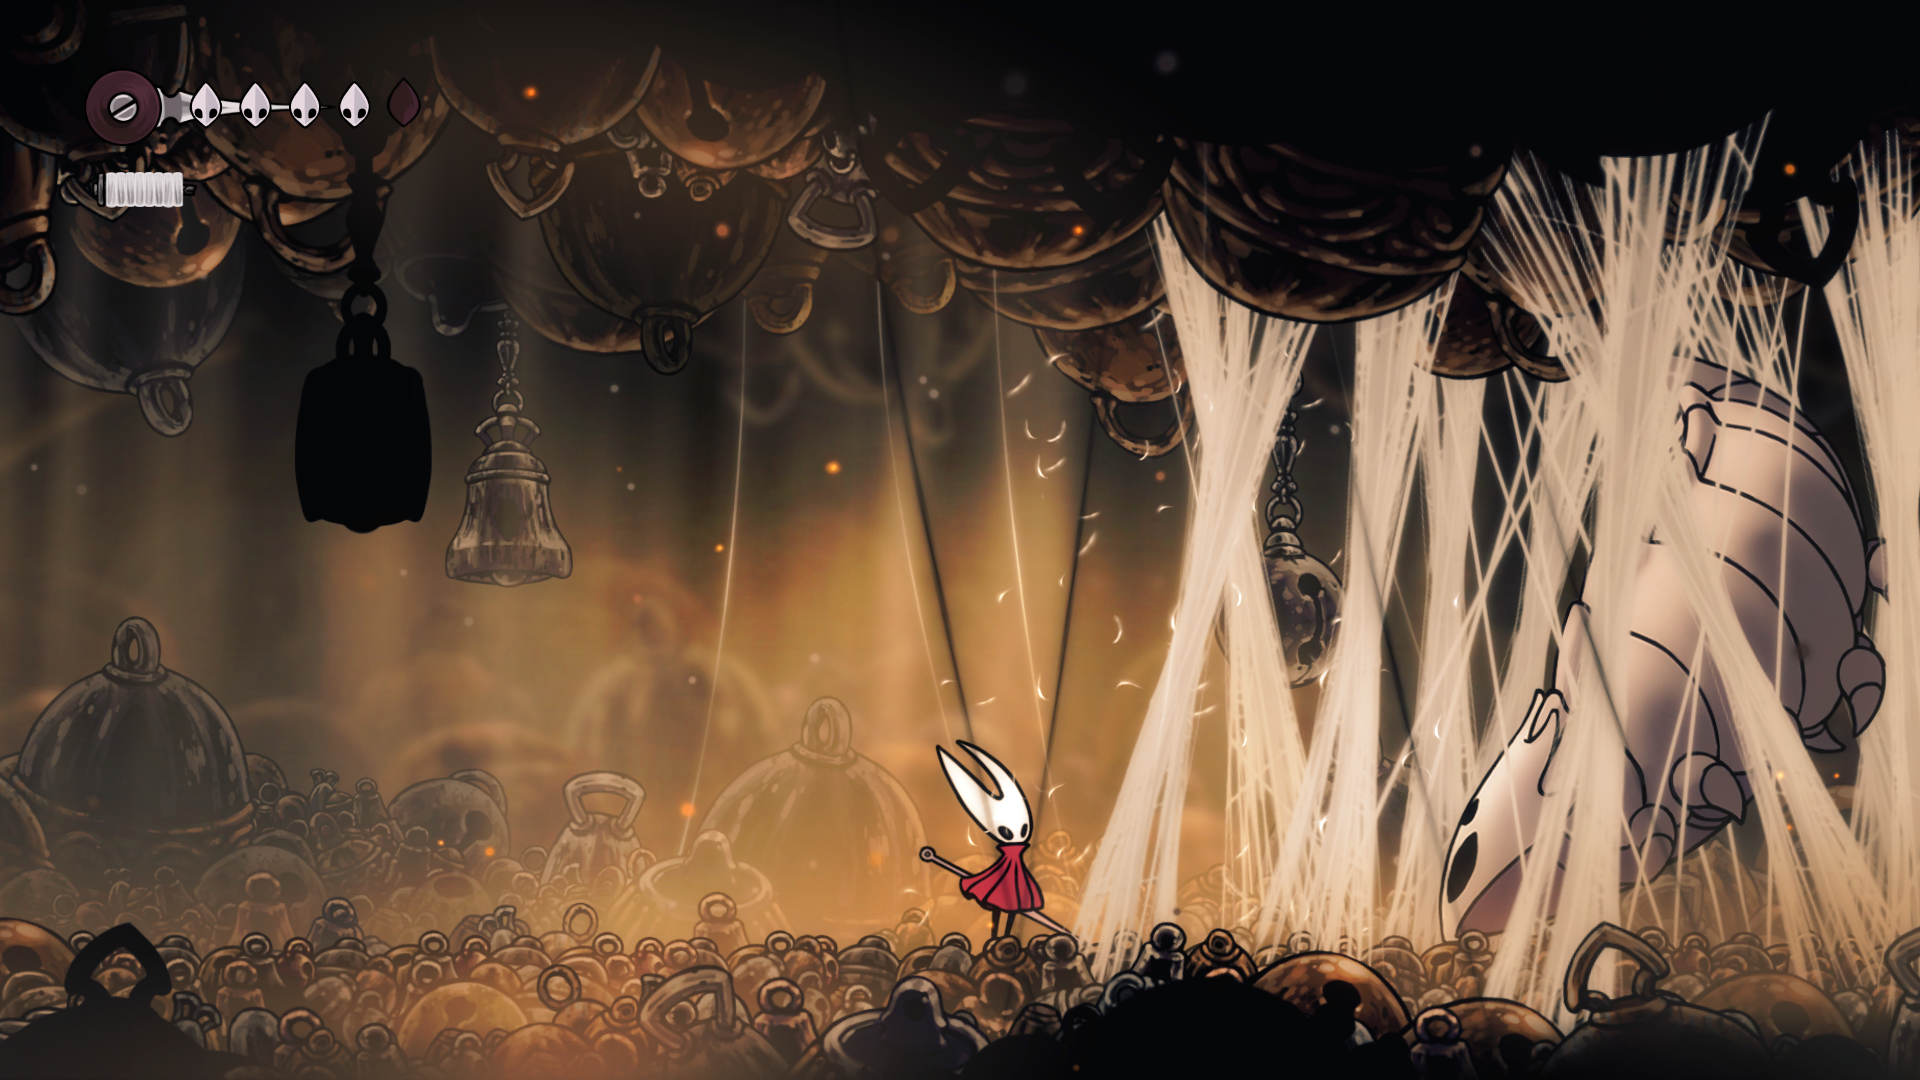
In this initial section, you’re about to embark on an expedition, but you won’t be able to complete it all just yet. For now, move upward and you’ll come across the Bell Beast ensnared in some webs that you currently can’t break. Instead, venture westwards into the next region.
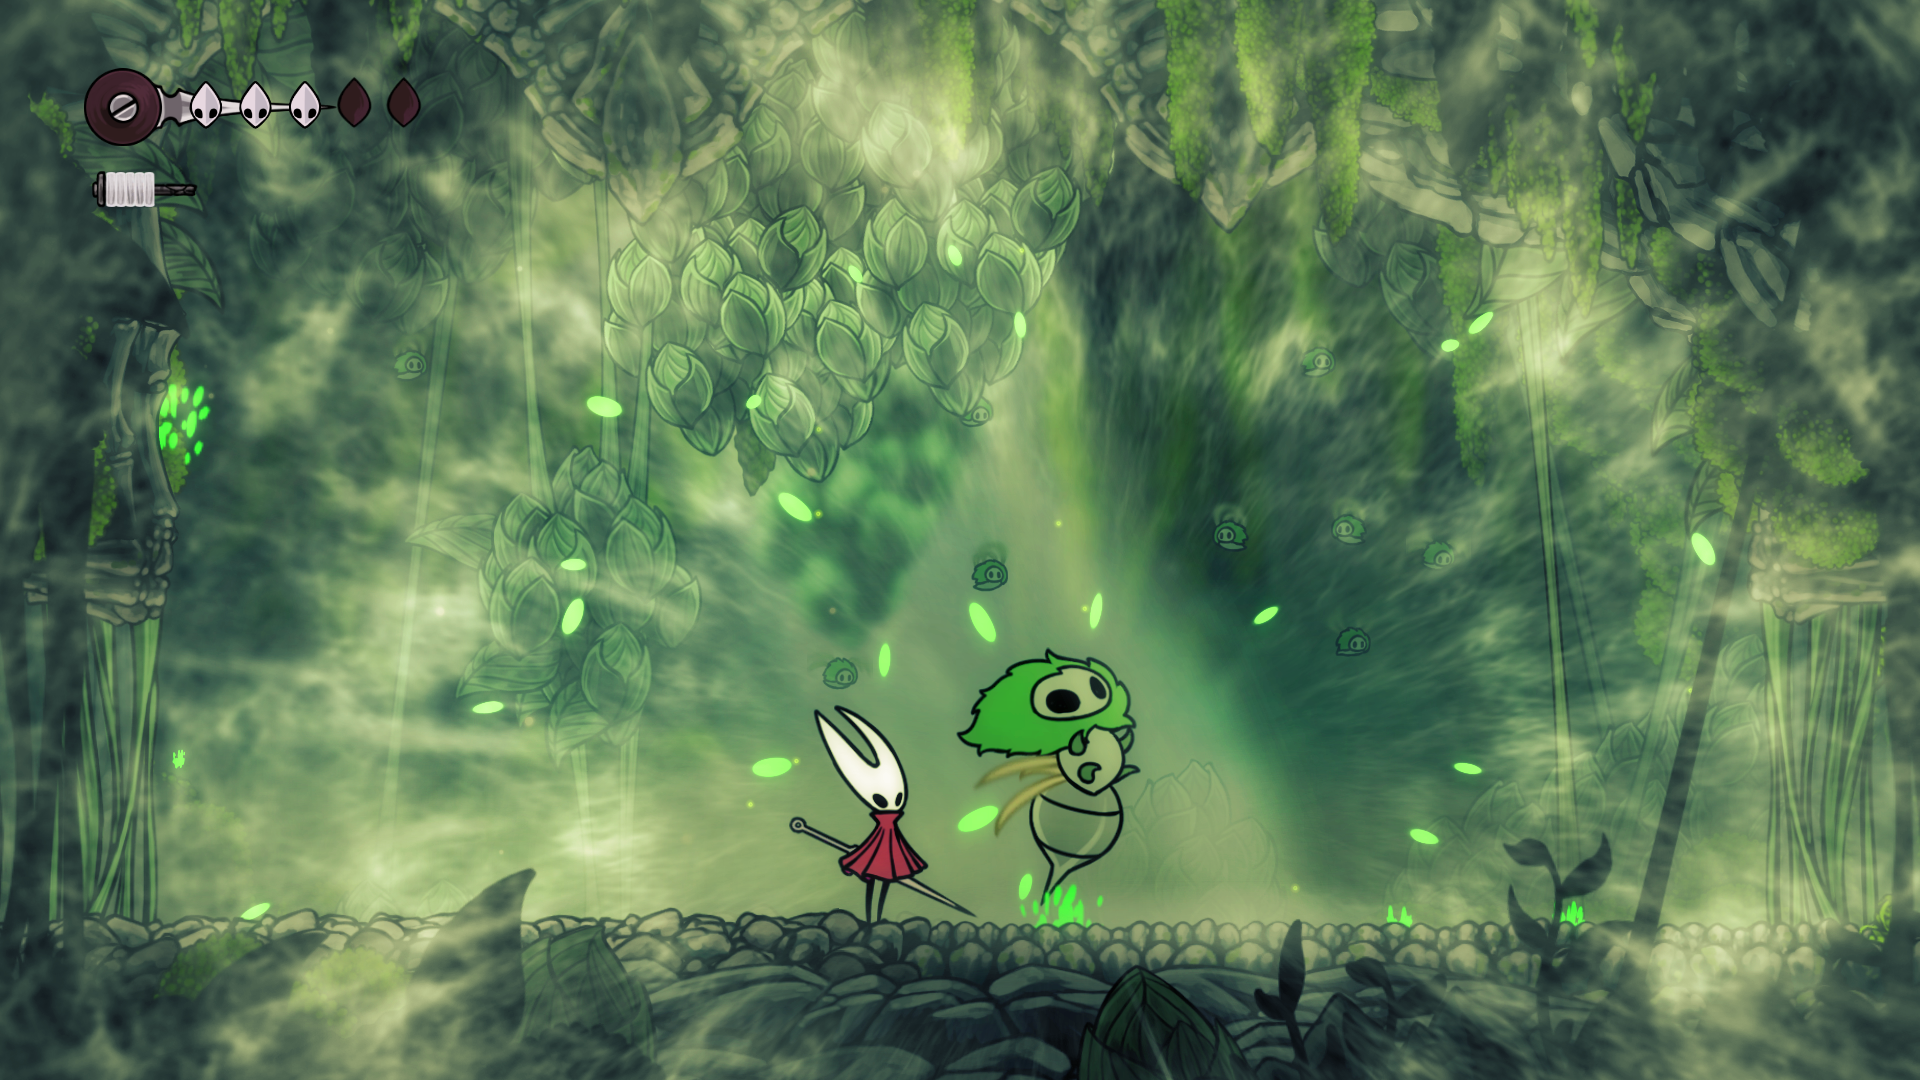
Mosshold

Navigating ahead may become a tad more complex as you’ll encounter foes with intricate attack patterns rather than just charging at you mindlessly. However, don’t worry and stick to our Hollow Knight: Silksong beginner guidelines, and you should be able to handle it just fine. The objective here is to ascend your way to acquire the Silkspear ability, which is crucial for cutting through the webs in Silksong.
The Marrow (east half)
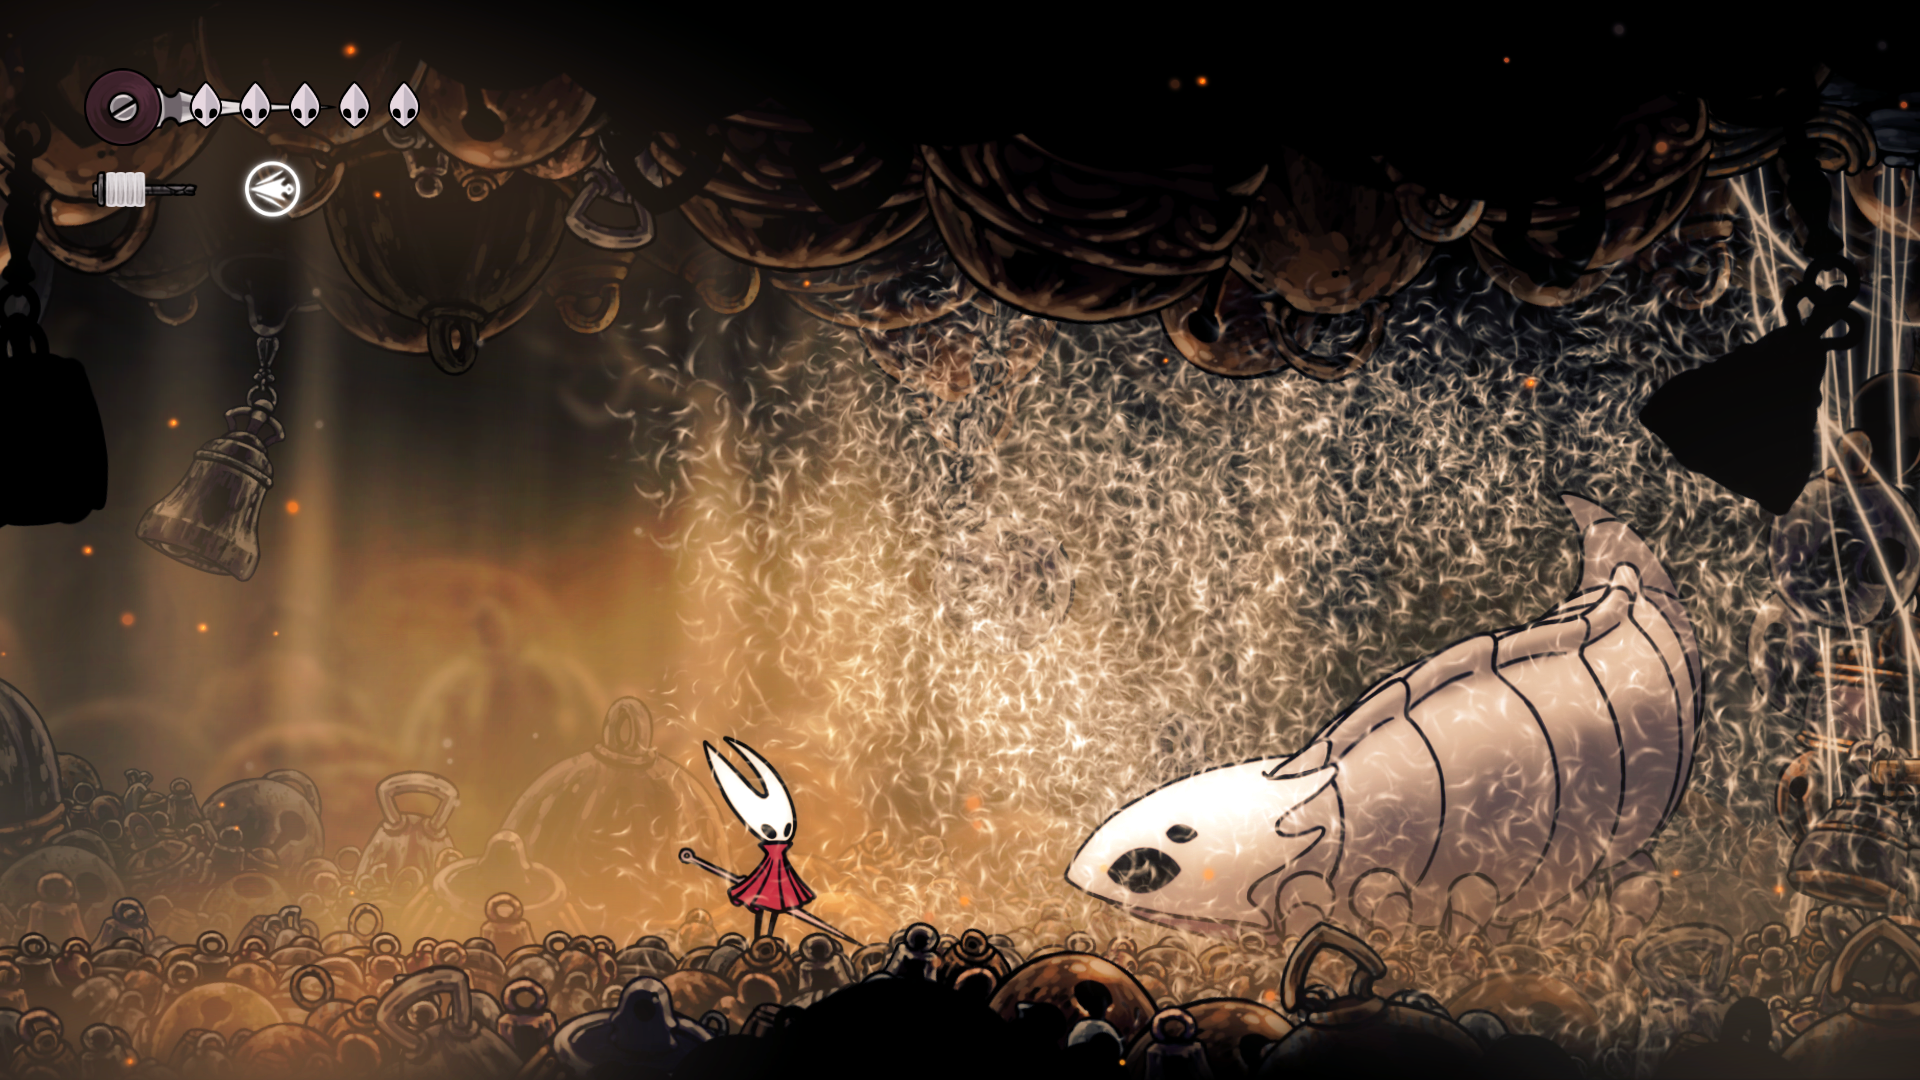
Equipped with your recent power, you’re ready to liberate the Bell Beast. You’ll need to conquer one of the game’s early significant battles, but after you do, it will enable fast travel in Silksong and unlock paths to explore the eastern half of The Marrow. It would be wise for you to venture there now. From this point, you can choose between two locations to delve into. One is Hunter’s March, however, it’s currently protected by a formidable foe that you should avoid; instead, make your way to the southeasternmost tip and enter the Deep Docks instead.
Deep Docks
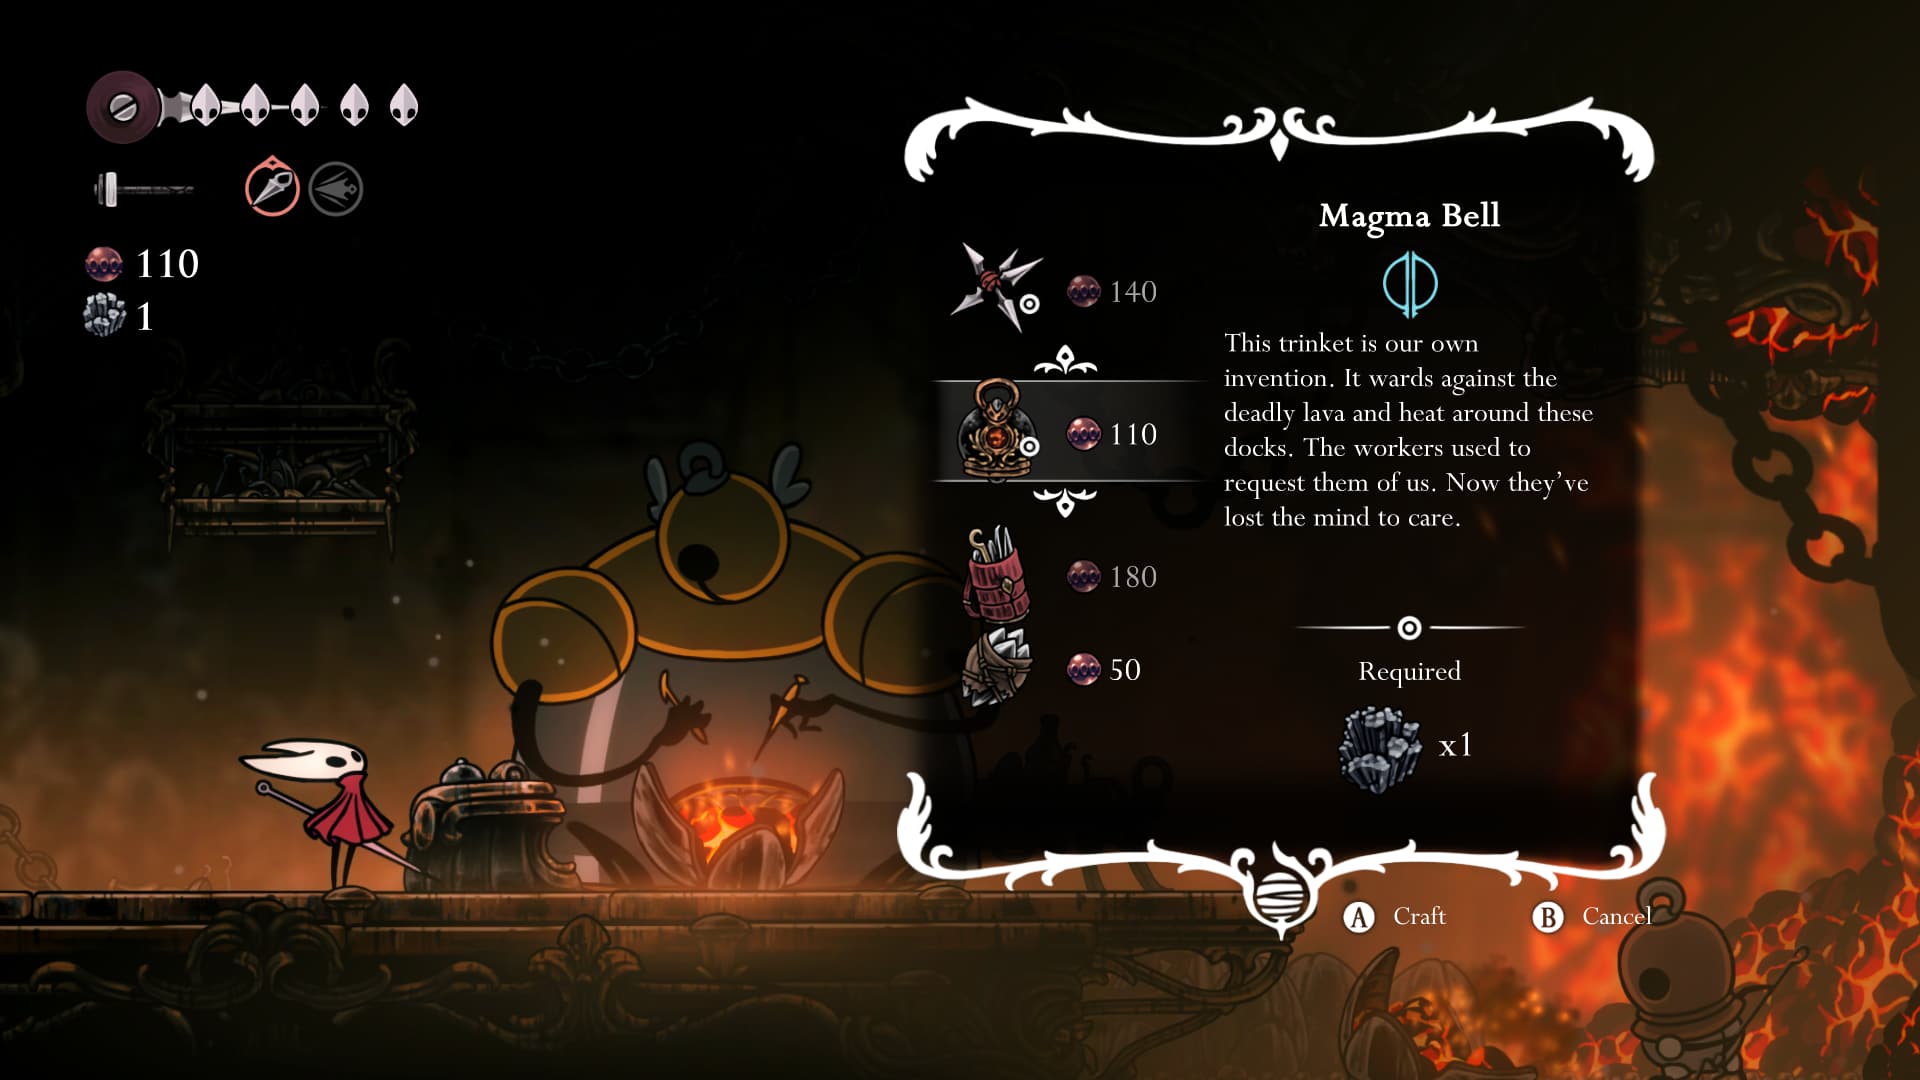
In the Deep Docks, your objective is to acquire the Swift Step ability, enabling you to jump and dash forward in mid-air, covering greater distances than you can currently manage. To obtain this, make your way through the area, then move upward. You’ll briefly enter Hunter’s March for one room before veering west and descending back into Deep Docks, ultimately leading you to the location of the Swift Step altar.
After completing that task, make your way downwards as there’s a lot to discover here, including the Forge Daughter who provides upgrades, and the path ahead will become clear. You’ll encounter Lace in combat for the first time, ring another bell, and then proceed to the next region.
Far Fields

At this stage of the game, this part of the game shouldn’t cause you too many problems. Just continue moving south and east to advance in your journey here. Eventually, you’ll reach a point where you can’t go back, but don’t fret because we’re about to receive an upgrade that will help us escape. Continue until you spot the Seamstress’ balloon. She’ll give you a mission to collect Spine Cores from Hokers, and our guide can assist you with that.
In the game Silksong, upon completing a challenge (defeating the Fourth Chorus boss), you’ll receive a special reward – the Drifter’s Cloak. This unique item allows you to soar through the air using currents, effectively escaping certain areas.
Hunter’s March
The Hunter’s March zone is not mandatory, but we strongly recommend tackling it after acquiring the Drifter’s Cloak since it simplifies many of the platforming challenges found there. You might even be able to bypass certain obstacles with this item. The opponents here can be tricky, featuring rapid and intricate attack patterns, so approach them thoughtfully and identify their vulnerabilities when engaging in combat.
Greymoor
Regardless of whether you choose to visit Hunter’s March or not, your next move should be to ascend the winds in the central spire of the Far Fields to reach Greymoor. This area is significantly more somber. Upon arrival, if you head east, you’ll encounter a map and an optional battle and platforming sequence that unlocks a new Crest for you.
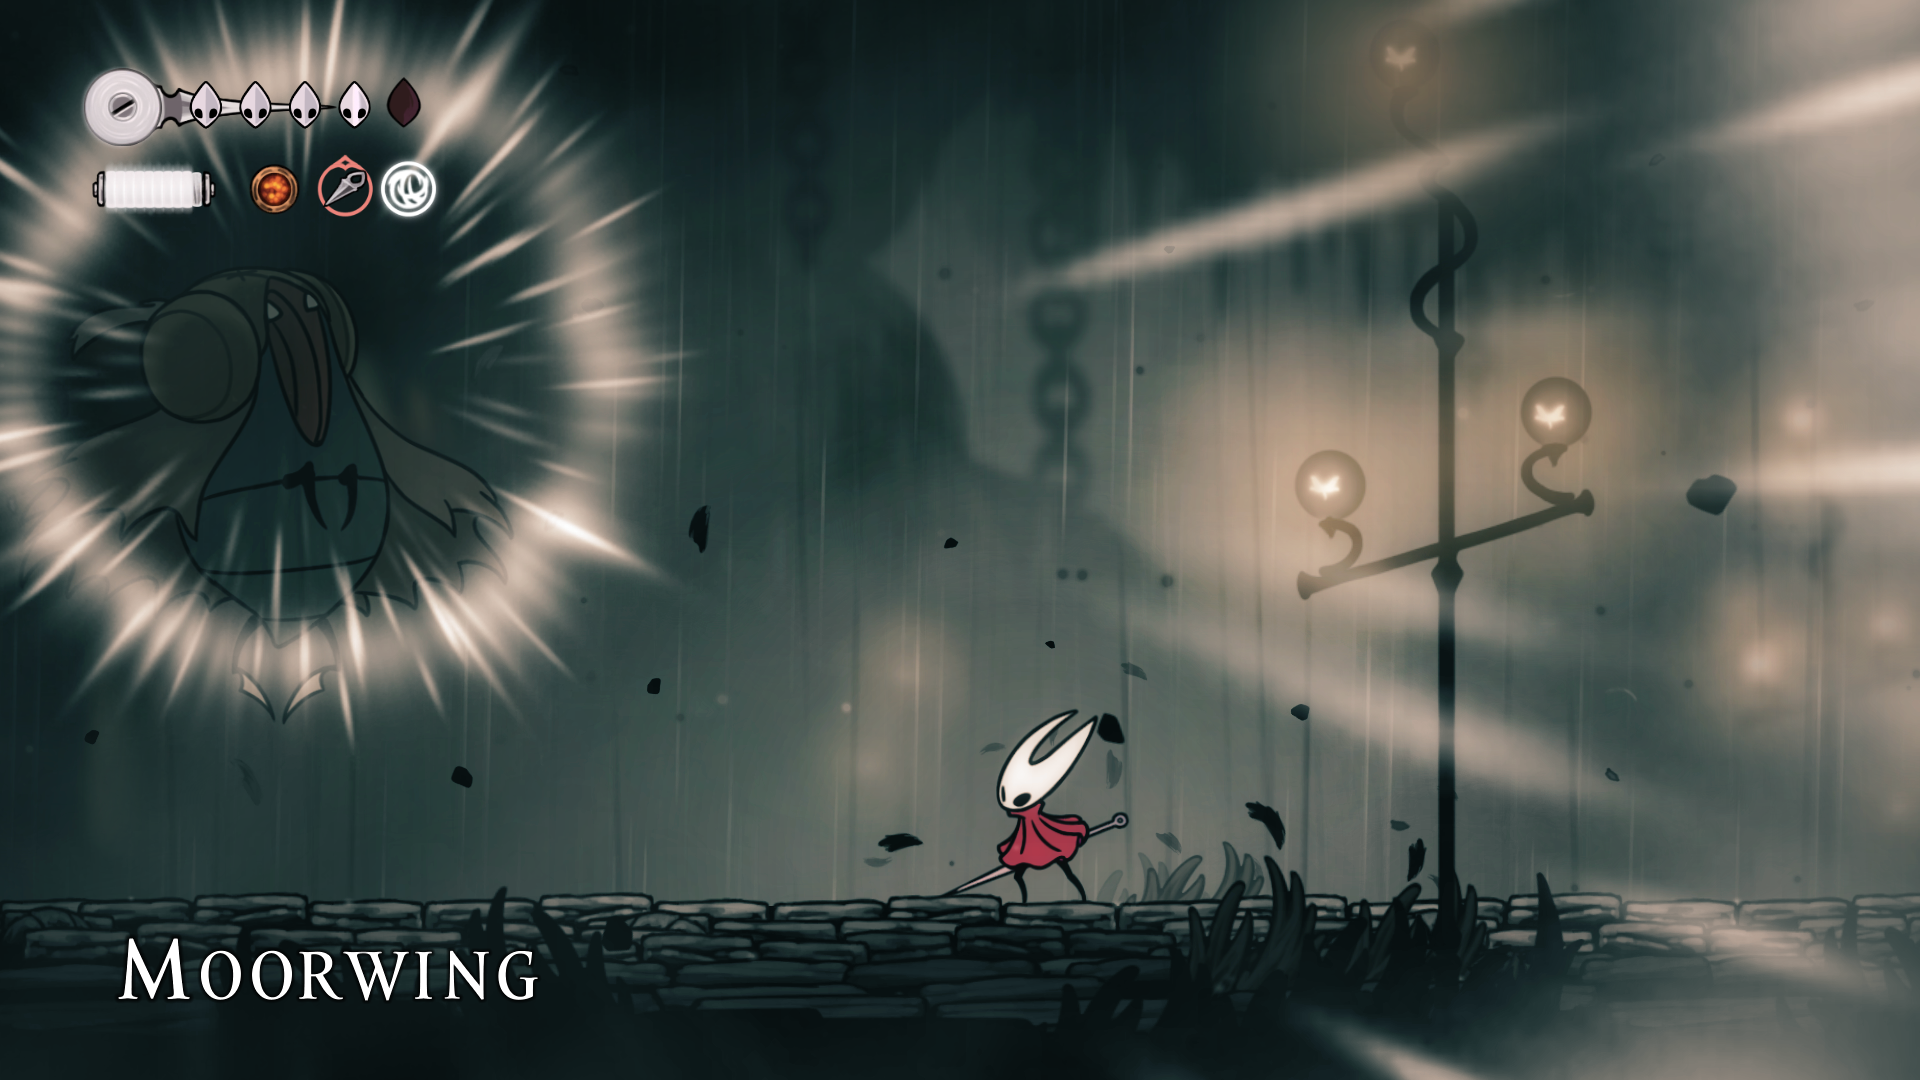
To advance, travel westwards and don’t forget to visit the Halfway House along the way. There, should you not have finished the first “Lost Flea” quest yet, you might encounter a challenge battling the Moorwing boss. But if you manage to win, you can proceed to the next region.
Bellhart
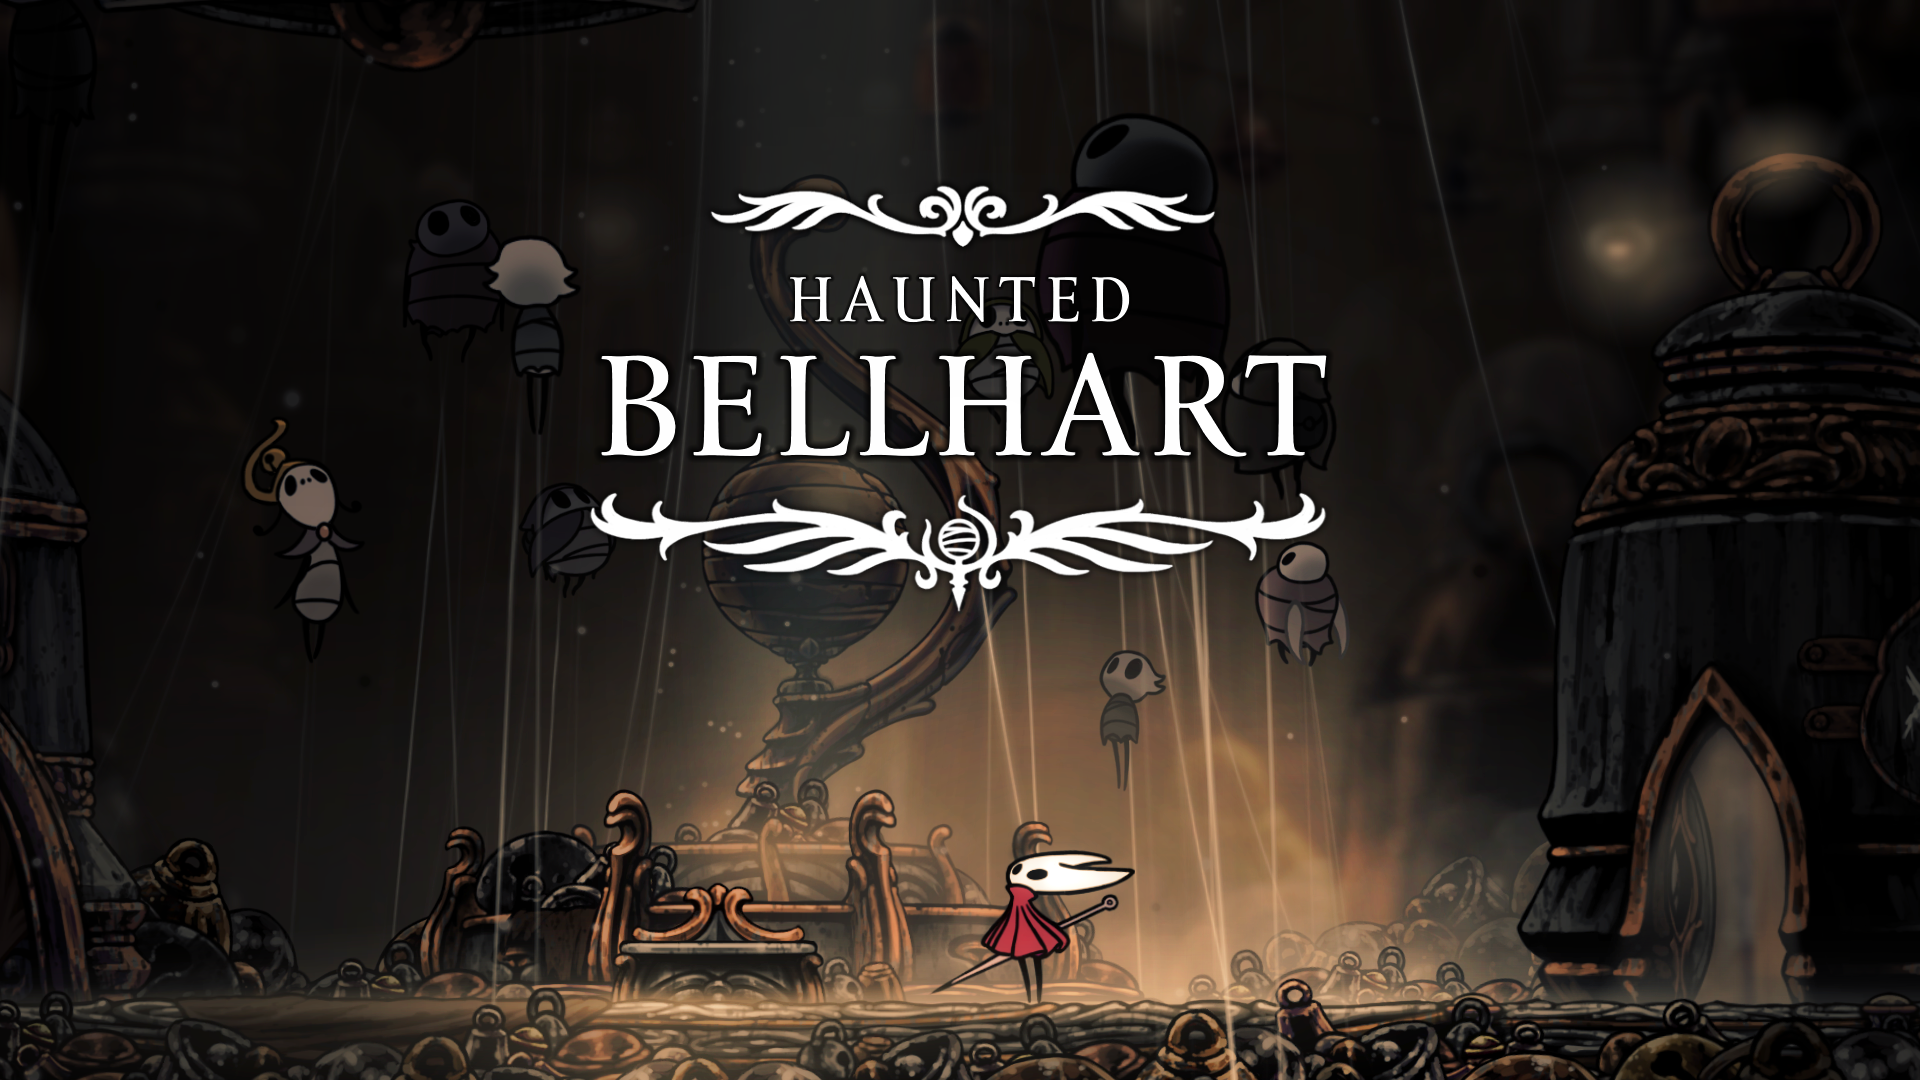
On your initial trip to Bellhart, it’s more like a swift tour since its inhabitants are under a present curse. You’ll need to wait and return at a later time.
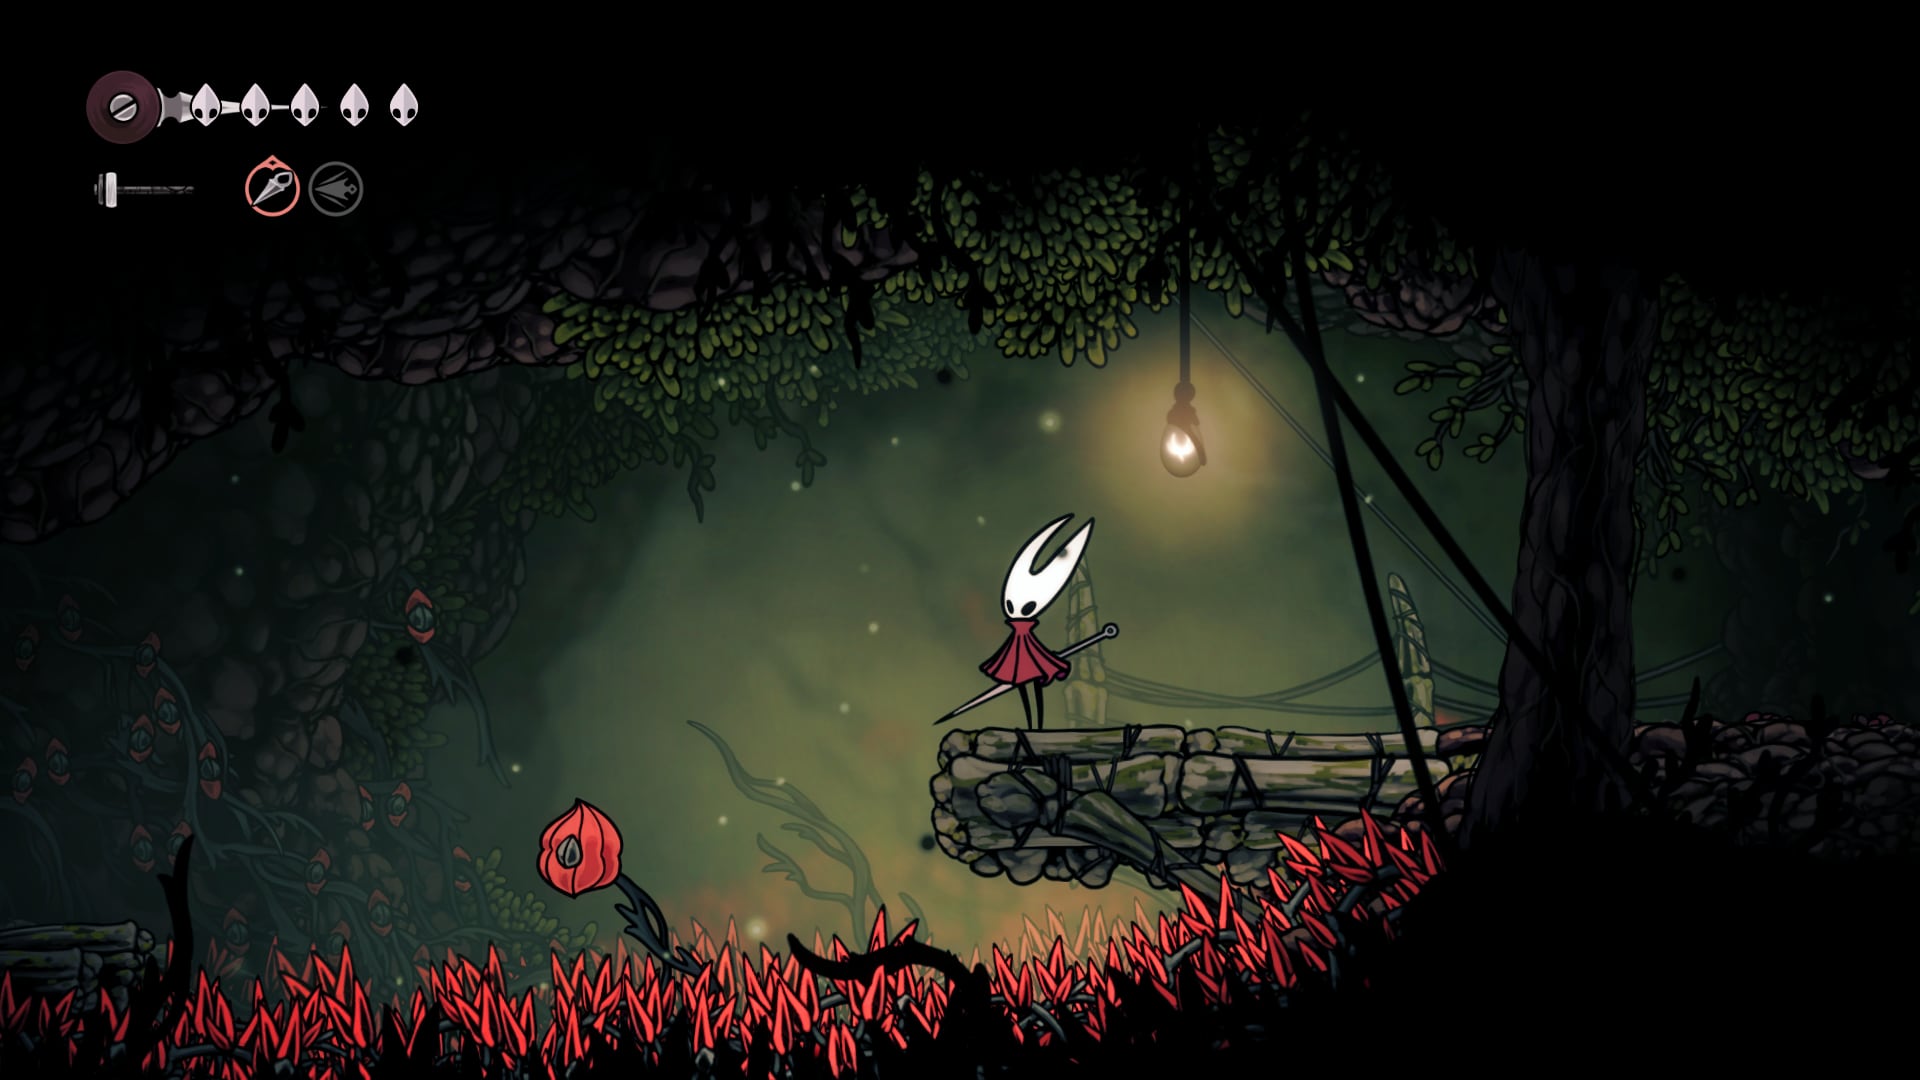
Shellwood
In Shellwood, initially, you’ll find just one primary route when you enter. With some effort, this path leads to a spot where you can acquire the Cling Grip ability, enabling you to scale walls. Post obtaining that skill, your objectives (other than exploring) should be to move towards the northeastern part of Shellwood, which will eventually lead you back into Bellhaven through an alternate entryway.
Bellhart (revisit)
At the upper part of Bellhart, there’s a compact section for navigation leading to the central room. Inside this room, you’ll discover that the bell is ensnared by Widow, who will now challenge you as the main boss. Generally acknowledged as one of the toughest bosses in Act 1, she is quite formidable. Her attack styles are swift and in the second phase of the battle, she becomes even more challenging to manage.
Despite facing challenges, keep pushing forward, and eventually, you’ll emerge triumphant, liberating Bellhart concurrently and unveiling the Needolin ability which grants access to specific doors. Descend into Bellhaven’s central town where all its inhabitants are now free, and new merchants await your patronage.
Wormway
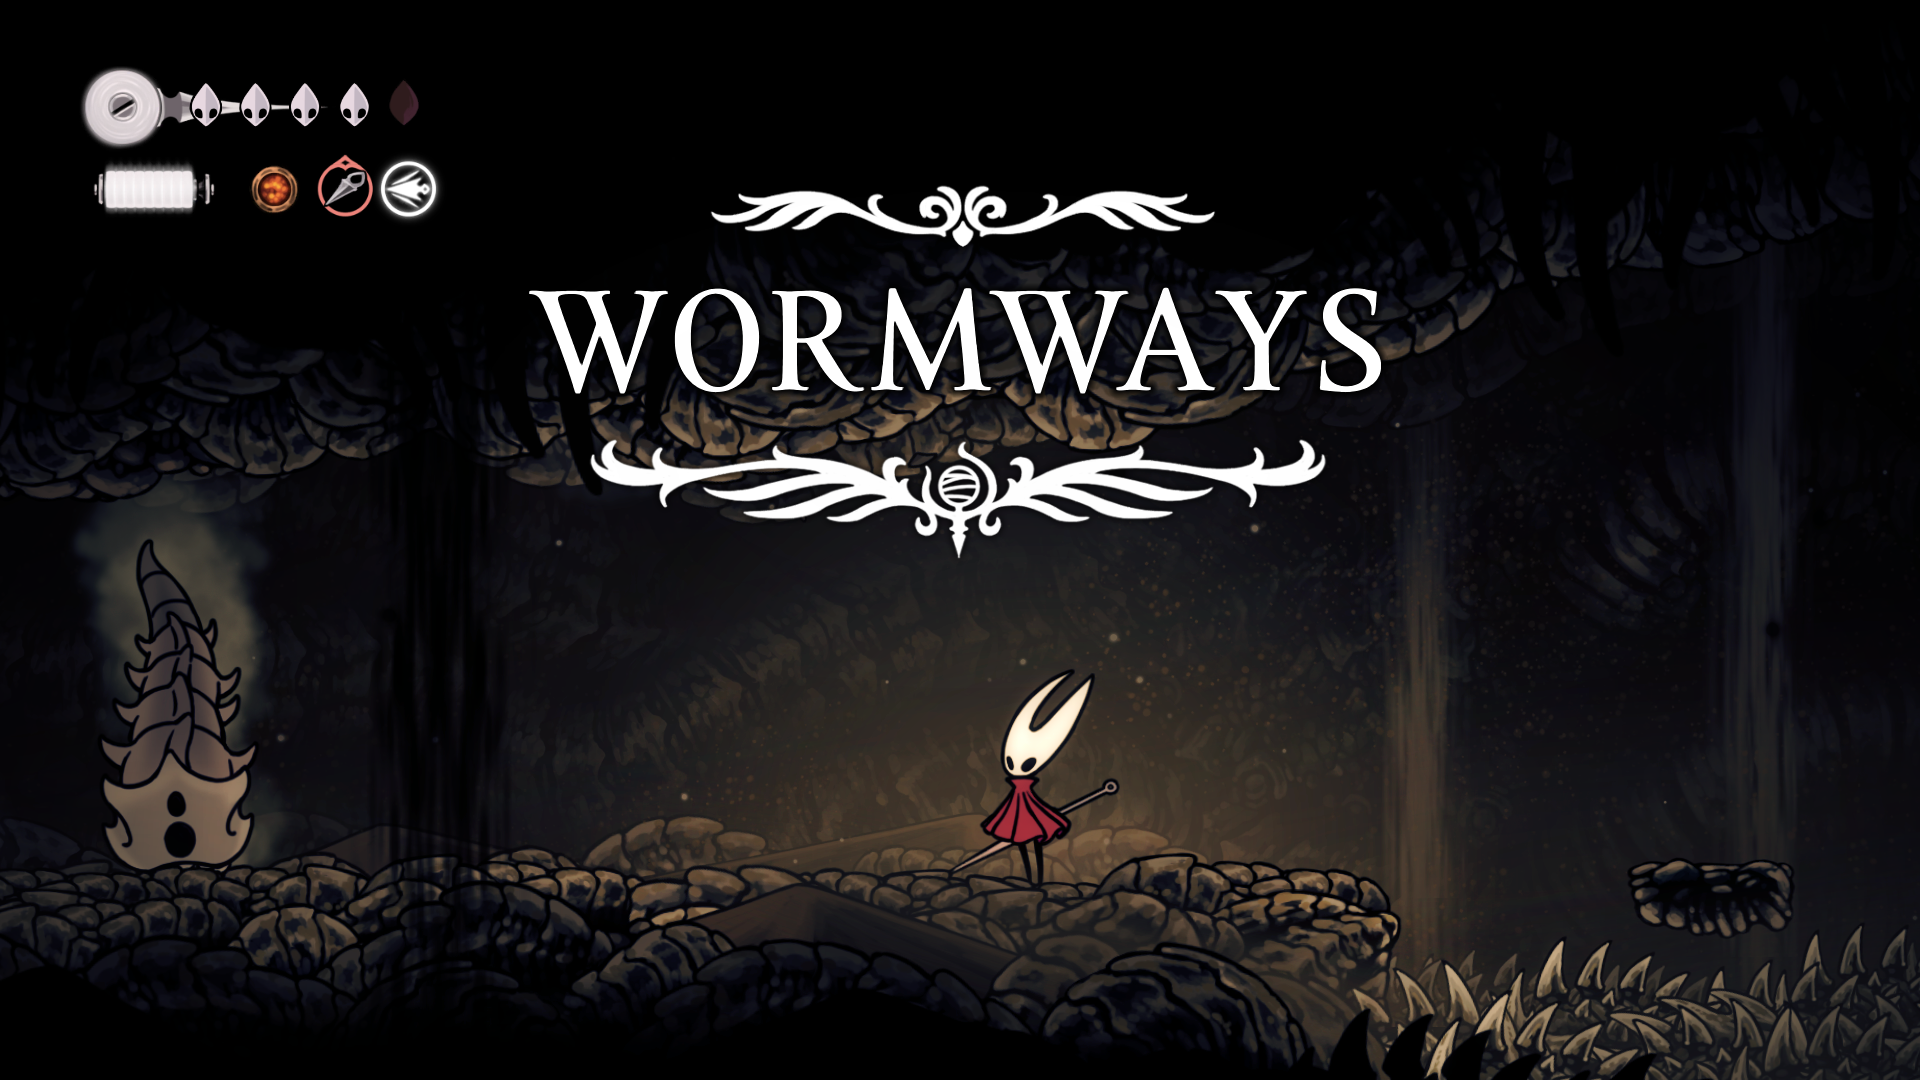
The Wormway is an area that can be accessed optionally, but it necessitates the use of the Cling Grip for navigation. There are two entry points: one is located in the southwest corner of Shellwood, while the other requires the Simple Key at the western edge of Mosshold. Regardless of your route, traversing the area will lead you to the Chapel of the Wanderer, where a Crest can be obtained that gives Hornet control similar to the knight from the original Hollow Knight, providing an enjoyable extra feature.
Blasted Steps
After wrapping up your current tasks, you’ll be faced with an arduous ascent on the relentless Blasted Steps. This journey will test your mettle against formidable adversaries and challenging platforming elements. At the peak stands a powerful foe armed with a fiery ball and chain for a final showdown.
1. To get to the peak, vanquish the final foe, and there you’ll encounter a doorway. If you’ve adhered to this guide, you’d have rung all five bells essential for advancement by now; however, if not, they will be highlighted on your map for your convenience. After completing the task, play the Needolin to unbar the door, and you’ll proceed into Act 2.
This version aims to maintain the original’s essence while offering a more conversational and engaging tone.
Act 2 best route – HK: Silksong
Grand Gateway
Here, you’ll begin the second act, and your task here is simply to follow a straight path. As you proceed, you’ll encounter a majestic elevator, but unlike usual, it won’t ascend. Instead, it will plummet downward.
Underworks (west half)
The Underworks refers to a dimly lit and grimy section. Permanent seating isn’t available here; instead, you’ll need to pay for a seat each time you visit. Your objective is to ascend the first major shaft you encounter. To achieve this, you’ll have to climb about halfway up, then proceed east before circling back to reach the top. This area is fairly spacious, but for now, you can only explore the western half of it. We’ll revisit the eastern part later. For now, focus on climbing upward.
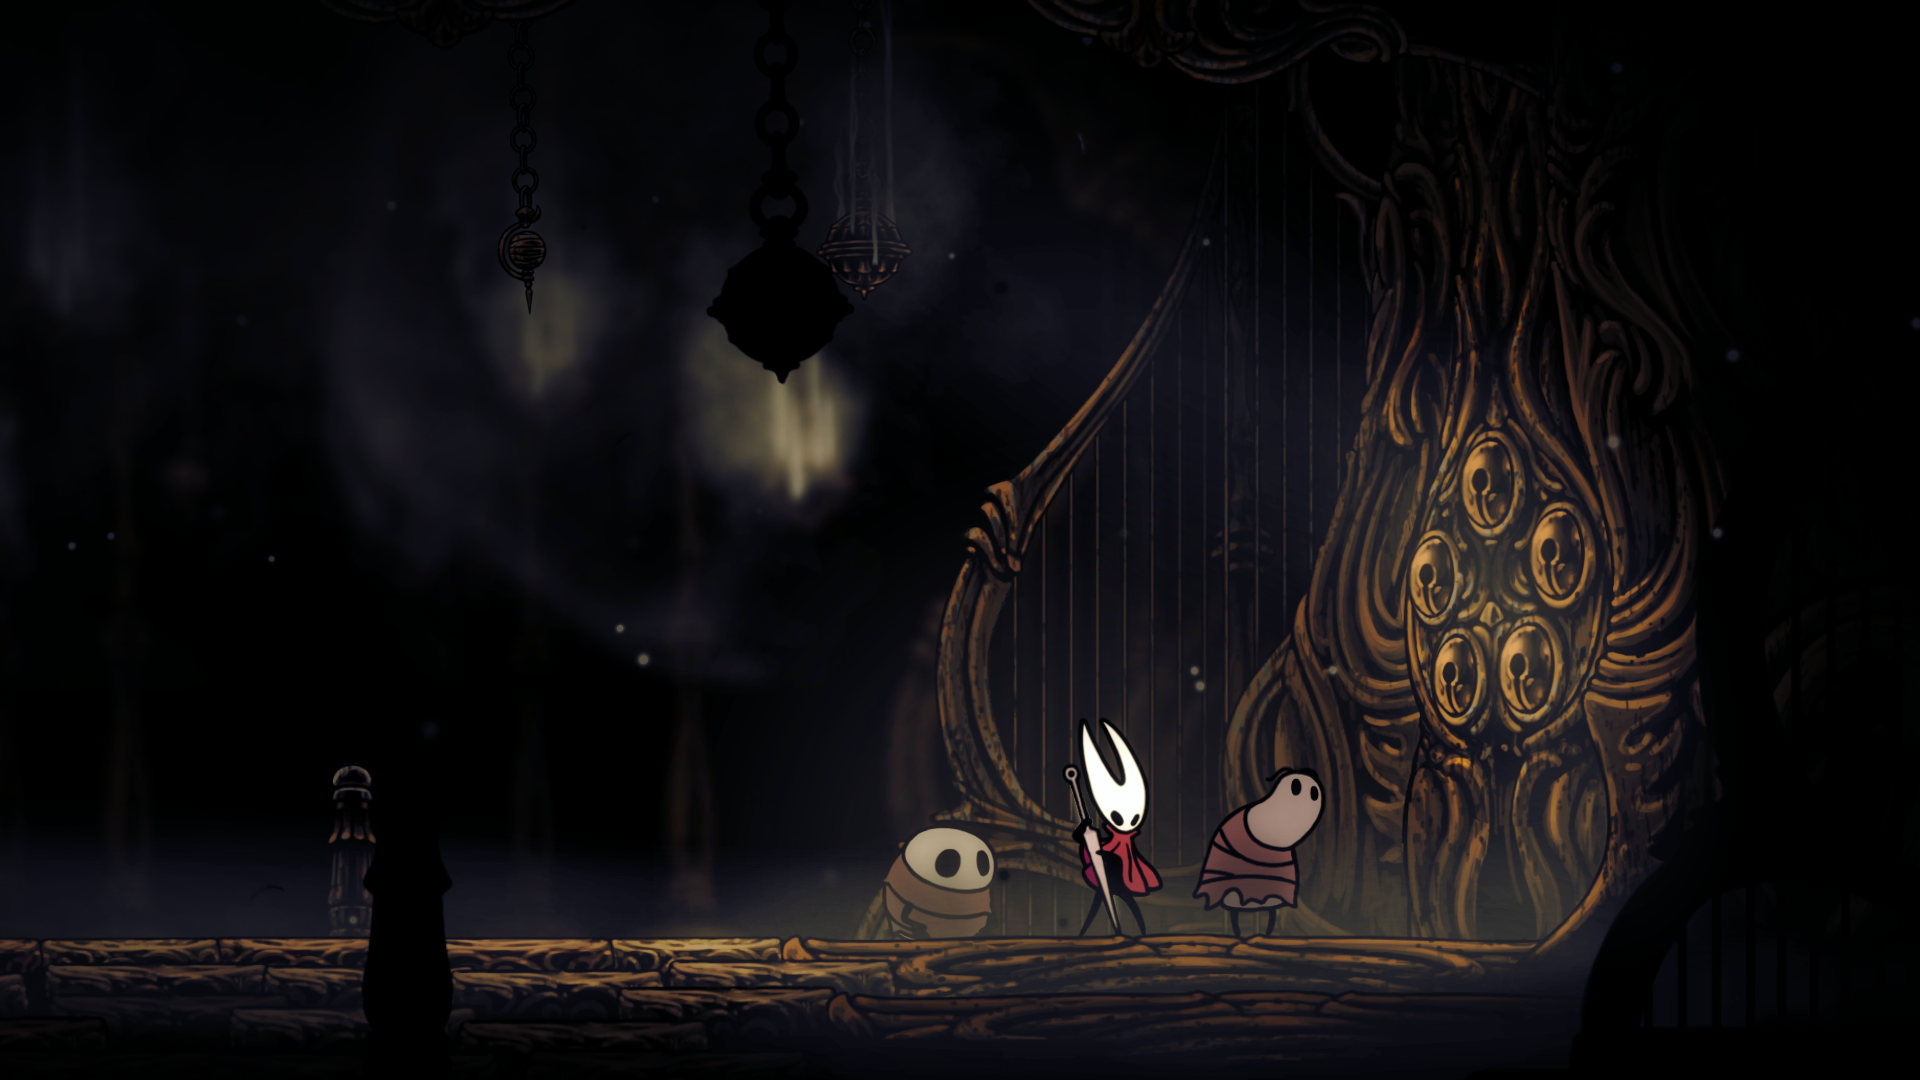
The Citadel (Choral Chambers)
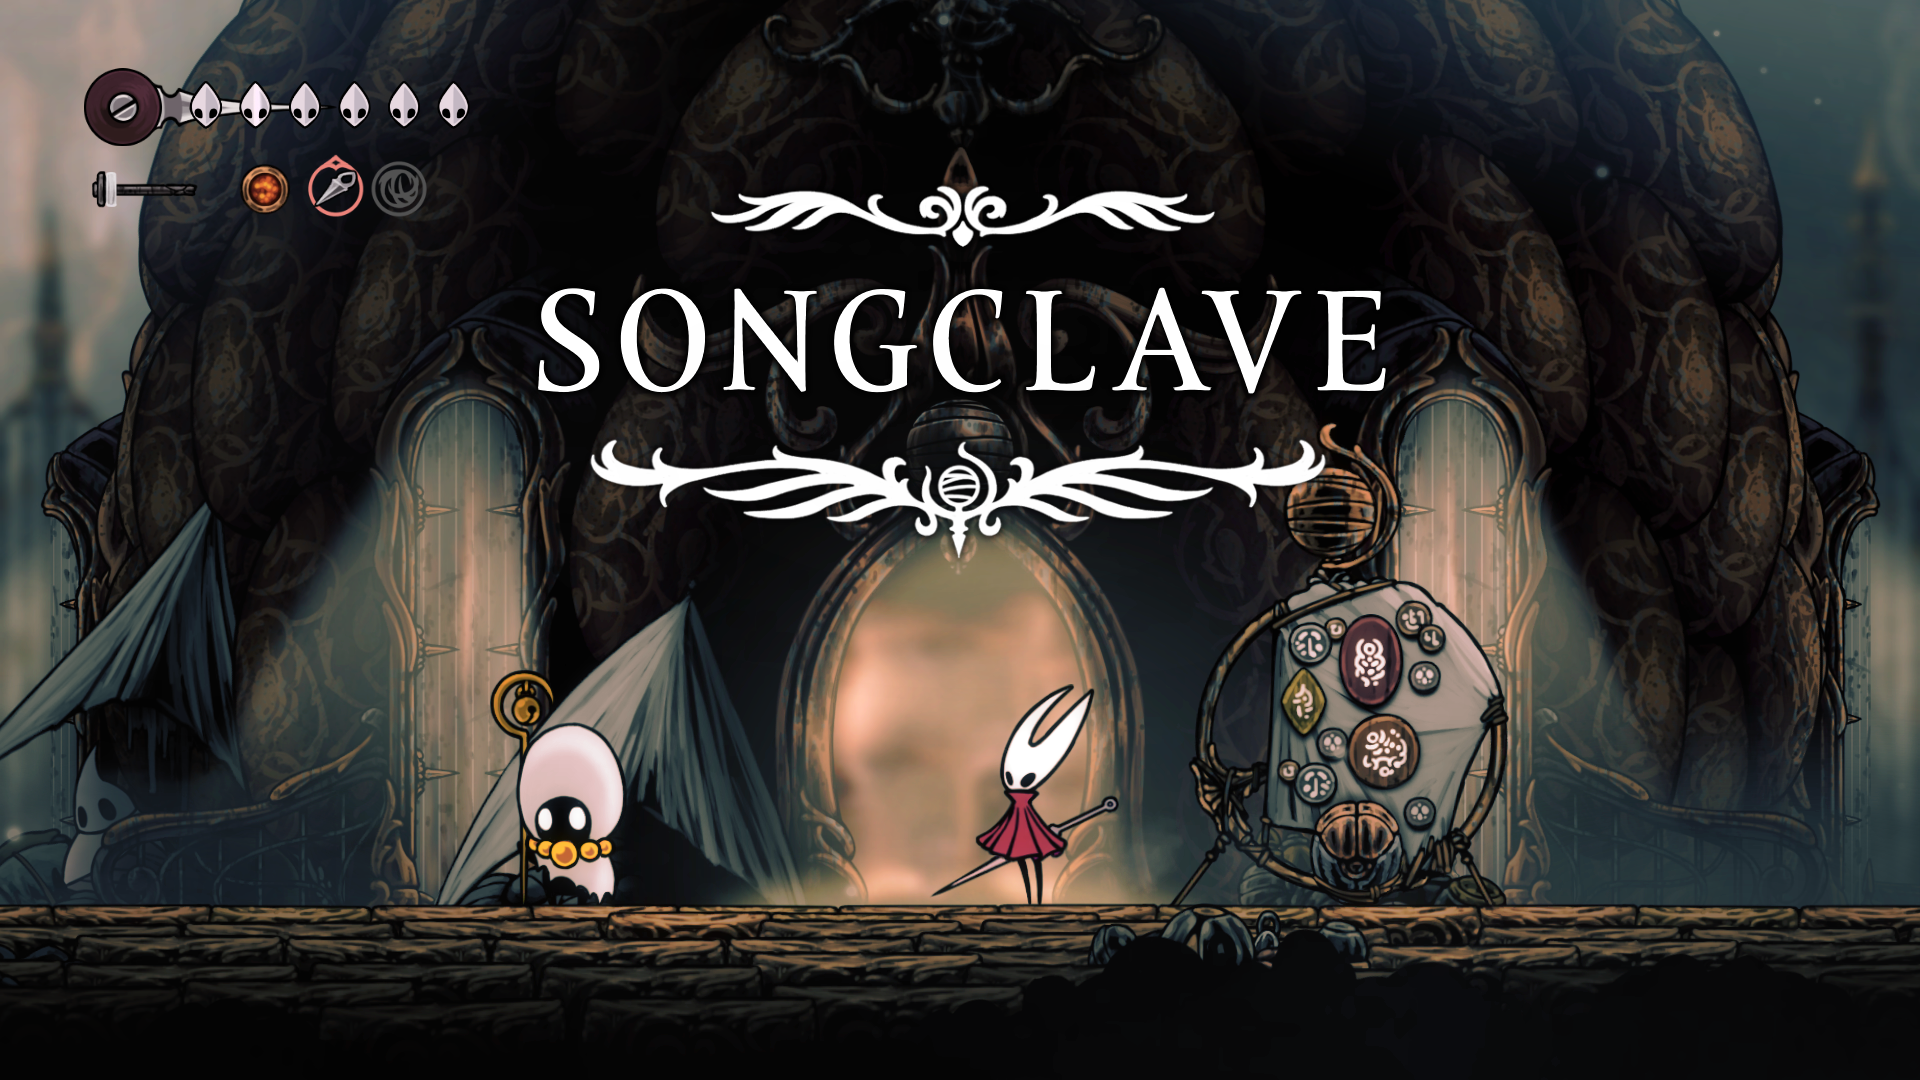
The Citadel encompasses a vast network of interconnected paths and smaller areas leading off from it. Upon your initial visit, your objective is to navigate northeastward, passing through the Choral Chambers, and eventually reaching a location known as The First Temple. Here, you’ll have the opportunity to toll the bell and retrieve the White Key in Silksong. After departing and returning, this area transforms into Songclave, a town where you can engage in trade and acquire side quests.
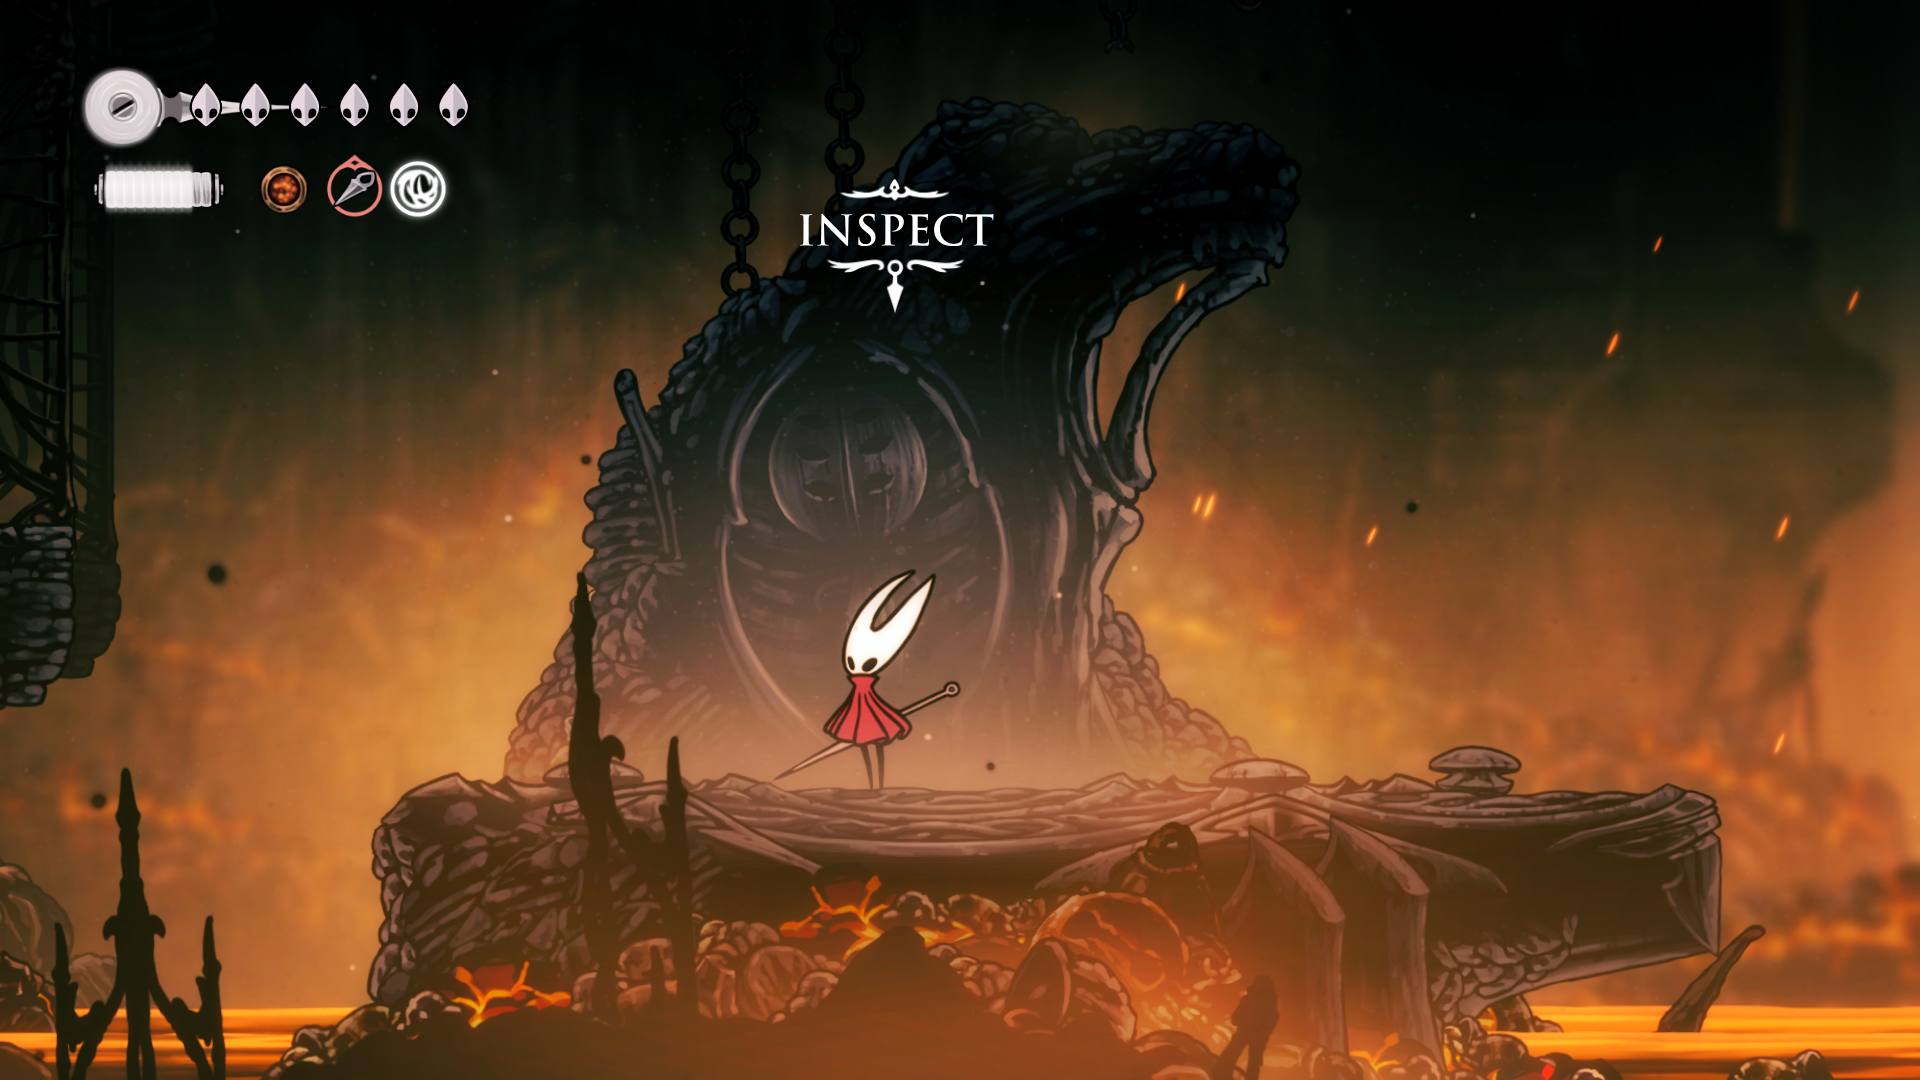
To locate the central room, head west following the guidance from the quest marker. In this central chamber, you’ll encounter a boss. After defeating the boss, look for a panel that emerges in the center of the room. Interact with it to receive your next objectives’ markers. However, before you can tackle these new tasks, you’ll first need to acquire a new skill.
Cogwork Core (south half)
The heart of the Citadel, known as Cogwork Core, meanders right through its center. For the moment, you can’t ascend there, but the lower section is a compact and intriguing part to investigate, although it’s currently optional for your journey.
Whiteward
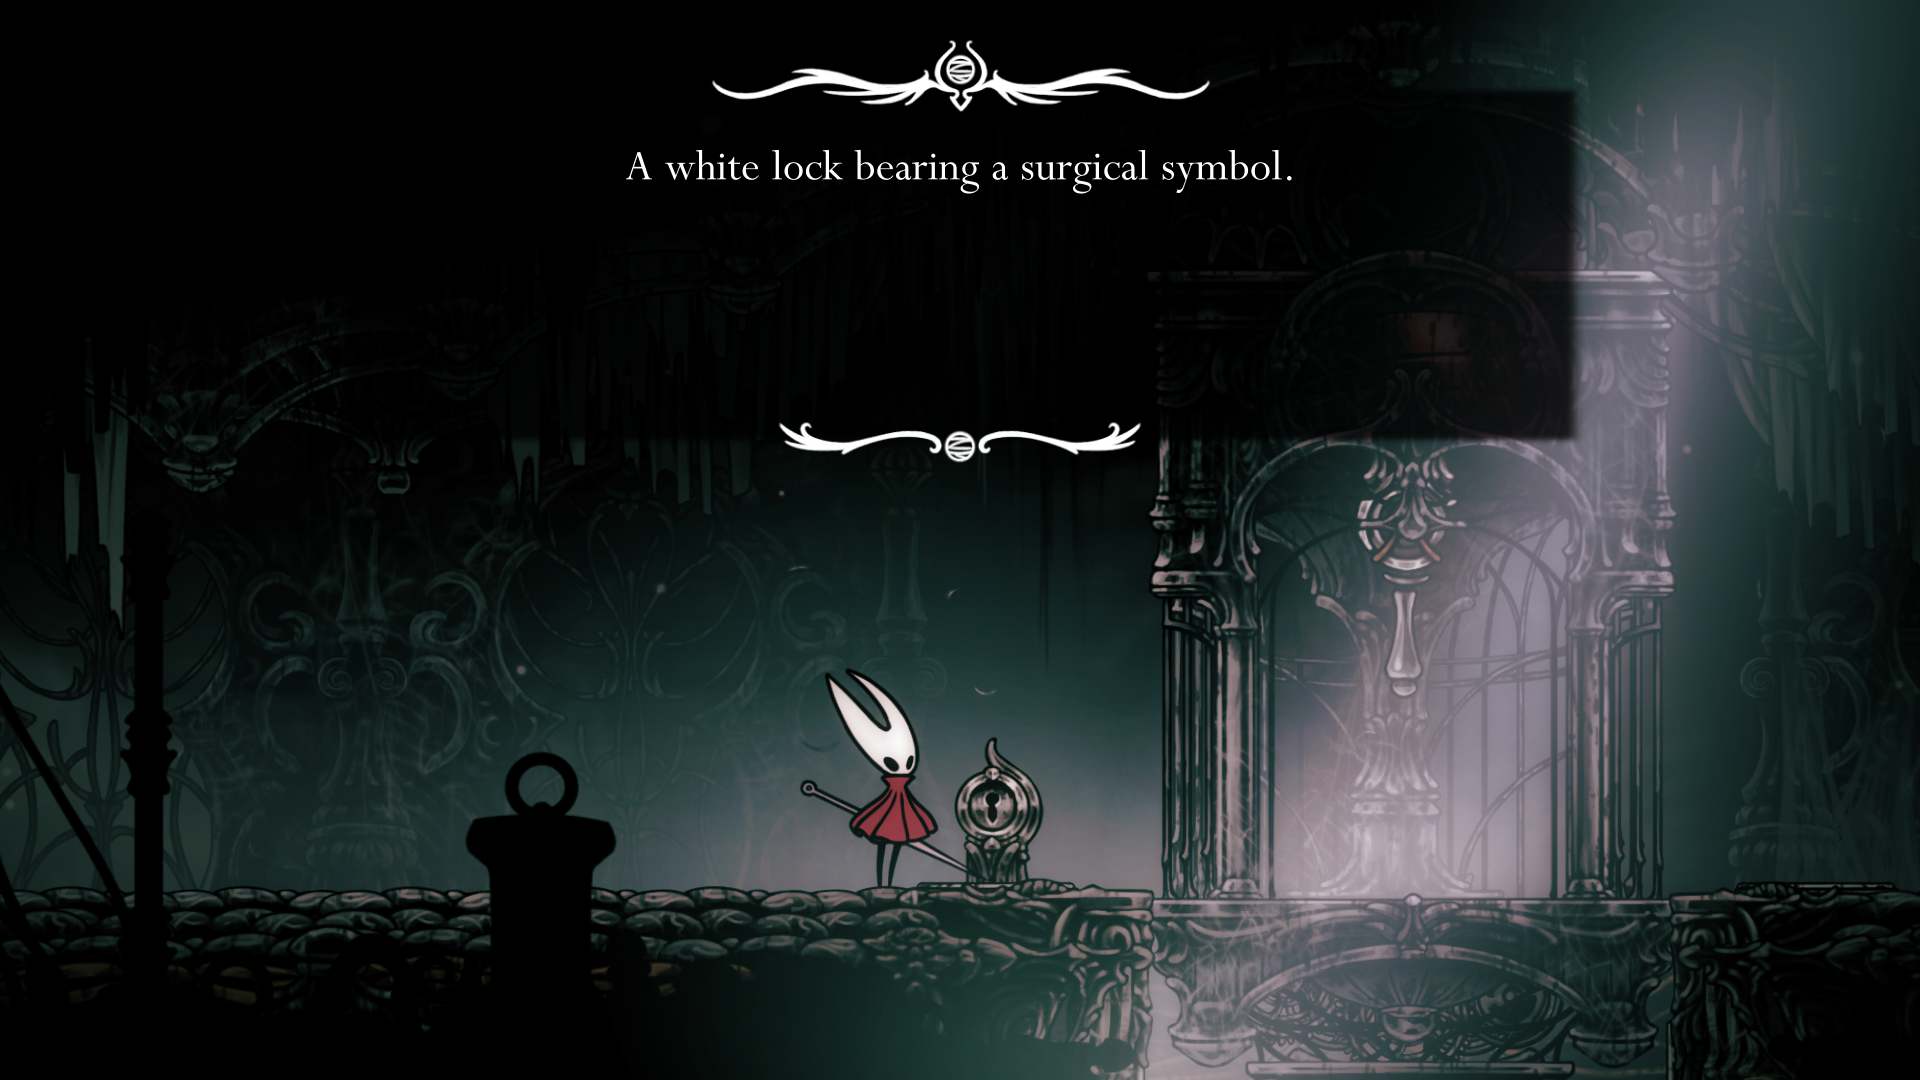
From now on, make your way towards the entrance of the Citadel, moving the White Key down that path. Then, venture into Whiteward, which is quite compact, but contains a few valuable items and an unusual foe for your logbook. Primarily, you’re passing through it to reach the next part.
Underworks (The Cauldron)
Now, you can explore the opposite section of Underworks, where your next skill, Clawline (or the grappling hook in Silksong), awaits you. Descend from where you stand and move east until you find a shaft with cogwork insects and molten rock at its base. Jump down to this location and continue moving east. As the path twists and turns, eventually you’ll arrive at a large chamber that houses the altar for Clawline acquisition.
For the moment, our exploration has come to a halt, but keep an eye on things because we plan to update this regularly as we progress deeper into the game, ultimately discussing all the areas you’re able to access.
Read More
- Gold Rate Forecast
- Games That Faced Bans in Countries Over Political Themes
- Silver Rate Forecast
- 15 Films That Were Shot Entirely on Phones
- Unveiling the Schwab U.S. Dividend Equity ETF: A Portent of Financial Growth
- 22 Films Where the White Protagonist Is Canonically the Sidekick to a Black Lead
- 20 Movies Where the Black Villain Was Secretly the Most Popular Character
- The Best Directors of 2025
- Brent Oil Forecast
- Superman Flops Financially: $350M Budget, Still No Profit (Scoop Confirmed)
2025-09-08 16:20