
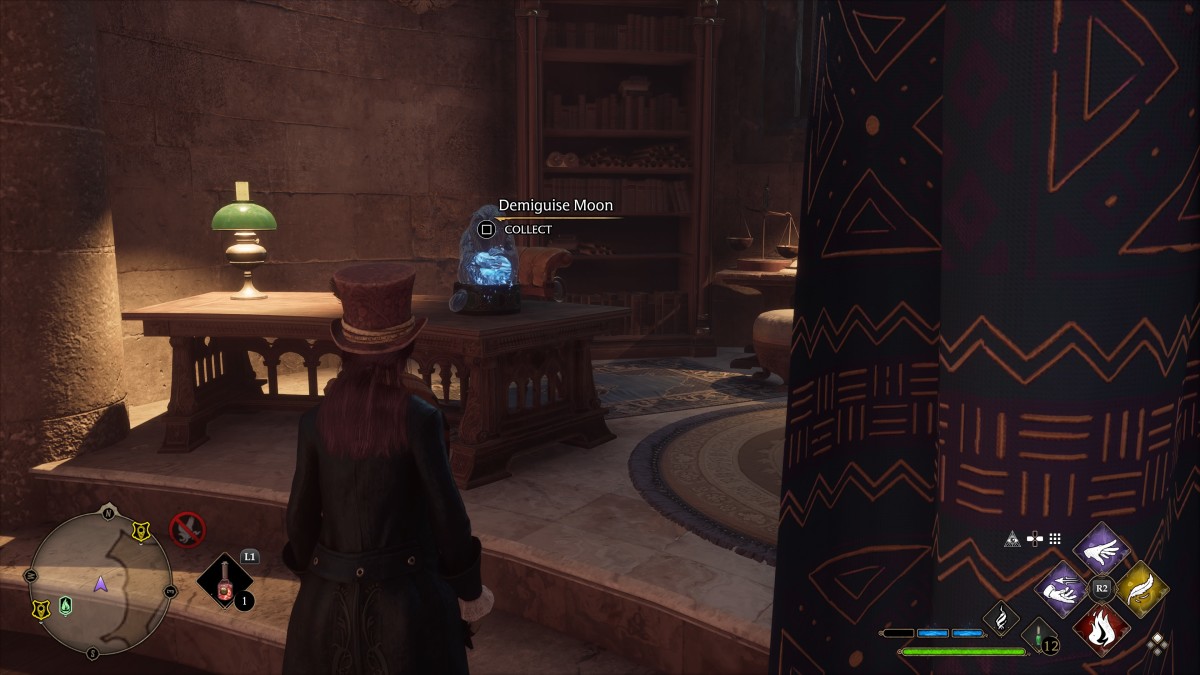
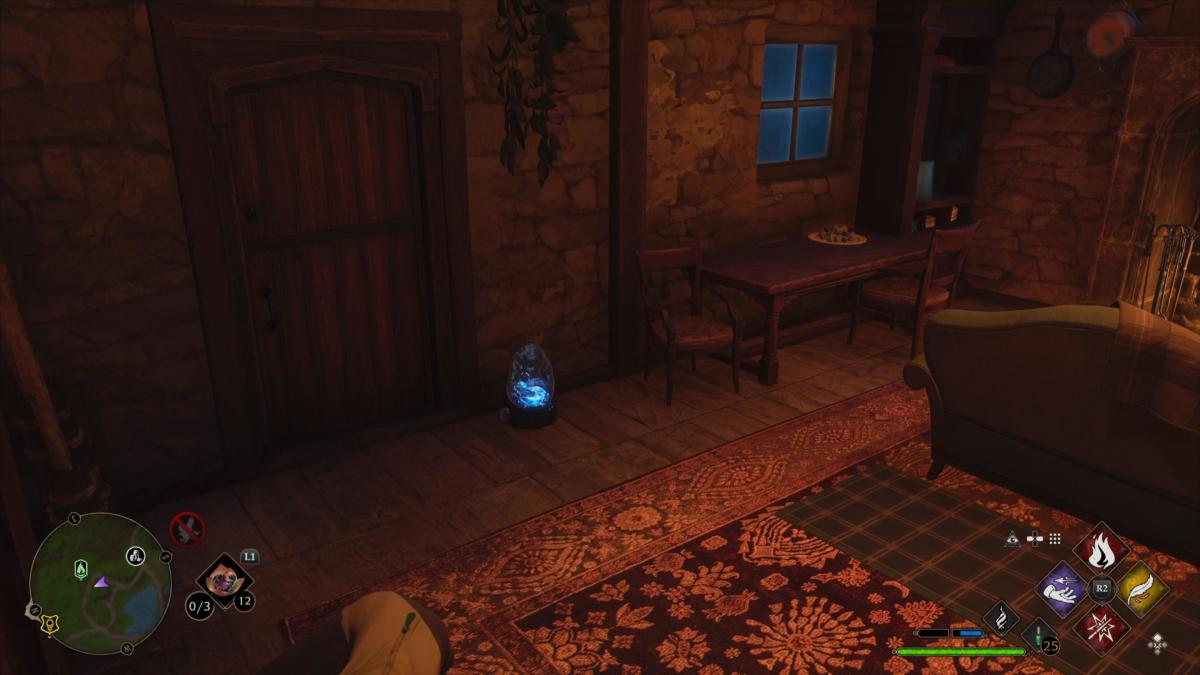
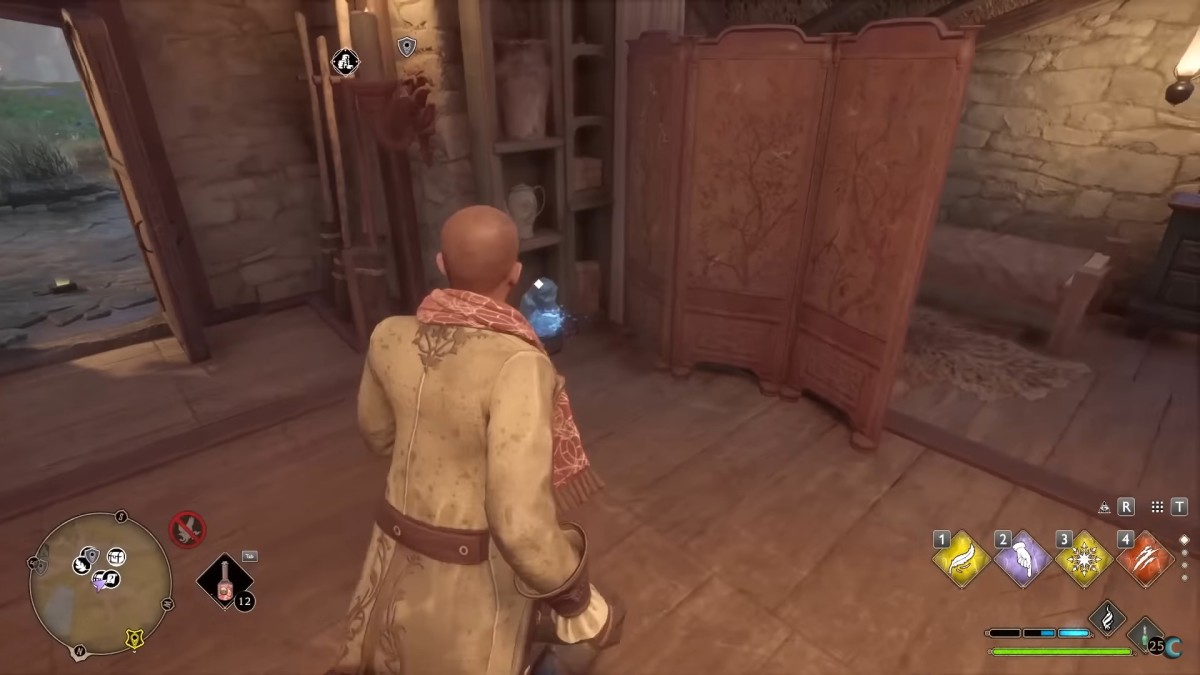
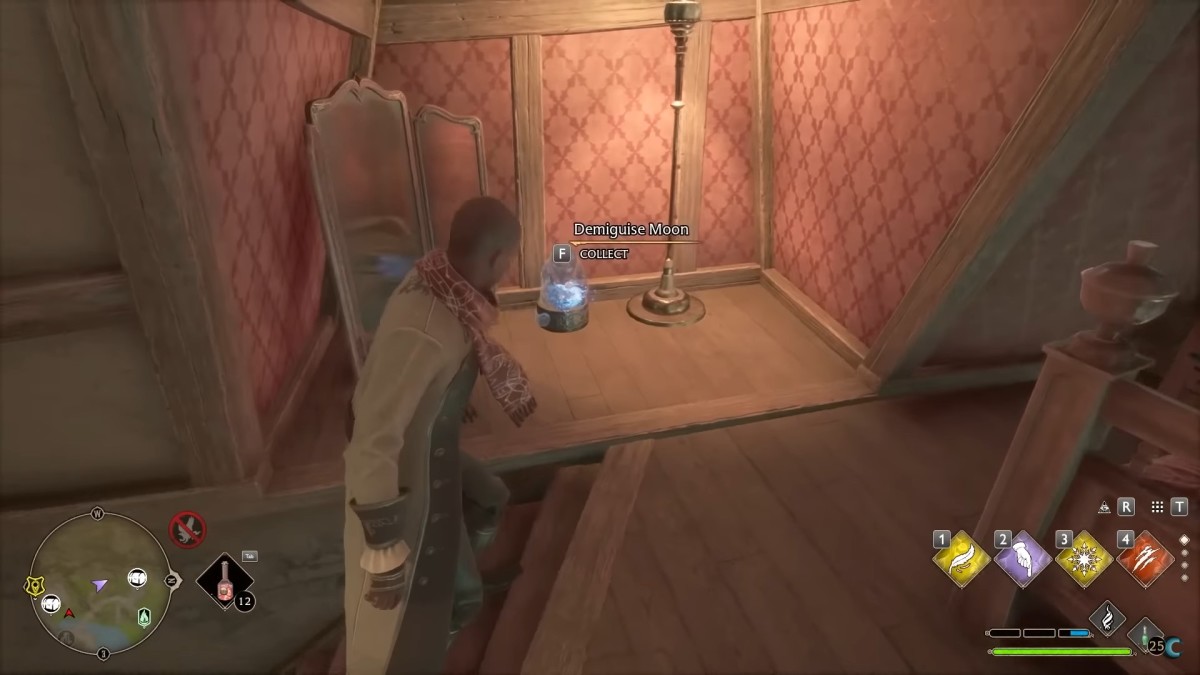
In the enchanting realm of Hogwarts Legacy, I’ve found myself on a quest to uncover the elusive Demiguise Moons hidden throughout this magical world. With a total of 30 of these celestial bodies scattered about, locating them all can prove quite challenging. Yet, if you’re after that coveted achievement, it’s a challenge worth taking up.
These moons play an essential role in mastering the enchantment Alohomora – a skill I picked up during my adventure with Gladwin Moon. He tasked me with finding these hidden gems initially, and once accomplished, he requested that I continue my search to further upgrade this spell.
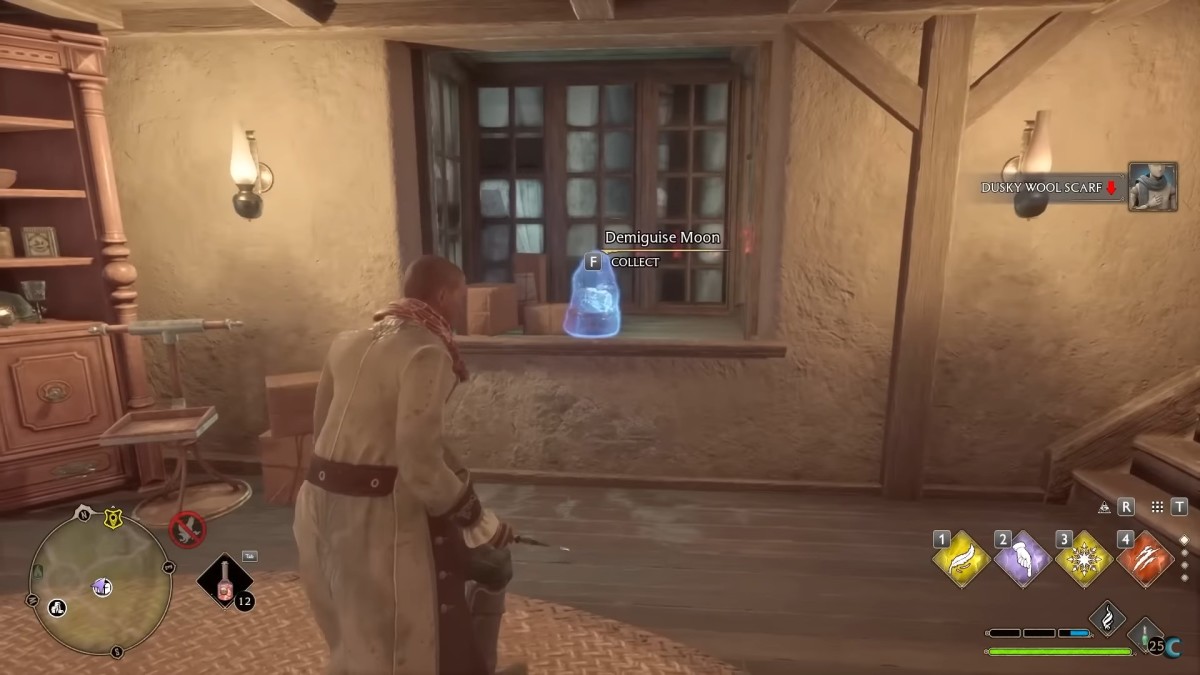
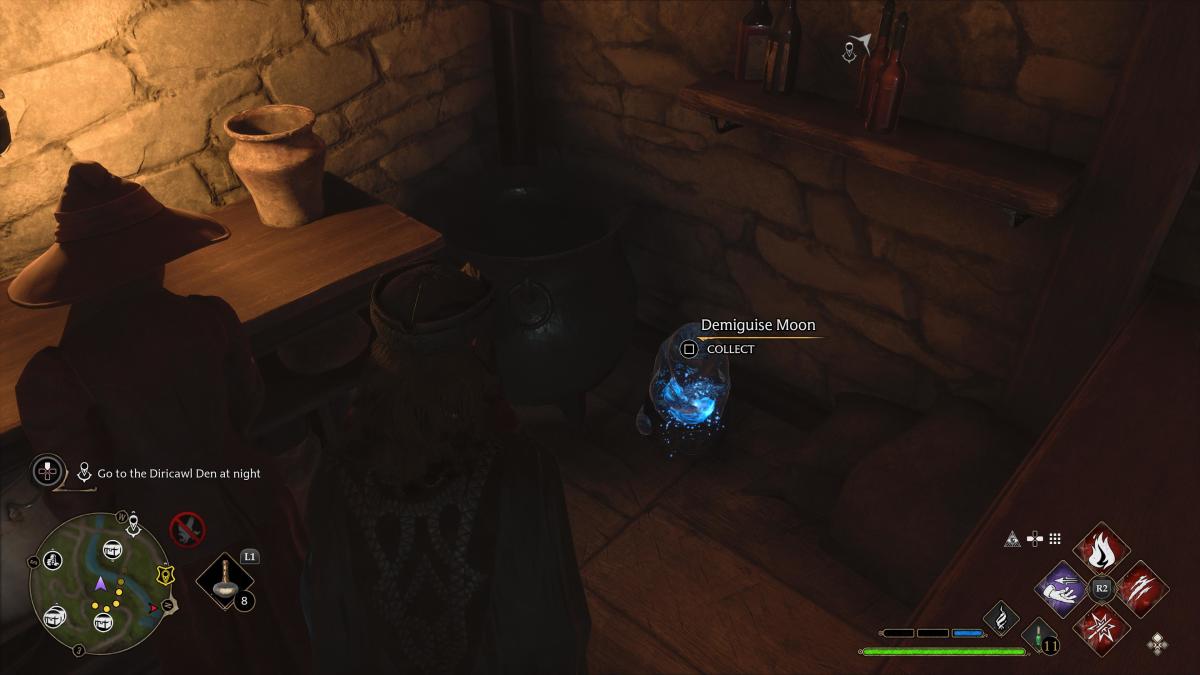
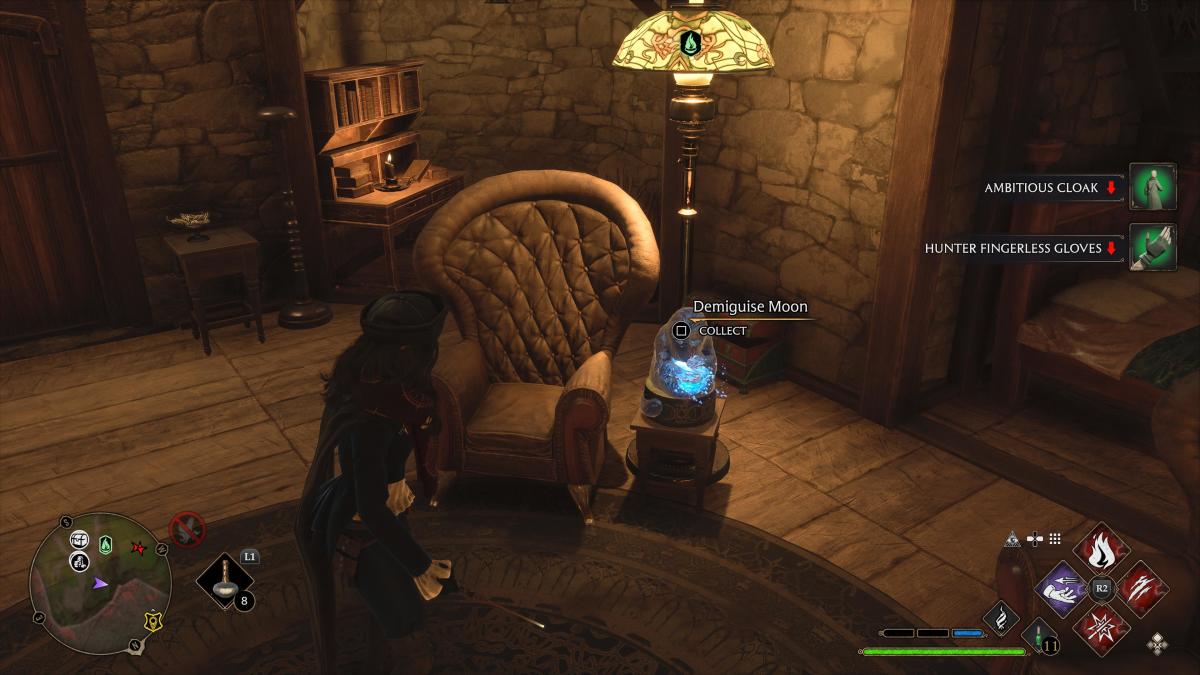
To finish the quest, just 22 of these moons are required, but if you manage to gather all 30, there’s an achievement waiting for you! We’ll show you their locations, and here’s a handy tip: you can only pick them up during the nighttime.
As a dedicated fan, I can assure you that Demiguise Moons aren’t the sole treasures hidden within Hogwarts Legacy. For a comprehensive guide on uncovering all Daedalian Keys in this magical world, be sure to check out our handy resource!
Hogwarts Legacy: Hogwarts Demiguise Moon locations
South Wing
Inside the bathroom, there’s a private stall marked as ‘out of order.’ This particular stall, located centrally, conceals a secret room where you’ll find the statue. (Level 1 lock is implied for privacy.)
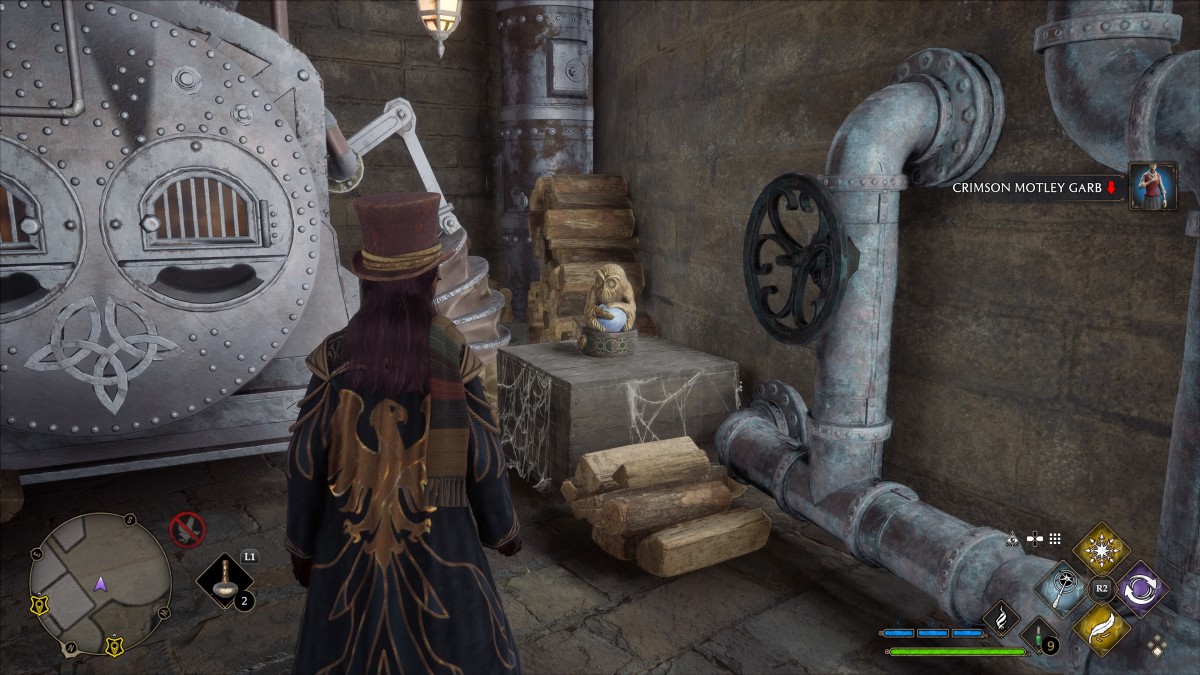
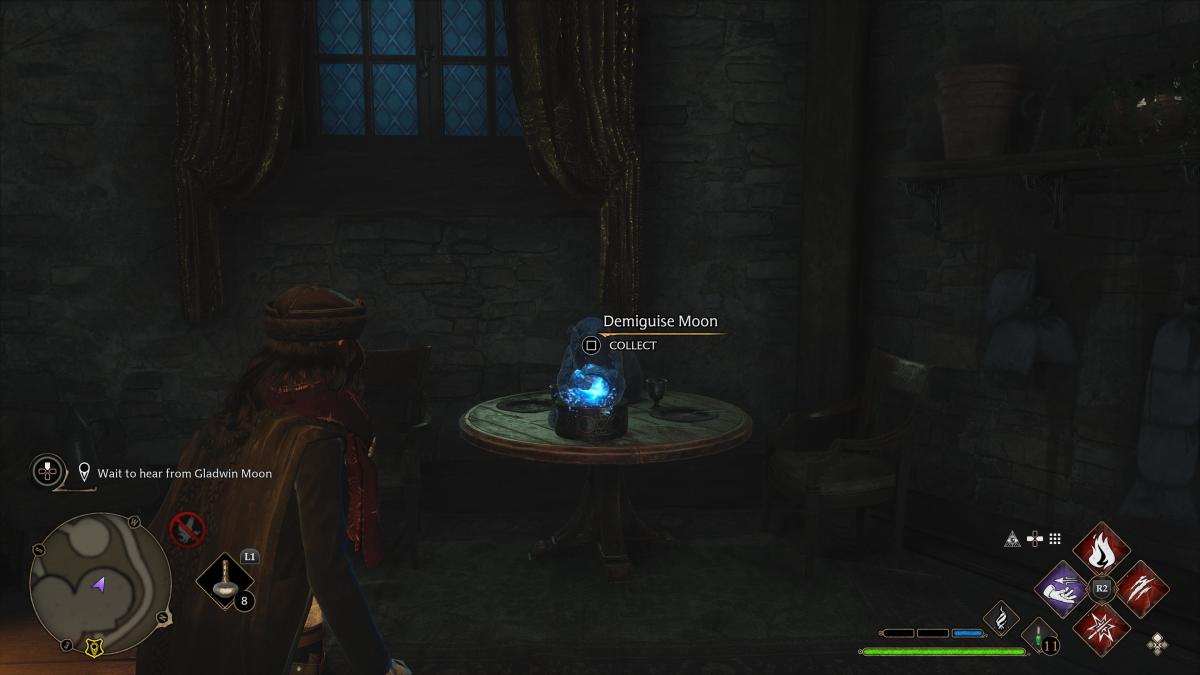
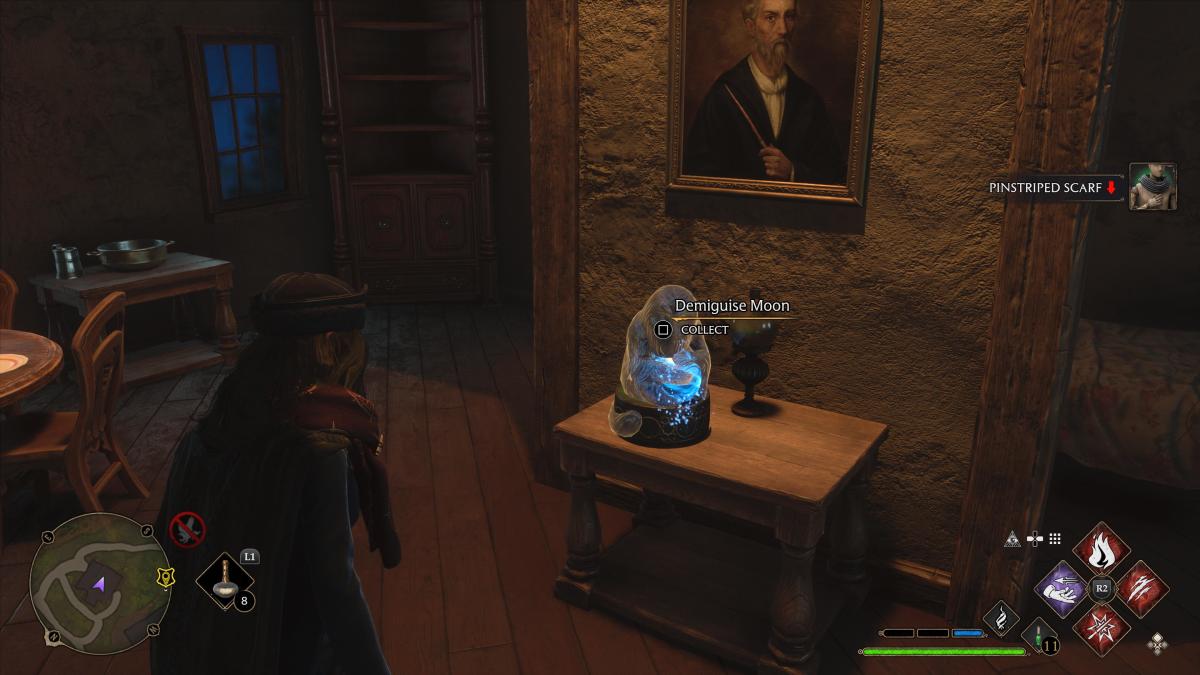
Great Hall
As I step into the captivating hall, on my right, there’s a door adorned with a Level 1 lock. Hidden treasure, or so I’ve heard, lies behind this door on a table – a magnificent statue waiting to be discovered!
Potions Classroom
To reach the statue, exit the classroom, follow the curvy staircase, and you’ll come across a Daedalian Key cabinet. Use the key to unlock the door on your left, then continue down the corridor where you’ll find another level 2 locked door on your left side. The statue is inside that room.
Divination Classroom
On the teacher’s desk.
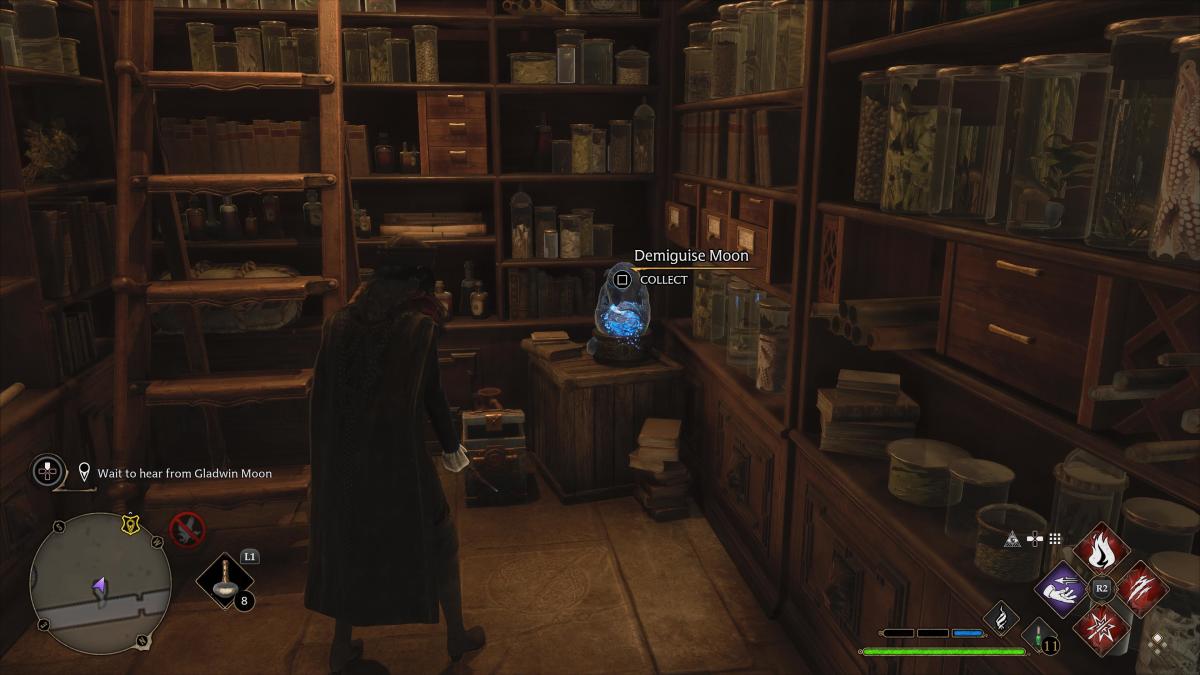
Library

Make your way to the off-limits part of the library, where you’ll find the statue positioned on a table to your left, slightly before you reach the doorway leading to the hidden room.
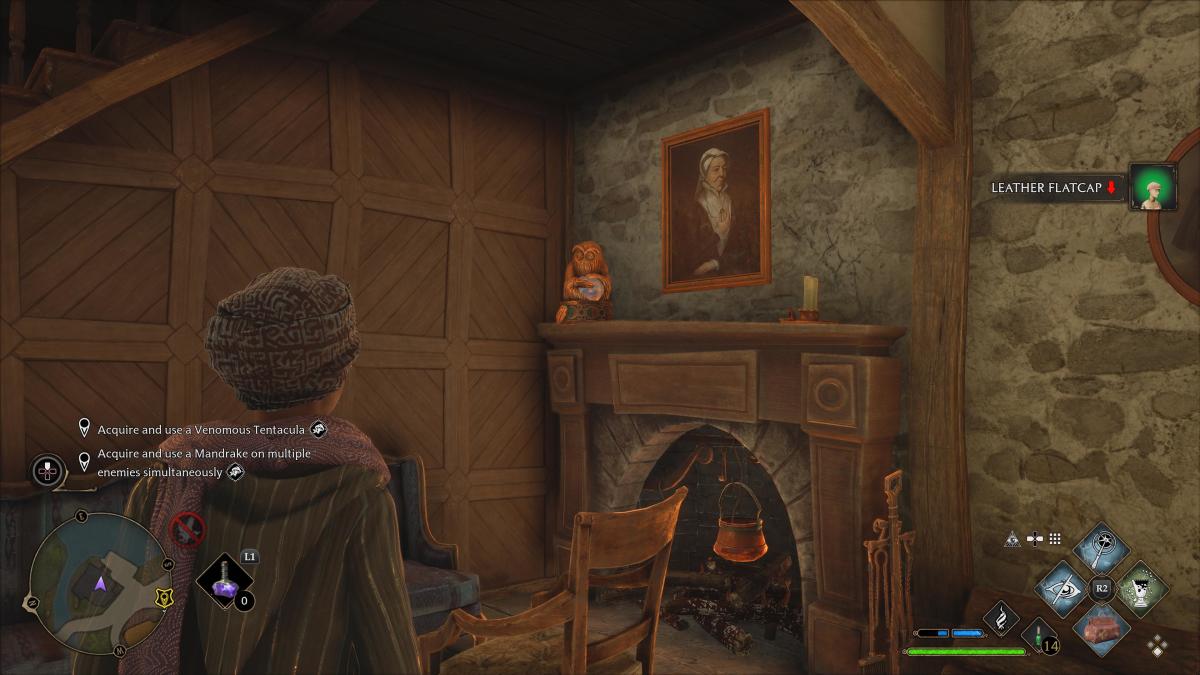
Caretaker’s Hut
Just opposite the Beast’s classroom, you will find the caretaker’s hut with a level 2 lock, and a statue placed on a nearby table.
Battlements
To the east of the primary gate leading into the compound, you’ll find a door nestled beneath the stairway ascending to the ramparts, secured by a Level 1 lock. Inside, resting atop a crate, stands the statue.
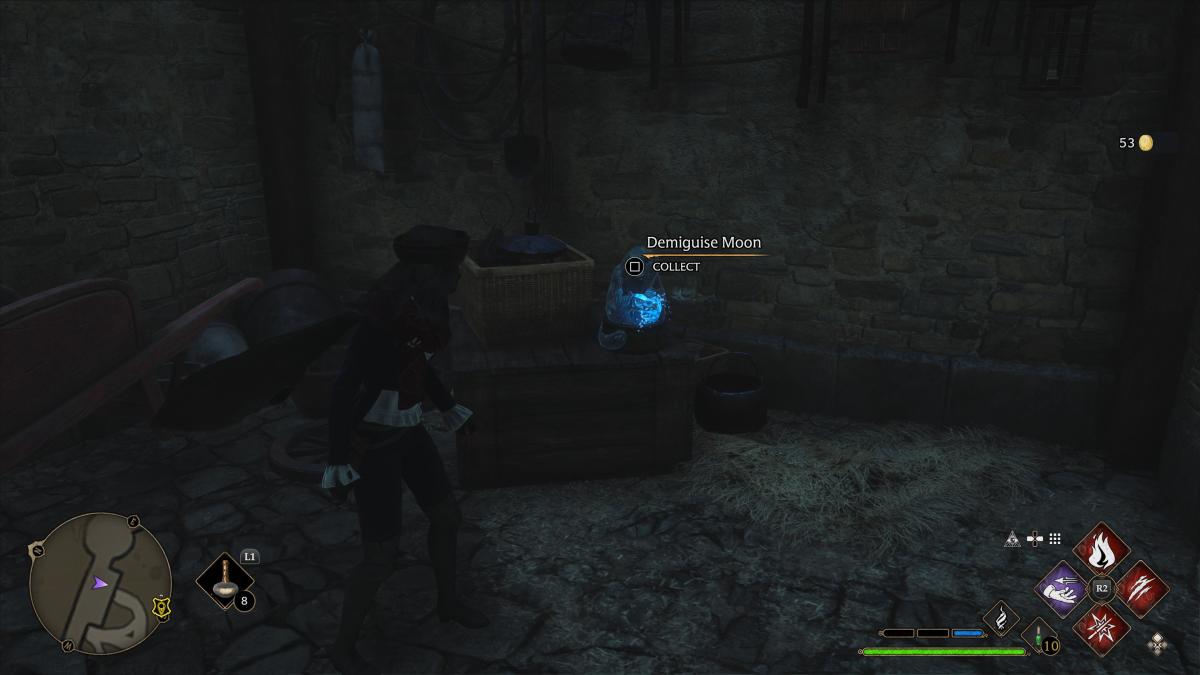
Dungeons
Starting from the statue of the slumbering dragon, proceed backwards along the corridor, open the first door to your left upon reaching it, then immediately take a right once inside, and you’ll find the statue situated atop some cabinets or drawers.
Defense Against the Dark Arts Tower
Upon entering through the Transfiguration Courtyard, locate the room to your right that’s up the stairs and locked. Inside, you’ll find the statue placed right in front of you on a desk.
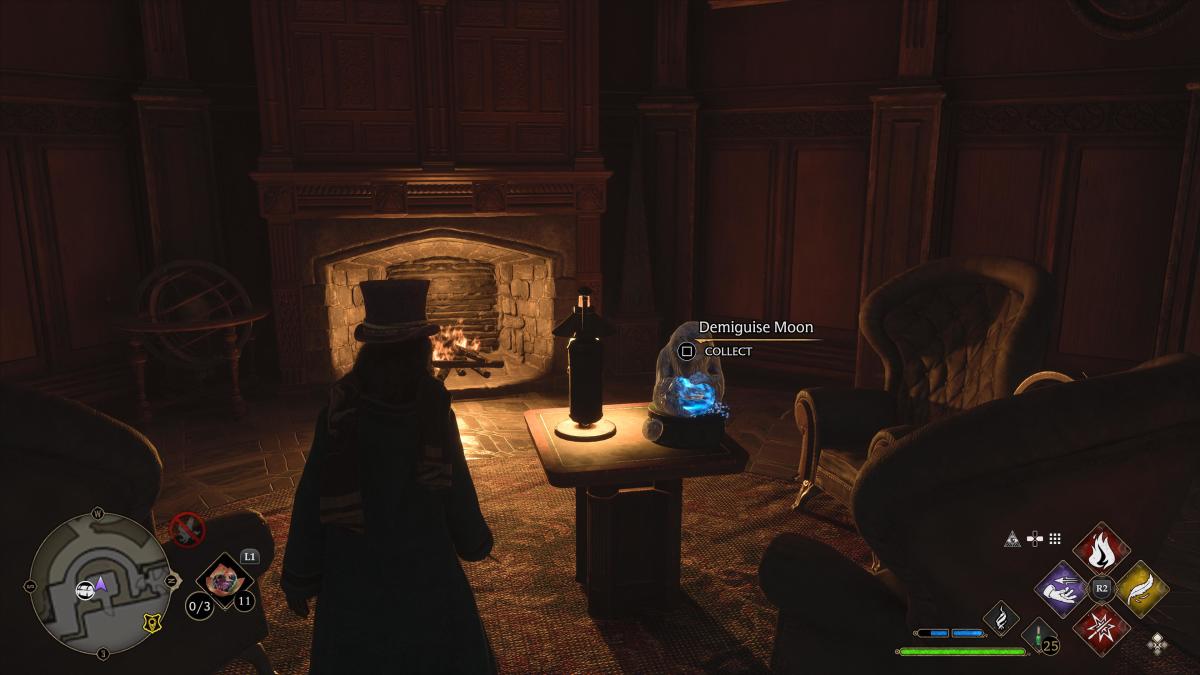
Professor Fig’s Office
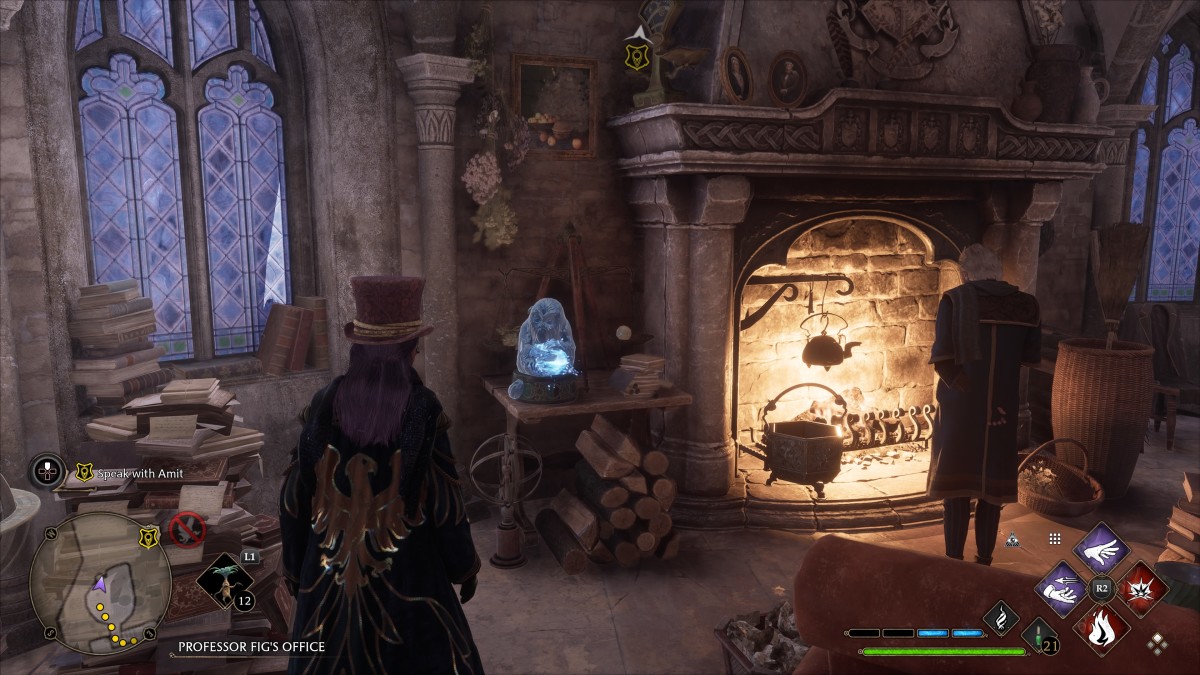
Directly behind his desk, left of the fireplace.
Hogwarts Legacy: Hogsmeade Demiguise Moon locations
Tomes and Scrolls
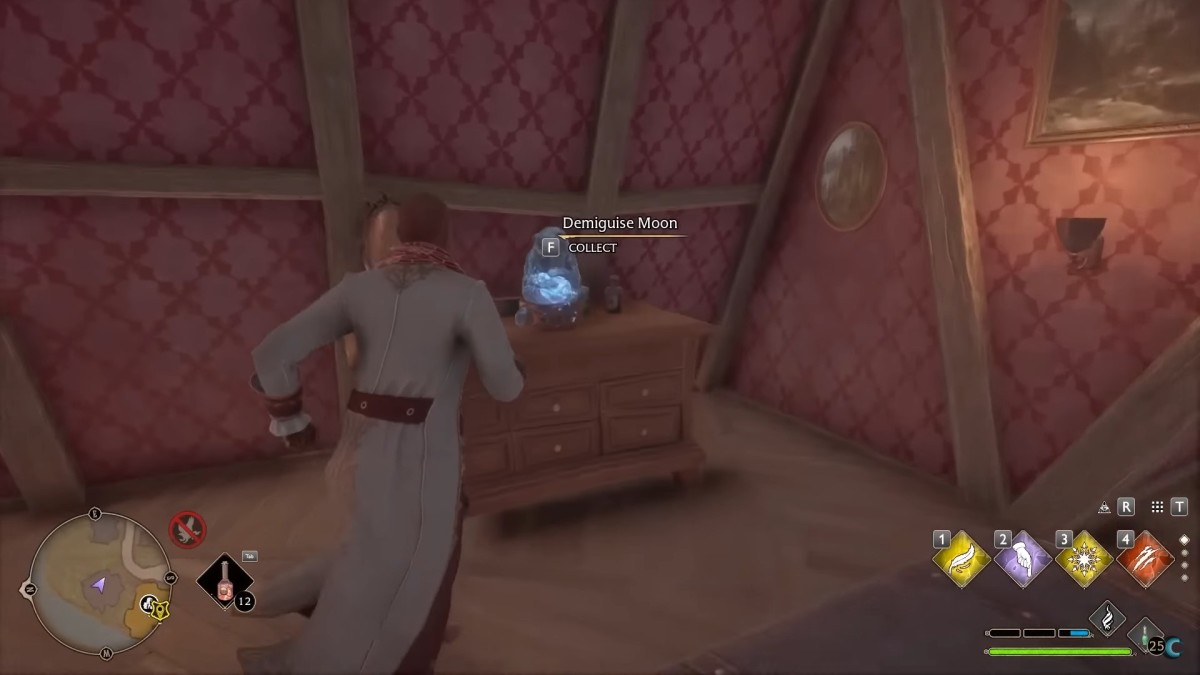
Behind the shopkeeper’s counter there is a door to a bedroom, the statue is on the dresser.
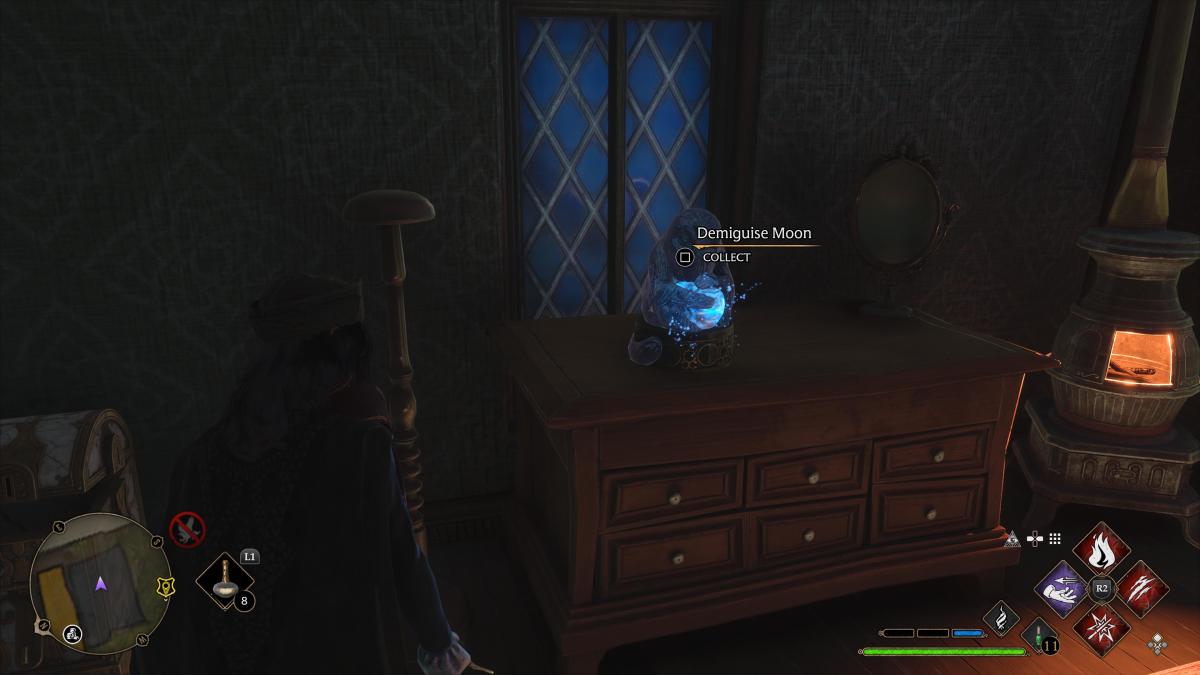
House 1
From Tomes and Scrolls, head down the street, then take a left turn at the first possible chance. The third house you’ll come to on the left side has a level 2 lock; inside, the statue can be found on the dresser, up the stairs.
Hog’s Head
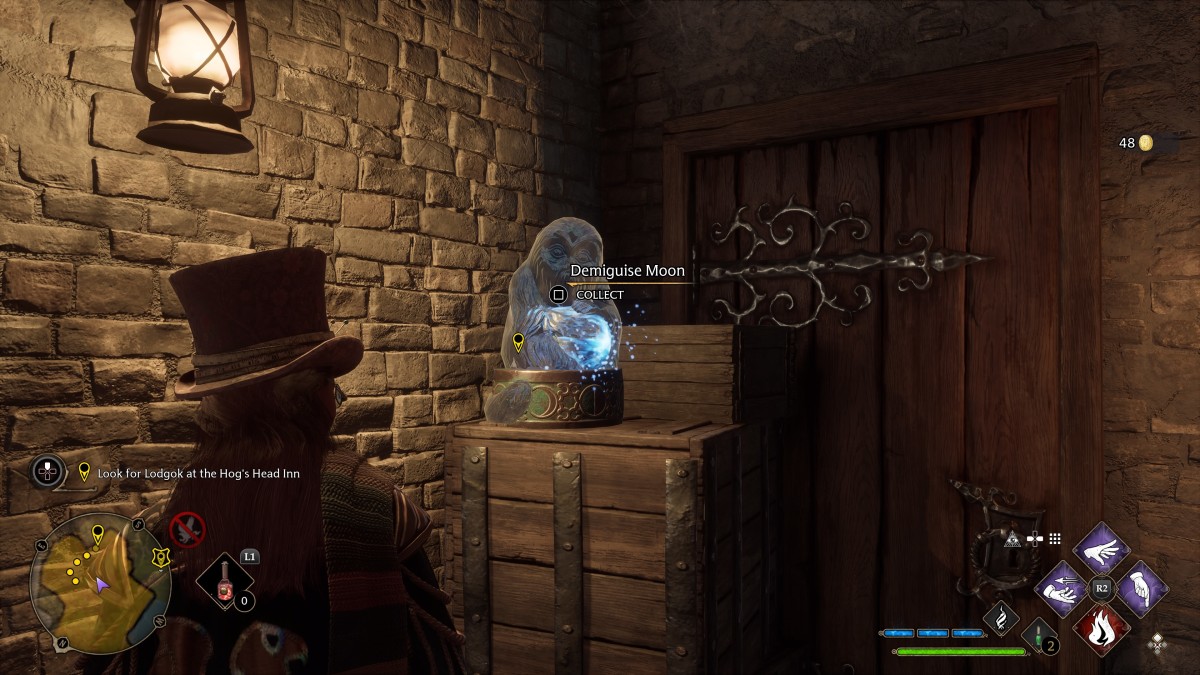
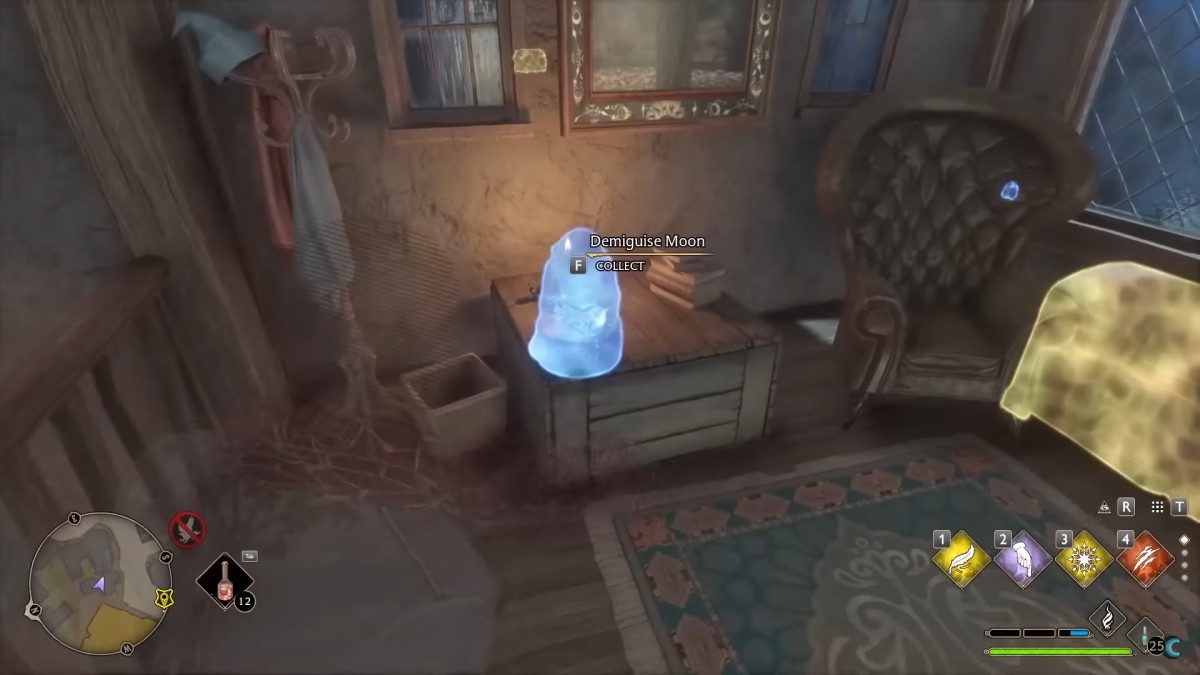
Go into the room behind the bar and the statue will be on some crates to your left.
House 2
In the house next to J.Pippin’s Potions, up the stairs on the dresser.
Three Broomsticks
In the secluded private room at the highest point within the pub, which is secured by a level 1 lock, you’ll find a statue placed right on the center table.
House 3
Starting from the Three Broomsticks’ front door, head towards the east direction. Continue walking in a straight line beyond the pub until you reach the first house on your left. This house is distinguishable by an upstairs statue placed on a crate.
Gladrags Wizardwear
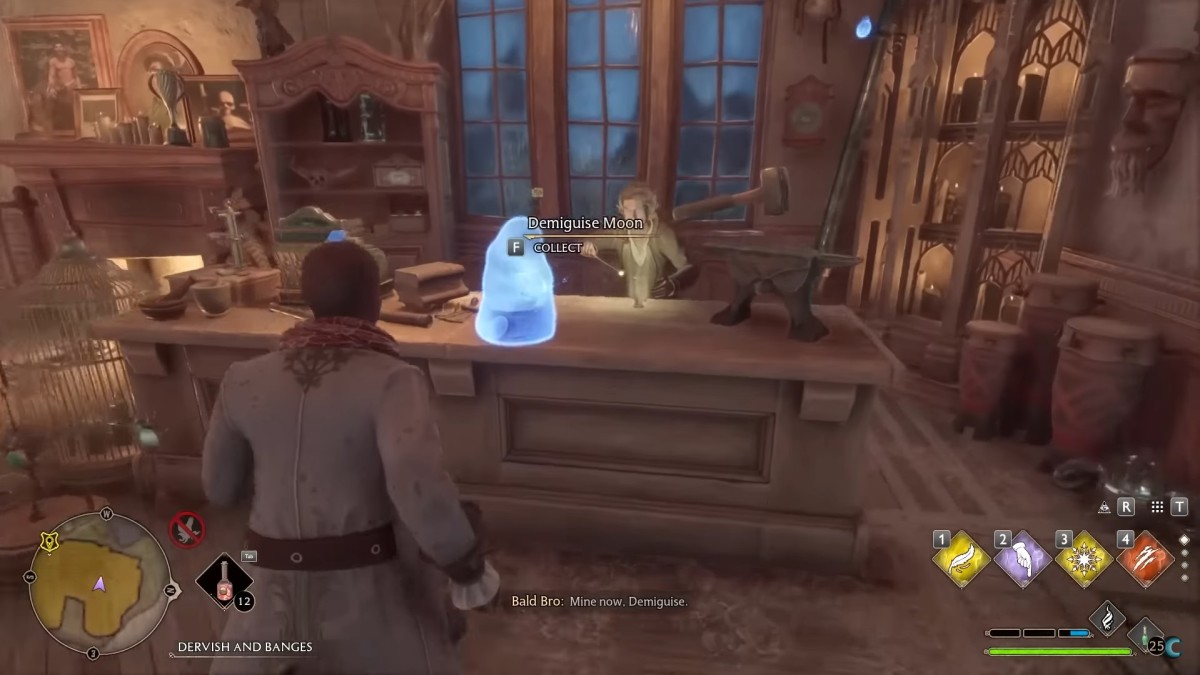
The statue is on the counter of the wizard armorer in the right-hand side of the shop.
House 4
As a devoted fan, I’d guide you this way: From Honeydukes, proceed north, climb the stairs, then veer right promptly onto a path ascending the hill. At the hilltop, once more turn to your right and there you’ll find the house facing you. The statue graces a table in the main room.
House 5
In the house directly opposite from Brood & Peck, on the fireplace mantle.
Hogwarts Legacy: Highlands Demiguise Moon locations
Lower Hogsfield
Behind a level 1 lock in the house just in front of the village entrance, just by the door.
Keenbridge
In the house to the west of the village, behind a level 1 lock, on a table in front of the door.
Brocburrow
In the small house to the north of the village, left of the door.
Upper Hogsfield
In a house situated northwest of the village, slightly up the street from the Floo Flame, seated on a bar stool near the entrance.
Pitt-Upon-Ford
In the house directly up the road from the Floo Flame, up two flights of stairs on the left.
Irondale
To your right, upon exiting the Floo Flame, is a compact dwelling. Inside this house, towards the western counter.
Aranshire
To your right, just beyond the Floo Flame, ascend the stairs, and find it on the floor, positioned in front of the bed.
Feldcorft
The house on the southeast of the village, on the windowsill to your left as you enter.
Marunweem
The house in roughly the center of the village, northeast of the Floo Flame, behind the bar.
Bainburgh
House on the north side of the village, on a coffee table next to an armchair.
Cragcroft

House on the northwest of the village, just behind the vendor, up the stairs on the bedside table.
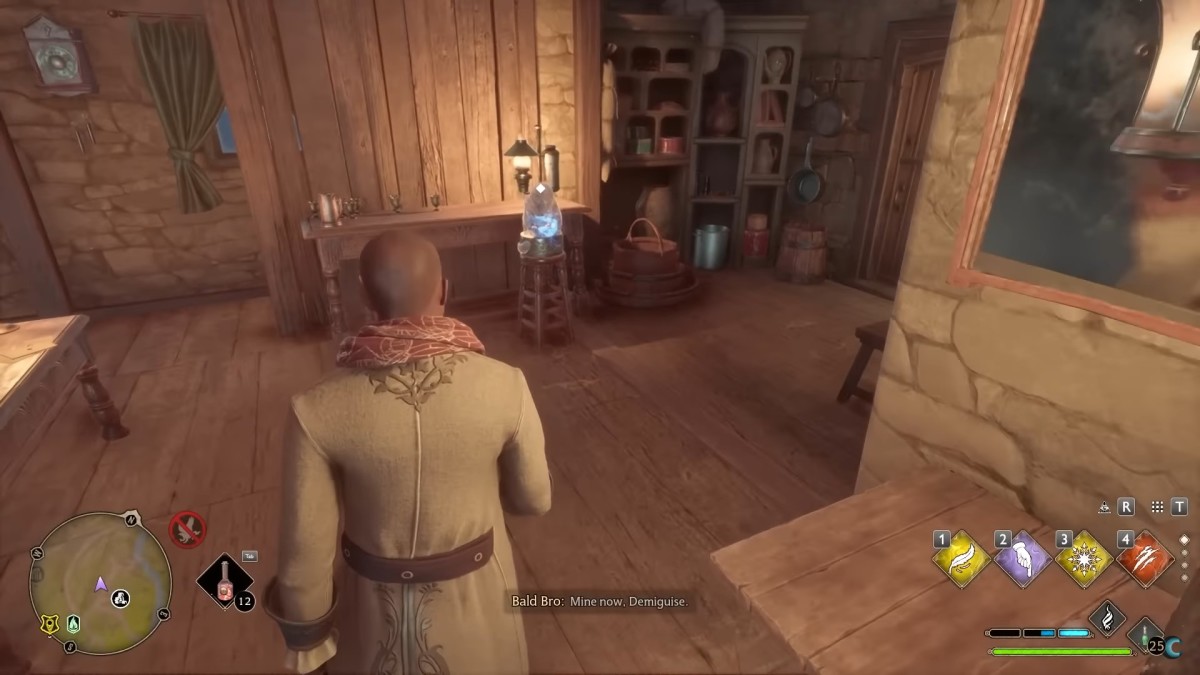
Hogwarts Legacy: Who placed the Demiguise statues?
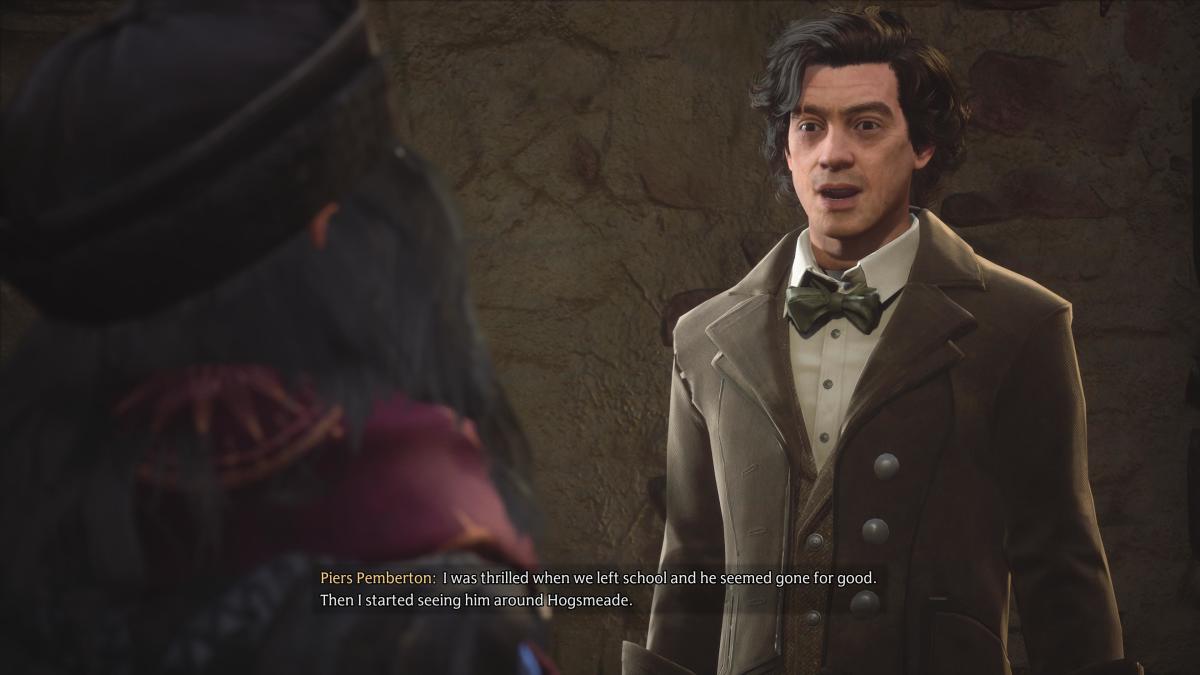
After gathering 22 moons and receiving your prize from Gladwin Moon, take a break for a couple of days inside the game. Subsequently, you might receive a letter from an enigmatic figure expressing displeasure over your actions disrupting his scheme. Keep in mind to manually inspect your Owl Post during this time, since there’s a glitch in the game that sometimes causes the Owl Post to appear incorrectly.
Head to the given spot where you’ll find Piers Pemberton. He’ll clarify the current circumstances for you. After that, make your way back to Gladwin Moon and reveal the identity of the suspect to conclude the mission.
Read More
- Gold Rate Forecast
- Mobile MOBA Games Ranked 2025 – Options After the MLBB Ban
- Tom Cruise Bags Gold: Mission Impossible Star Lands Guinness World Record for Highest Burning Parachute Jumps
- Are Billie Eilish and Nat Wolff Dating? Duo Flames Romance Rumors With Sizzling Kiss in Italy
- Tom Hiddleston and Wife Zawe Ashton Announce Second Pregnancy, Know Couple’s Relationship Timeline
- Is Justin Bieber Tired of ‘Transactional Relationship’ with Wife Hailey Bieber? Singer Goes on Another Rant Raising Concerns
- Resident Evil 9: Requiem Announced: Release Date, Trailer, and New Heroine Revealed
- Justin Bieber Tells People to ‘Point at My Flaws’ Going on Another Rant, Raises Alarm With Concerning Behavior
- Summer Game Fest 2025 schedule and streams: all event start times
- Apothecary Diaries Ch.81: Maomao vs Shenmei!
2025-04-28 14:49