| Floor 1 | Floor 2 | Floor 3 | Floor 4 |
| Floor 5 | Floor 6 | Floor 7 | Floor 8 |
| Floor 9 | Floor 10 | Floor 11 | Floor 12 |
As a seasoned adventurer who’s faced more monsters than I can count, let me tell you about my latest encounter: the Ruin Grader and the Yumkasaurus on Floor 9 Chamber 3.
In our latest expansion of Genshin Impact, called Natlan, it’s only natural that Spiral Abyss will introduce new foes for Floors 9 and 10. On Floor 9, expect encounters with Saurians and Ruin adversaries. Some players might not be familiar with their abilities, vulnerabilities, or efficient ways to defeat them. However, worry not! This guide aims to provide you with all the necessary insights into Spiral Abyss Floor 9. This entire resource is designed specifically for navigating the 9th floor, offering detailed information about each chamber, enemies, wave patterns, and optimal characters to accompany you.
Blessing of the Abyssal Moon
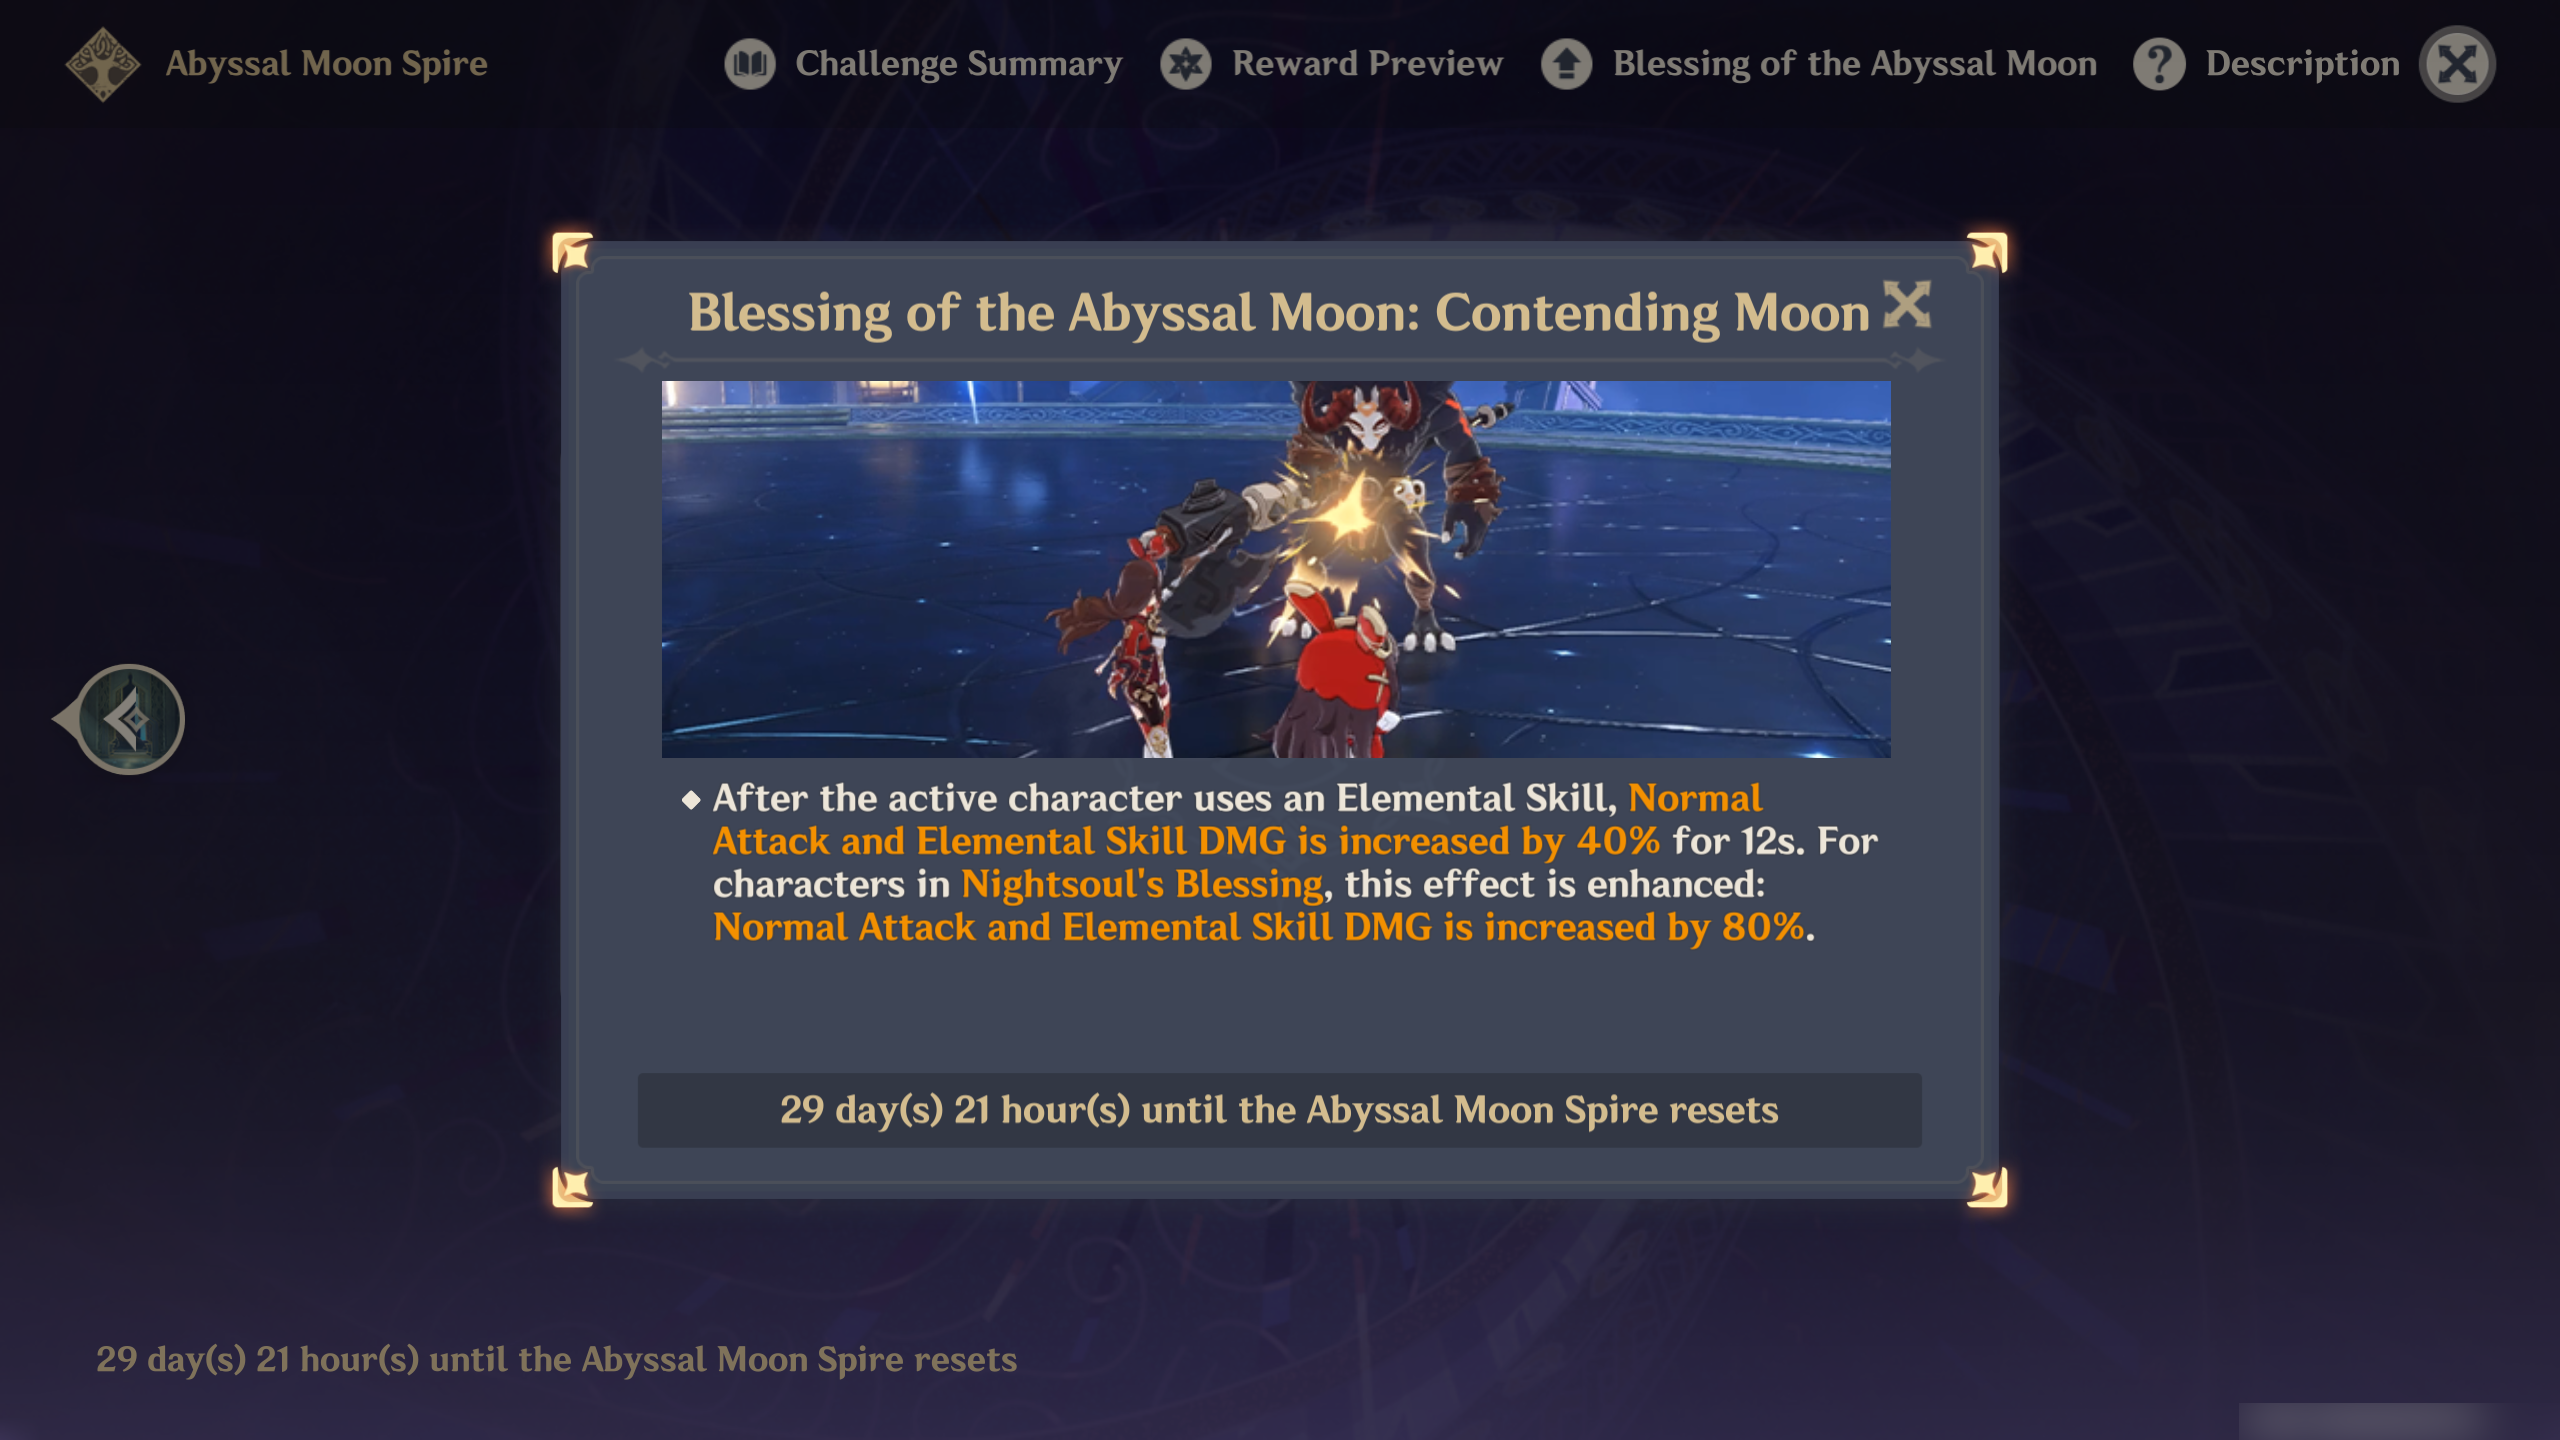
Important Note:: The blessing of the Abyssal Moon, referred to here as “Contending Moon,” alters with each refresh and may not be updated in this guide. However, the enemy list and strategy remain consistent.
Contending Moon’s Blessing: When a character employs an Elemental Skill, their Normal Attack and Elemental Skill damage increases by 40% for 12 seconds. For characters under the influence of “Nightsoul’s Blessing,” this boost is amplified: they experience a 80% increase in Normal Attack and Elemental Skill damage.
“Nightsoul’s Blessing” is exclusive to Natlan characters, so if you wish to capitalize on the 80% increased damage for Skills and Normal Attacks, ensure that Natlan characters are included in your team. While a 40% boost for non-Natlan characters isn’t insignificant either.
Ley Line Disorder
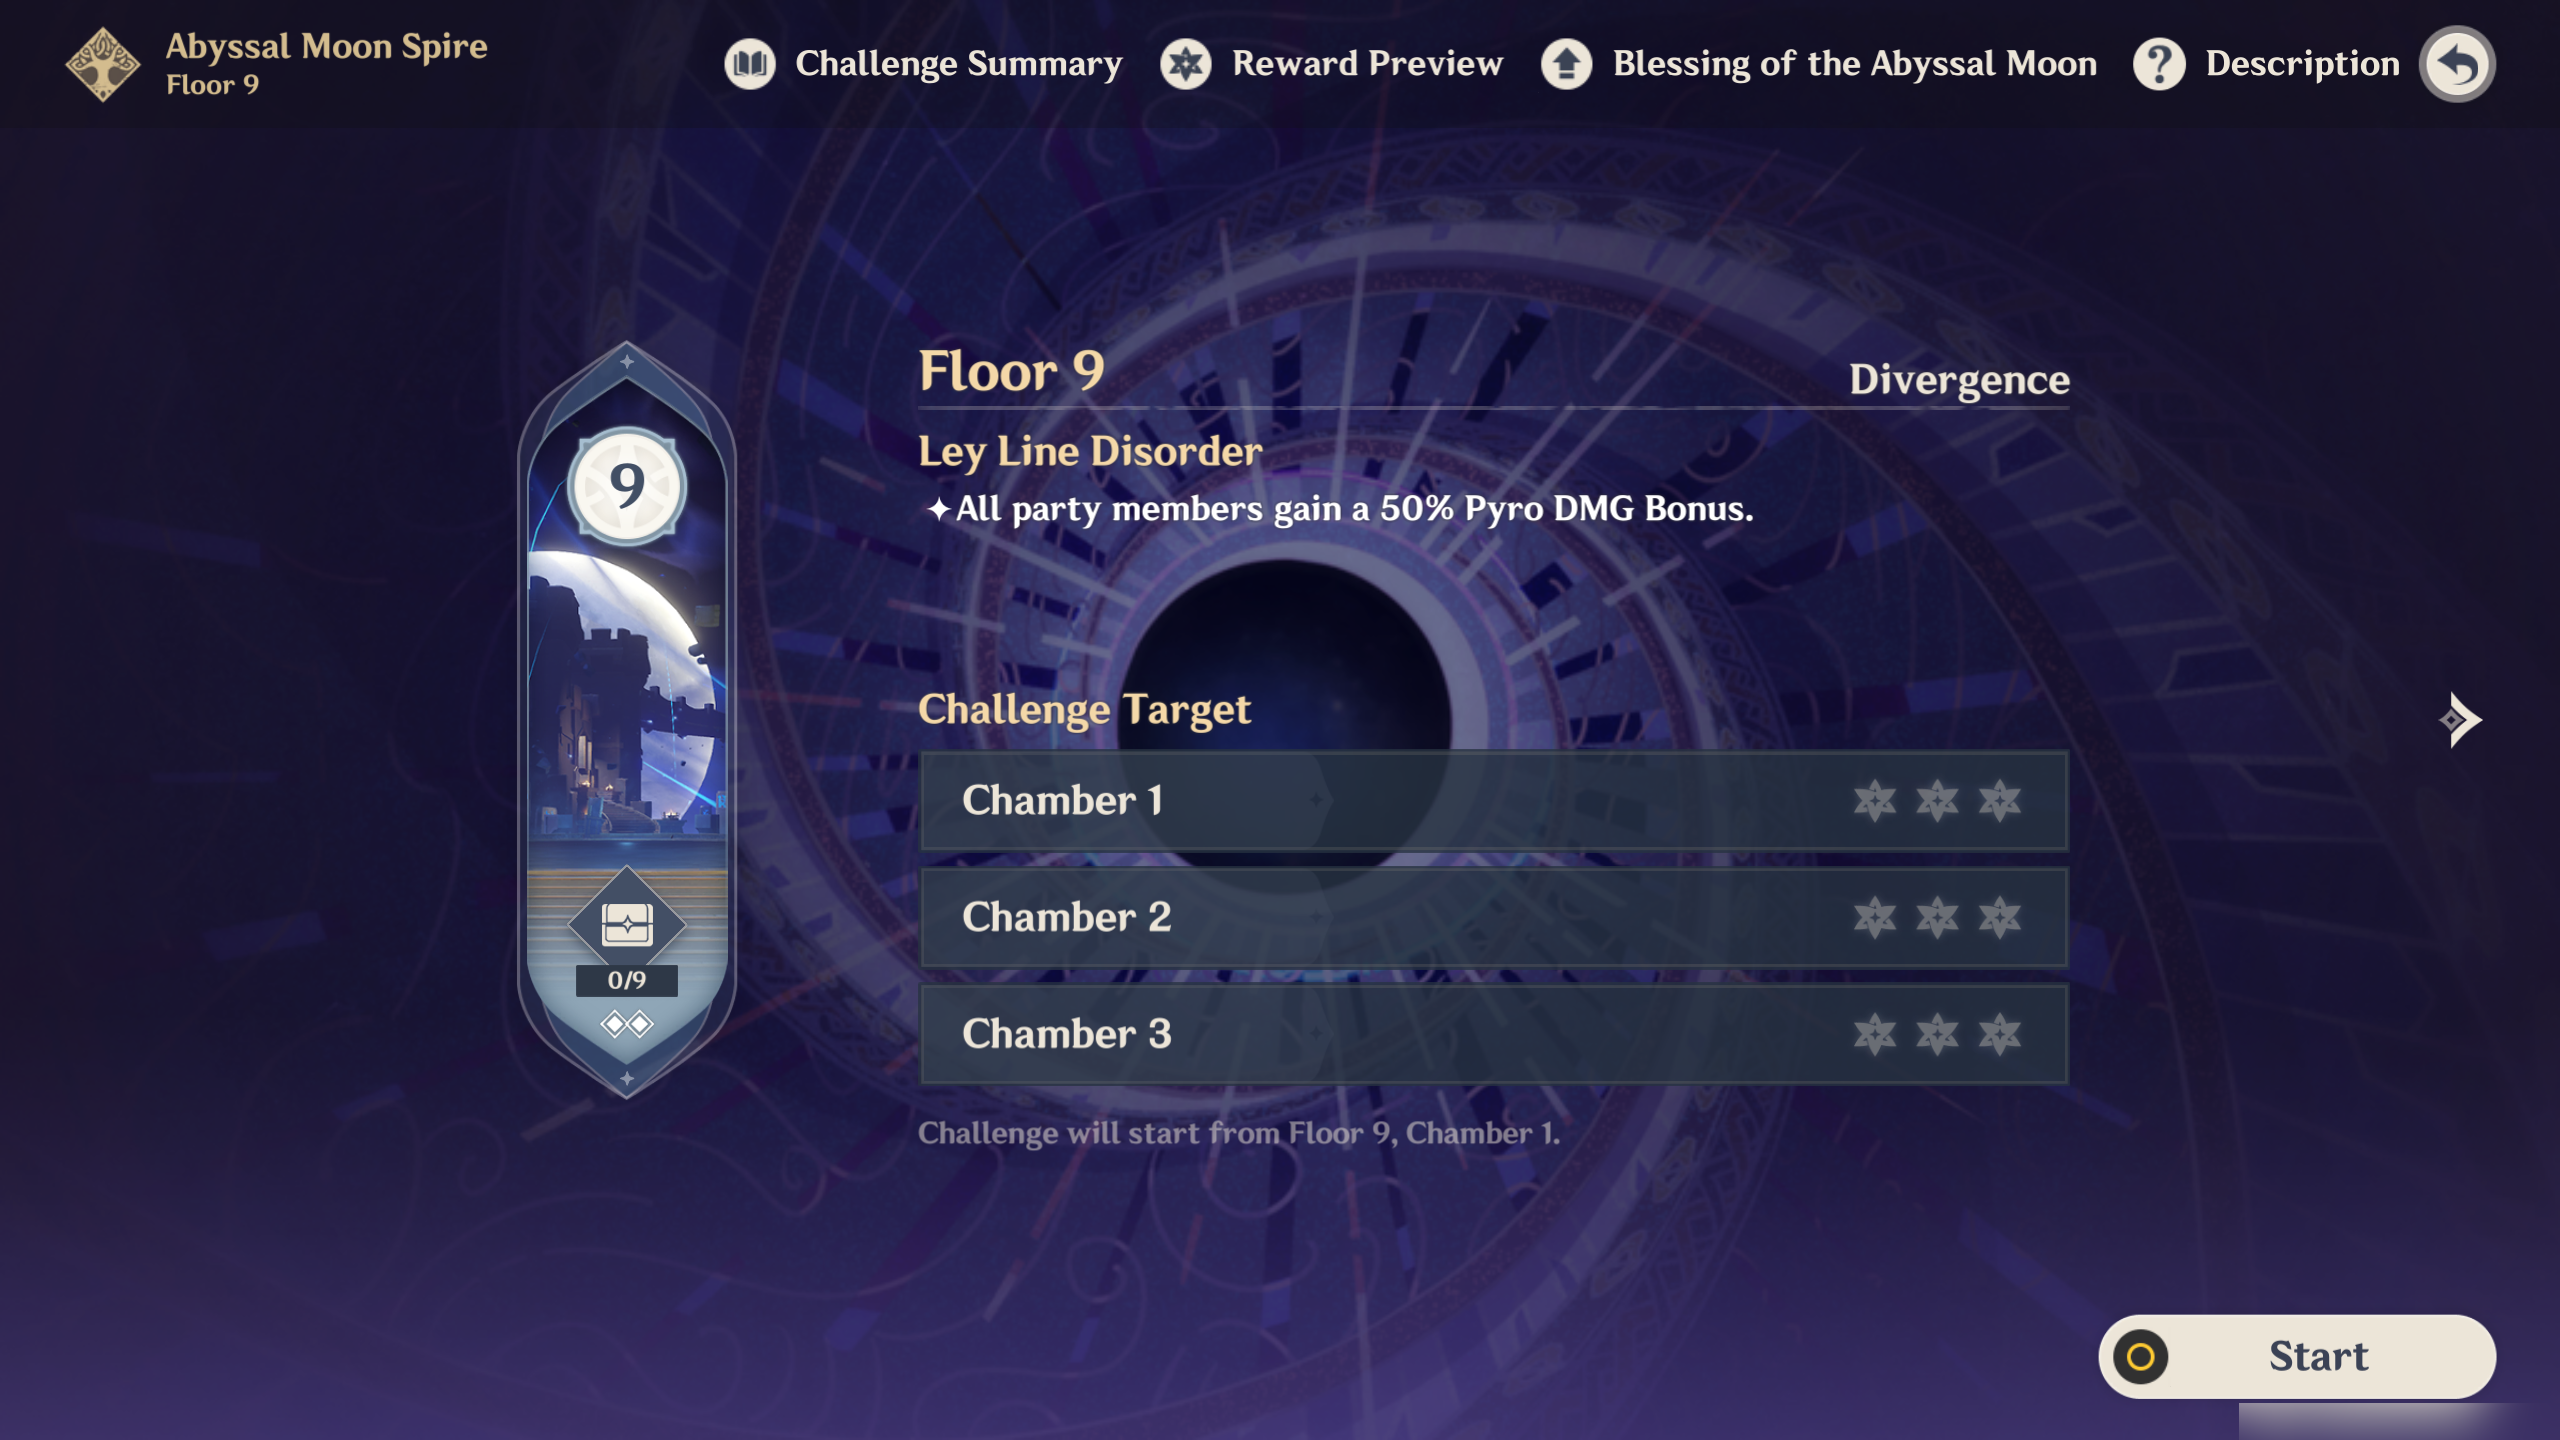
As a long-time gamer and RPG enthusiast, I must say that receiving a 50% Pyro Damage Bonus for all party members is nothing short of thrilling! This universal buff not only enhances the overall gameplay but also adds an extra layer of excitement, making each battle more engaging. It’s a fantastic feature that caters to both seasoned players and newcomers alike, ensuring everyone can participate in the fun without worrying about specific character abilities or limitations like Nightsoul’s Blessing. This buff not only makes our characters stronger but also adds a sense of camaraderie as we work together to take down formidable foes. It’s moments like these that make gaming such an enjoyable pastime for me!
Team Recommendations
Team Recommendations for the First Half
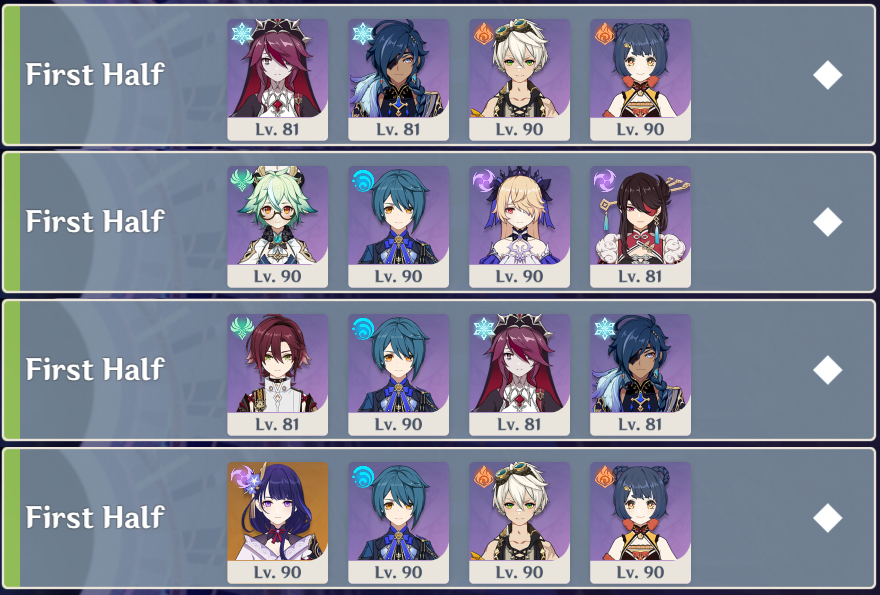
| The recommended elements for the First Half |      All elements except those mentioned below |
| The not recommended elements for the First Half |    Geo, Dendro, Hydro ➥ This is because each Saurian has high resistance against their own elements. For example, the Tepetlisaurus has 50% Geo Resistance (Whelp has 30% Resistance) while Koholasaurus has 50% Hydro RES. |
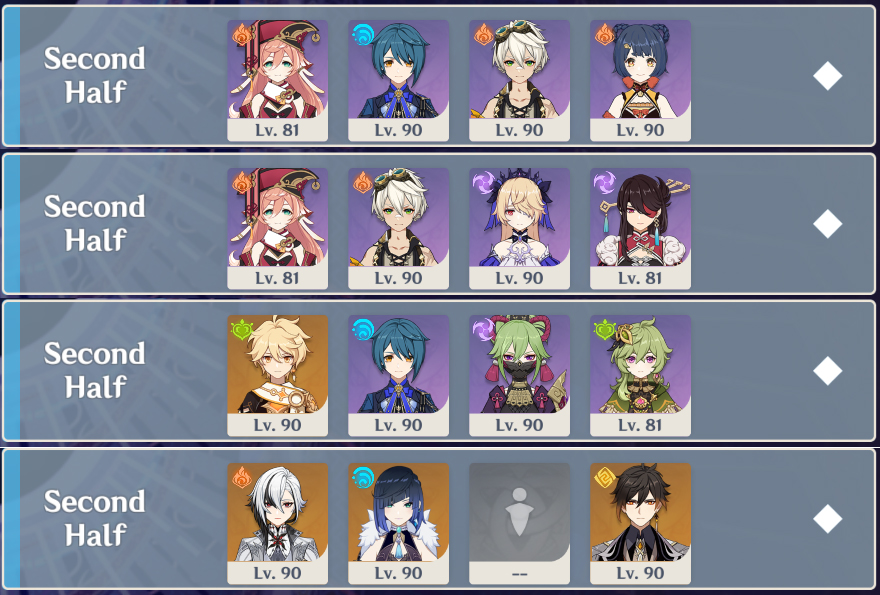
Melting Squad: Rosaria, Kaeya, Bennett, and Xiangling
Team Recommendations for the Second Half
| The recommended elements for the Second Half | All elements except those mentioned below |
| The not recommended elements for the Second Half | Physical ➥ It’s a known fact that Ruin enemies have high Physical RES. And with all chambers here featuring Ruin enemy, it’s better if you didn’t bring along a Physical team. |
Yanfei, Xingqiu, Bennett, and Xiangling form a ‘Vaporize’ team.
Floor 9 Chamber 1
First Half
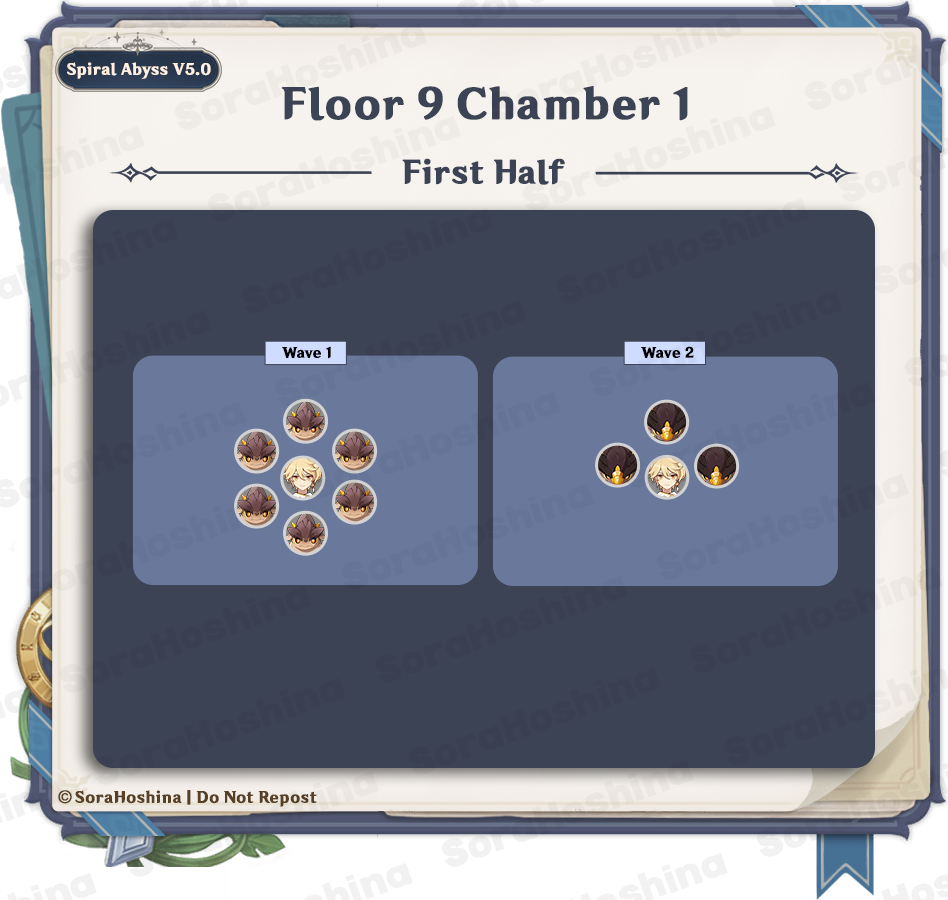
Wave 1: Tepetlisaur Whelp x6
Wave 2: Tepetlisaurus x3
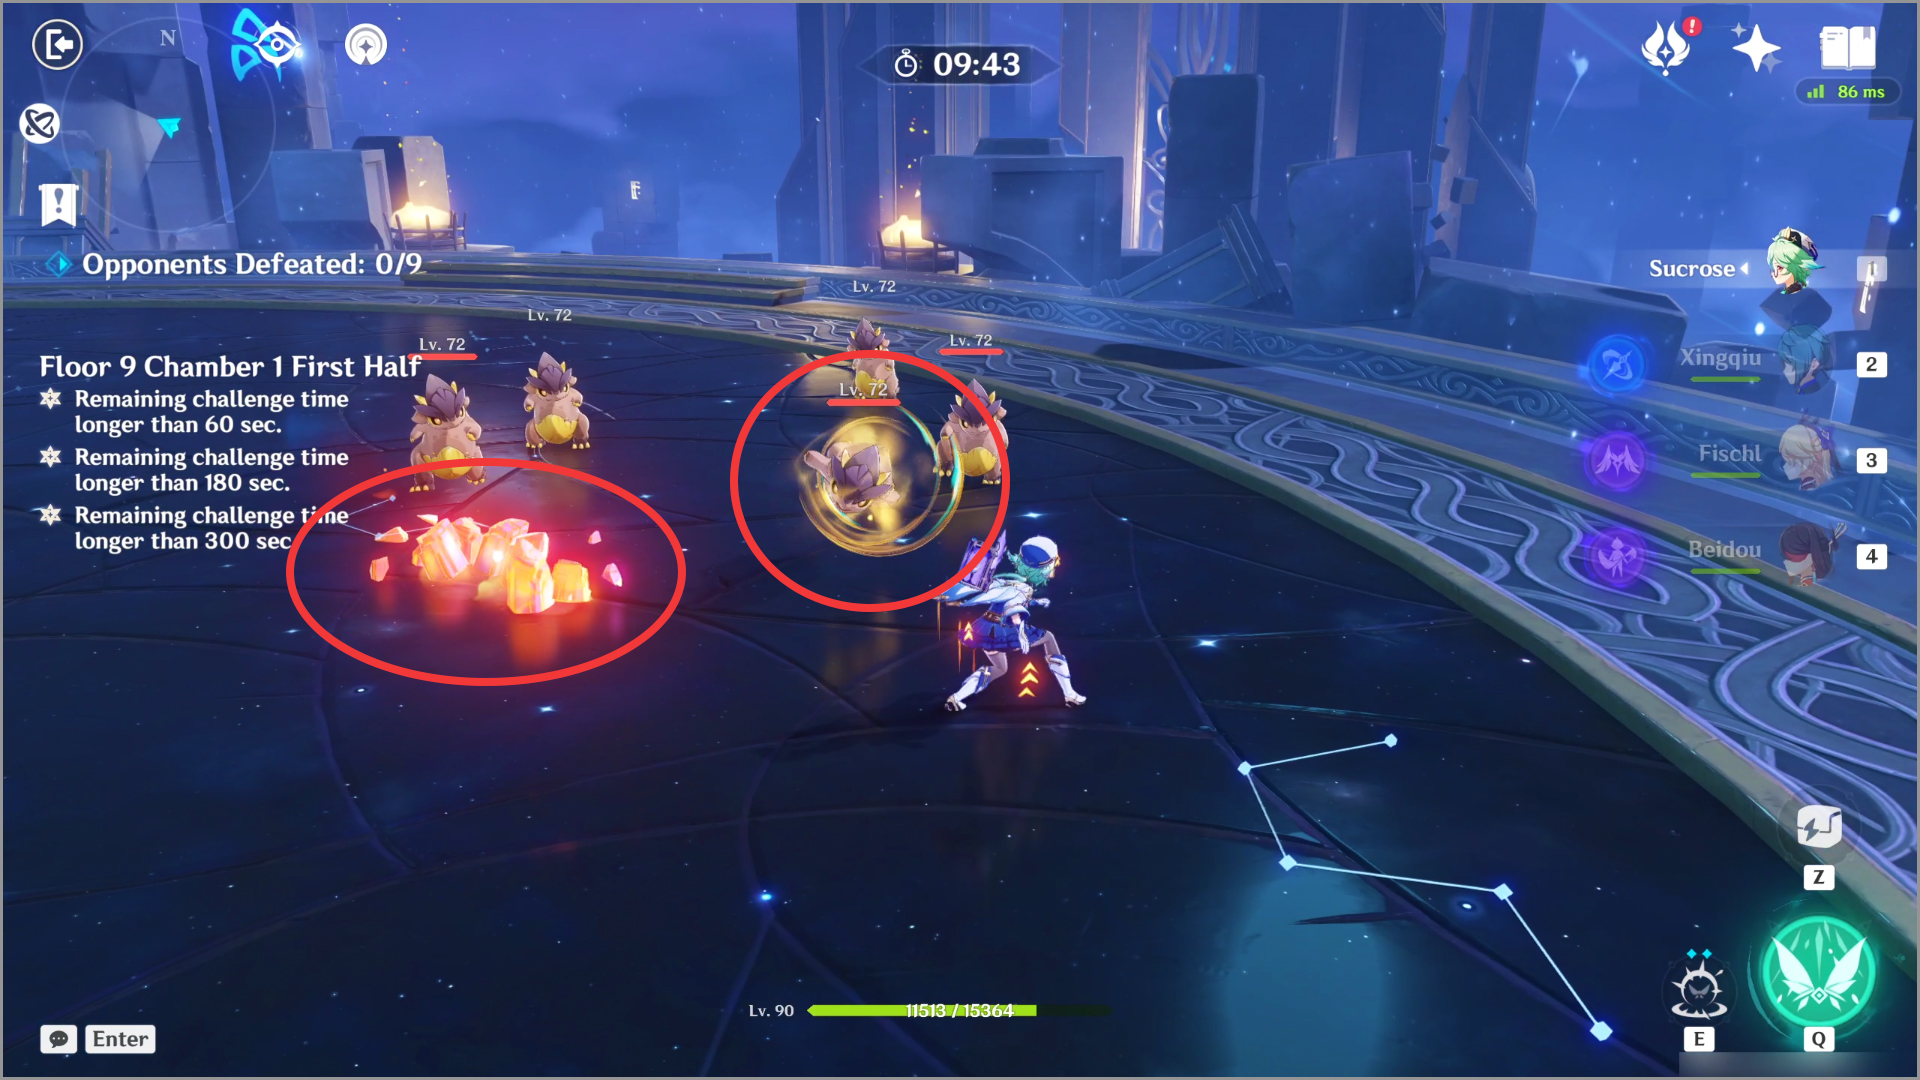
To start with, six Tepetlisaur Whelp are encircling you in the initial assault. These small creatures have only one tactic: headbutting. If you can dodge their charges effectively, you should be fine. However, if you’re too far from them, they will burrow underground and make their way towards you. Once they reach your location, they will burst forth and attack. Therefore, it’s crucial to keep a safe distance as well!

In the second wave, it’s my time to face three Tepetlisauruses – their adult forms. They’ve got the same skills as babies, but with some enhancements. After charging at me with their heads, they’ll also leap and slam towards me. The most intriguing part? When they burrow underground, they’ll pop up briefly to mock me (or so it seems), then dive back under. That fleeting moment is the perfect opportunity to strike because during that time, they mainly amuse me with their funny antics.
Second Half

Wave 1: Ruin Guard x1

Here, there’s just a single wave present, specifically the Ruin Guard. He’s an ordinary adversary known for his slow movement and melee attacks. However, don’t underestimate him because he has one potentially hazardous skill – when he starts spinning and charging toward you. This maneuver persists for approximately 10 seconds, and if your character, without a shield, comes too close during this time, be prepared to experience multiple instances of being hurled away.

The character Ruin Guard possesses a vulnerable spot – its eye. By utilizing a bow’s skill (Aimed Shot) to strike this weak point, it will become incapacitated for several seconds, providing an ideal opportunity for you to deploy your abilities at maximum potency – both the Skill and Ultimate.
Floor 9 Chamber 2
First Half
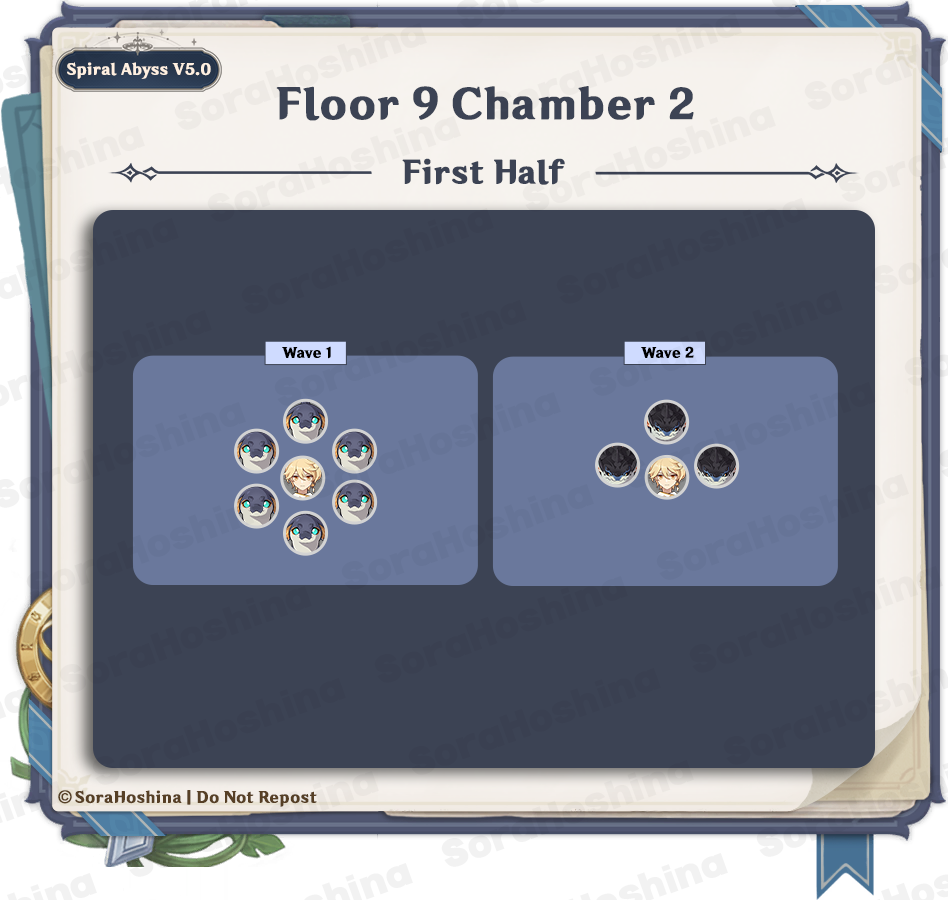
Wave 1: Koholasaur Whelp x6
Wave 2: Koholasaurus x3
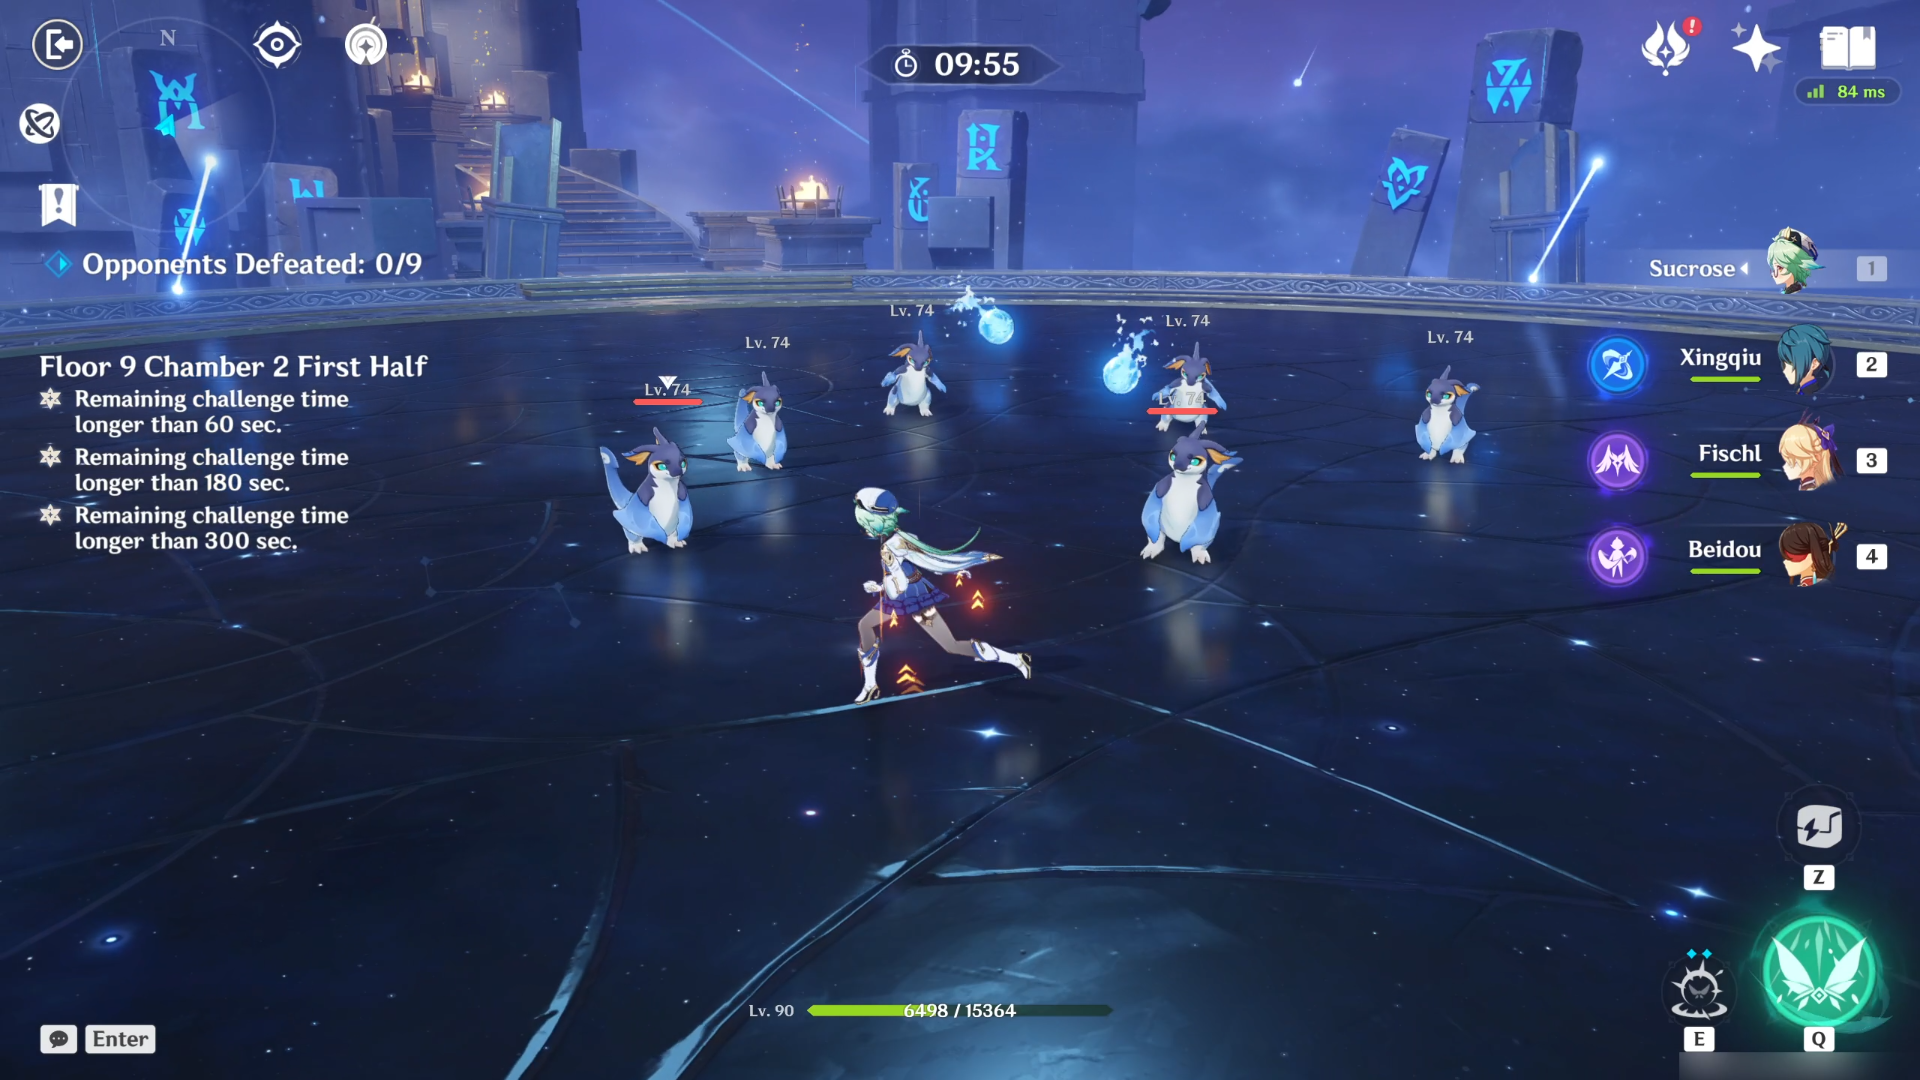
Initially, six diminutive Koholasaur Whelps encircle you. These adorable creatures possess a single skill: spitting at you. Despite your attempts to distance yourself, they can merely amble sluggishly towards you. However, despite their menacing spray, they pose little threat.
During the second wave, you’ll encounter three Koholasauruses. Notably, they’ve enhanced their attack strategy by swinging their tails at you. Otherwise, they behave much like the Whelps.
Second Half

Wave 1: Ruin Grader x1
There is only one wave here and it’s the Ruin Grader. They have far more skill sets than Ruin Guard including the spinning one. While performing certain attacks, the Ruin Grader will expose the cores on its head and feet.
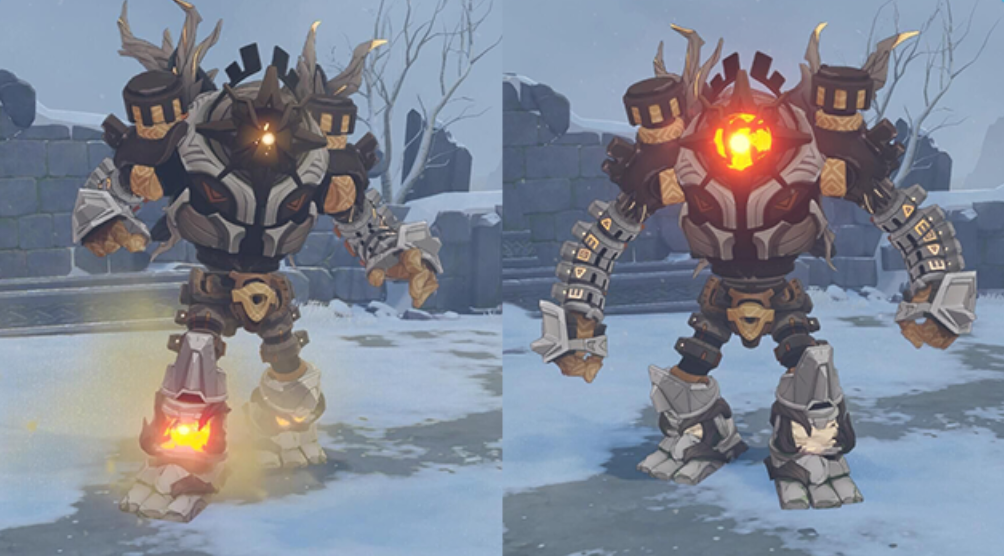
Targeting the vulnerable spots on the Ruin Grader will momentarily halt its ongoing attack and, if struck successfully, temporarily immobilize it for a few seconds. However, whether or not to focus on these weak points depends on your remaining time. If you have ample time left, it could be beneficial to immobilize it for easier handling of damage. A Bow character’s precise shot would increase the likelihood of hitting the cores. But if time is running short, a more straightforward approach might be more effective.
Floor 9 Chamber 3
First Half
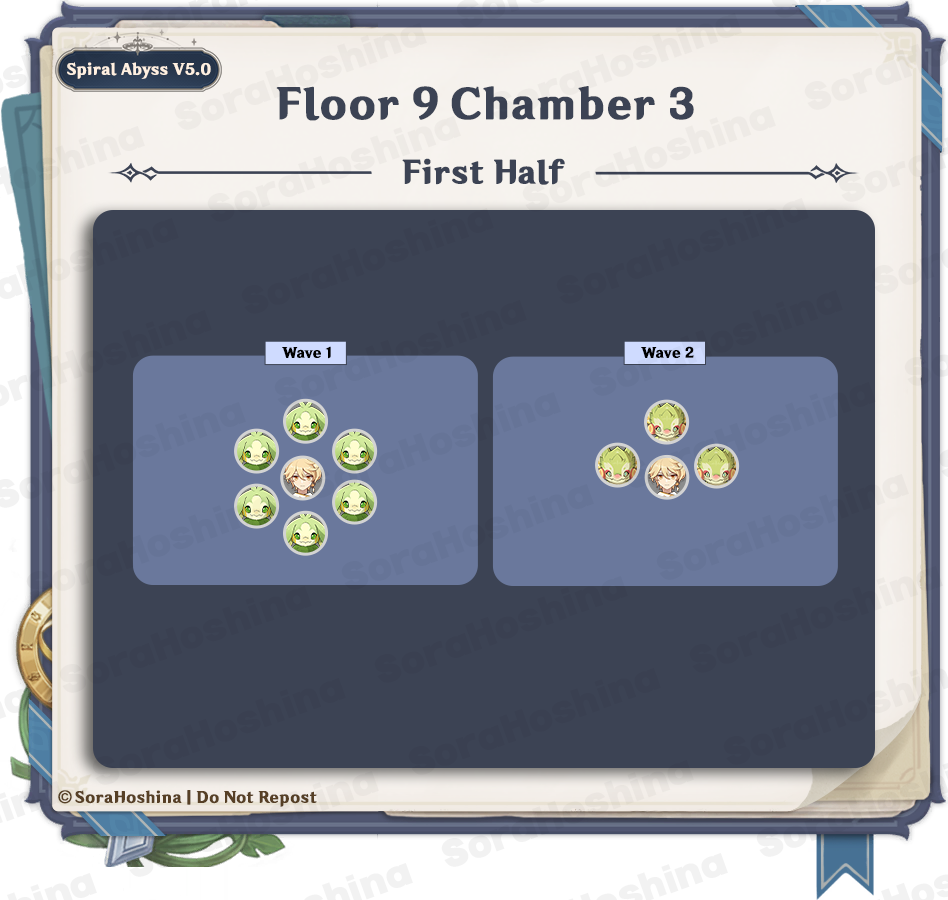
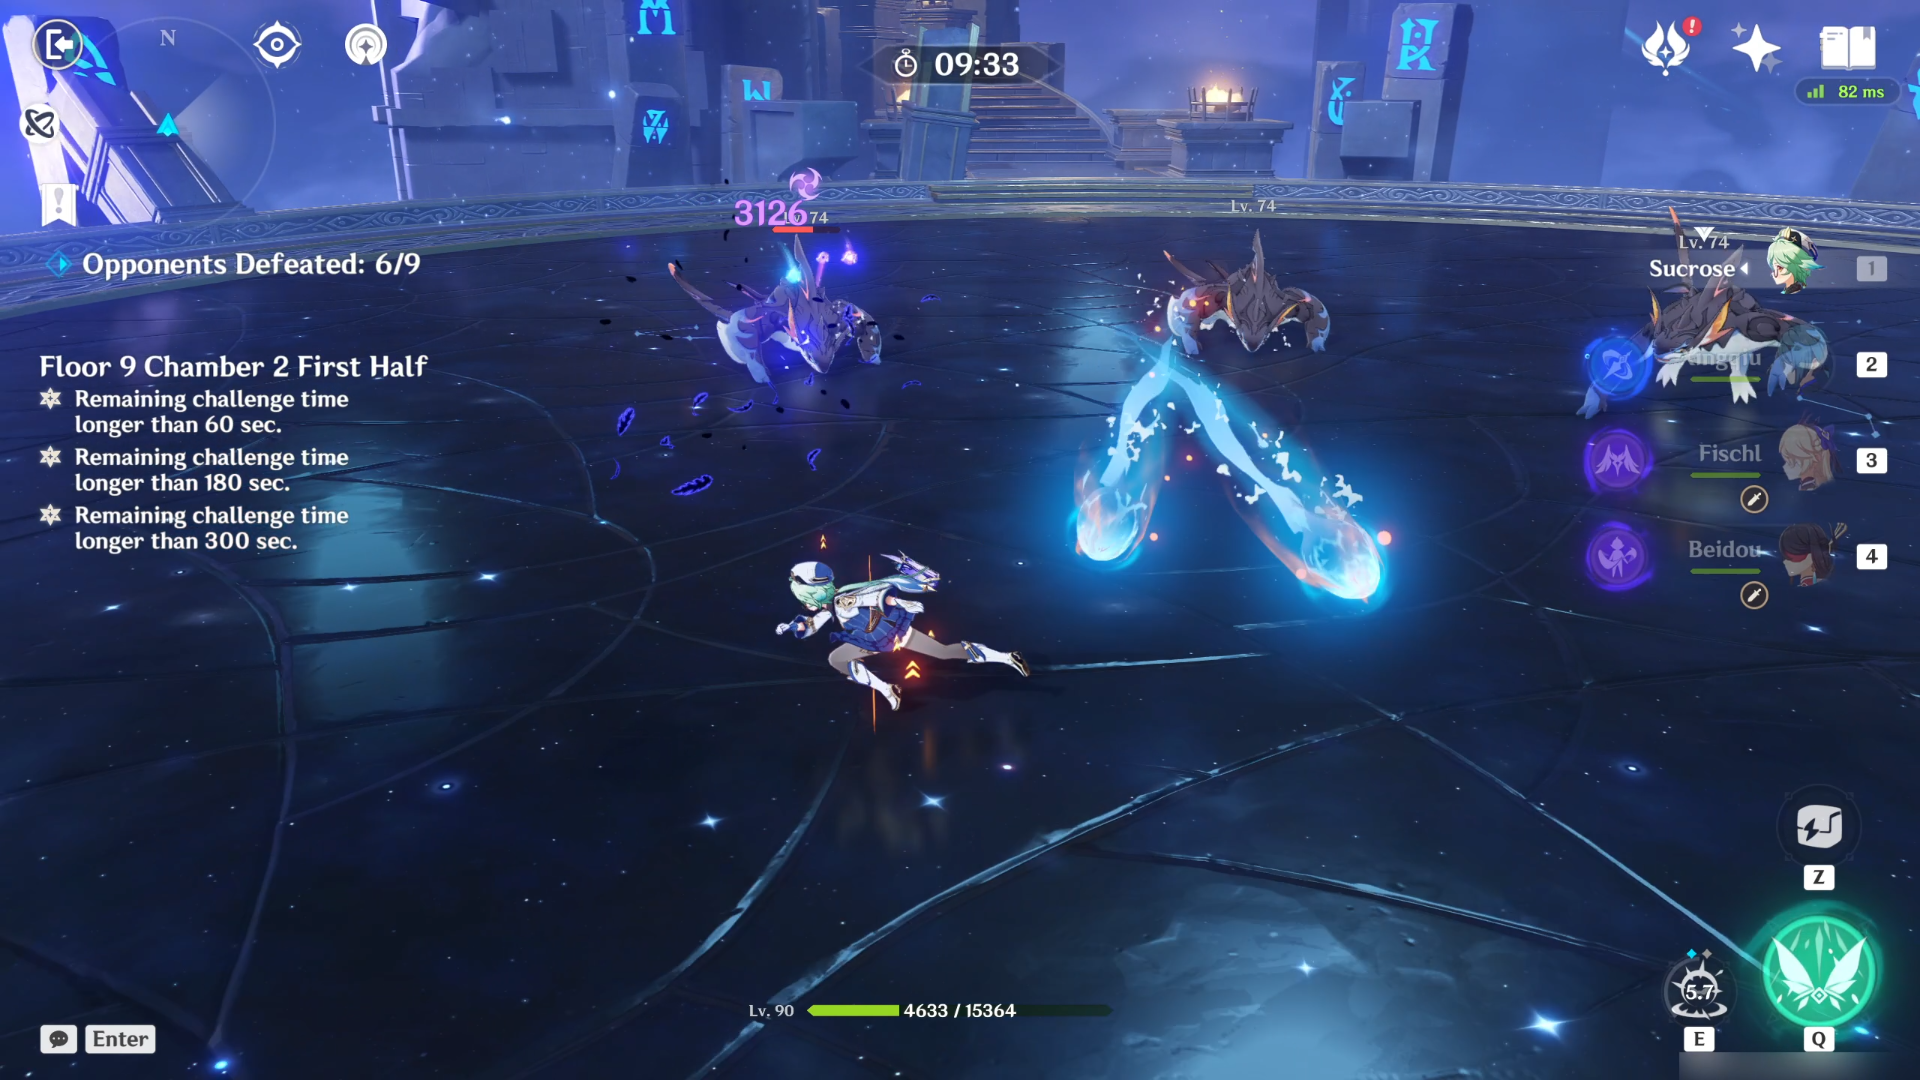
Wave 1: Yumkasaur Whelp x6
Wave 2: Yumkasaurus x3
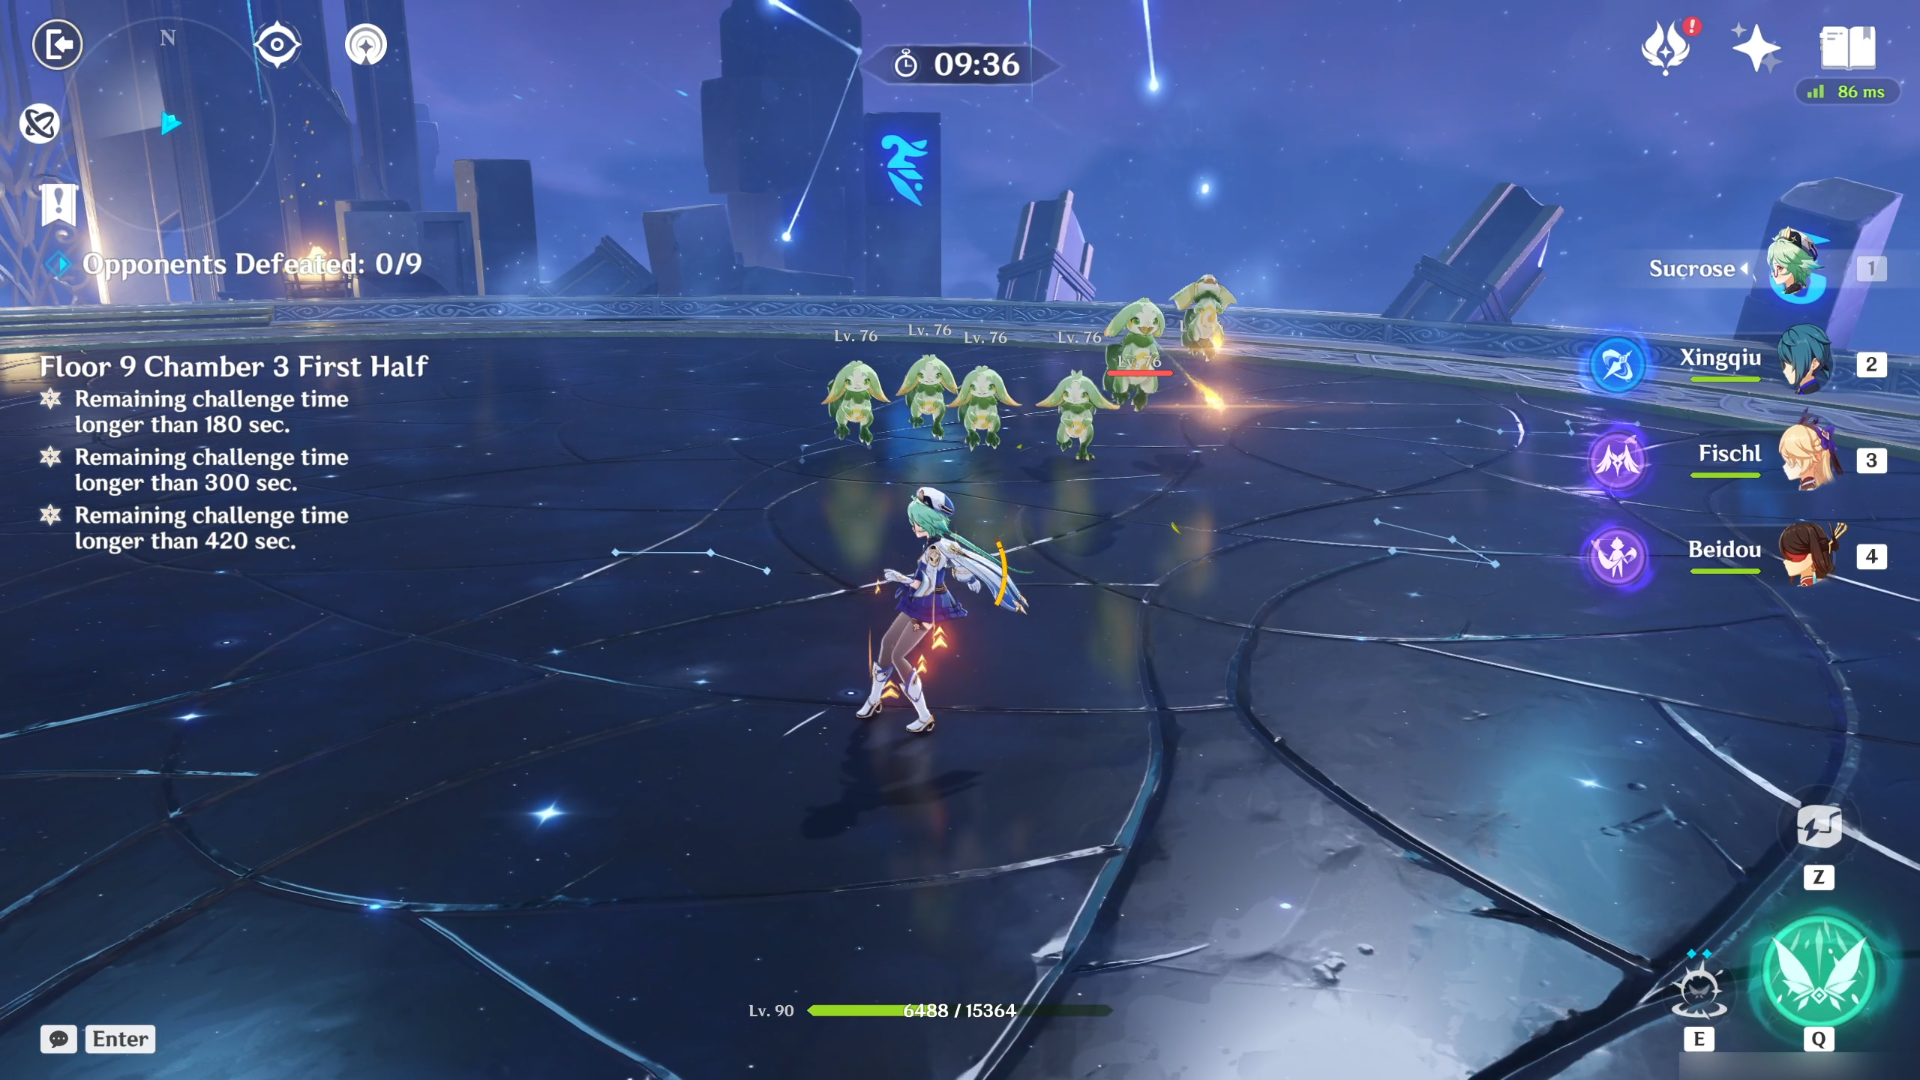
Initially, you’ll find yourself surrounded by six young Yumkasauros, known as Yumkasaur Whelps. These creatures have the ability to attack from a distance, so it’s crucial to stay vigilant. However, apart from this, there’s nothing particularly extraordinary about them.
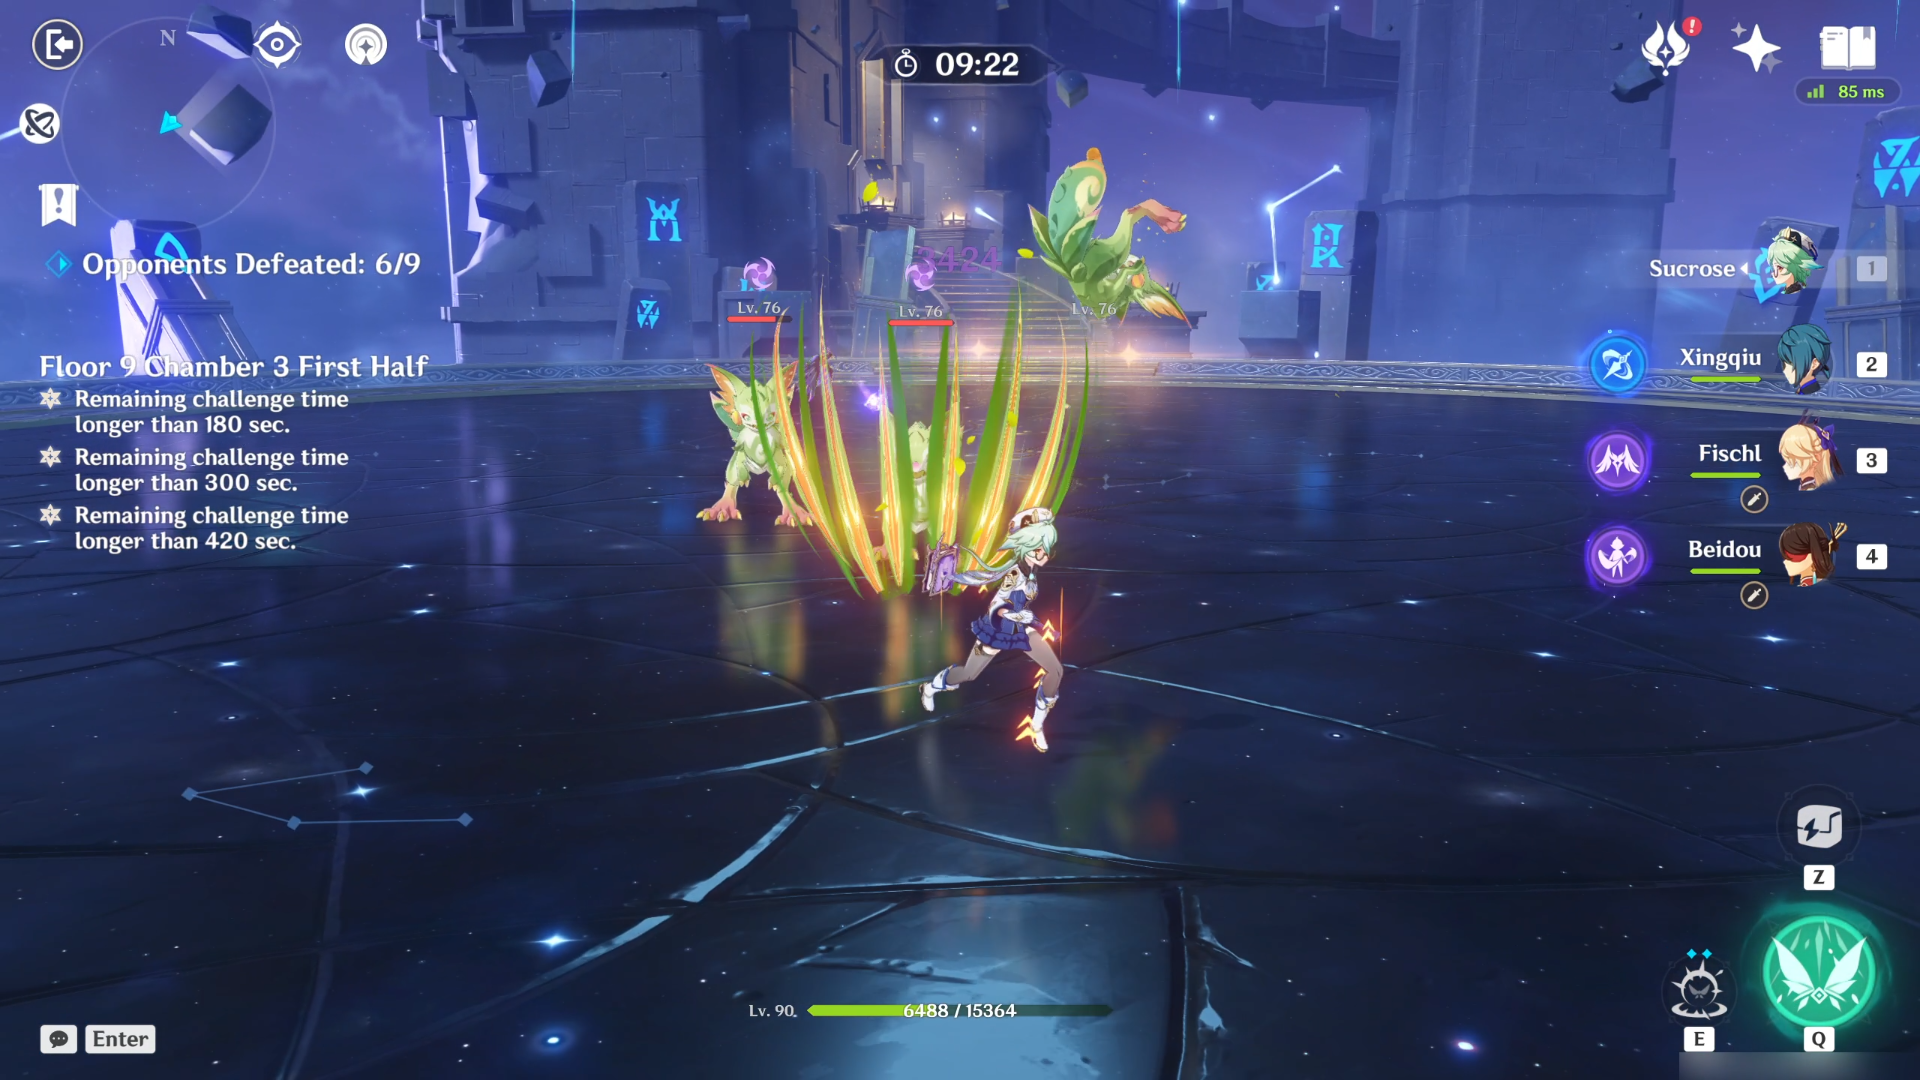
During the second phase, there are 3 Yumkasaurus. They frequently lunge forward using their tongues as a means of attack, following up with swift strikes from their claws. Despite their relentless aggression, there’s a brief moment after they extend their tongue and following the attack with their claws where you can dodge and retaliate.
Second Half
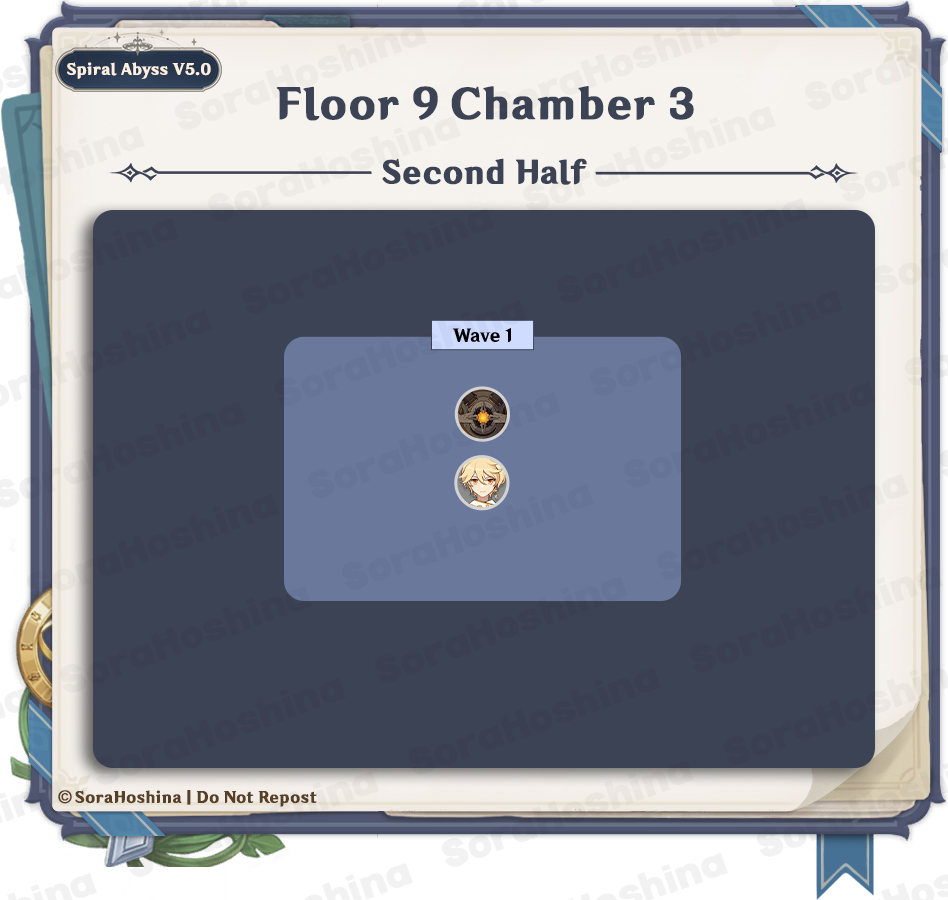
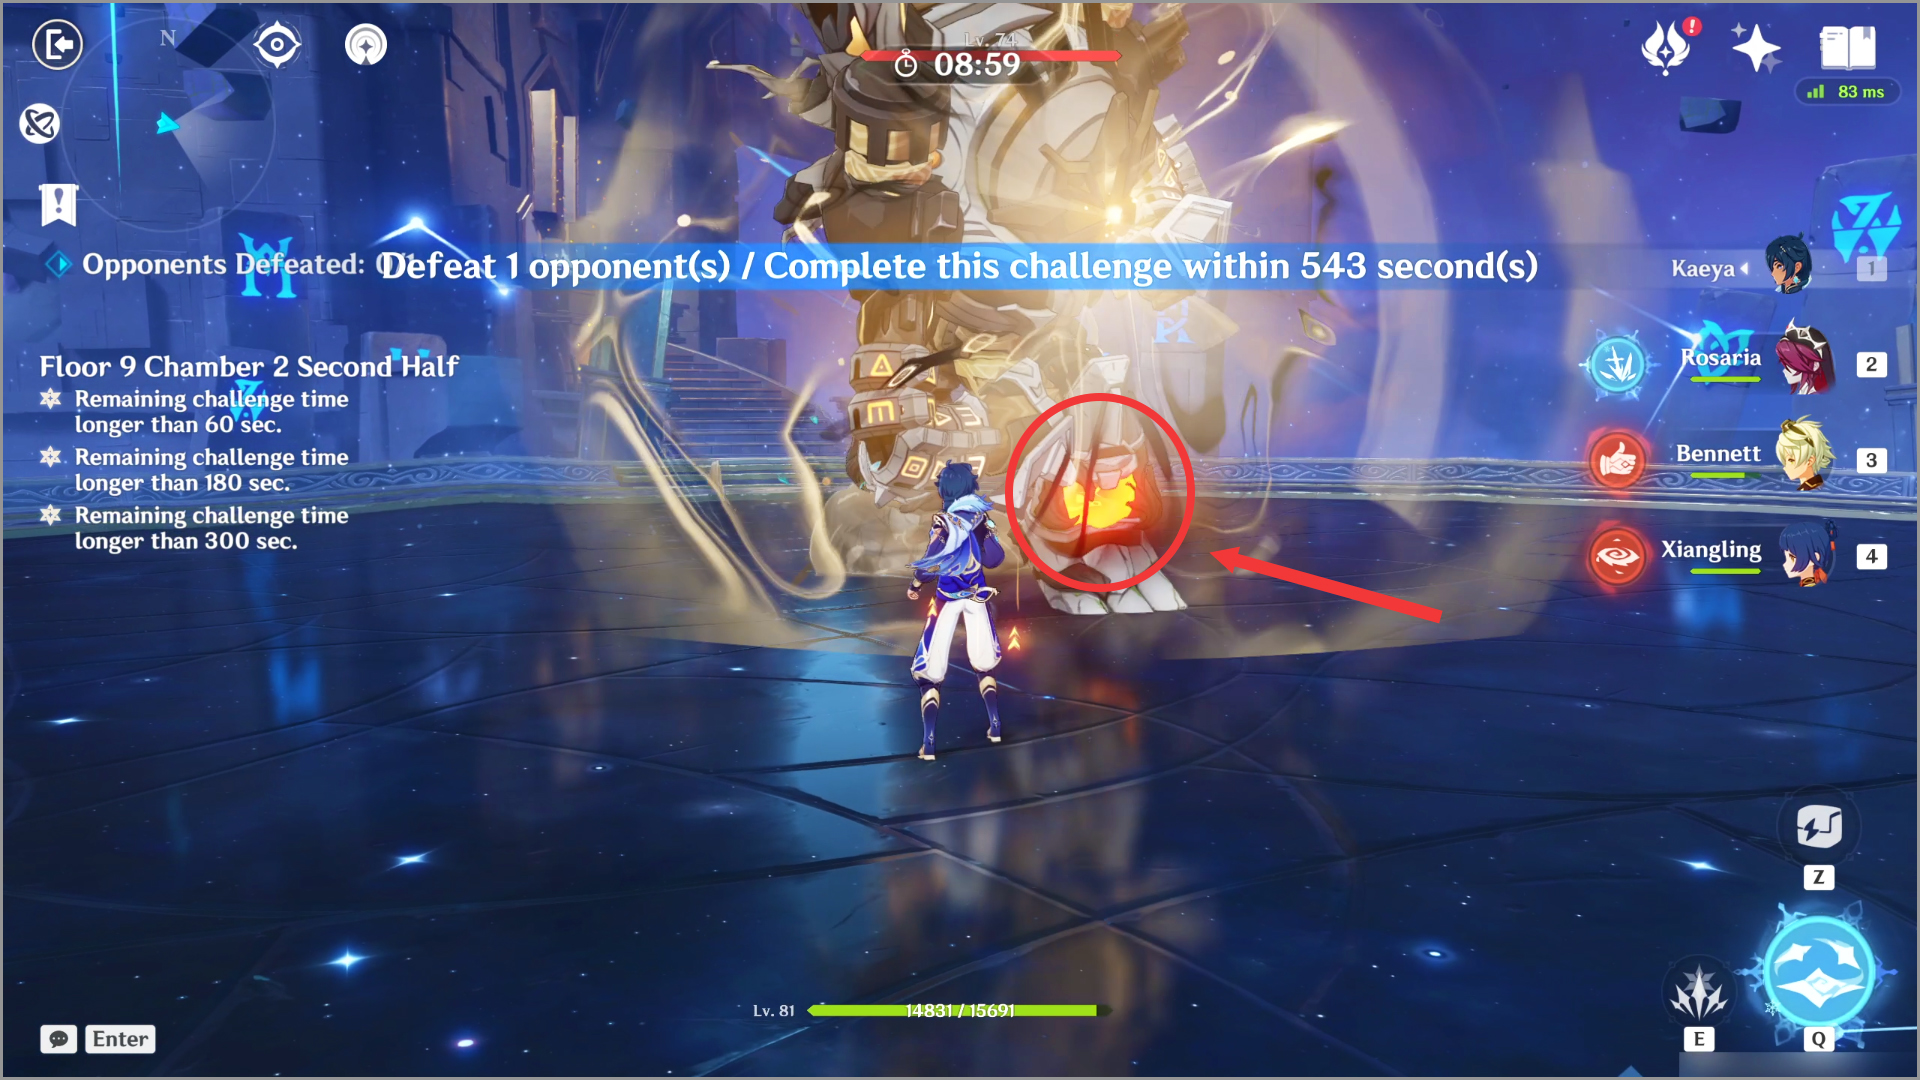
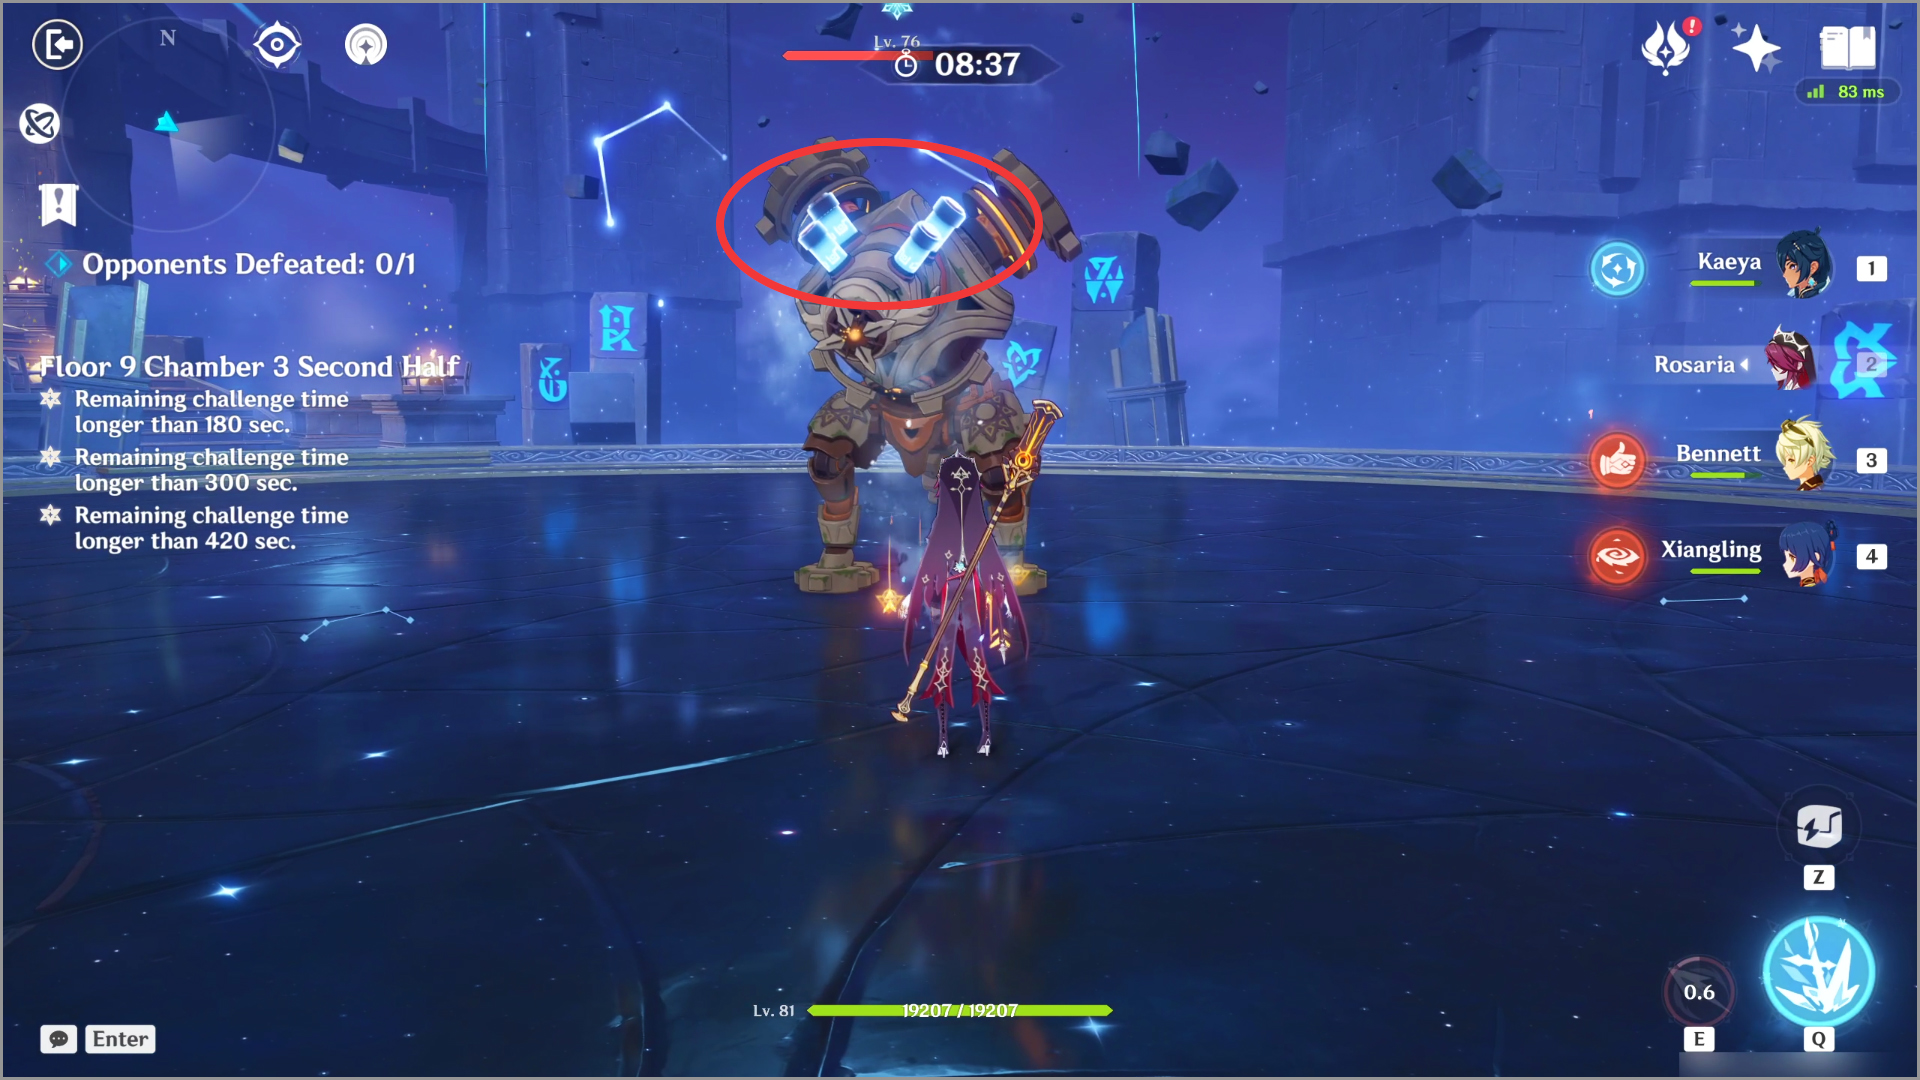
Wave 1: Ruin Drake: Earthguard x1
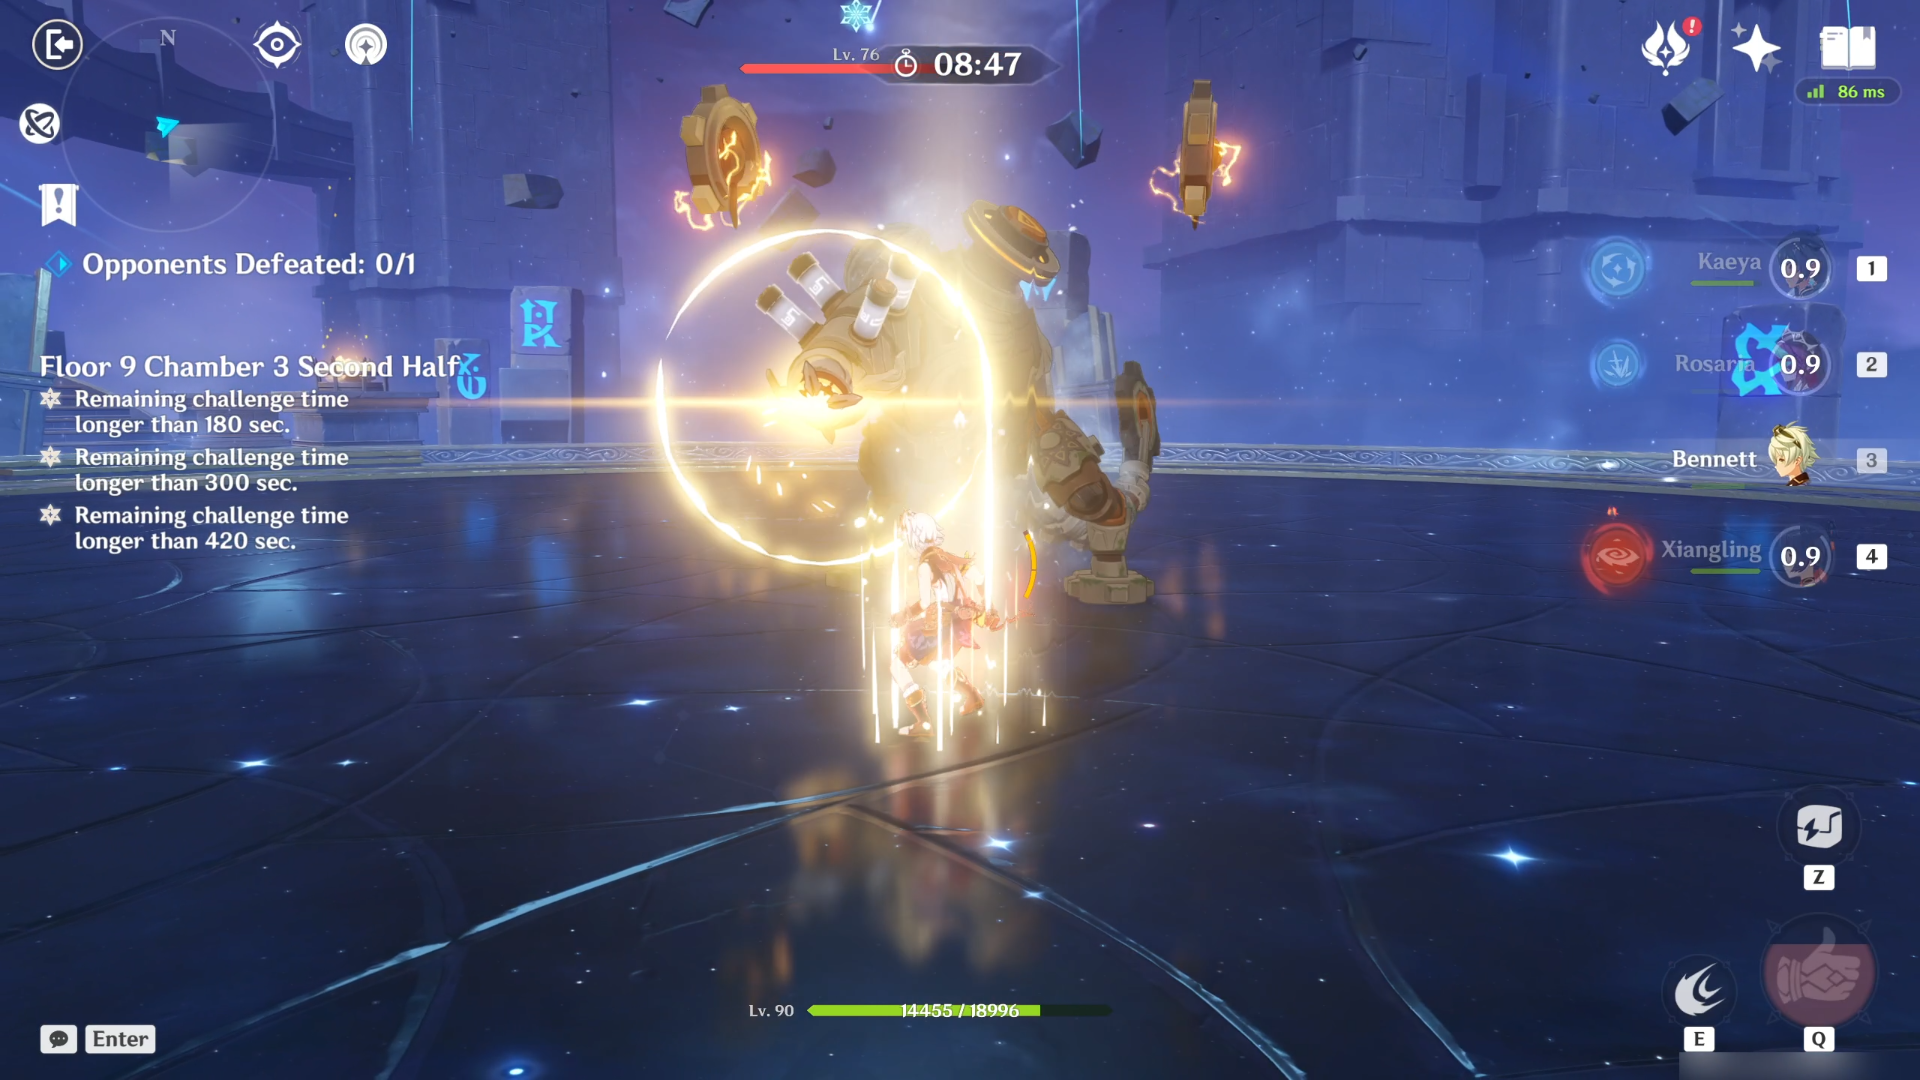
Here, we have a single wave, and it’s the mighty Ruin Drake: Earthguard. At some stage, this fearsome Ruin Drake will rush forward (indicated by two whirlwinds atop its body). Once charged, it releases explosives into the sky. It’s strongly advised to aim for its vulnerable spot – the glowing orange orbs on its head – to momentarily immobilize the Ruin Drake.
In case you don’t manage to avoid this, the Ruin Drake will increase its resistance by 40% to the element it has sustained the most damage from throughout the fight. You can identify the element of the bombs by their color.
Read More
- Apothecary Diaries Ch.81: Maomao vs Shenmei!
- 30 Best Couple/Wife Swap Movies You Need to See
- Gachiakuta Chapter 139: Rudo And Enjin Team Up Against Mymo—Recap, Release Date, Where To Read And More
- Netflix’s ‘You’ Season 5 Release Update Has Fans Worried
- Ncuti Gatwa Exits Doctor Who Amidst Controversy and Ratings Crisis!
- All 6 ‘Final Destination’ Movies in Order
- Every Minecraft update ranked from worst to best
- Summoners War Tier List – The Best Monsters to Recruit in 2025
- Tyla’s New Breath Me Music Video Explores the Depths of Romantic Connection
- DC: Dark Legion The Bleed & Hypertime Tracker Schedule
2024-09-16 03:07