Looking for a real challenge? The Scholar Remembrance Quest is here, and it’s tough! It has nine chapters filled with difficult bosses. But if I could complete it, I’m confident you can too.
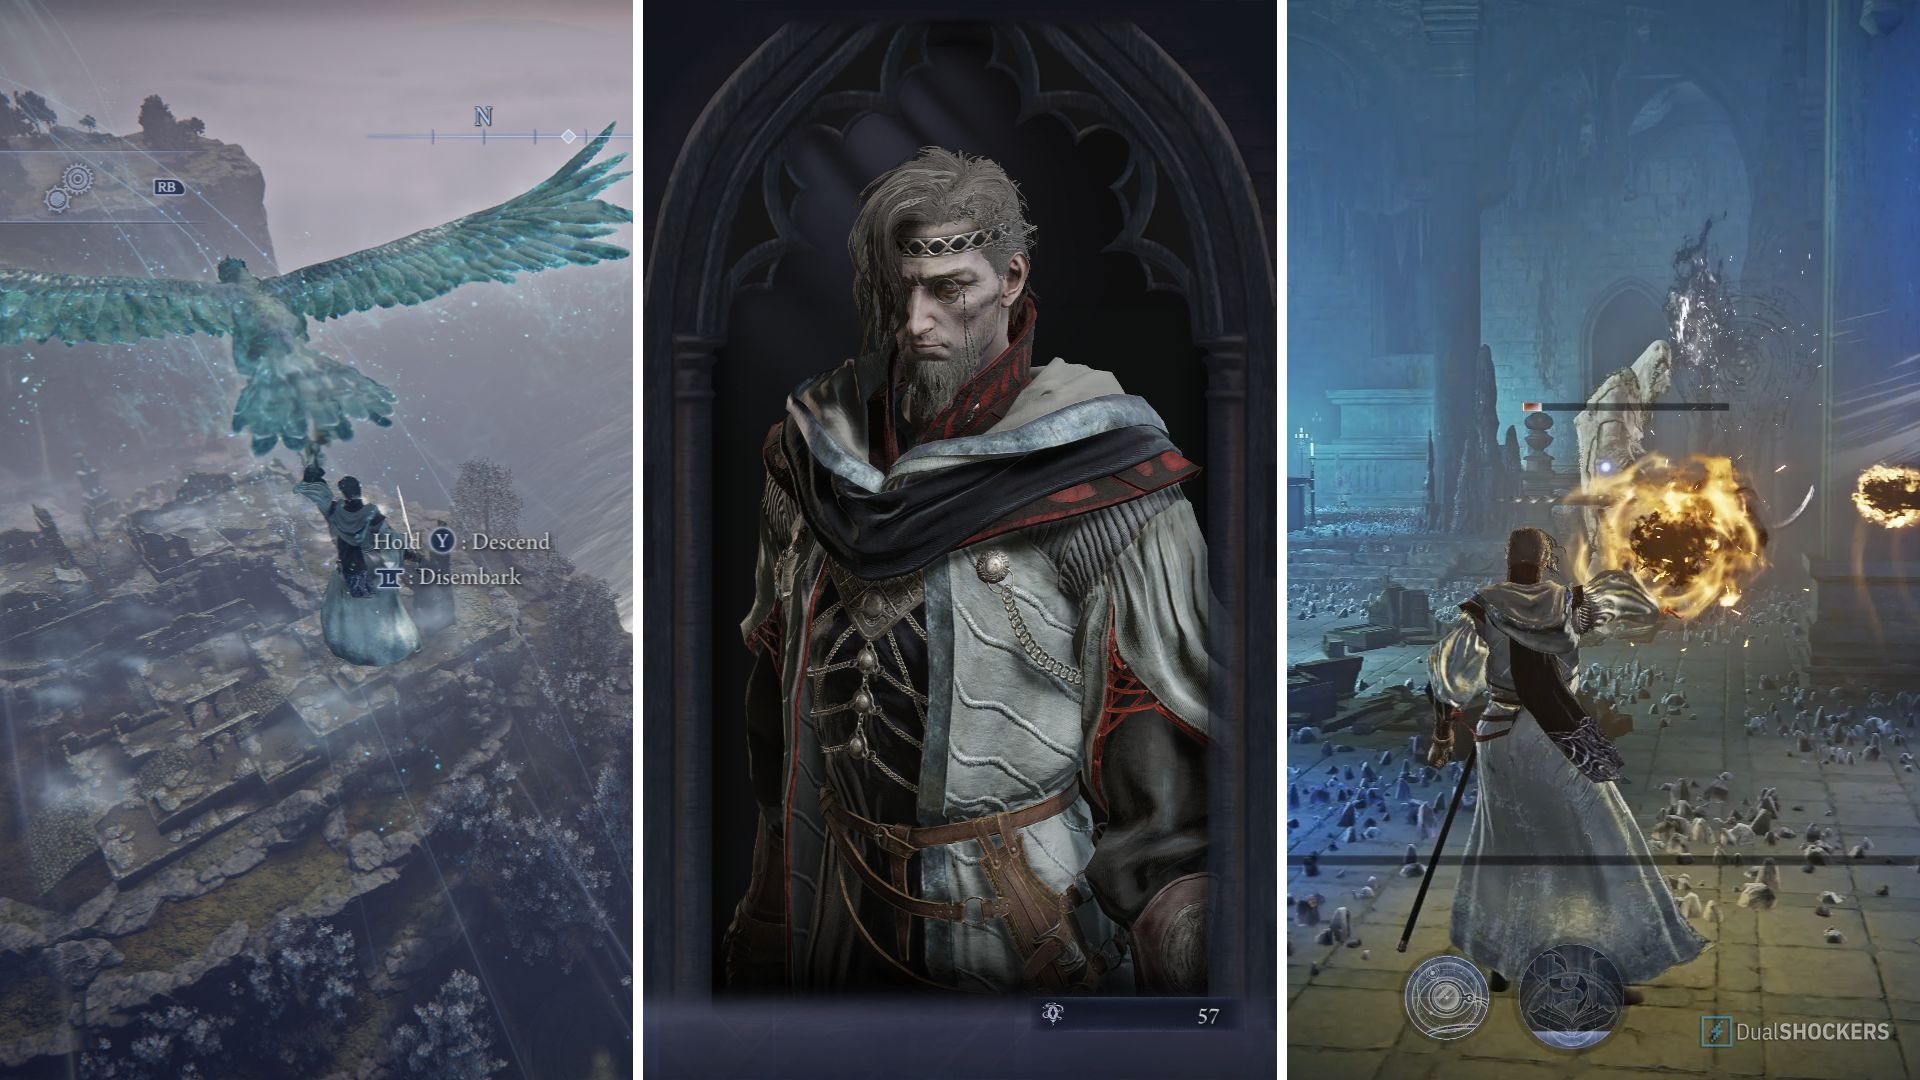
Get ready for an adventure! This journey will take you to all sorts of places – from the icy castles of Limveld to the depths of the Great Hollow. You’ll face off against both angels and demons, and yes, there’s a bit of reading involved. But with your cane and monocle by your side, you’re all set – what could go wrong?
I’ll guide you through the Scholar’s Remembrance Quest, explaining each step and detailing the rewards you’ll receive when you finish it.
How To Unlock The Scholar
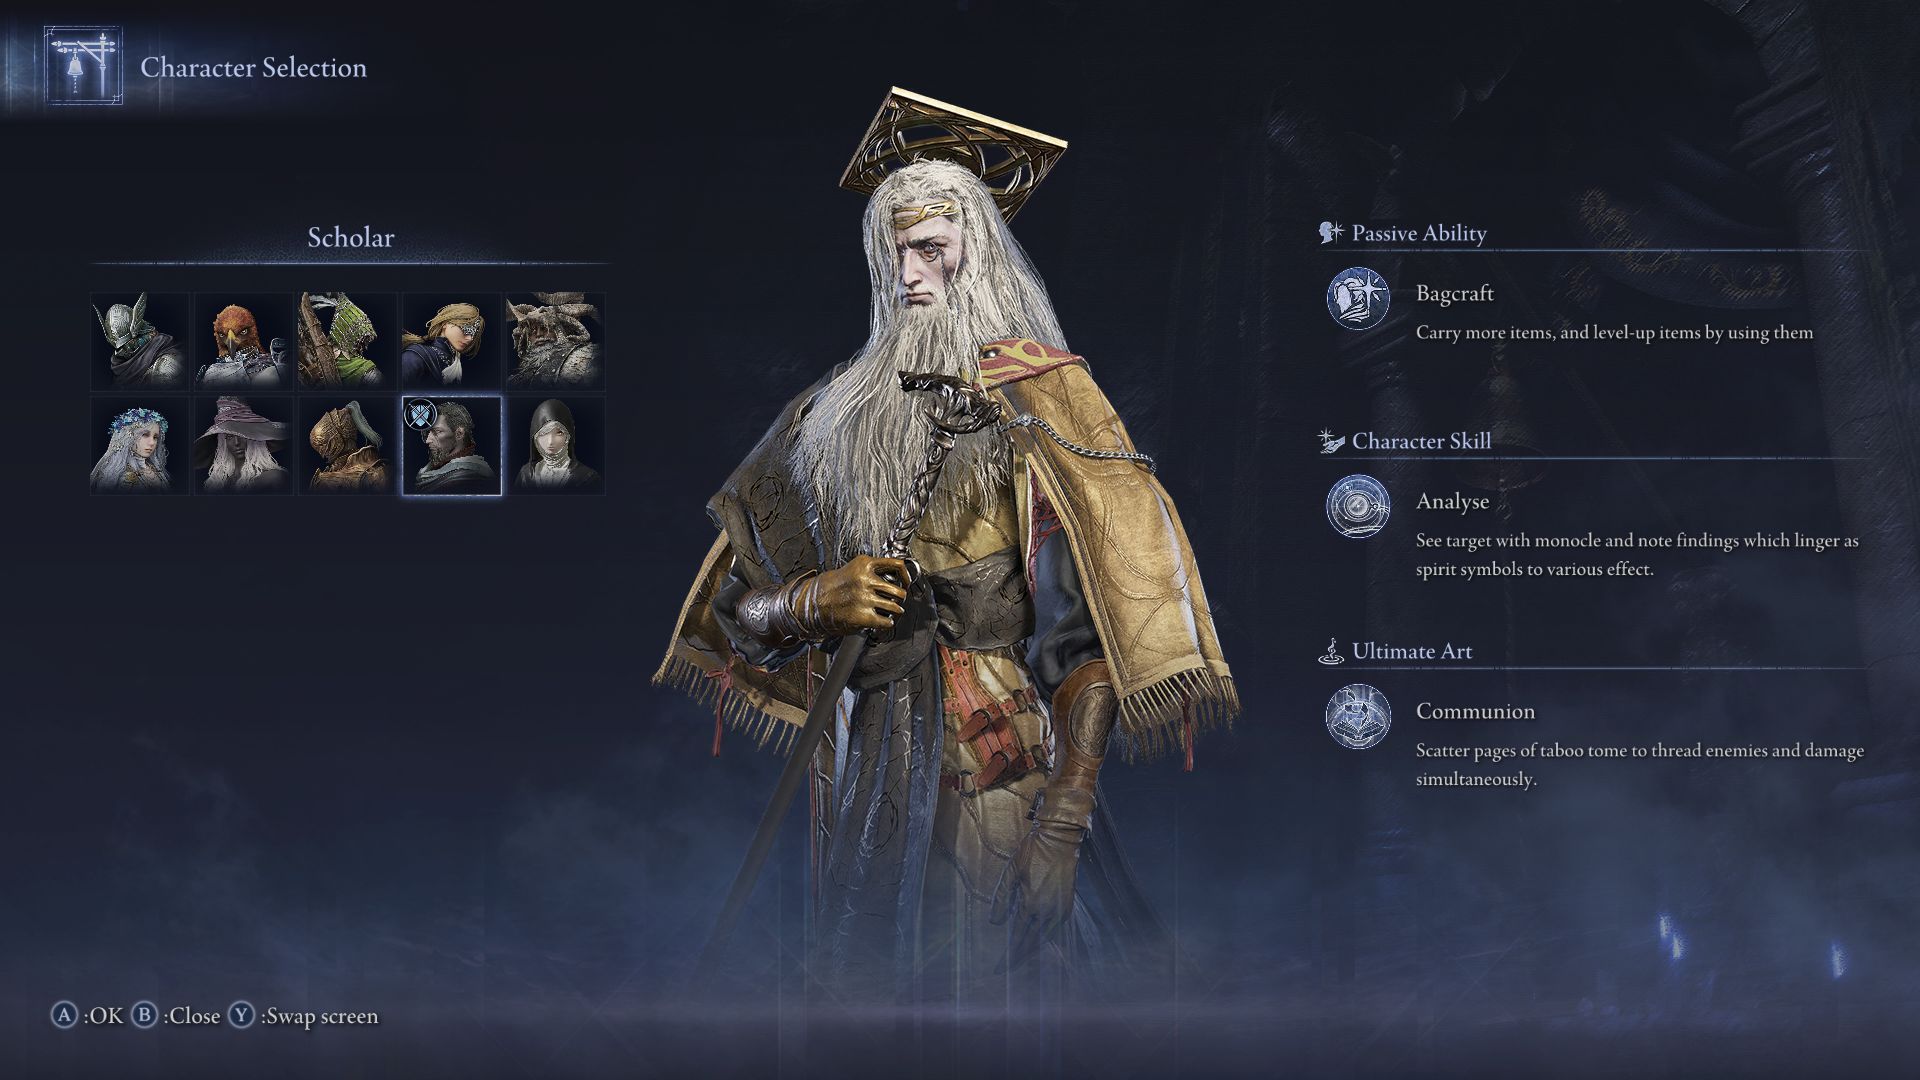
Once you’ve downloaded the Nightreign DLC, go to the spot where the Small Jar Merchant previously stood. You’ll find the chapel doors are now open, allowing you to enter and be transported to a battlefield where the Dreglord is waiting.
Regardless of the outcome of this battle, you’ll be allowed back to the Round Table. After that, the Chapel will be accessible, letting you enlist the Scholar to help you.
To start collecting memory fragments, just go on a few expeditions with the Scholar. You don’t have to win every time at first to unlock Chapter 3, but it’s good practice! You’ll need to be prepared for tougher challenges later on in the quest.
Chapter 3 – The Sunken Depths
Okay, so when you start the Remembrance in Chapter 3, you’ll find yourself in the Chapel part of Roundtable Hold. There’s a book on a desk there – definitely read it! It actually gives you a specific goal to work towards on the Limveld map, which is super helpful.
Go to Limveld and find the Vassal’s Journal. It will appear under one of the castles that are partially submerged. Look for a small red bell on your minimap – it will show you where the journal is located.
Okay, so the game tells you to find something under a swamp, but honestly, mine wasn’t a swamp at all! It was a frozen castle, which you can see in my video. But don’t worry about what you get – whether it’s a poison area or a frosty one – the dungeon inside is always the same. My advice? Just jump in solo, don’t bother with any extra preparations, and go for it!
I couldn’t get this to work on a regular Nightreign boss – the dungeon just wouldn’t appear. It looks like this expedition needs to be done on one of the bosses from the downloadable content, either Balancers or Dreglord.
- Begin the expedition, and feel free to skip the levelling process. It’s pretty easy to get through the dungeon without taking a hit.
- Beeline towards the randomly generated dungeon, shown by the bell on your map.
- Enter through the main sunken doorway and take a left.
- Go left again and drop to the ledge below. On the wall to your right, you will see an opening.
- Head on through, drop through the hole, and you will see the journal sitting on a desk.
- Grab the Journal and then simply wait for the match to finish. Don’t quit out, as you will have to do this whole process again.
You can now return to the Chapel. You’ll find the Undertaker curiously licking purple slime off the wall. This scene will be easier to understand if you’ve already completed the ‘Undertaker Remembrance’ quest.
If you get lost during a Remembrance quest, just open your map and find the exclamation point – it will show you where to go.
Once you’ve finished speaking with her, talk to the Iron Menial by the doorway. Then, take a look at the Journal on the desk. Soon after, the Undertaker will signal for you to come over. Talk to her and let her know you plan to leave the Roundtable Hold.
You can now leave through the glowing spiral and continue to the next part of the game. Completing this section will earn you the Scholar’s Chalice, which has spaces for Red, Blue, and Universal-colored gems.
Chapter 5 – The Godskin Invader
When you reach Chapter 5, go west and find the Small Jar Merchant. Ask them to take you to the Great Hollow, and they’ll instantly transport you to the northwest castle, skipping the need for a long journey. Even though it’s a shortcut, make sure you have some good relics ready – you’ll face a lot of battles in this area.
I really like getting starting items in this game. Things like throwing pots or knives, or even a Wraith Calling Bell, can help compensate for the Rapier’s low damage. If you don’t have those, applying frostbite or bleed to your starting weapon is also a good strategy.
- In the new area, take out the mage enemies on the ground floor first. They will get in your way later on.
- Head up the first flight of stairs and then the second on the other side of the room.
- Go to the broken railing and jump over to the huge hanging rock. Now turn right and jump up to the rafters.
- Look for the hole in the wall and inspect the door within. It will tell you to inspect the source of the noise below.
- Head over to the other side of the rafters and look down to see 2 Marauders and 1 Godskin Apostle. Throw your pots down for some easy splash damage, and then drop down to fight them.
- If you have it, use your ultimate to link them together, and retreat towards the stairs to try and control their movements. If you can get them into a single file line, this becomes a lot easier.
- Once the boss is down, head back to the door that you previously examined. Interact with the giant crystal inside, and the remembrance will be completed.
Congratulations on finishing the chapter! You’ve earned the Cleansing Tear Relic. This relic fits in the Red Slot and gives you these benefits:
- Continuous damage inflicted on targets threaded by Ultimate Art
- Improved Affinity Damage Negation
- Defeating enemies fills more of the Art gauge
If you don’t have a lot of item-boosting relics, this is a pretty good one to start with.
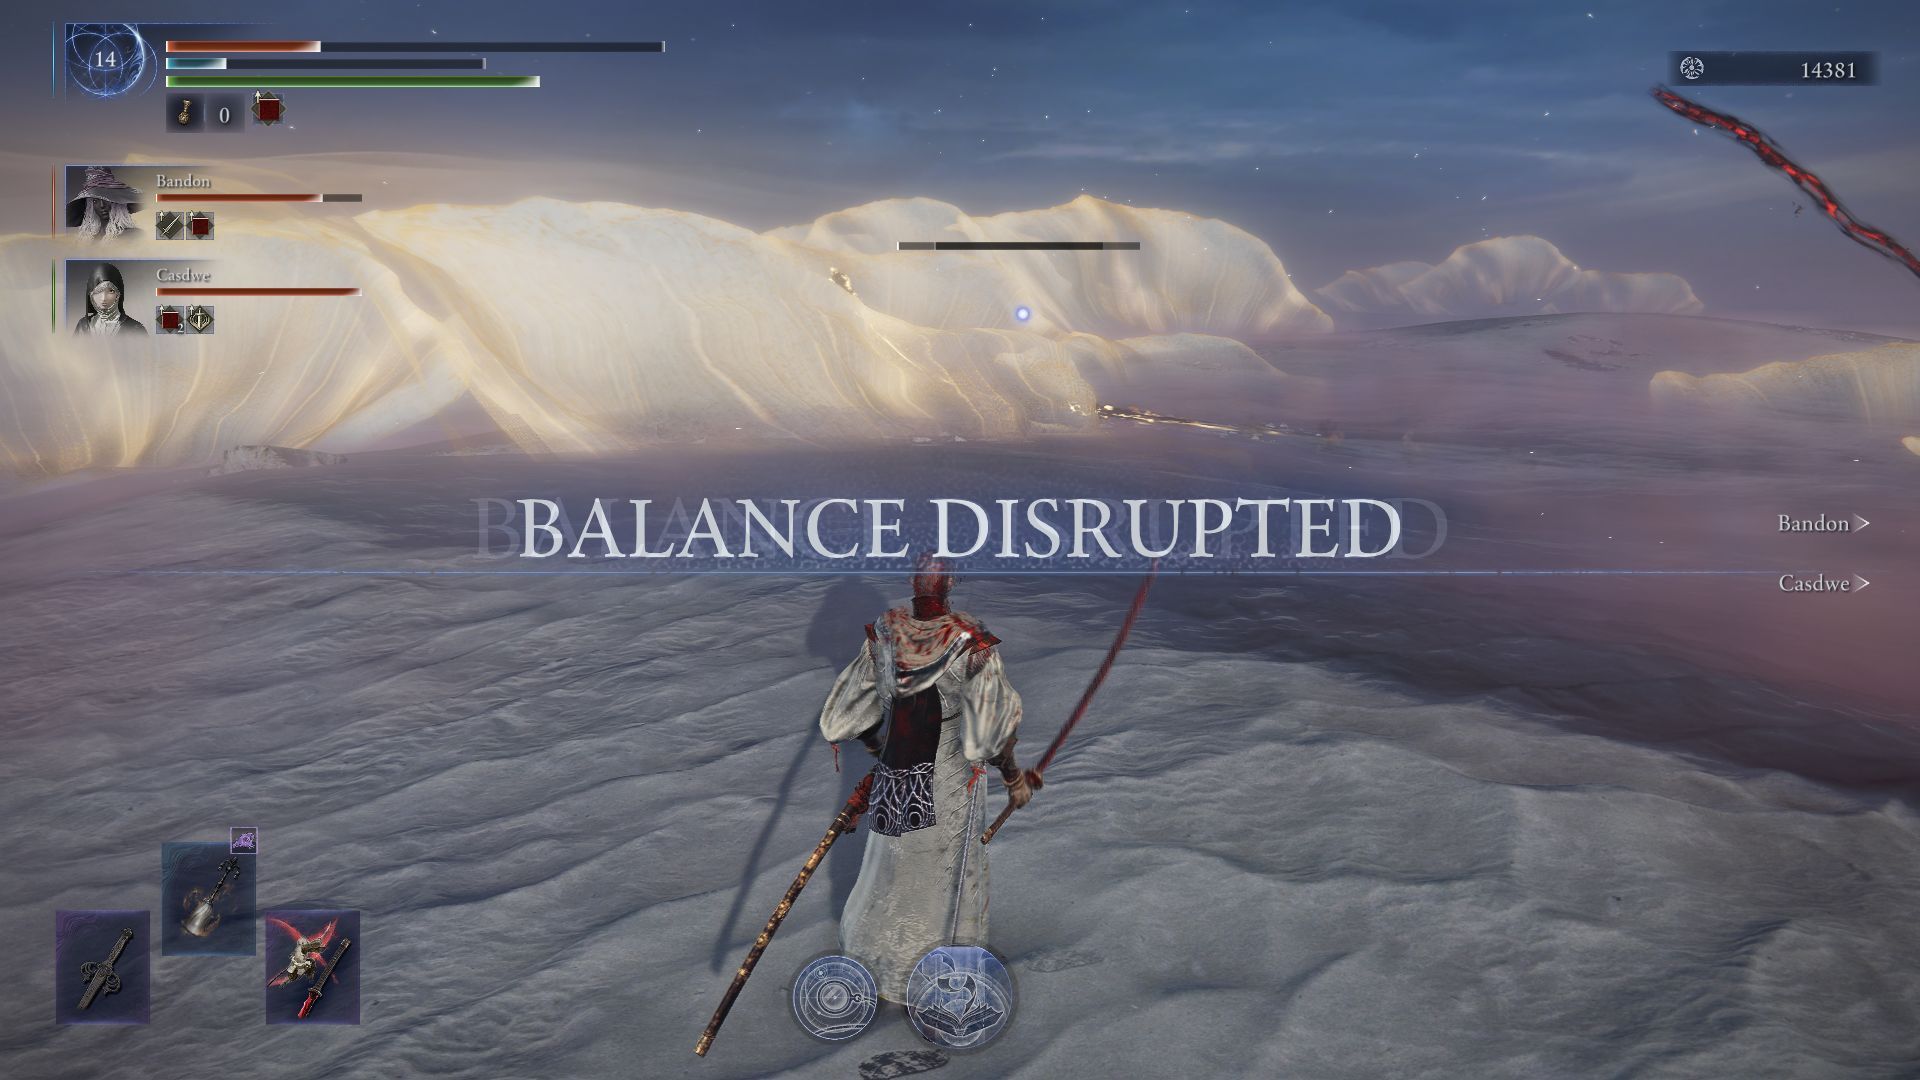
Many players think the story stops here, but that’s not the case. You just need to unlock Chapter 8, which can be tricky. To do that, you have to defeat the Balancers using the Scholar character. It’s important to know that the chapter won’t become available until you’ve beaten the Balancers.
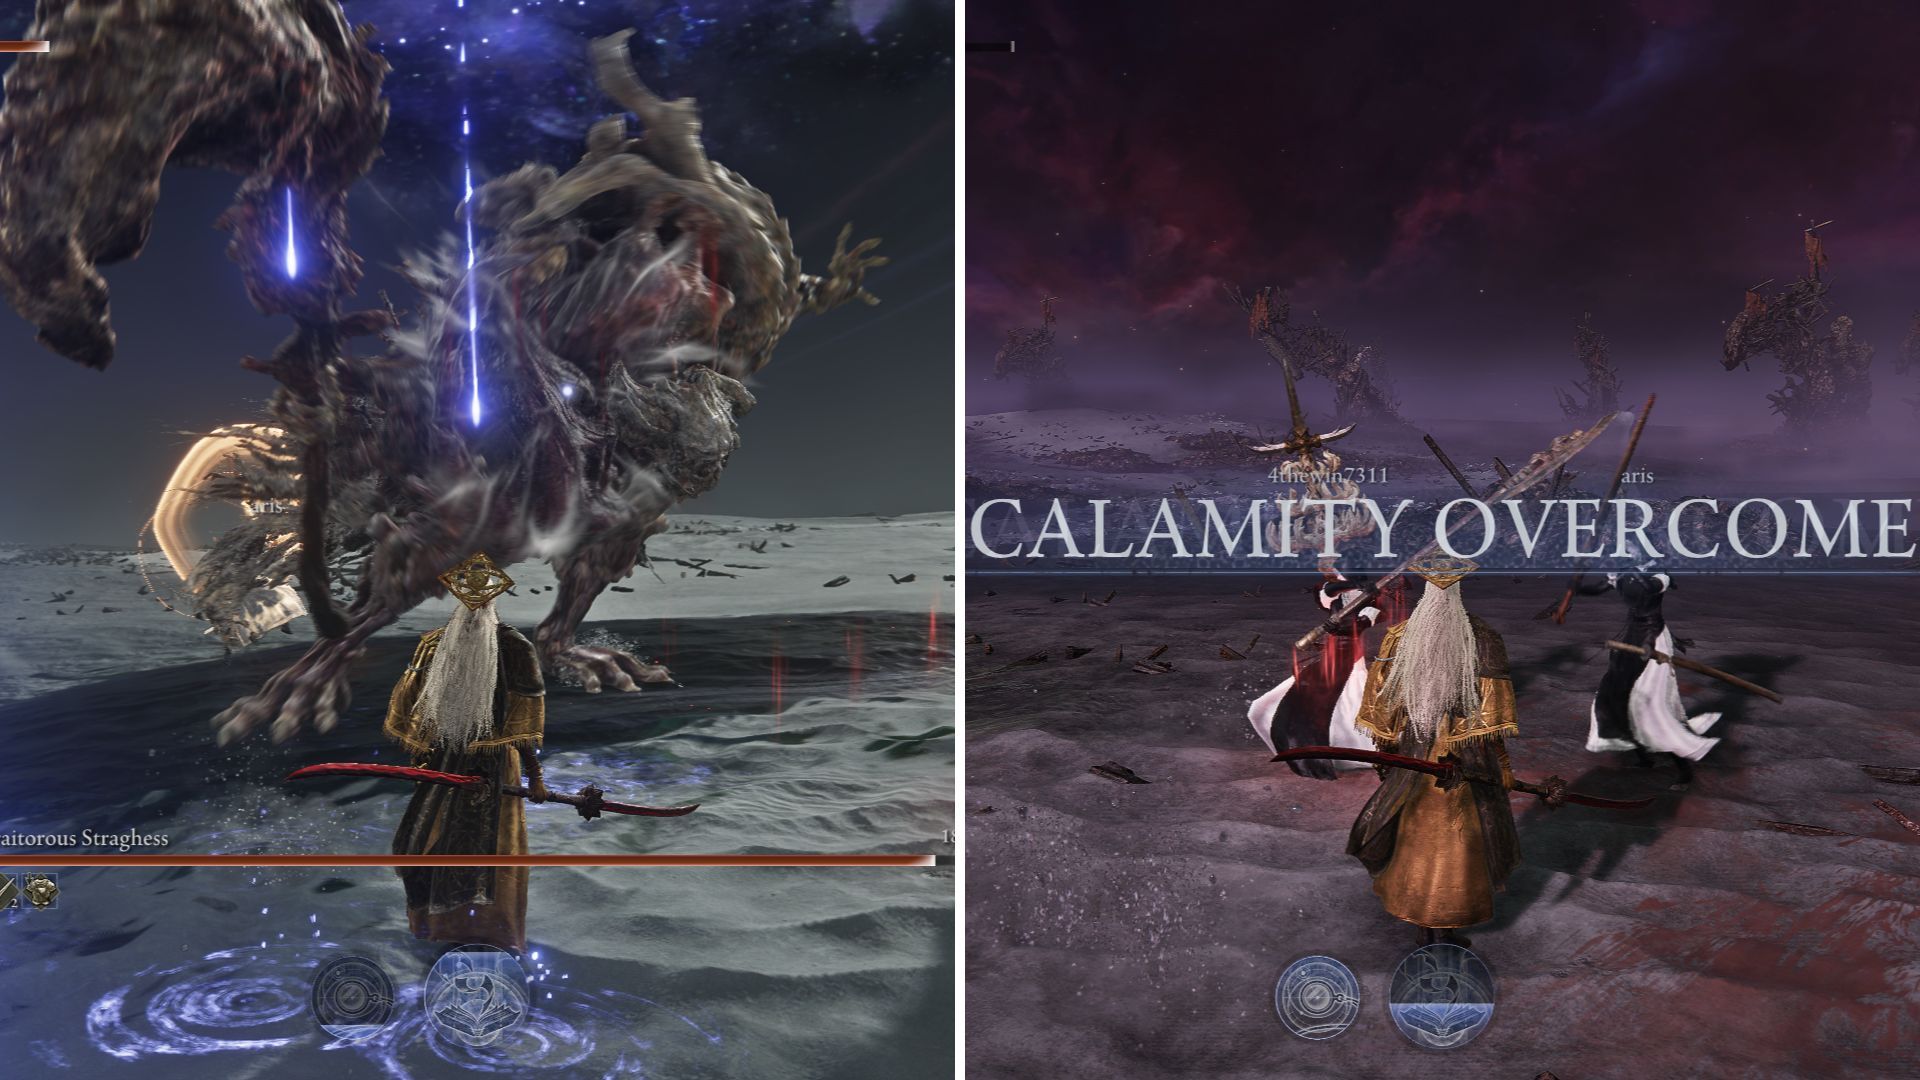
Chapter 8 – The Dreglord Cometh
Move on to the next part of the story and talk to the Undertaker in the Chapel. Listen to what she says until she gives you back the Monocle Case.
According to the map, go to the Dresser room. Look at the mirror, then head back to the Chapel. Use the desk and choose the “Oneself” option – this will give you a new goal: to defeat the Dreglord!
Okay, so I need to make sure I haven’t forgotten anything about the story, then I should start another run for the Dreglord and go back into Limveld. It looks like we’re heading there one more time!
This boss is challenging, featuring two health bars, multiple phases, and no clear weak point. The fight revolves around the Scarlet Rot status effect, so increasing your resistance to it or using items that take advantage of it will be a big advantage.
Stay far away from your opponent and consistently use your character’s special ability to lower their strength. If you do that, you should win! As a reward for completing this challenge, you’ll receive the Headband of the Golden Ones.
Go back to the Undertaker and listen to everything she has to say. Once you’ve finished talking to her, interact with the table in the Chapel one last time. You’ve now finished Remembrance – congratulations!
Rewards and Skins
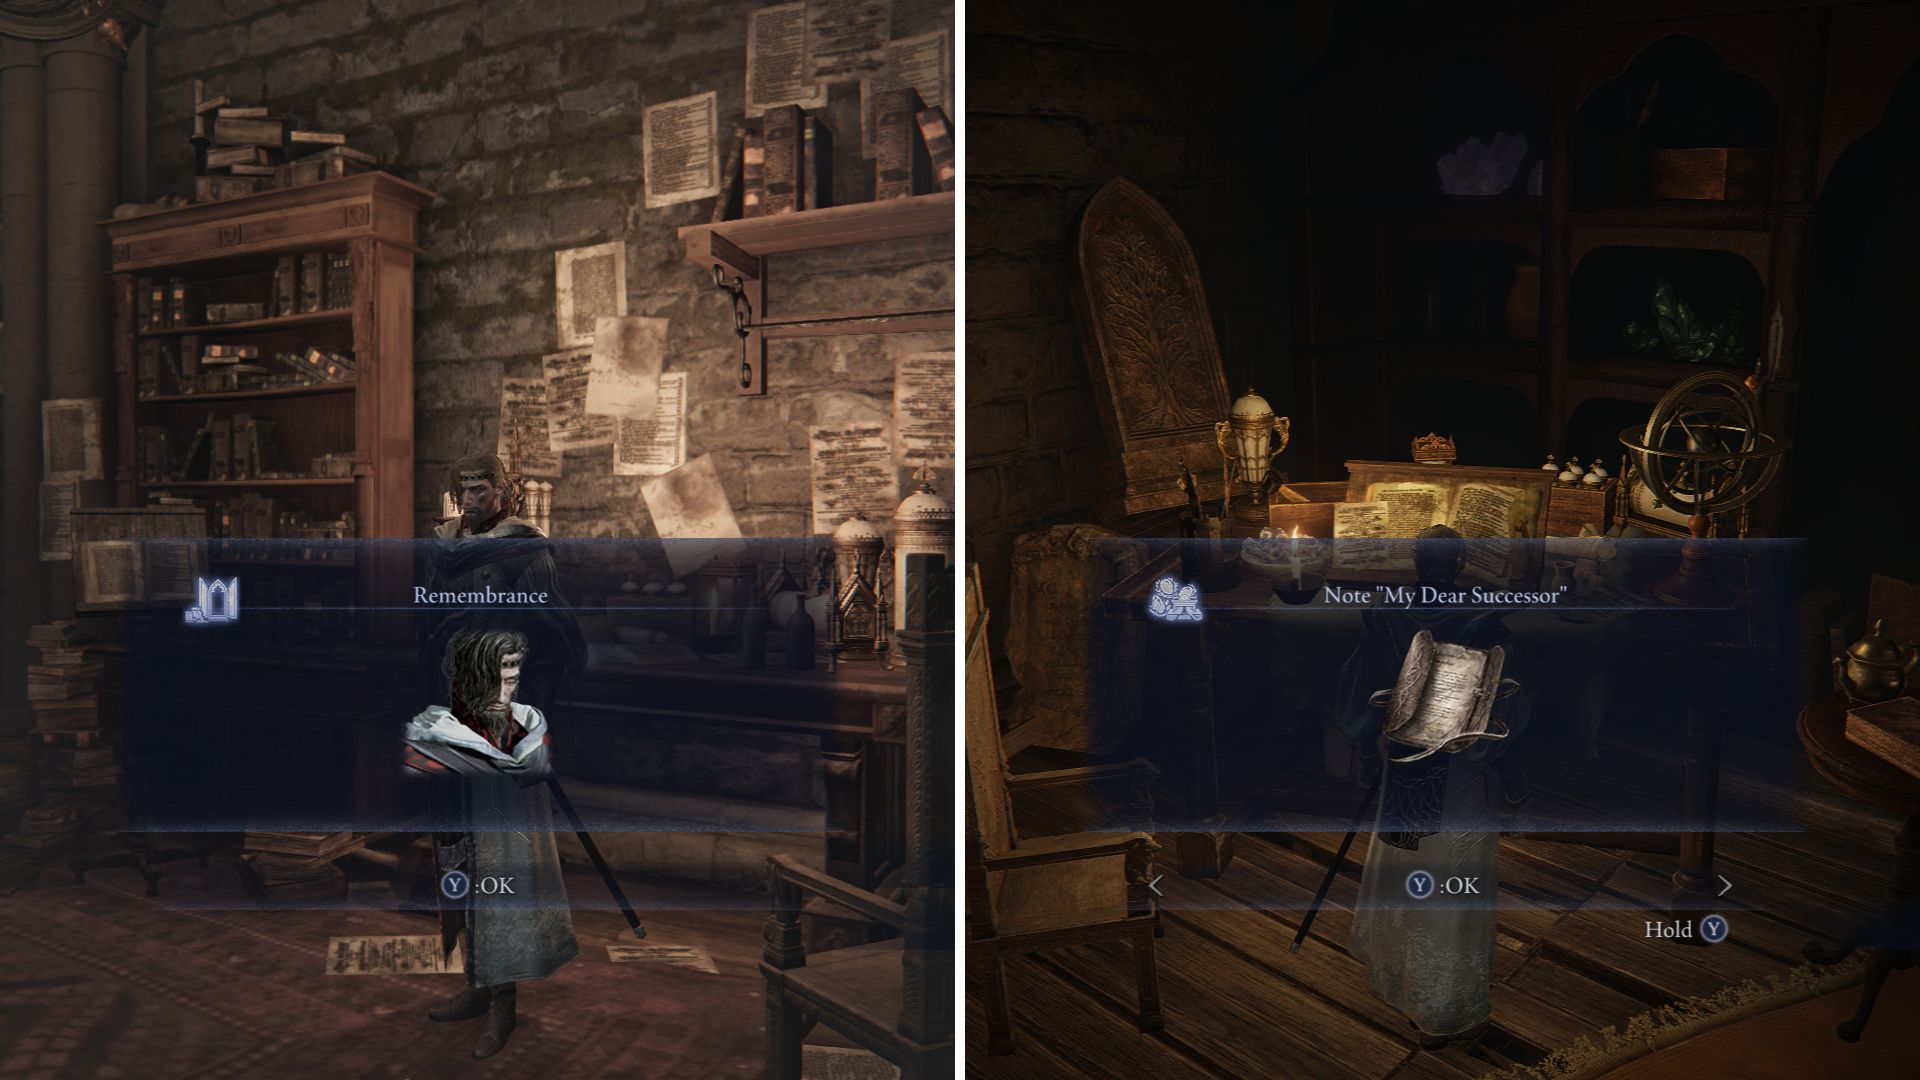
After your last interaction with the table, the Scholar will receive their Remembrance skin and wear the new Headband.
If you’re new to the Dreglord, you’ll receive the Dawn and Darkness Skins. Plus, you can buy Oswald of Carim’s armor set from the first Dark Souls game, and the unique Xanthous Set, which has appeared in various forms across all Dark Souls games and even Demon’s Souls!
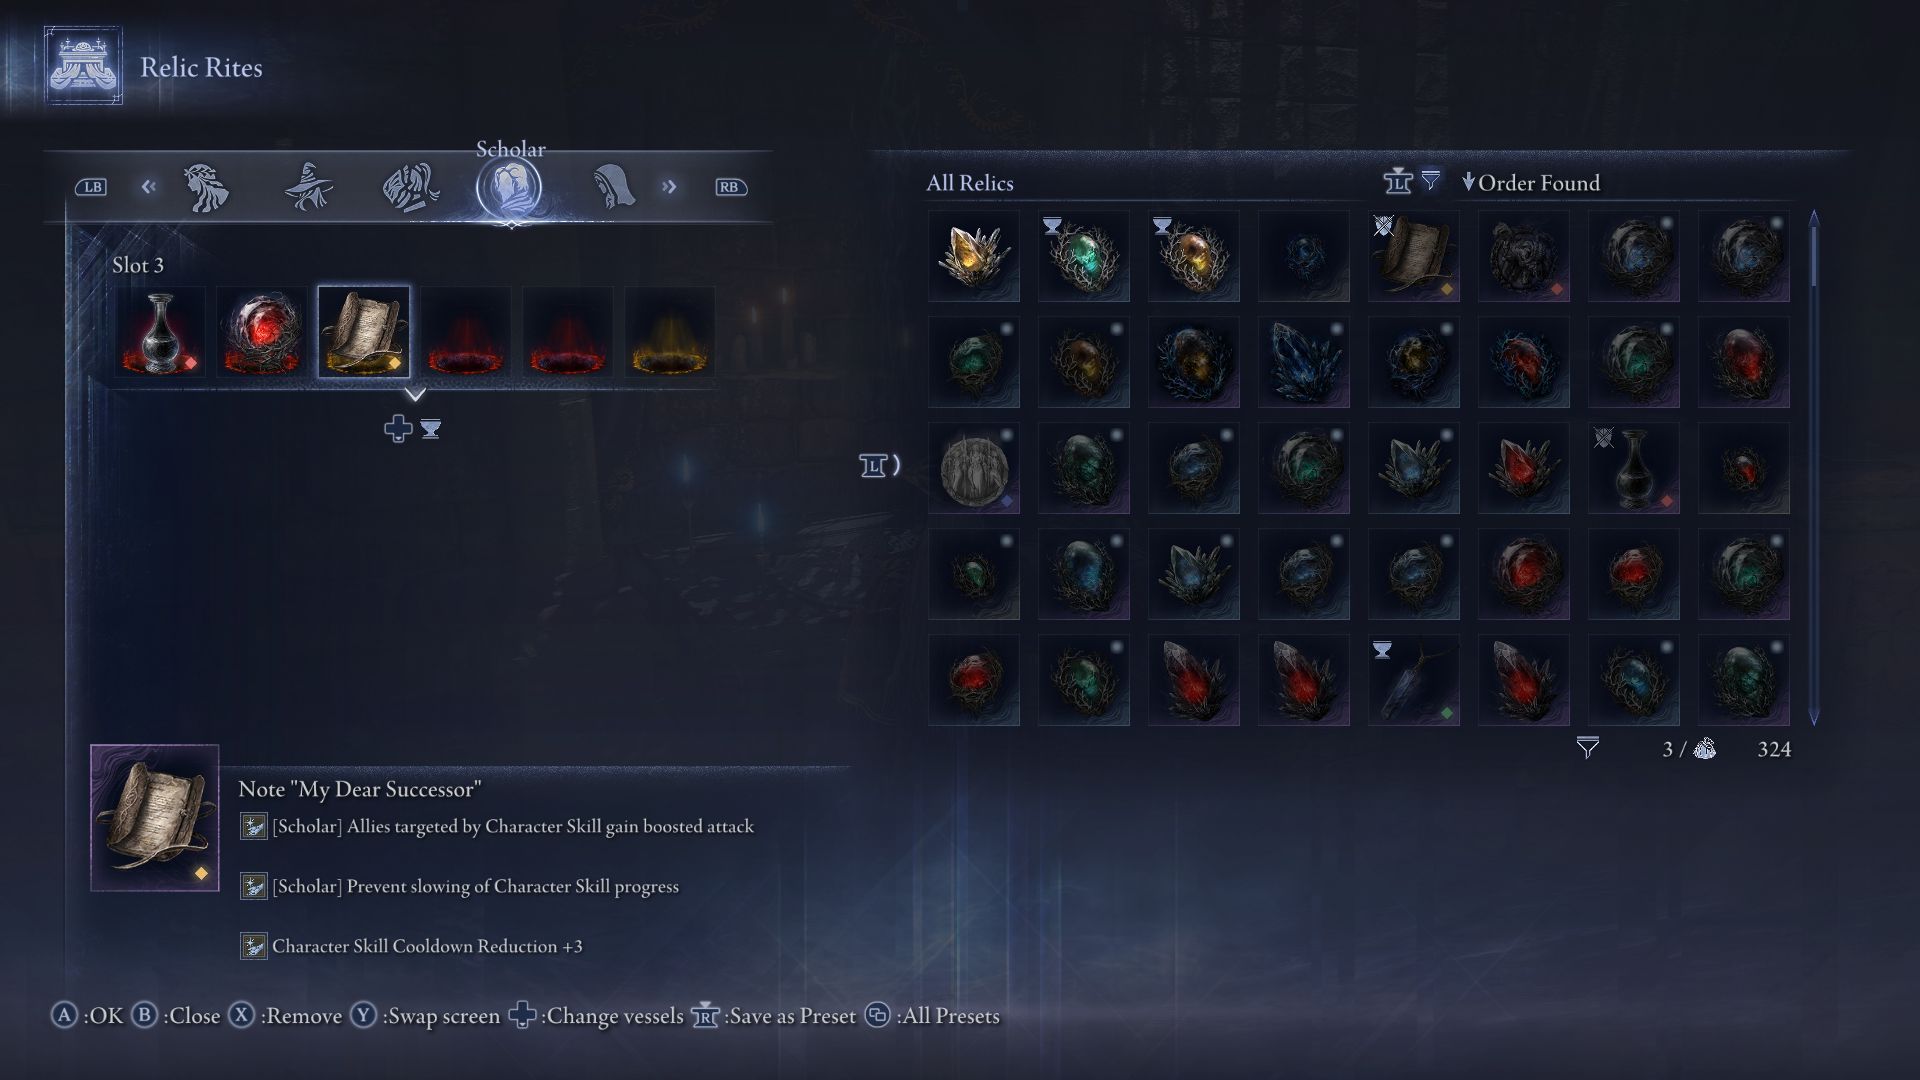
Plus, you’ll receive a new item called “My Dear Successor.” It’s a yellow Relic that provides these advantages:
- Allies targeted by Character Skill gain boosted attack
- Prevent slowing of Character Skill progress
- Character Skill Cooldown Reduction +3
It’s strange this wasn’t available sooner in the Scholar’s development, since the effect it provides is essential for making the character useful.
Previously, the circles around your allies when using your analysis skill were just visual – they didn’t have any effect on those allies. The skill only impacted your enemies.
Now, with this item, you can study your allies to give them an attack boost, making the Scholar class even more helpful as a support role.
Read More
- Games That Faced Bans in Countries Over Political Themes
- Gold Rate Forecast
- Unveiling the Schwab U.S. Dividend Equity ETF: A Portent of Financial Growth
- Silver Rate Forecast
- Superman Flops Financially: $350M Budget, Still No Profit (Scoop Confirmed)
- 22 Films Where the White Protagonist Is Canonically the Sidekick to a Black Lead
- 20 Movies Where the Black Villain Was Secretly the Most Popular Character
- 14 Movies Where the Black Character Refuses to Save the White Protagonist
- The Best Directors of 2025
- The Best Former NFL Players Turned Actors, Ranked
2025-12-07 03:41