In simpler terms, the optimal Long Sword setup in Monster Hunter World is quite straightforward, making it an excellent choice for both newcomers and experienced players seeking a less demanding hunting experience. While it offers some clever and stealthy techniques to exploit, the fundamental combos are straightforward enough to learn quickly. Additionally, it boasts a powerful leap attack that delivers multiple slashes from behind, which feels like an act of disrespect but is incredibly gratifying.
Following my journey from the Lower Realm to the Higher Realm, I’ve gathered some valuable insights that could aid you in your own quests. Hereafter, you’ll find a setup for the Lower Realm, inclusive of progression for your equipment, ensuring you’re always equipped with top-tier gear. Additionally, there’s a section detailing the fundamental playstyle associated with the weapon.
How to play Long Sword in Monster Hunter Wilds
In the realm of speed and force, the Long Sword holds a balanced position among its peers. Compared to the Great Sword, it offers more agility but delivers greater damage per strike than the Sword & Shield or Dual Blades. What’s more, mastering the Long Sword is straightforward, even in comparison to its predecessors from earlier Monster Hunter games.
Here’s a guide on how to wield the Long Sword effectively in Monster Hunter Wilds:
- Use basic attacks (Y or B) to charge your Spirit Gauge
- Once your Spirit Gauge is full, use the Spirit Blade combo, finishing with Spirit Roundslash to increase your Spirit Gauge level. This will change the bar’s colour.
- Repeat this process again until your Spirit Gauge is red (maximum level), at which point press RT + Y to use Spirit Thrust, then RT once you’re in the air to crash down with Spirit Helm Breaker, and press RT once more to use Spirit Release Slash
- Completing this chain resets your Spirit Gauge, letting you repeat the process all over again
Essentially, accumulate energy for powerful strikes and follow up with counters whenever possible. However, swift creatures pose a challenge in managing and utilizing the energy effectively. Nevertheless, some clever tactics can simplify the process of building and discharging energy.
- You only need to hit Spirit Roundslash to increase your Spirit Gauge level: This Spirit Blade I to III combo leads into the Spirit Roundslash attack, which is required to increase your power. However, you can actually miss all of the Spirit Blade attacks and still increase your charge level so long as you hit Spirit Roundslash.
- You can add basic attacks between the Spirit Blade combo: You might think that once you’ve committed to the Spirit Blade combo, you have to stick with it, but you can actually weave an infinite amount of basic attacks between each hit and still keep your progress. You won’t need to do this often, but it has its uses, such as building more Spirit if you misjudge or delaying your Spirit Roundslash.
- Spirit Blade has directional variants: The first two attacks in the Spirit Blade combo vary depending on the direction you’re moving, such as dodging backwards or to the left and right. This is great for dodging and repositioning as you build towards Spirit Helm Breaker.
- Spirit Thrust and Spirit Release Slash have hyperarmour but Helm Breaker does not: This means that an attack is uninterruptable, so you can continue attacking despite being hit or stunned by a roar. Importantly, the middle attack in the Long Sword’s Spirit combo, Spirit Helm Breaker can be interrupted.
- You can cancel Spirit Helm Breaker: While the setup and finish are easy to pull off, it’s possible to whiff this combo halfway through. Luckily, you can cancel Spirit Helm Breaker by pressing X before hitting the ground, which won’t reset your Spirit Gauge.
- You need full essence to use Spirit Helm Breaker and Spirit Release Slash: This is an incredibly powerful attack that modifies the thrusting leap attack. It’s generally best to wait until you have max Spirit before using this attack since both the standard and Spirit versions of the thrust leap consume and reset your Spirit Gauge.
- You can use Focus Mode to quickly increase your Spirit Gauge: Holding LT to enter Focus Mode will highlight open wounds. You can then use RB to break these wounds. Breaking a wound with the Long Sword increases your Spirit Gauge level by one, which is great for quickly reaching the maximum level to use Spirit Helm Breaker and Spirit Release Slash more often.
- You can counter monster attacks to quickly increase your Spirit Gauge: Alongside breaking wounds, countering attacks is a great way to quickly reach the full Spirit combo. You can do this using Foresight Slash and Iai Spirit Slash. Foresight Slash is easy to trigger by simply pressing Y + B after a basic attack, dodging backwards and following up with a quick slice that regains charge. Iai Spirit Slash requires you to activate Special Sheathe first using RT + A and then pressing RT when you want to counter. Importantly, this will also skip the first two Spirit Blade attacks.
Best Long Sword build for Low Rank
This strategy enhances the Long Sword by boosting its attacks and incorporating wound-related effects, making its extended combos more beneficial. Additionally, it makes use of several diverse skills for survivability and resistance, which facilitate performing these combos with ease. Compared to other weapons, this approach is relatively simple to understand.
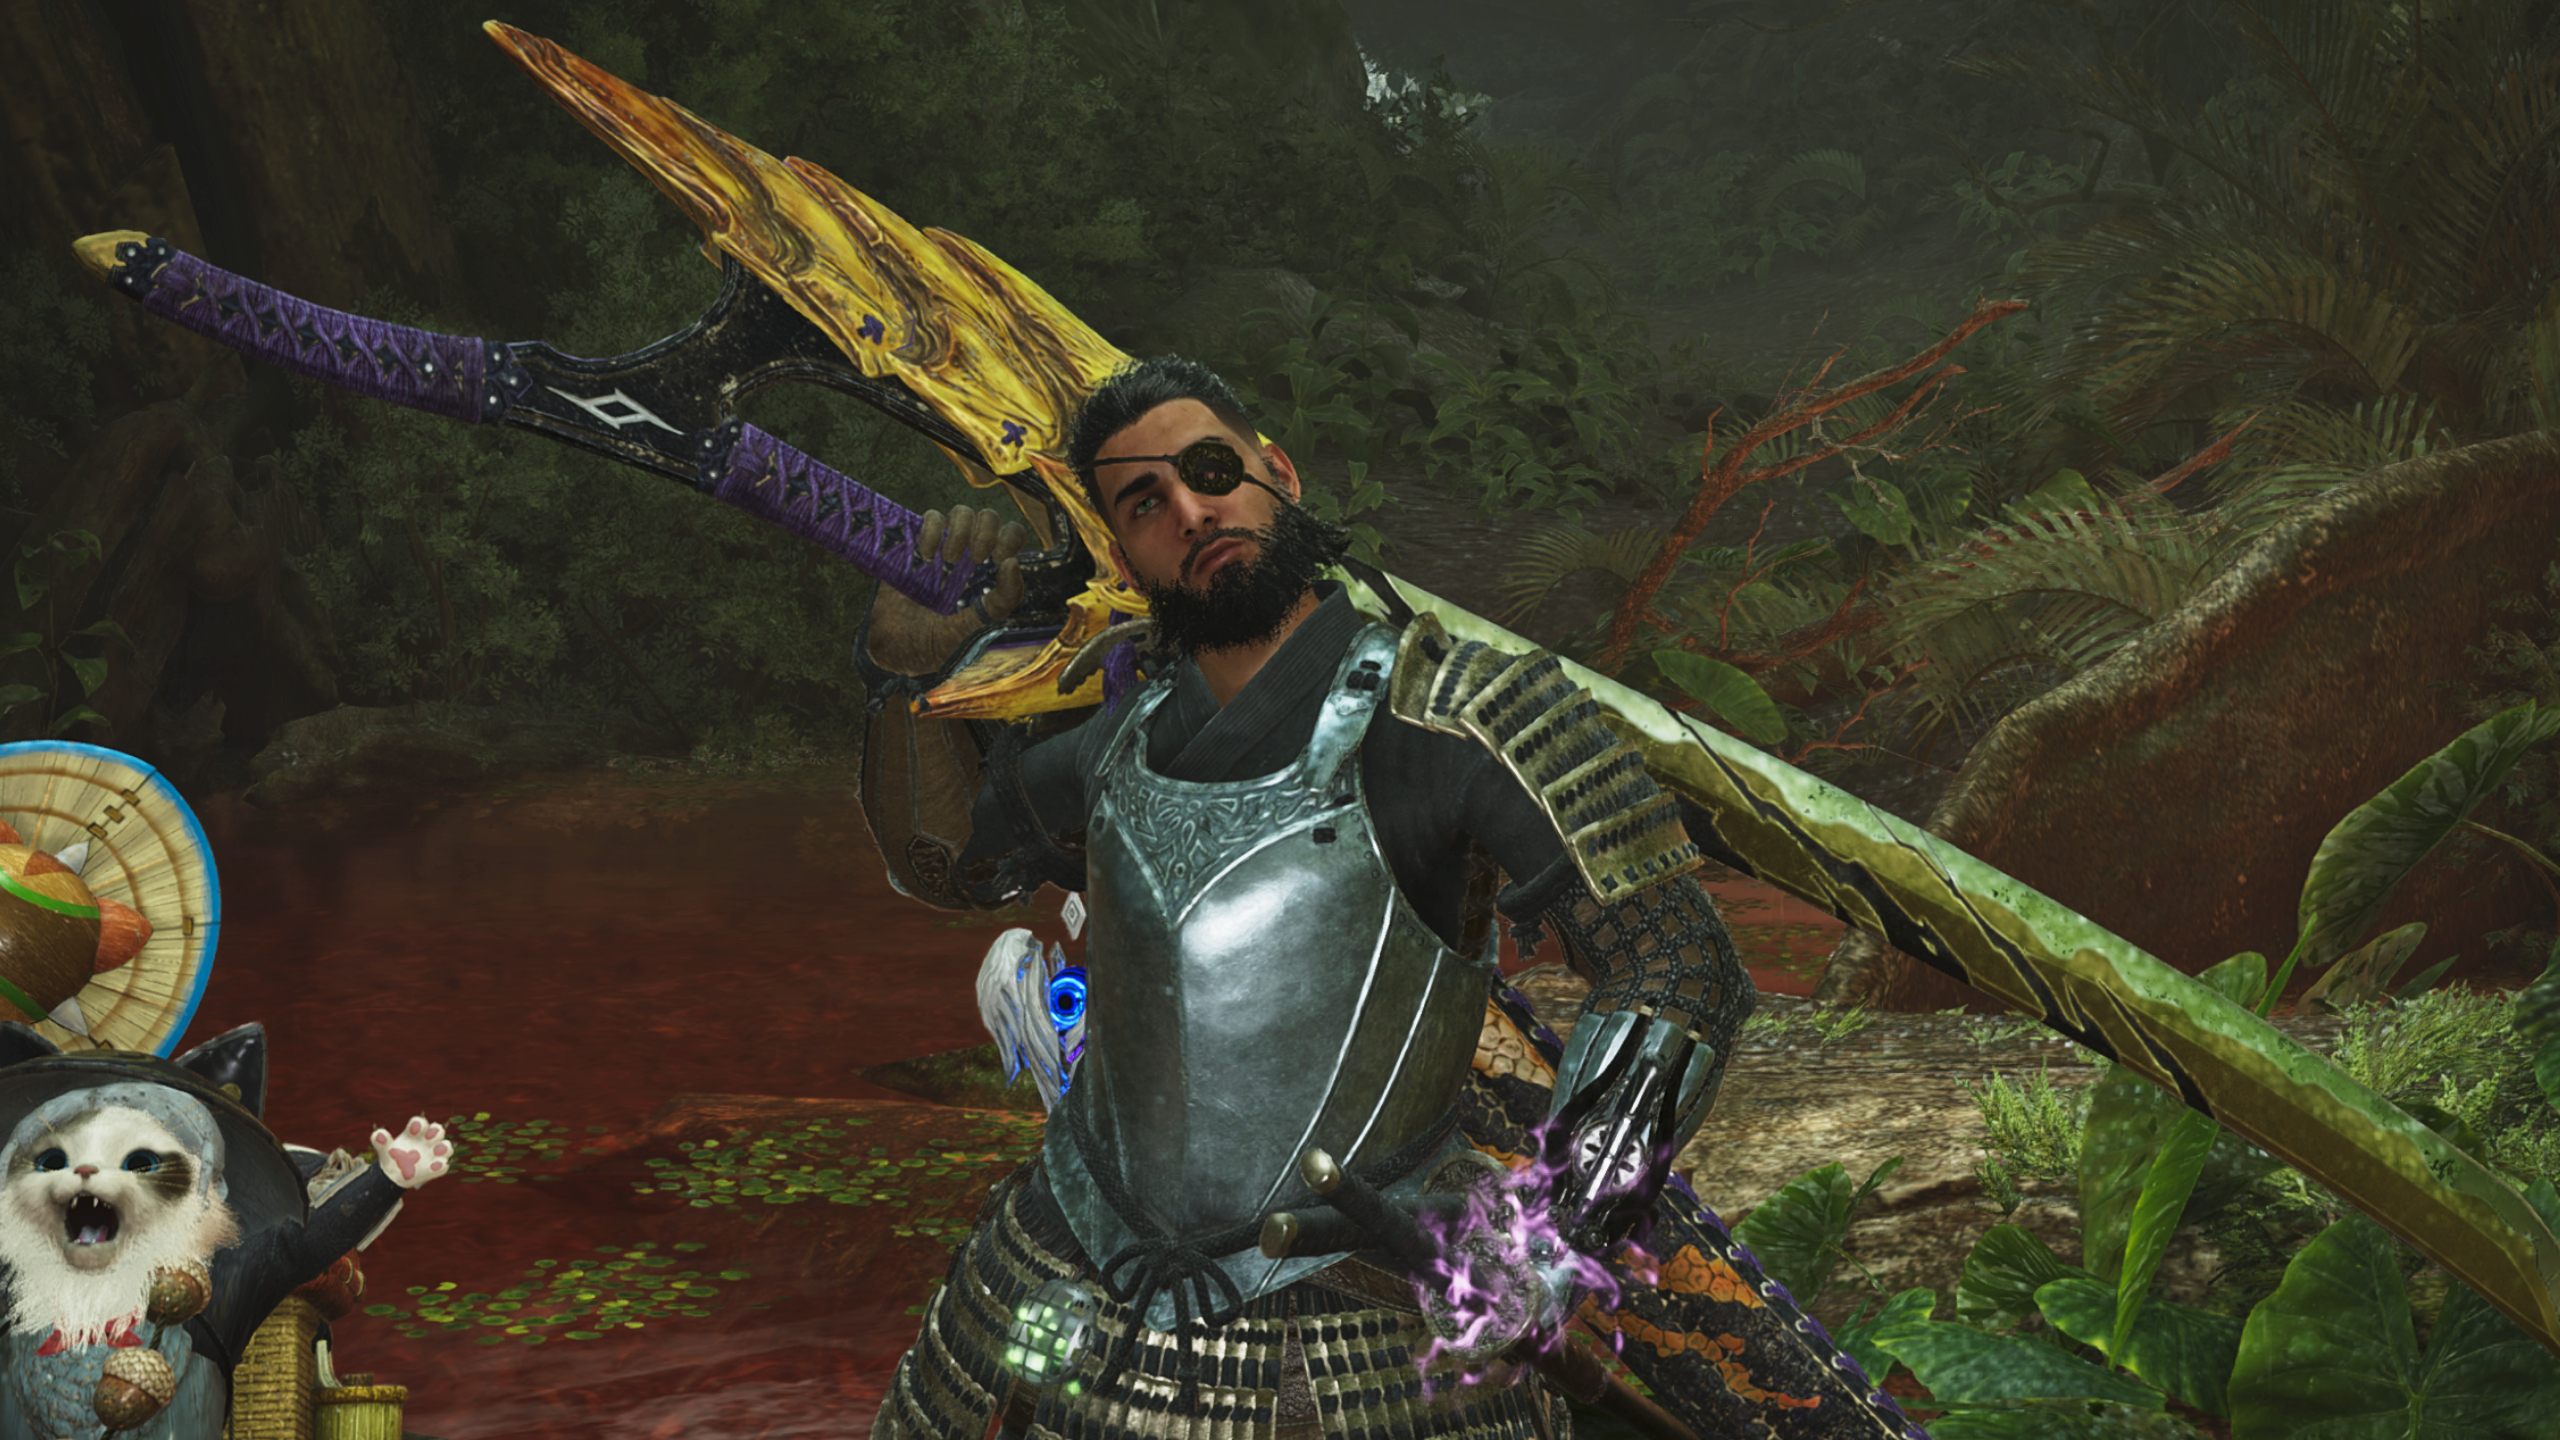
- First weapon: Barina Flamberge I
Apart from your initial Hope Edge sword, it’s advisable to construct the Barina Flamberge I post your encounter with Lala Barina in the Scarlet Forest – the creepy spider that triggers intense fear in arachnophobes. This weapon is an excellent early choice due to its paralysis feature, a highly effective element in Wilds. This paralysis capability allows you to completely immobilize your enemy, making it easy for you to execute long combos and accumulate charge before using Helm Breaker (a move that’s less risky on an immobile monster). Once you defeat Rey Dau, the top predator of the Windward Plains, consider crafting:
– Barina Flamberge I for its paralysis ability
– After defeating Rey Dau, focus on crafting…
- Second weapon: Rey Tonitrus I
With the powerhouse Rey Tonitrus, I navigated the rest of Low Rank effortlessly due to its robust stats and exceptional features. What truly stood out was the Focus ability, which boosts the fill rate of your Spirit Gauge. Essentially, this makes it simpler to accumulate and sustain your Gauge, enabling you to unleash potent Spirit attacks more frequently. Furthermore, it boasts the Punishing Draw trait, which inflicts a stun on draw attacks and slightly amplifies your attack power. While tricky to execute, once mastered, especially with the Special Sheathe move (whether followed by Iai Slash or Iai Spirit Slash), you’ll develop a soft spot for this perk. Also, a successful counter allows you to bypass sections of the Spirit Blade combo.
- Third weapon: Bone Shotel III
Compared to Rey Dau’s Long Sword, which requires battling tough monsters to obtain, the Bone Shotel III is more simplistic in design. However, it boasts significantly greater base stats than the Rey Tonitrus I, lacking elemental properties. To add to its appeal, the Bone Shotel III includes Level 2 Focus and Level 1 Attack Boost, allowing you to swiftly fill your Spirit Gauge and inflict substantial damage with each strike.
To craft the Bone Shotel III, you’ll require Tough Guardian Bones. These can be obtained from Arkveld and Zoh Shia, or collected from bone heaps found within the Ruins of Wyveria. There’s a good chance that you’ll need to complete these main story quests again to acquire them. Once you have them, they’ll be useful for starting your High Rank hunts.

Guide for Monster Hunter Wilds: Gathering all our tips in a single spot
Tips for Monster Hunter Wilds: Get ready for some hunting action
Weapons in Monster Hunter Wilds: Various builds available
Best armor in Monster Hunter Wilds: Keep yourself protected
Beasts in Monster Hunter Wilds: All the creatures you’ll encounter
Multiplayer in Monster Hunter Wilds: How to team up for cooperative hunting
- First armour set: Quetramice Helm, Quetramice Mail, Quetramice Braces, Chainmail Belt, Chainmail Pants
Despite the hunter being more nimble with the Long Sword than I could manage, it’s still noticeably heavier compared to weapons like Dual Blades and Insect Glaive. However, the Quetramice armor set is an excellent choice in such a scenario. Although it’s the Scaling Prowess group skill that makes this set ideal for an Insect Glaive build, it’s the specific skills on individual pieces that make this early set a suitable match for the Long Sword.
Of particular importance is acquiring the Quetramice Helm, Mail, and Braces for the purpose of enhancing the Flinch Free skill at three levels. This feature reduces interruptions during attacks, thereby making it easier to execute the extended Spirit Blade combo using the Long Sword, especially as you navigate the Forbidden Lands and gain a foothold in this new environment.
Match up these three items with the Chainmail Belt and Chainmail Pants, and you’ll create a robust initial-phase armor set. These chainmail pieces come equipped with Recovery Speed, swiftly replenishing your recuperable health post-attack.
- Second armour set: Ingot Helm, Doshaguma Mail, Doshaguma Braces, Balahara Coil, Balahara Greaves
The Ingot Armor Set doesn’t boast a flashy set bonus, yet it offers one of the top individual advantages for most character types – Divine Blessing. By equipping the Ingot Helm, you can elevate your skill level by one, which has the potential to diminish any damage received by 15%. Additionally, you may craft the Blessing Charm I to further enhance this skill to level two, increasing the damage reduction to 30% whenever it triggers. A possibility of taking 30% less damage from a hit? Absolutely invaluable!
To enhance your character’s abilities further, consider donning both the Doshaguma Braces and Balahara Armor. The Doshaguma Braces offer Recovery Speed, effectively doubling the speed at which you recover from non-permanent damage. Adding another piece of the Doshaguma armor set (in this instance, the mail) triggers the Doshaguma’s Might bonus. This temporary boost provides an additional 10 attack points after a successful power clash or counterattack. By now, you should be comfortable with the Iai Spirit Slash sheathe attack.
The Balahara Coil and Balahara Greaves offer Evade Extender, expanding your evasion range. Although using Special Sheathe draw attacks for countering is typically the best choice in many situations, there are instances when dodging becomes necessary, and in such cases, this additional space to maneuver can be critical.
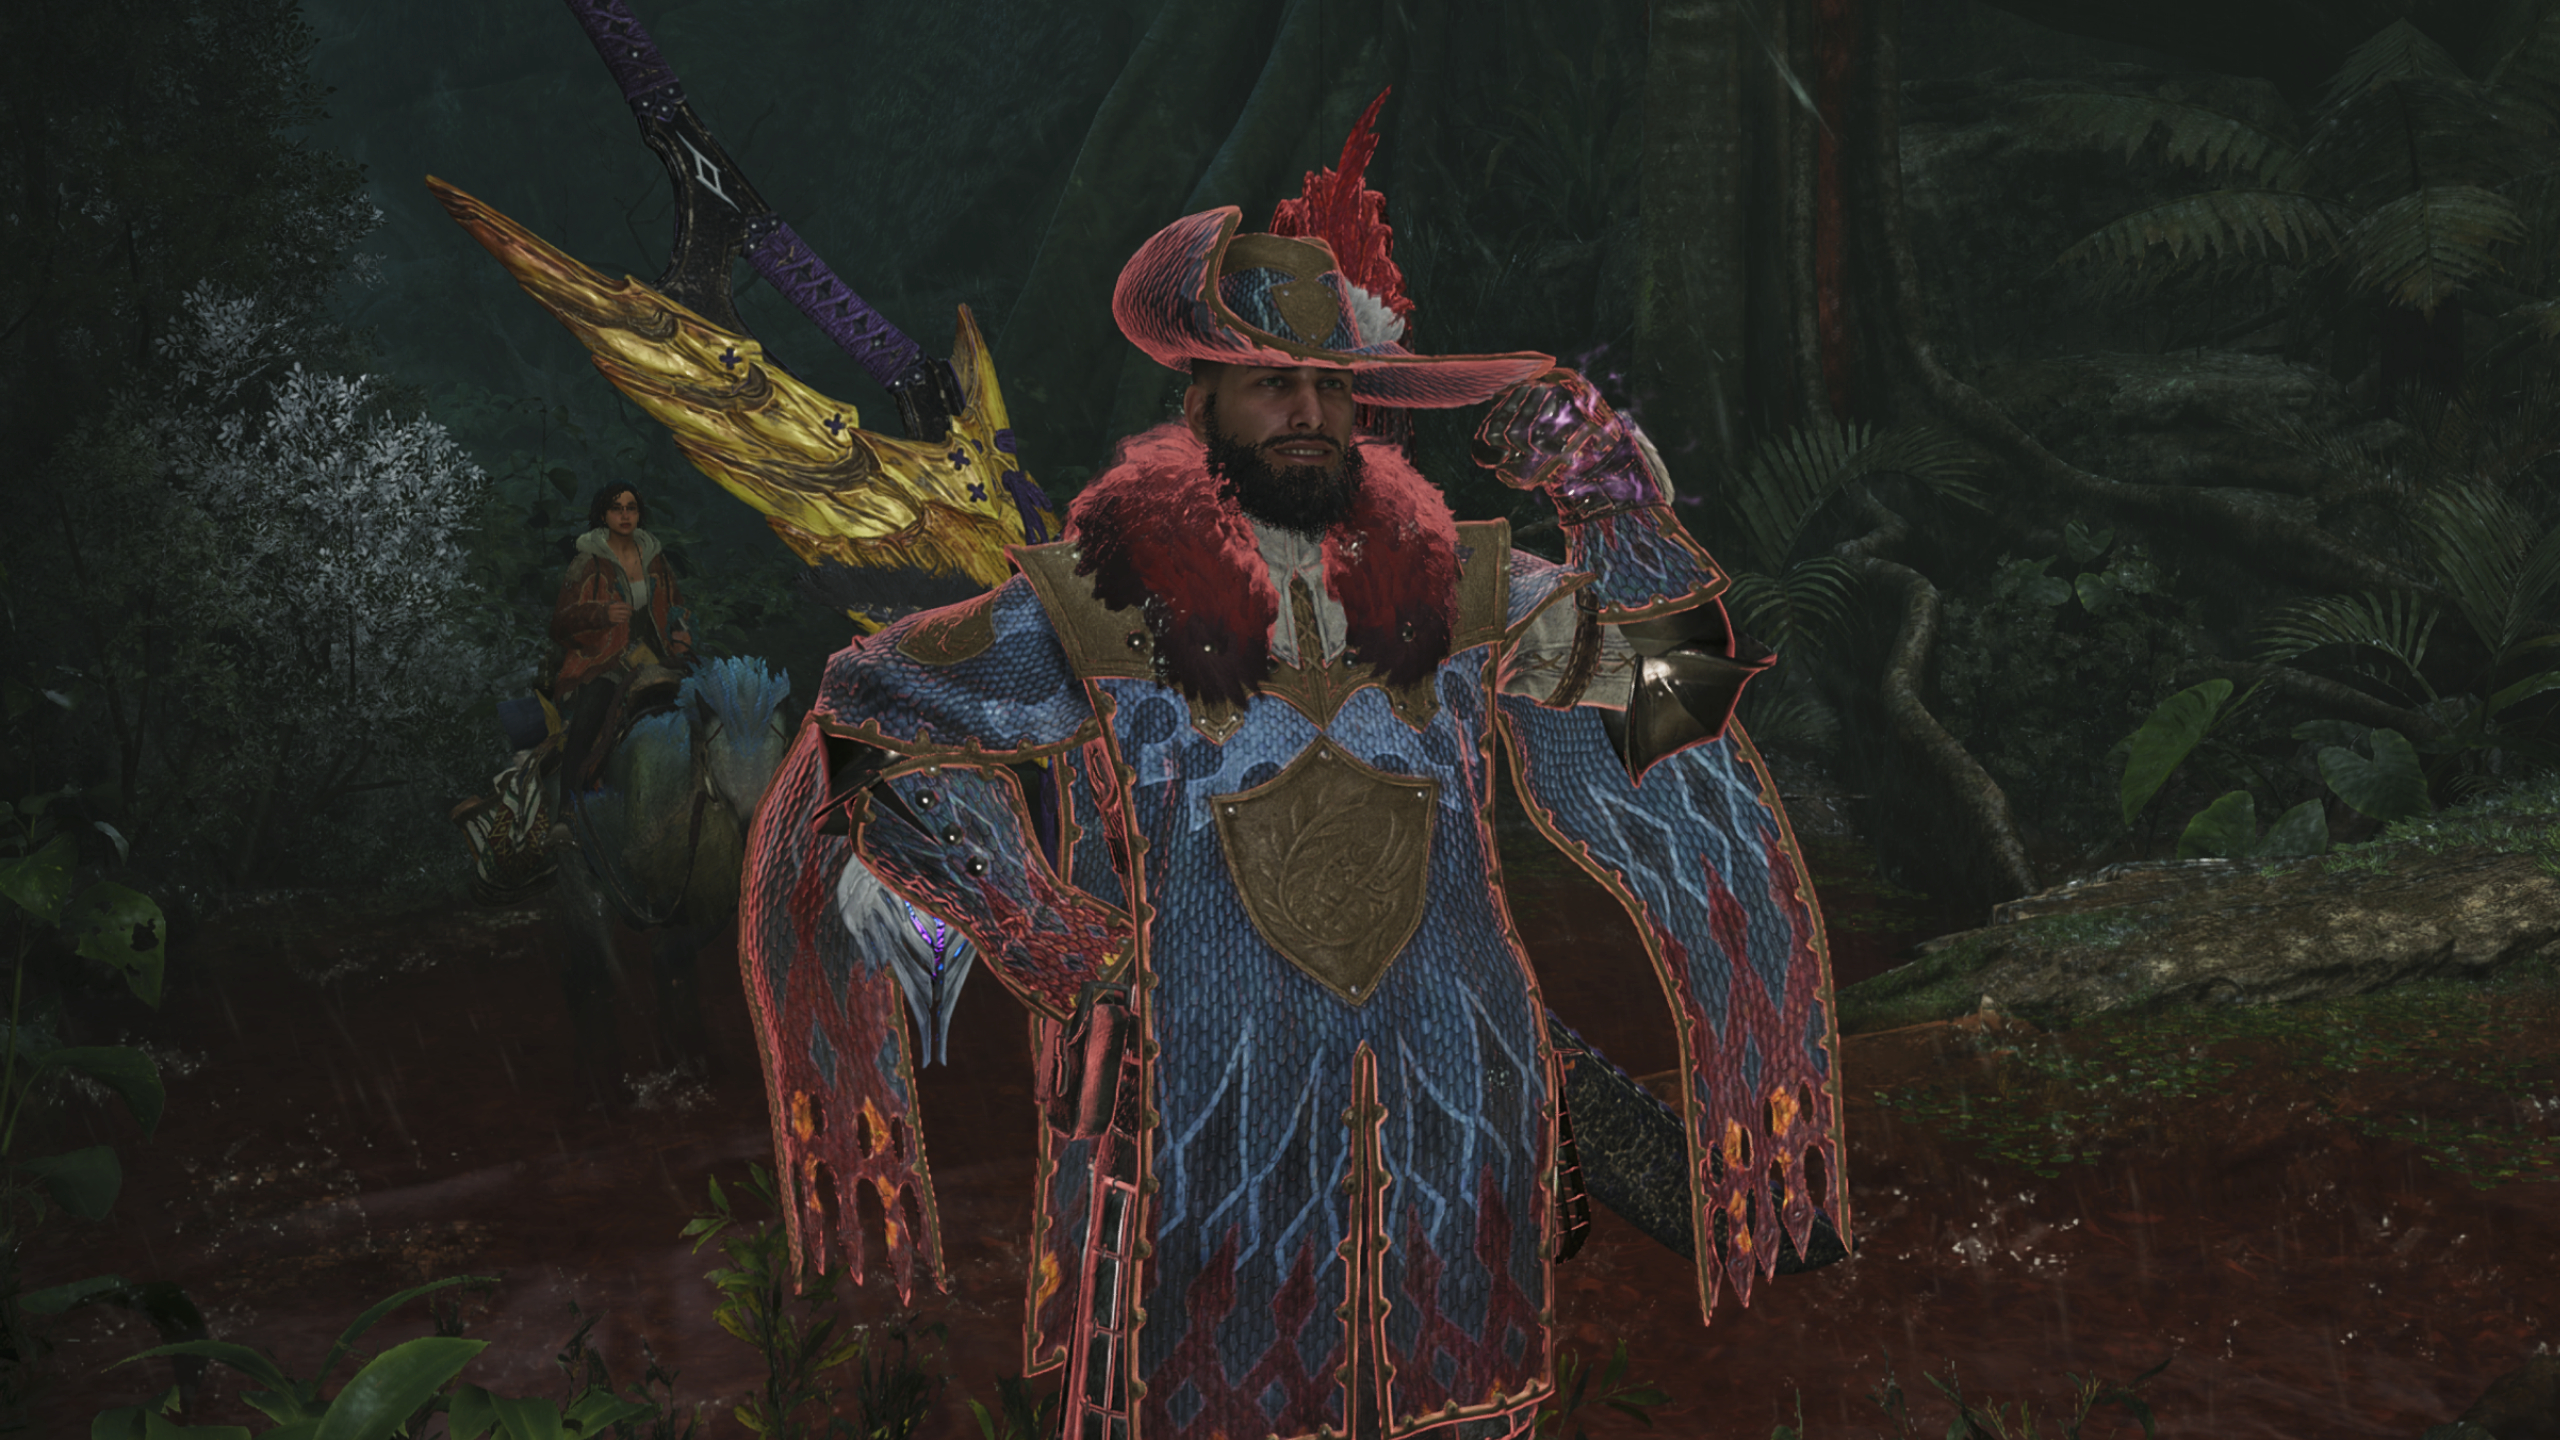
- Third armour set: Guardian Ebony Helm, Ajarakan Mail, Guardian Ebony Braces, Guardian Ebony Coil, Ajarakan Greaves
Upgrading completely to this armor set will take some time, but it’s worth it as it will support you until the end of Low Rank once acquired. This is because the Guardian Ebony Odogaron appears later in the narrative, after you enter Wyveria. However, you can acquire the Ajarakan set much earlier, so it would be beneficial to construct the full Ajarakan set initially, and then gradually replace some pieces with Guardian Ebony armor as you progress further.
In essence, your goal should be to acquire the Guardian Ebony Helm, Braces, and Coil as they all offer a skill called Burst. This ability gradually amplifies your damage after consecutive attacks. Initially designed for faster weapons like Dual Blades, these items’ attack bonuses align seamlessly with the Long Sword’s extended combos. With three pieces worn, you’ll also unlock Ebony Odogaron’s Power level two, which extends the duration of Burst and boosts your attacks by +3 while active.
For the remainder of the construction process, the Ajarakan Mail and Greaves offer a level two Partbreaker ability. This feature simplifies breaking monster body parts and amplifies the impact damage during Focus mode’s wound breaks. It’s particularly useful because you typically break a limb to max out your Spirit Gauge before executing Helm Breaker, making it an efficient means of enhancing combo damage without adding complexity. As you progress towards unlocking the Guardian Ebony Odogaron armor set and replacing some Ajarakan parts, you’ll already have the Partbreaker skill fully upgraded, making it even more potent.
Once you’ve put together this last armor collection, you’ll be fully equipped to conquer the story and advance beyond Low Rank. If you’re looking for an immediate upgrade, consider equipping Guardian Arkveld’s armor set as it offers several benefits, such as Flayer and Guardian Arkveld’s Vitality, which are ideal for players who favor wound-breaking gameplay styles.
Read More
- Apothecary Diaries Ch.81: Maomao vs Shenmei!
- USD ILS PREDICTION
- 30 Best Couple/Wife Swap Movies You Need to See
- Everything We Know About DOCTOR WHO Season 2
- DC: Dark Legion The Bleed & Hypertime Tracker Schedule
- Ncuti Gatwa Exits Doctor Who Amidst Controversy and Ratings Crisis!
- Clair Obscur: Expedition 33 – All Act 3 optional bosses and where to find them
- 9 Kings Early Access review: Blood for the Blood King
- Netflix’s ‘You’ Season 5 Release Update Has Fans Worried
- Summoners War Tier List – The Best Monsters to Recruit in 2025
2025-02-27 14:54