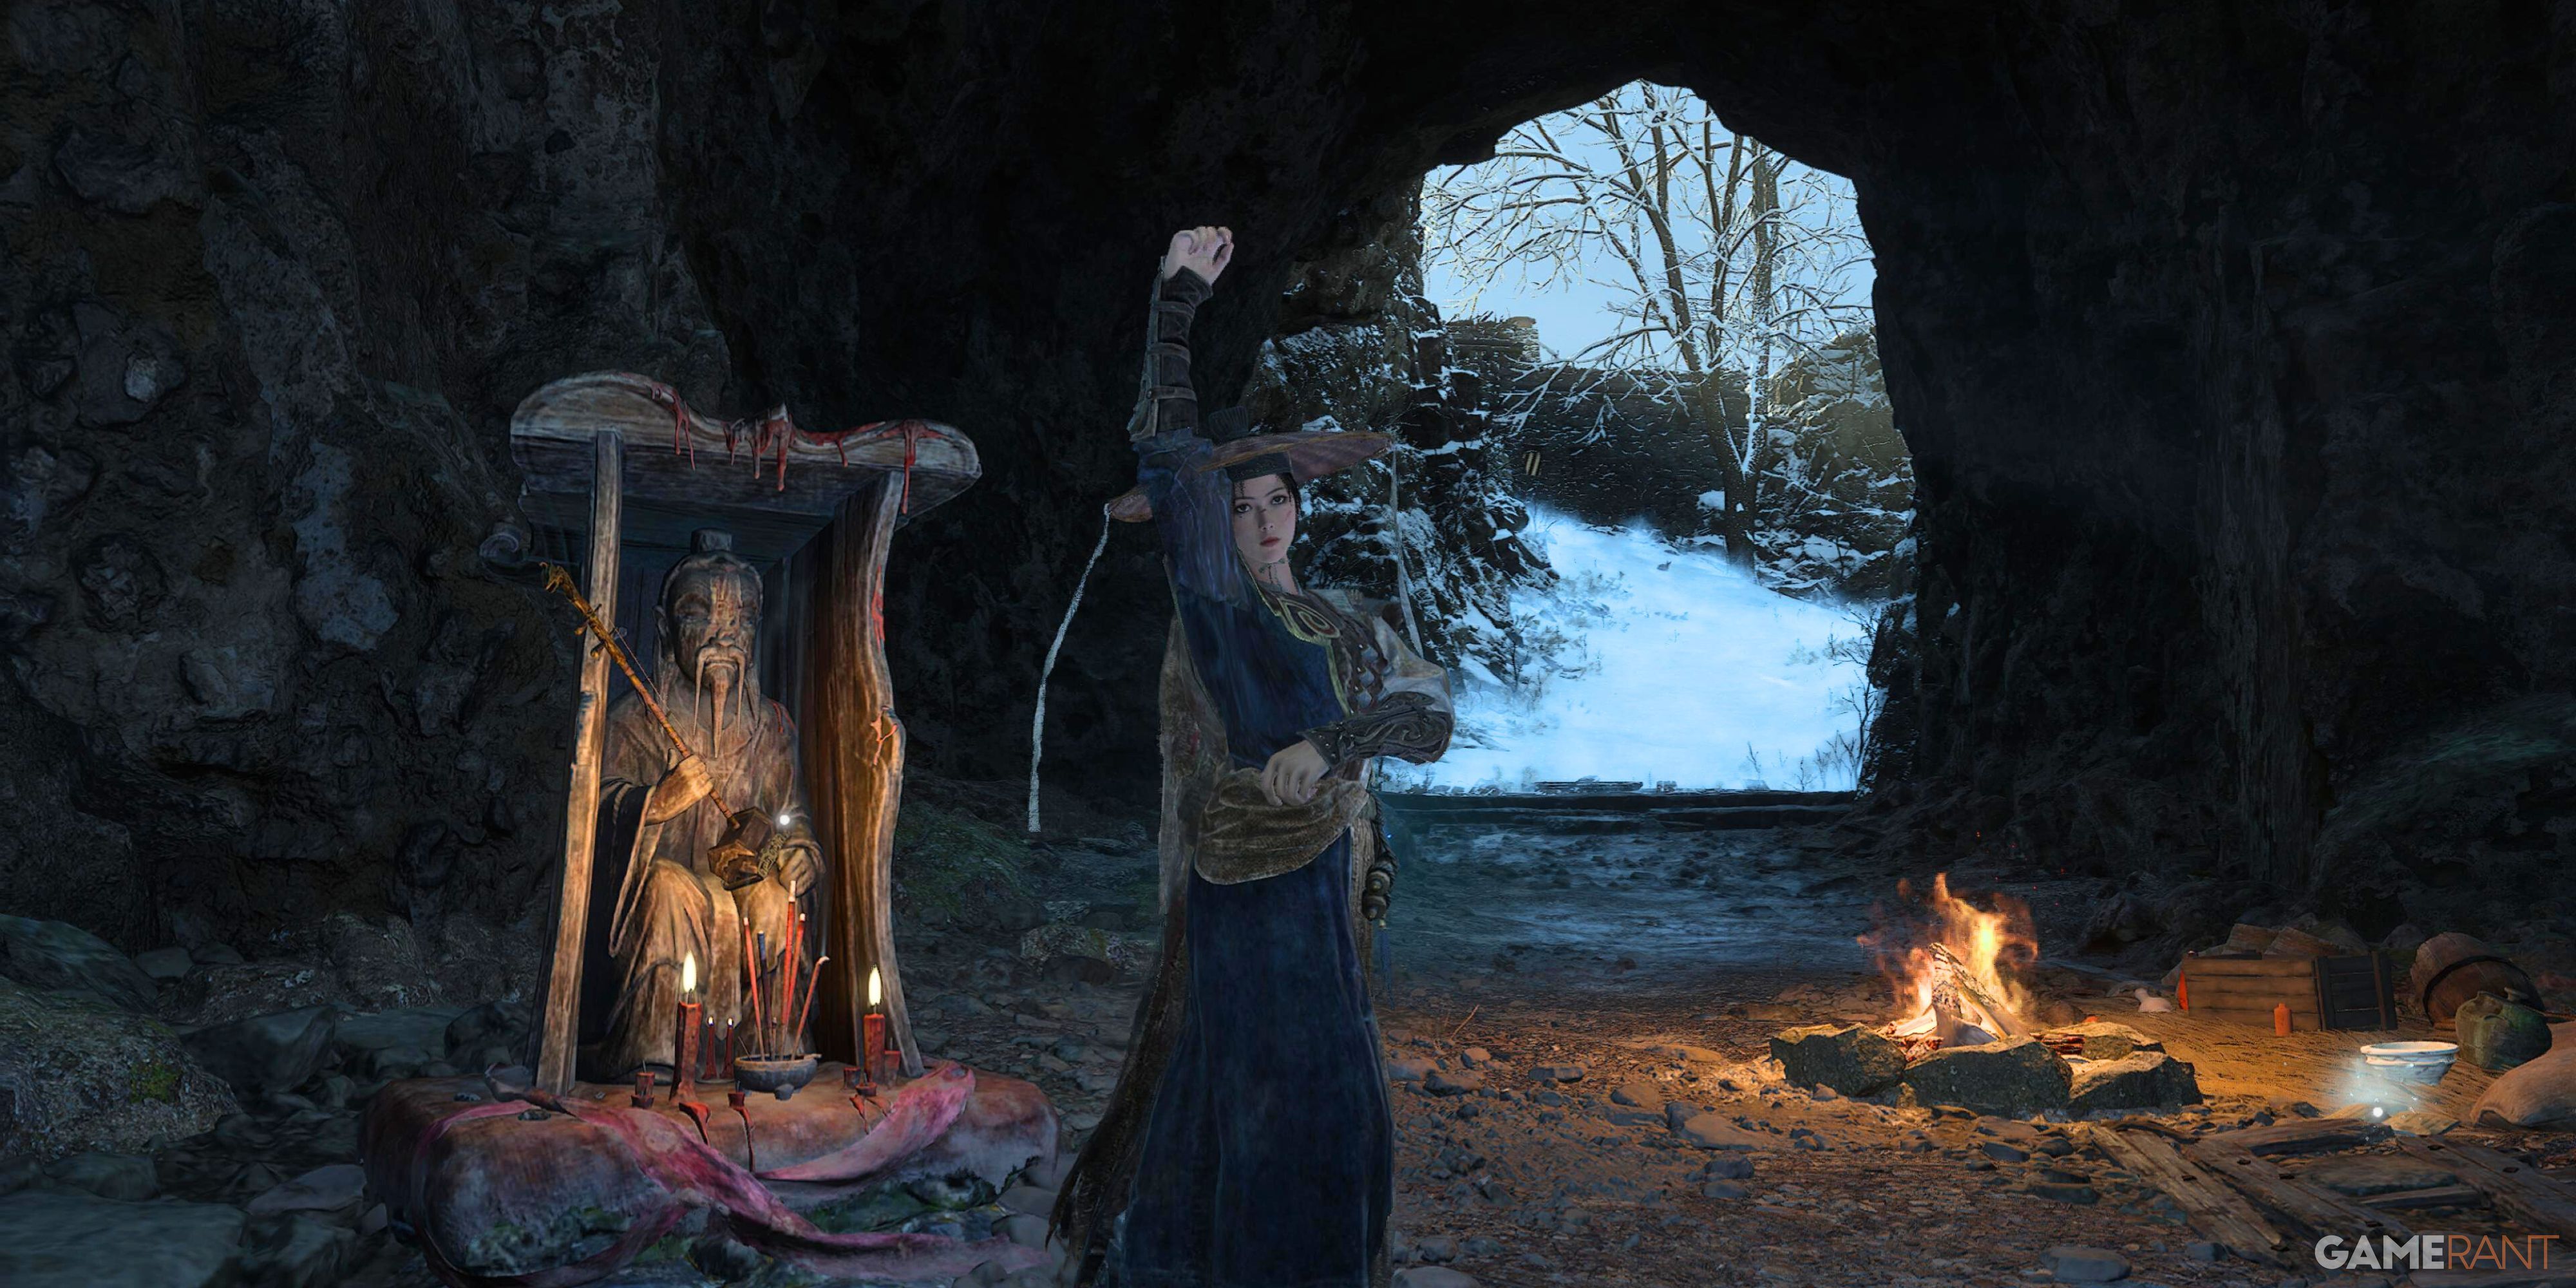
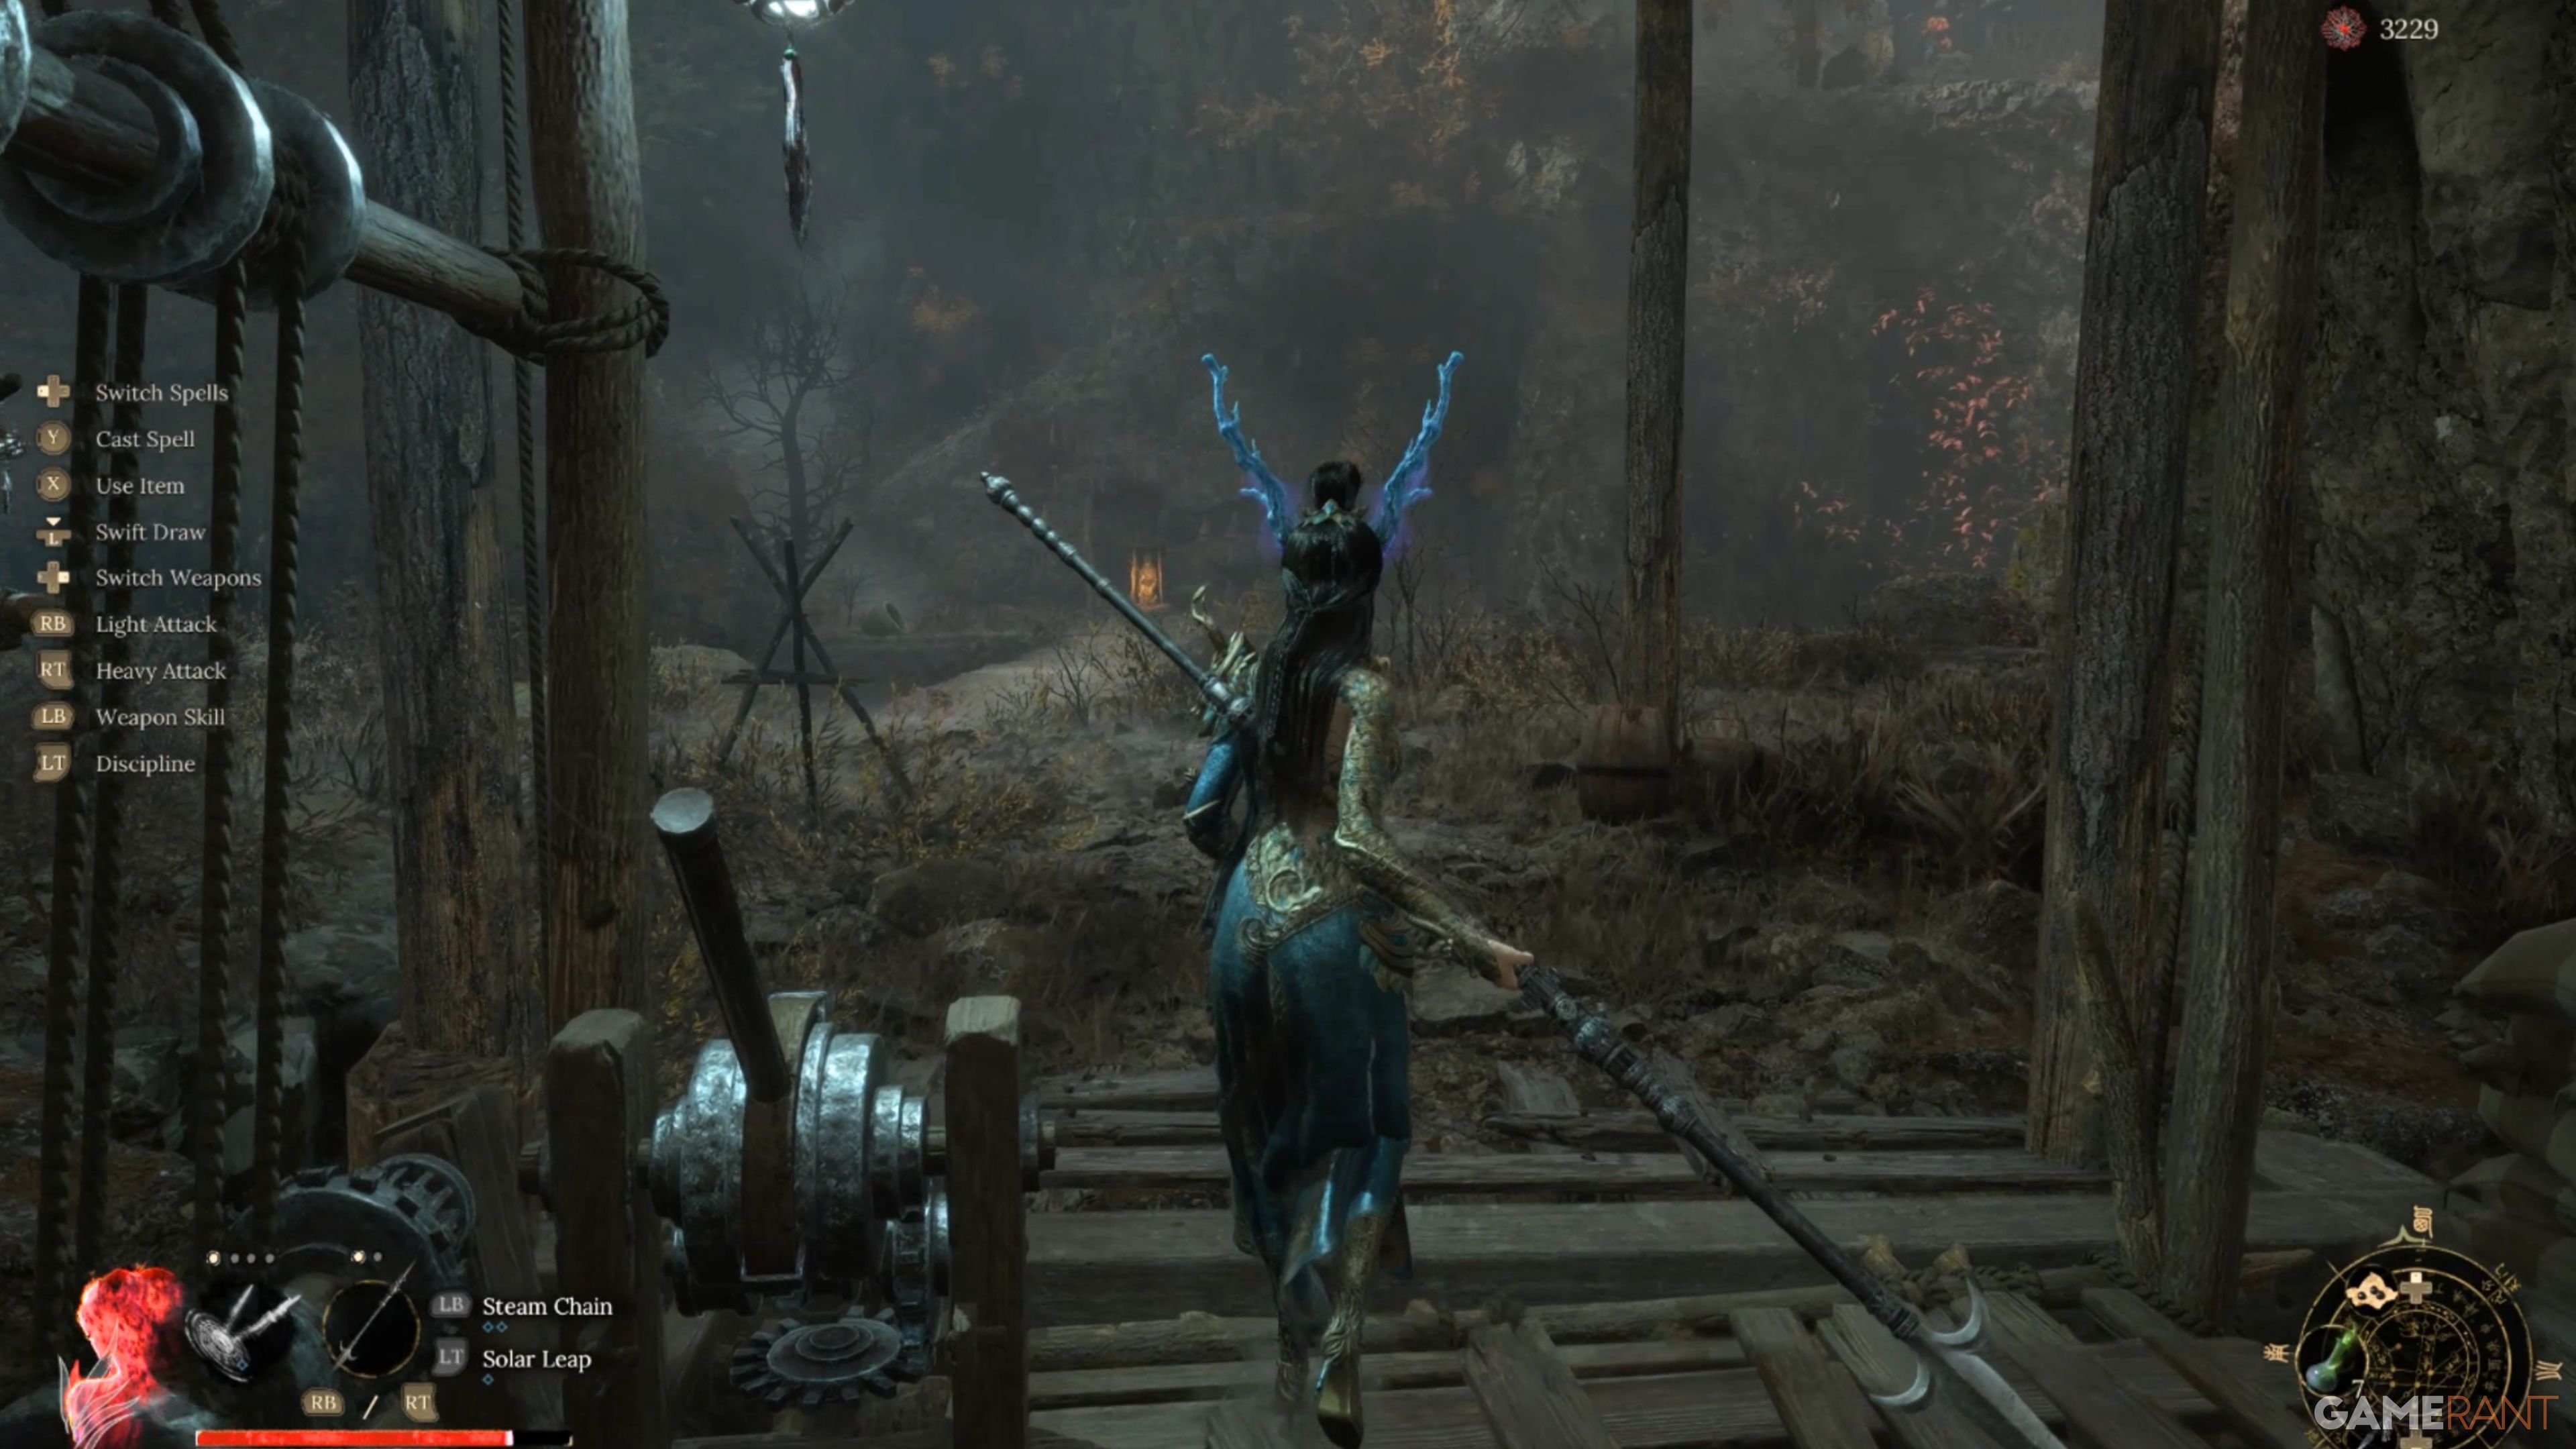
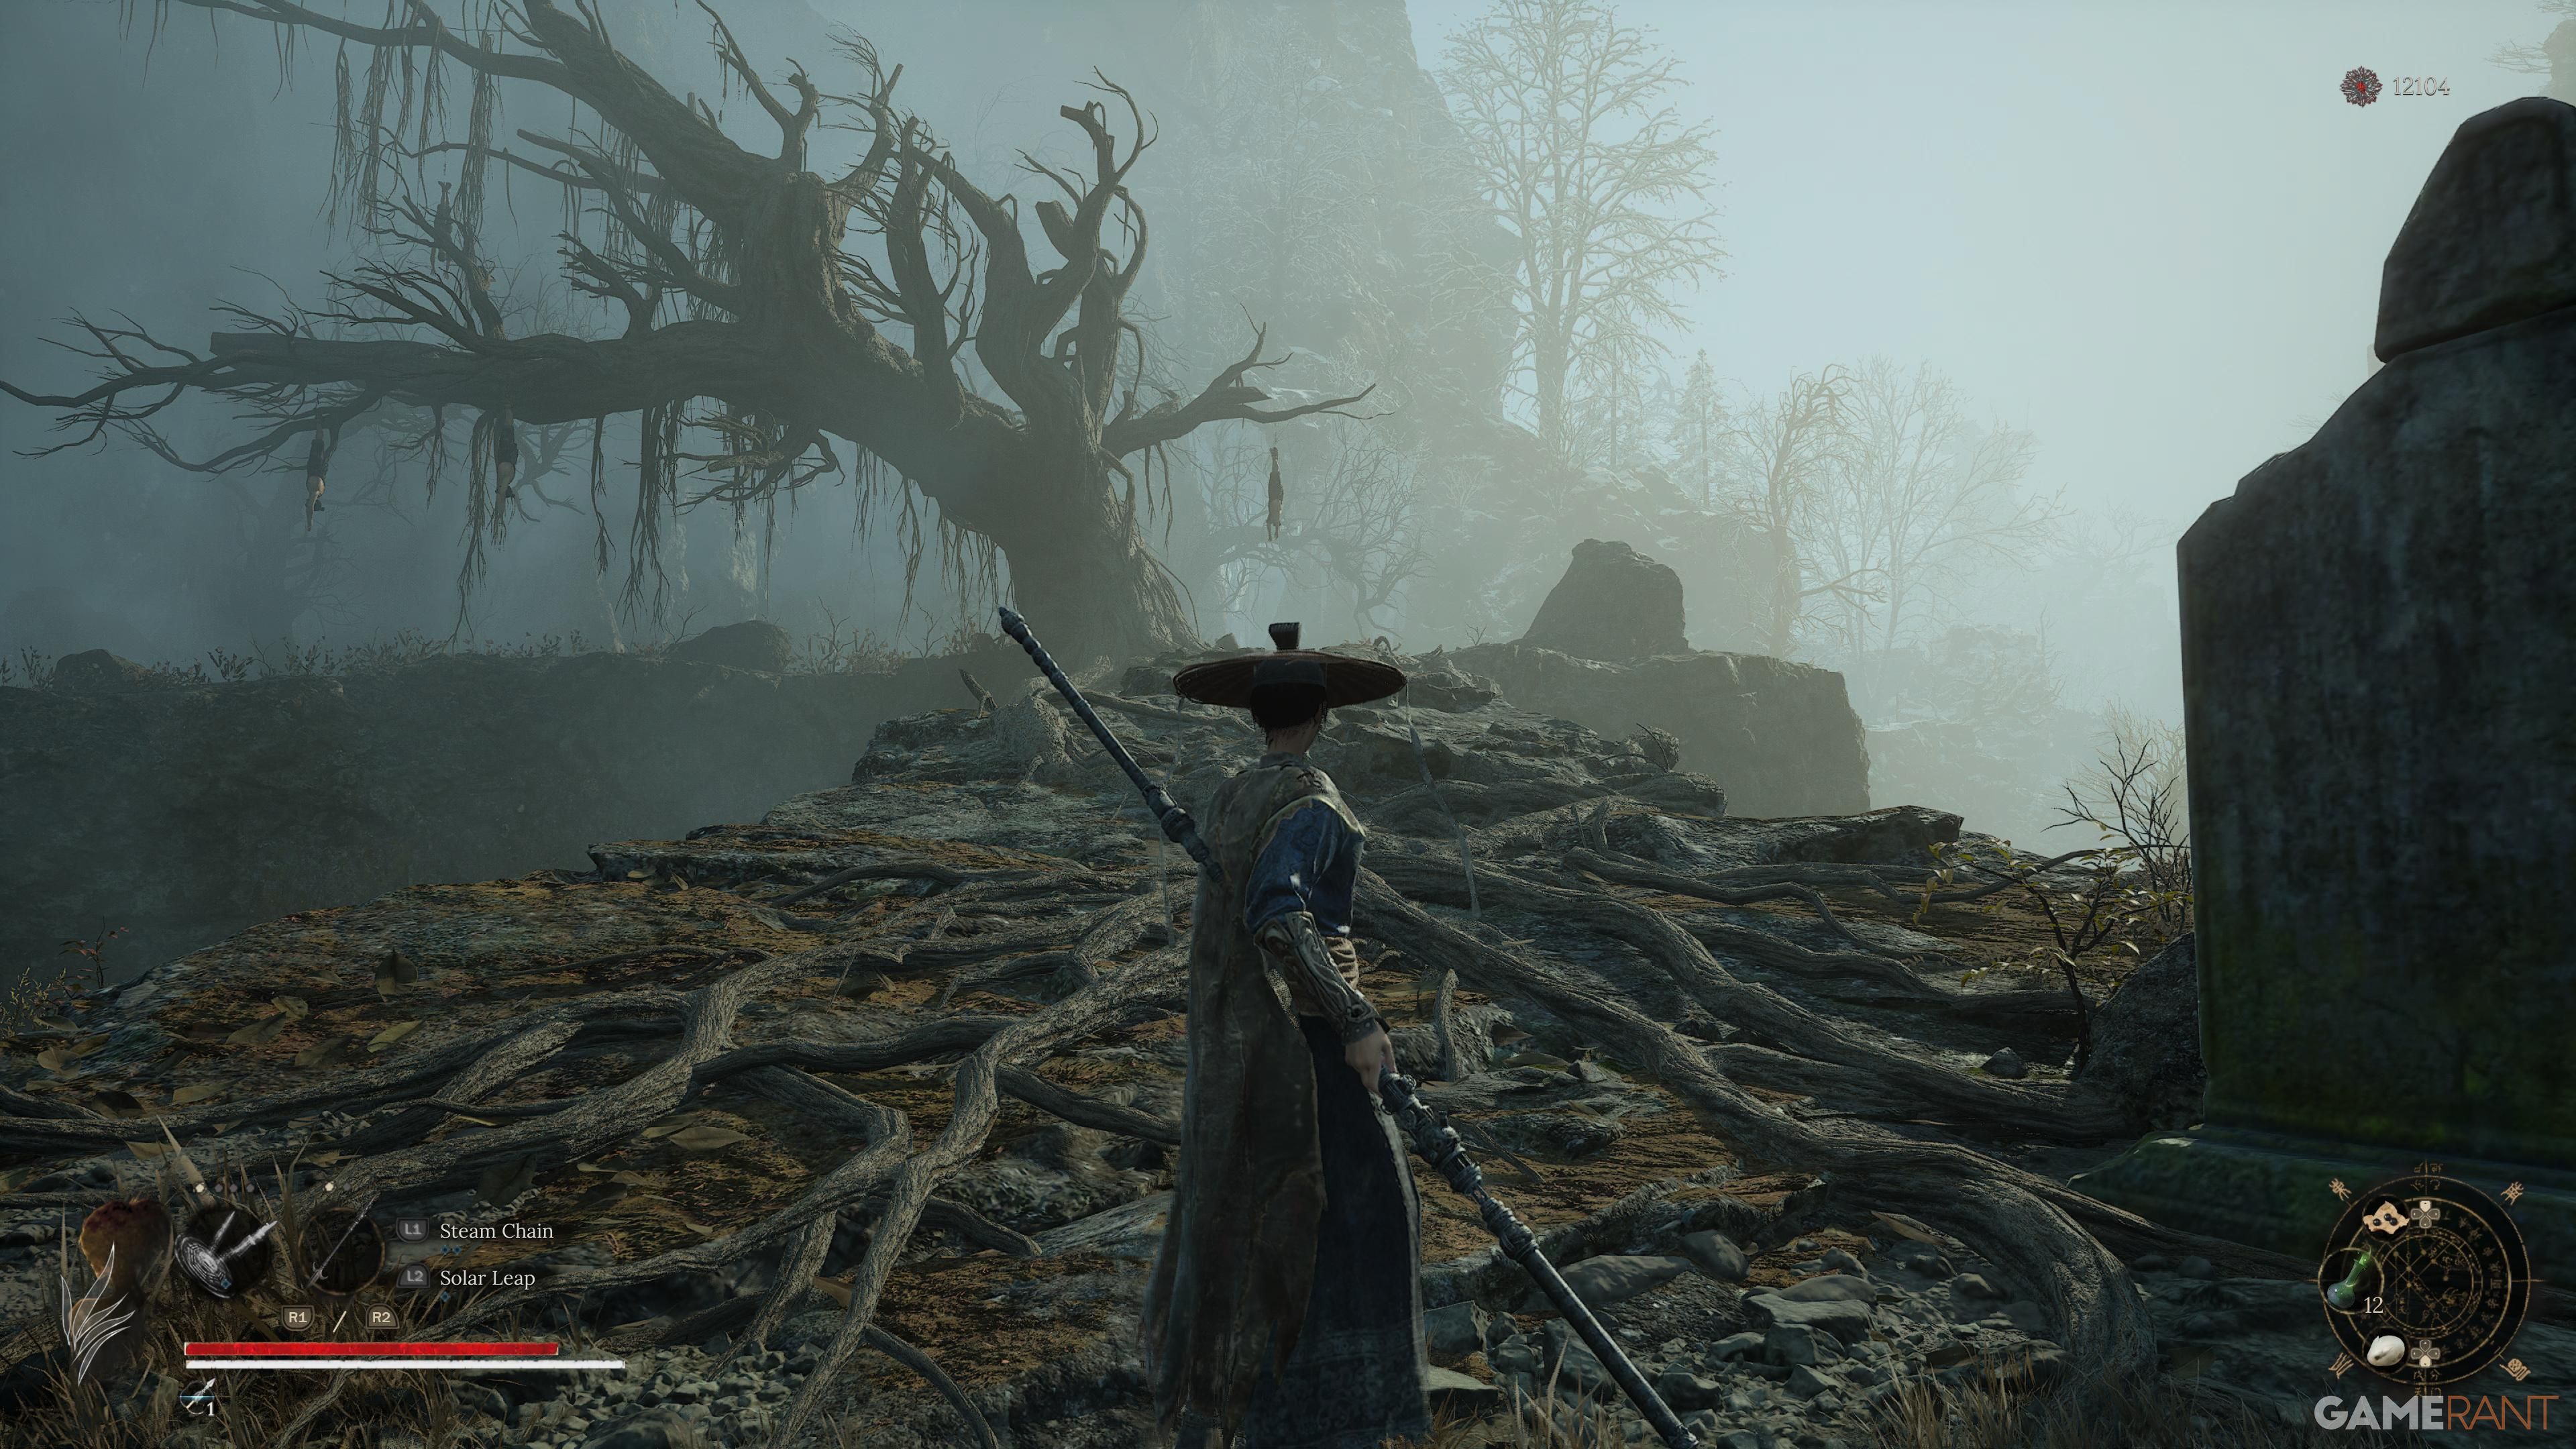
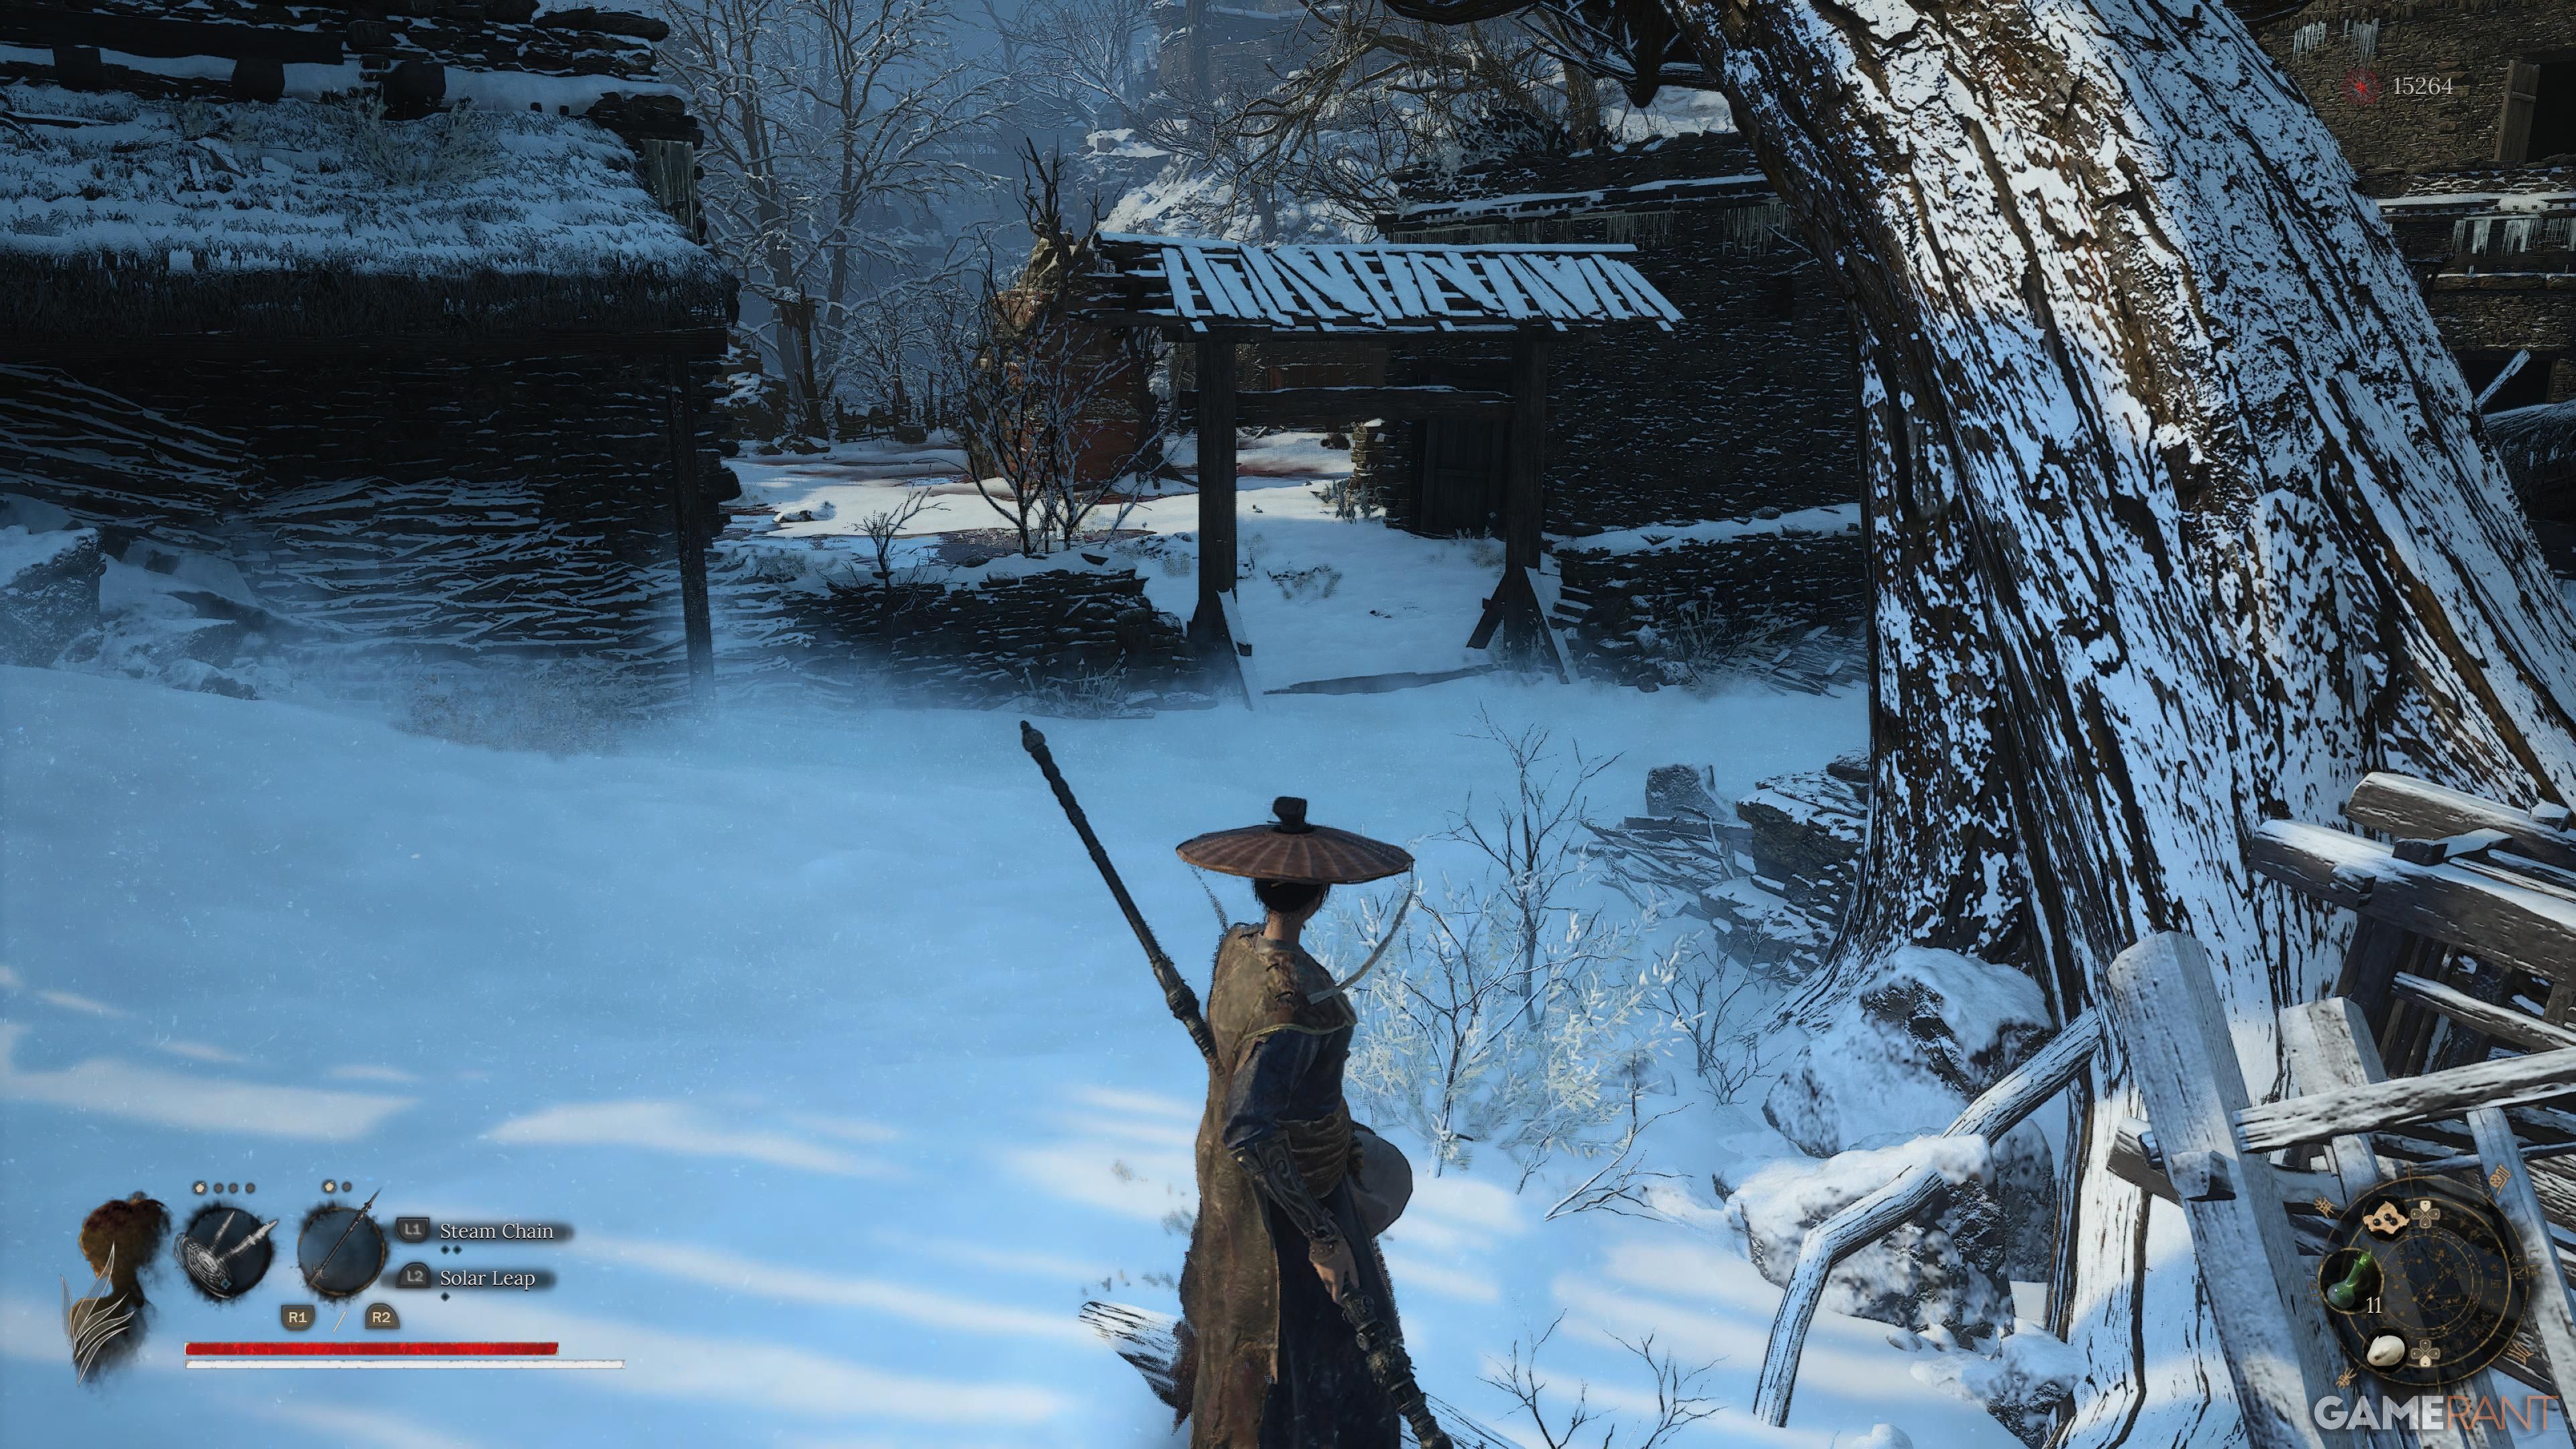
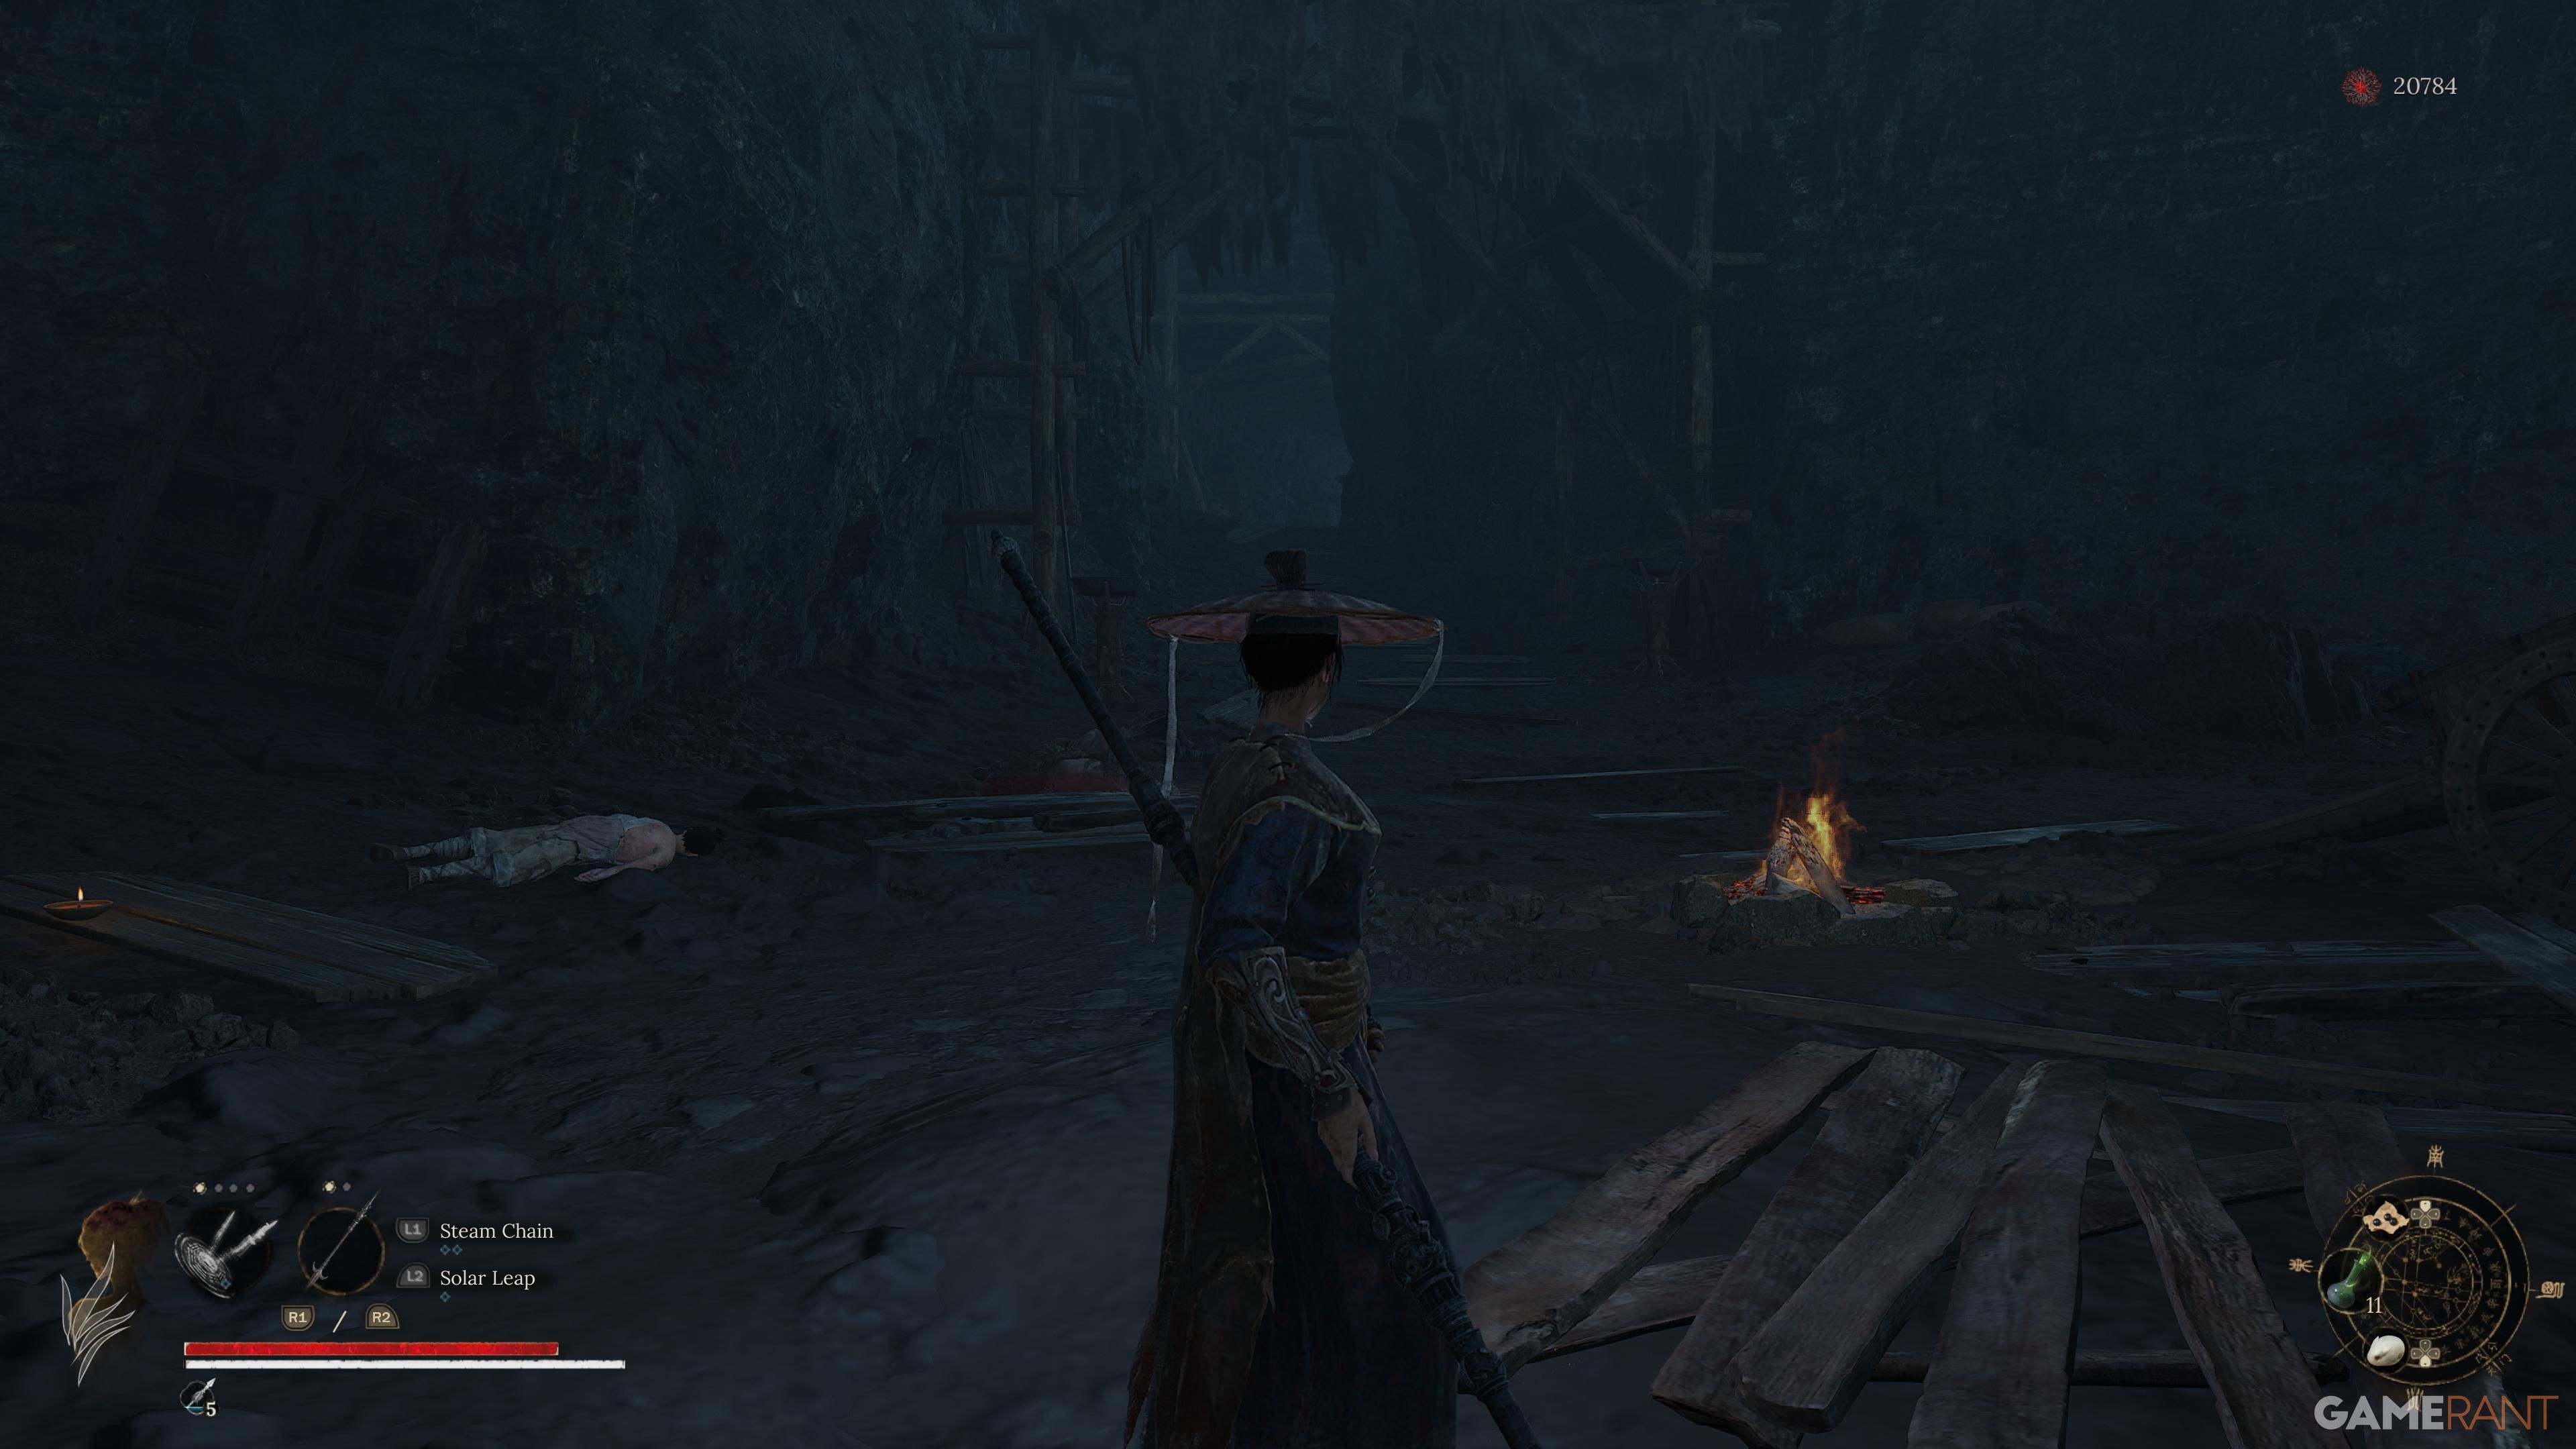
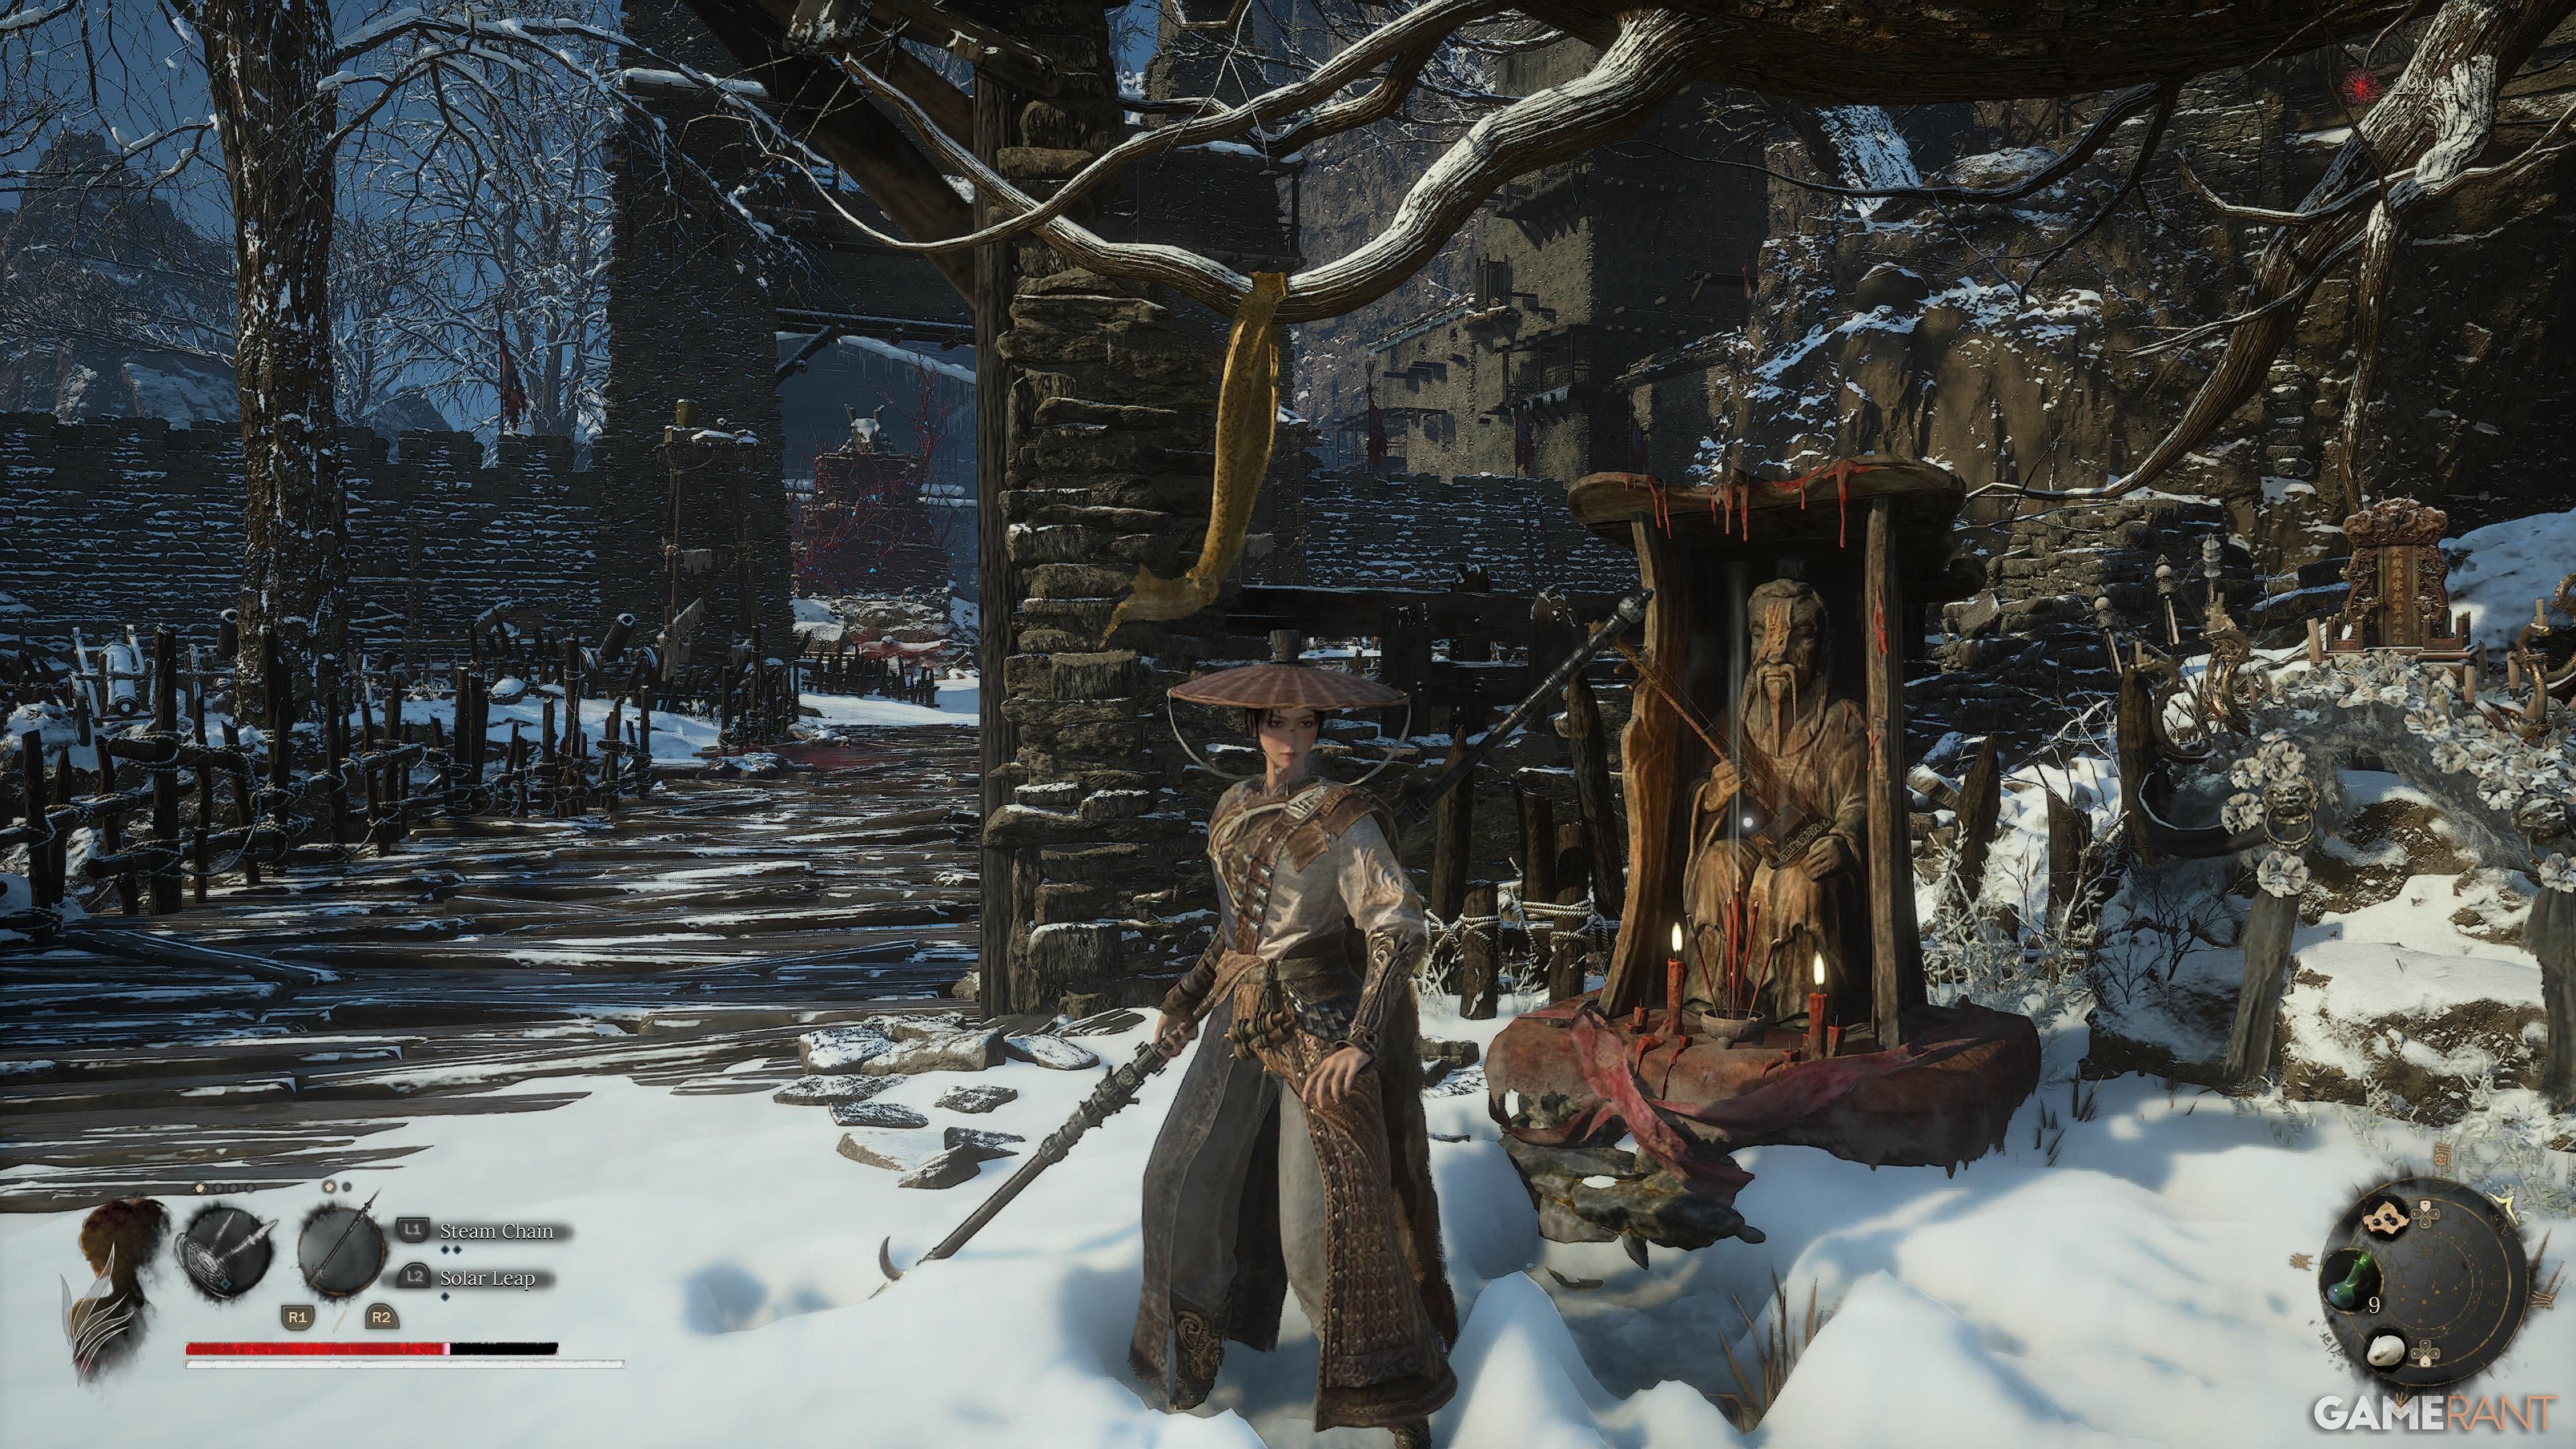
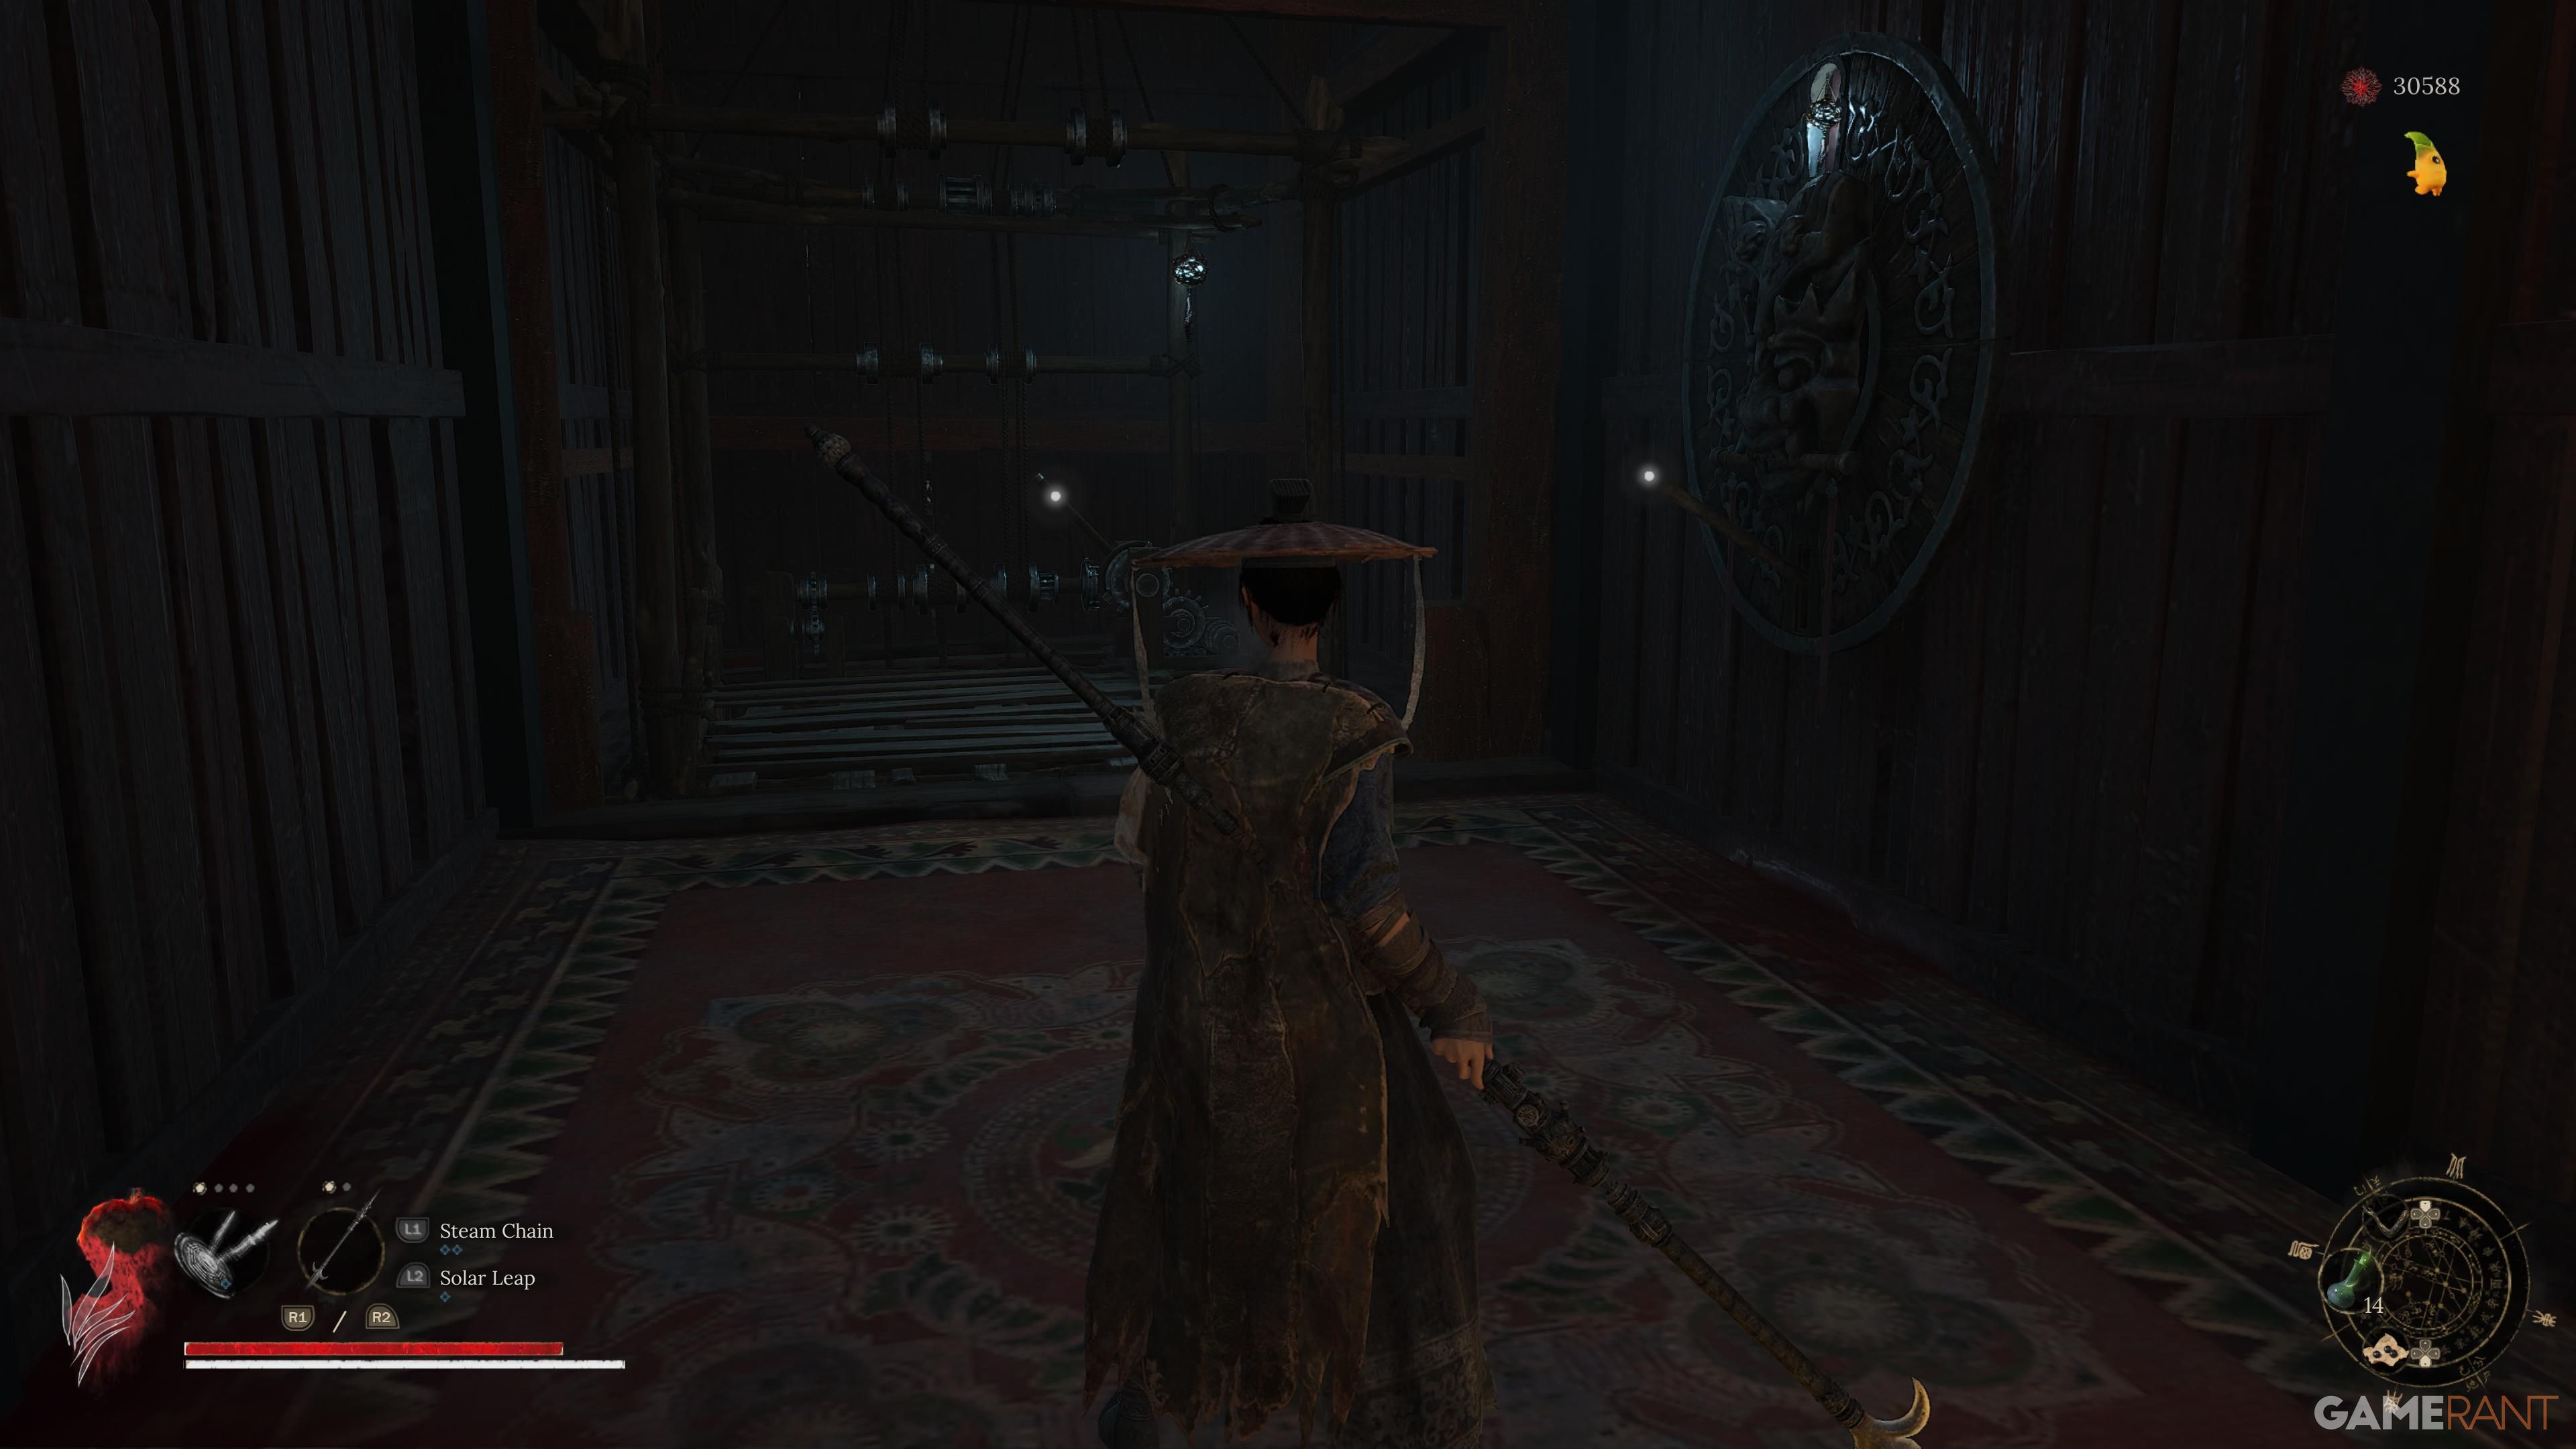
Following the conquest of Tang Emperor Palace, players will then be led to traverse into the game’s second region, Cloudspire. This area is unlocked by employing the Reverant Temple Key. The icy expanse of Cloudspire conceals treacherous mines that are hard to discern; a single detonation could deplete nearly half of a player’s health gauge.
To ensure that Wuchang continues to be accessible, it’s advisable to engage with every shrine you encounter. This way, if Wuchang is defeated, she will reappear at the closest shrine rather than returning to the beginning of Cloudspire in “Wuchang: Fallen Feathers”. Here are the locations of all 12 shrines within Cloudspire for your convenience.
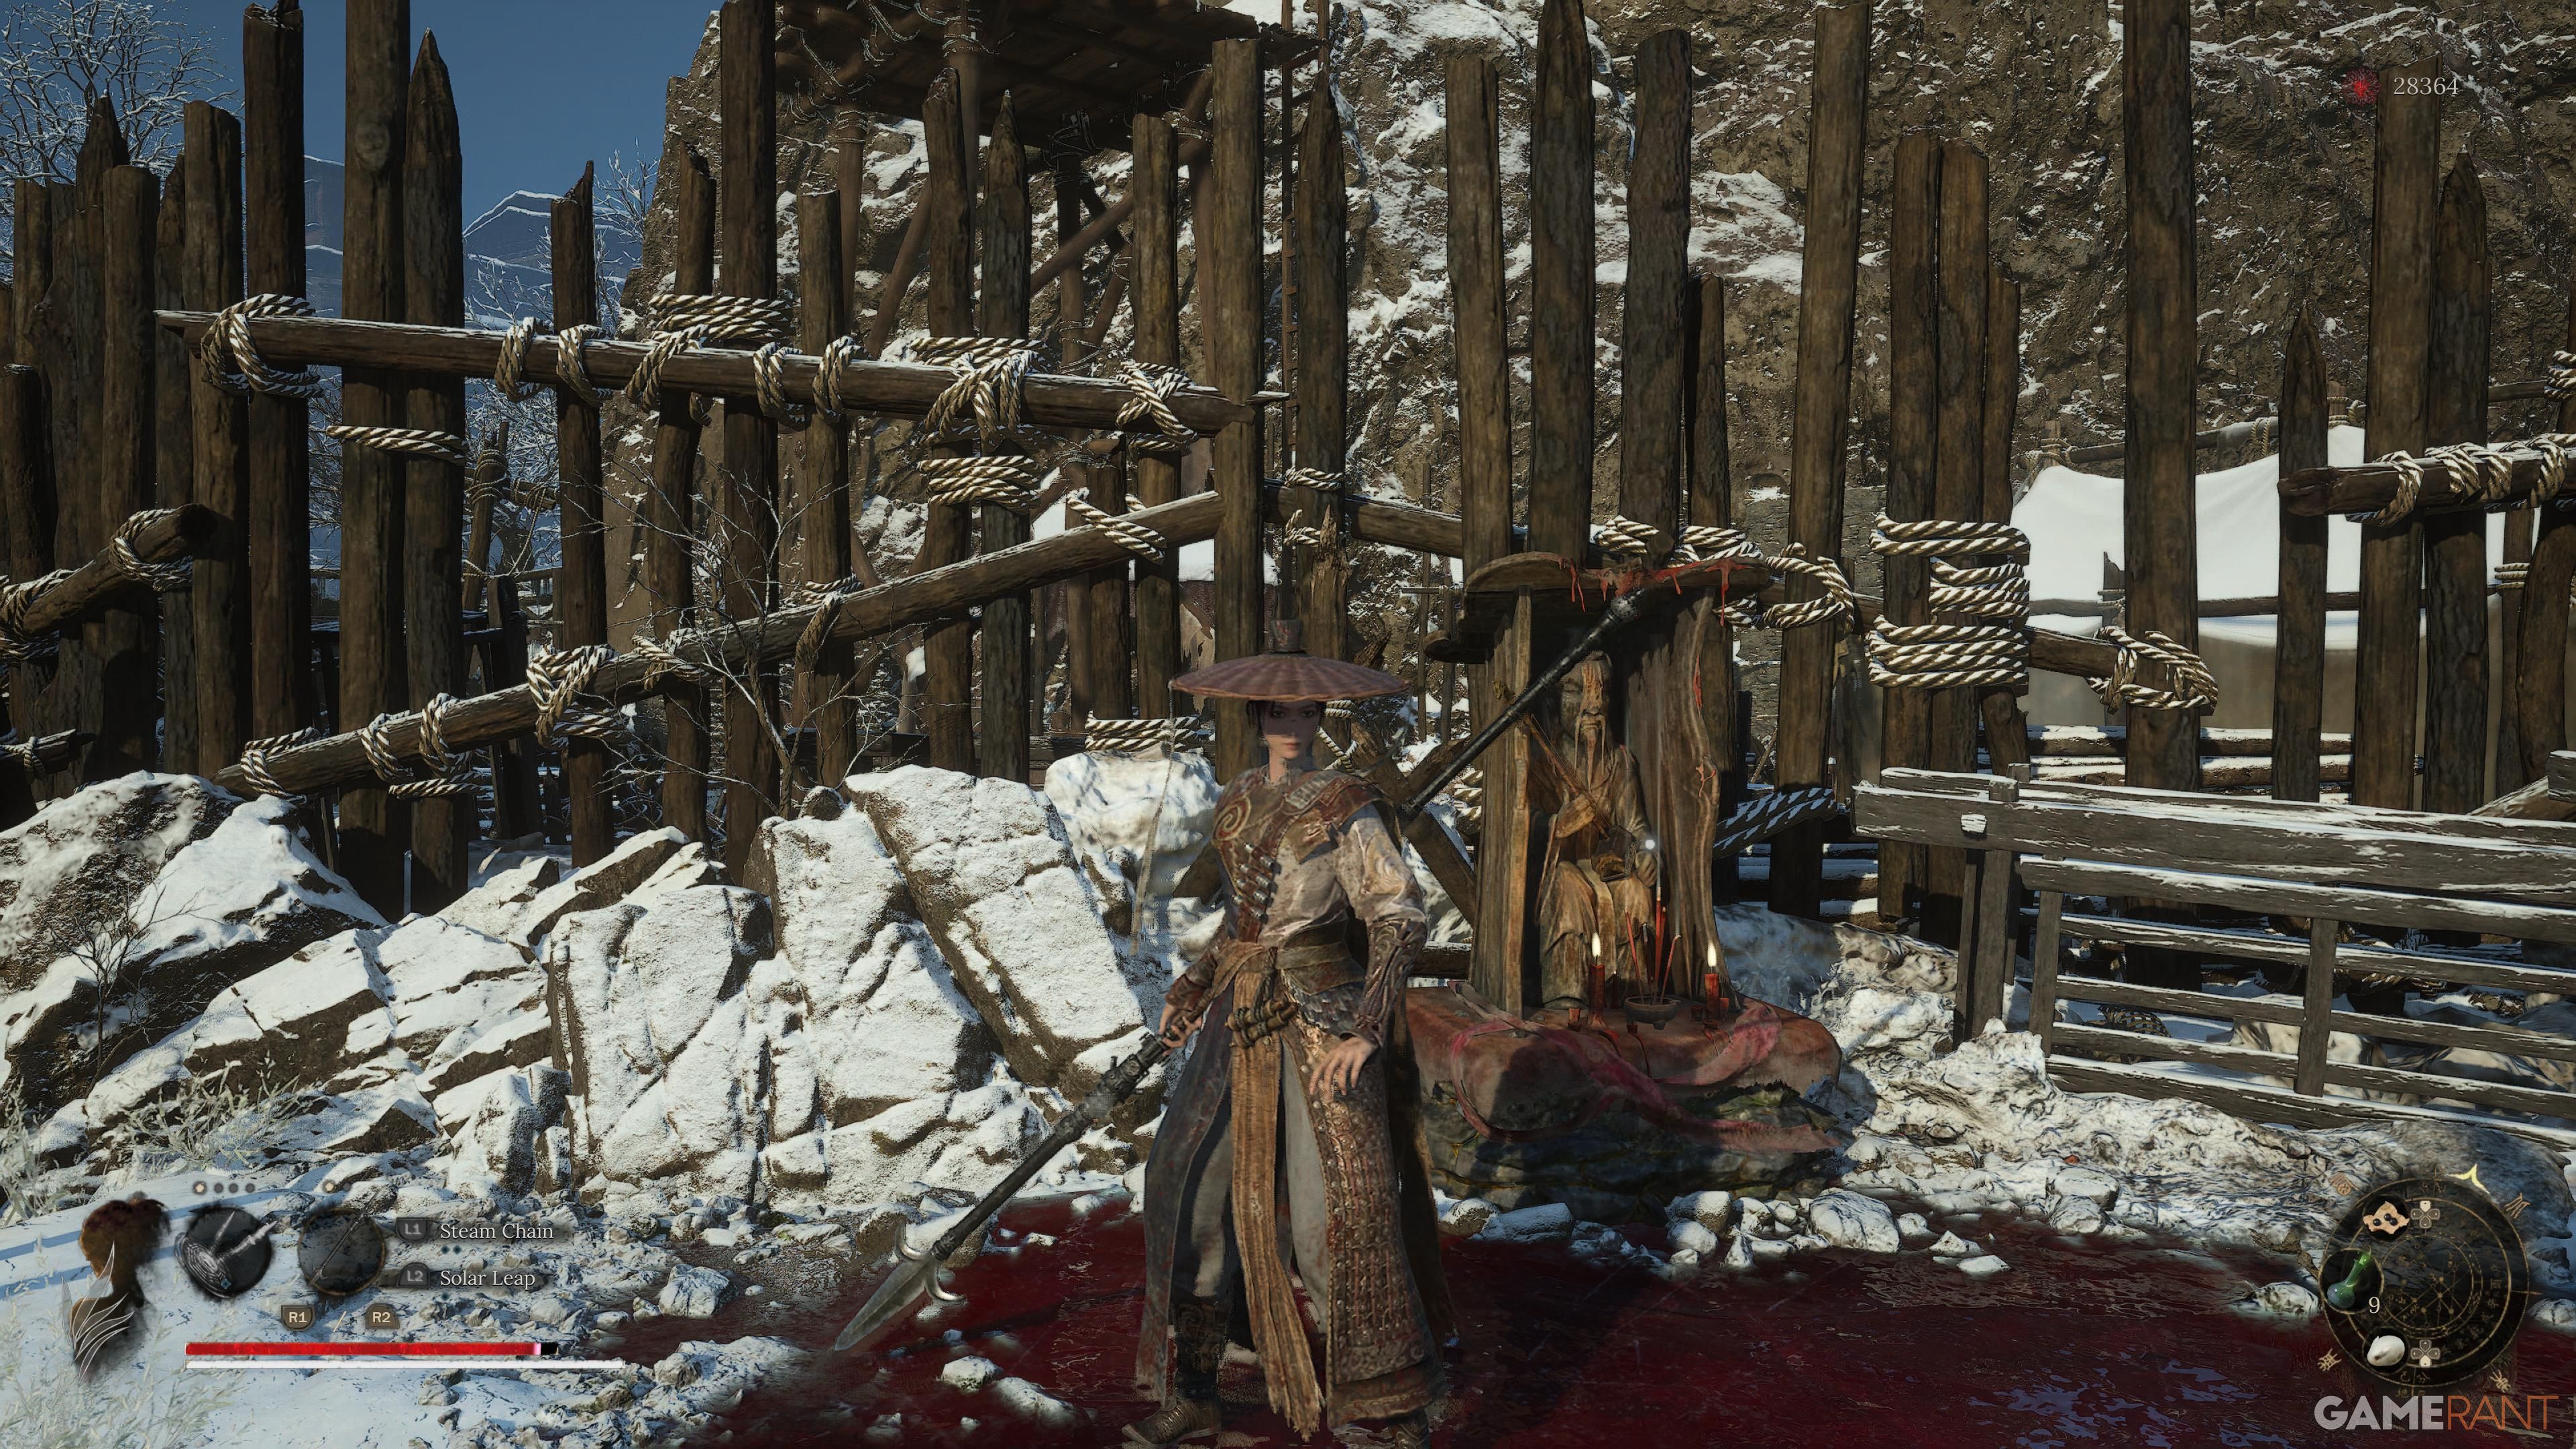
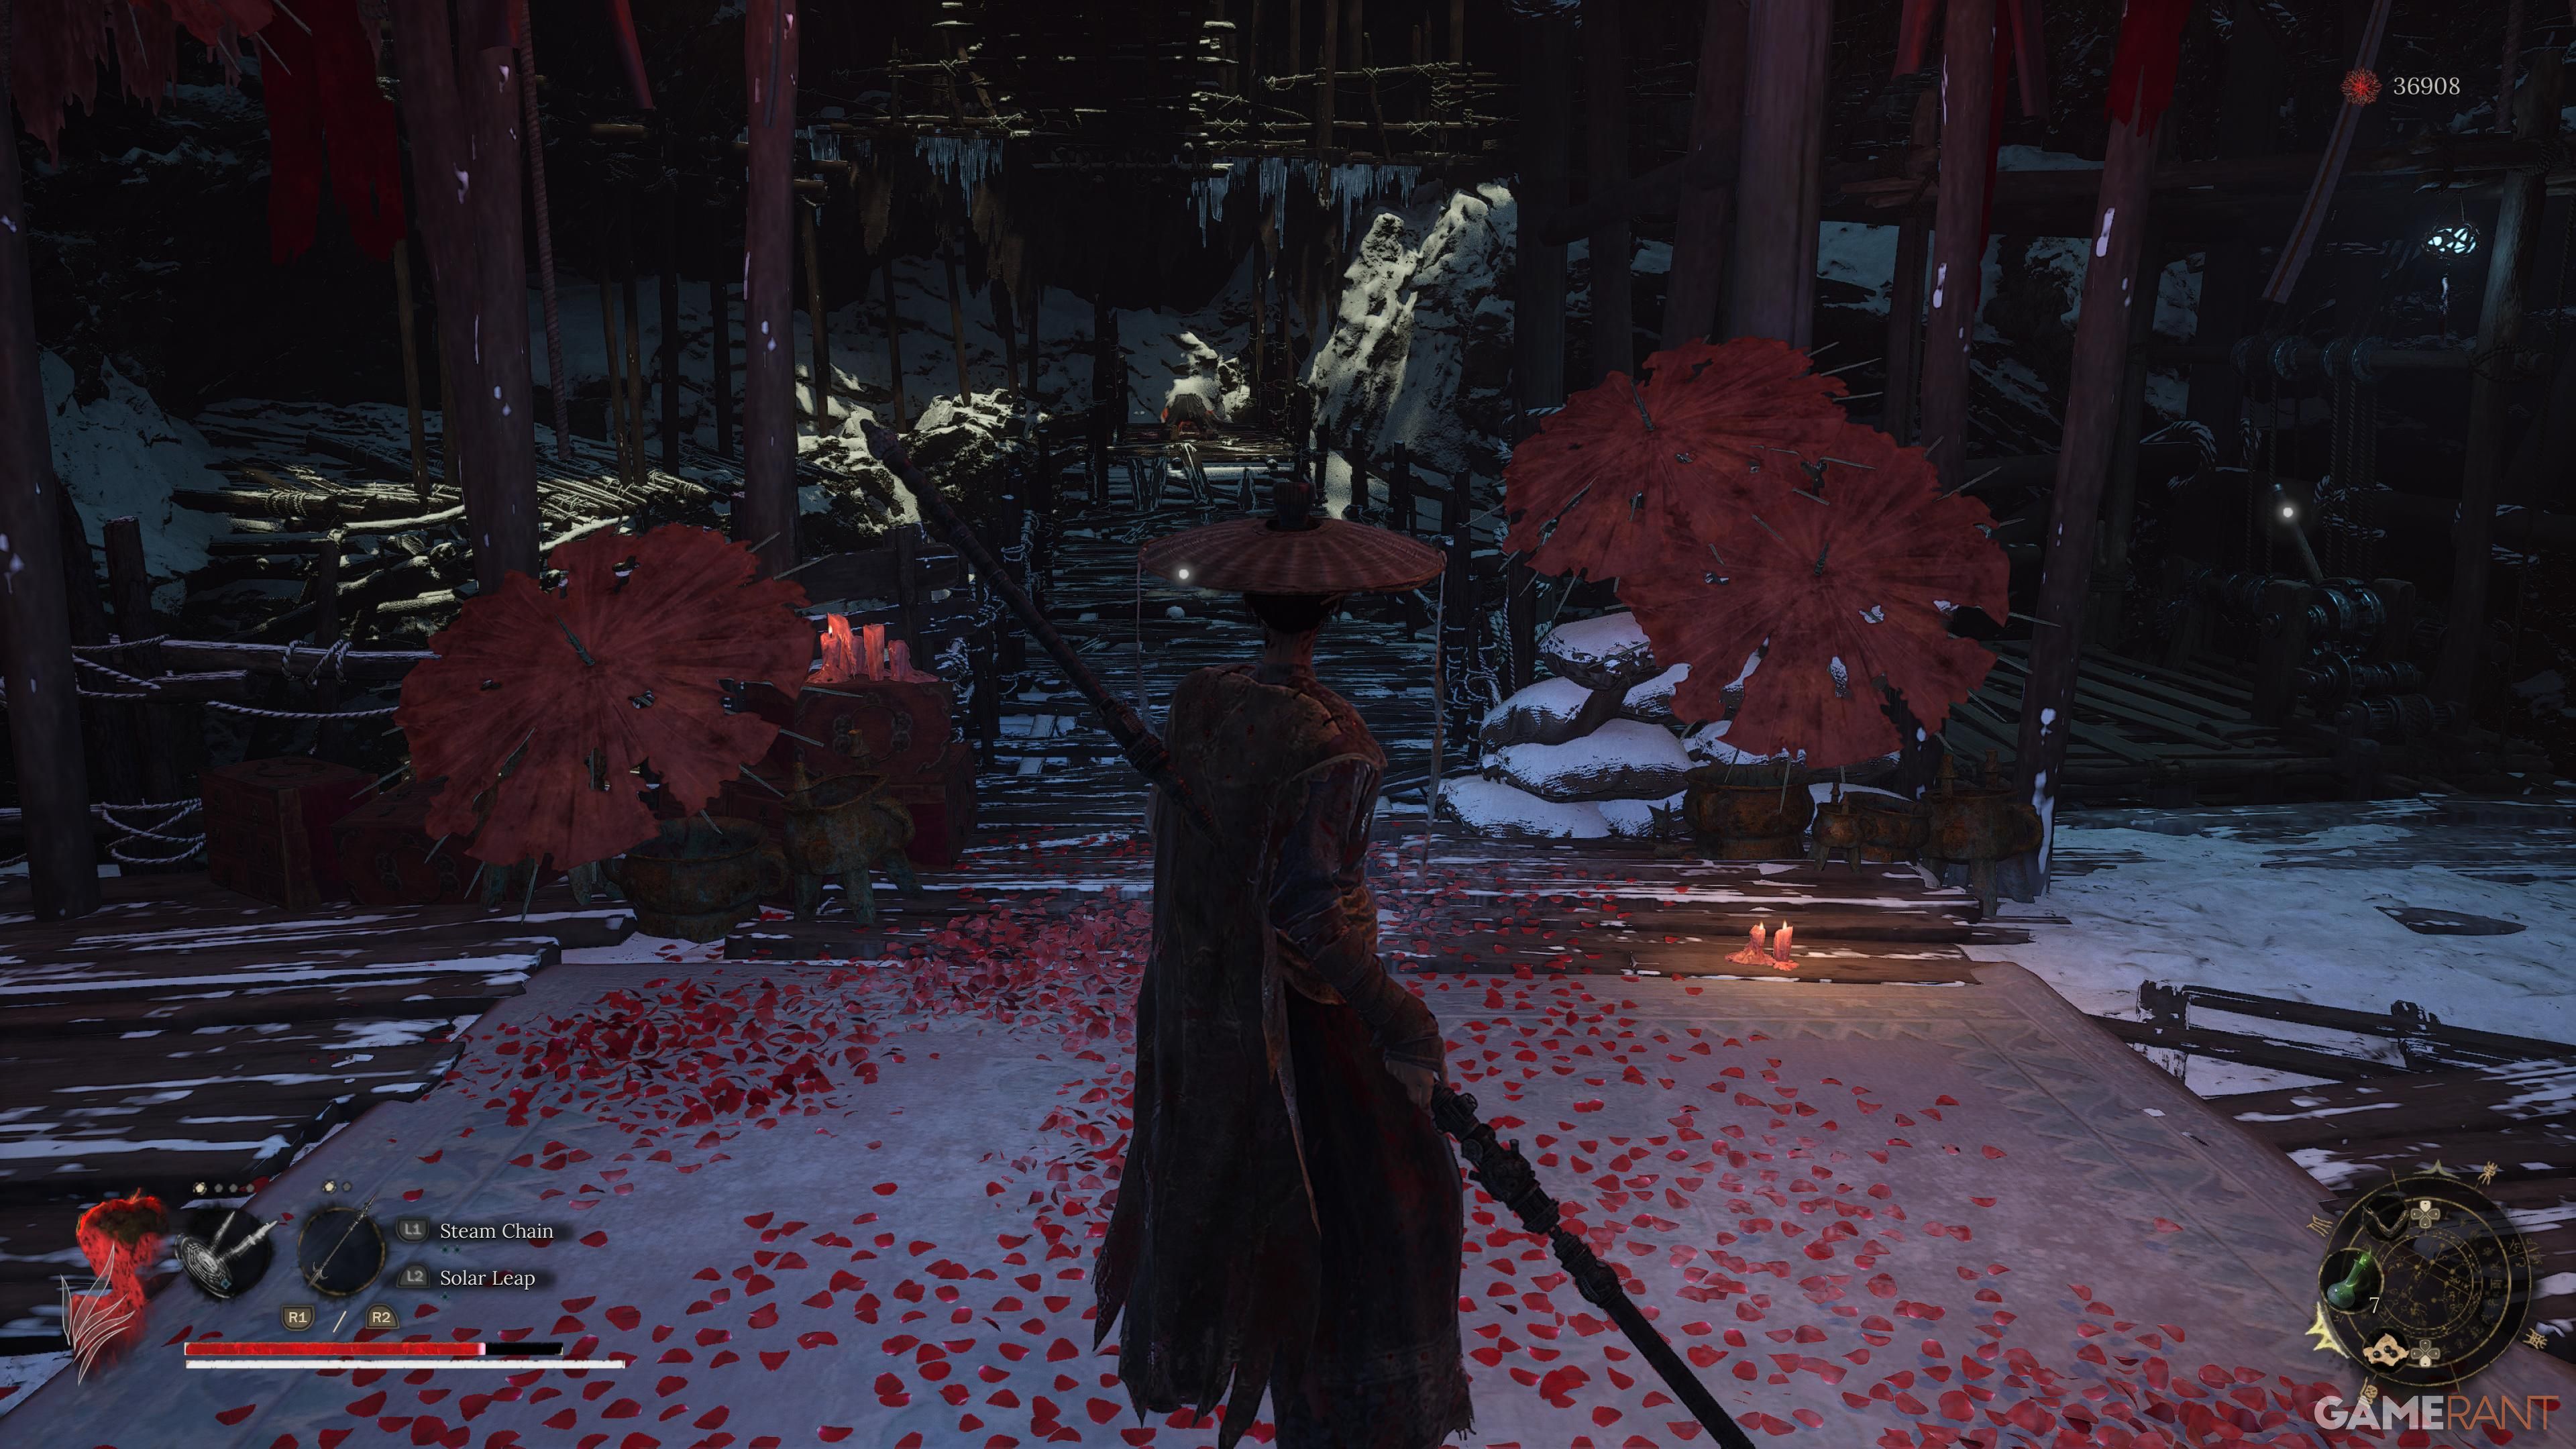
All Cloudspire Shrine Locations in Wuchang Fallen Feathers
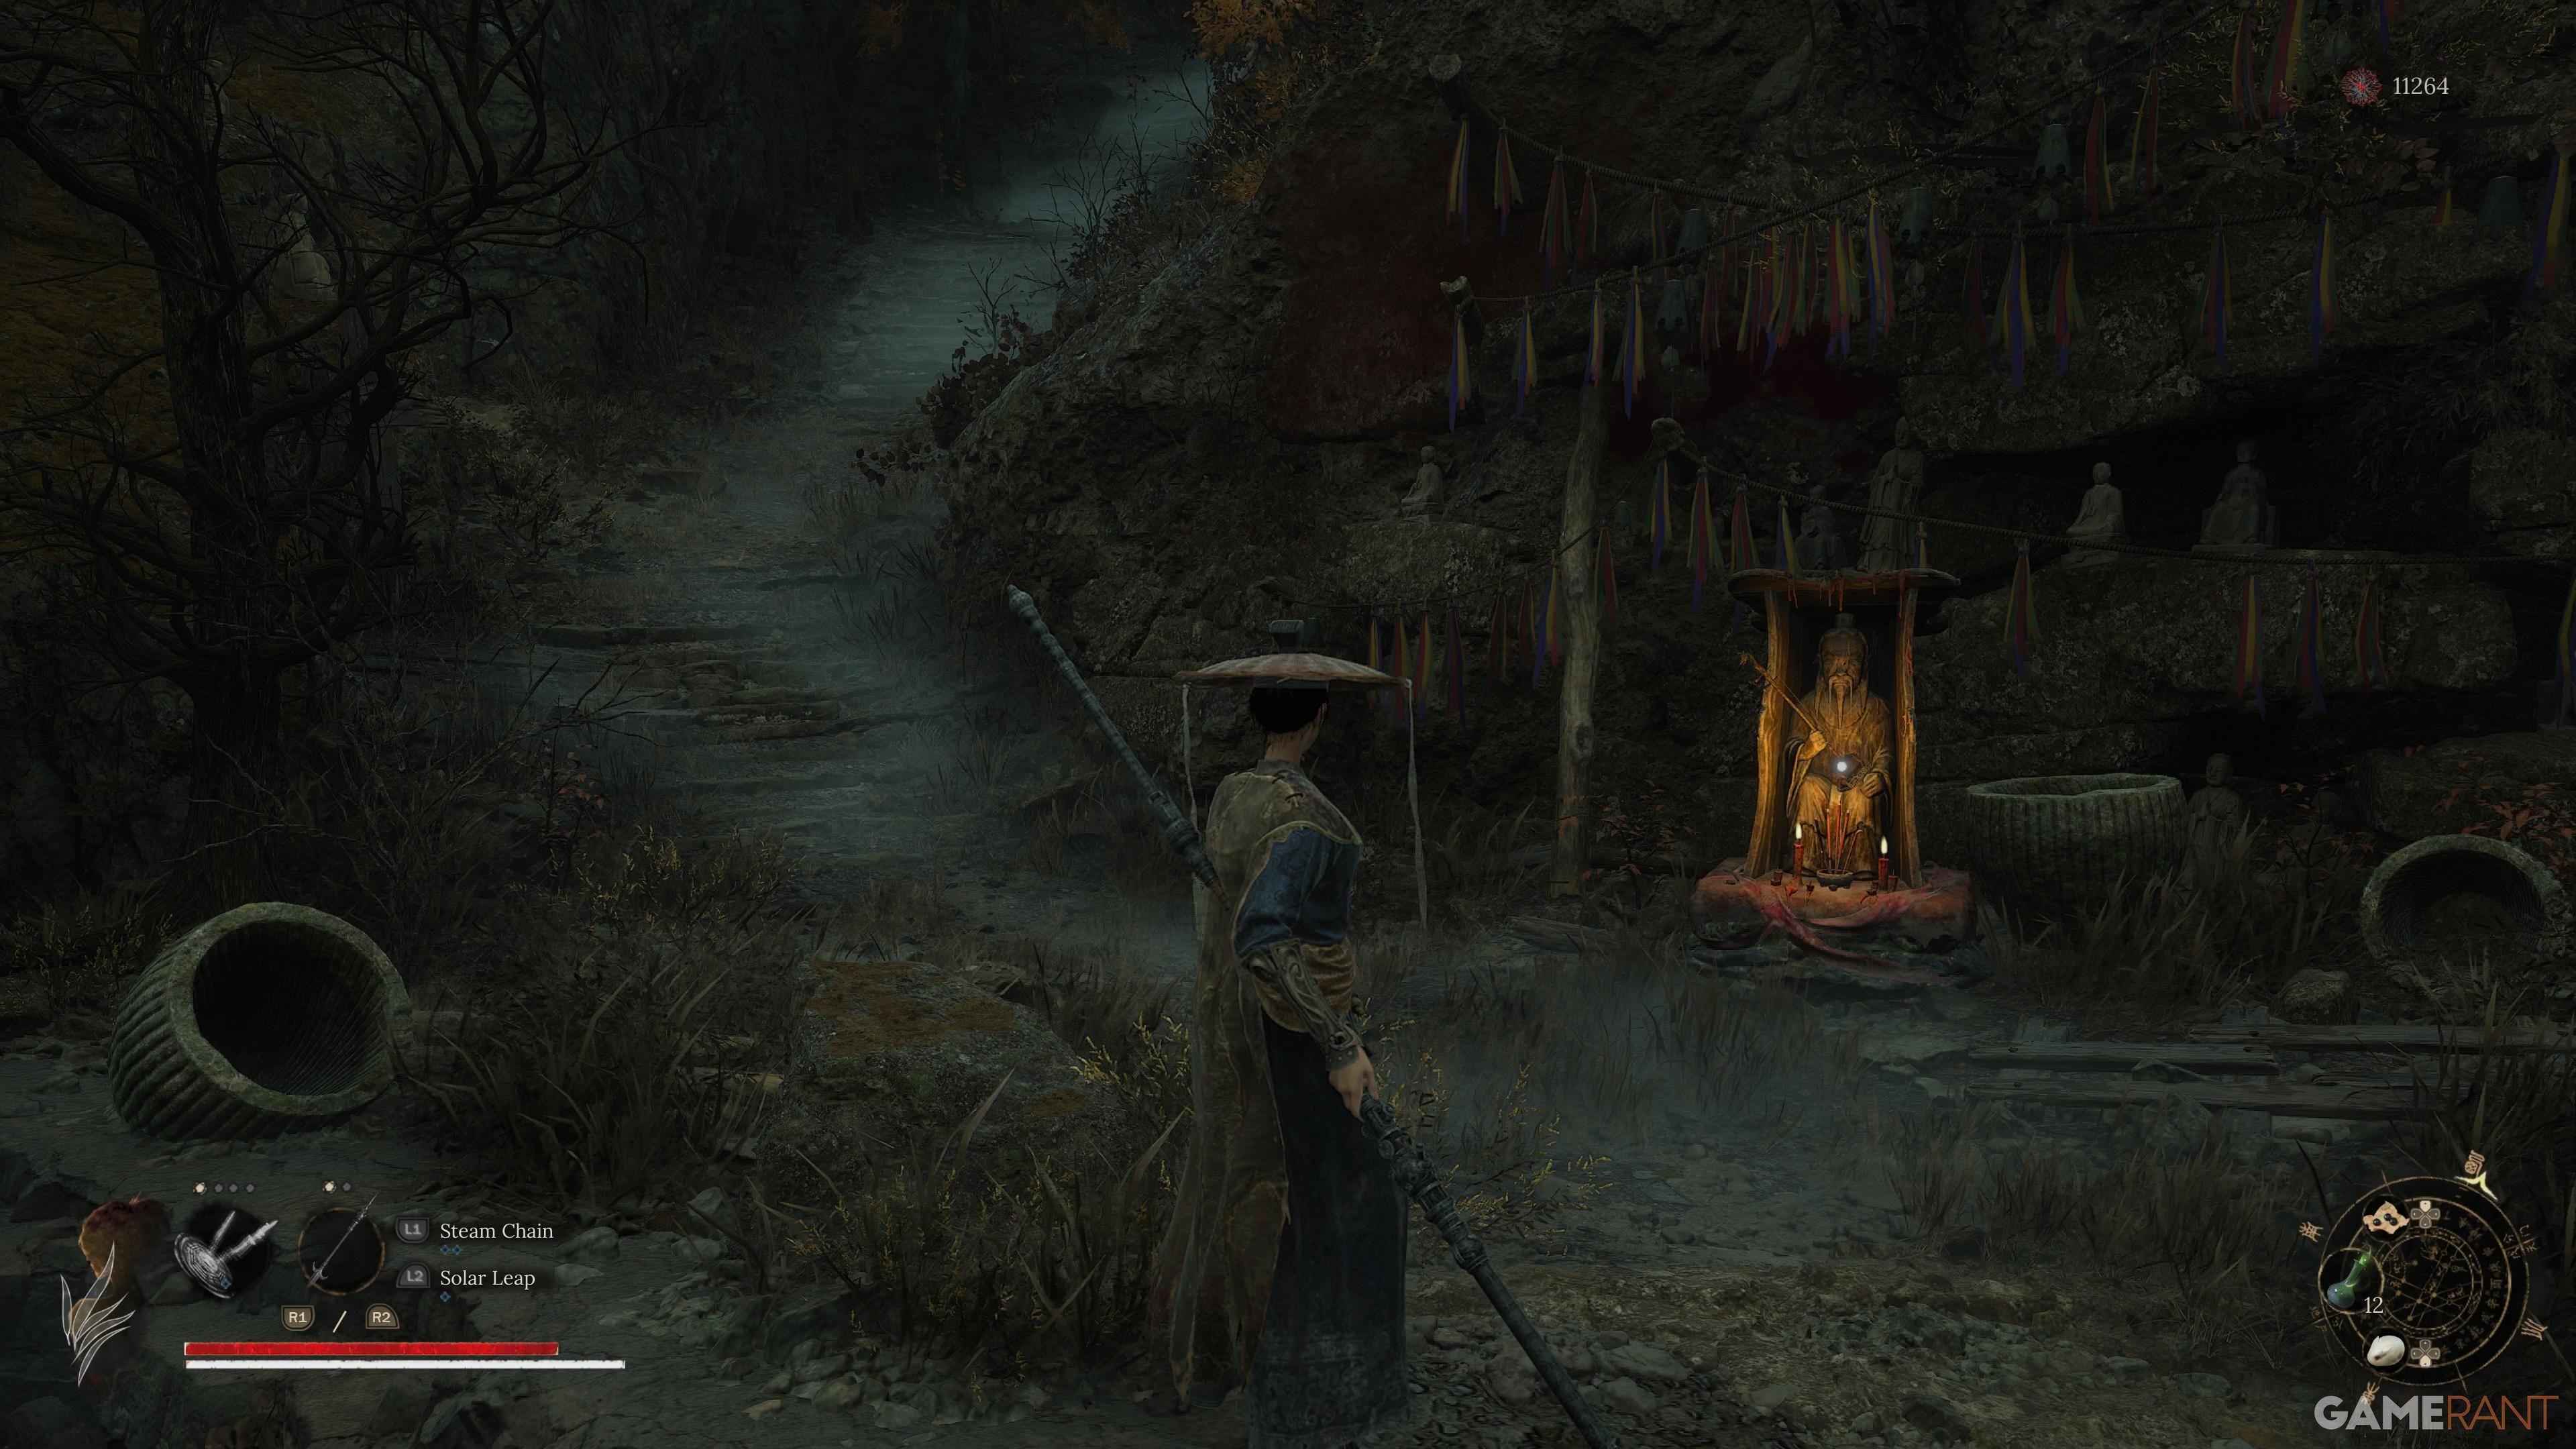
Hillswatch
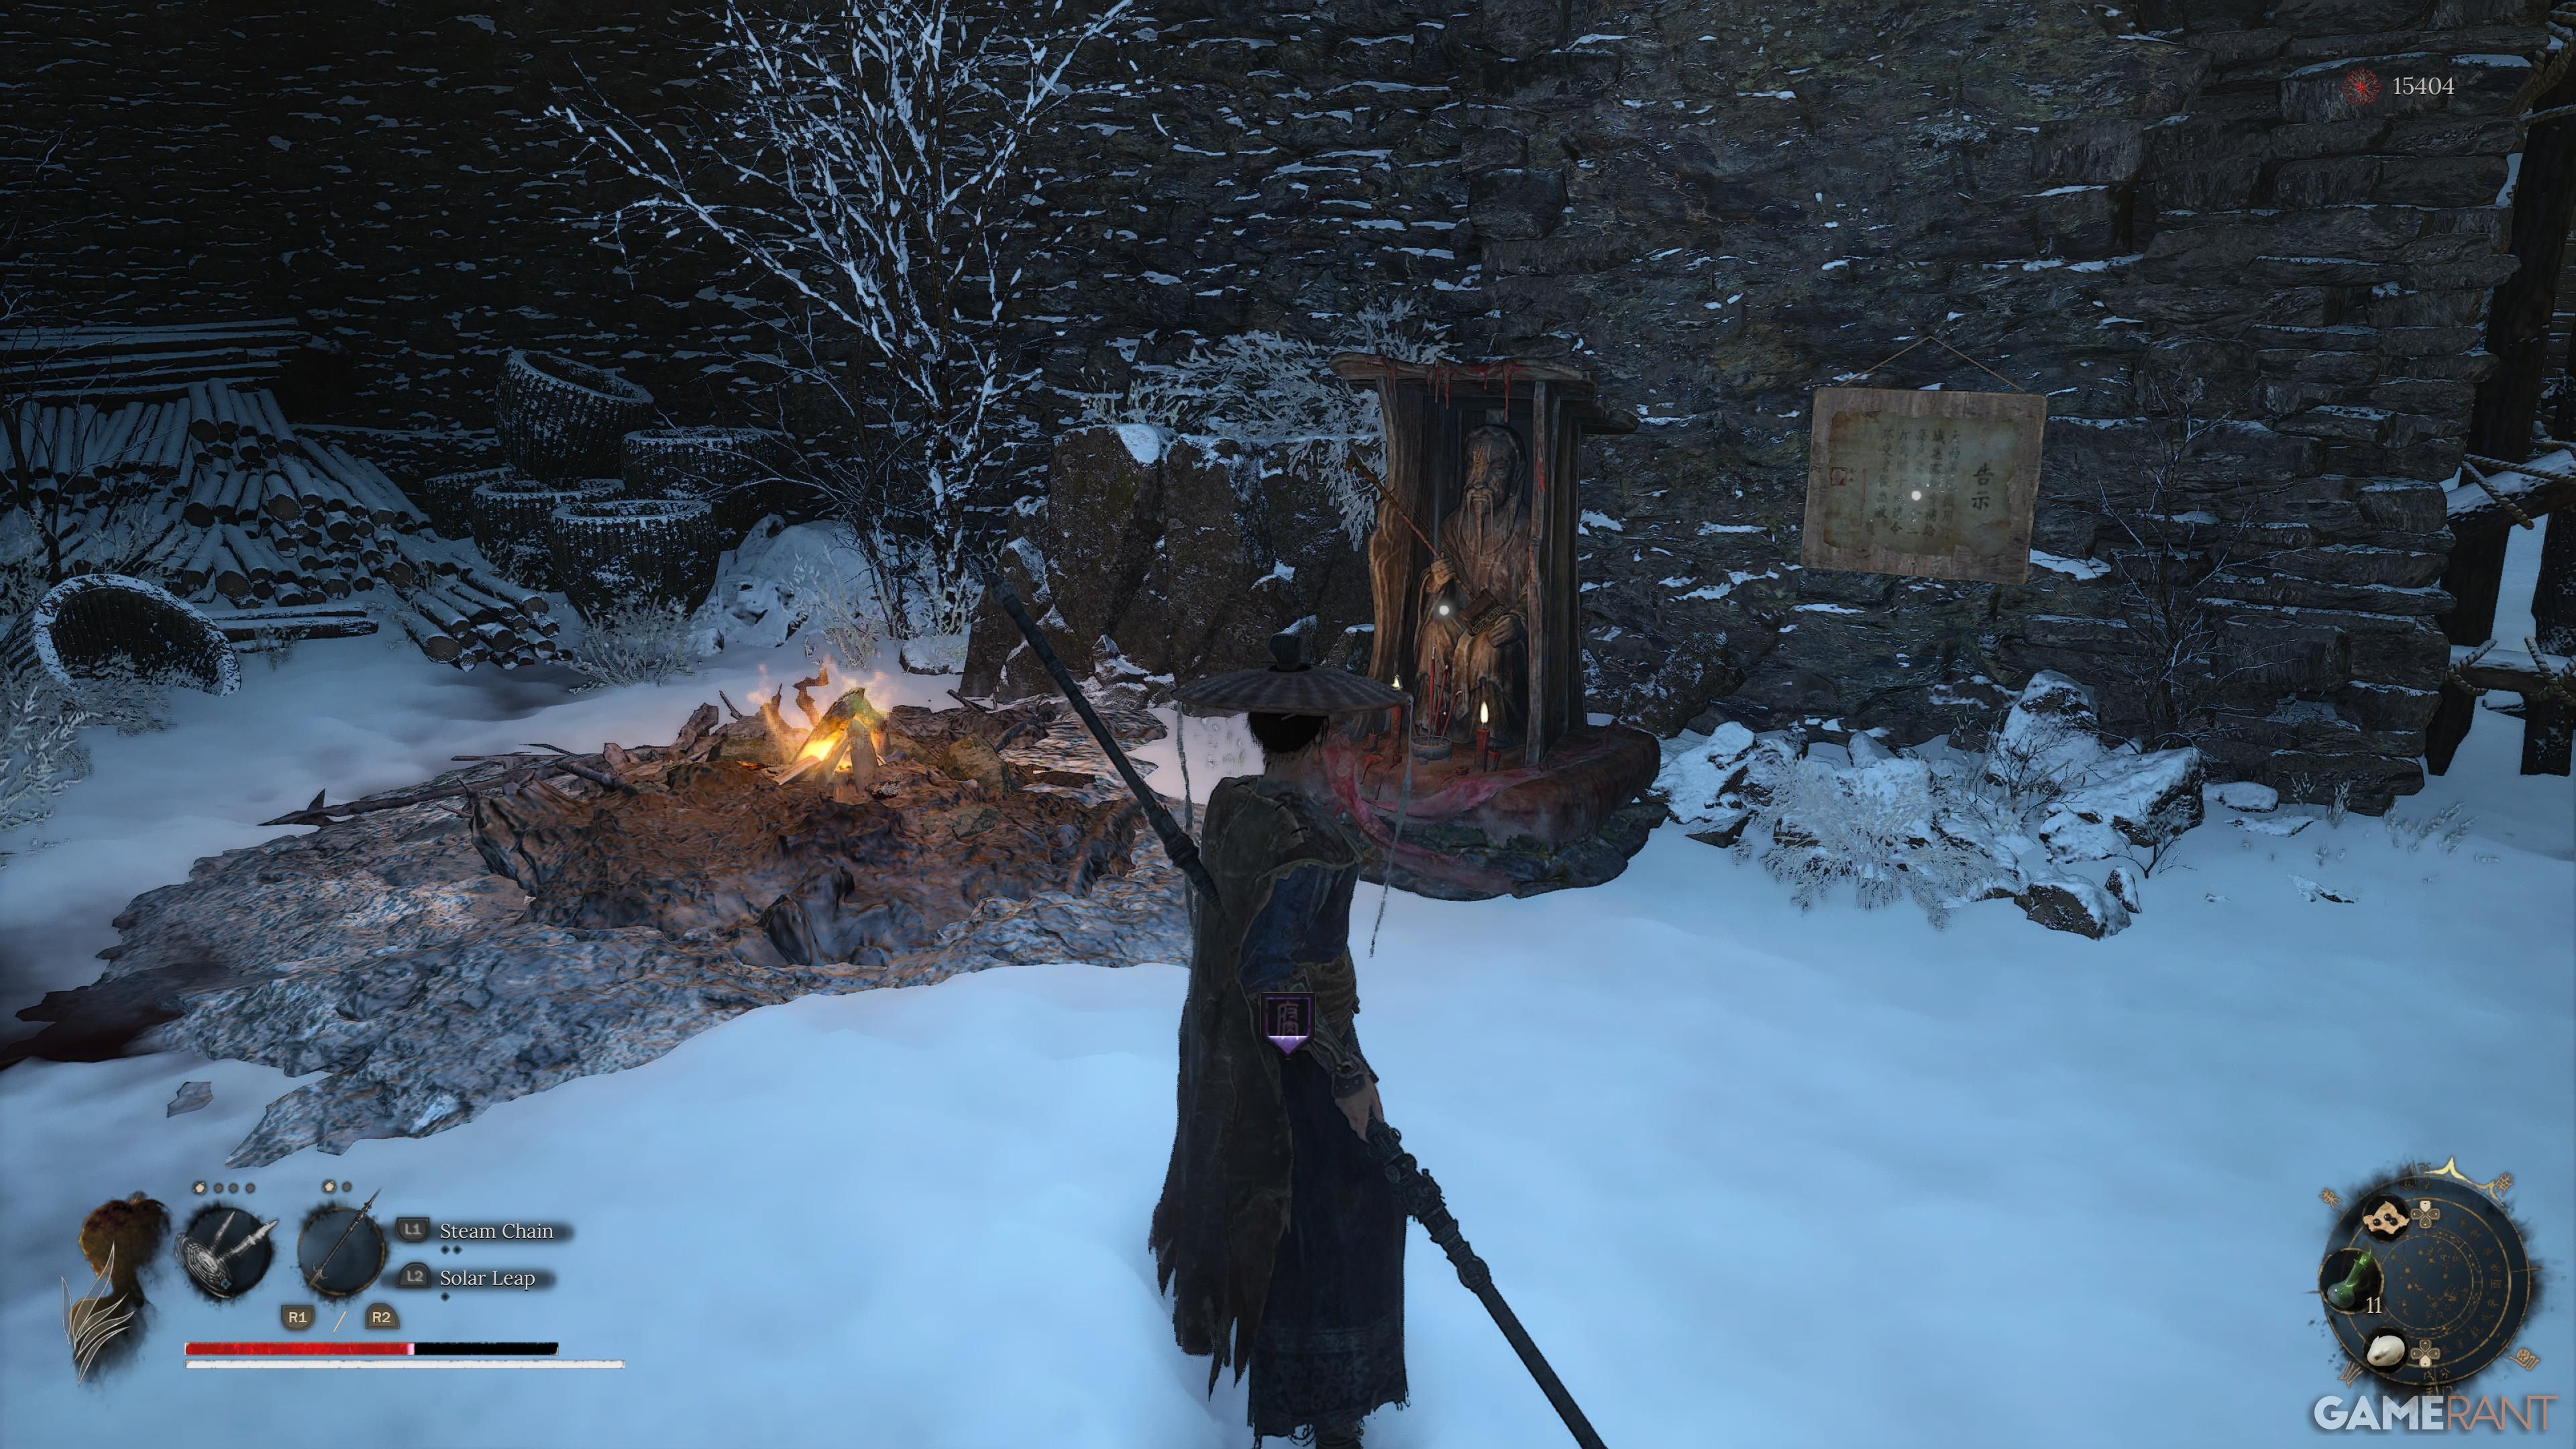
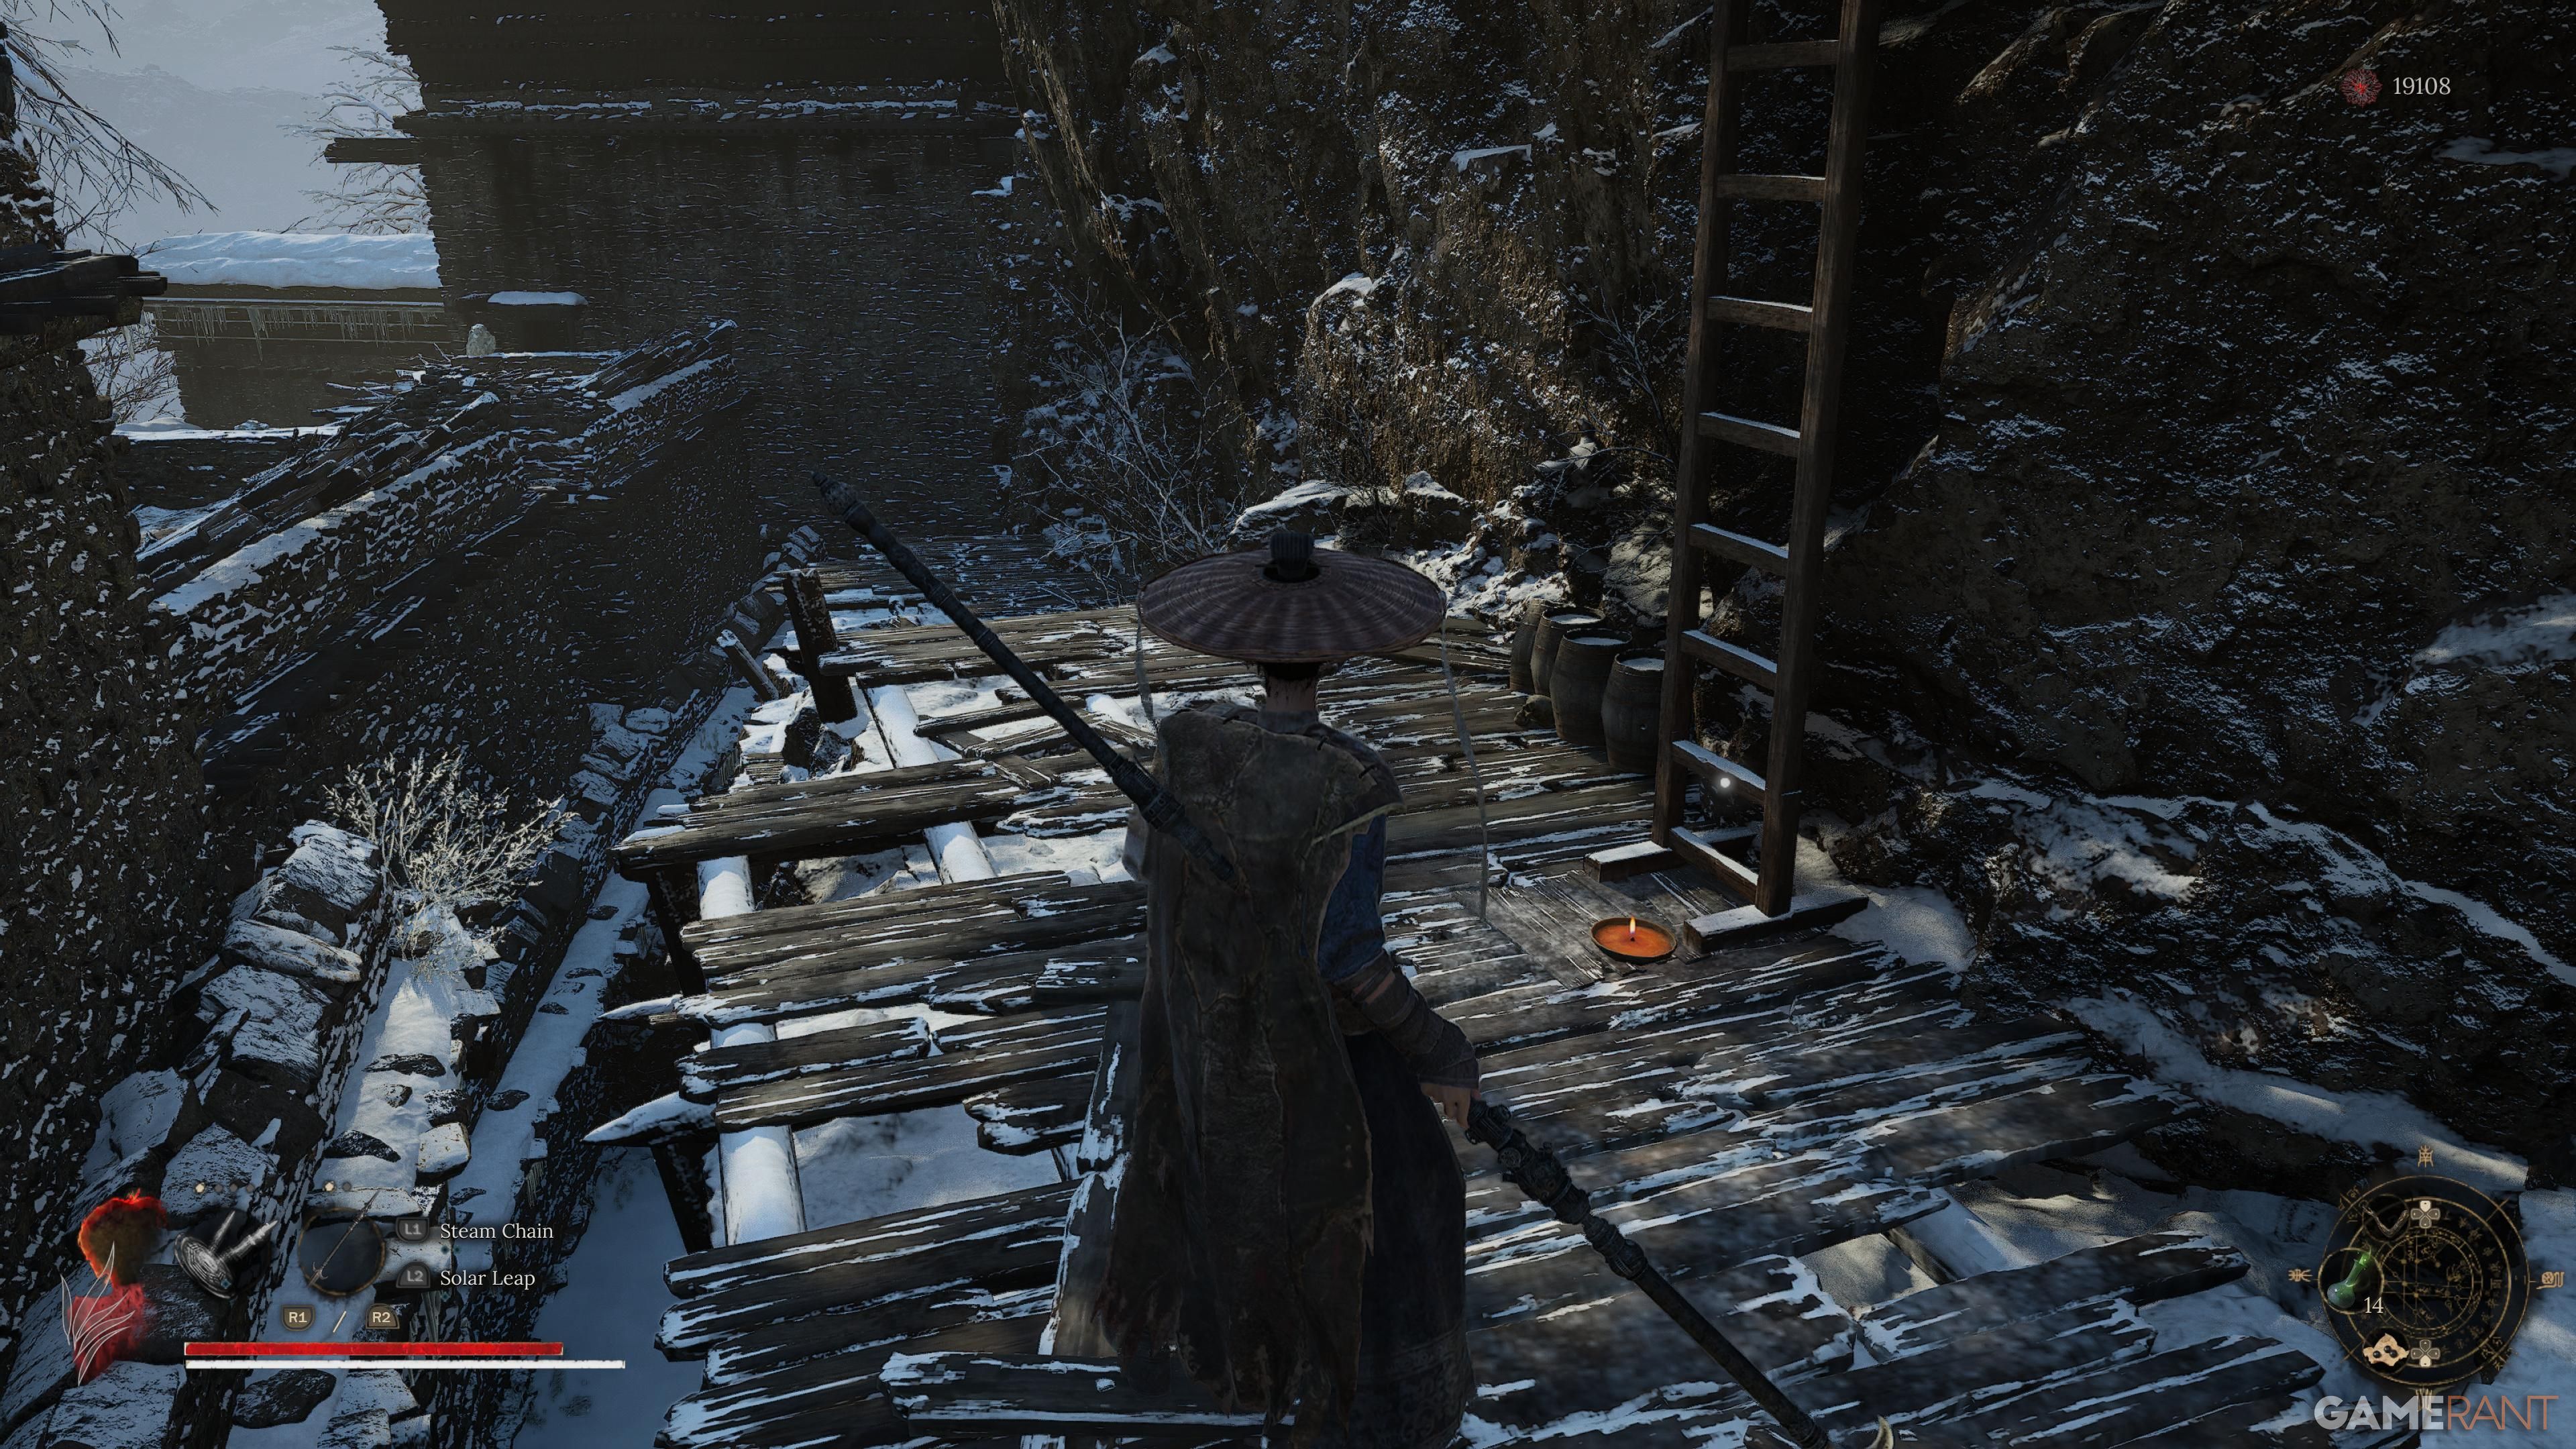
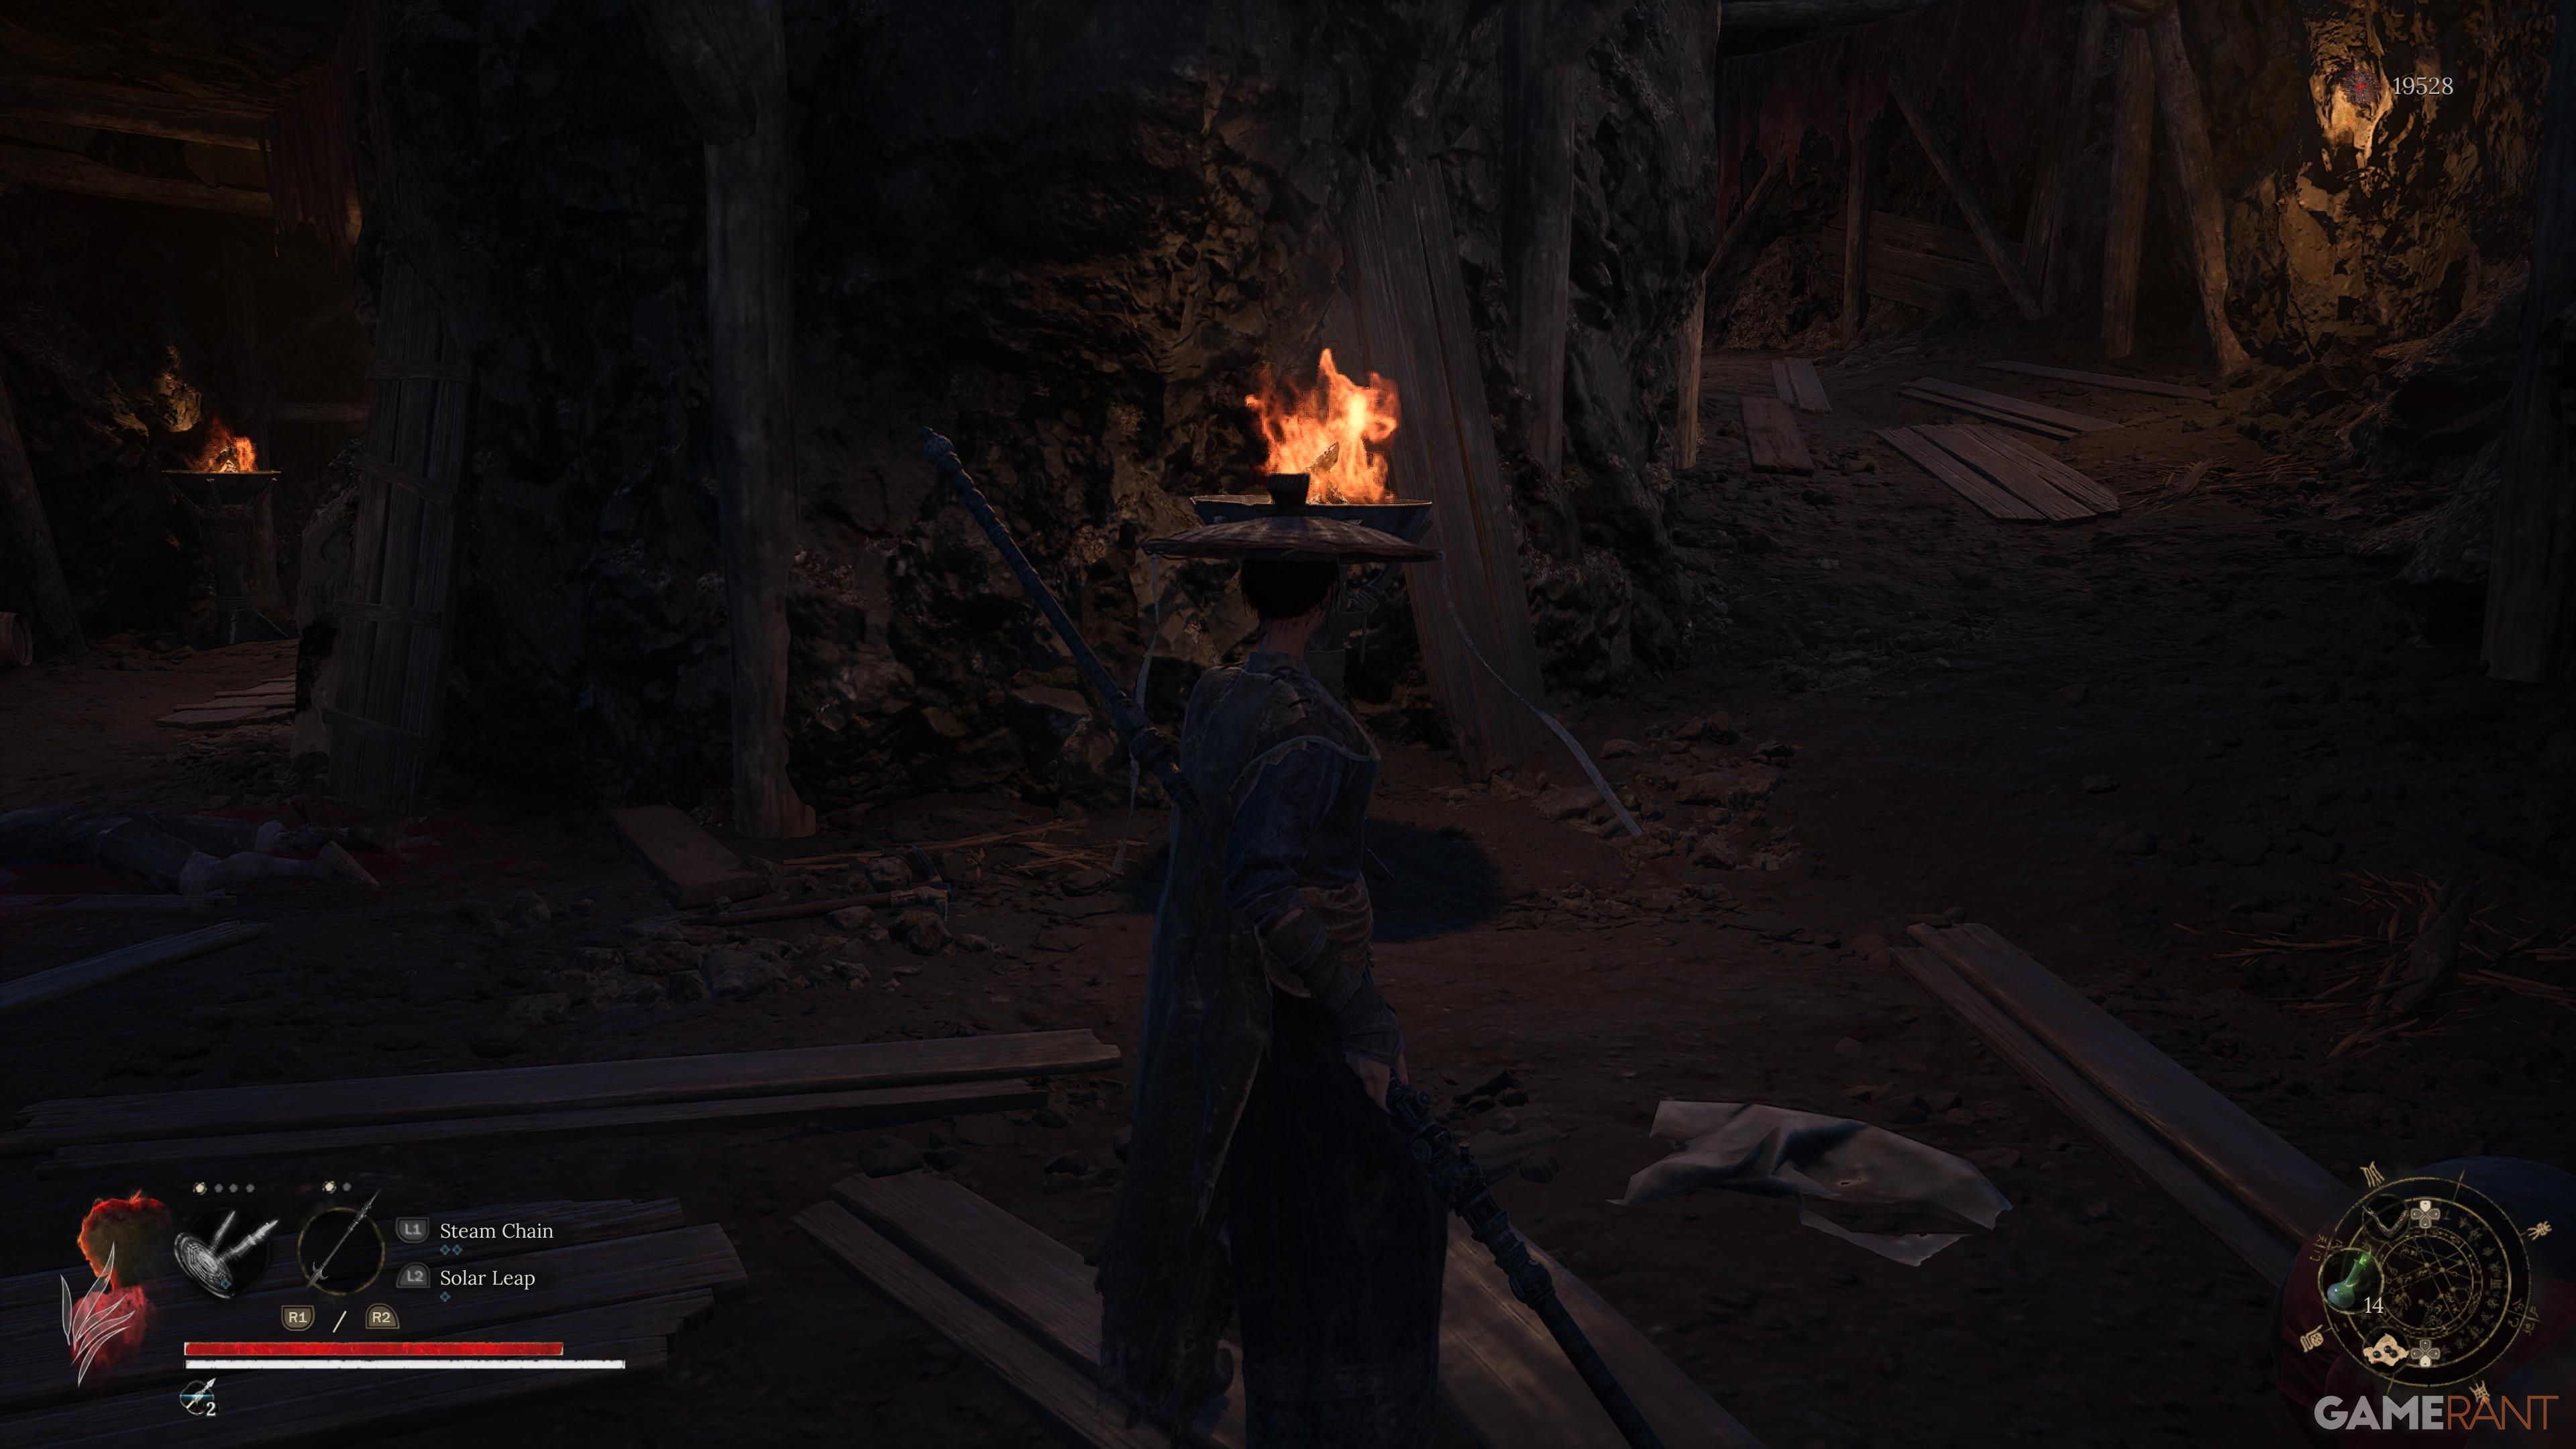
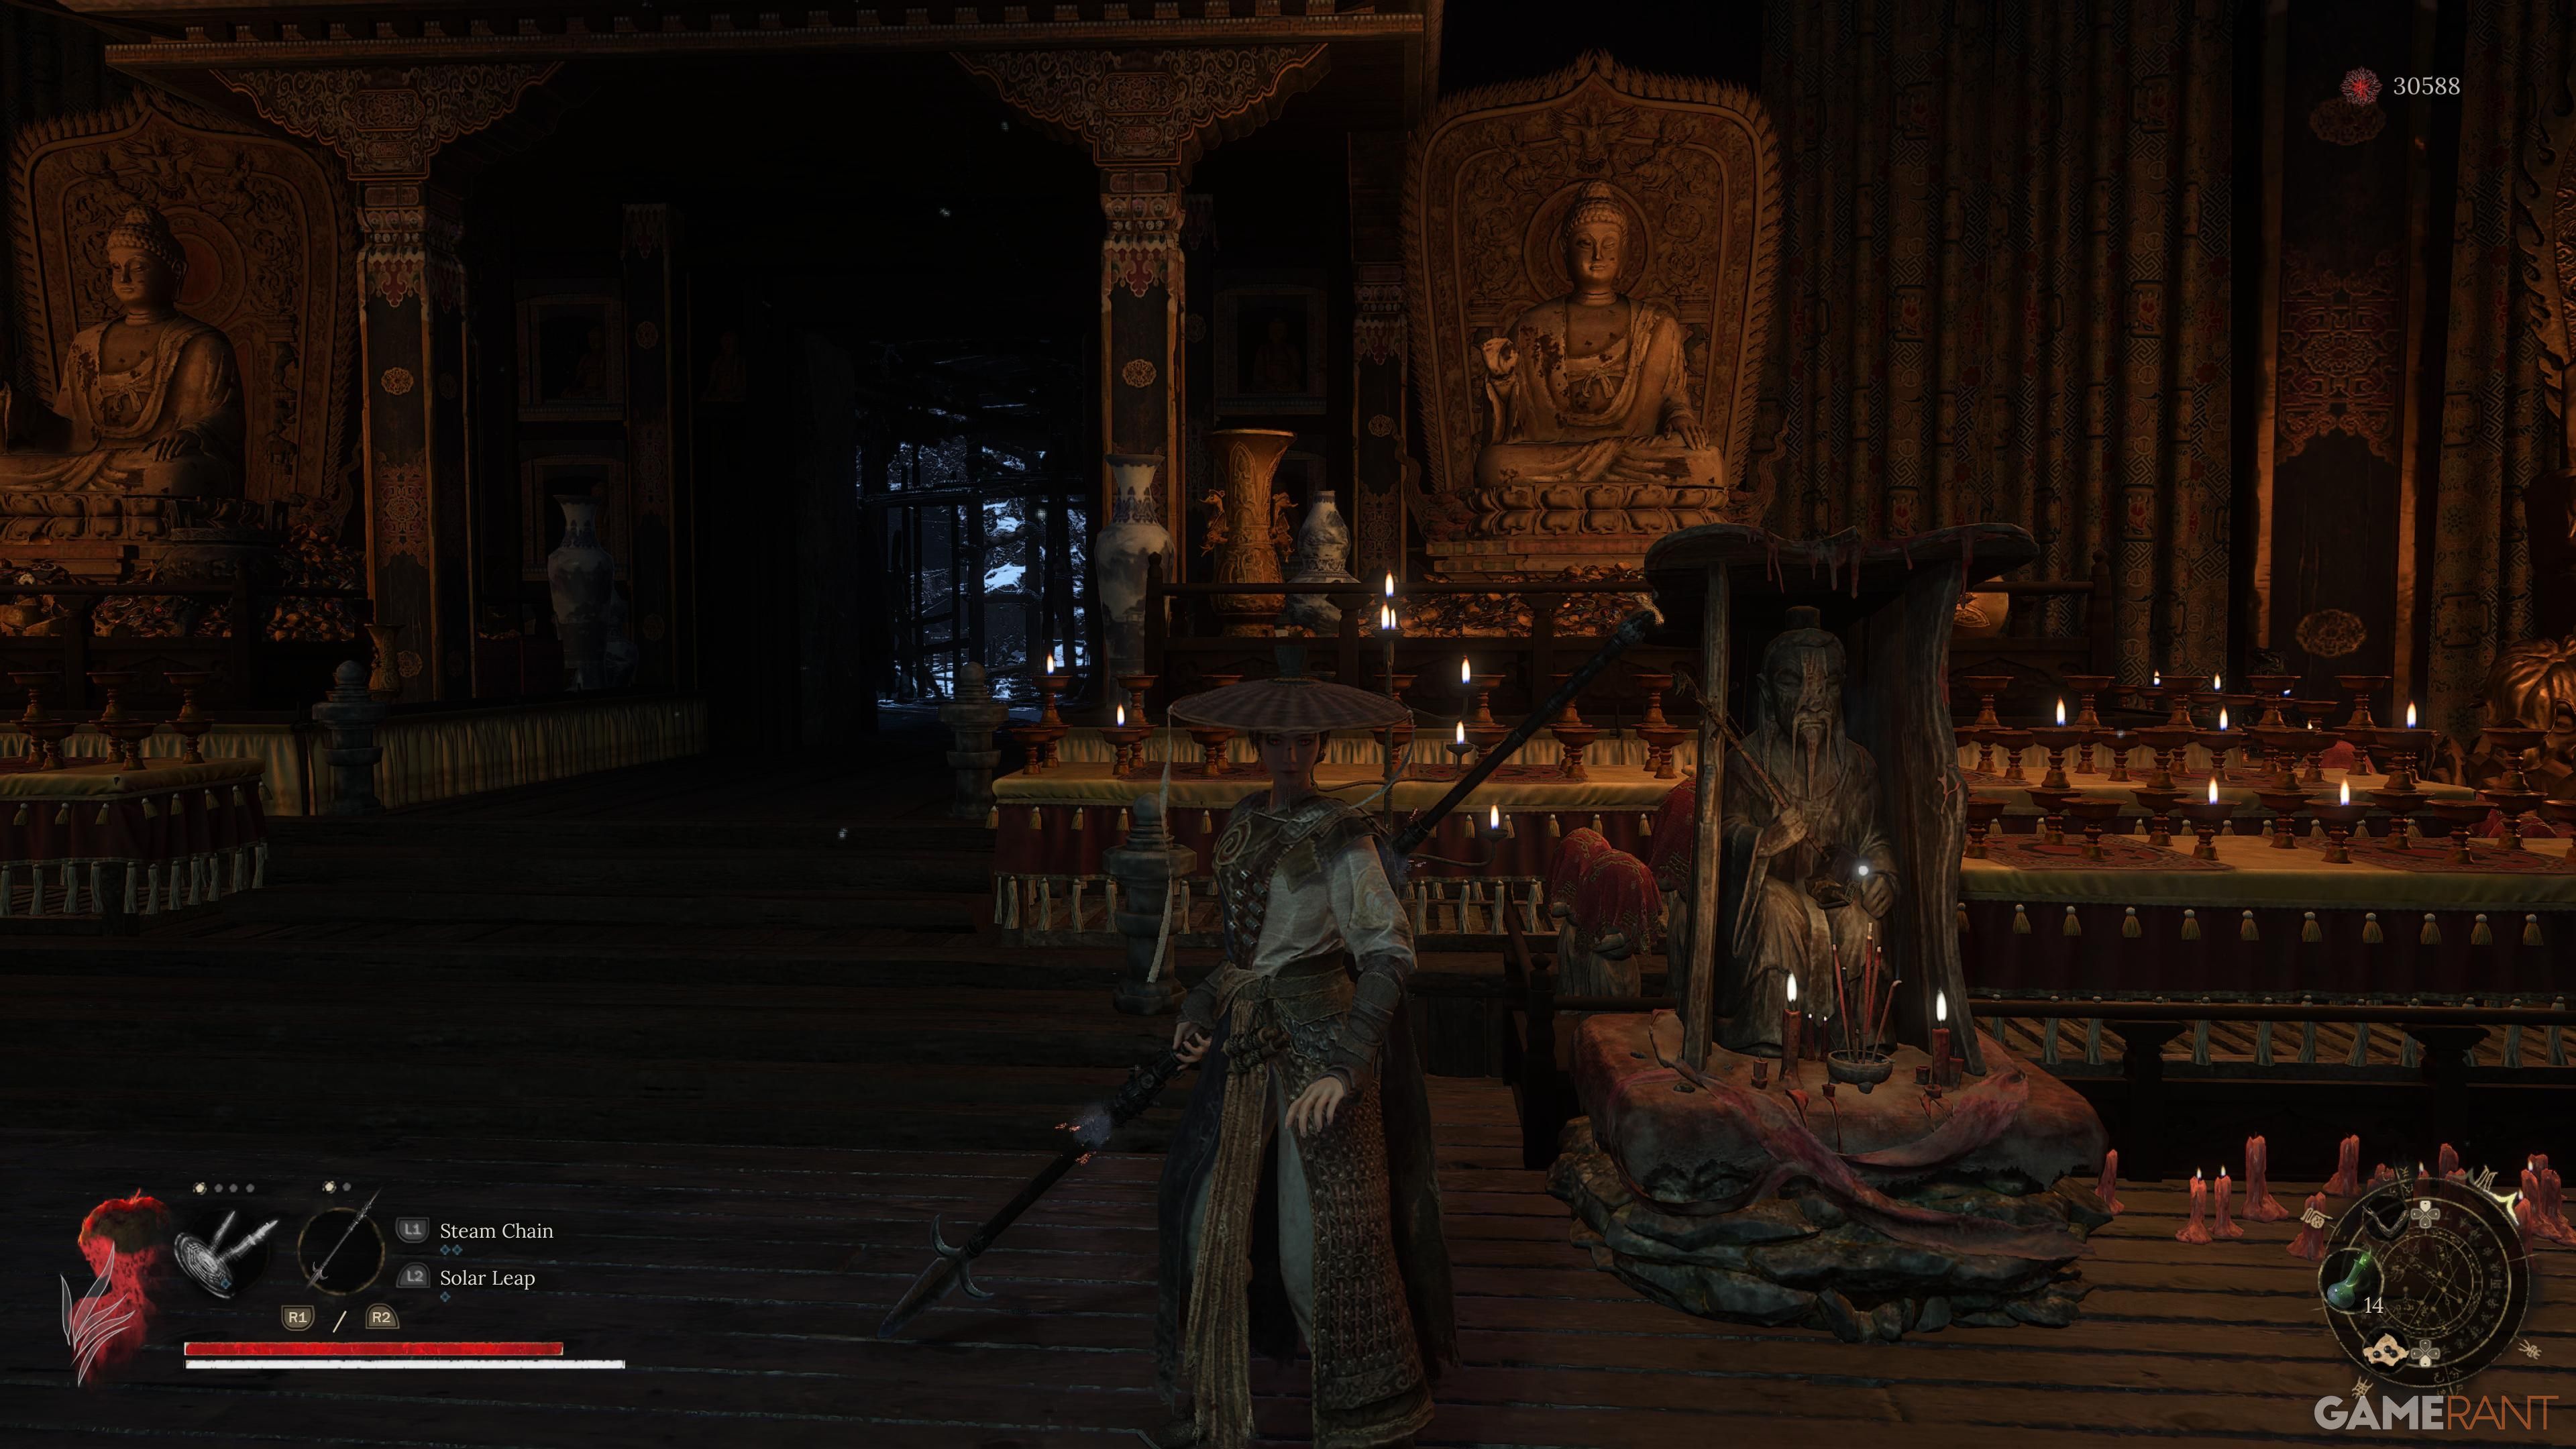
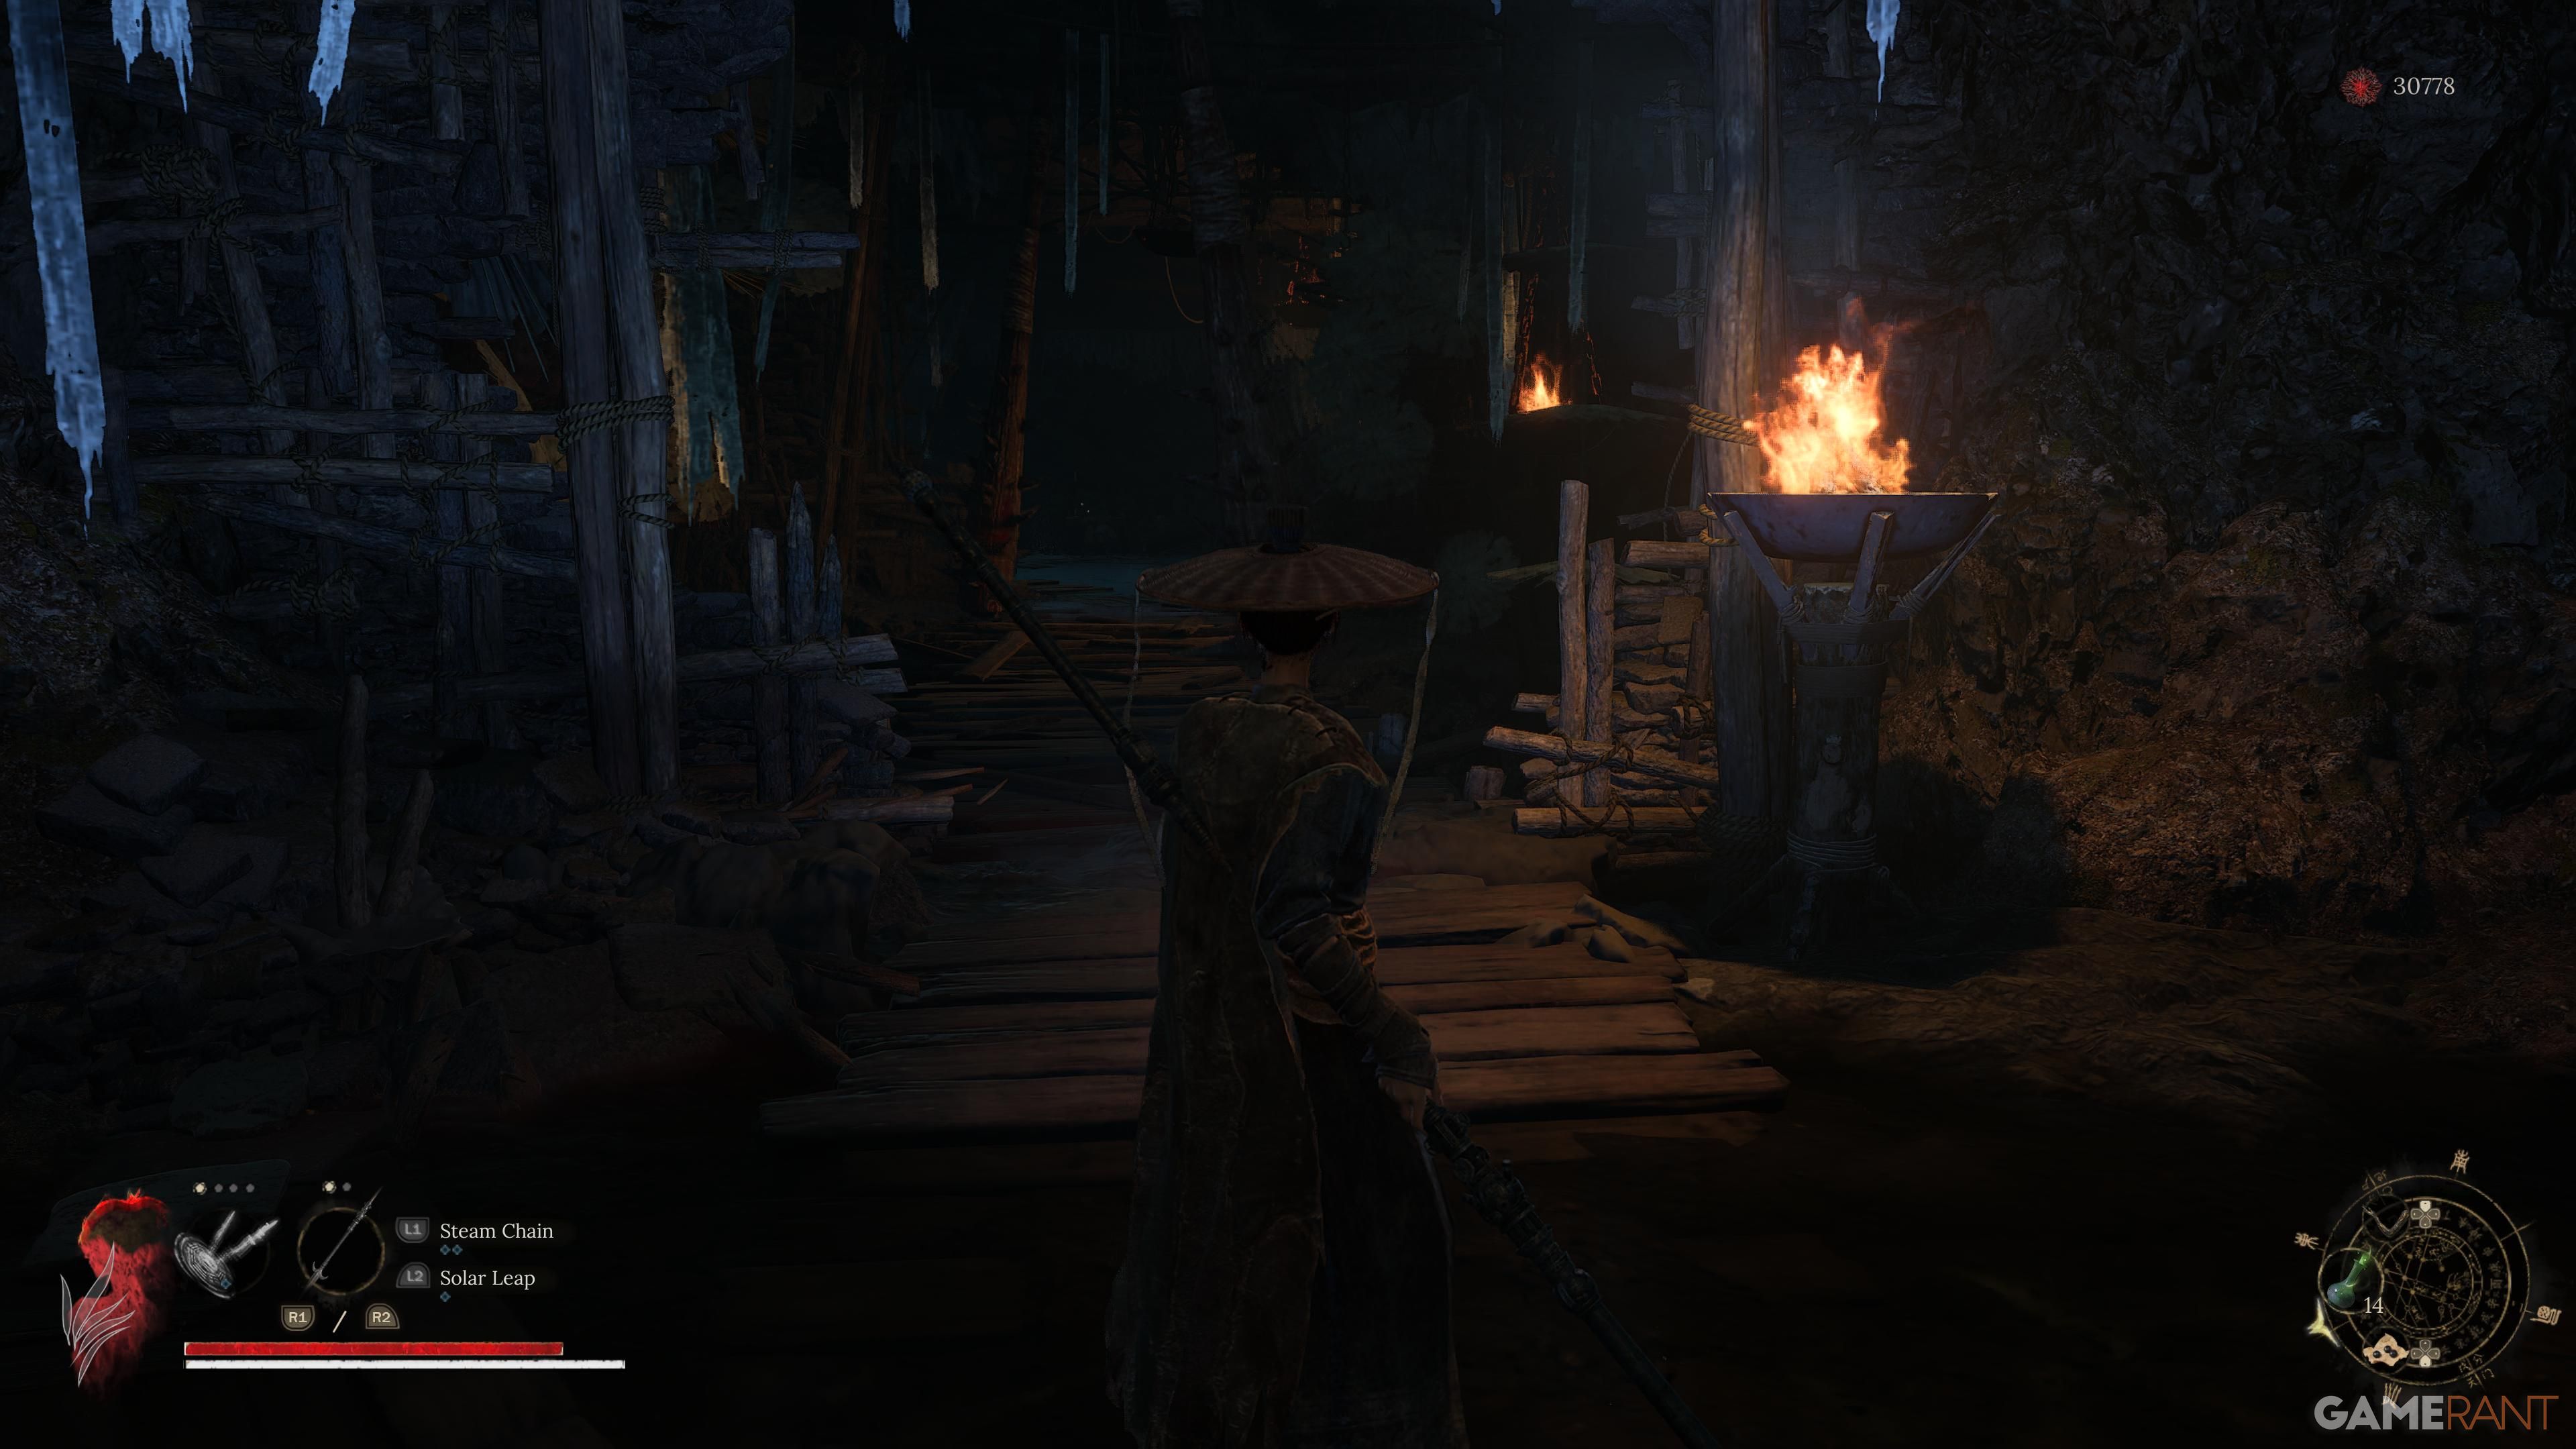
Starting from the Temple of Reverence, locate the key and unlock the door on the left. Proceed along the straight path into the mine. To find a ladder that leads to more depths, continue down the path on your right. This ladder will eventually take you to an elevator. Descend in the elevator, then keep moving forward on the linear path until you reach the second elevator. Call this one down and enter. After navigating through the mine, you’ll encounter a Mysterious Gate on your right, with two choices available, as well as a bridge that leads to the first shrine of Cloudspire, specifically Hillswatch.
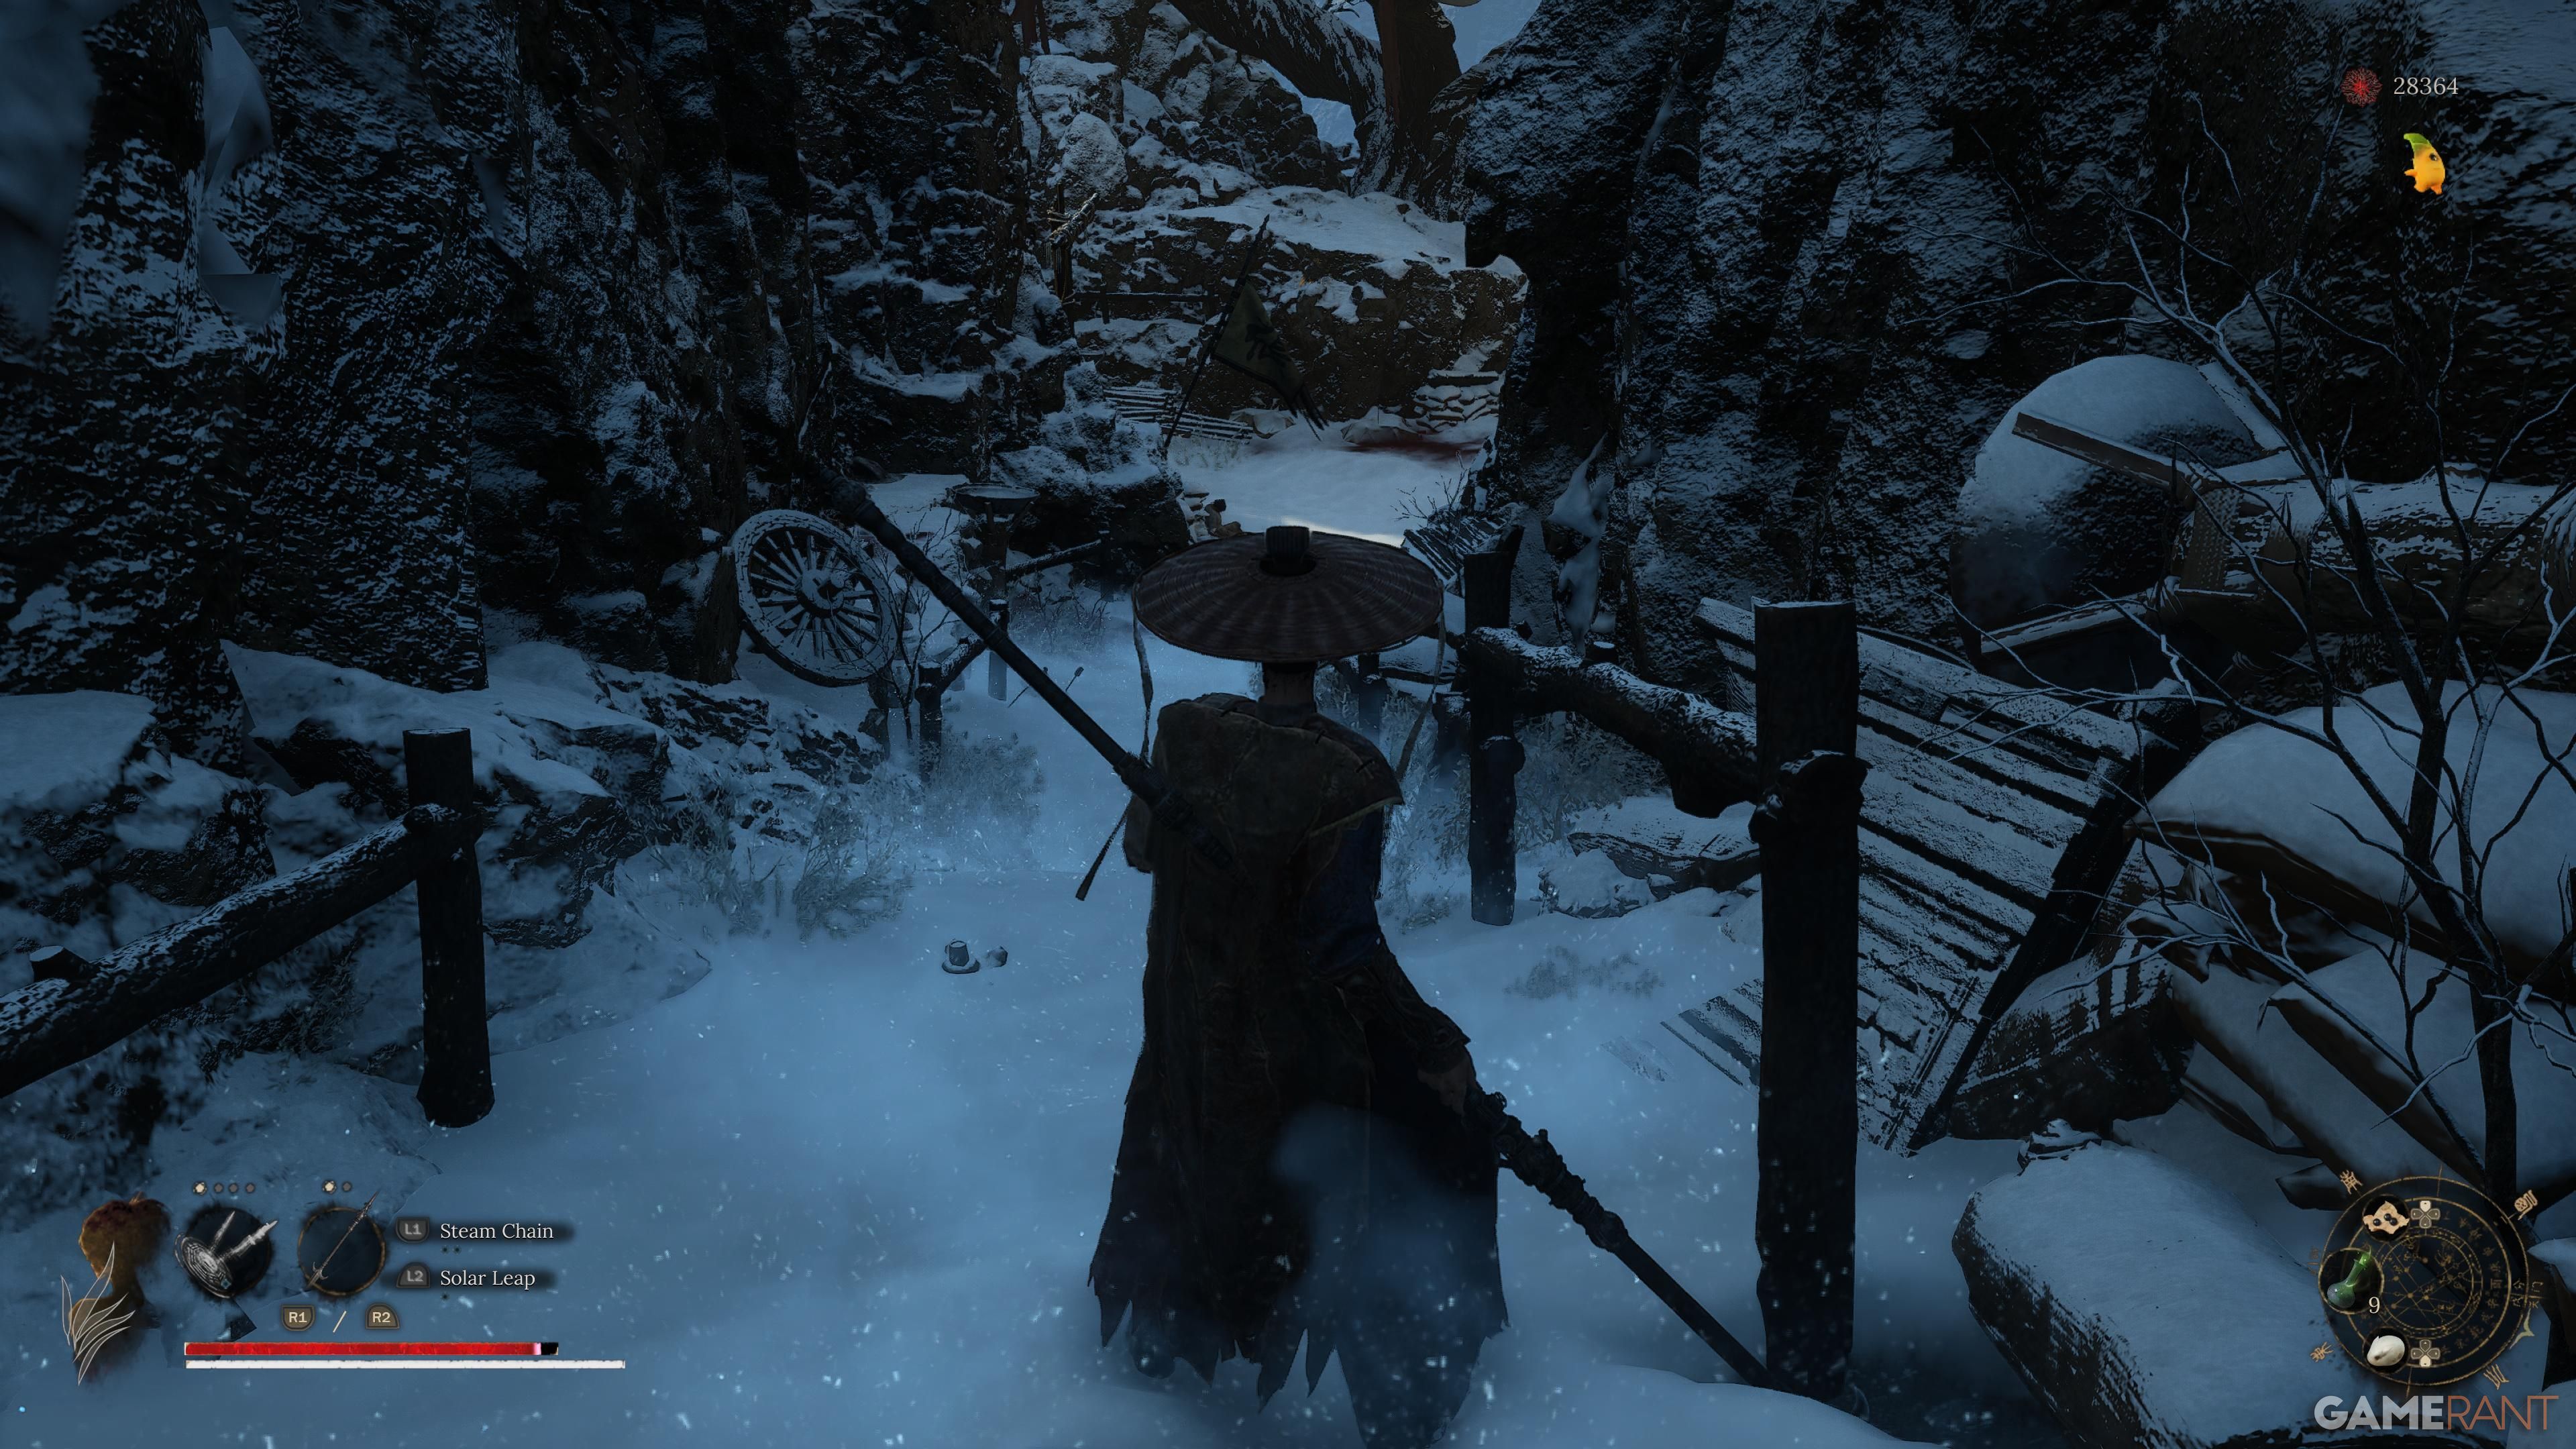
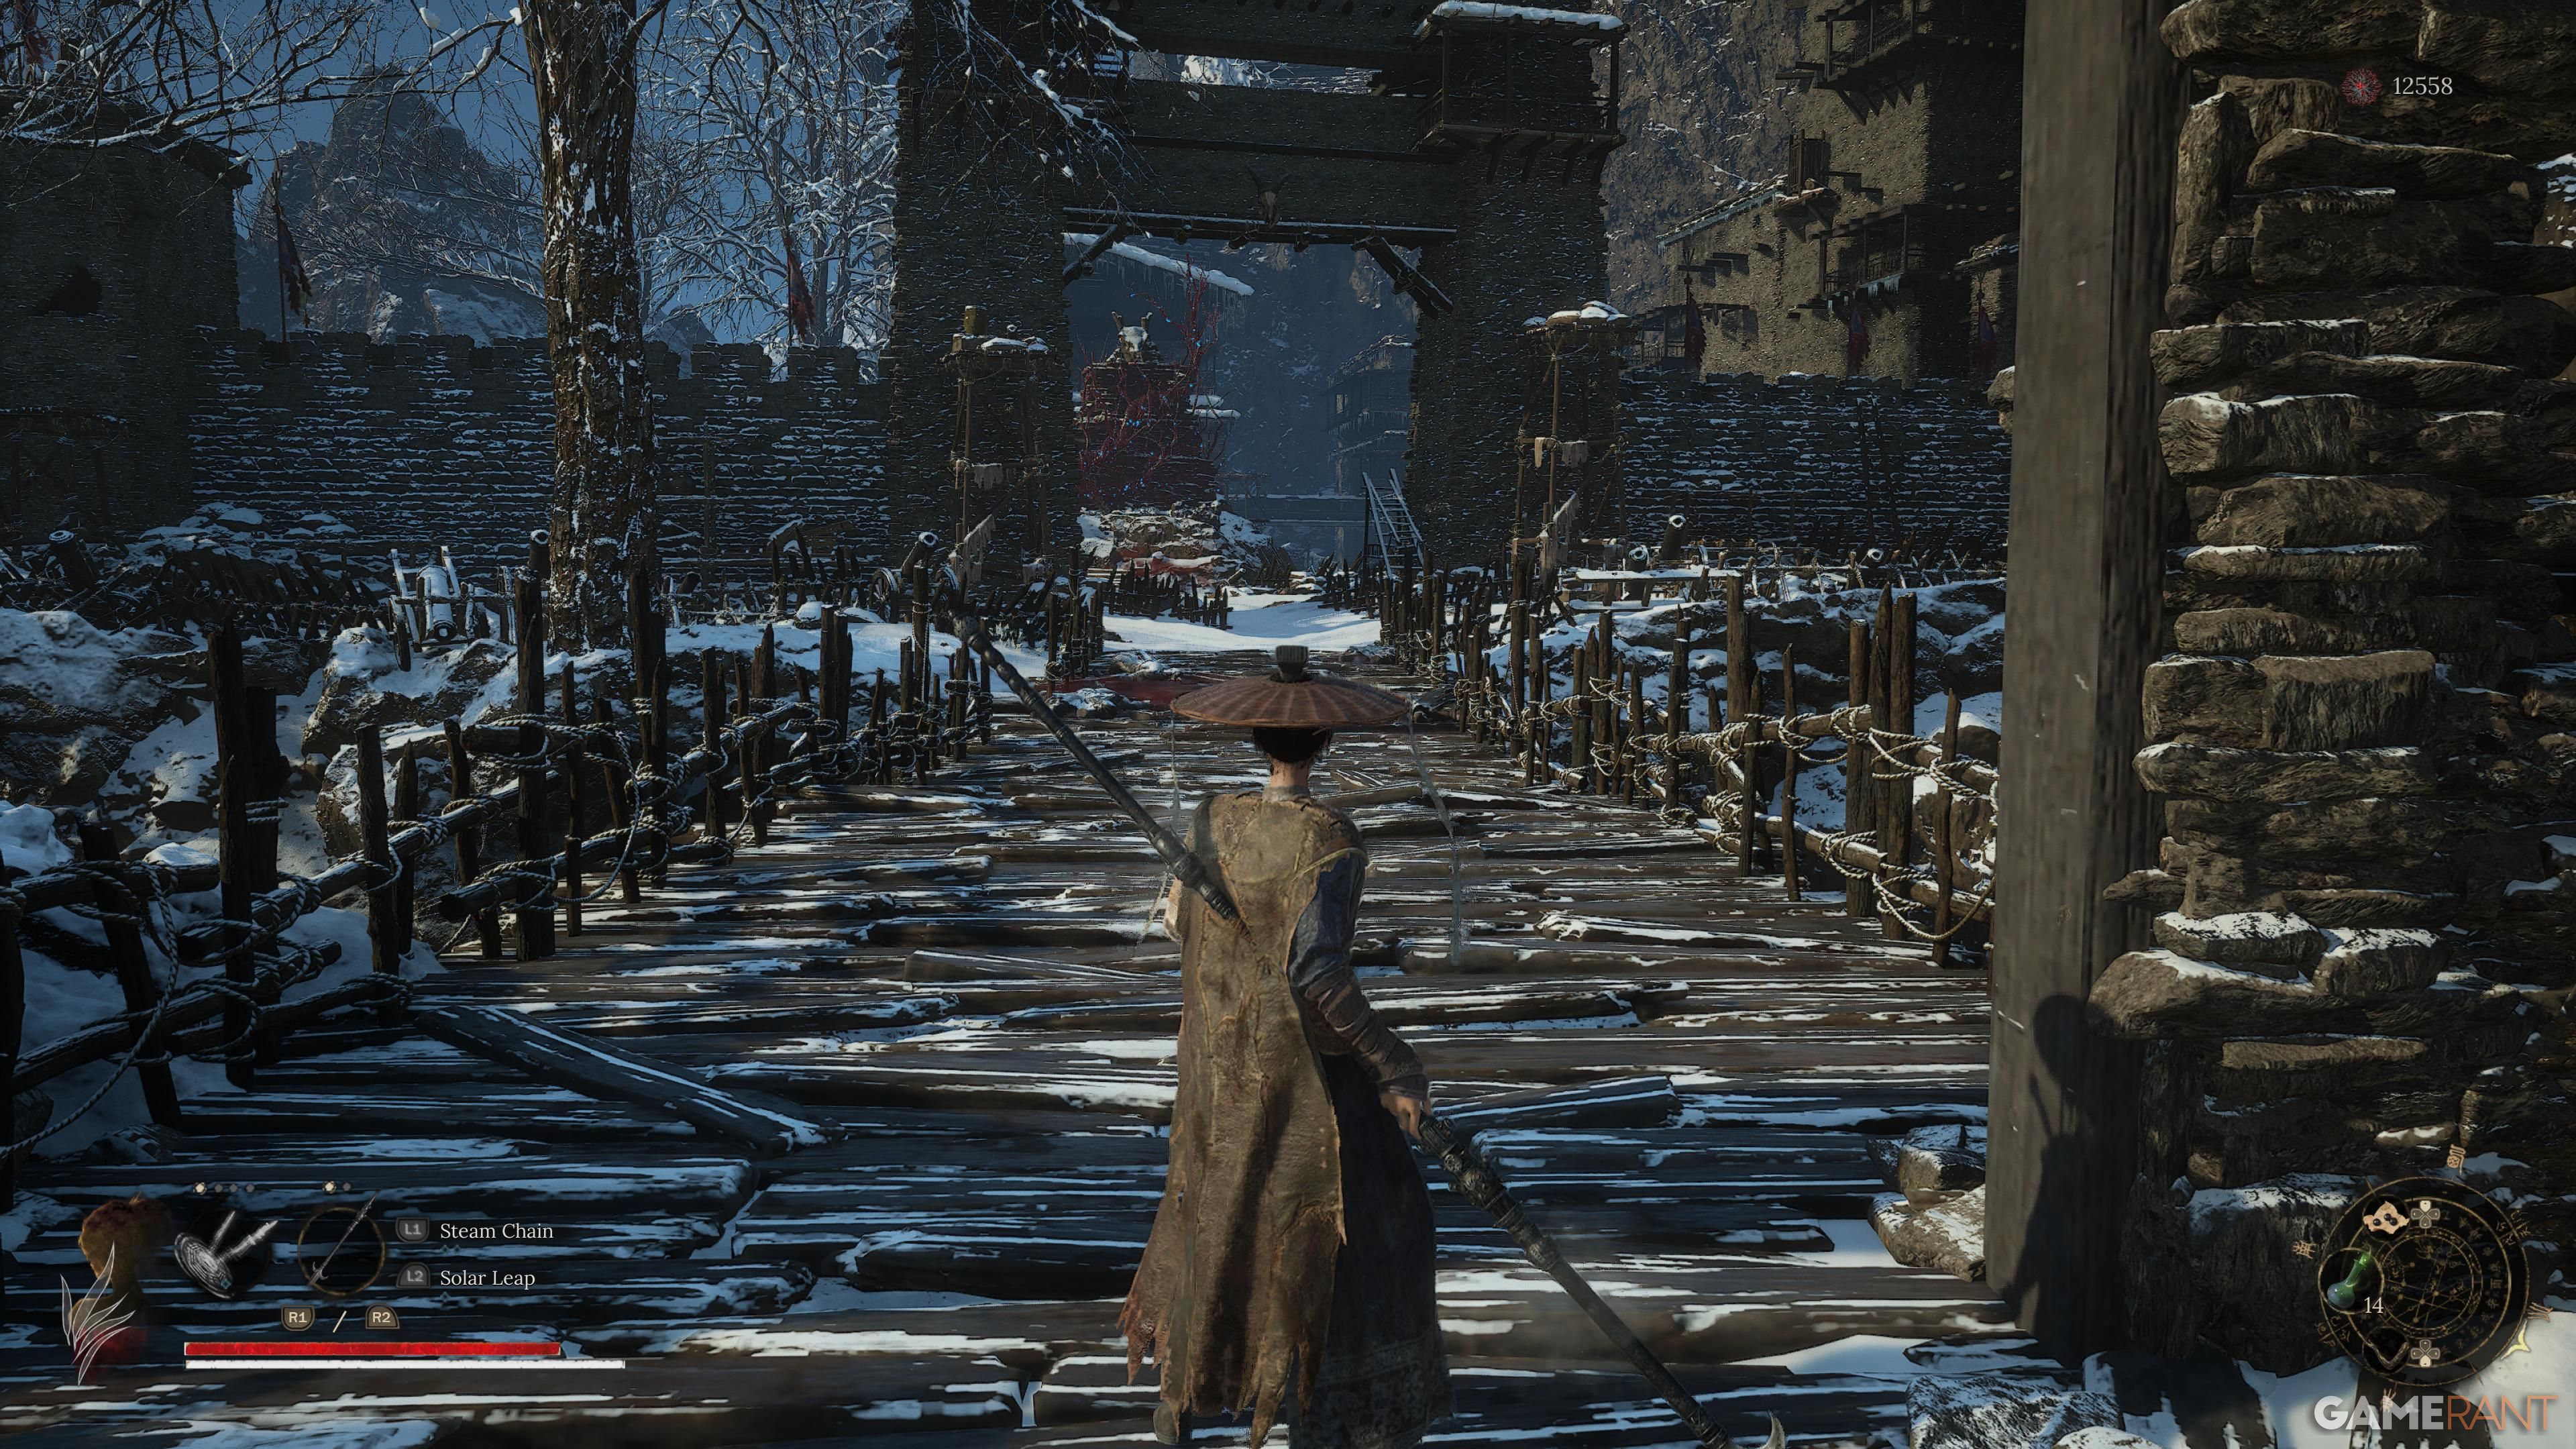
Snowy Passage
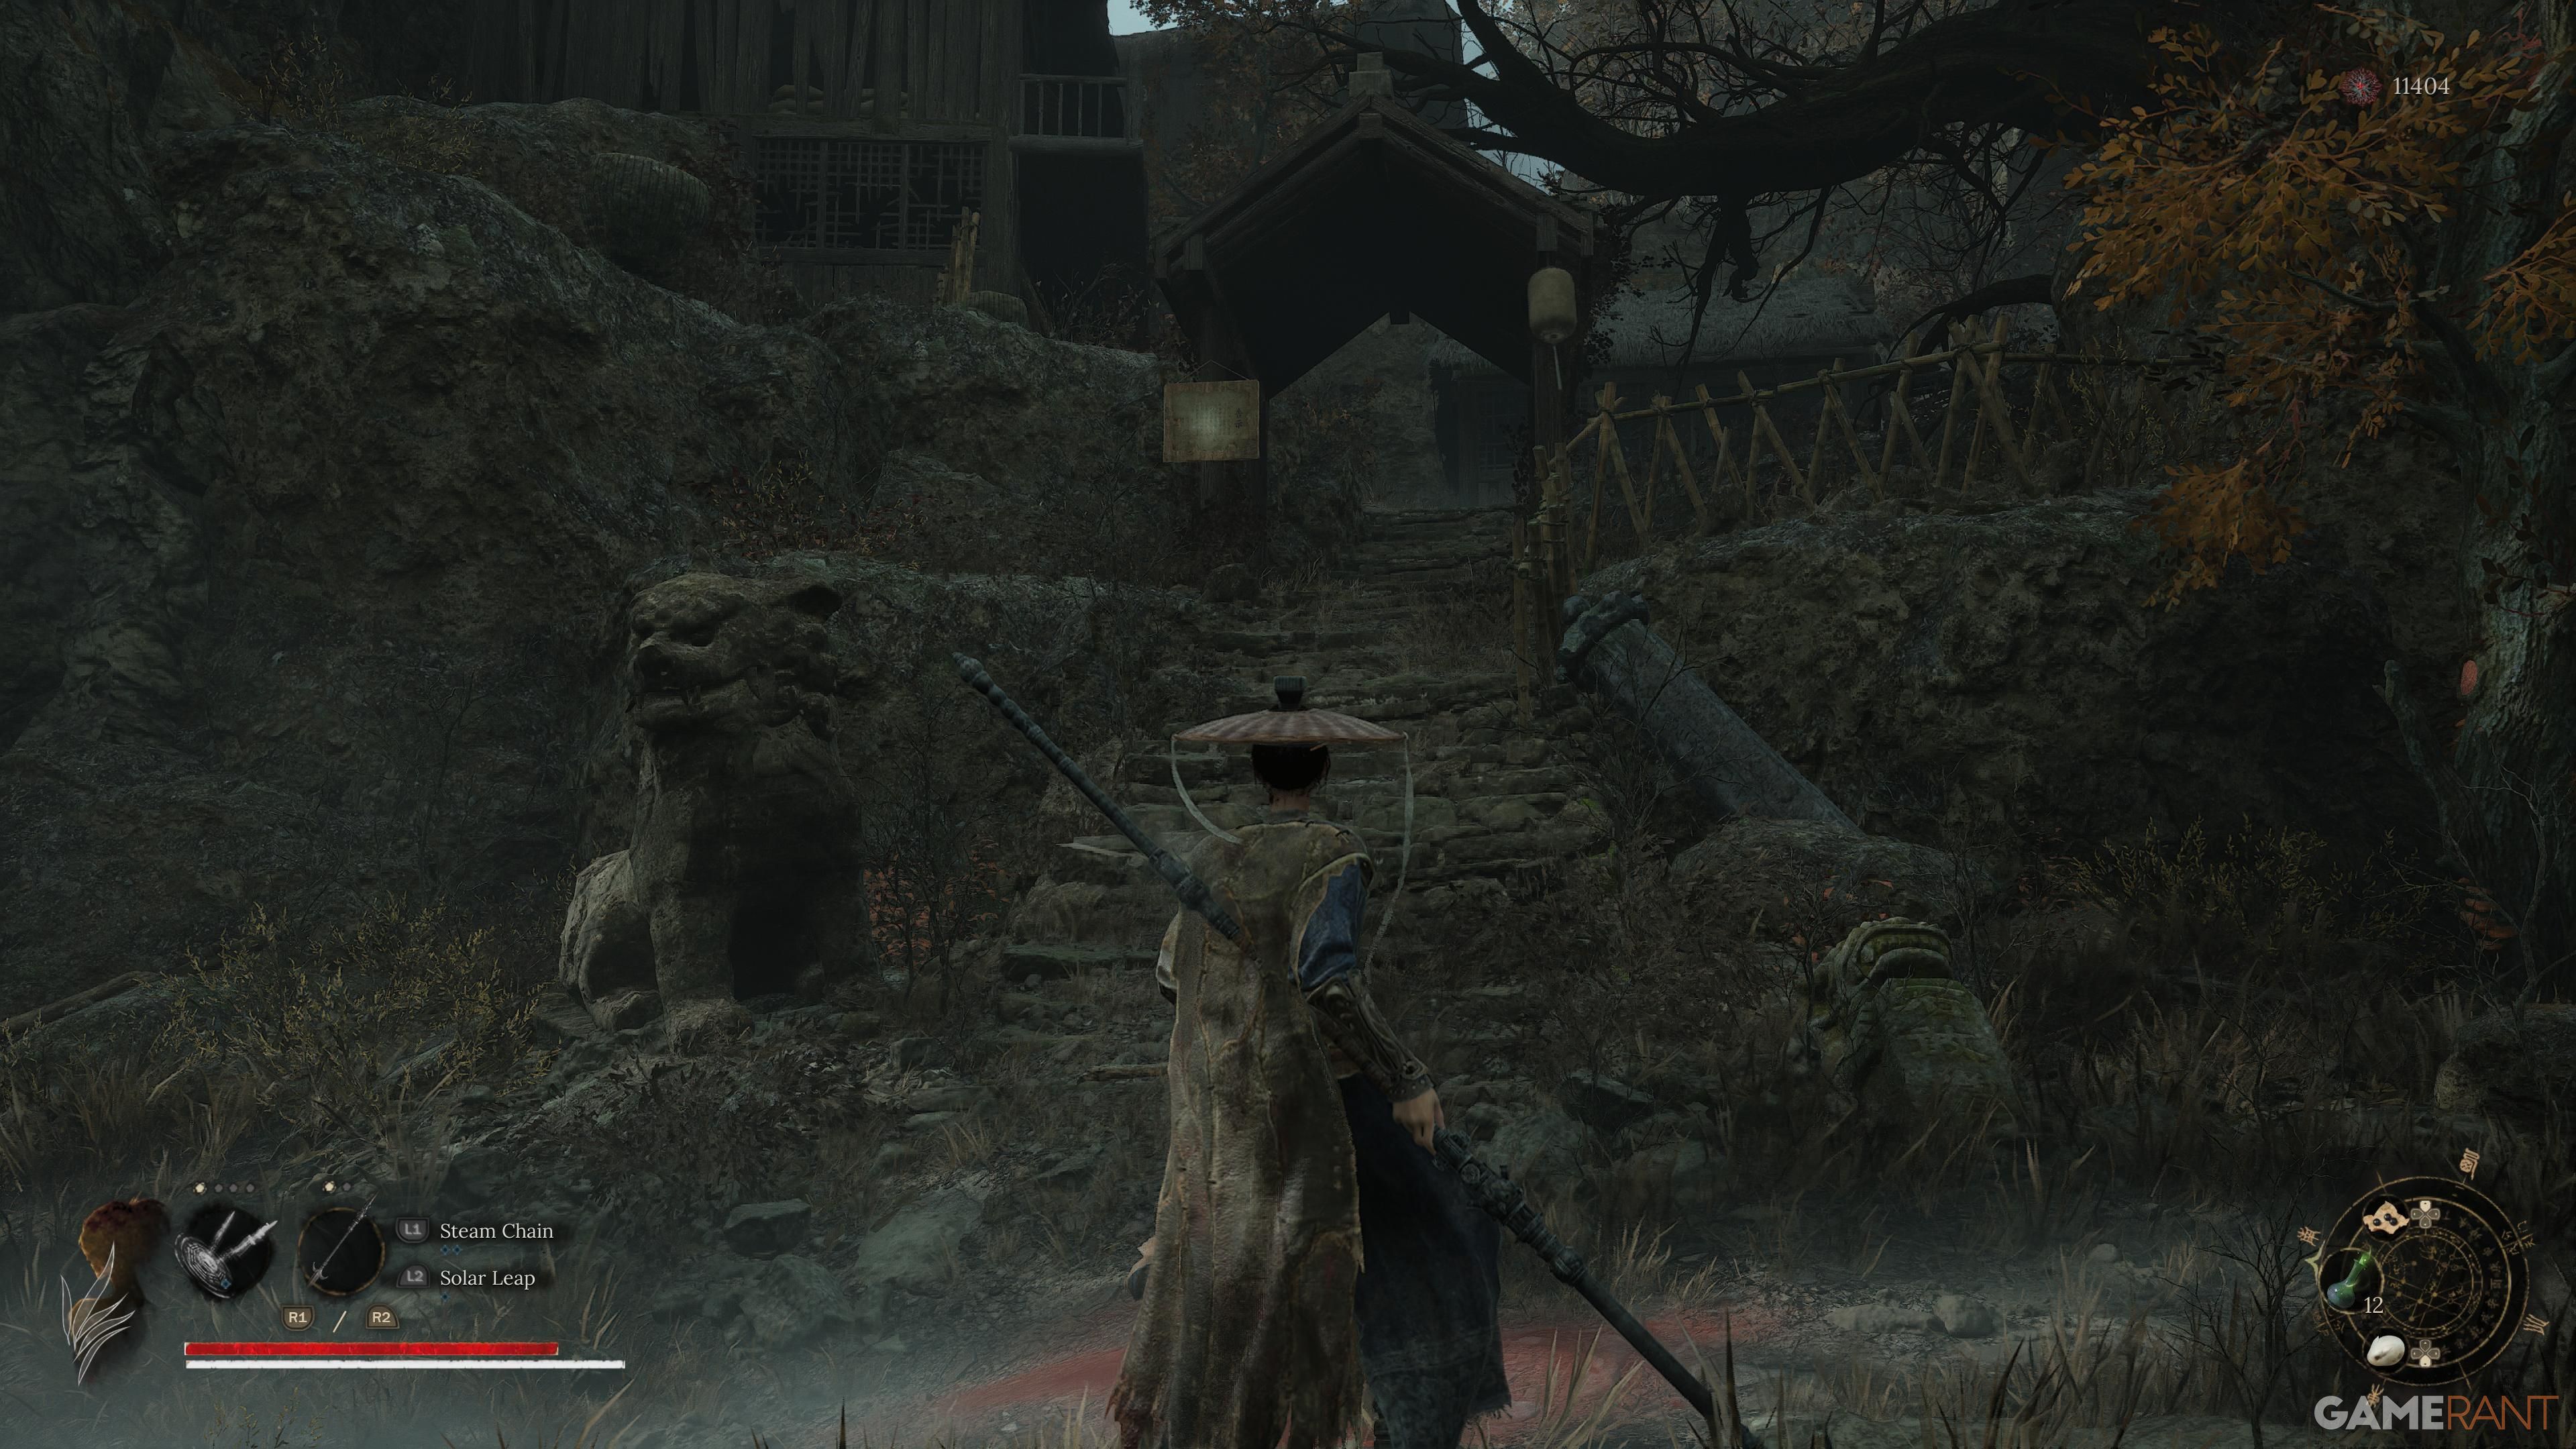
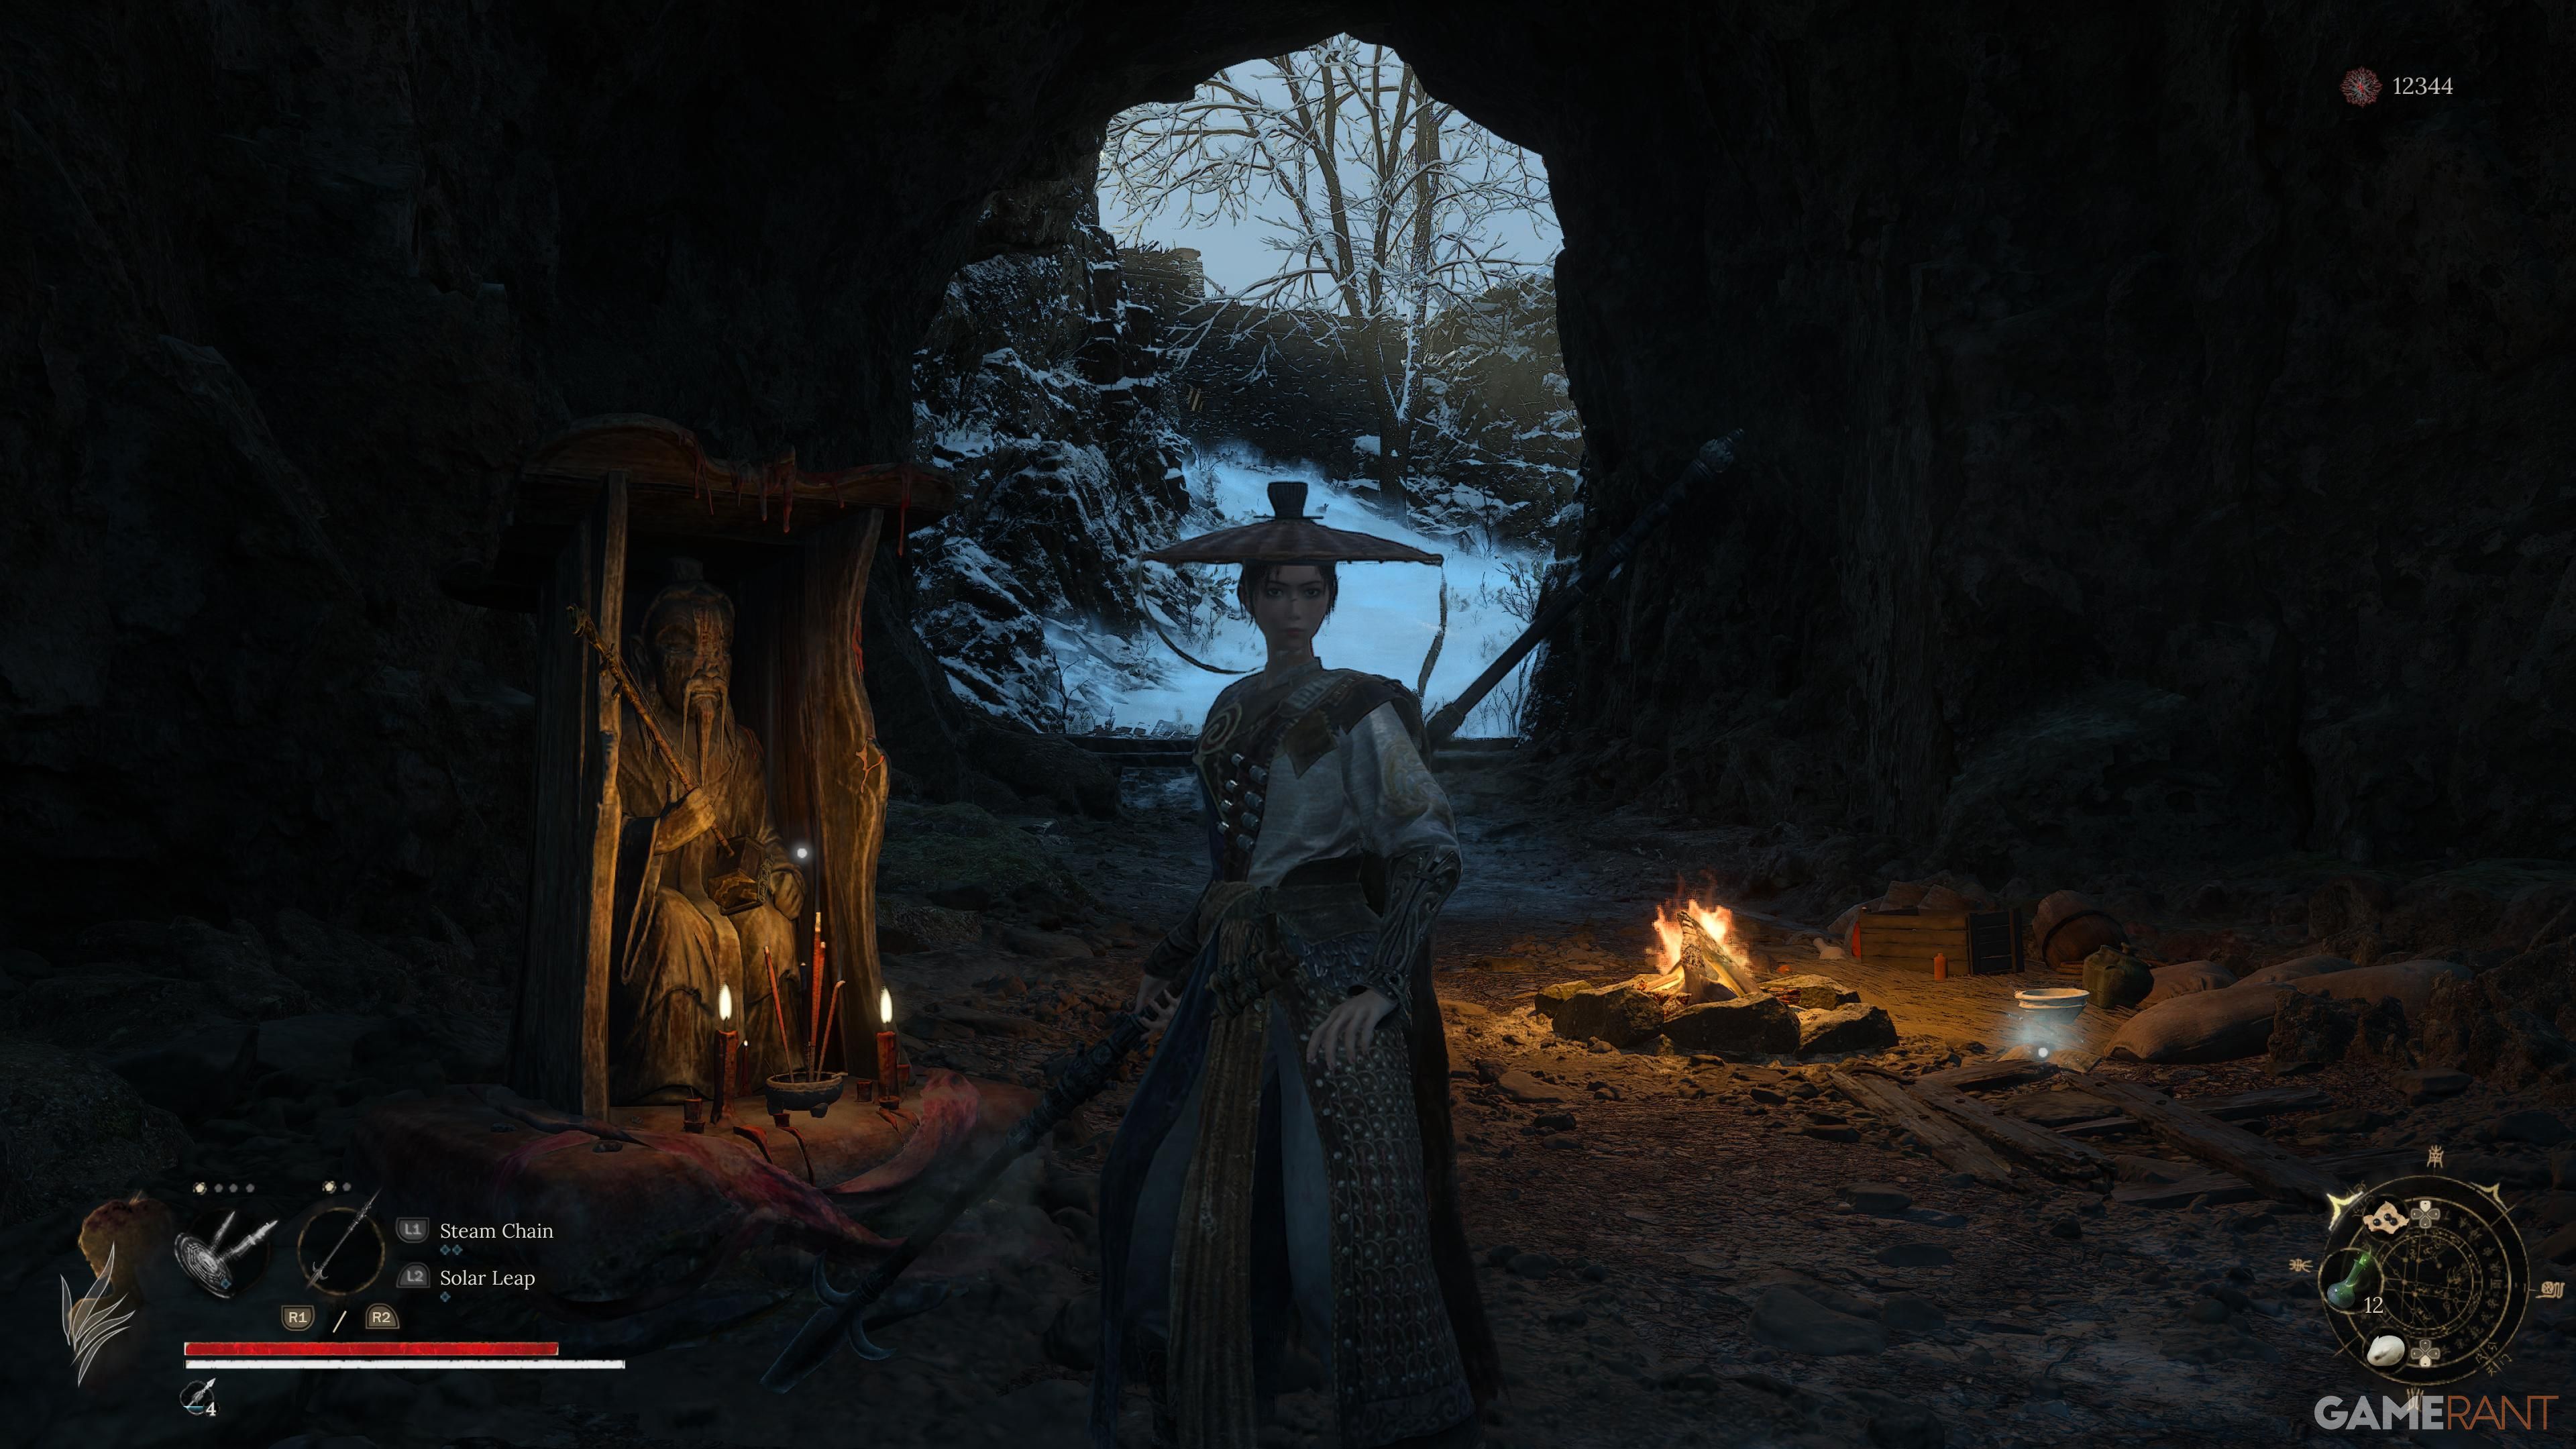
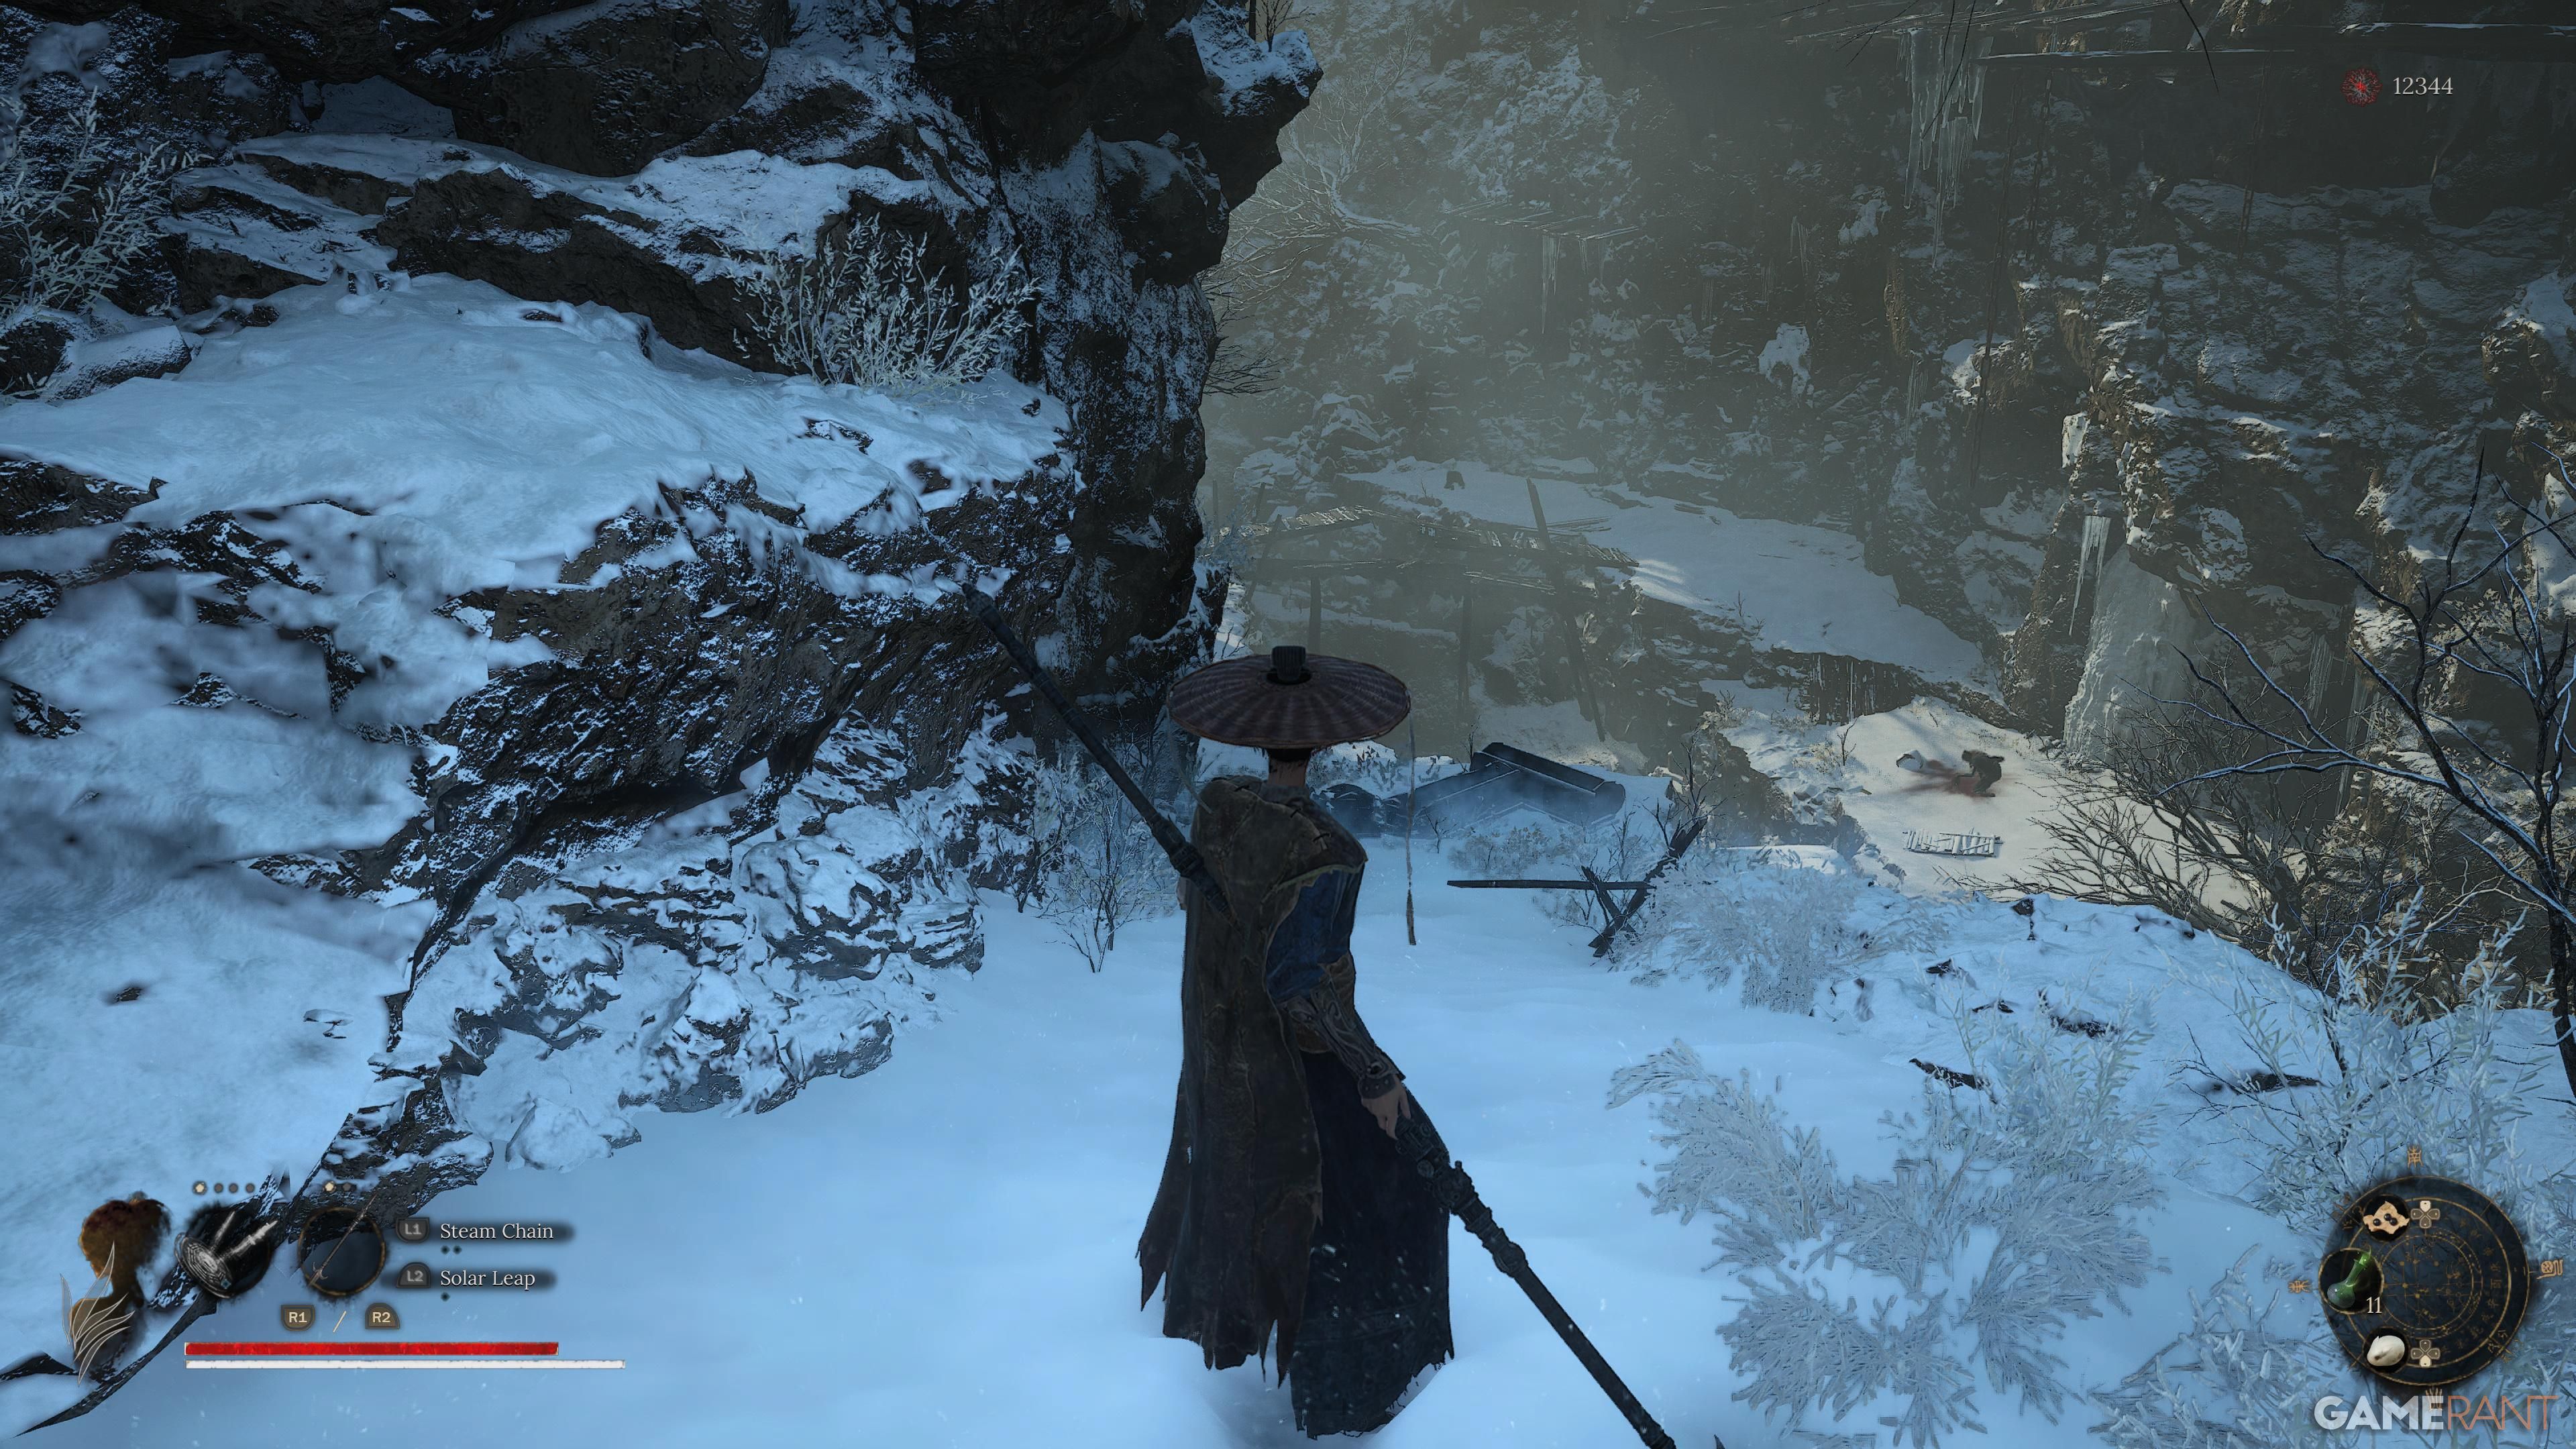
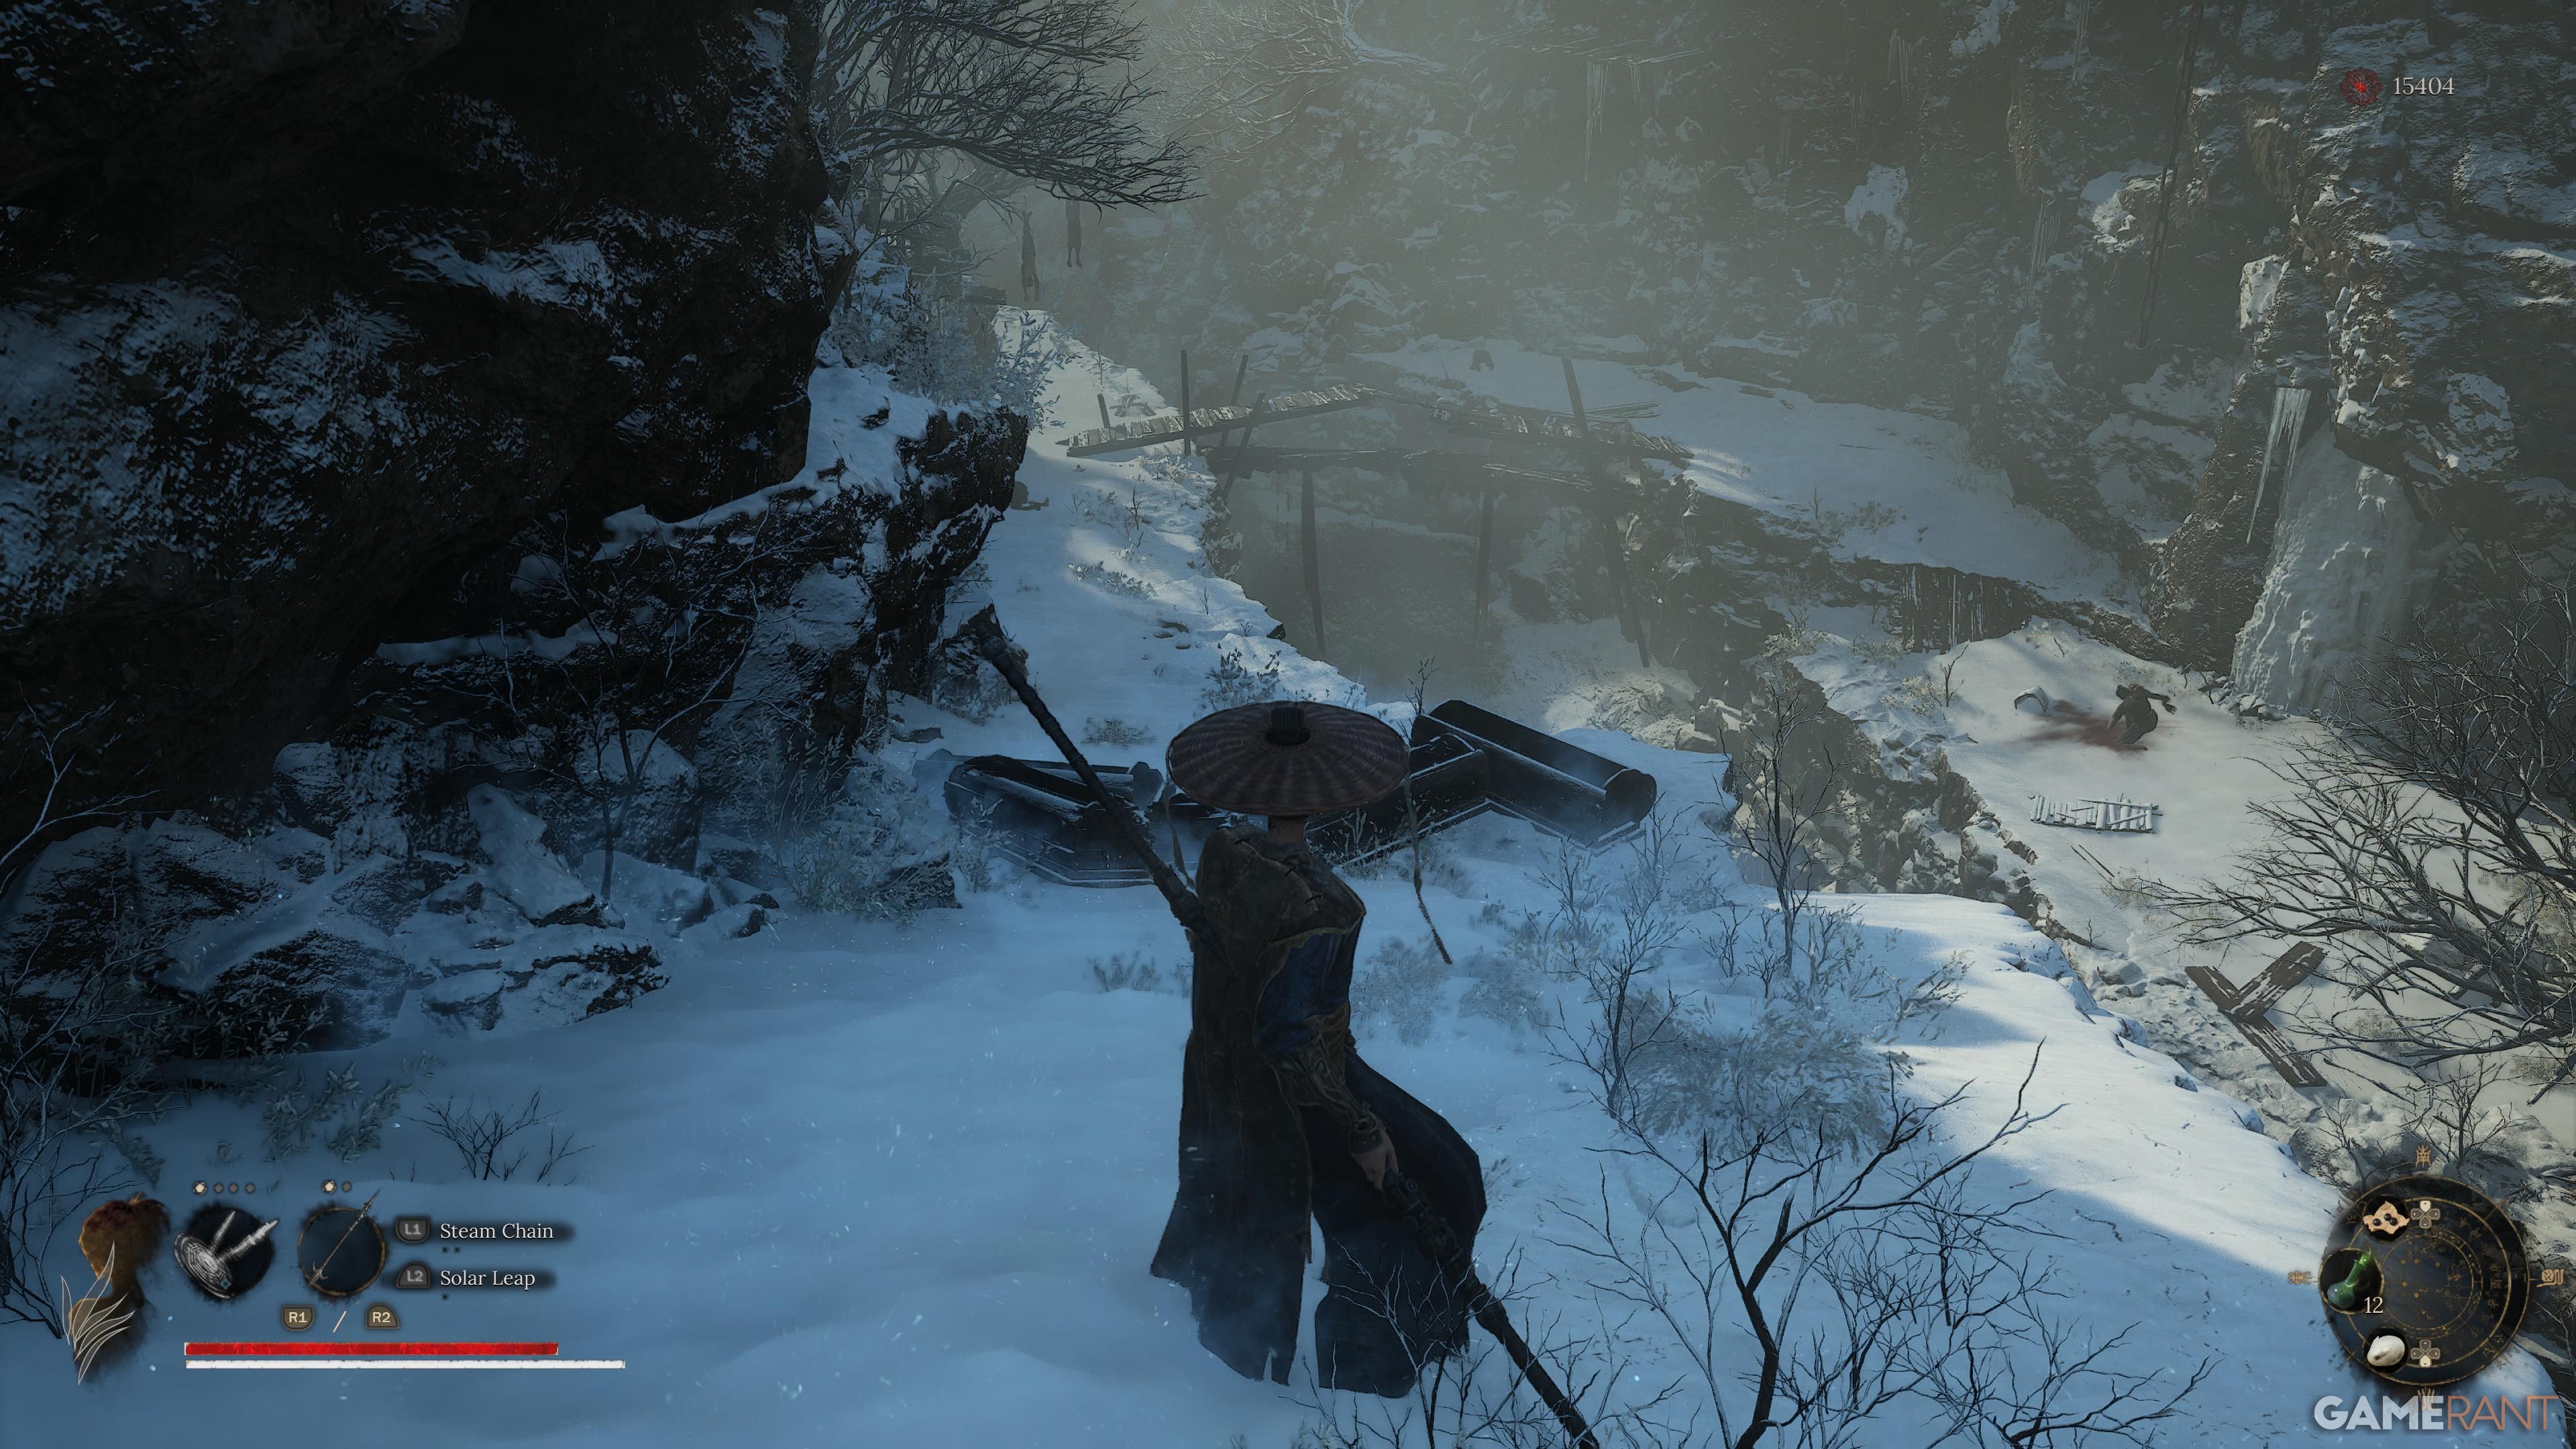
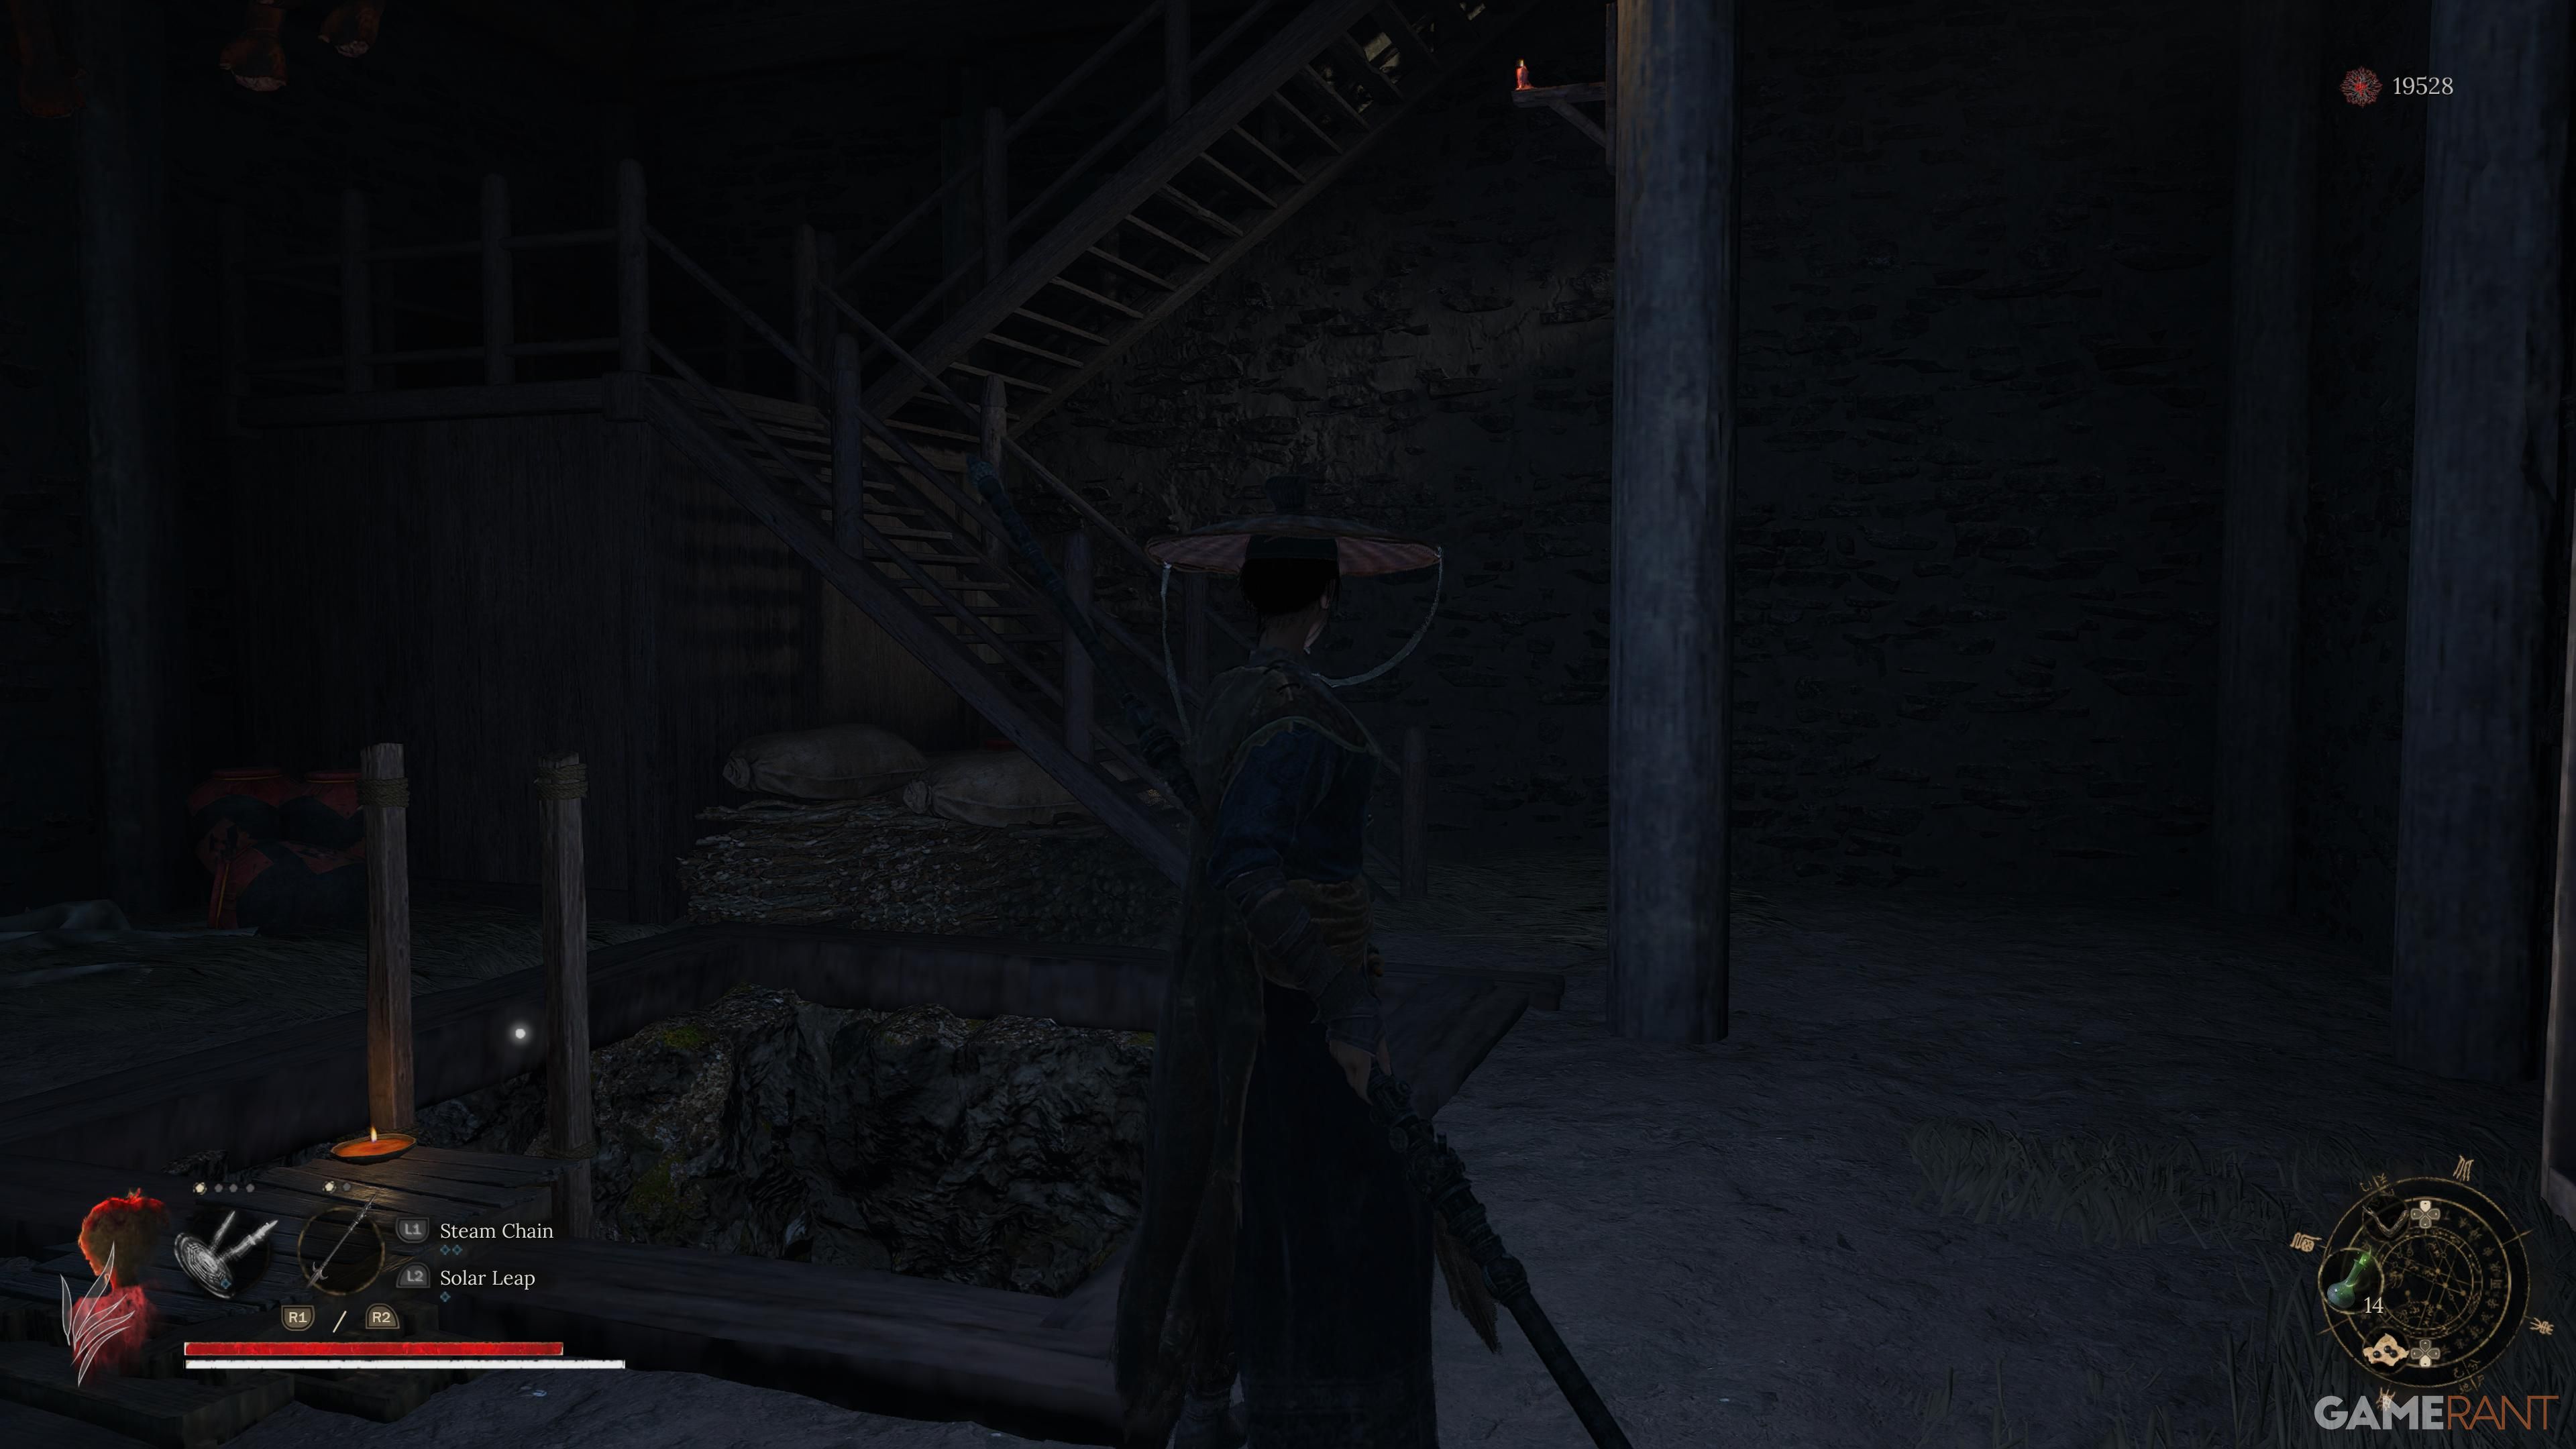
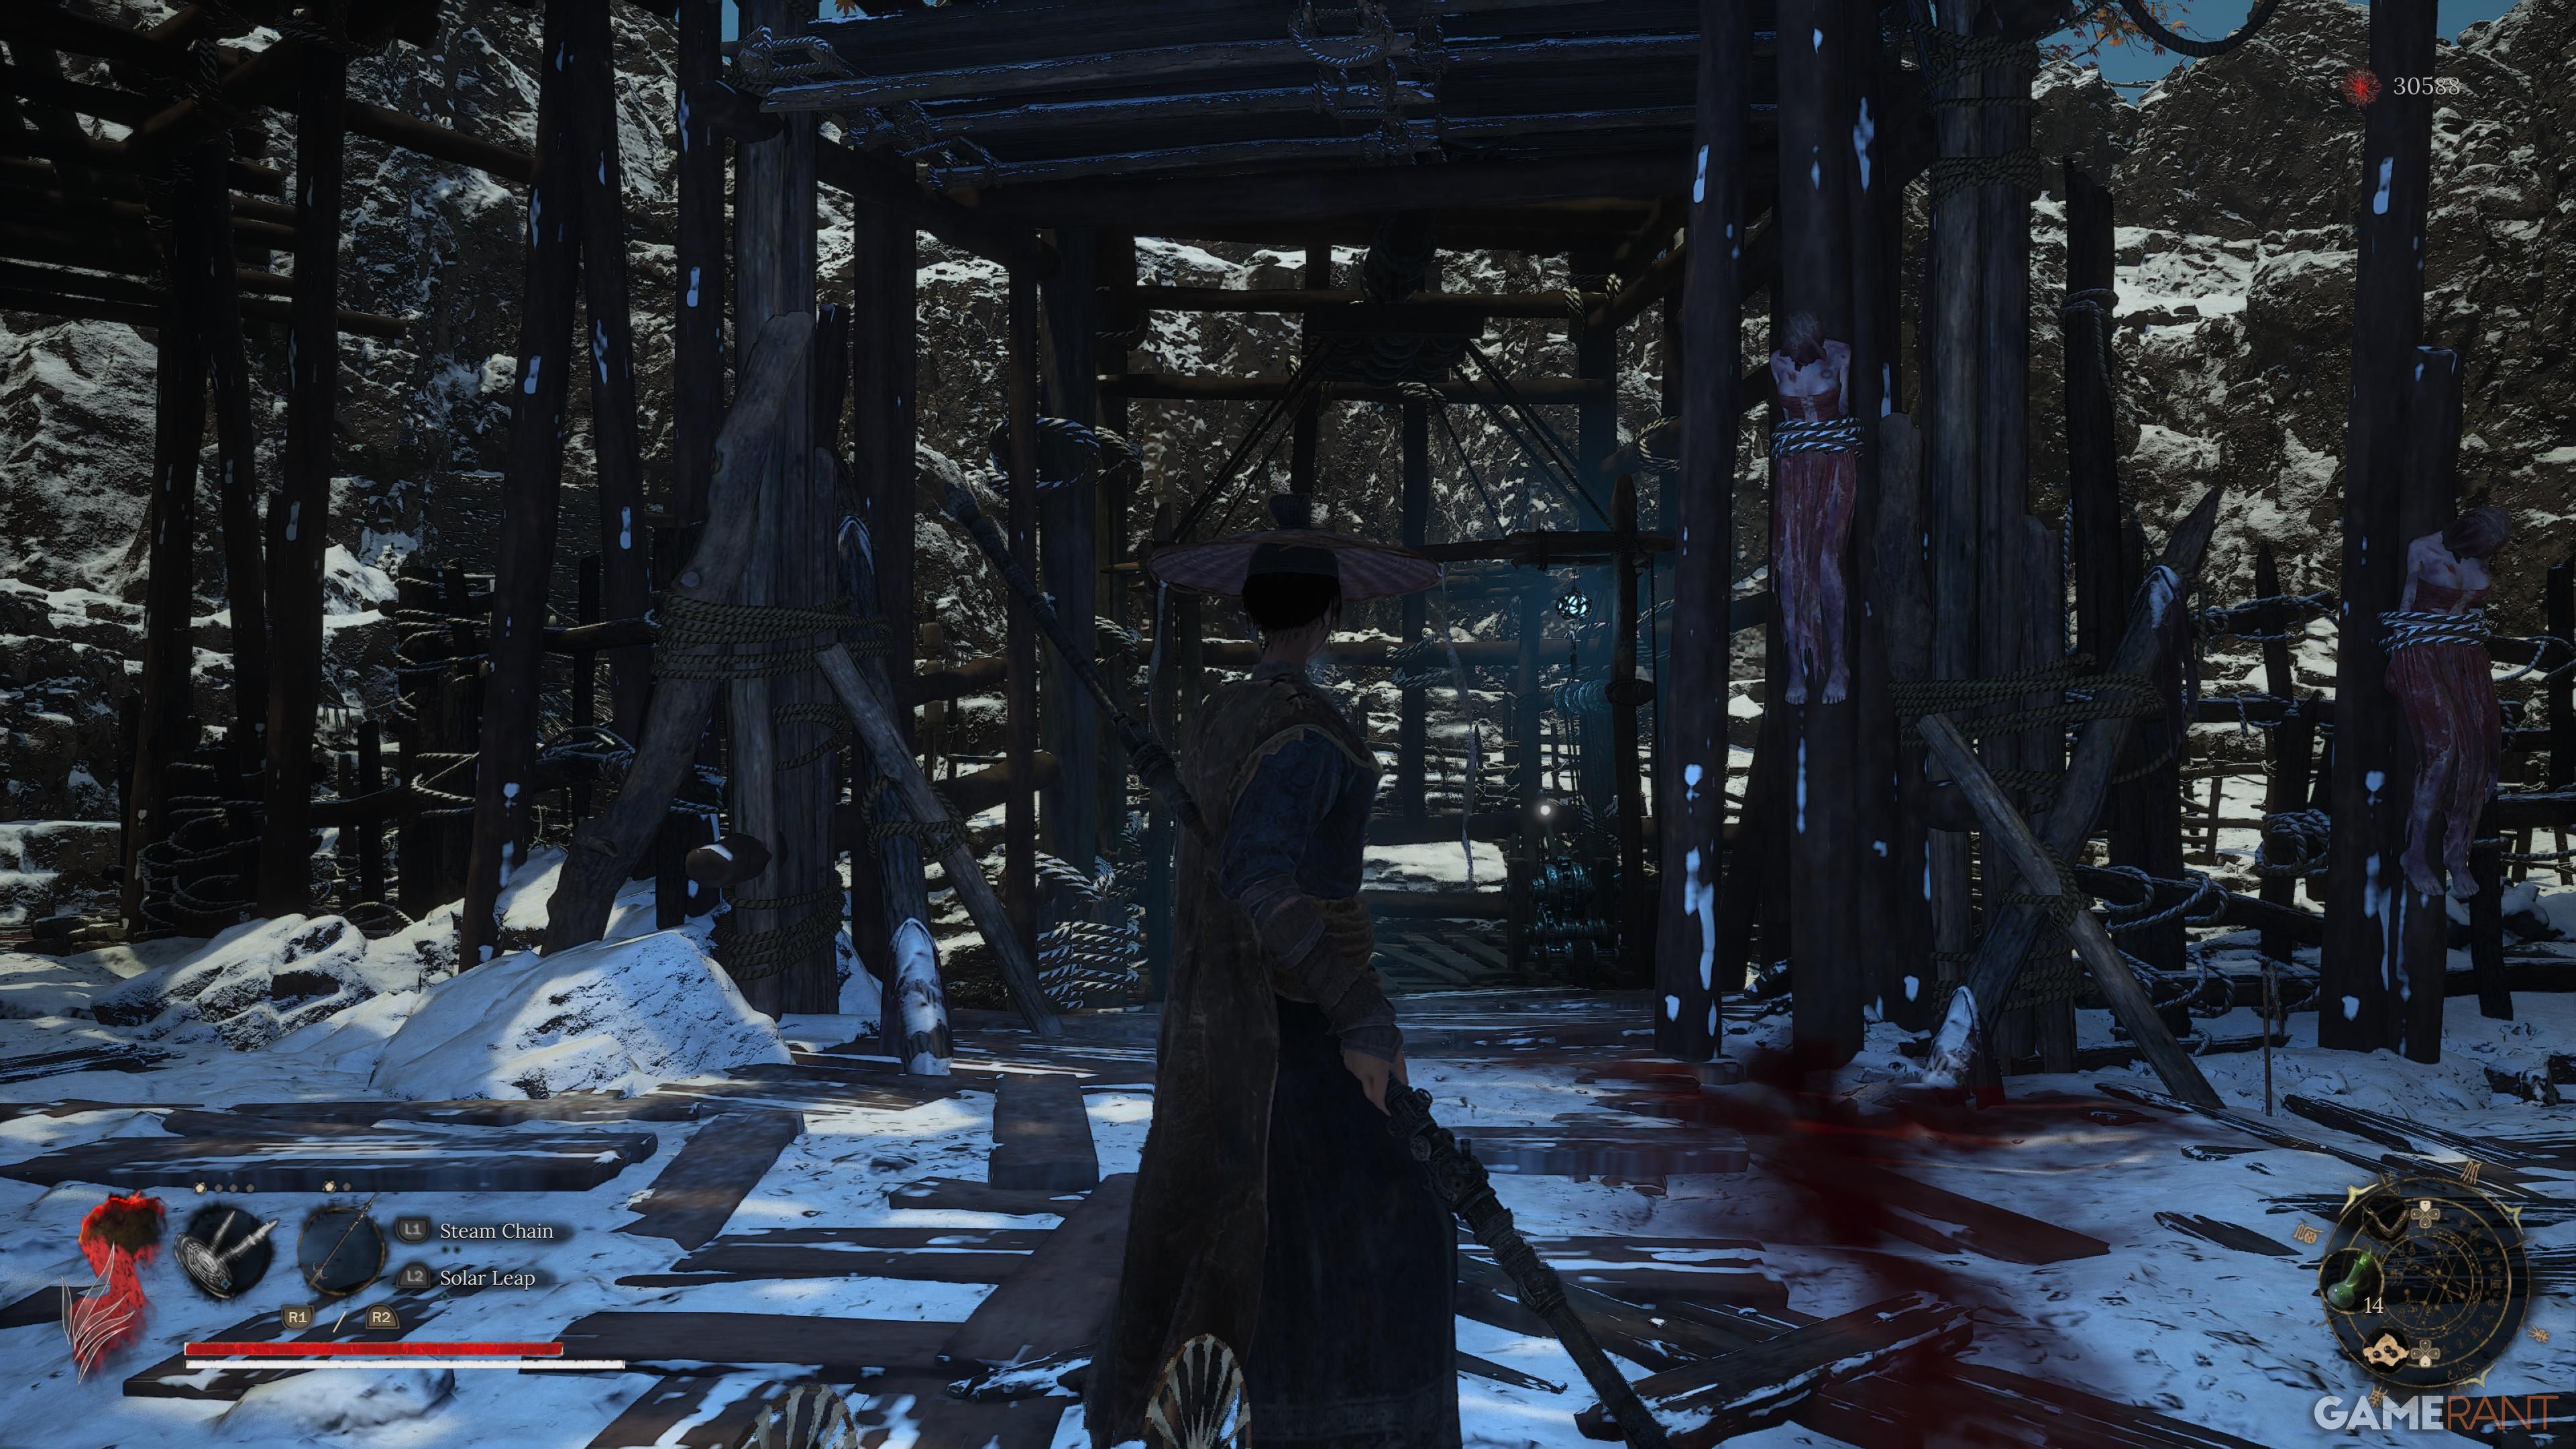
After activating the first shrine, move to your left and ascend to find an enemy ready to explode at the top of the stairs. It’s advisable to swiftly dodge out of its path as it charges towards you, then follow the same direction it came from. Proceed up the path on your right, crossing houses until you reach a fork. Since the left path is a detour, continue straight ahead. This path (after some walking) will lead you to the second shrine, named Snowy Passage.
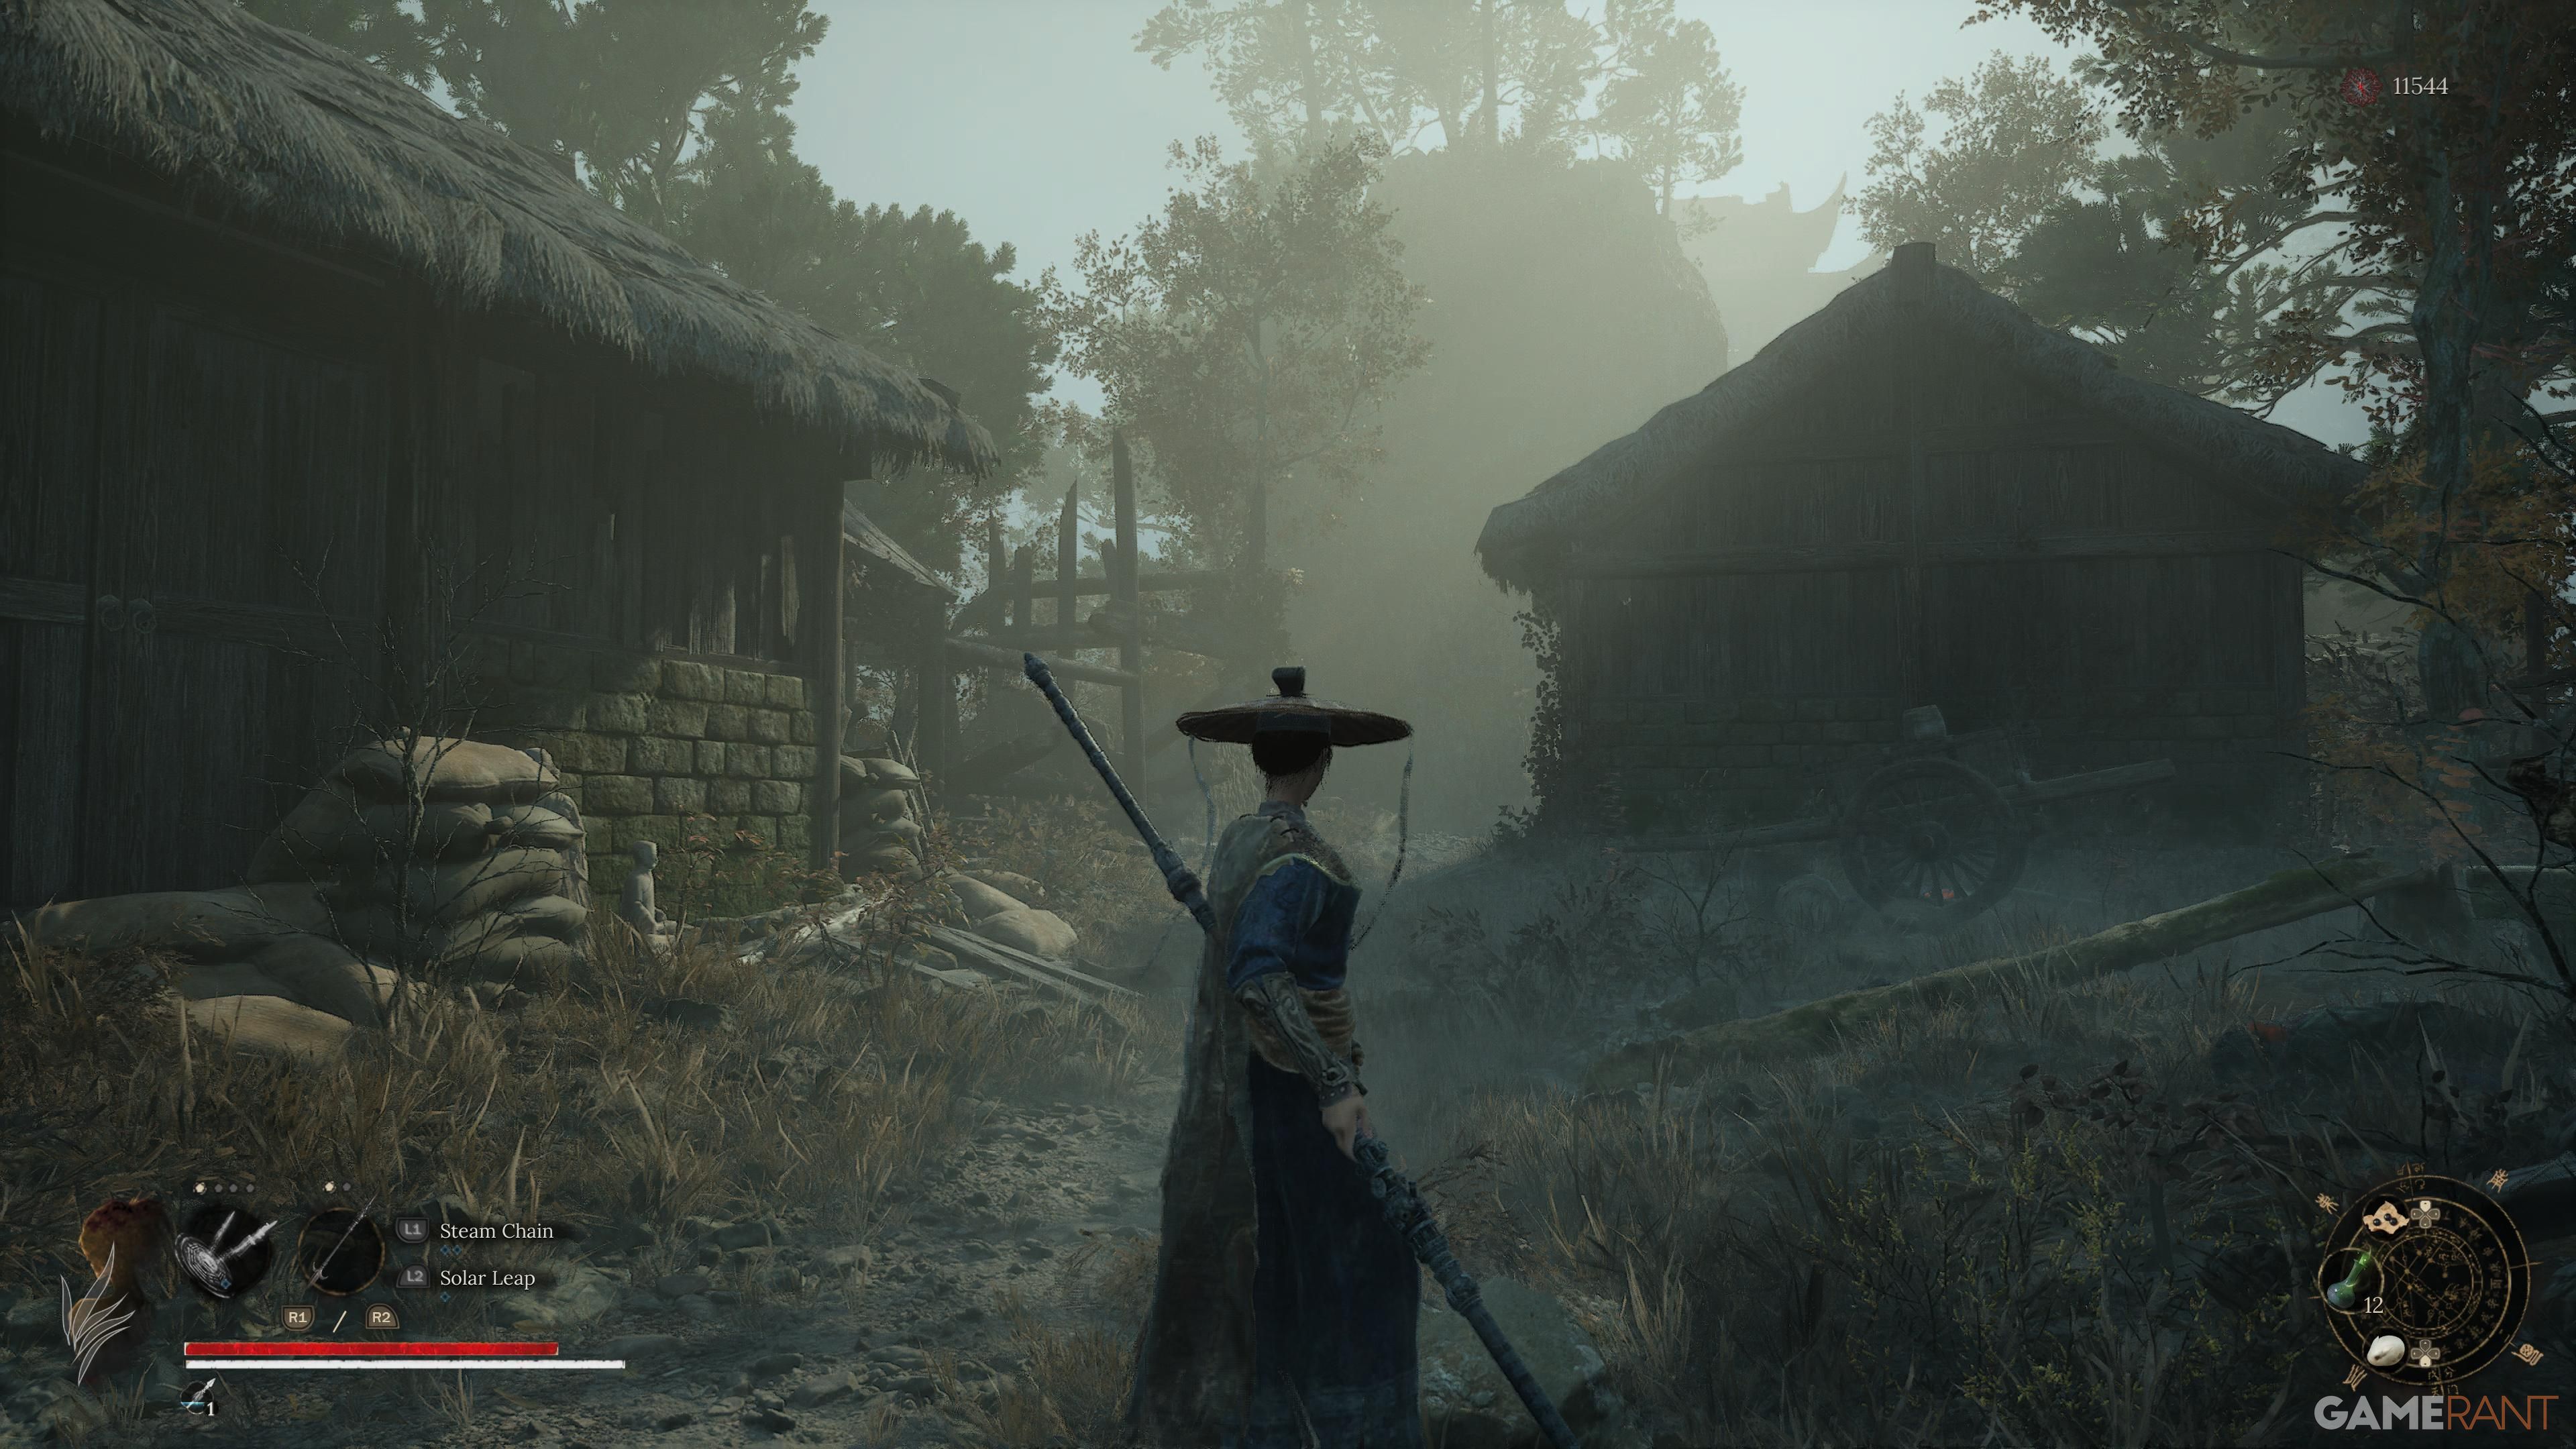
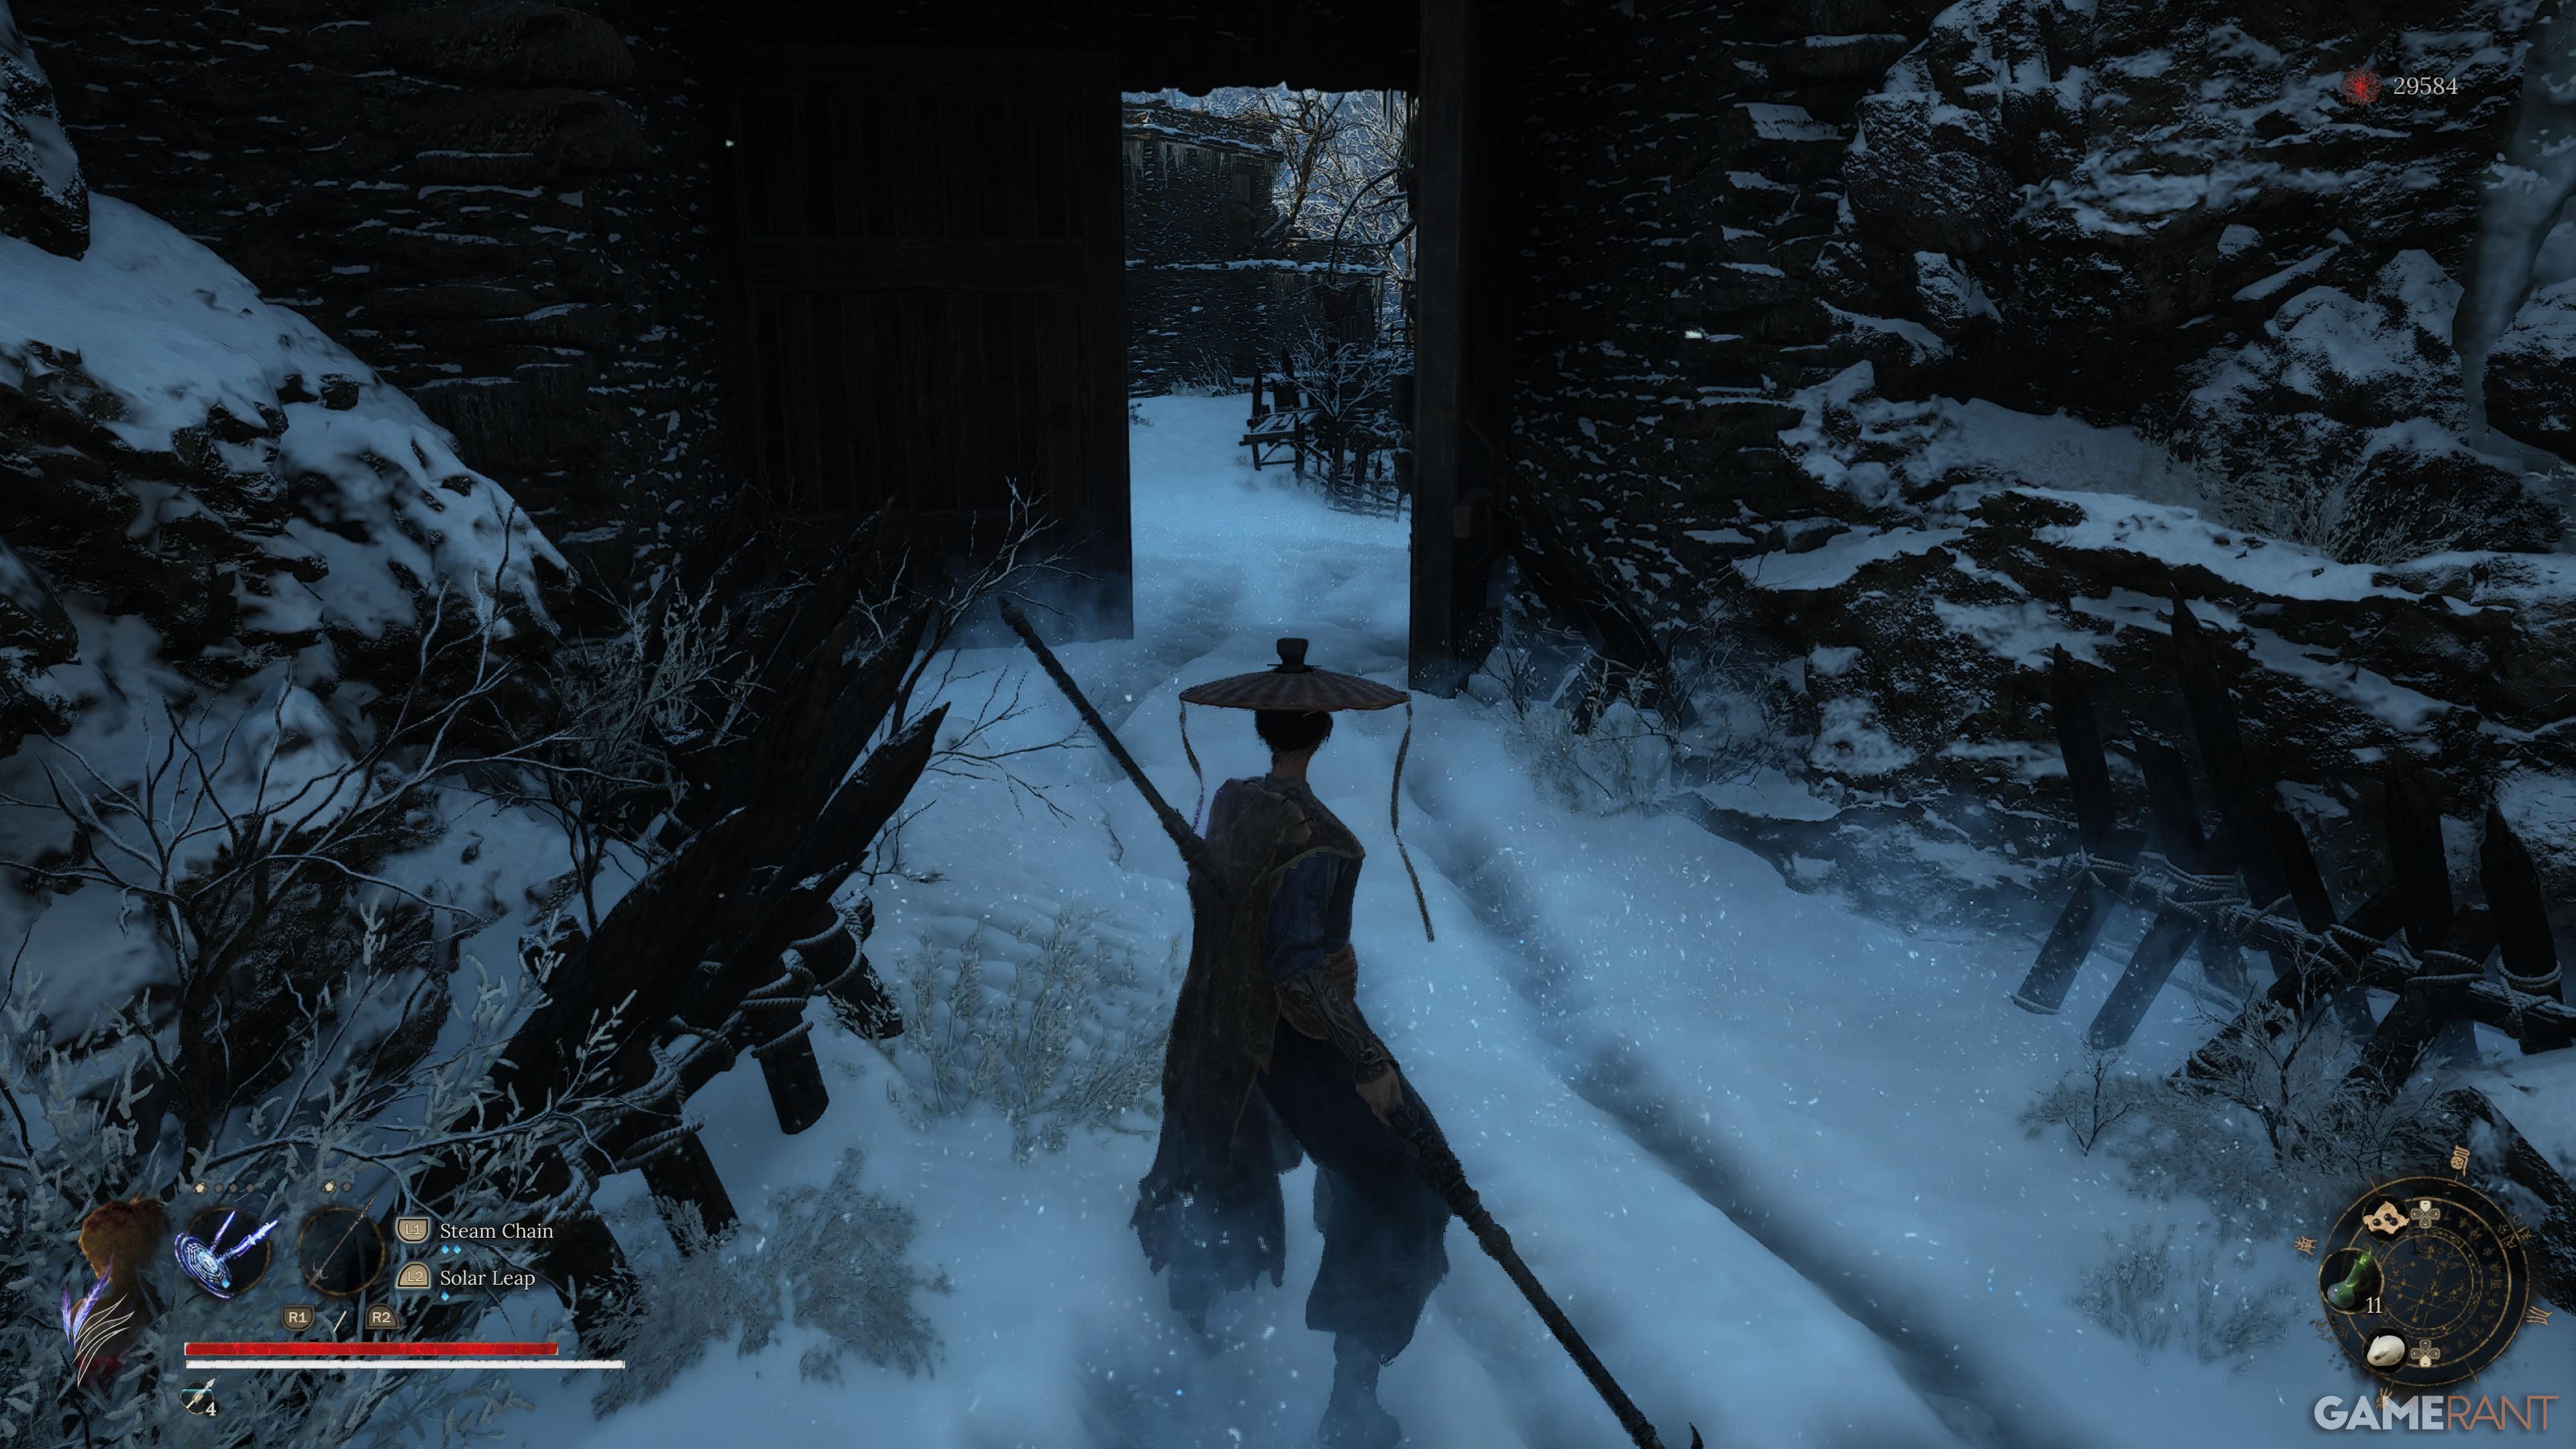
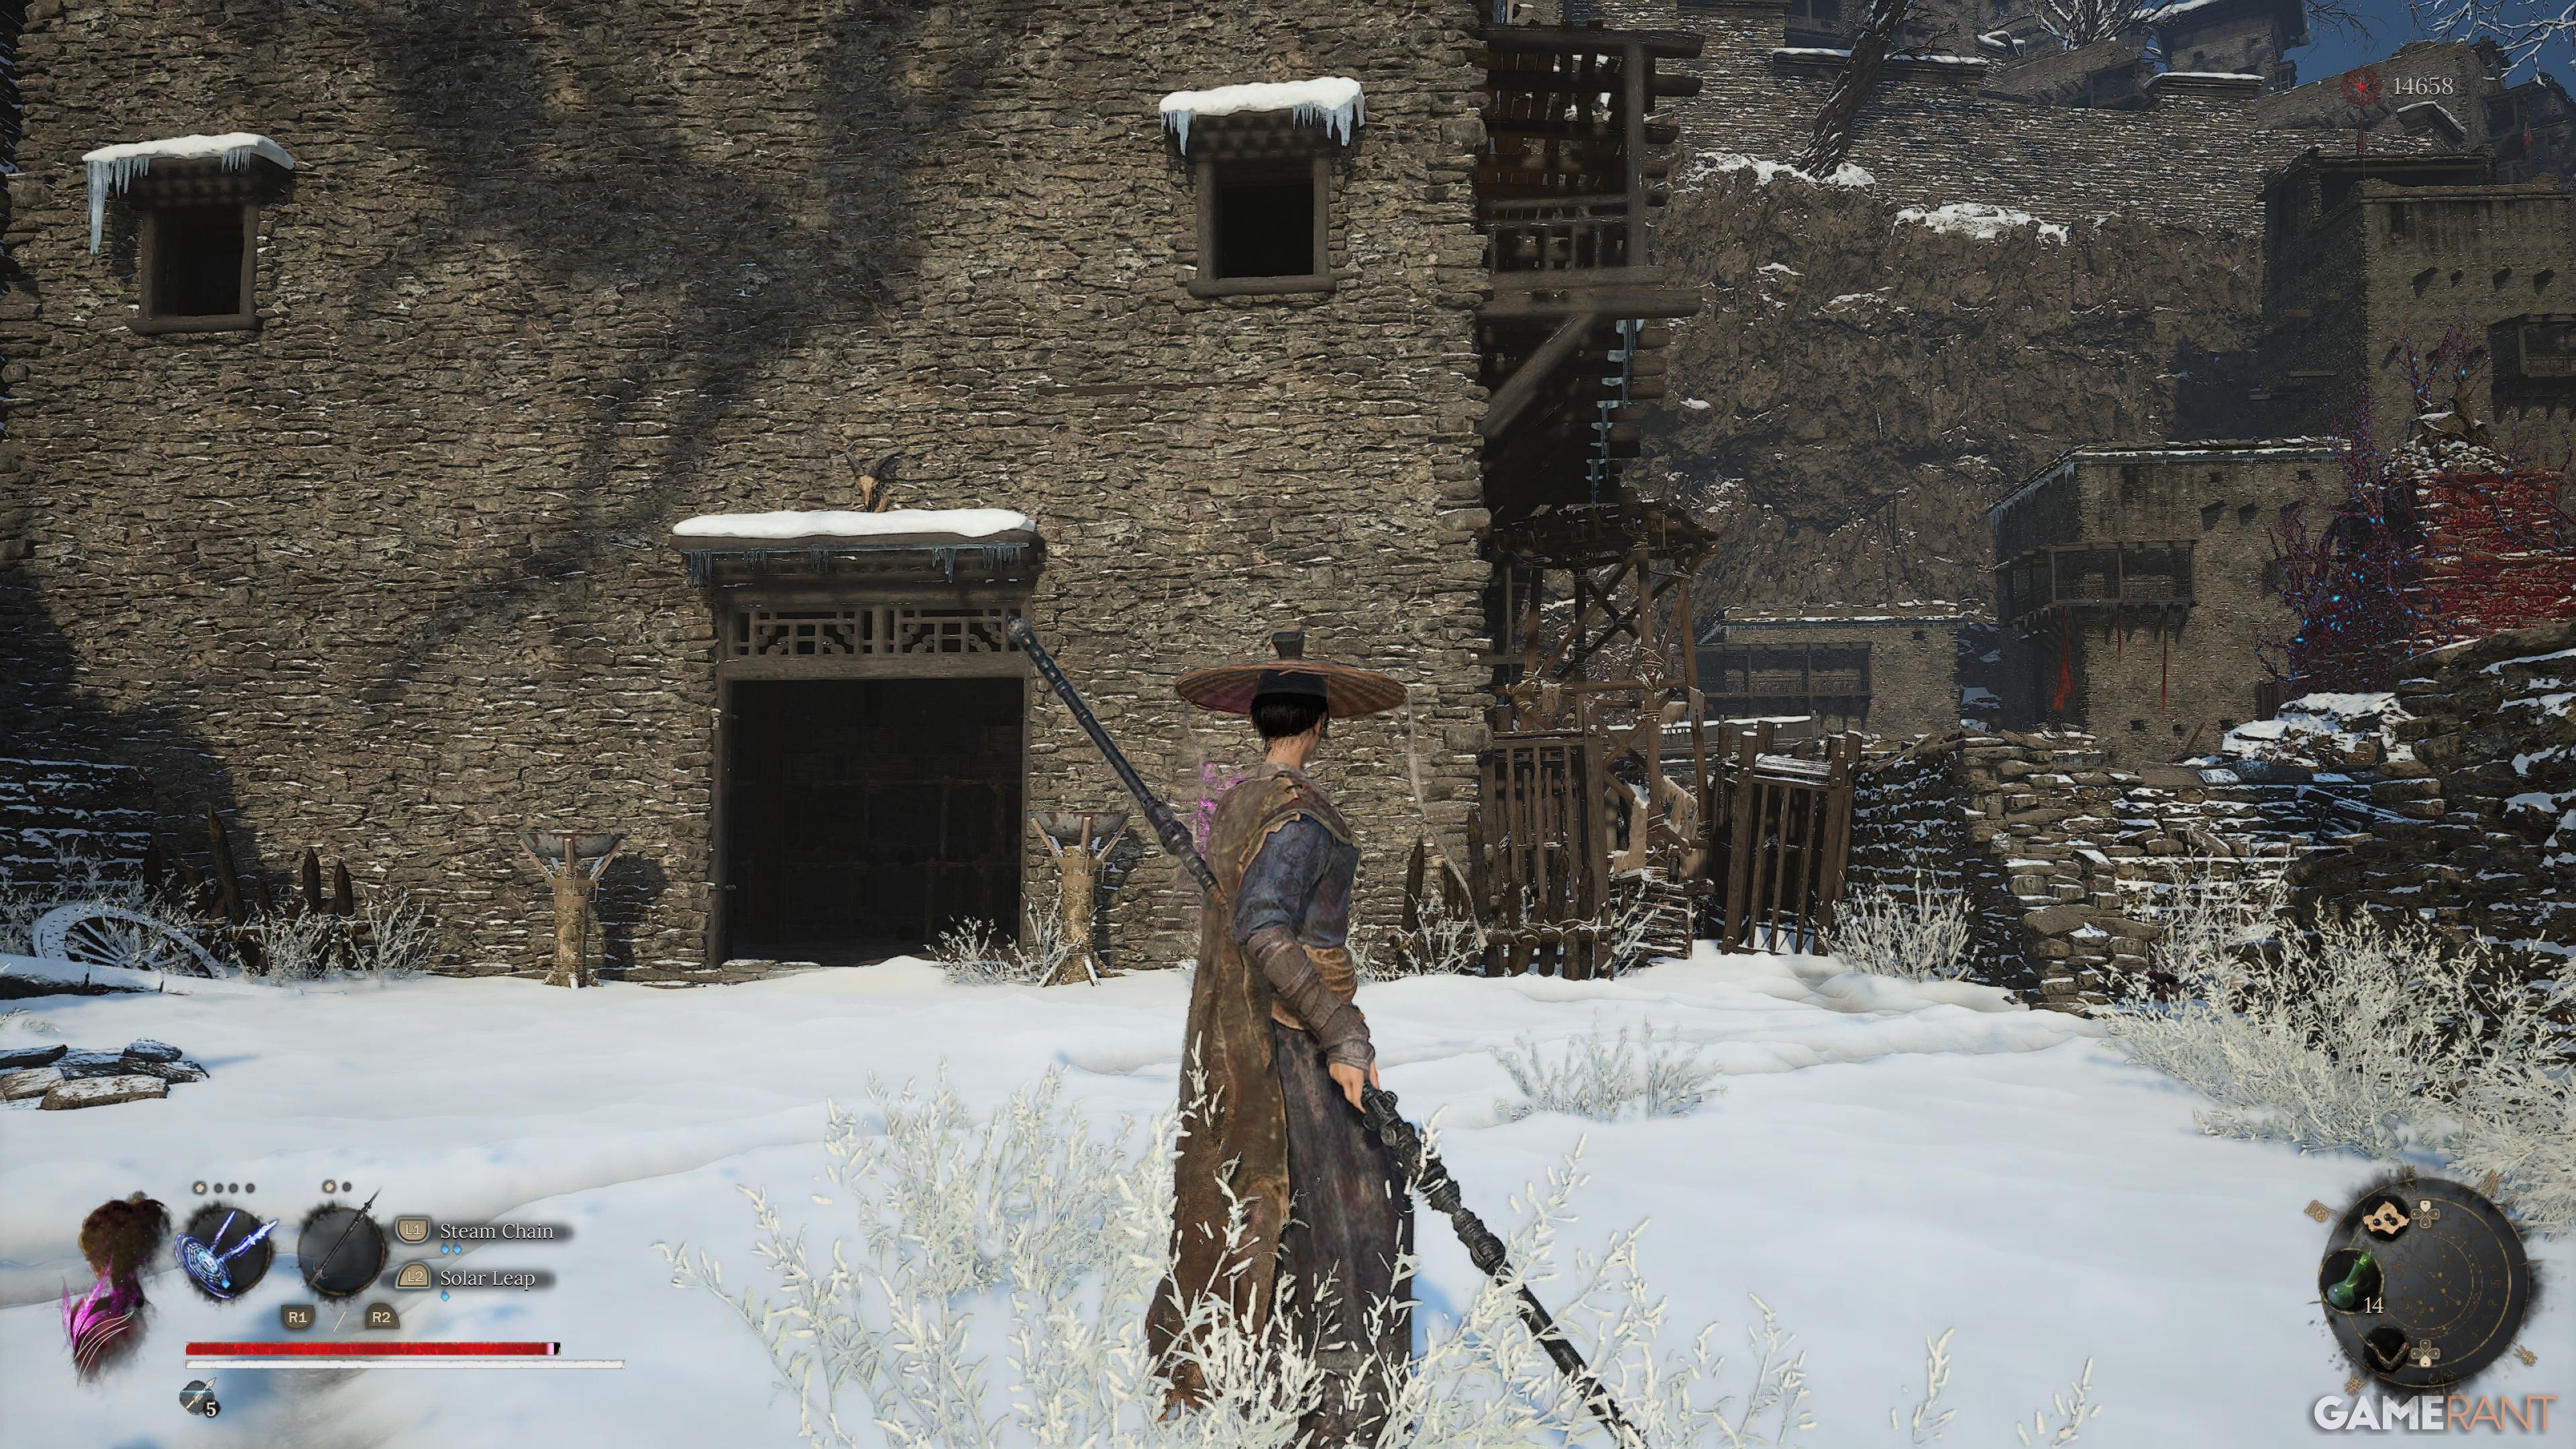
Cloudspire Outskirts
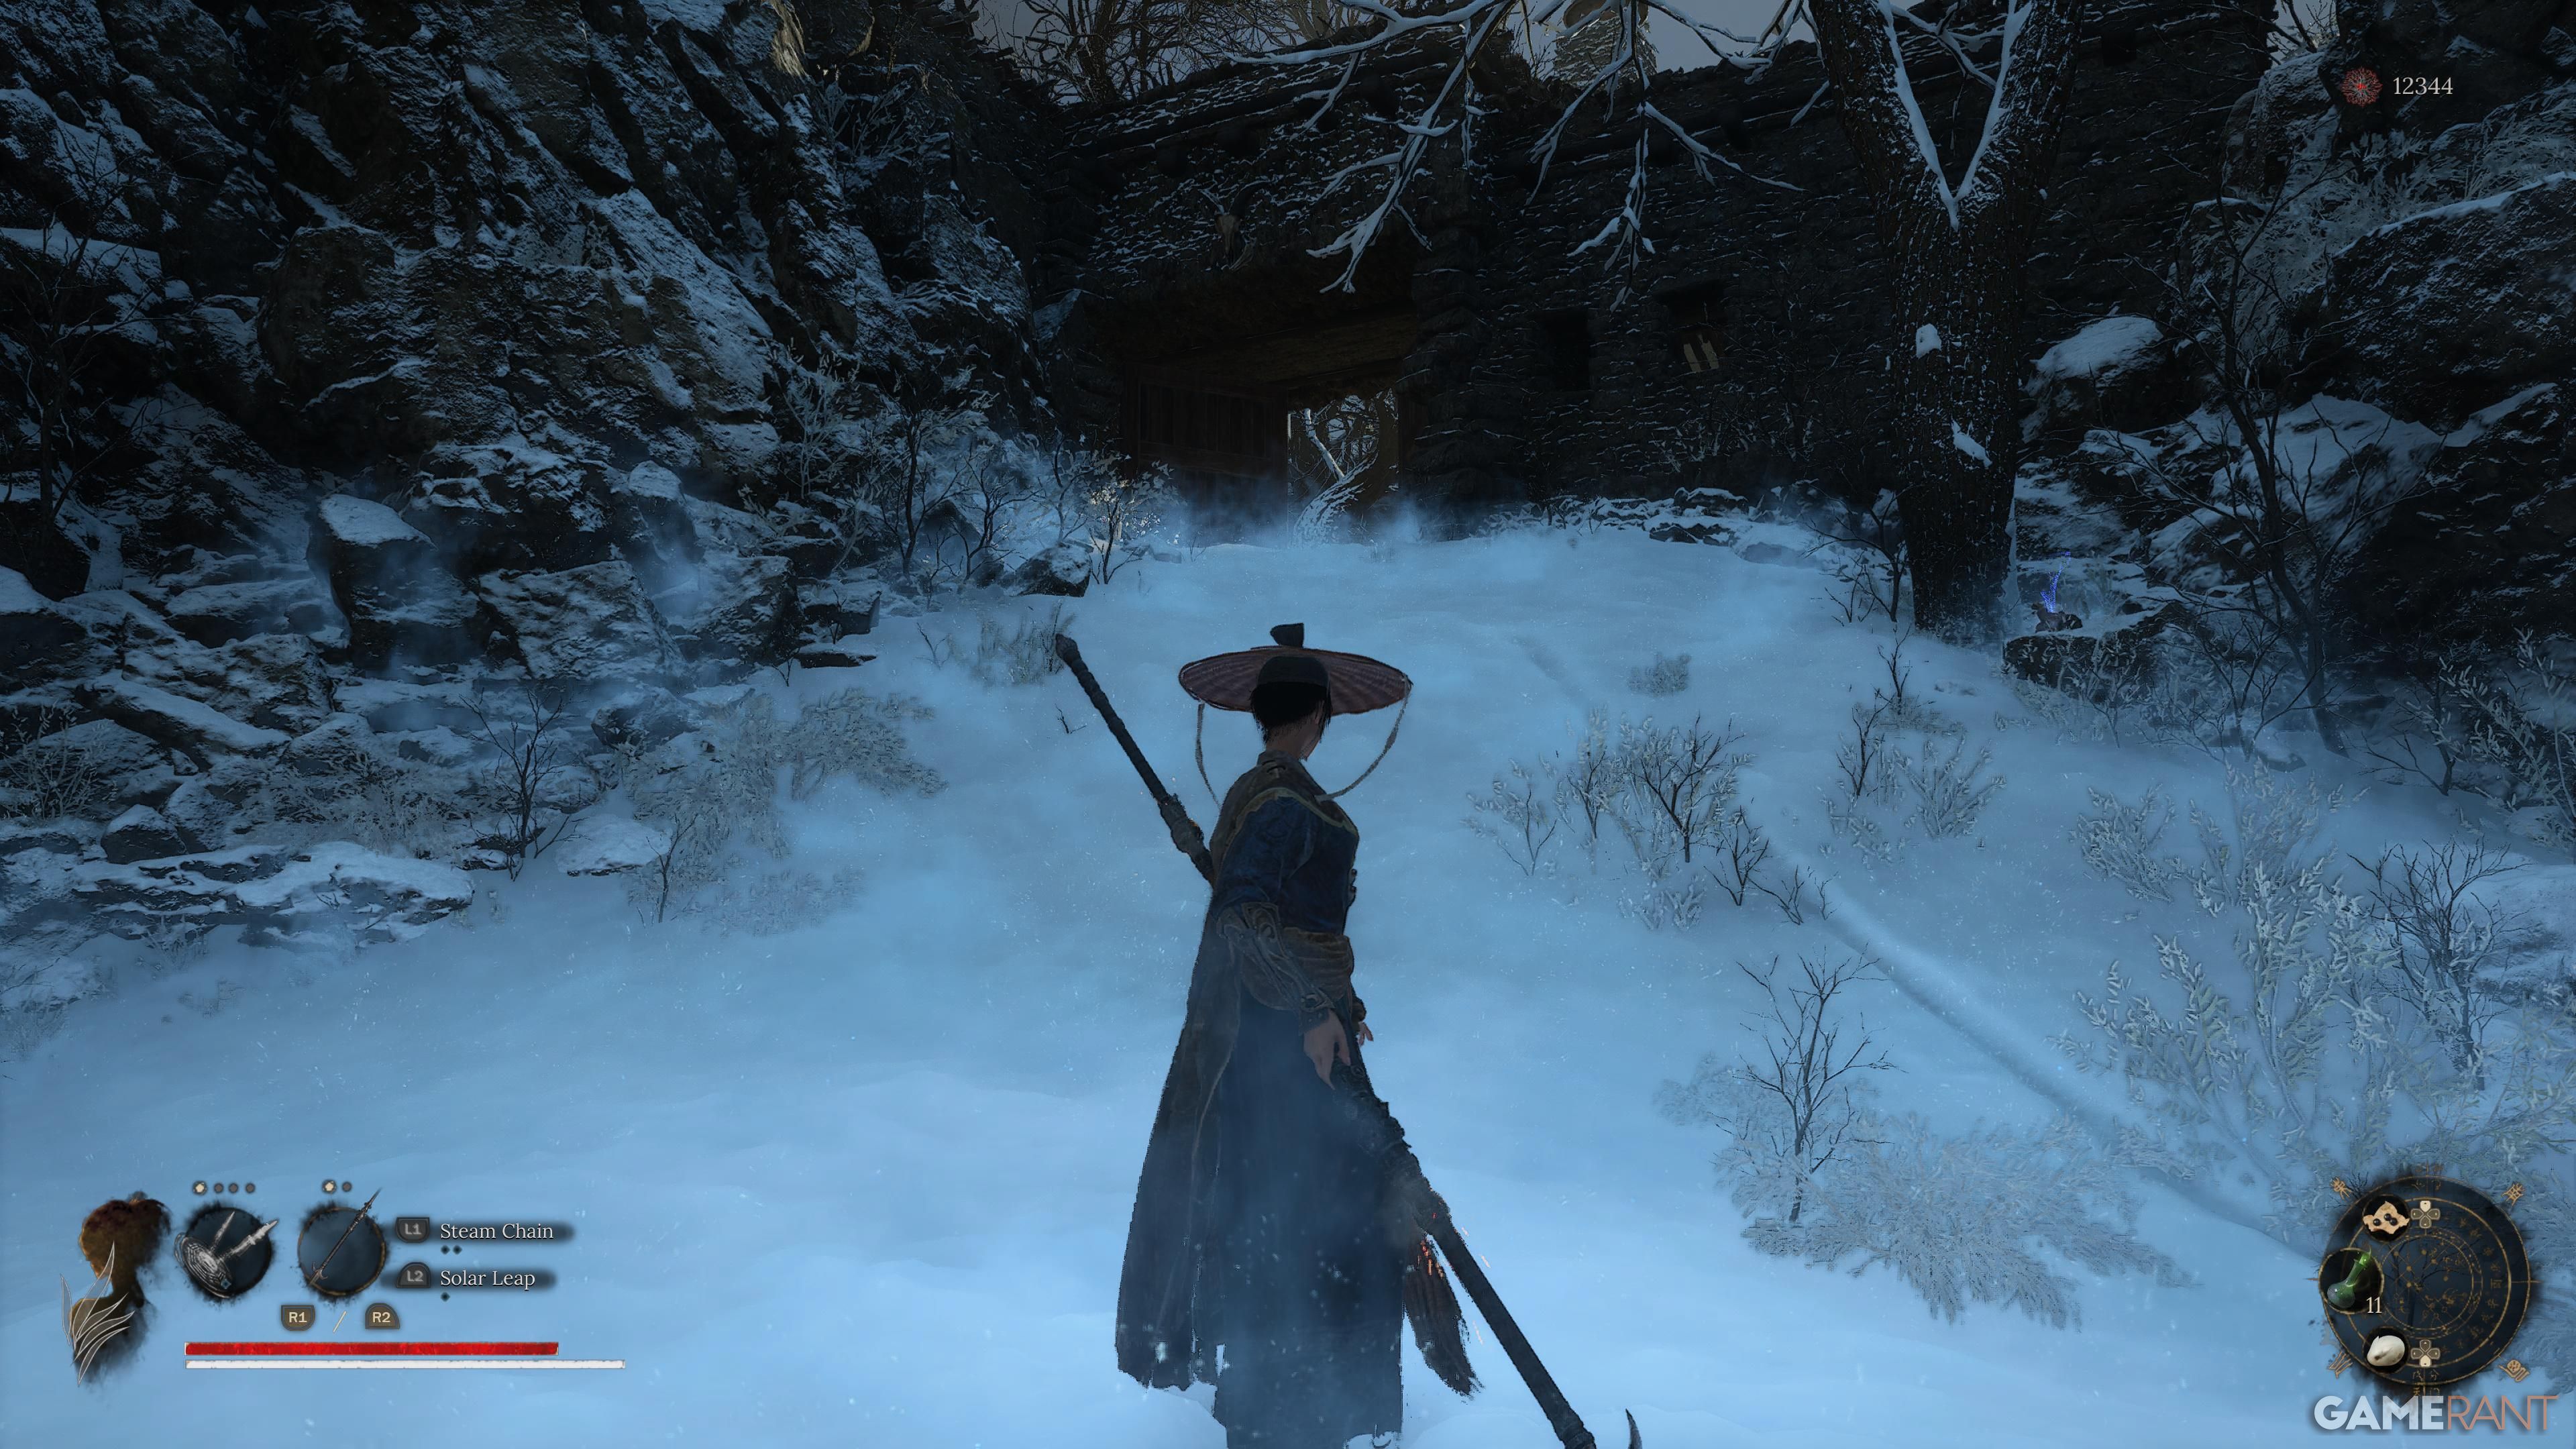
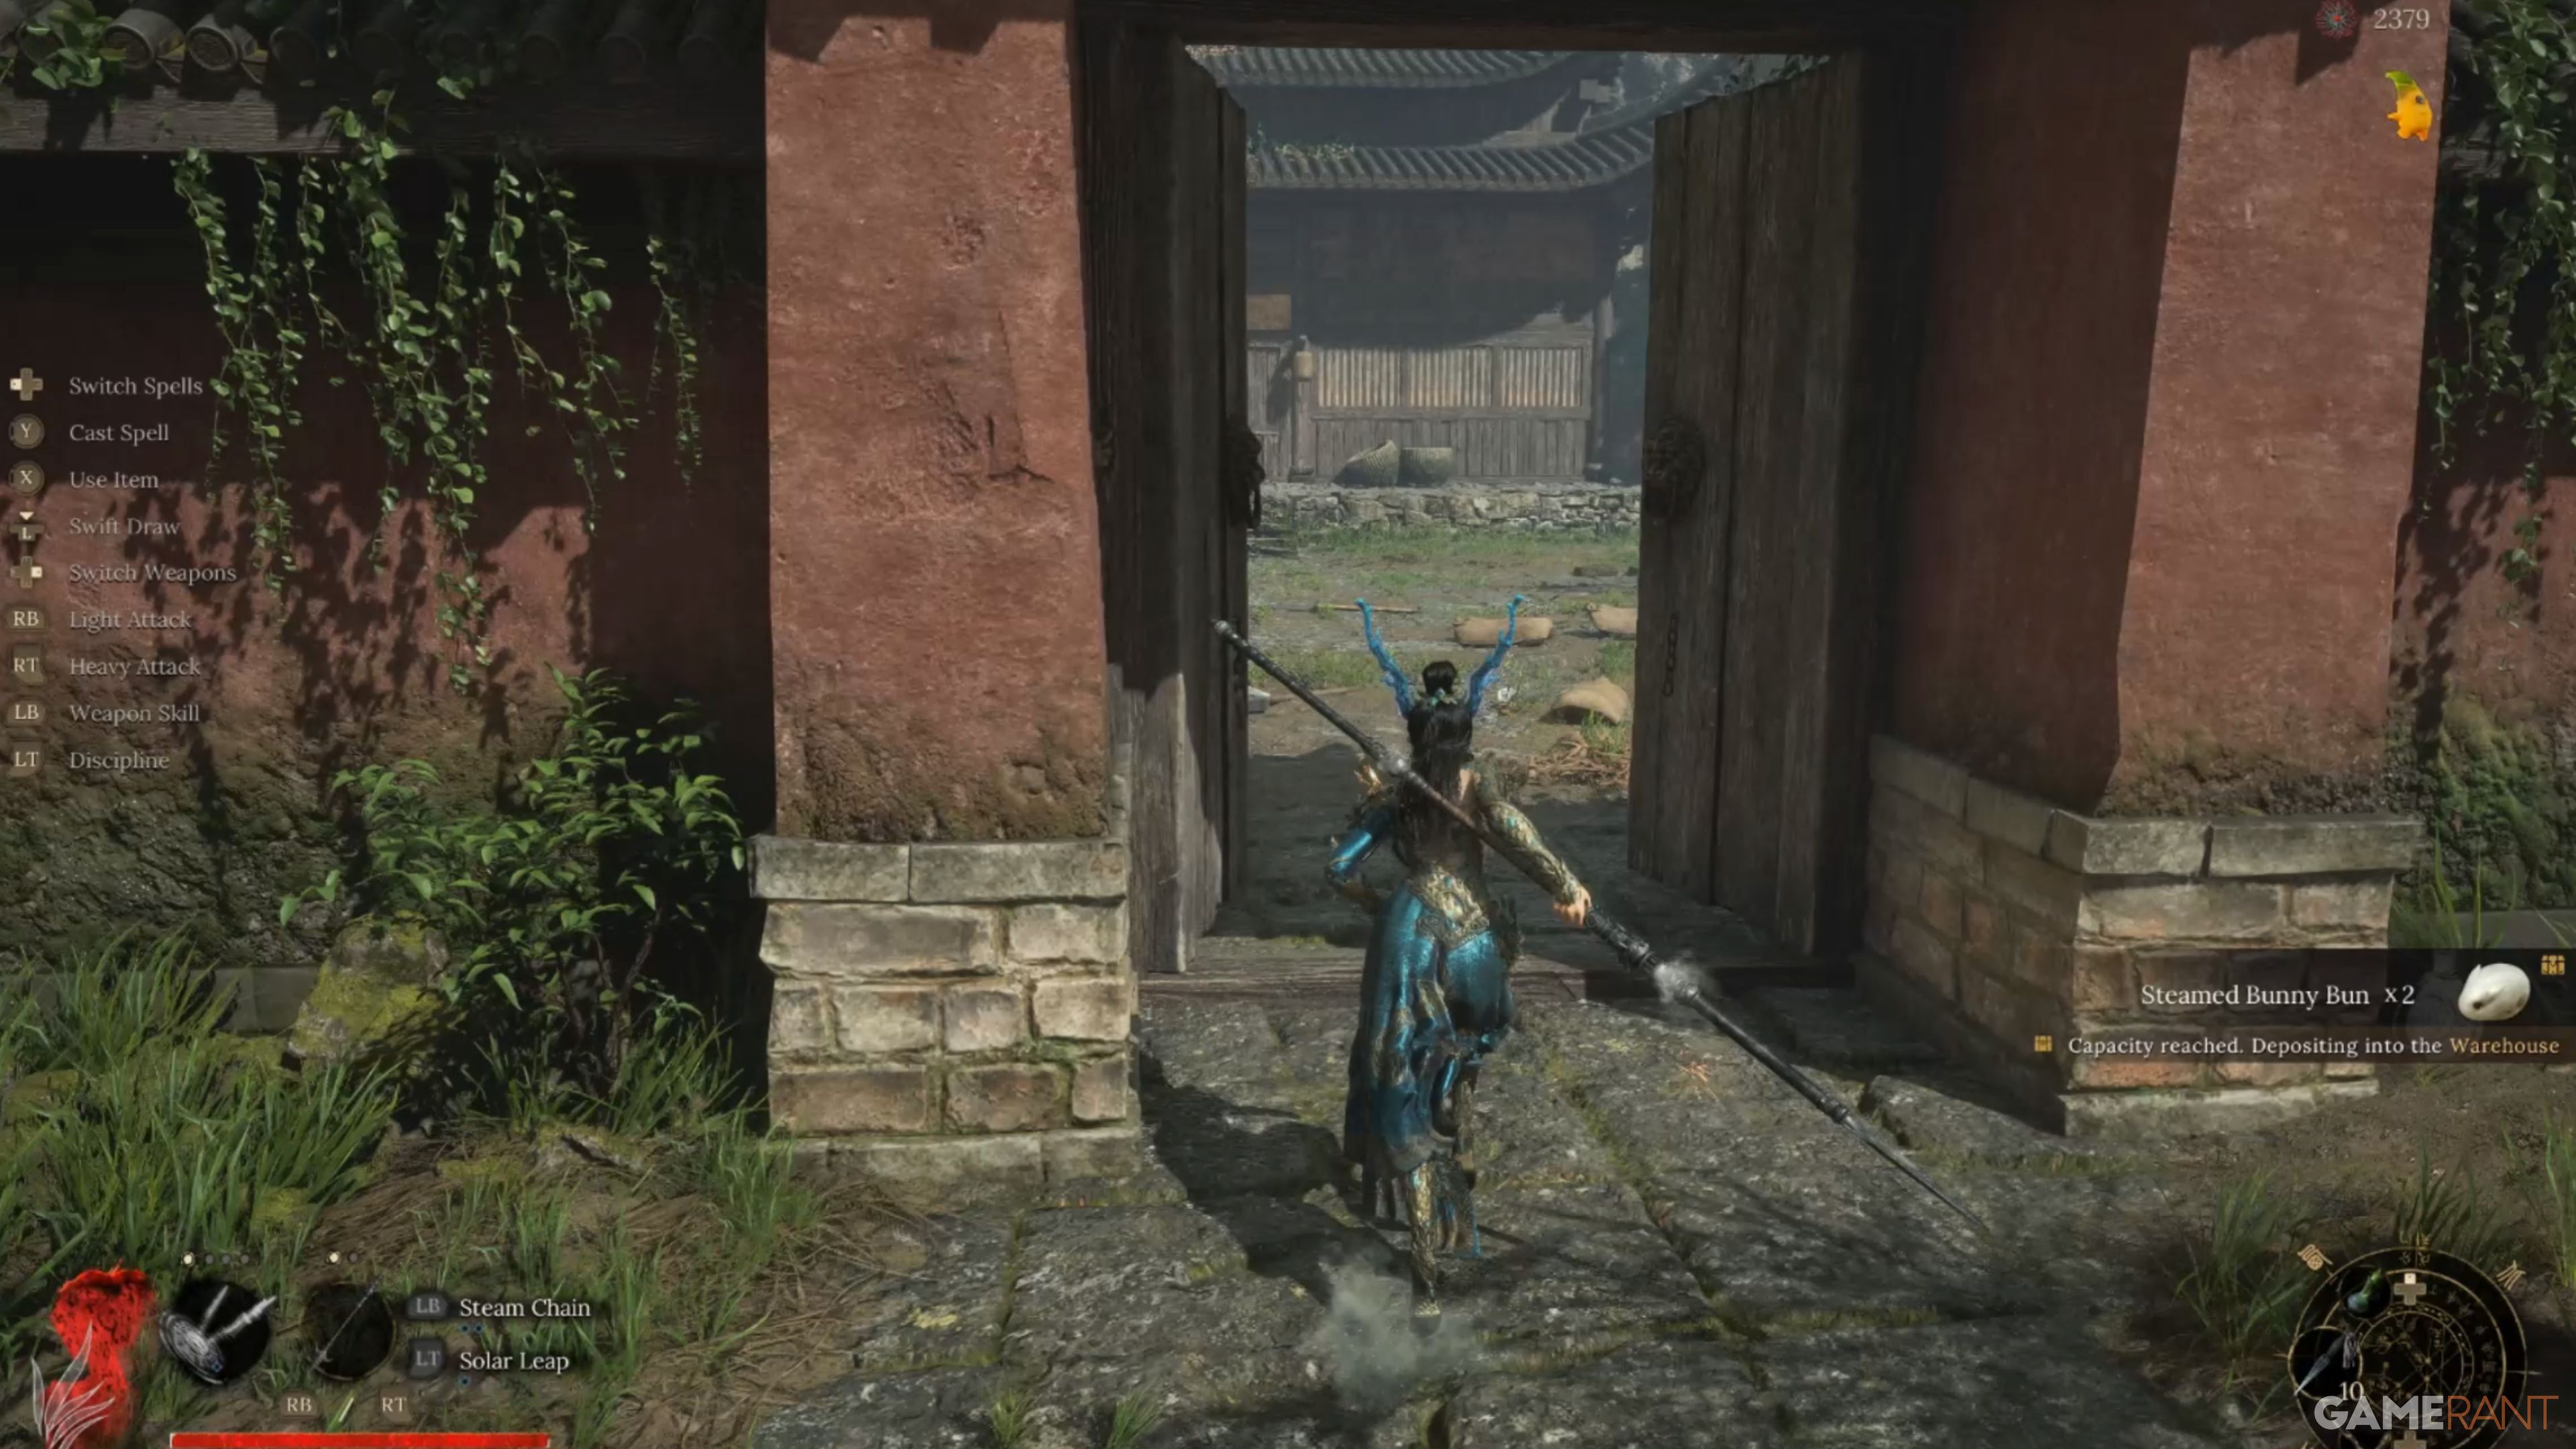
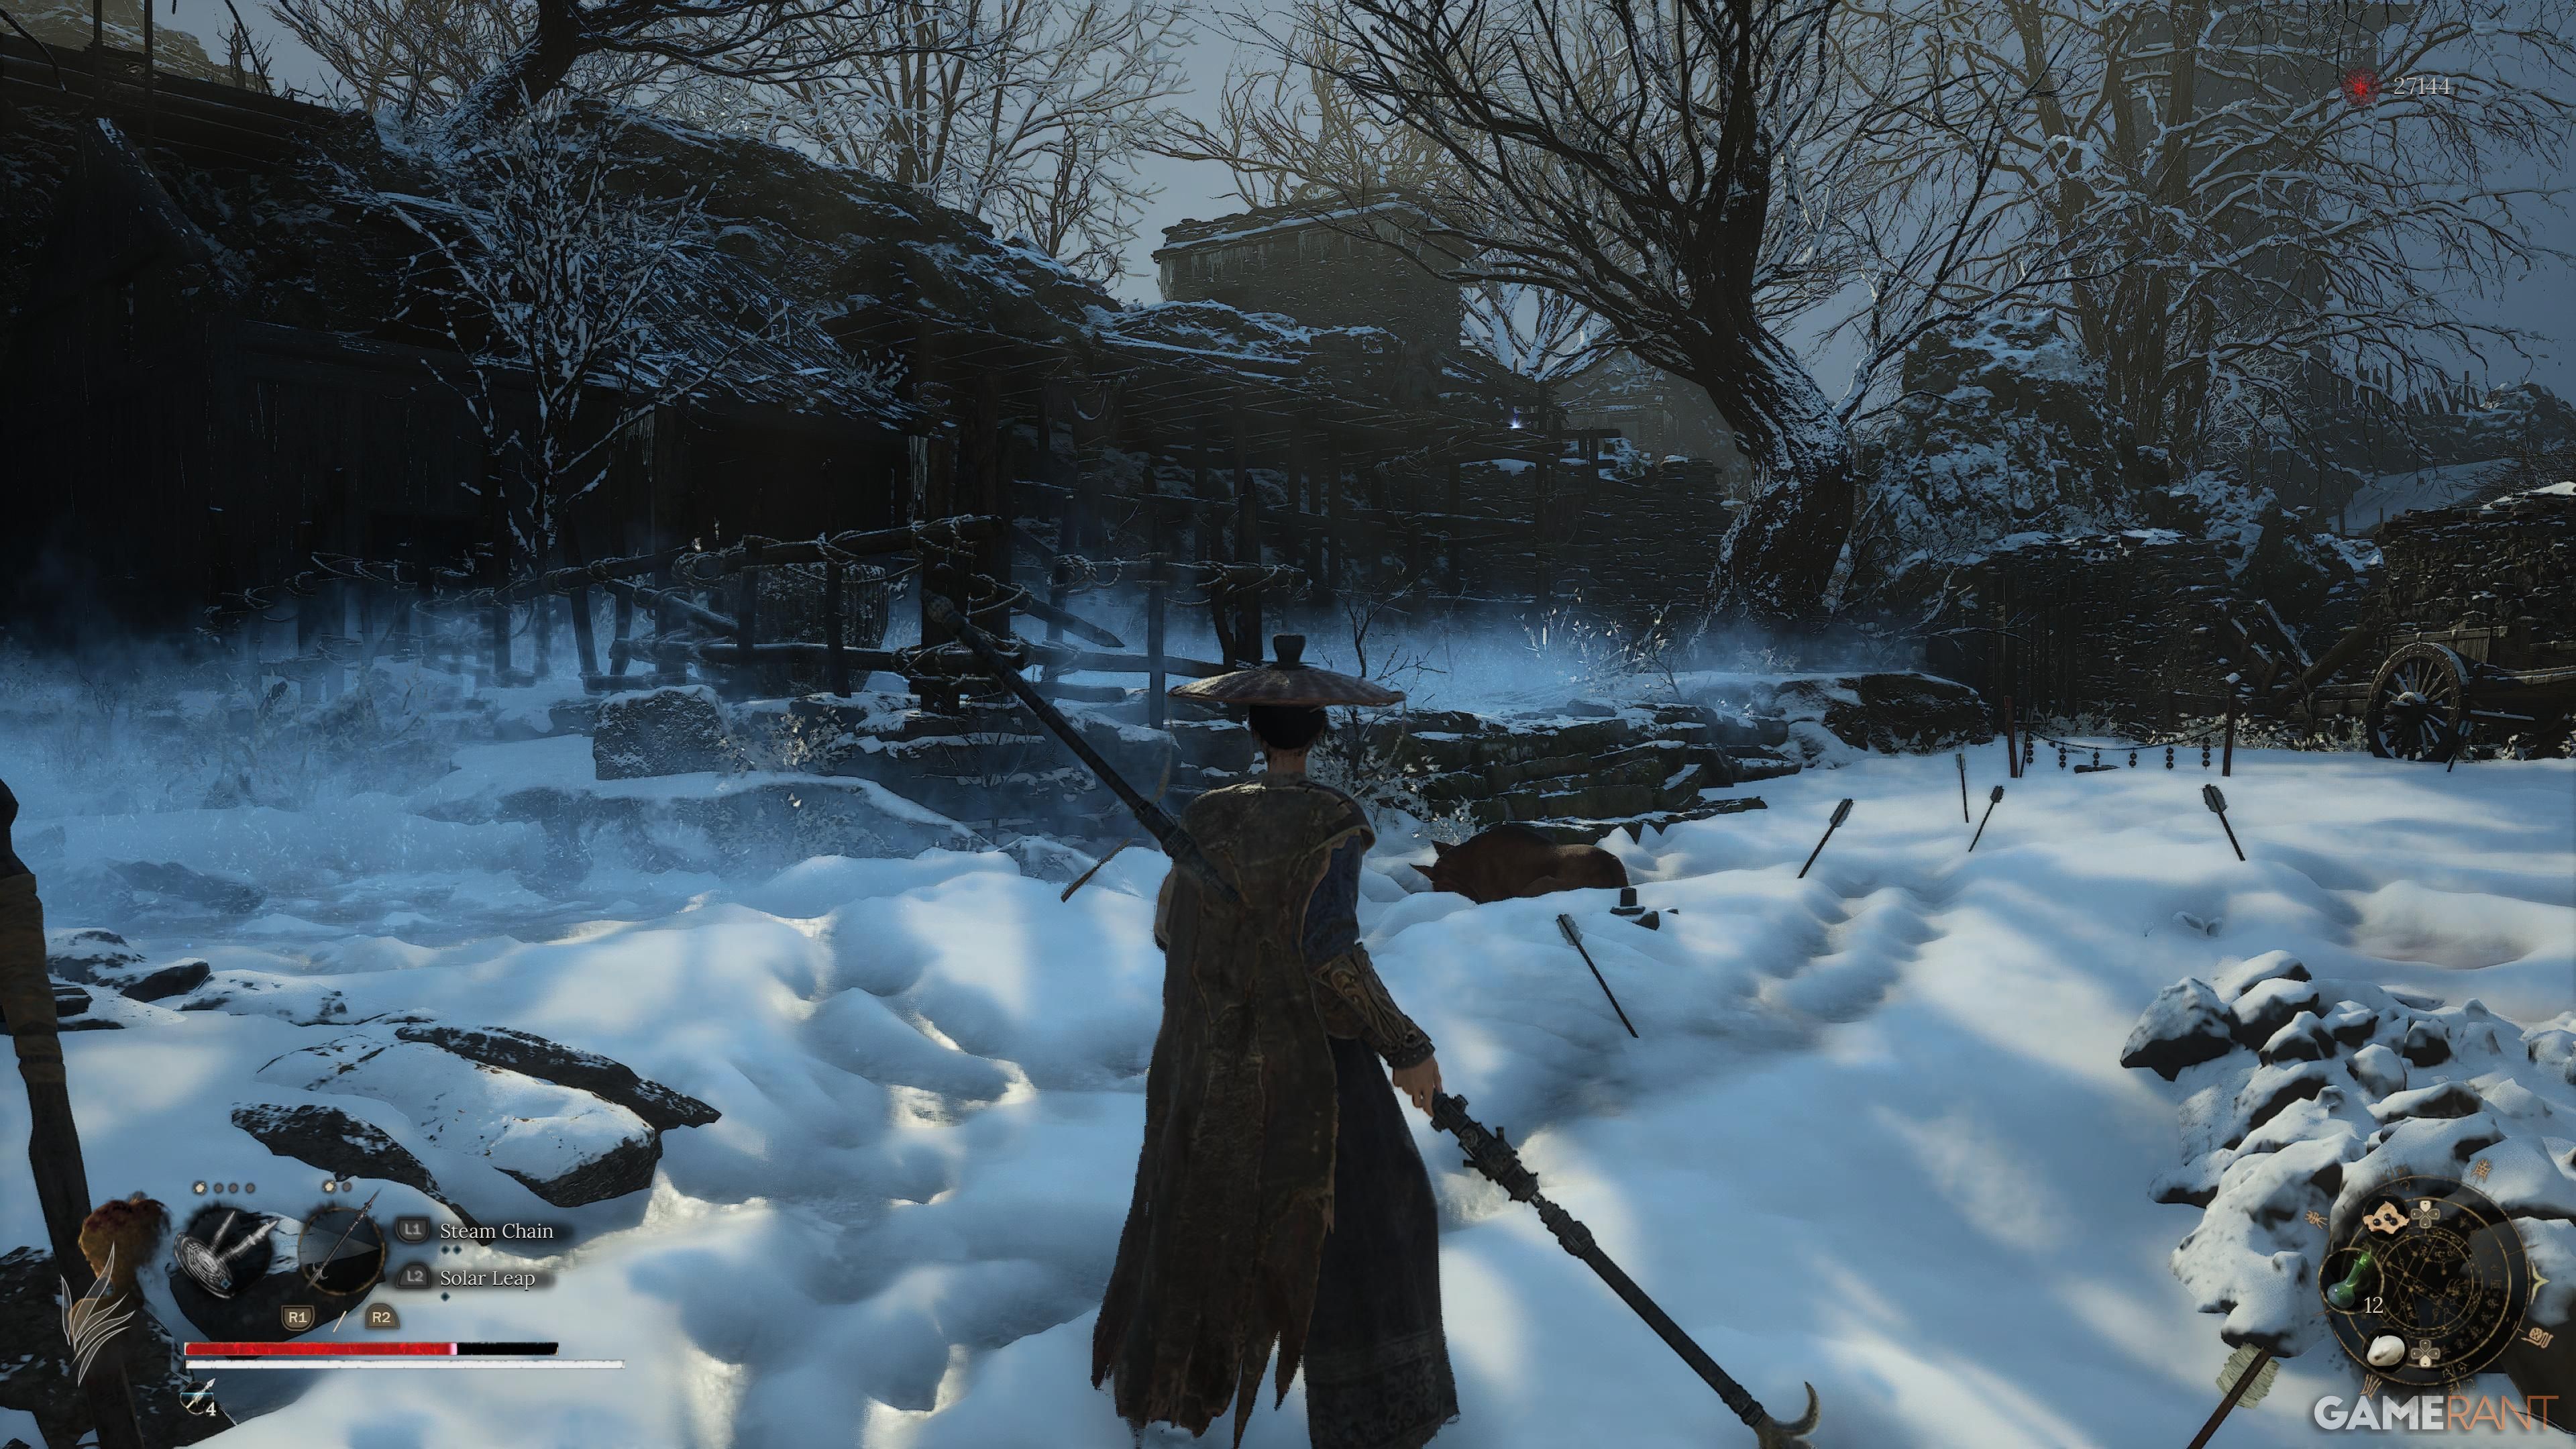
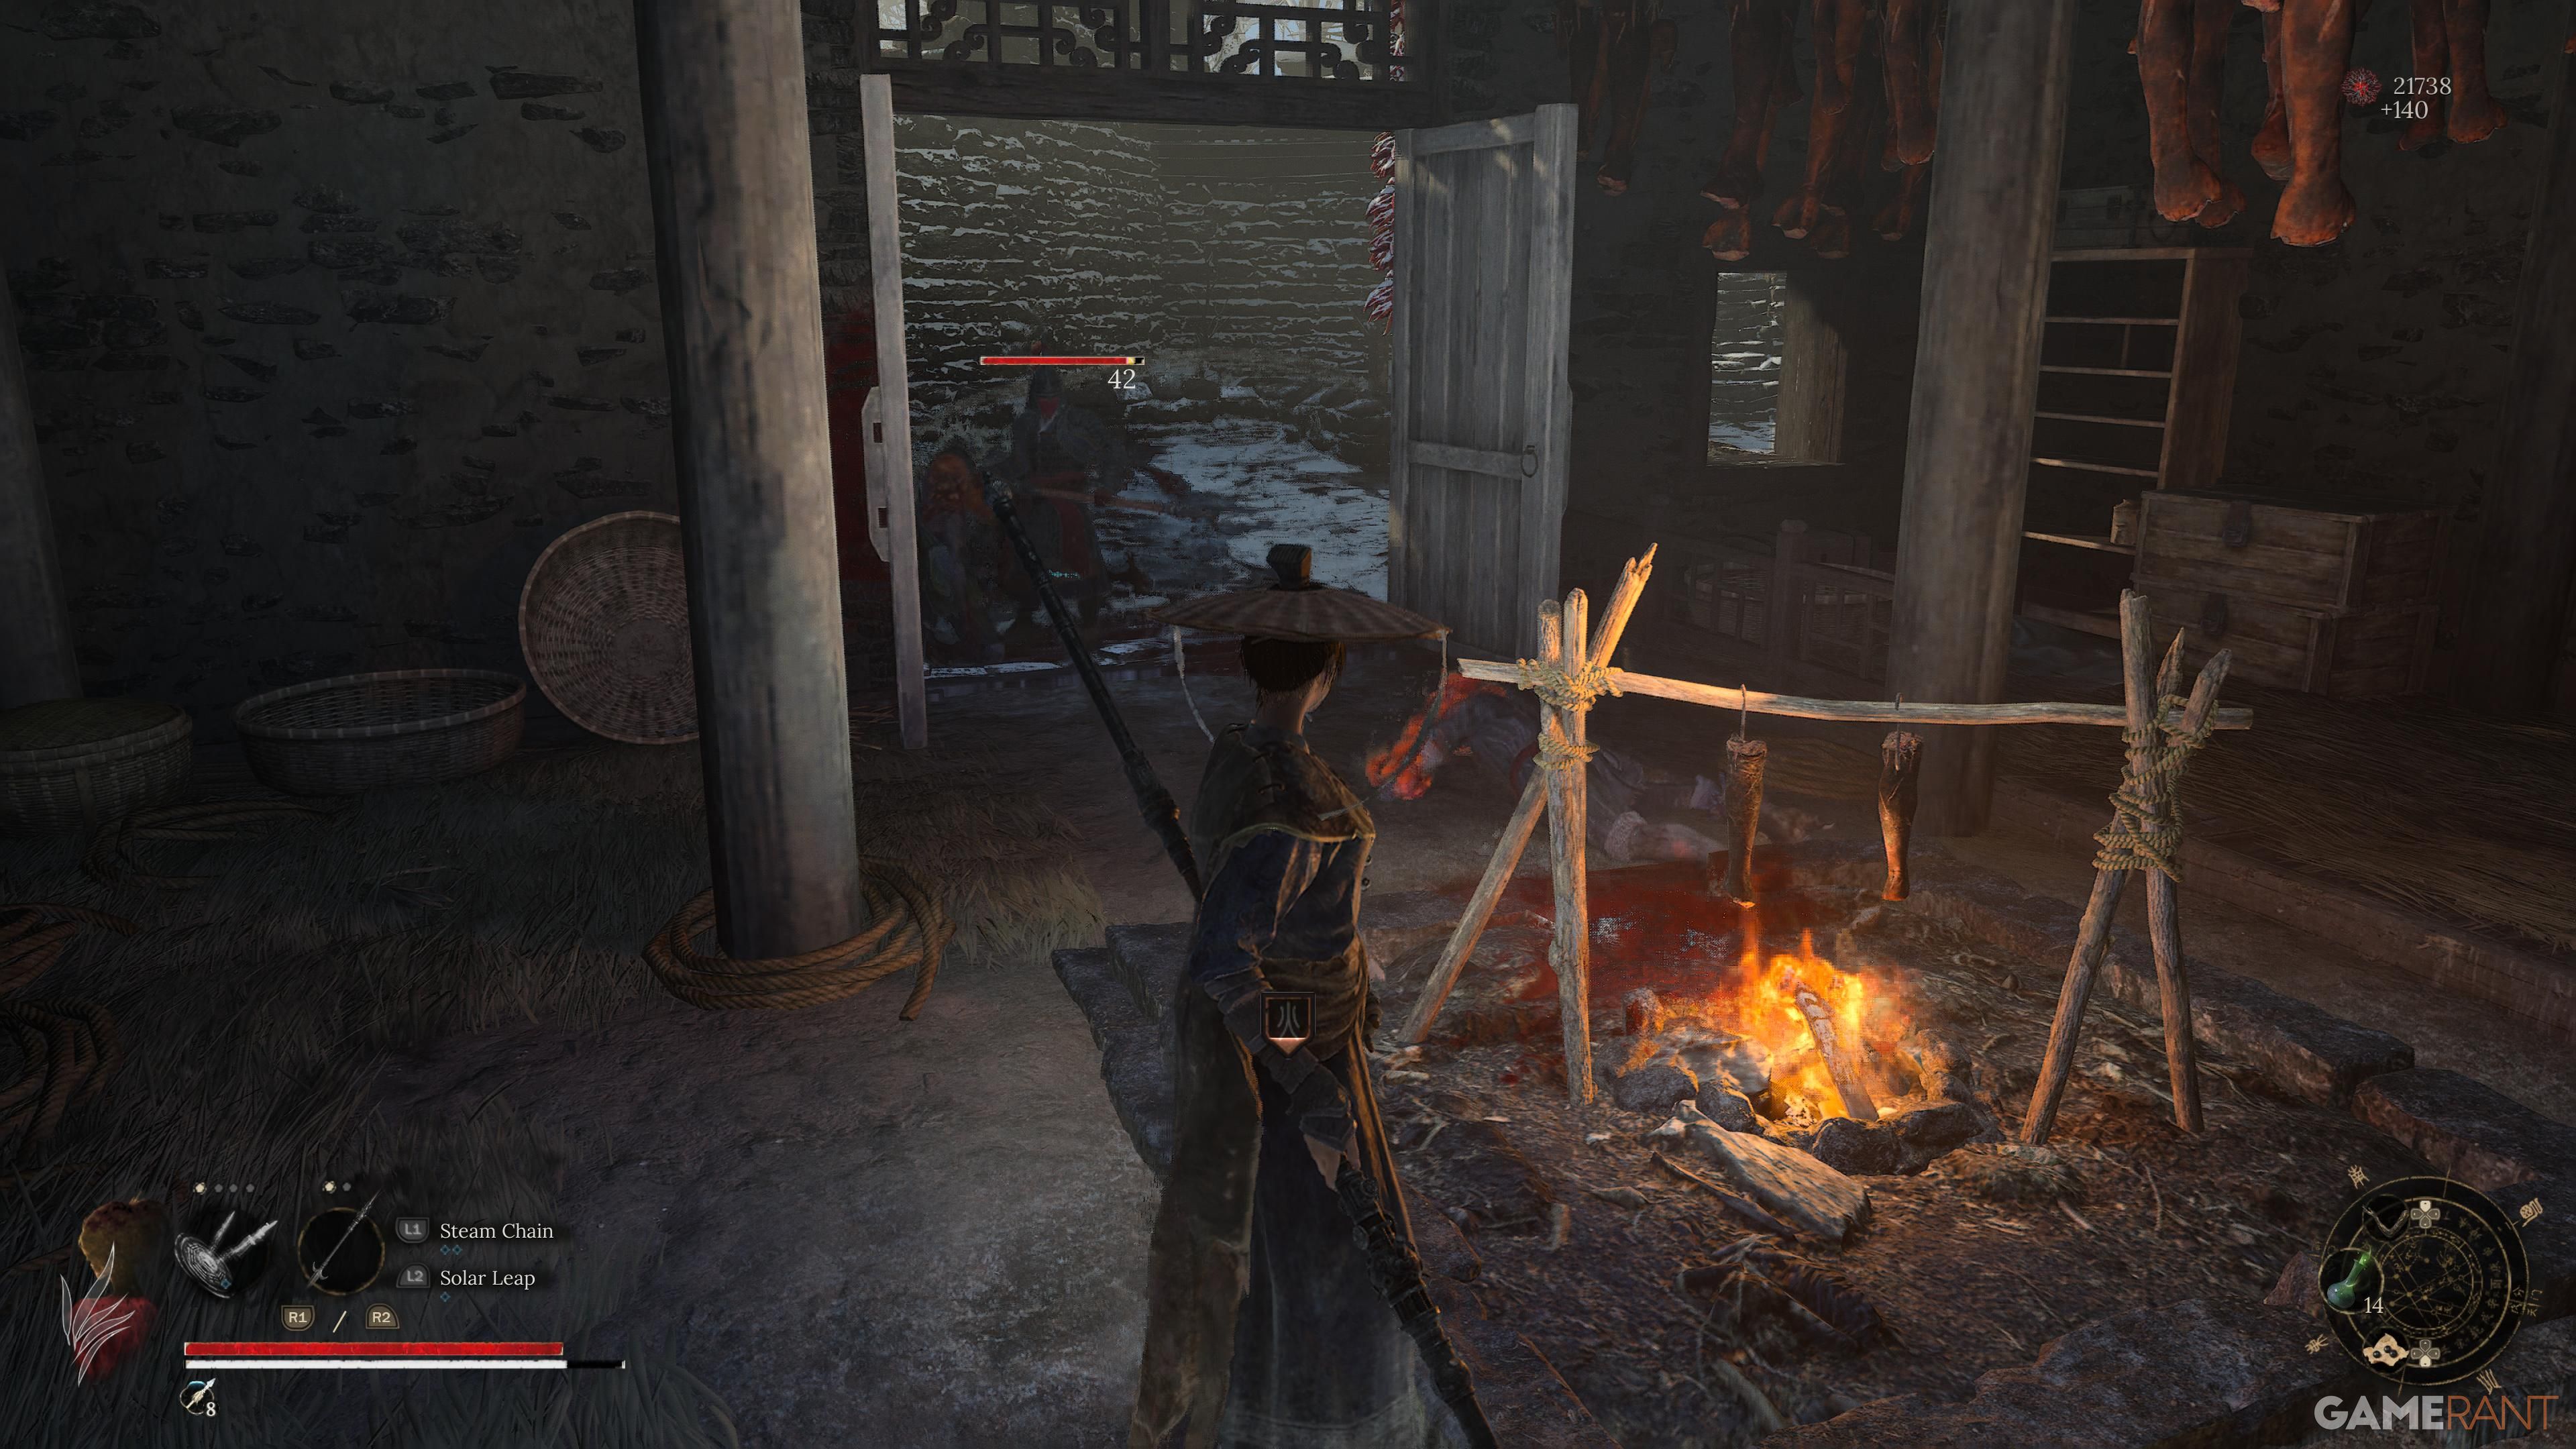
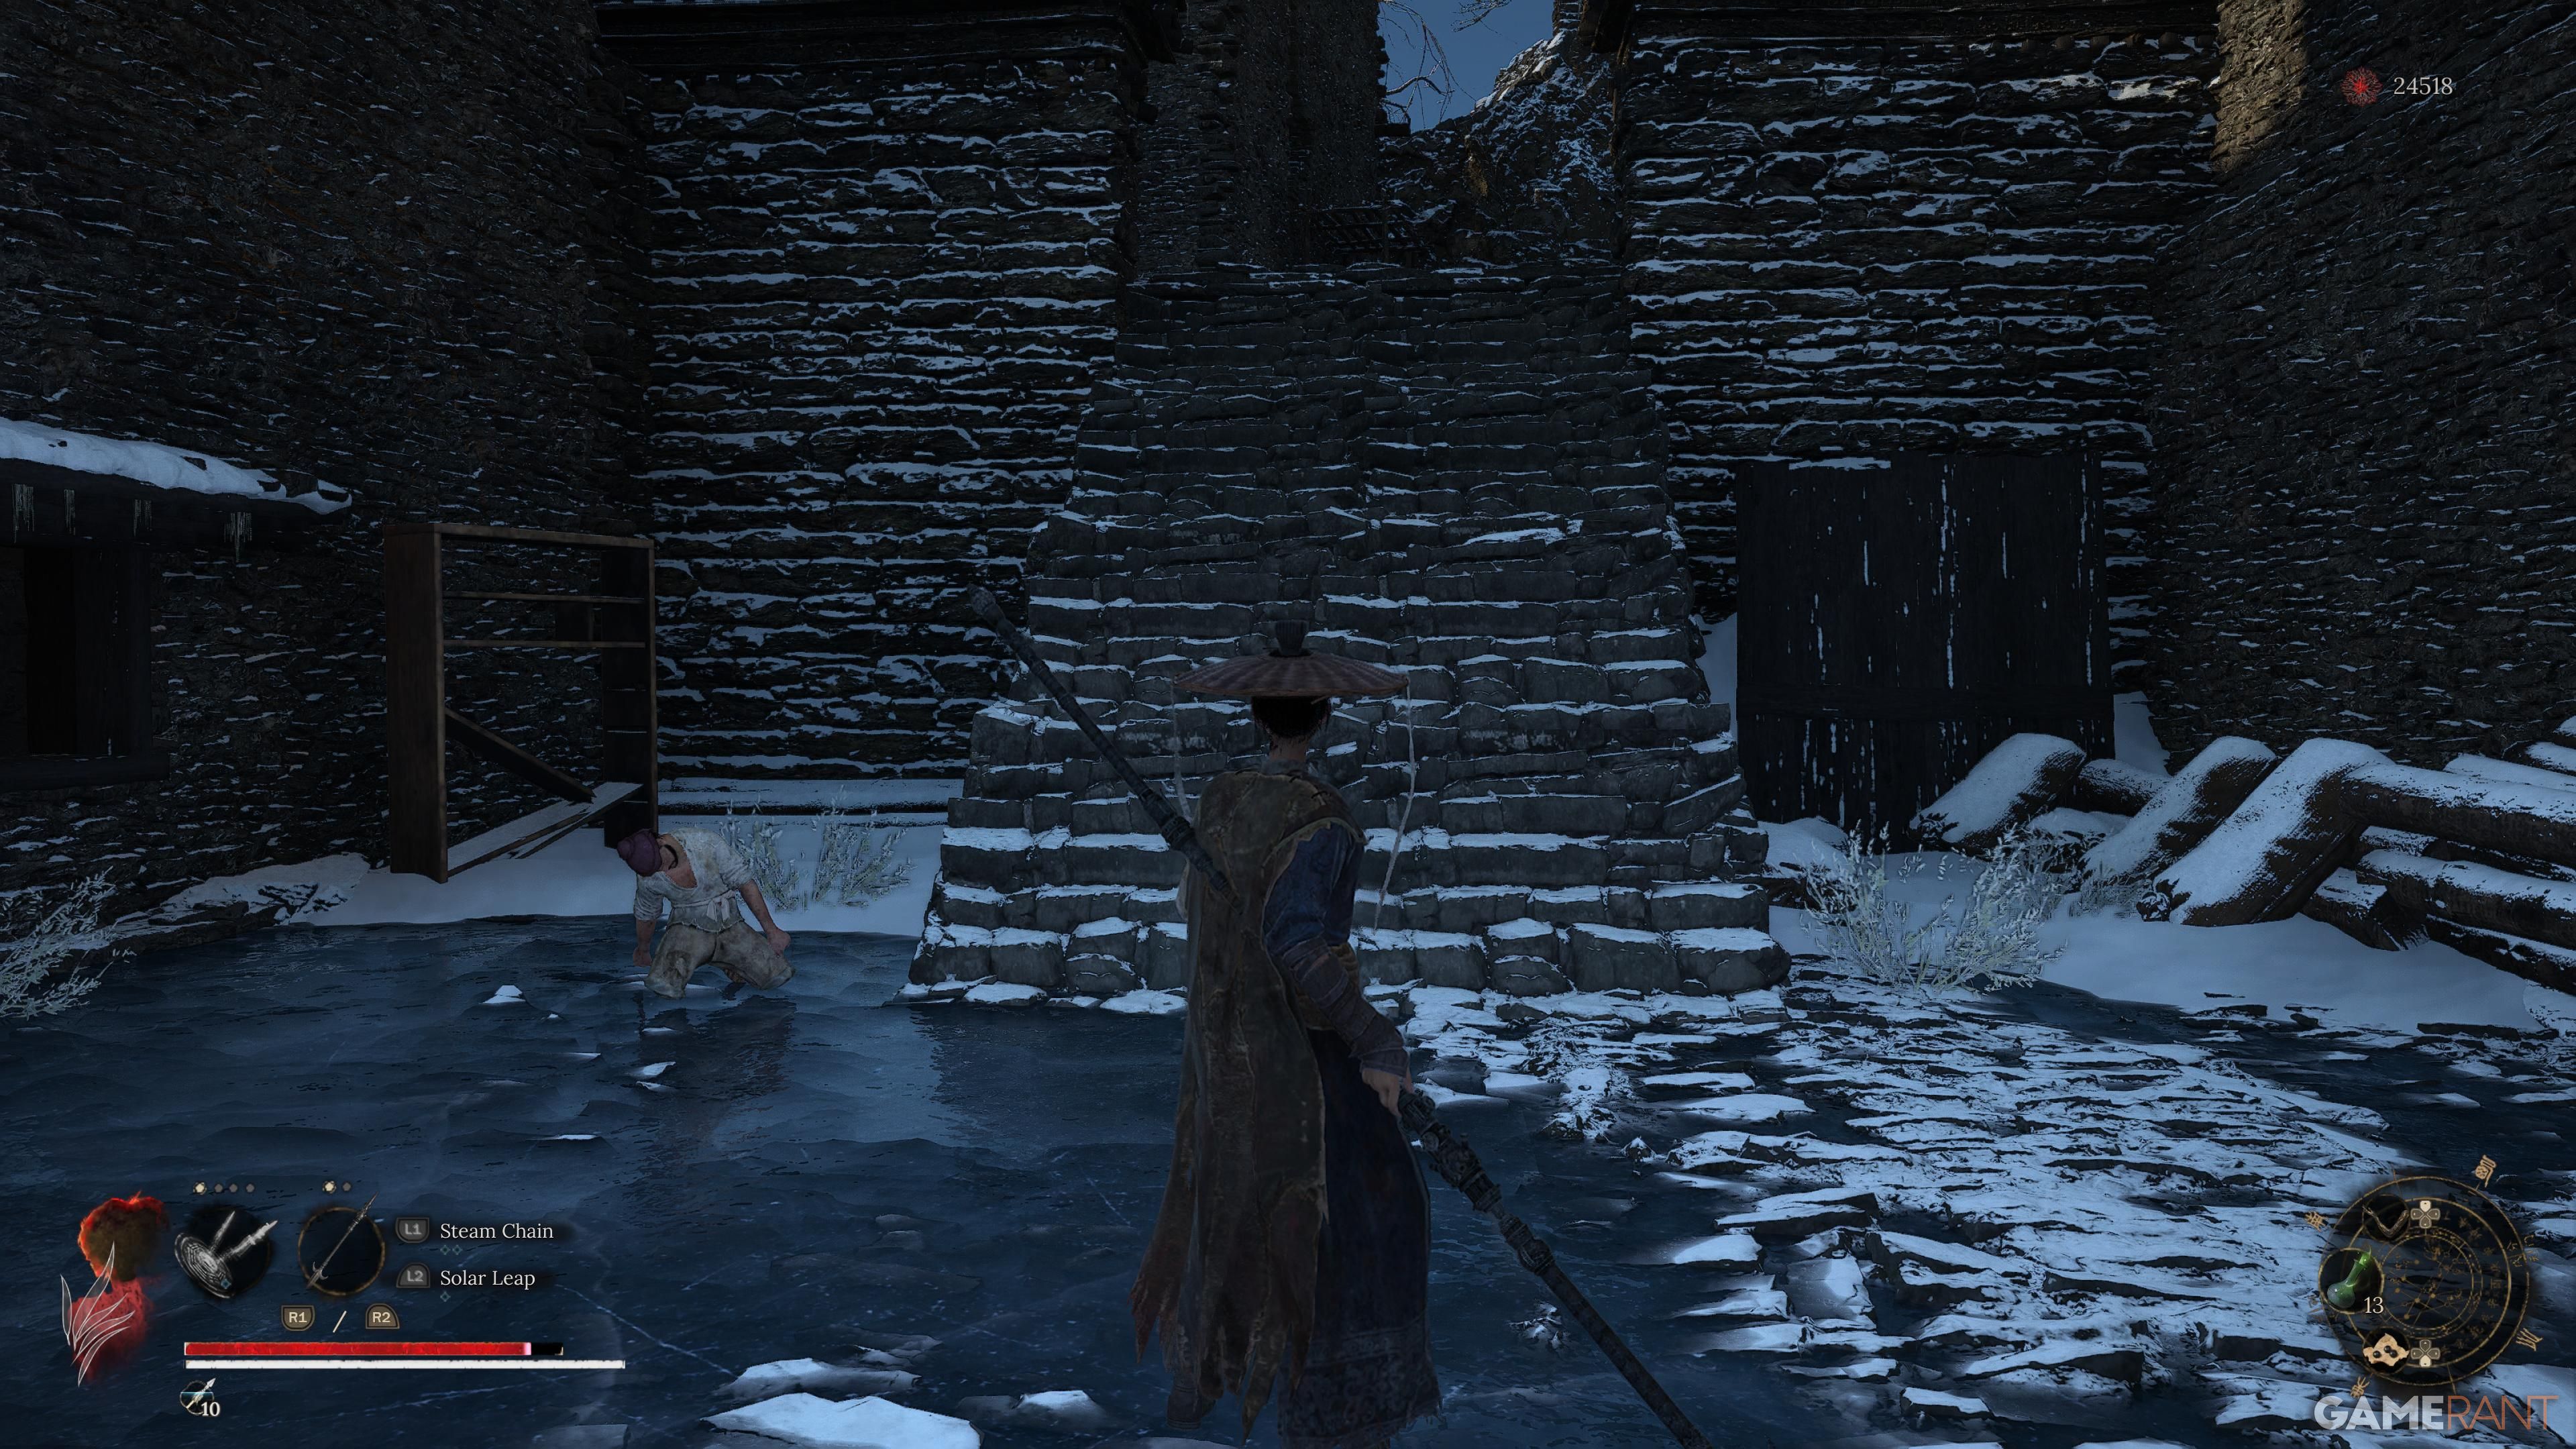
After passing through the wooden gate to your left, take another left and proceed up the path. You’ll encounter a few enemies engaged in combat; handle them accordingly. Then, maintain a straight course while carefully avoiding the landmines on the frozen ground. On your right-hand side, you’ll notice a wooden doorway that you can enter. To your left, disregard the large square apparatus generating enemies, and instead focus on locating the third shrine, which is known as Cloudspire Outskirts.
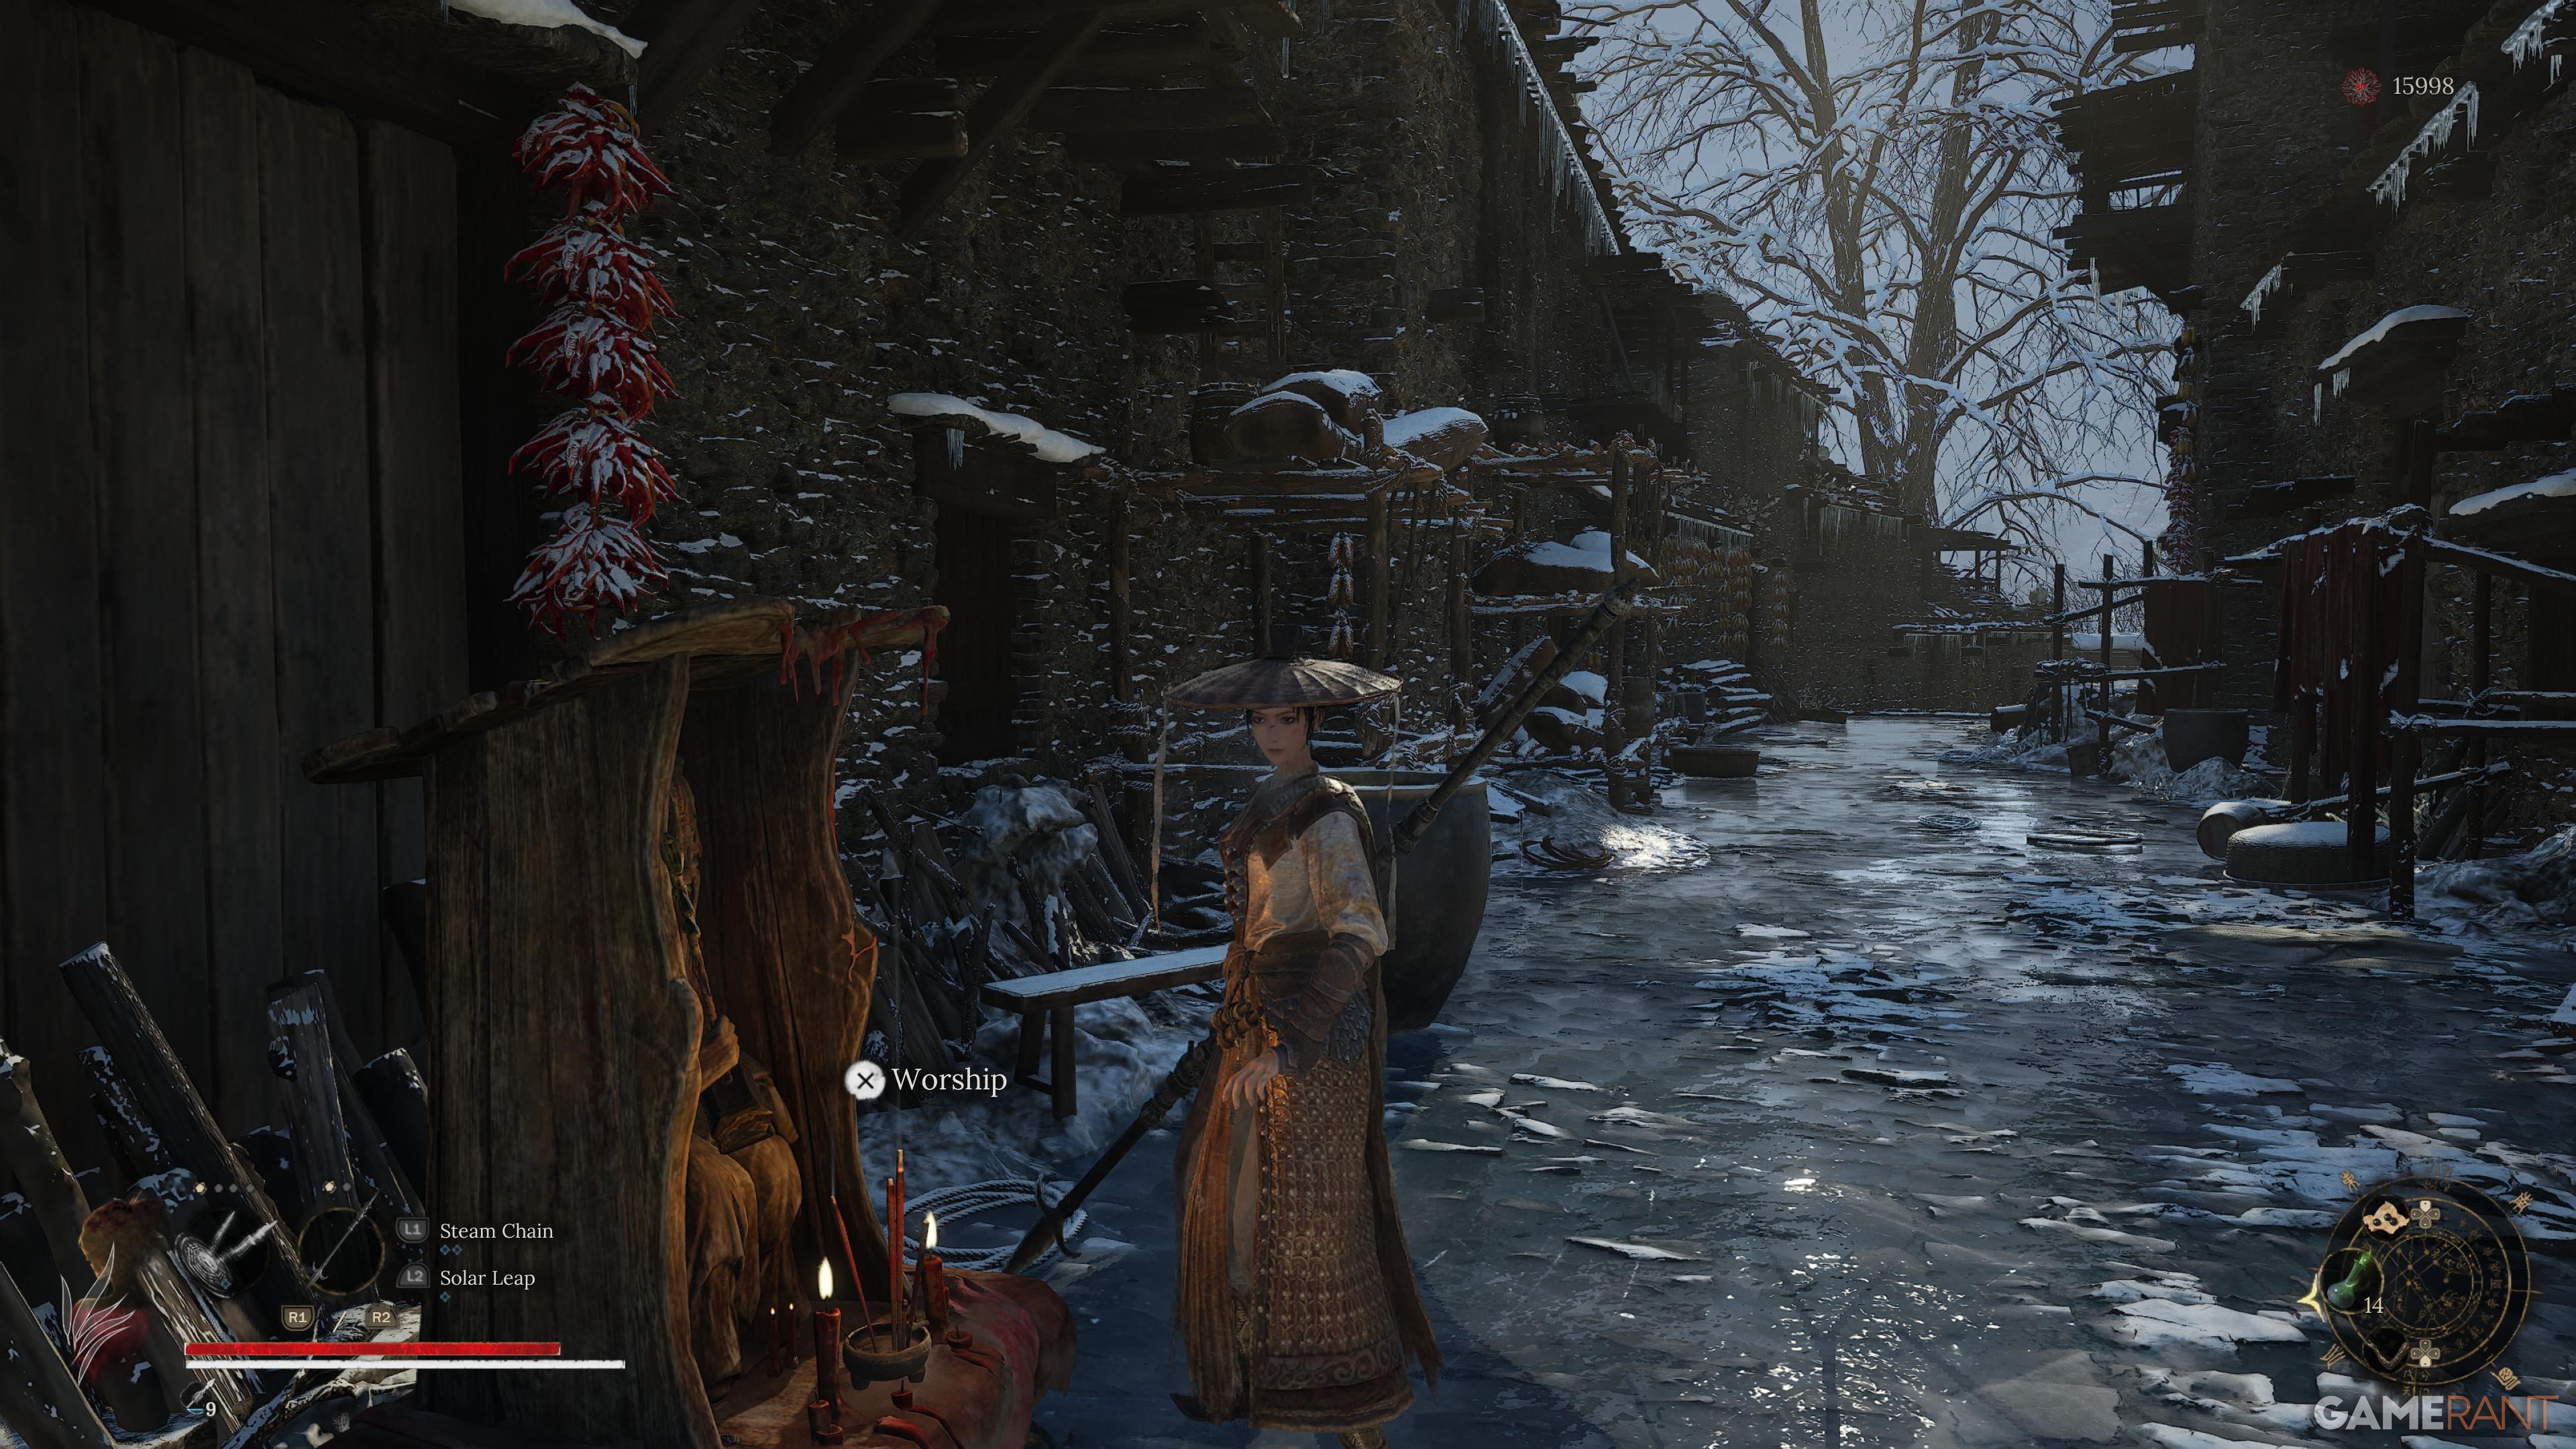
Mort Grotto

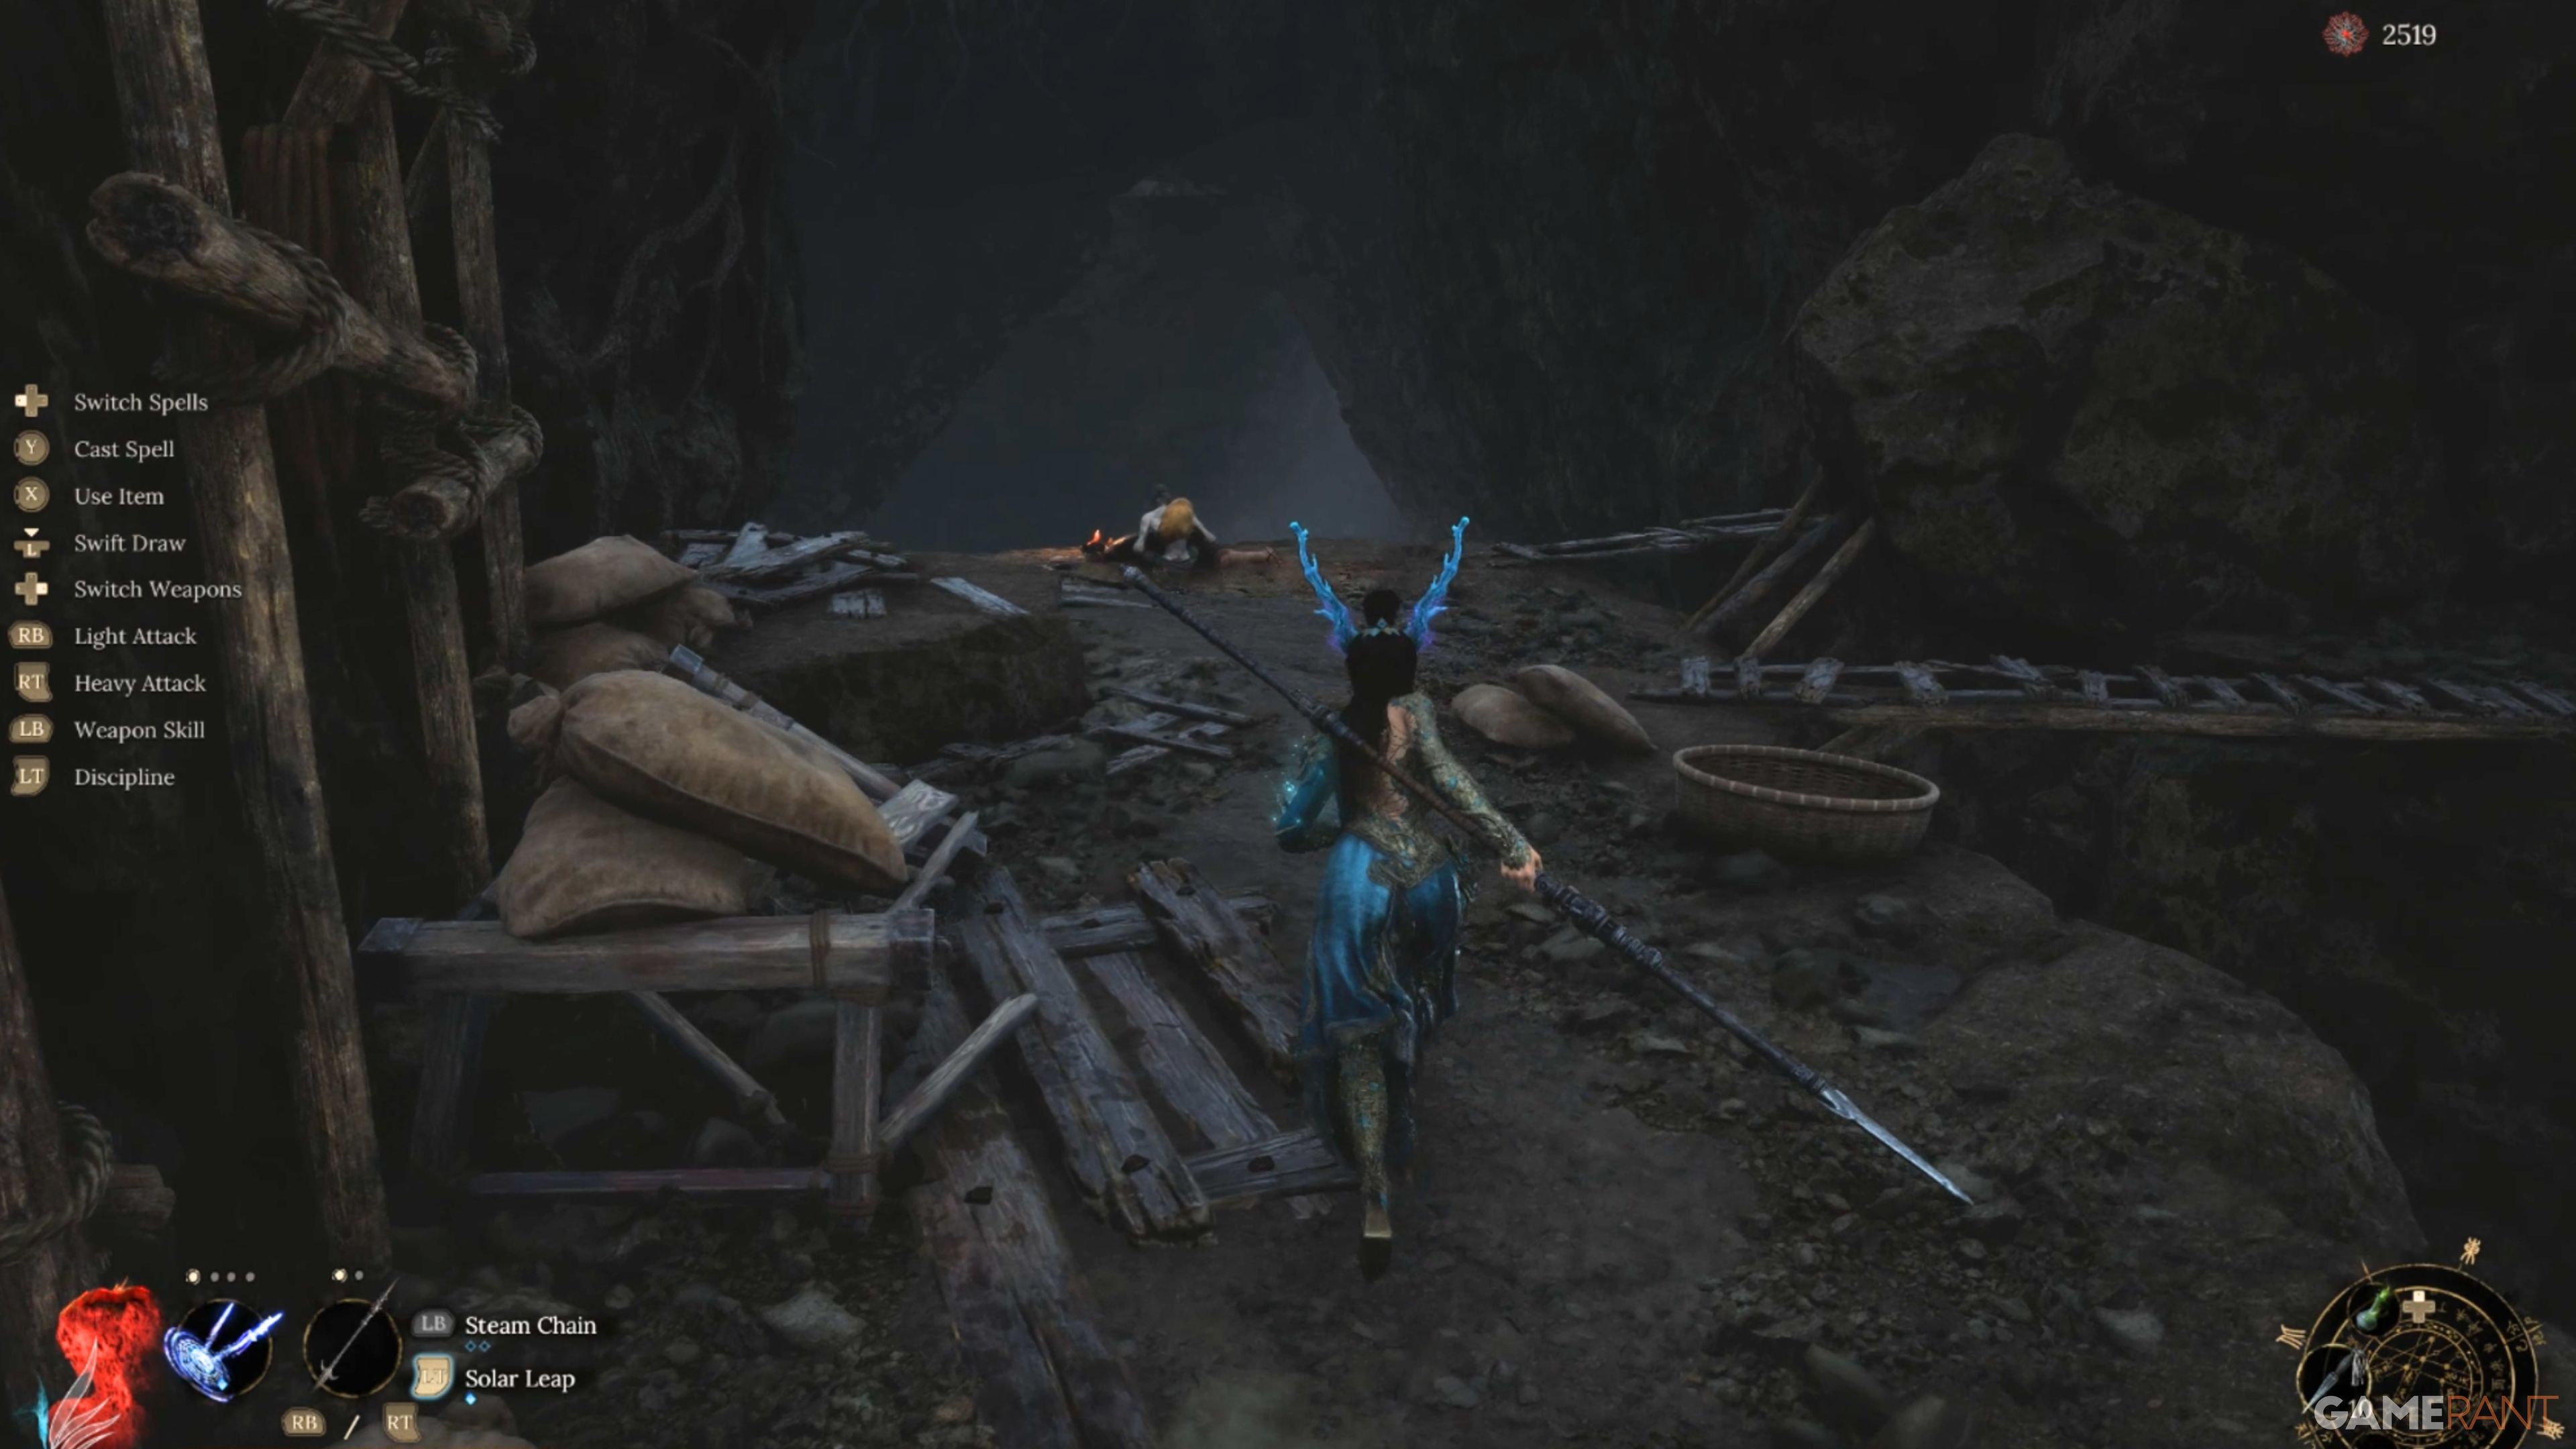
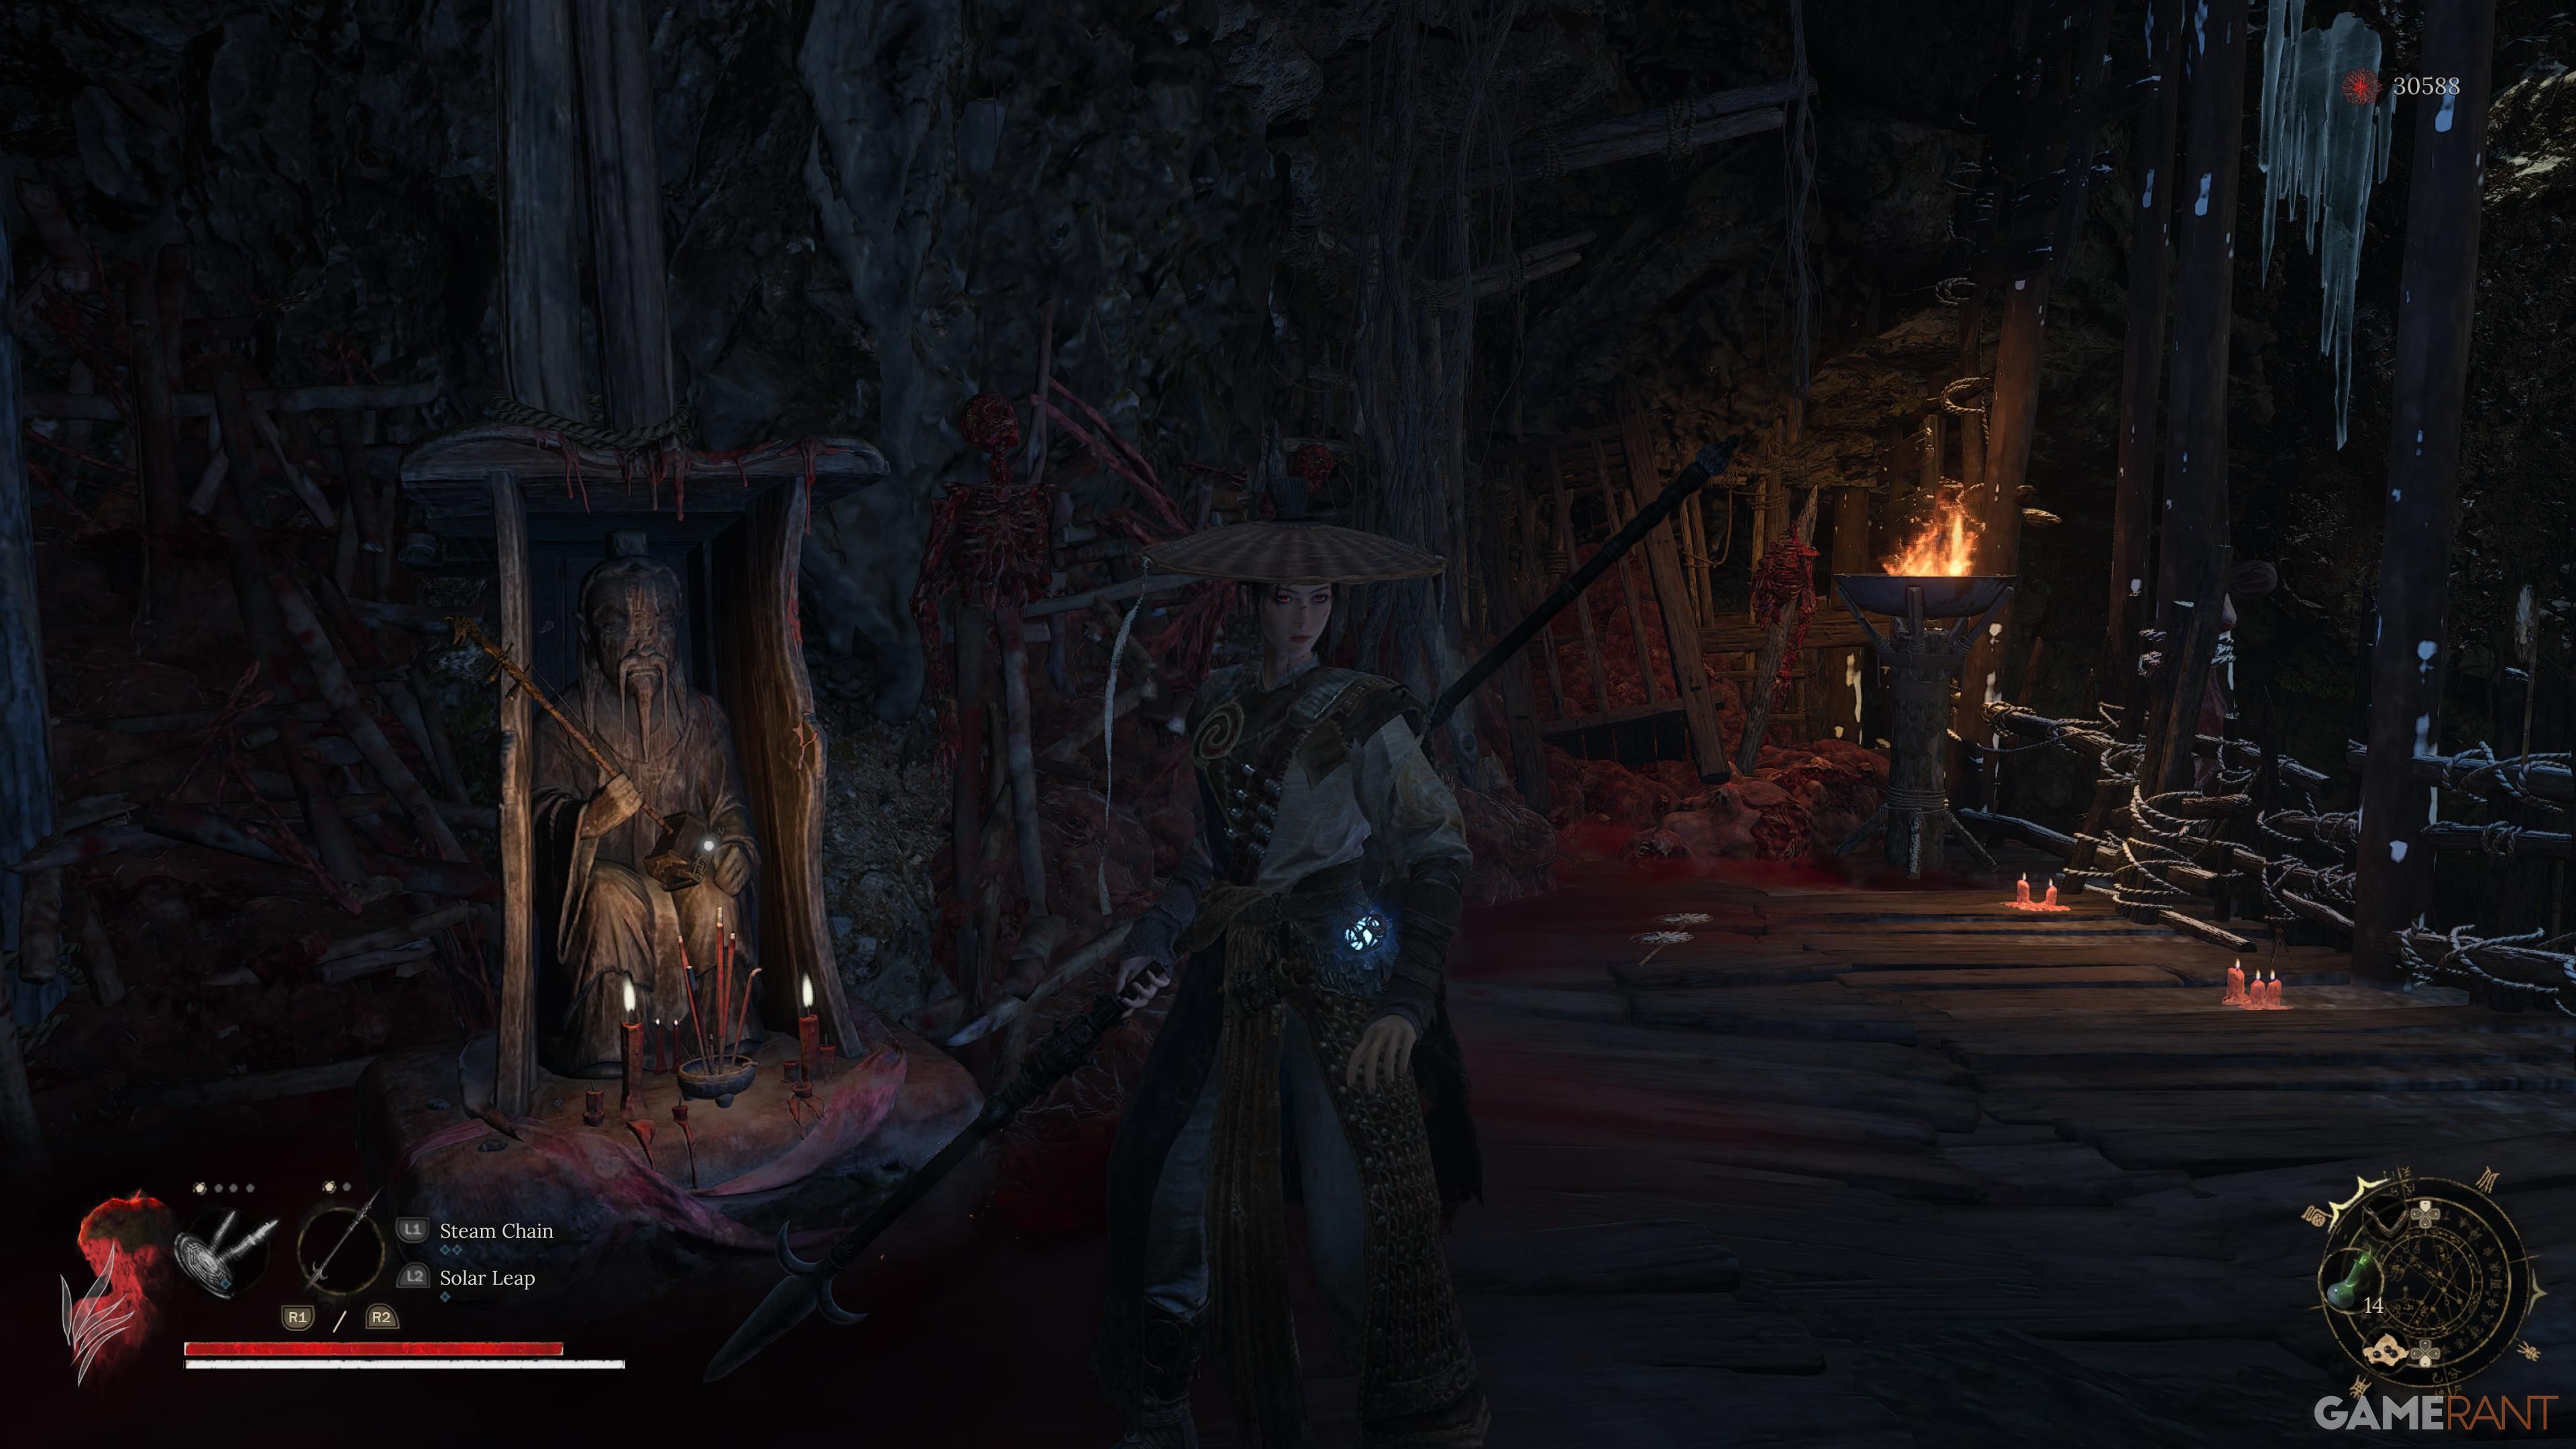
Beginning at the Snowy Passage shrine, proceed straight ahead, then take the path to your right. Cross the wooden bridge and enter the tunnel on the right side; this tunnel takes you to the Outskirts Mining Road. Within the road, you will encounter adversaries digging near crystals that boost your Despair gauge.
You must destroy these crystals immediately, as once your meter is full, you will die on the spot.
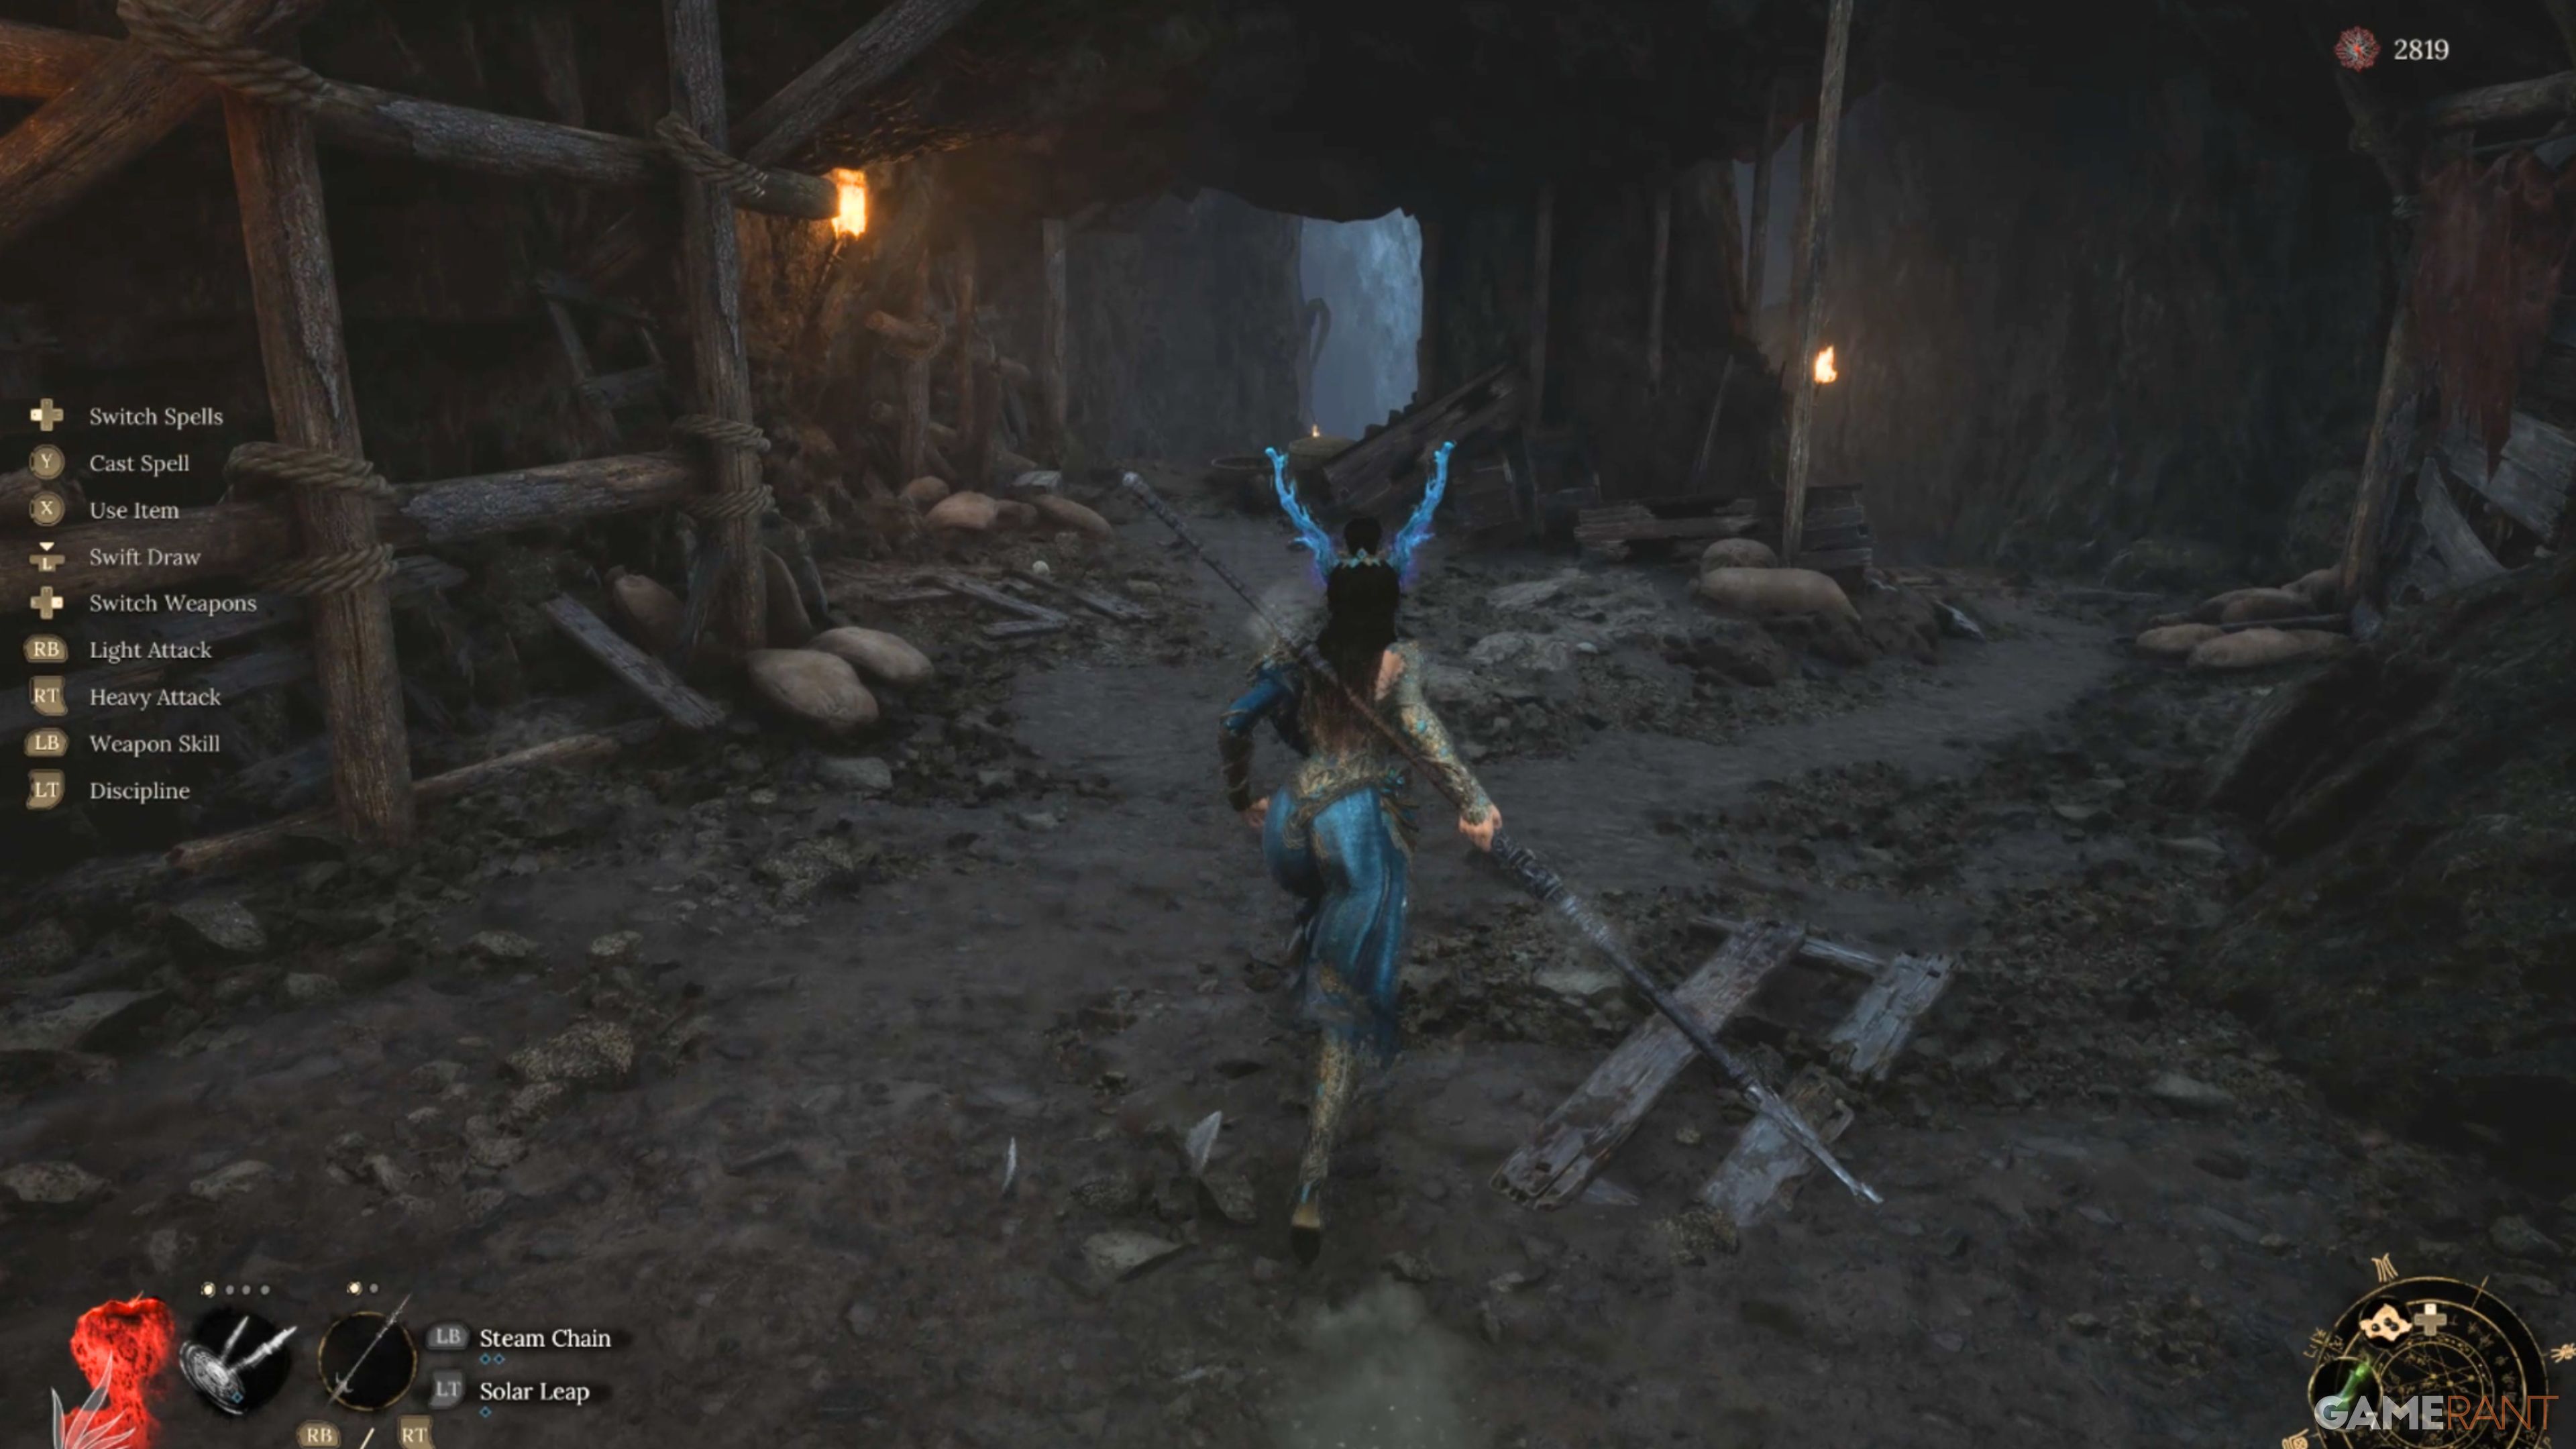
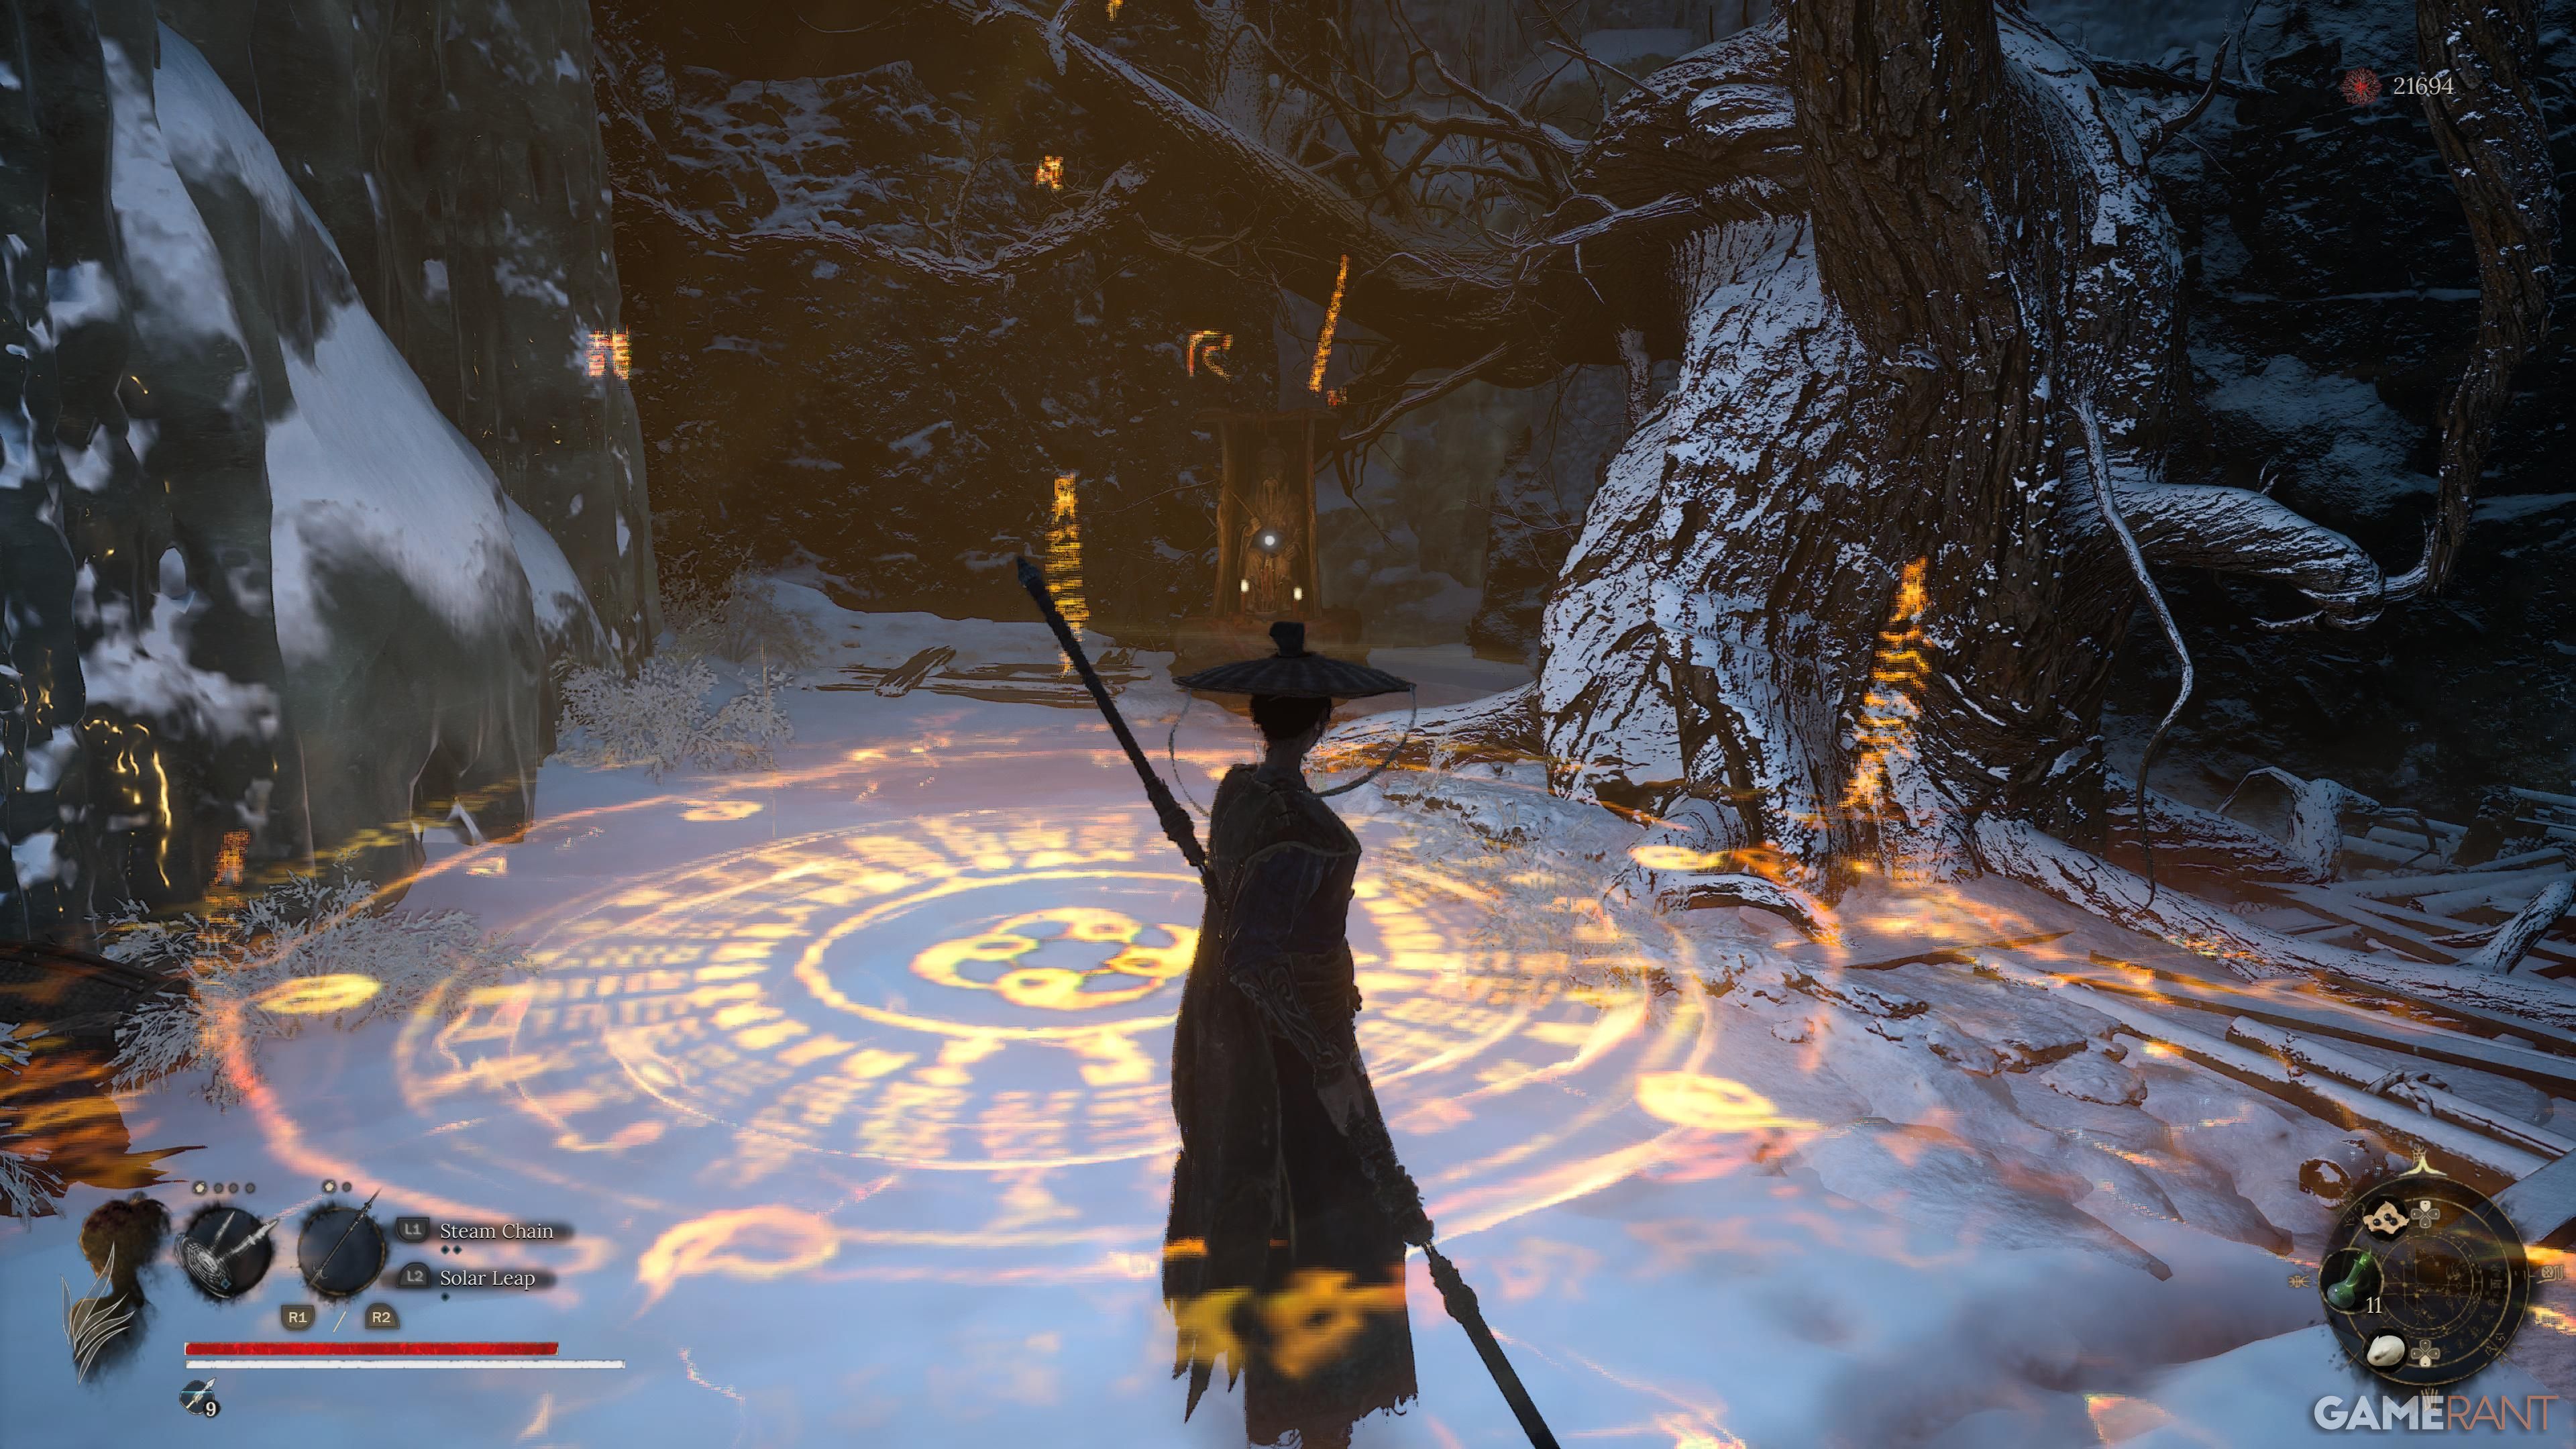
Continue along the straight path until you see a ladder; ascend it to reach the wooden platforms. Since they lead to the same destination, feel free to pick either route that suits you best. Once you’ve crossed over, take the path on the left side. As you proceed, you will eventually arrive at Mort Grotto, where the shrine is situated near the healing circle.
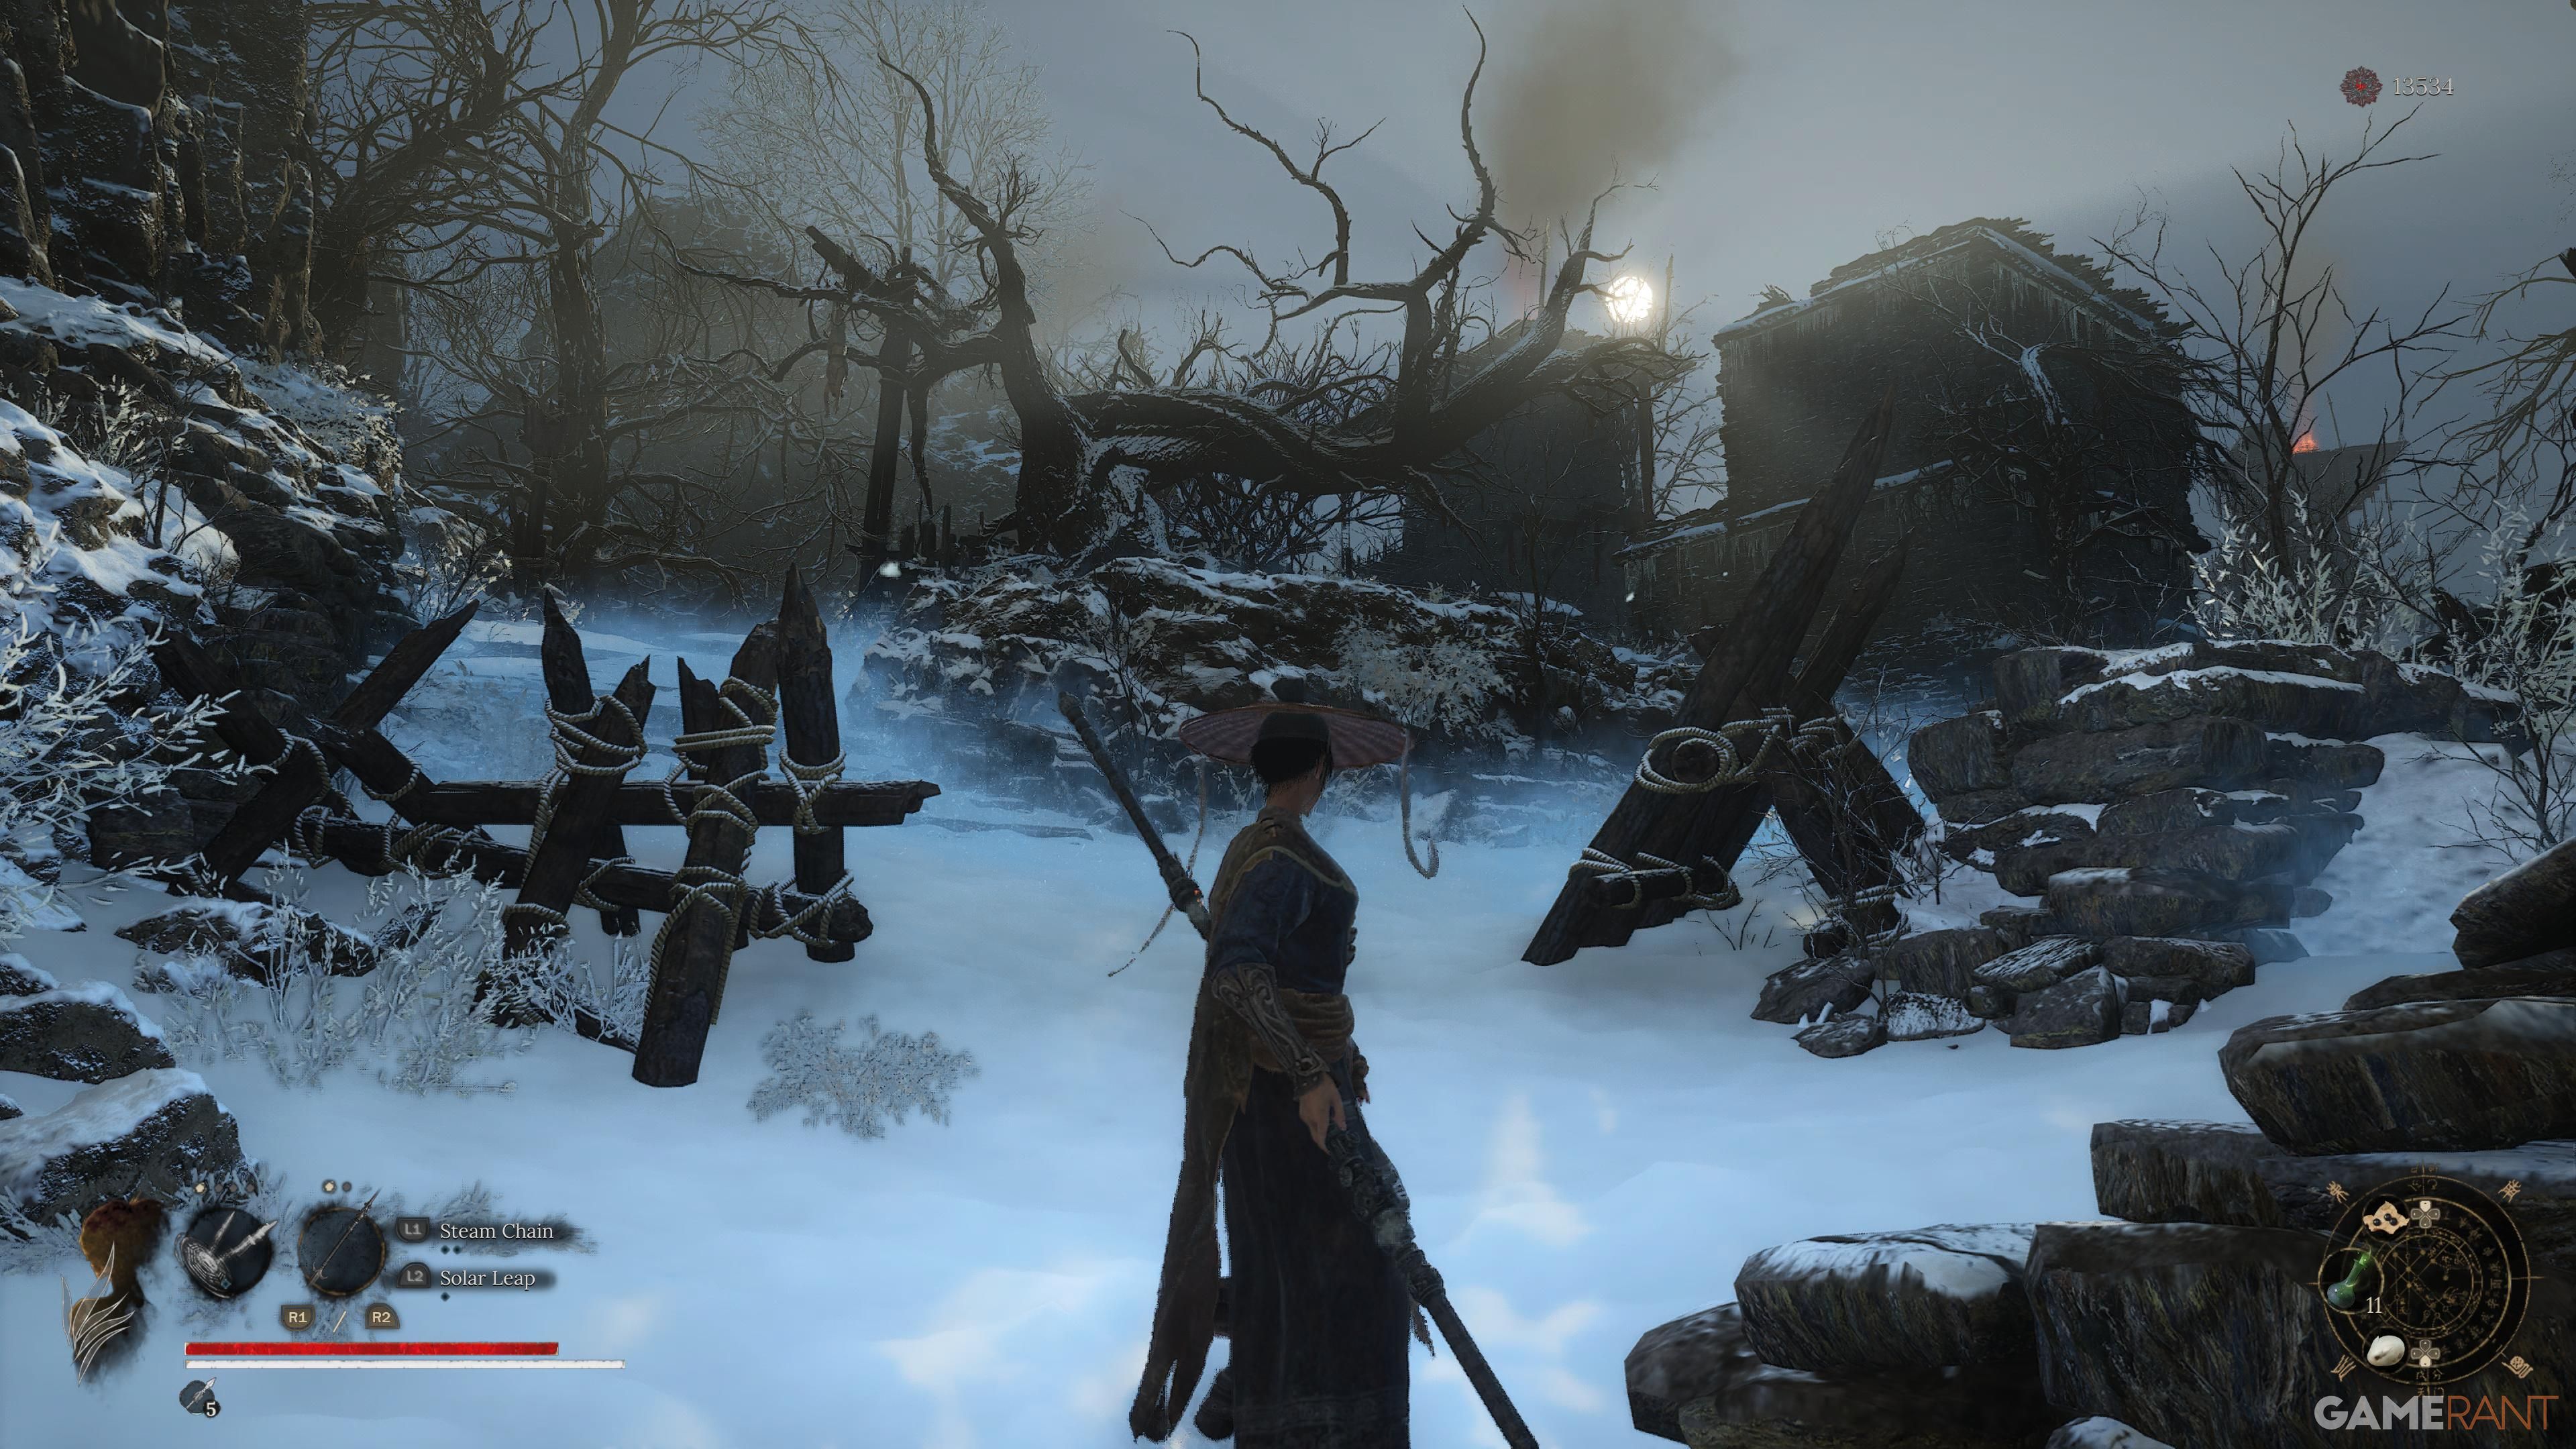
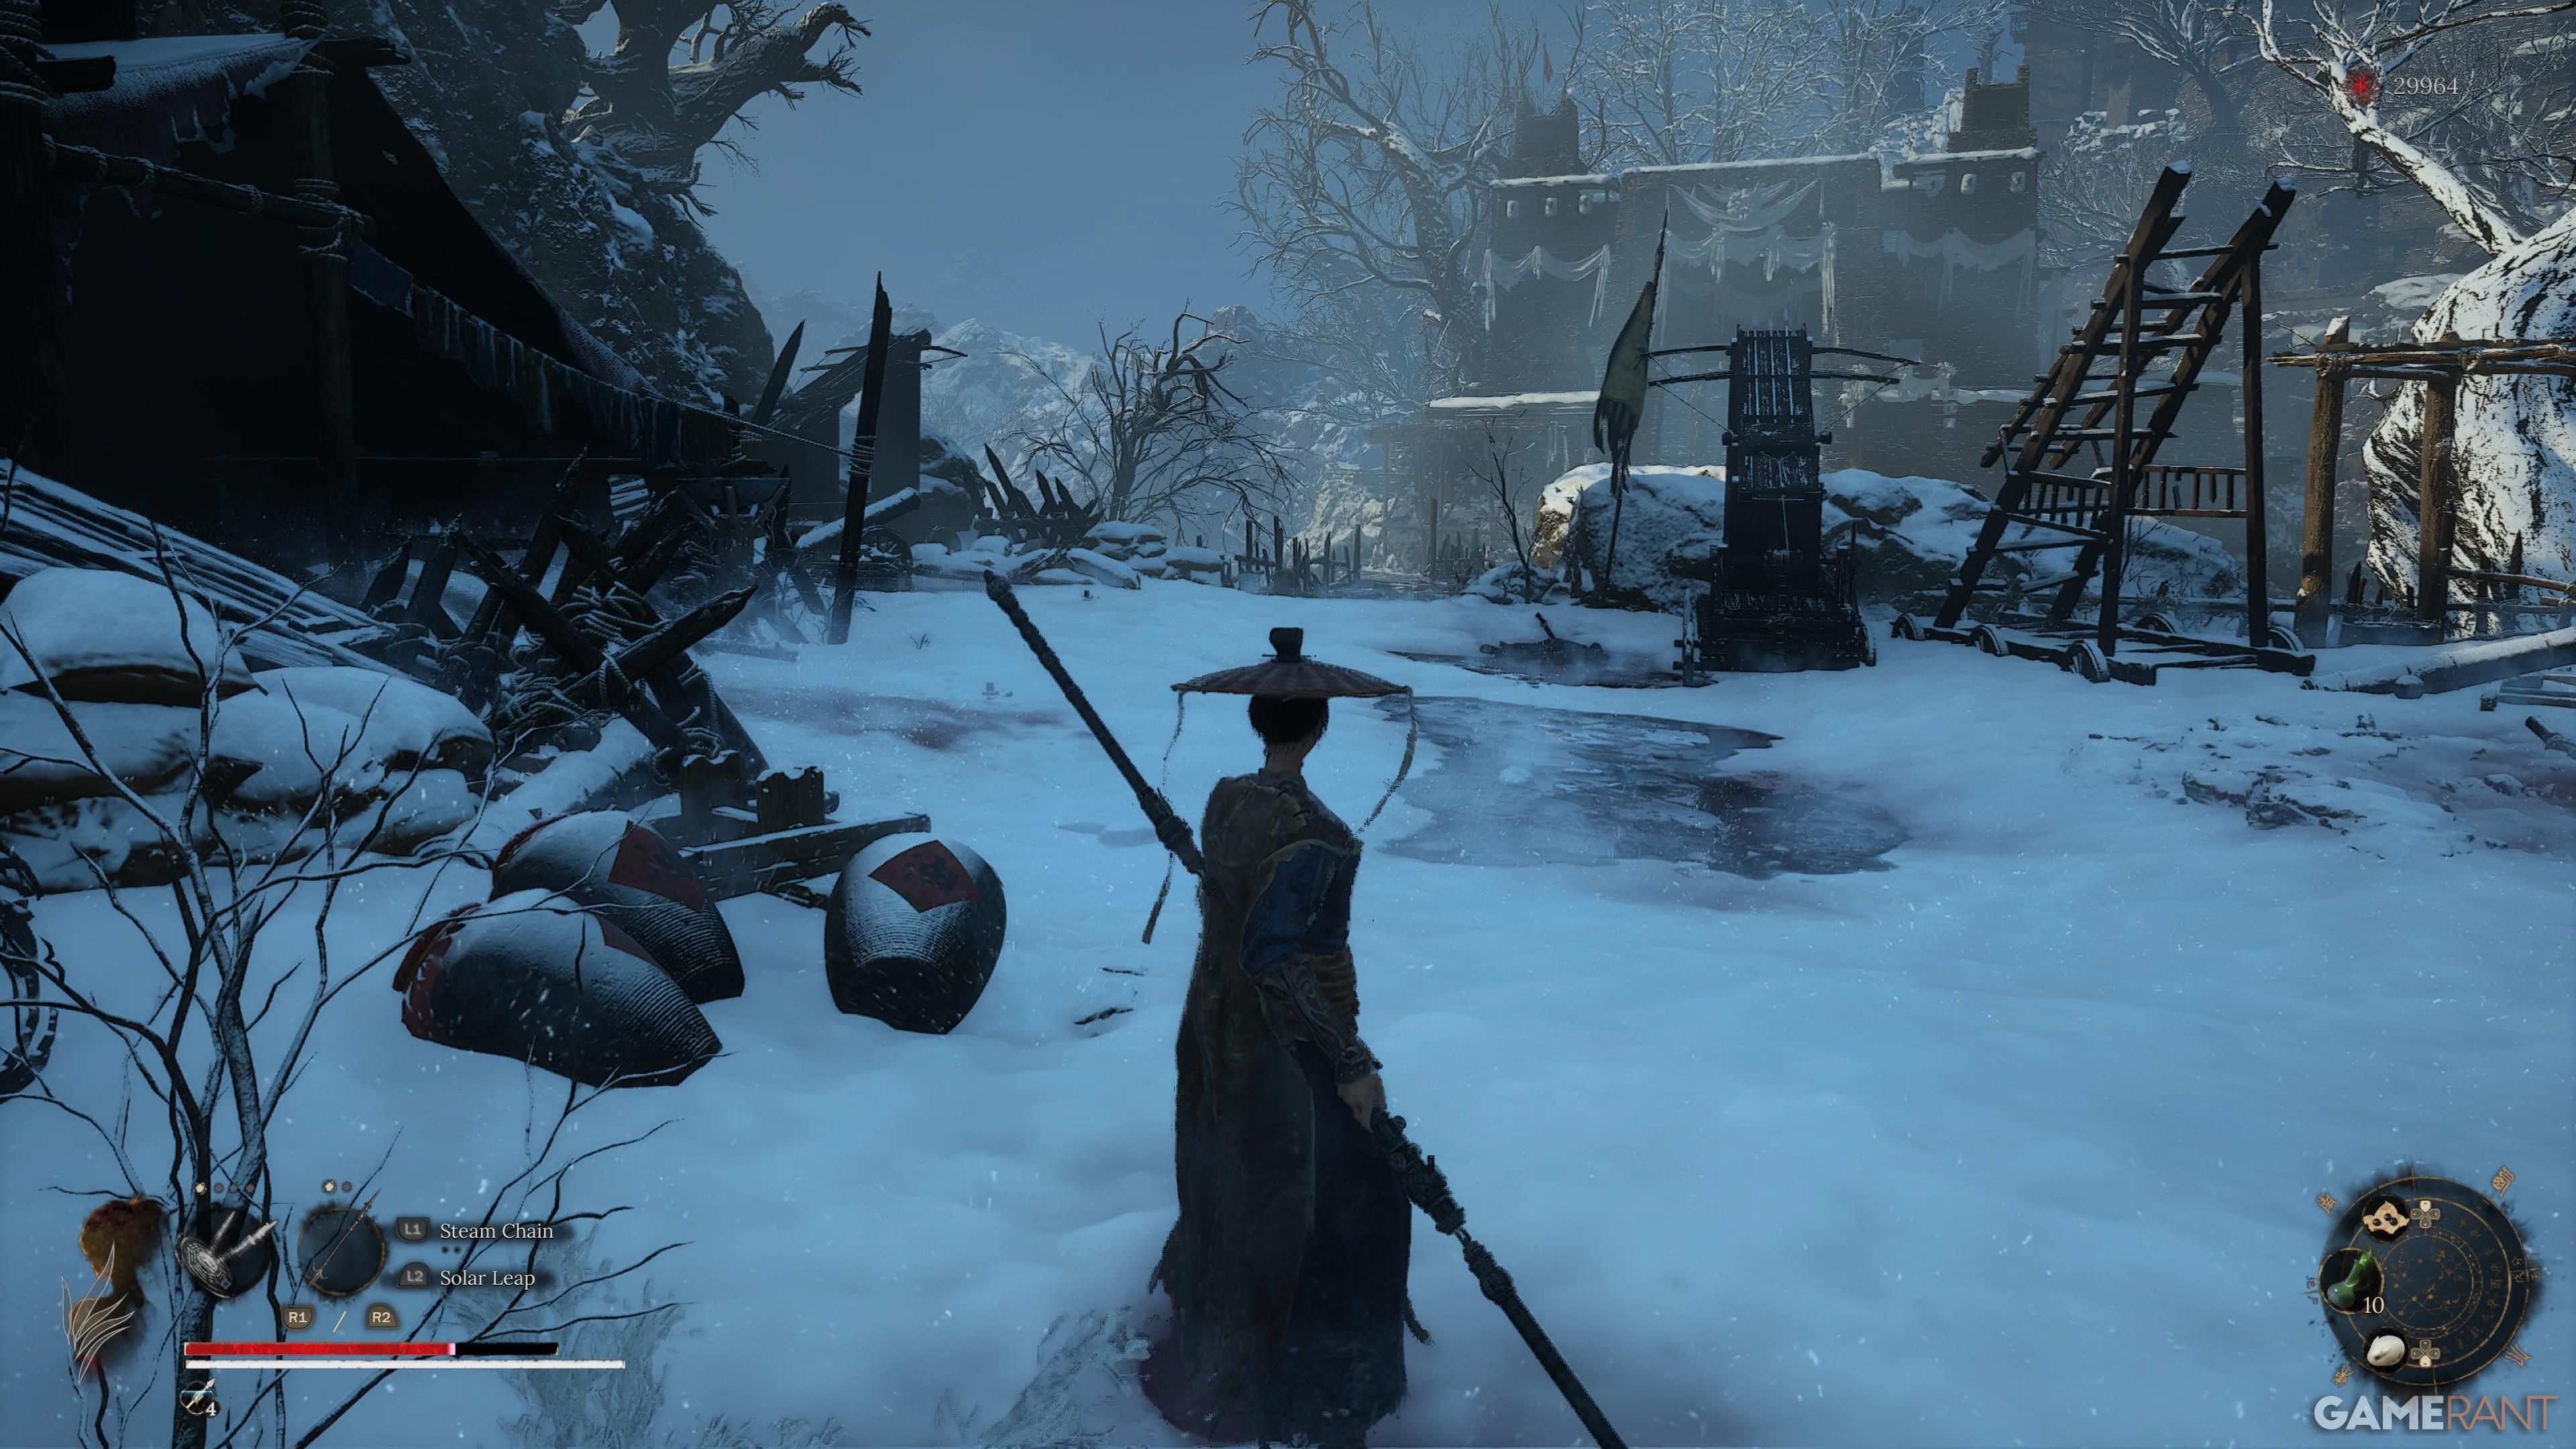
Rebel Camp
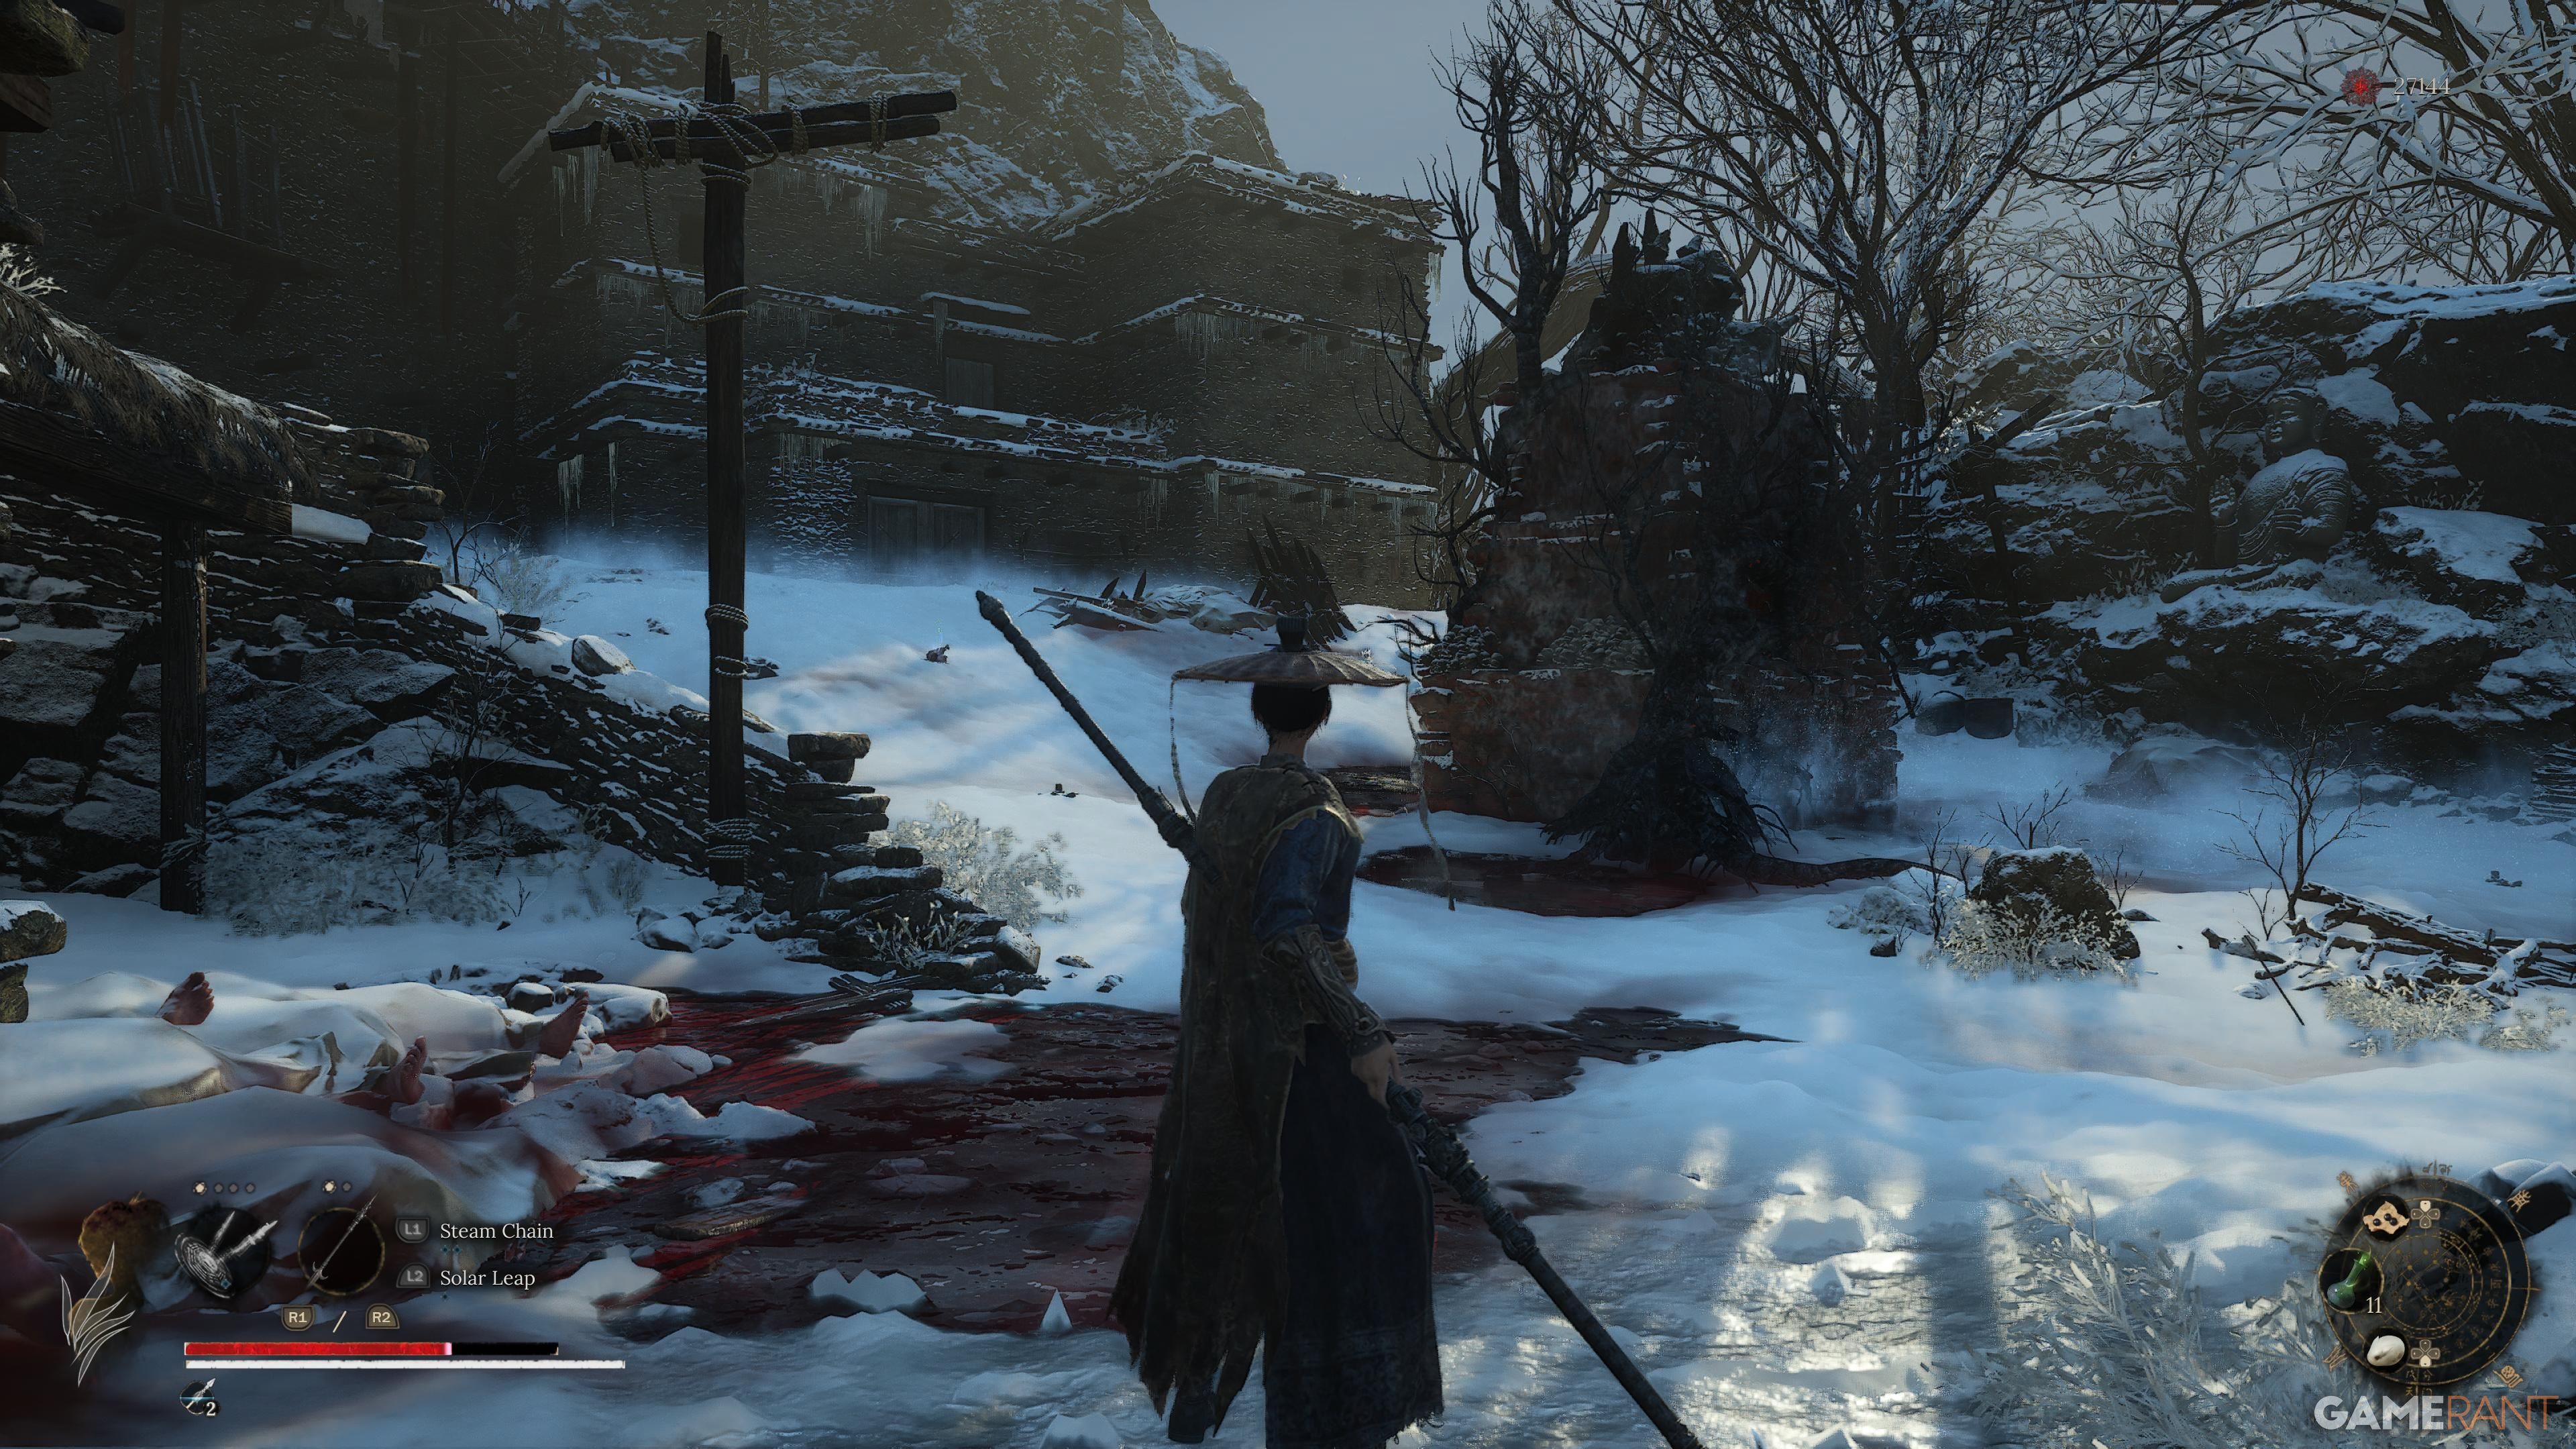
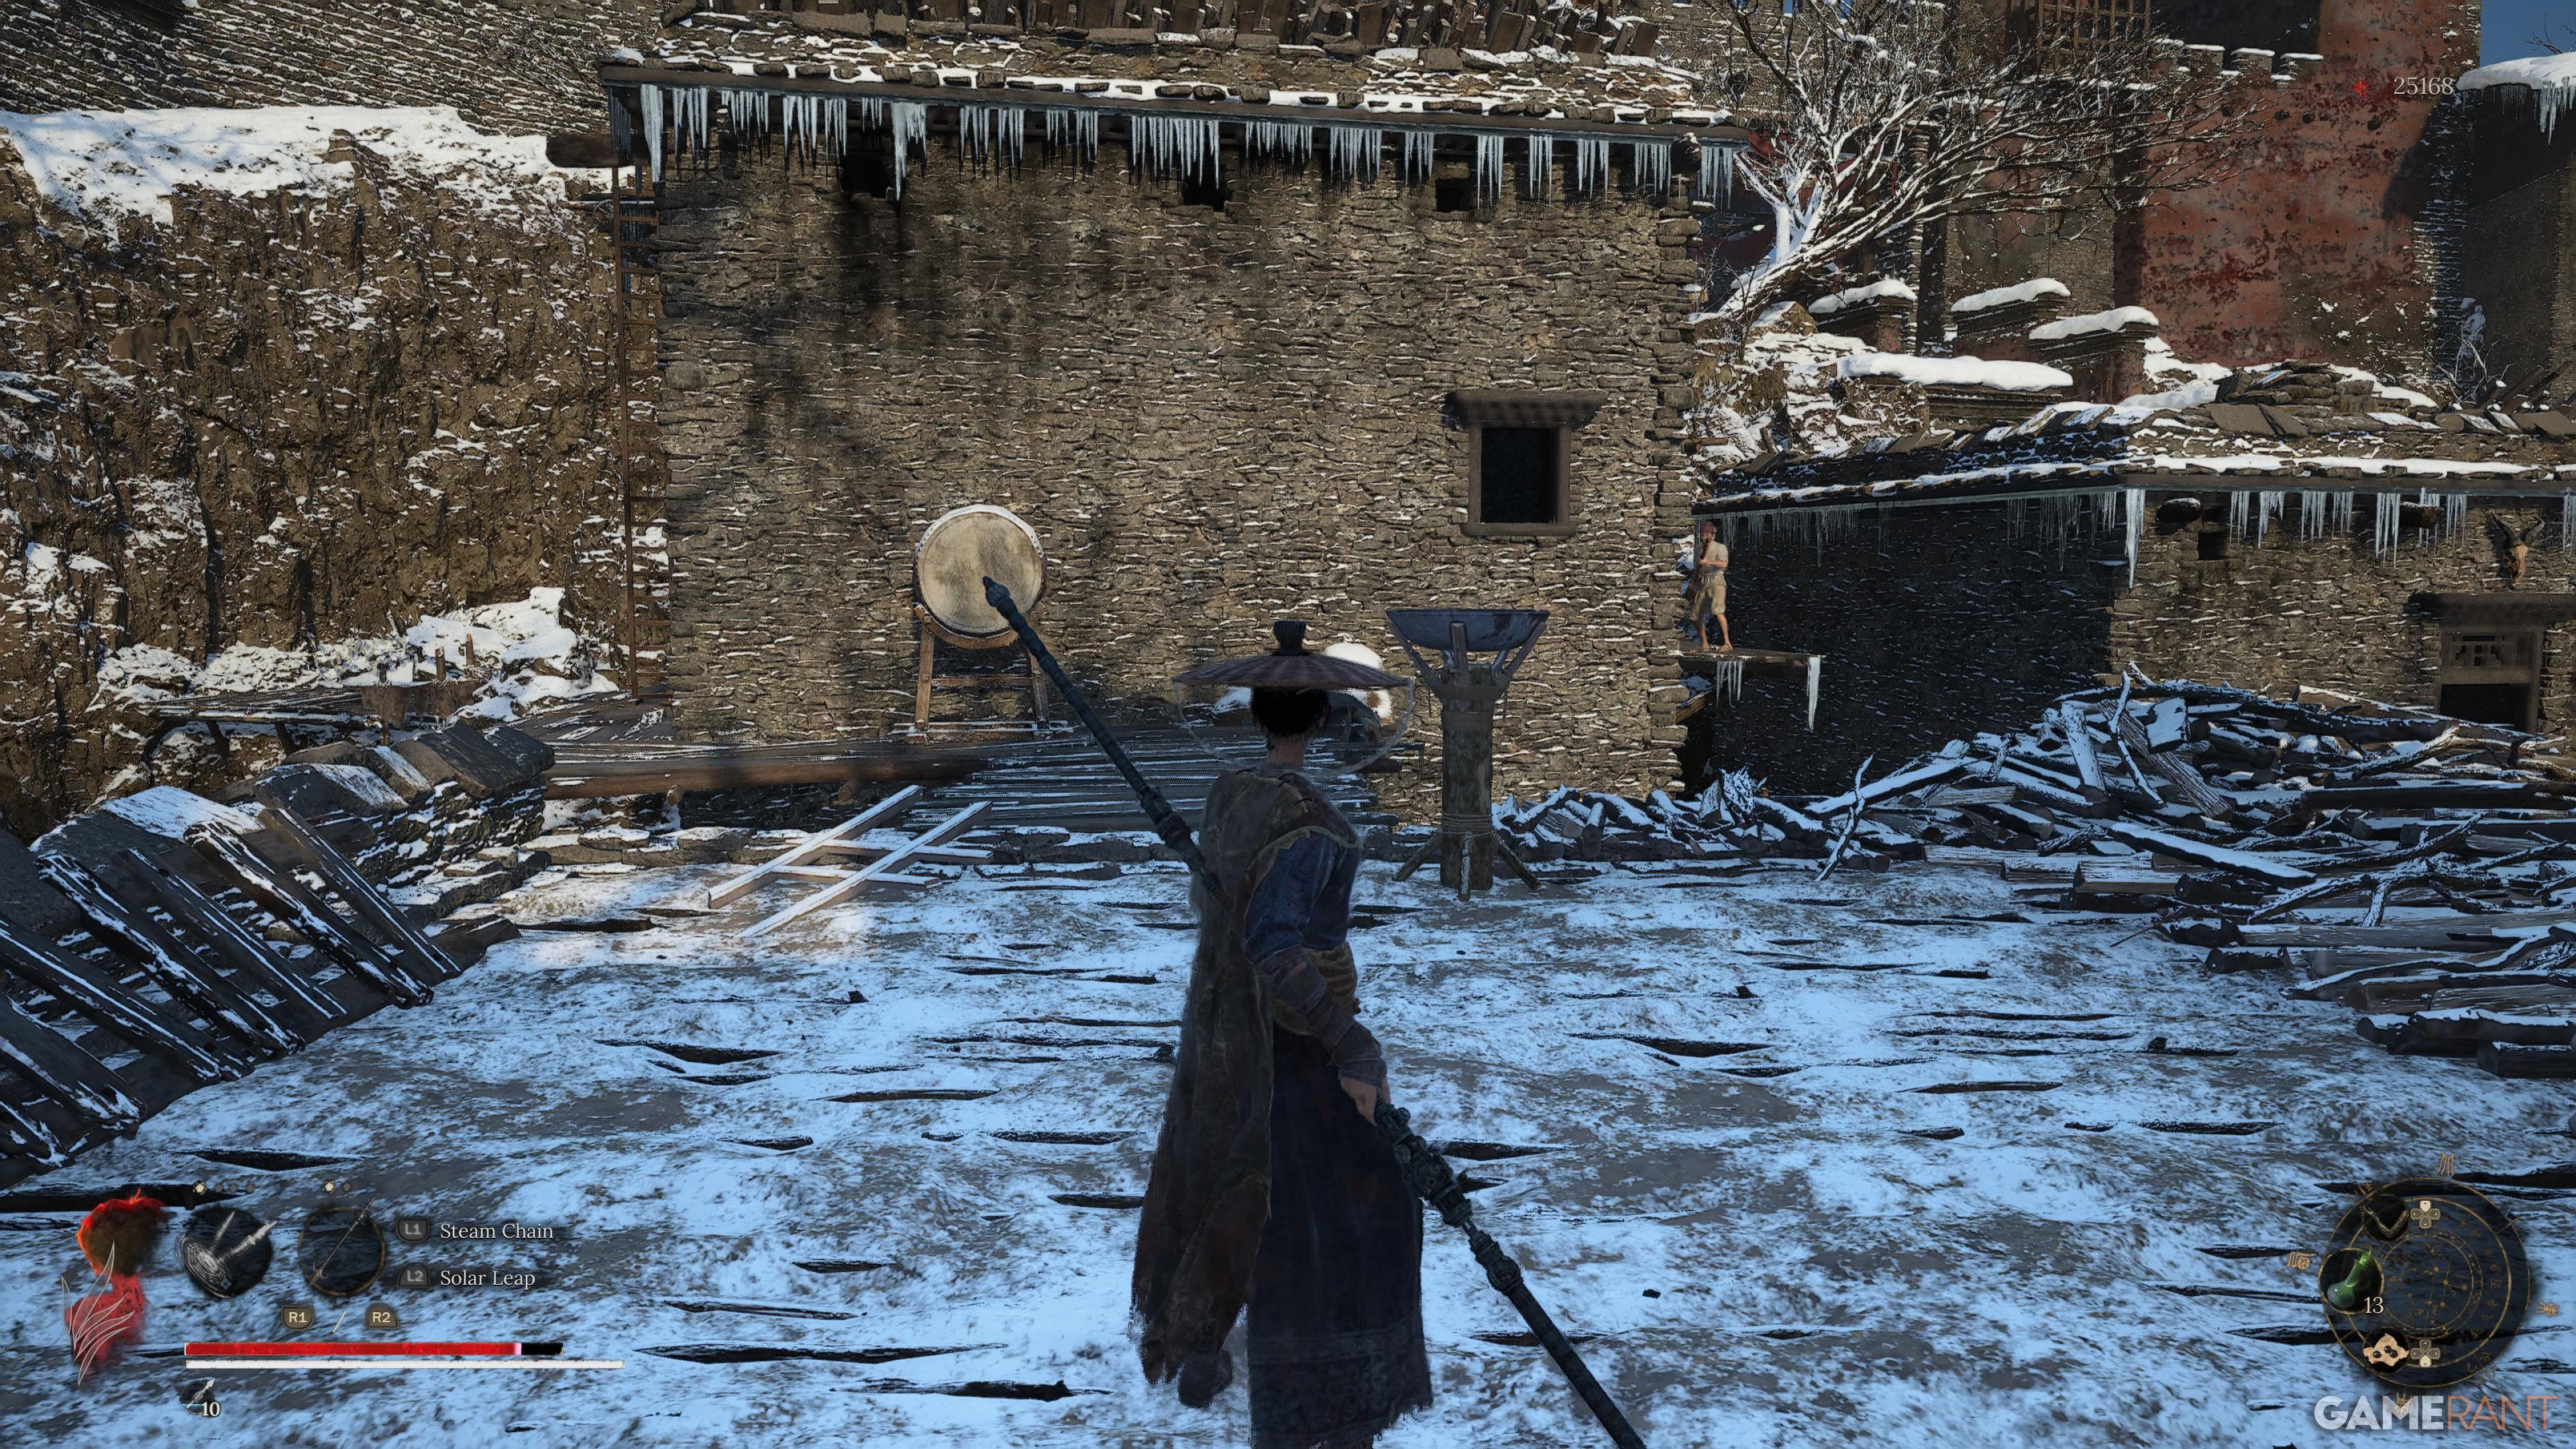
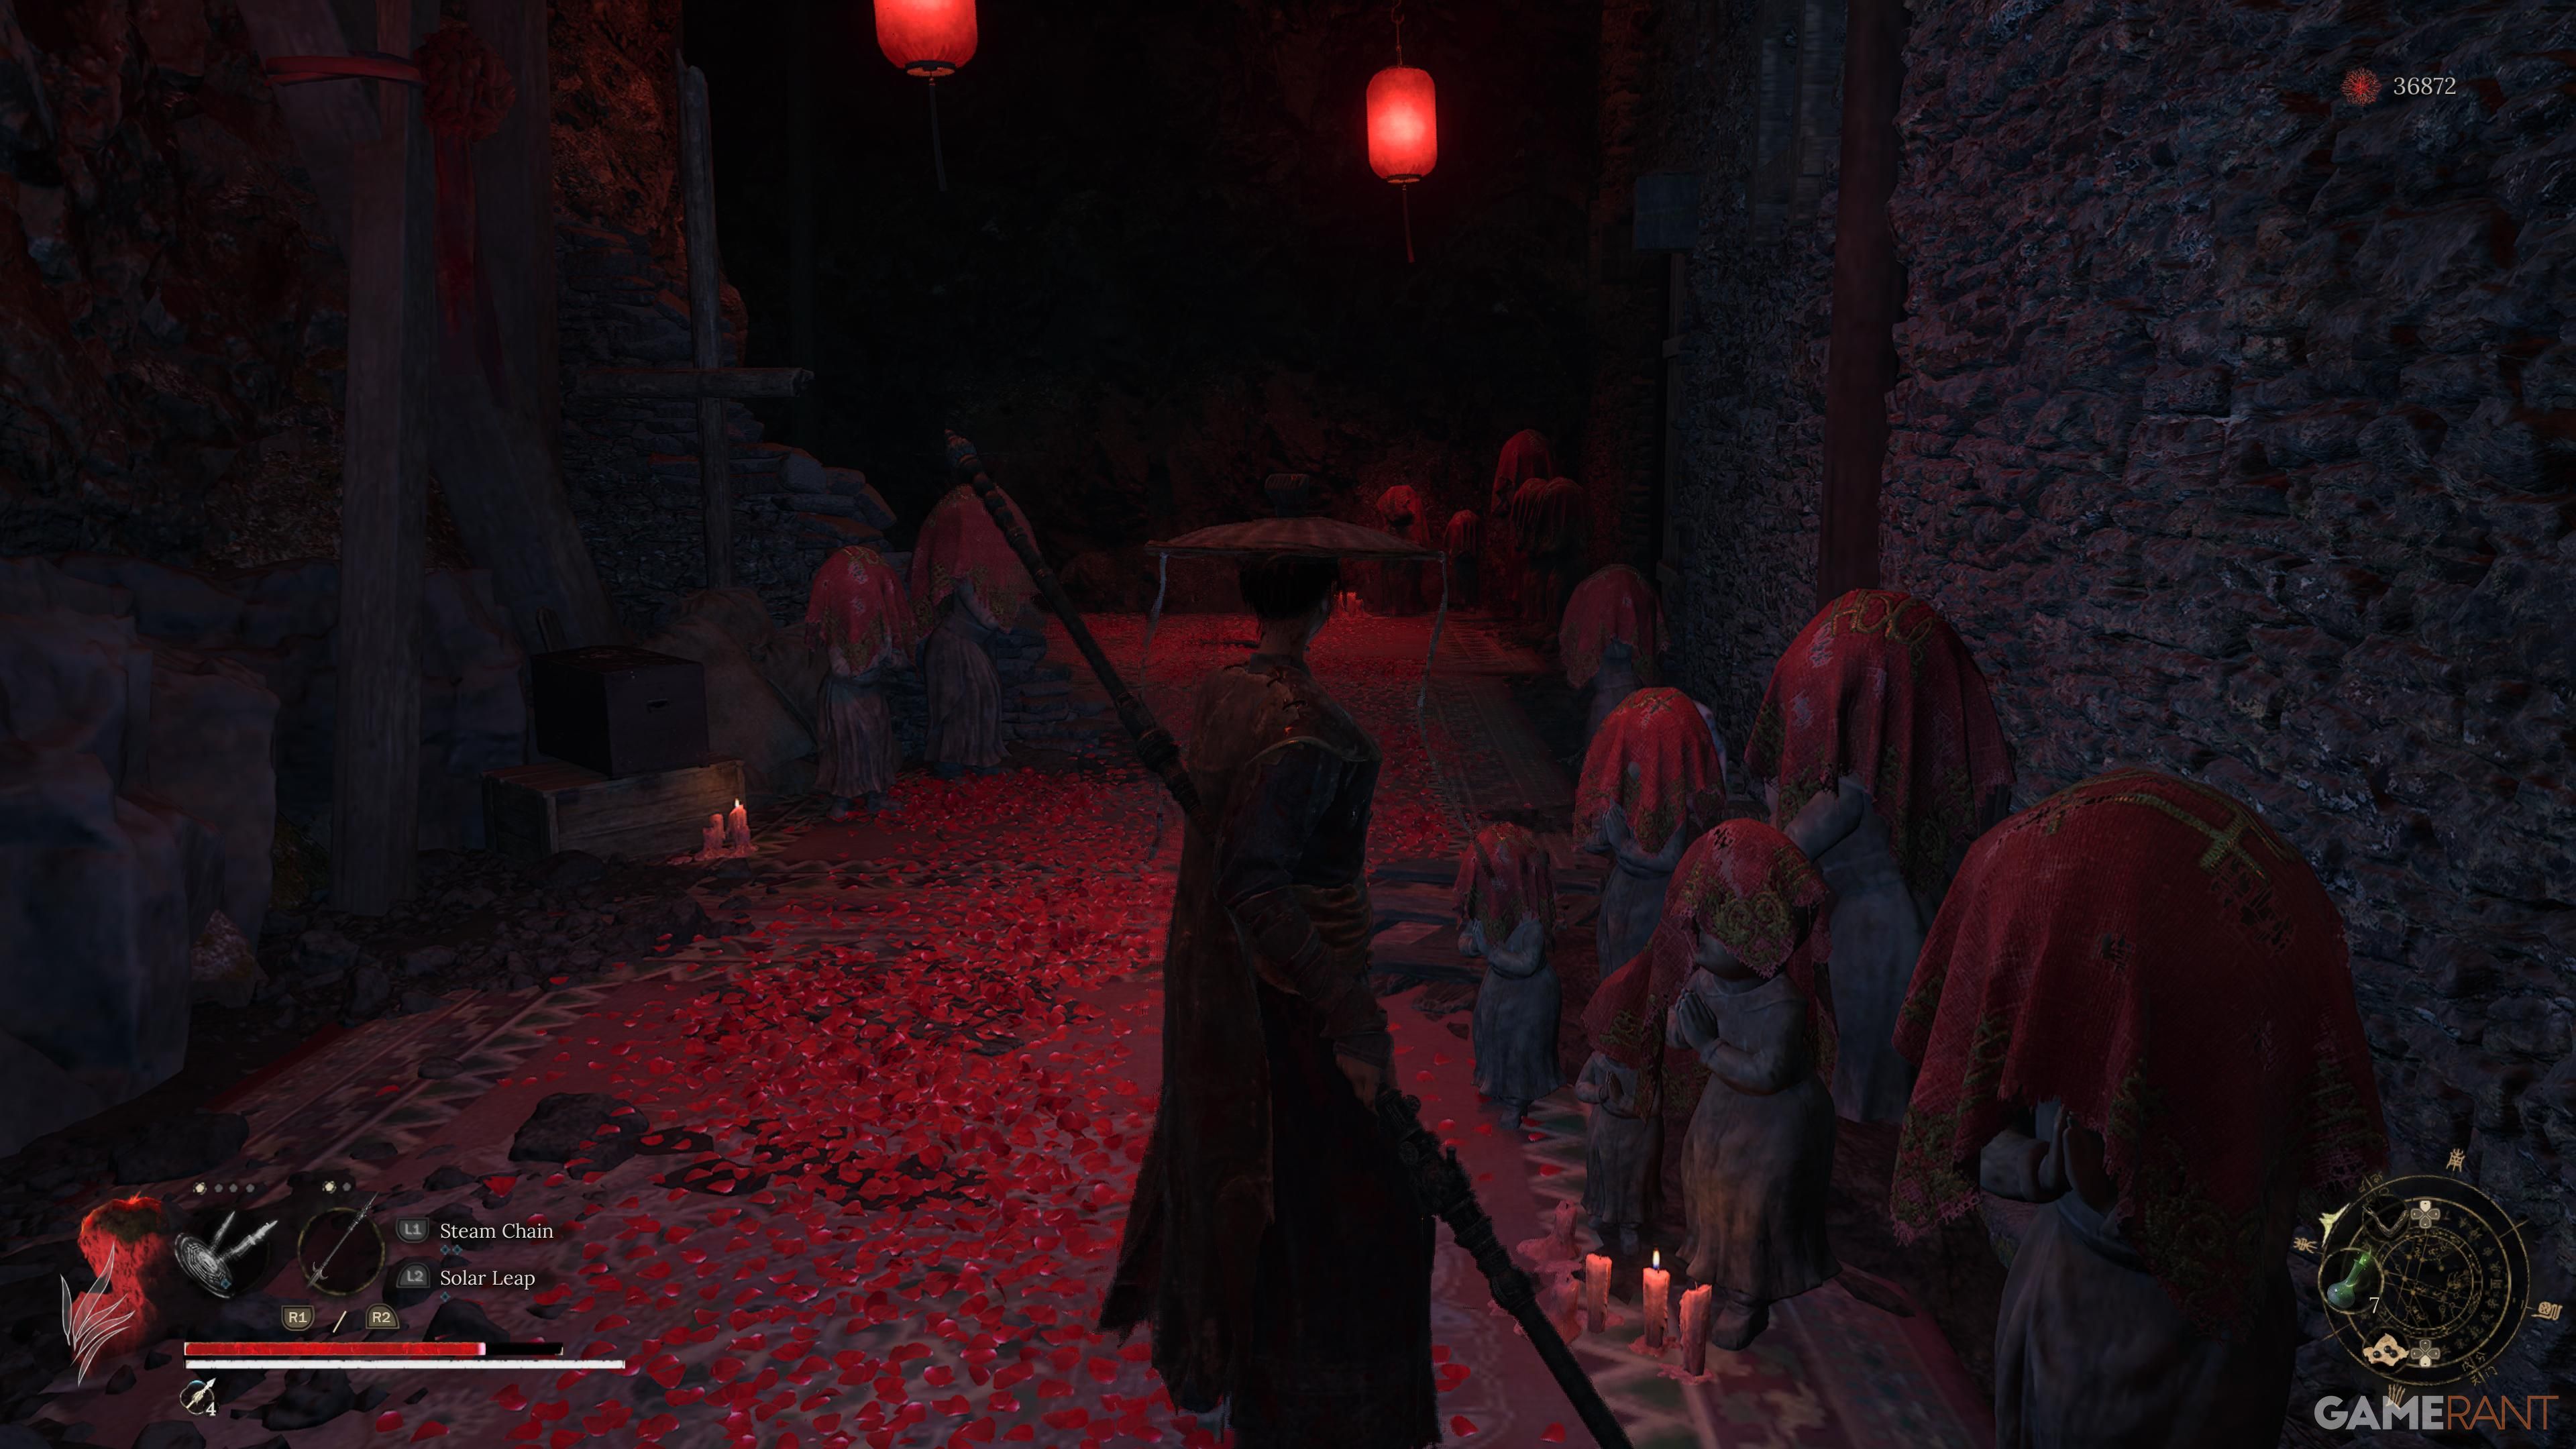
Starting from the shrine outside Cloudspire, rotate around and walk through the wooden entrance. Take a right when you see an archer firing explosive arrows above. Proceed up the path on your right, then enter the house on your left with the ladder. Ascend the ladder and move forward, disregarding the enemies spawning from a square mechanism in the center of the area. Continue to the right, turning left when you encounter three non-hostile characters. This will lead you into the Rebel Camp. To handle the enemies using the cannon, proceed towards them and eliminate them. Beyond these adversaries is a ladder that ascends to the Rebel Camp shrine.
Snowpeak Pass
Retrieve the Rebel Camp Key from the enemy guarding close to the sanctuary, then descend the ladder that follows. Proceed along the path on the left which ends at a wooden barricade. Open this barricade to engage in a battle with the initial boss of this region, and upon victory, return to the sanctuary by re-tracing your steps.
As you move forward, take the path on your right. When you meet a dog, veer left instead. You’ll notice paths on both sides, but neither is necessary for your journey—stick to the straight path to reach the wooden bridge. After that, pass through the gateway to confront the second boss of this region. Overcoming him will grant you access to the Snowpeak Pass shrine.
Cloudspire City

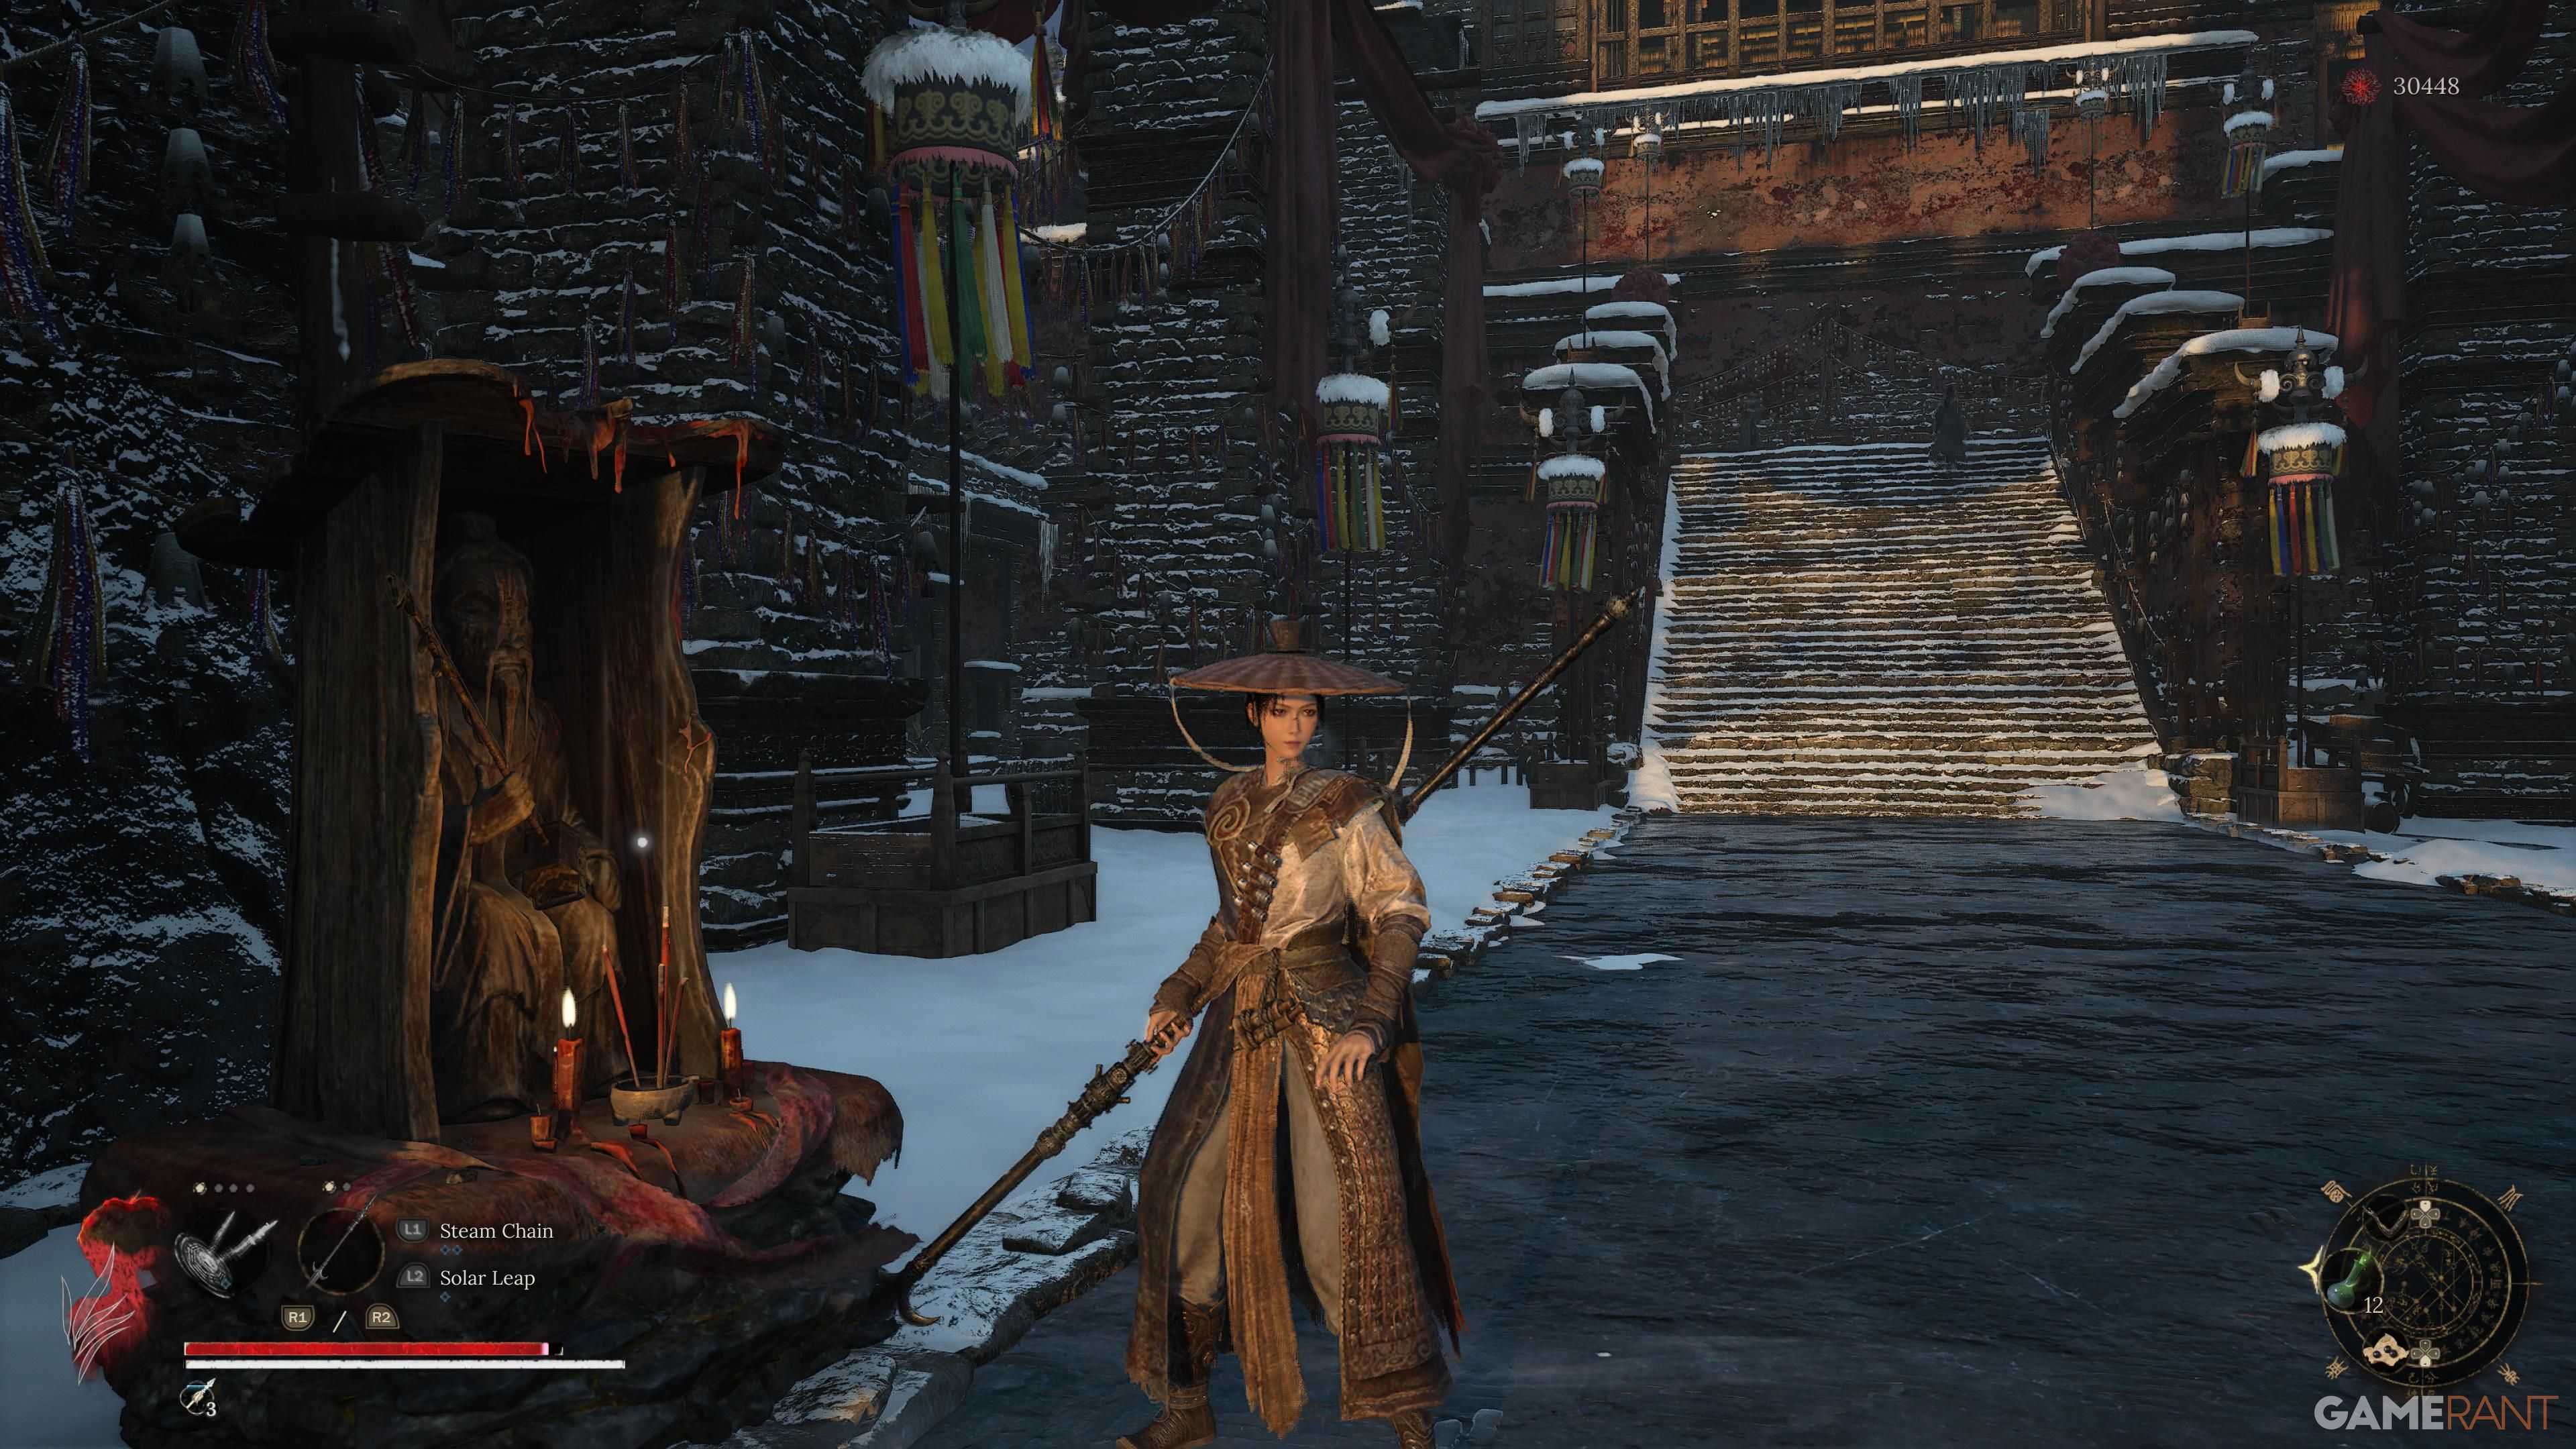
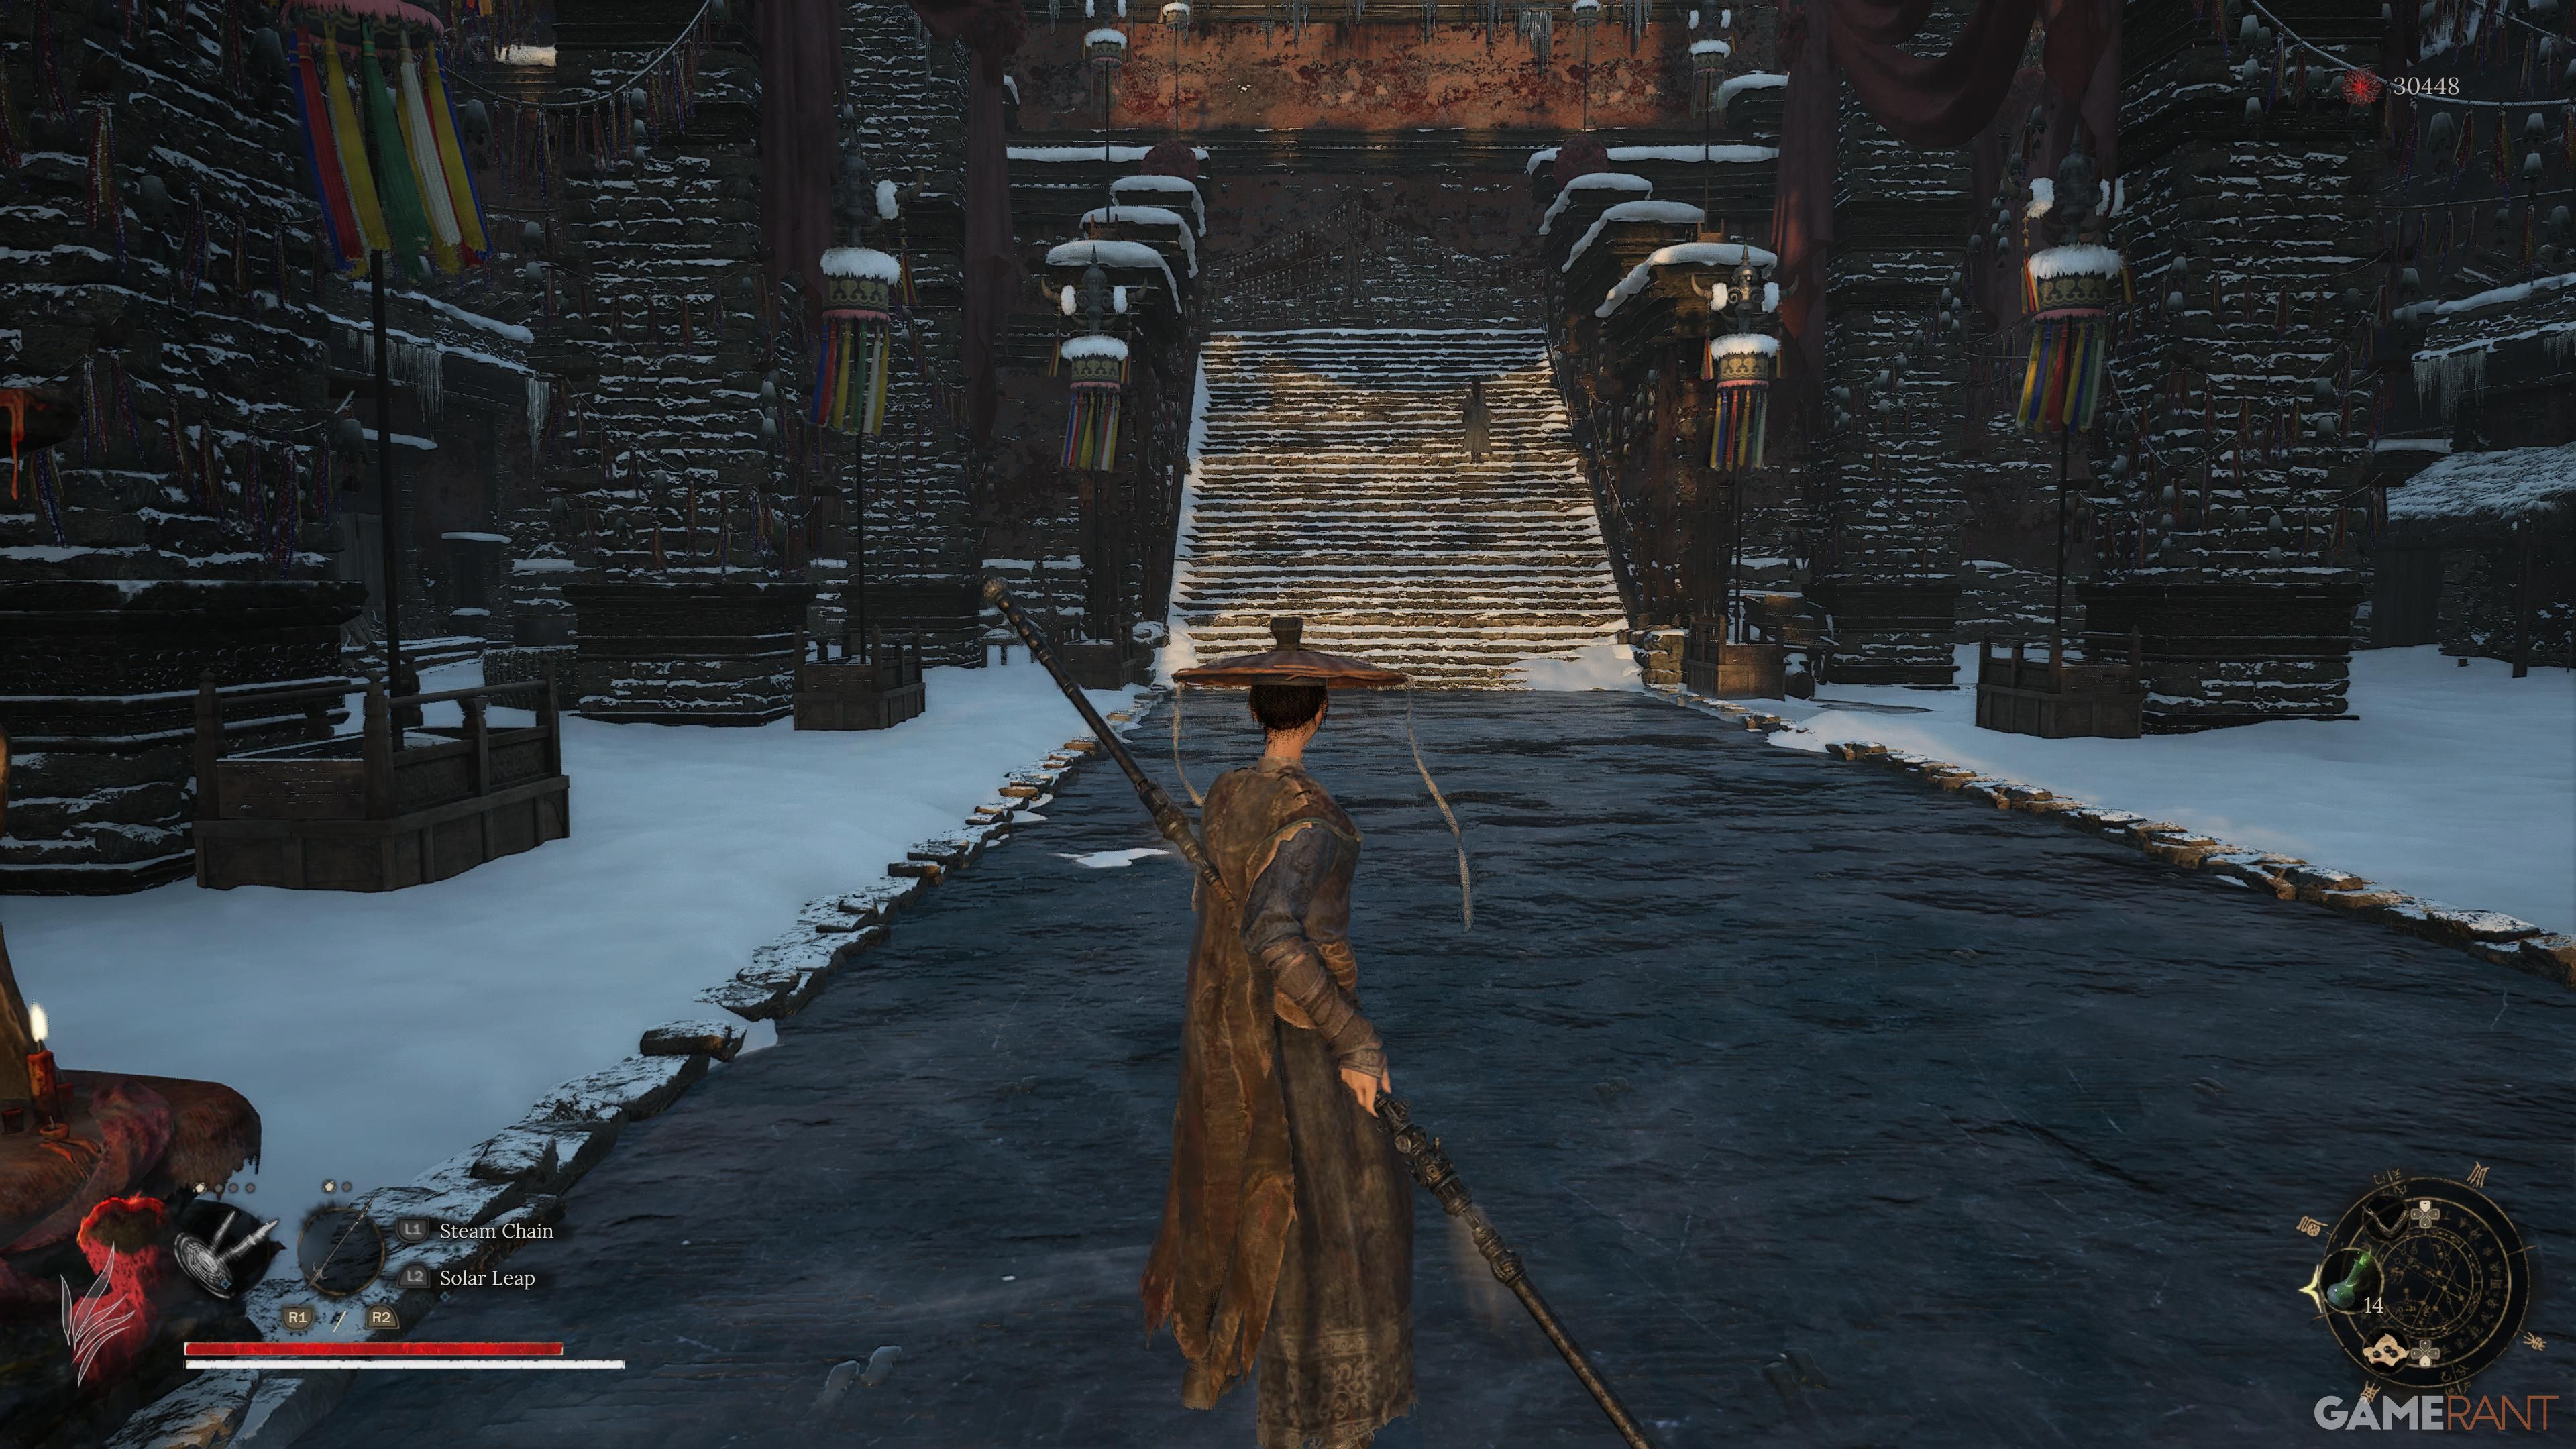
Starting from the former sanctuary, proceed directly over the wooden bridge. You’ll notice a spacious region with another square spawn block situated centrally. To your left, there’s an open doorway that you can pass through. Follow the path to reach a building featuring a staircase ascending to another structure. There’s only one route available here, and eventually, you will arrive at Cloudspire City. Keep moving forward, and the shrine in this vicinity will come into view.
Snowfall Palace

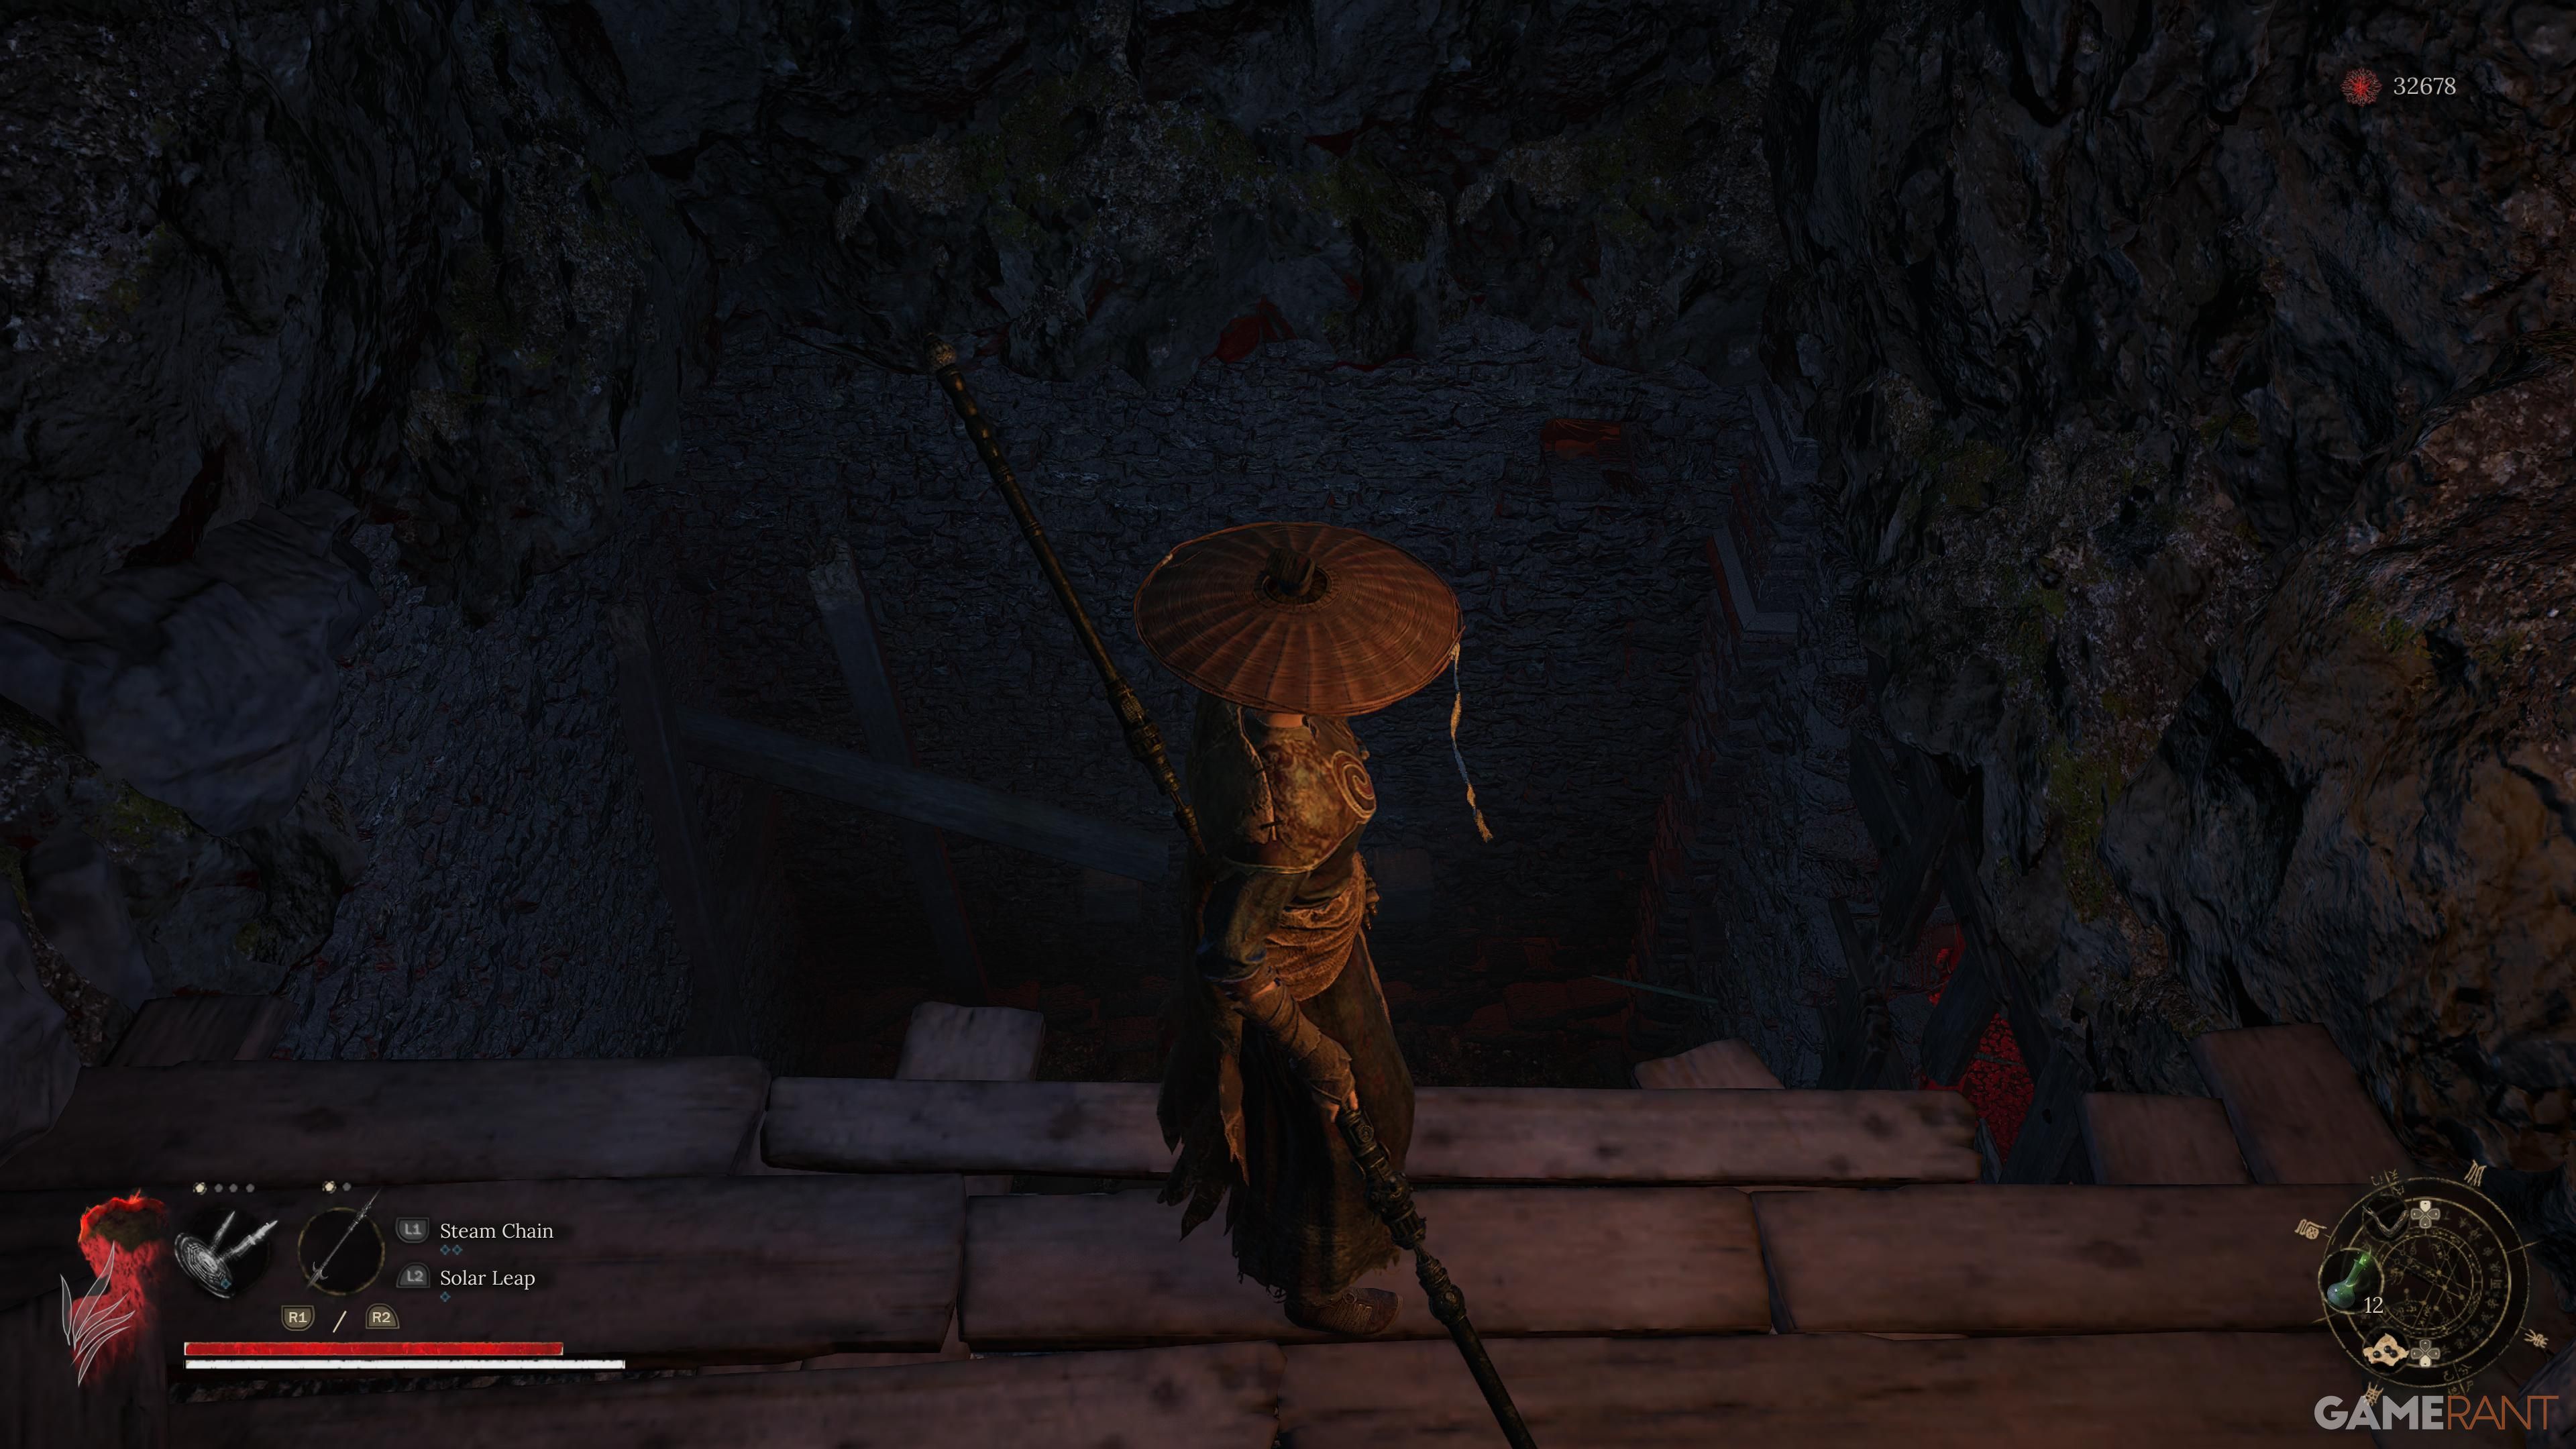
First, walk backwards towards the second door on your right that’s accessible, then proceed upstairs. Later, move to the next structure and make your way all the way down to locate a pathway on the left side and a door on the right. Pass through the left pathway and continue straight until you encounter a ladder. Ascend the ladder, find another one nearby, but instead of ascending further, proceed straight and descend from it.
Within the cave, you’ll find two paths ahead. Disregard the one on your right which leads downwards, instead opt for the path to your left where you’ll discover a ladder. Ascend the ladder, then make your way up the staircase that follows. Upon exiting the building, look to your left if Wuchang falls in battle and you need to return. Proceed straight on this occasion, descend the next staircase that appears, handle the enemies you encounter there, and climb the stairs that follow.
You can ignore the enemies if you want, but try to take out the dogs so they don’t follow you.
Head through the door on the left, go up the staircase, and climb the ladder.
Follow the path as it takes you down onto wooden platforms, taking care not to fall through the gaps below. Lower the ladder here if needed, then veer right to enter the building. Continue until you’re knee-deep in snow and look for a shrine on your right – that’s the Snowfall Palace.
Treasure Trove
Instead of taking the stairs ahead, go through the area on your right to come across a door you can open. This will lead you to an elevator that takes you down to the third boss arena. Once you’ve defeated the boss, make sure to interact with the “Treasure Trove” shrine located within the arena.
Shaft Entrance
Head directly towards the elevator from the “Treasure Trove” sanctuary, then ride it down to discover the shrine located just ahead.
Bride’s Boudoir
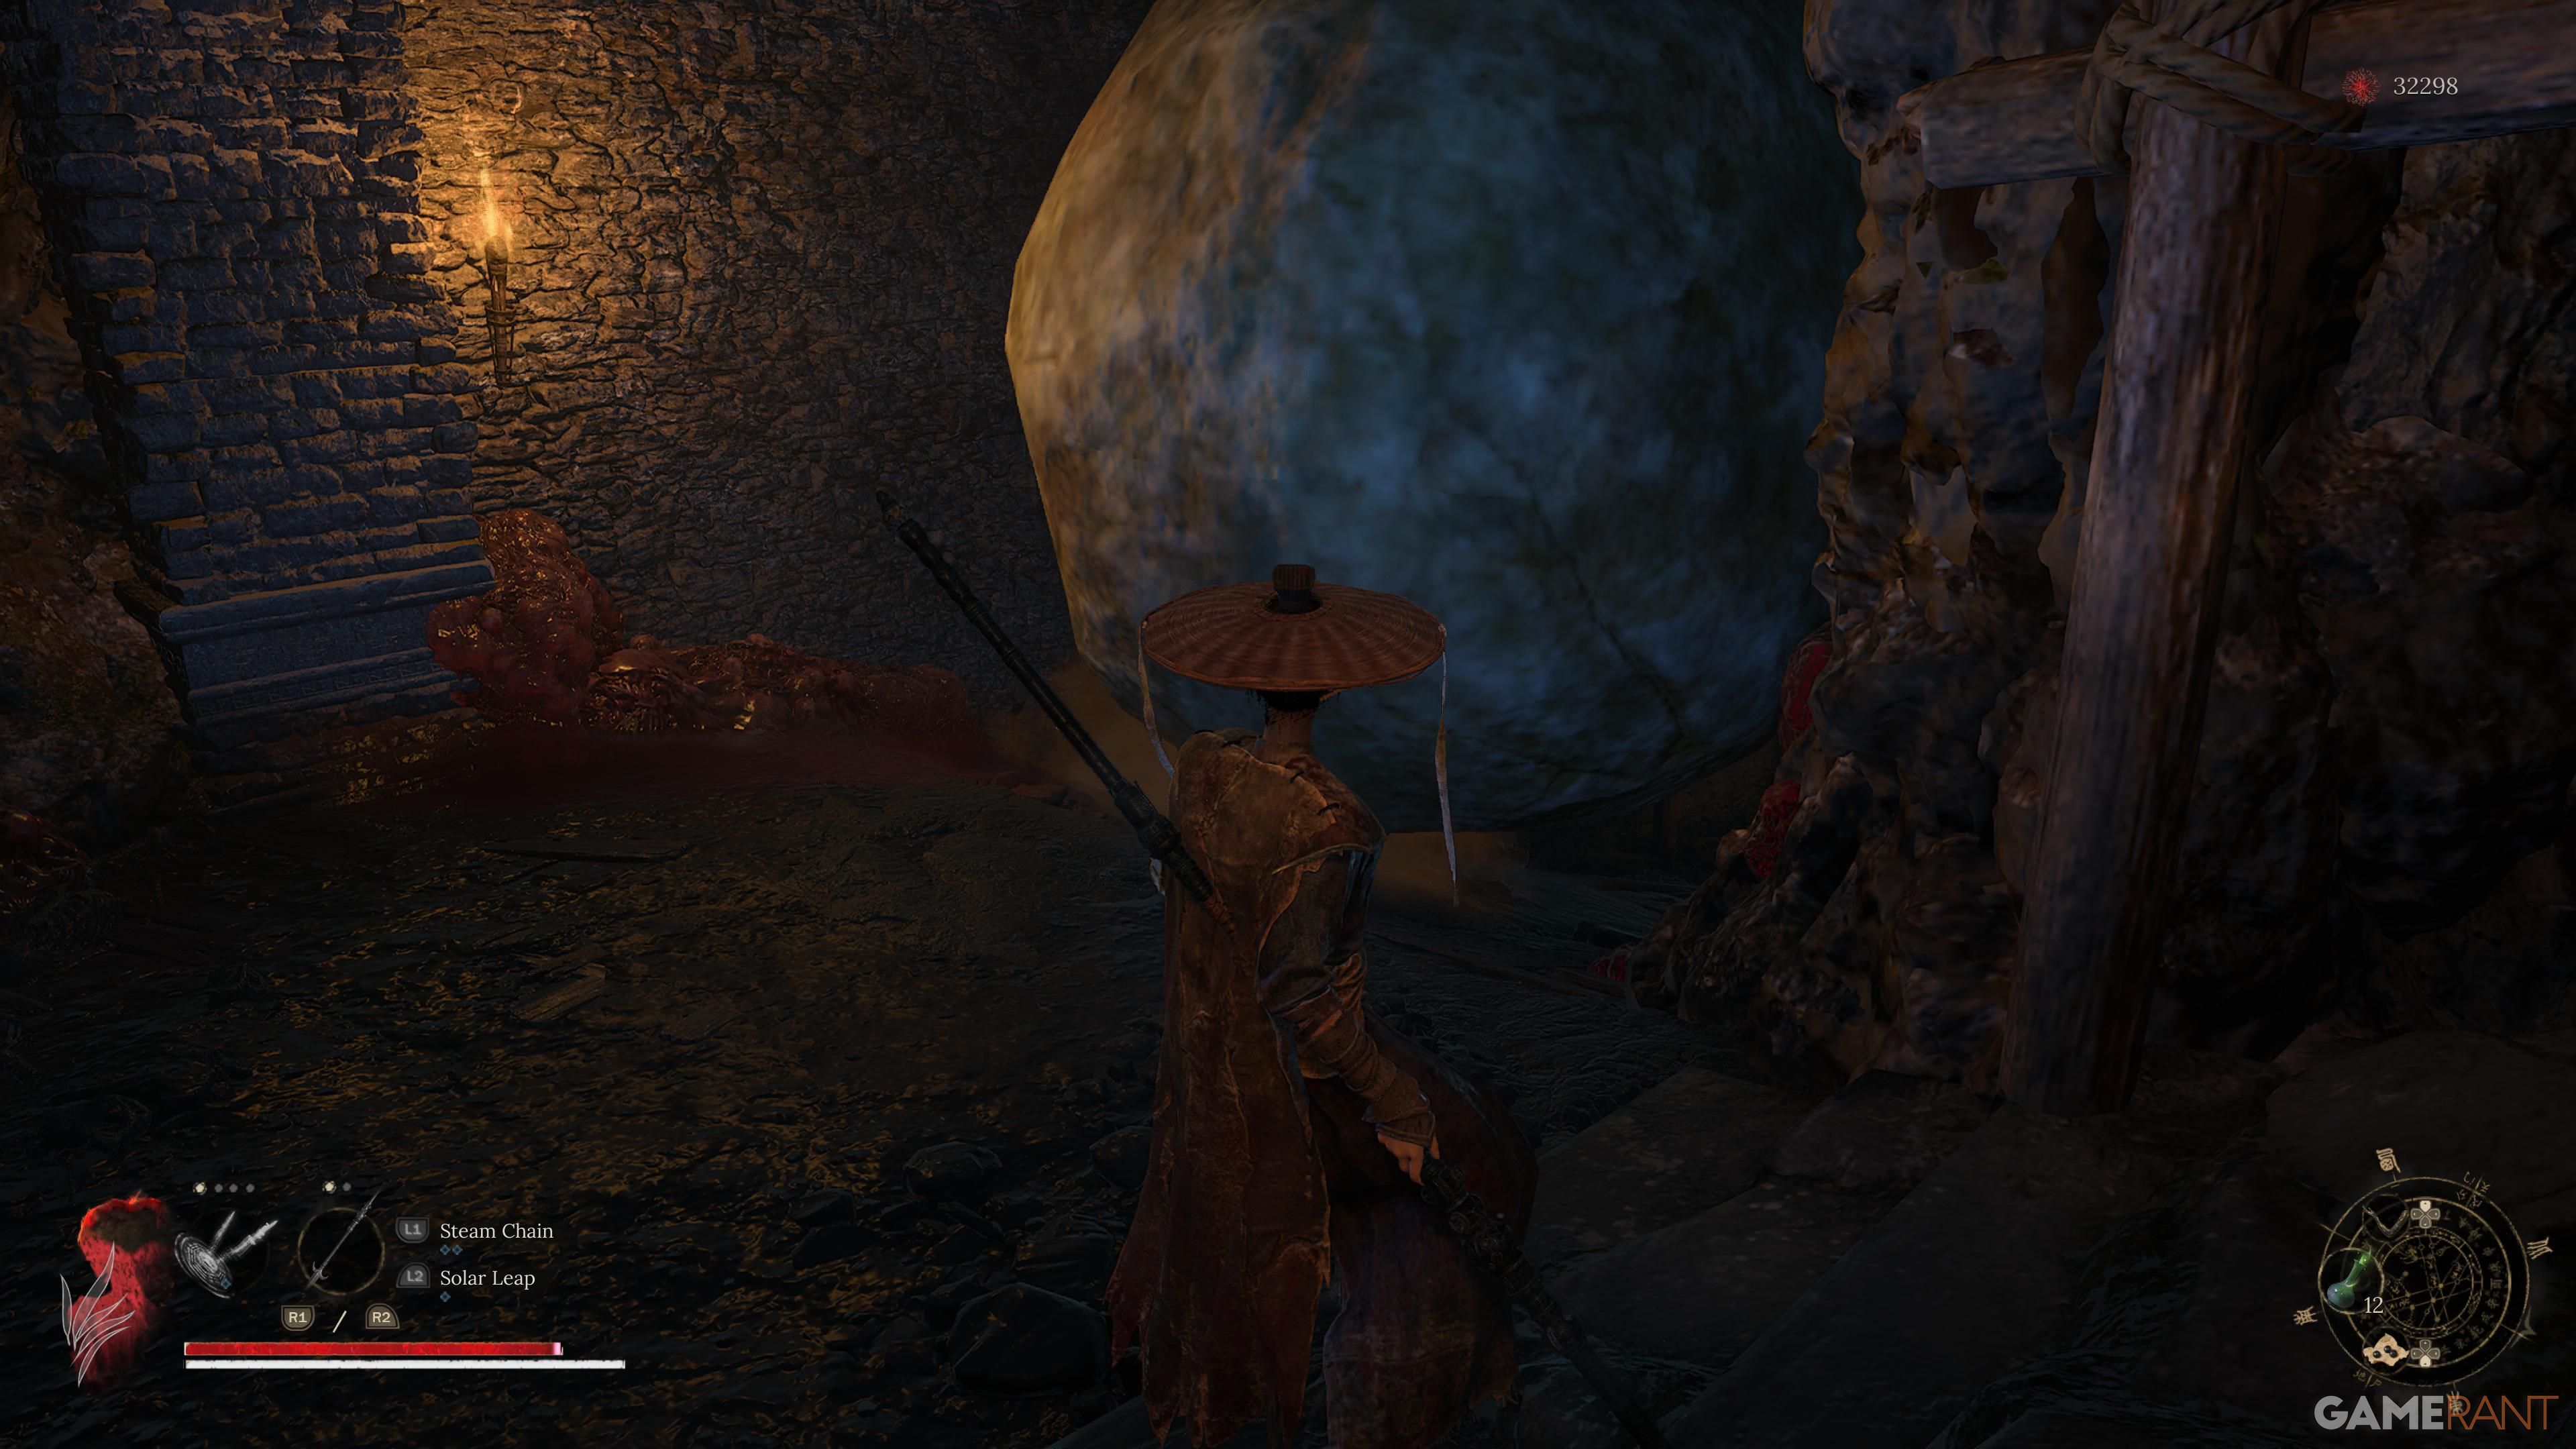
Proceed directly, veer left to bypass the Pendulum Hammers, continue on the path until you encounter a big jailor enemy. Handle them cautiously as they can deplete about half of your health with one strike and cause Poise Break too. Carry on moving downhill, and when you notice two boulders dropping, come to a halt. Only two boulders will fall, making it safe for you to continue along the path after that.

If you’re interested in delving deeper into the region, you might consider going down and taking a left turn. However, if you prefer a simpler route to the shrine, continue straight ahead towards the spot where the boulders fell. This path will lead you to a room with a big treasure chest holding an artifact known as Forgotten Remembrance, and a door that can be opened. Upon exiting this room, the main path lies on your left; however, veer right instead for additional Pendulum Hammers and the Bride’s Boudoir shrine, which is located just beyond them.
Wedding Hall

Move backwards past the hammers and confront the assassin enemy and the jailor. Continue along the main path and you’ll come across a bridge directly ahead and an elevator to your right. This elevator returns you to the Shaft Entrance Shrine. It’s advisable to use the elevator just once, as stepping on the bridge will initiate an encounter with the boss of this region. After overcoming the boss, interact with the final shrine in this area, named the Wedding Hall.
Read More
- Gold Rate Forecast
- Invincible Season 4 Gender Swaps Tech Jacket As Fans Question Major Comic Change
- Silver Rate Forecast
- 22 Films Where the White Protagonist Is Canonically the Sidekick to a Black Lead
- 14 Movies Where the Black Character Refuses to Save the White Protagonist
- Unveiling the Schwab U.S. Dividend Equity ETF: A Portent of Financial Growth
- How to Do Sculptor Without a Future in KCD2 – Get 3 Sculptor’s Things
- Superman Flops Financially: $350M Budget, Still No Profit (Scoop Confirmed)
- ONE PIECE Season 2 Confirms Sanji’s OTHER Backstory in the Live-Action
- Why Won’t It Just *Do* What You Ask? Unpacking the Quirks of AI Language
2025-07-25 10:07