Currently, the Nintendo Switch 2 has been rolled out in numerous countries globally, and countless gamers are eagerly accessing their fresh, high-end hybrid system for the very first time. While a multitude of games are offered at its launch, prior to diving into any of these titles, it’s essential to configure your console first.
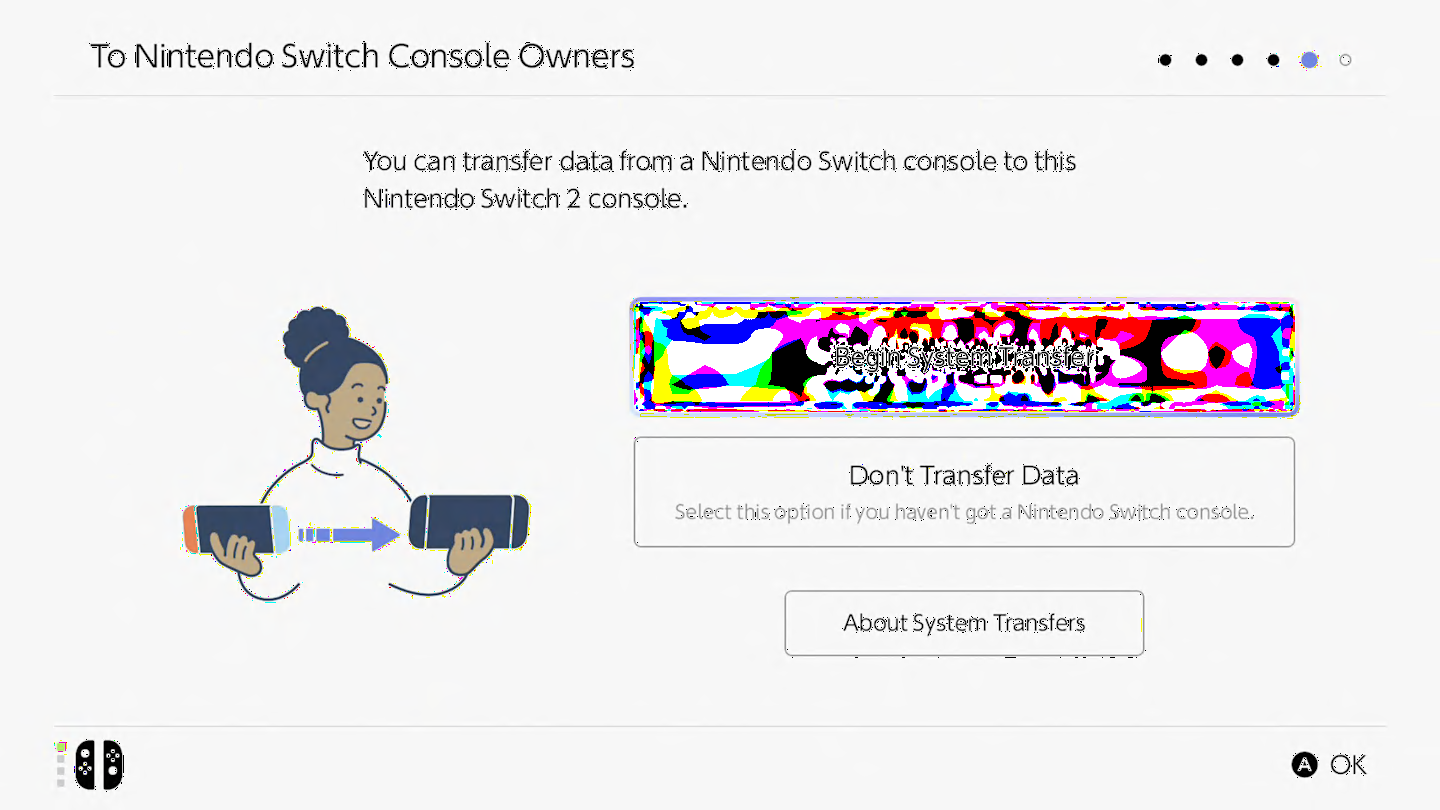
If you’re moving from a Nintendo Switch console, there are two distinct methods for shifting your accounts and content over to the new Nintendo Switch 2: server transfers or local transfers. Each method offers its own advantages and disadvantages, and it’s worth considering whether to bypass both options and start fresh on the new console as well, which also comes with its own set of benefits and limitations.
As a dedicated gamer, I’ve dived deep into every configuration setting on the Switch 2 to craft a thorough walkthrough covering every data transfer method available on this console. Here, you’ll find not just the how-tos, but also the advantages and disadvantages for each approach.
Nintendo Switch 2: Server system transfer details
On Switch 2, the server transfer feature offers the most extensive option, but it’s also irreversible. This action will permanently store all your accounts, game licenses, save files, screenshots, and videos from your current Switch in the cloud. Once you set up Switch 2, you can download everything in a single step directly from the cloud.
Transferring data to a server is beneficial when exchanging your Nintendo Switch for a potential Switch 2, as it securely preserves all necessary data in the cloud, accessible within a year. The process also resets the Switch to its original factory settings following the transfer of your data, an aspect that could be viewed as advantageous or disadvantageous depending on perspective. On one hand, the device is now ready for immediate use, but on the other, you’ll need to reconfigure it if you wish to continue using it.
This process might require some time due to factors like your internet speed, the number of user accounts saved on the console, the amount of save files, and the quantity of screenshots and videos stored. Once initiated, it’s an all-or-nothing operation; either everything gets uploaded successfully, or nothing does at all.
If you’re planning to continue using your current Switch together with a new Switch 2, it’s best to avoid the server system transfer.
Nintendo Switch 2: Local system transfer details
Transferring data wirelessly between your Nintendo Switch and Nintendo Switch 2 is effortless! As you might guess from the name, this feature allows you to move everything over using local wireless connection. This includes your accounts, game progress, screenshots, videos, and more, all neatly transferred to your new Switch 2. But hold on to your old Switch, because it keeps a copy of everything too!
In some instances, certain games like Pokémon, Animal Crossing: New Horizons, and demo versions won’t leave their saved progress on the original Nintendo Switch when you upgrade. Instead, the saves will be moved to the new Nintendo Switch 2 and subsequently erased from the old one. All other games should retain their save data during this transition.
This choice is ideal for individuals who wish to carry on using their Nintendo Switch, even after upgrading to the Switch 2. Since some games may not be fully compatible with the Switch 2 at present, this could be a beneficial option for those unwilling to trade in their current Switch, as it enables you to keep playing incompatible games on your original device until updates become available for the Switch 2.
When moving screenshots and videos, this method offers an intriguing step – instead of wirelessly sending them, you simply remove the SD card from your Nintendo Switch and insert it into your new Nintendo Switch 2. The files will then be transferred automatically through the SD card slot, making the entire process quicker compared to server transfers. This could be more advantageous than server transfer even if you don’t plan on using your original Switch extensively afterwards.
Nintendo Switch 2: Fresh setup details
As a gamer, I could opt for the straightforward choice: setting up the Switch 2 as a pristine, never-before-used console. I can log into my Nintendo Account and reap the benefits of all the digital games I’ve purchased, but it’s essential to remember that doing so will consume one of my two systems eligible for Virtual Game Cards access.
This method offers an immediate setup advantage over the other two alternatives. Instead of transferring all files at once, you can selectively move individual save files, which might take more time but allows for greater flexibility as you only transfer what’s necessary, rather than everything simultaneously.
The issue here is that moving your Animal Crossing progress won’t be straightforward. Instead, you’ll need to obtain the Animal Crossing: New Horizons Island Transfer Tool for both your Nintendo Switch and its potential successor, Nintendo Switch 2. After downloading the tool on each device, open it up and perform a separate save transfer process on both consoles. Additionally, keep in mind that saves lacking cloud support require manual transfer, meaning you’ll need to have both consoles available as you can’t simply store your Pokémon Violet progress in the cloud and retrieve it later.
As a gamer without a Switch, I’m left with no choice but to start fresh since there’s nothing to carry over from my previous gaming experiences.
Read More
- Apothecary Diaries Ch.81: Maomao vs Shenmei!
- 30 Best Couple/Wife Swap Movies You Need to See
- Gachiakuta Chapter 139: Rudo And Enjin Team Up Against Mymo—Recap, Release Date, Where To Read And More
- Gold Rate Forecast
- Every Minecraft update ranked from worst to best
- Netflix’s ‘You’ Season 5 Release Update Has Fans Worried
- Mobile MOBA Games Ranked 2025 – Options After the MLBB Ban
- Batman and Deadpool Unite: Epic DC/Marvel Crossover One-Shots Coming Soon!
- Who was Peter Kwong? Learn as Big Trouble in Little China and The Golden Child Actor Dies at 73
- Ncuti Gatwa Exits Doctor Who Amidst Controversy and Ratings Crisis!
2025-06-05 05:16