In Monster Hunter Wilds, the Slinger makes its return, now boasting a significant expansion from its initial appearance in Monster Hunter World. It retains all of its previous features and adds even more, offering an increased range of interaction with the environment and providing continuous ranged options against monsters.
Throughout your gaming experience, the Slinger is consistently by your side, yet its depth isn’t fully explored beyond essential information. There’s much more to this tool than just battling monsters; it serves as a time-efficient solution and enhances your ability to engage with the game environment in diverse ways. Here are all of its capabilities:
1. Navigating Obstacles: The Slinger can be used to swing across gaps or climb walls, making traversal more efficient.
2. Monster Fighting: As expected, it can be employed in combat situations to launch projectiles at enemies.
3. Environmental Interaction: It allows you to interact with certain environmental objects such as breaking through barriers or activating switches.
4. Discovering Hidden Items: The Slinger can also help reveal hidden collectibles or secret areas that might otherwise be missed.
5. Solving Puzzles: In some instances, the Slinger is essential for solving puzzles and progressing through levels.
6. Aid in Exploration: By using the Slinger to explore new areas, you can uncover additional secrets and hidden treasures.
What Can The Slinger Do?

The Slinger possesses a variety of roles, but it essentially falls into three main groups: firstly, attachable pods for combat purposes, secondly, its remote collection capabilities for items, and thirdly, its environmental interaction features. We will delve deeper into each aspect separately.
Firing Pods
As a gamer, I’ve got to say that the essence of the Slinger is undeniably its highlight. It’s equipped with some standard, endless ammo like the Paint Pod and Throwing Knife right off the bat, but it truly unleashes its might when you customize it with various pods. These can be anything from utility tools to pure damage-inflicting items, and they’re as vital in a hunt as any other equipment you might carry.
Pods allow you to attack monsters from a distance with any weapon, and employing an elemental pod against a monster often causes them to stumble temporarily. While they aren’t extremely potent, they can prove helpful in slowing down pursuing monsters.
Damage pods deal even more damage if they hit a monster in an open wound, so aim carefully.
Additionally, we have utility pods too. Flash and Screamer Pods function similarly to Sonic and Flash Bombs, but they provide greater precision when it comes to placement. The Slinger is a unifying tool for all these items, offering a streamlined approach where you can use them effectively without having to be directly in front of the monster and rely solely on your aiming skills.
Gathering At Range
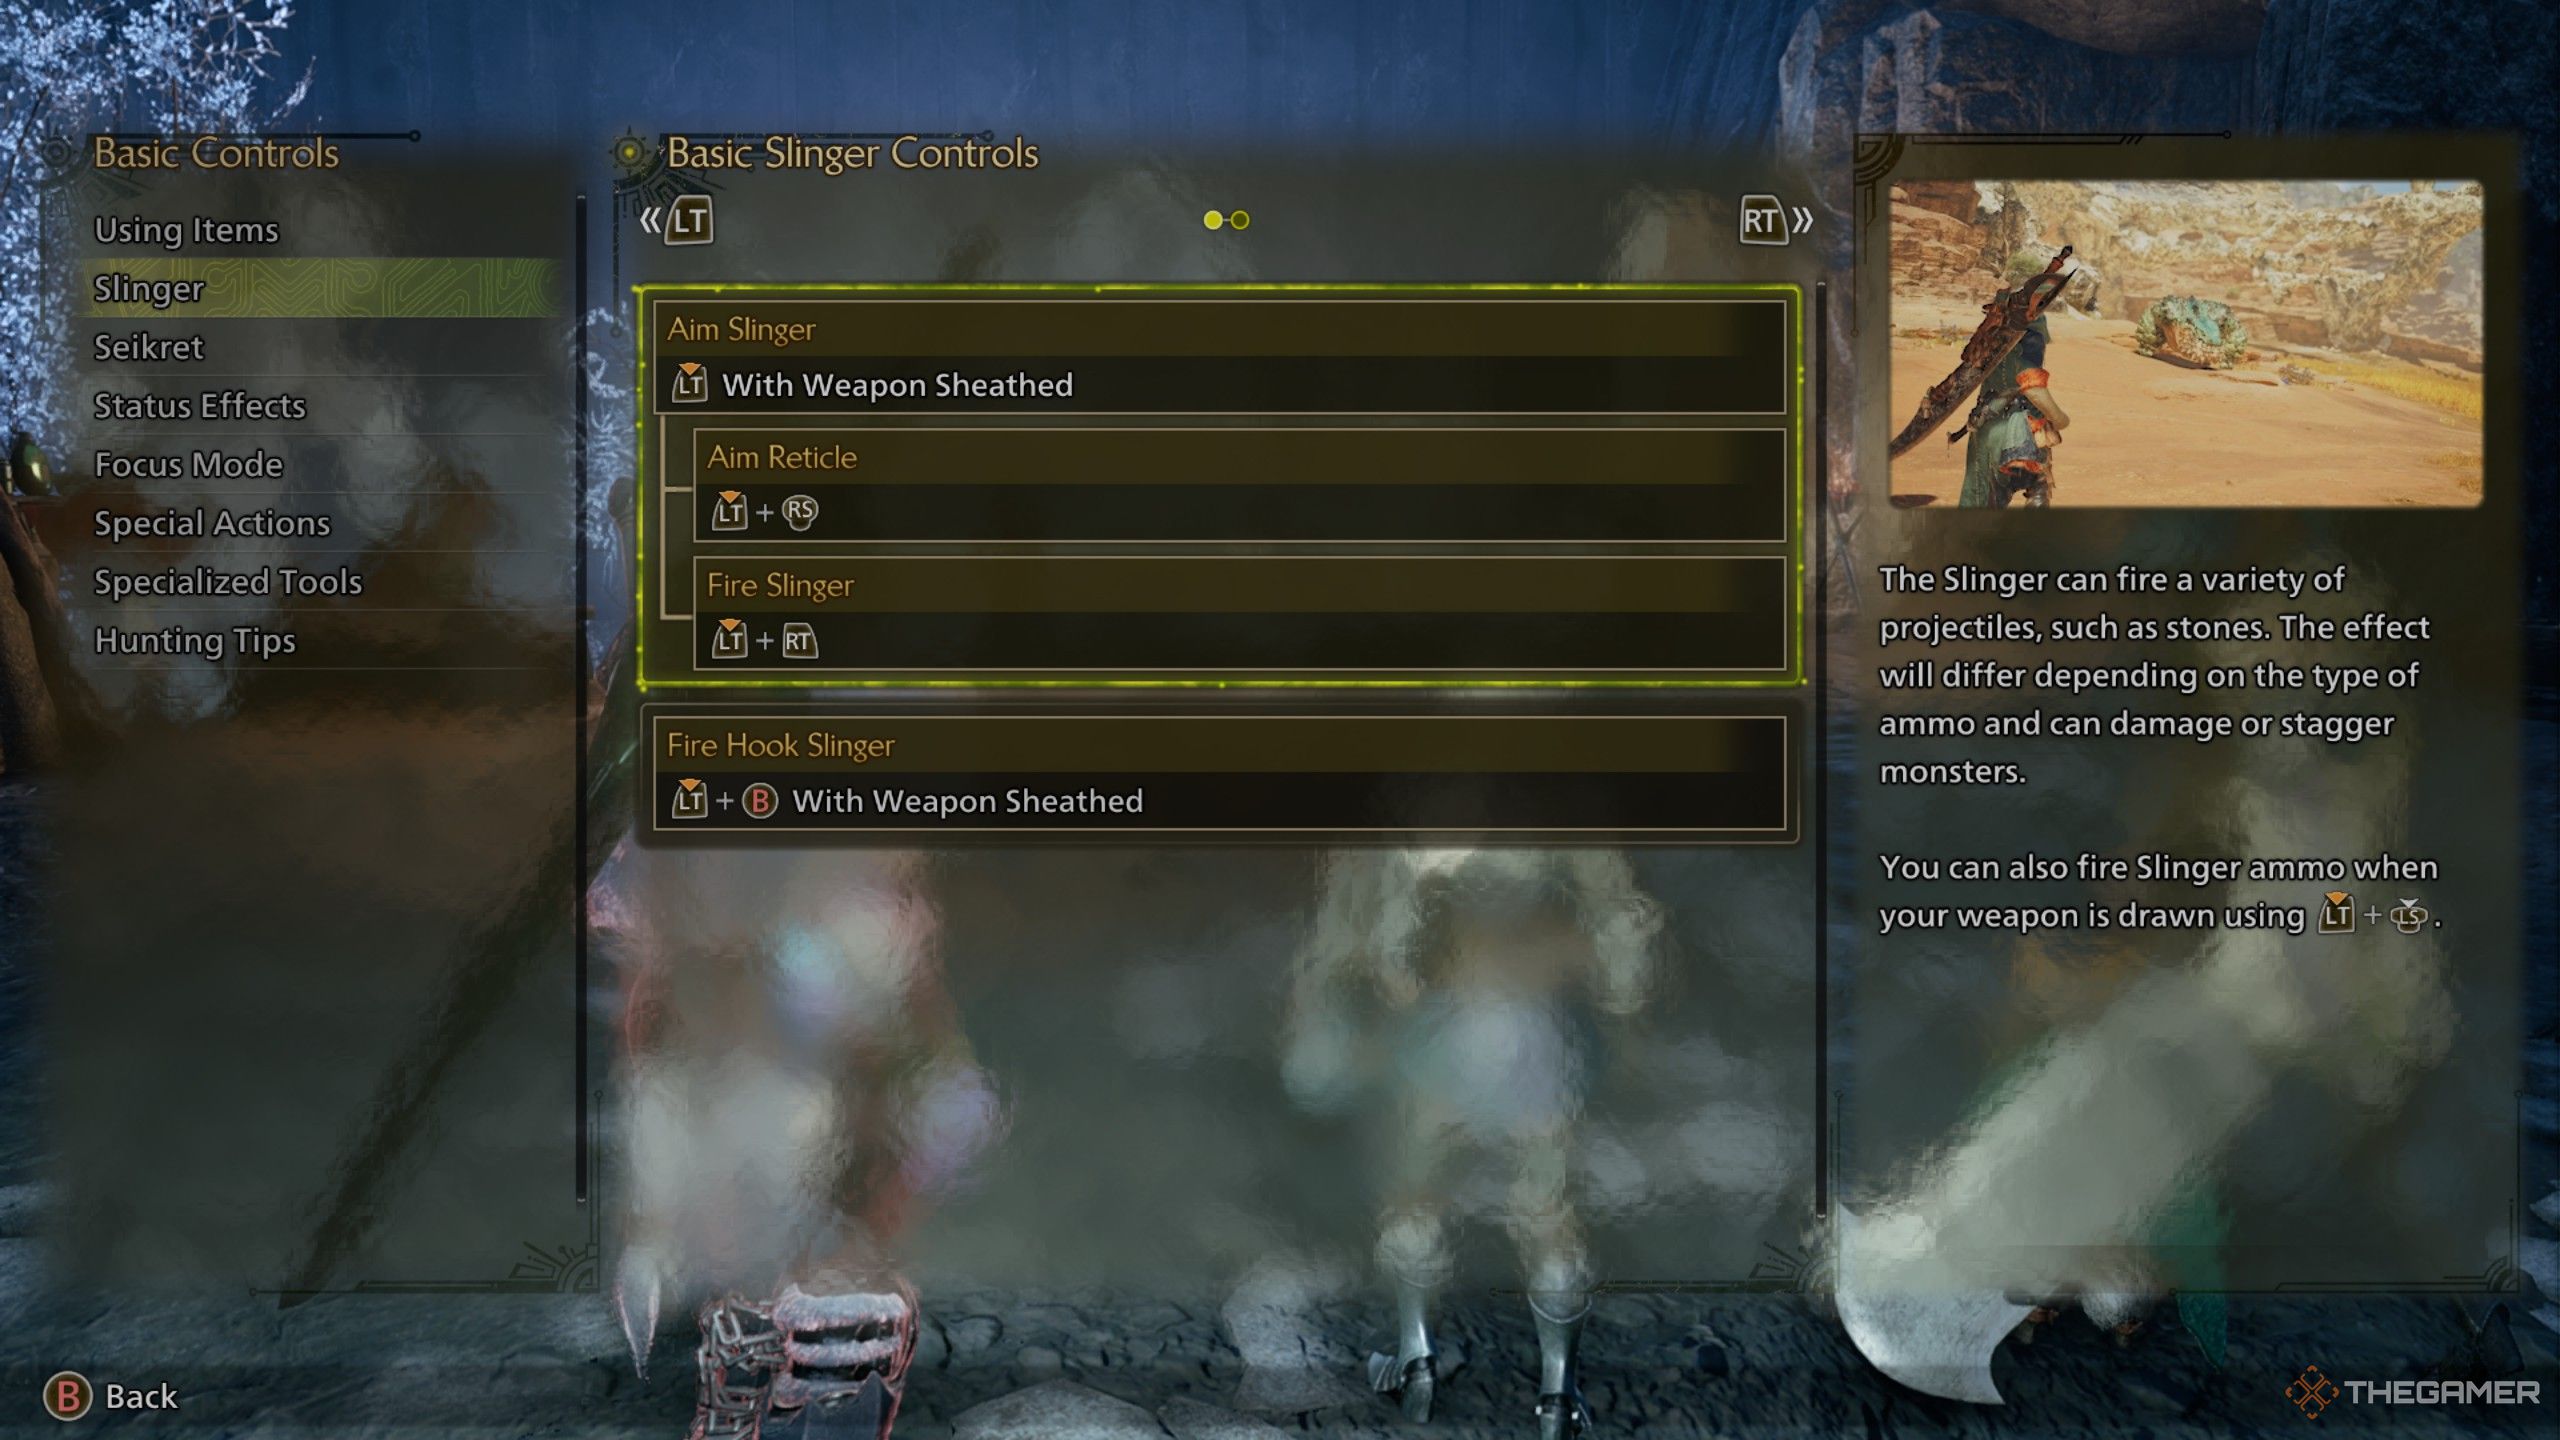
In this relatively straightforward setup, you’ve probably spent the most time interacting with the Slinger. The Wilds is teeming with materials to accumulate, and it’s a rather expansive environment you’re navigating. To facilitate your collection process, you have the ability to snatch items from afar using the Slinger. This is as effortless as focusing on the item by holding LT/L2, followed by pressing B/Circle to grab it.
Items you can utilize get added to your Item Pouch automatically, while those that cannot be used are moved to the Field Pouch. Additionally, remember to explore carefully as there are several items that can only be accessed with the Slinger and might otherwise be out of reach.
As a dedicated enthusiast, I’ve noticed that certain elements, like Mining Outcrops, still necessitate a close approach to gather their resources.
Environmental Interactions
What makes the Slinger truly remarkable is its unique talent for altering the surroundings, especially in the vast, trap-filled landscapes of Wilds. It’s this aspect that the Slinger truly shines.
Across the globe, there’s a diverse array of perils, including rocks precariously balanced and vines concealed among tree branches to ensnare adversaries. To disarm these traps at a distance, just aim and shoot. Some environmental threats are quite robust, necessitating a double pull after grabbing them to bring them down.
Some potential environmental dangers can likewise be eliminated by taking aim with a distant weapon, such as a bow or slinger pod.
Every Type Of Ammo For The Slinger
In the wilds, similar to its portrayal in Monster Hunter World, The Slinger is abundant with various types of ammunition at your disposal. But not all these ammo can be crafted; instead, some are obtained under specific circumstances. Some ammo can be stored in your inventory, while others cannot. The system is extensive, so let’s delve deeper into each type:
1. Craftable Ammo: These are the ammunition types you can create using resources found or crafted materials.
2. Acquired Ammo: Unlike the craftable ones, these ammo require specific actions or events to be obtained. They might drop from defeated monsters or be found in certain locations.
3. Inventory Ammo: These are the ammunition types that can be stored within your inventory for easy access during gameplay.
4. Non-Inventory Ammo: Unlike the inventory ammo, these cannot be kept in your inventory but must be used as soon as they are acquired or activated under specific conditions.
Permanent Pods
These items are stored in your inventory, ready for you to create or assemble them. Their primary function is utility-based.
| Name | Effect |
|---|---|
| Flash Pod | Triggers a flash that briefly blinds monsters. |
| Screamer Pod | Unleashes a piercing sound that stuns monsters that rely on hearing. |
| Dung Pod | Causes the monster it hits to flee the area. Particularly effective on smaller monsters. |
| Large Dung Pod | Causes any monsters in the area-of-effect to flee the area. Effective on all monsters. |
| Luring Pod | The hit monster will follow you for a brief while. Great for bringing monsters towards traps. |
| Tranq Blade | Acts identical to a Tranq Bomb, but can be used at a distance with a smaller area-of-effect. |
| Throwing Knife | An infinite pod that does a small amount of damage. |
| Paint Pod | Anything this pod hits, be it a monster of the environment, becomes marked on the map for a brief while so it is easier to find. |
Screamer Pods can be found in the world, specifically in the Windward Plains region of Baunos, and are maintained subsequently.
Both the Throwing Knife and Paint Pod are perpetual items, however, the others need to be crafted. Fortunately, creating them is quite straightforward, requiring just the infinite Throwing Knife and another material such as Flashbug Phosphor. You can store these items in your inventory, allowing you to switch between them based on different circumstances easily.
Environmental Pods
The pods you encounter during your expeditions are unique and can’t be obtained any other way. Hence, the act of exploration is essential for finding them. Below, I have listed some examples:
1. These alien capsules are only found while traversing distant planets. Therefore, space travel and exploration are key to discovering them.
2. Those hidden caches are scattered across the ancient ruins. Consequently, archaeological exploration is necessary for unearthing them.
3. These rare minerals are buried deep within the earth’s crust. As a result, geological surveys and mining expeditions are essential for locating them.
4. Those elusive mushrooms grow only in the dampest parts of the forest. Thus, forest exploration and careful observation are crucial for finding them.
5. These exotic fruits can be found deep within the Amazon rainforest. Therefore, jungle expeditions and survival skills are vital for discovering them.
| Name | Effect |
|---|---|
| Torch Pod | A damaging pod that deals Fire damage. |
| Puddle Pod | A damaging pod that deals Water damage. |
| Thunder Pod | A damaging pod that deals Thunder damage. |
| Frost Pod | A damaging pod that deals Ice damage. |
| Dragon Pod | A damaging pod that deals Dragon damage. |
| Brightmoss | A pod that shines light wherever it lands. |
| Para Pod | A pod that causes a large build-up of Paralysis. |
| Bleeding Pod | A pod that causes a large build-up of Bleed. |
You can gather Para and Bleeding Pods not by defeating Small Monsters, but simply by collecting them as you would with any other pod-like item.
Hey there! In this game, these additional modular items fill the void left by the static ones, giving me the ability to dish out different elemental damage types. Brightmoss is more of a utility item, but it doesn’t seem to have much practical use yet. The Para Pods are particularly potent, although they’re mostly found in the Iceshard Cliffs.
These special items must be used immediately upon acquisition and cannot be stored or returned. Consequently, grabbing a new one will automatically replace the one currently in use. Use them wisely as you can’t switch between them freely like the permanent items.
Monster Pods
These items, referred to as pods, are obtained when battling monsters, particularly during more challenging encounters in Low Rank. As difficulty increases, they become increasingly available. Once you reach High Rank, they become even more common. You can collect these pods, similar to Environmental Pods, and utilize them against the monsters. Here is a complete list of all the pods:
| Name | Effect |
|---|---|
| Poison Pod | Causes a build-up of Poison. |
| (Heavy) Slicing Pod | Deals Severing damage to the hit monster part. |
| (Heavy) Piercing Pod | Pierces the monster’s body depending on where you hit. |
| (Heavy) Blunt Pod | Deals Blunt damage to the hit monster part. |
| (Heavy) Explosion Pod | Deals Blast damage to the hit monster. |
Poison Pods can only be obtained from Nerscylla, but they can also be found close to their nests in the Iceshard Cliffs.
Every monster possesses unique types of pods it may drop. For instance, Nu Udra drops Explosion Pods, whereas Odogaron can produce both Severing and Piercing Pods. Consequently, a monster such as Chatacabra would not yield Explosion Pods, while Ajarakan would not produce Poison Pods. These pods are particularly useful for compensating for the weaknesses in your own weapons; for example, they enable you to sever tails even with blunt weapons like the Hammer.
Tips And Tricks To Use The Slinger
Generally speaking, the Slinger is quite straightforward in its functionality, but it’s worth noting that there are certain minor aspects that aren’t often discussed. To make your hunting experiences smoother, here are some recommended guidelines to follow.
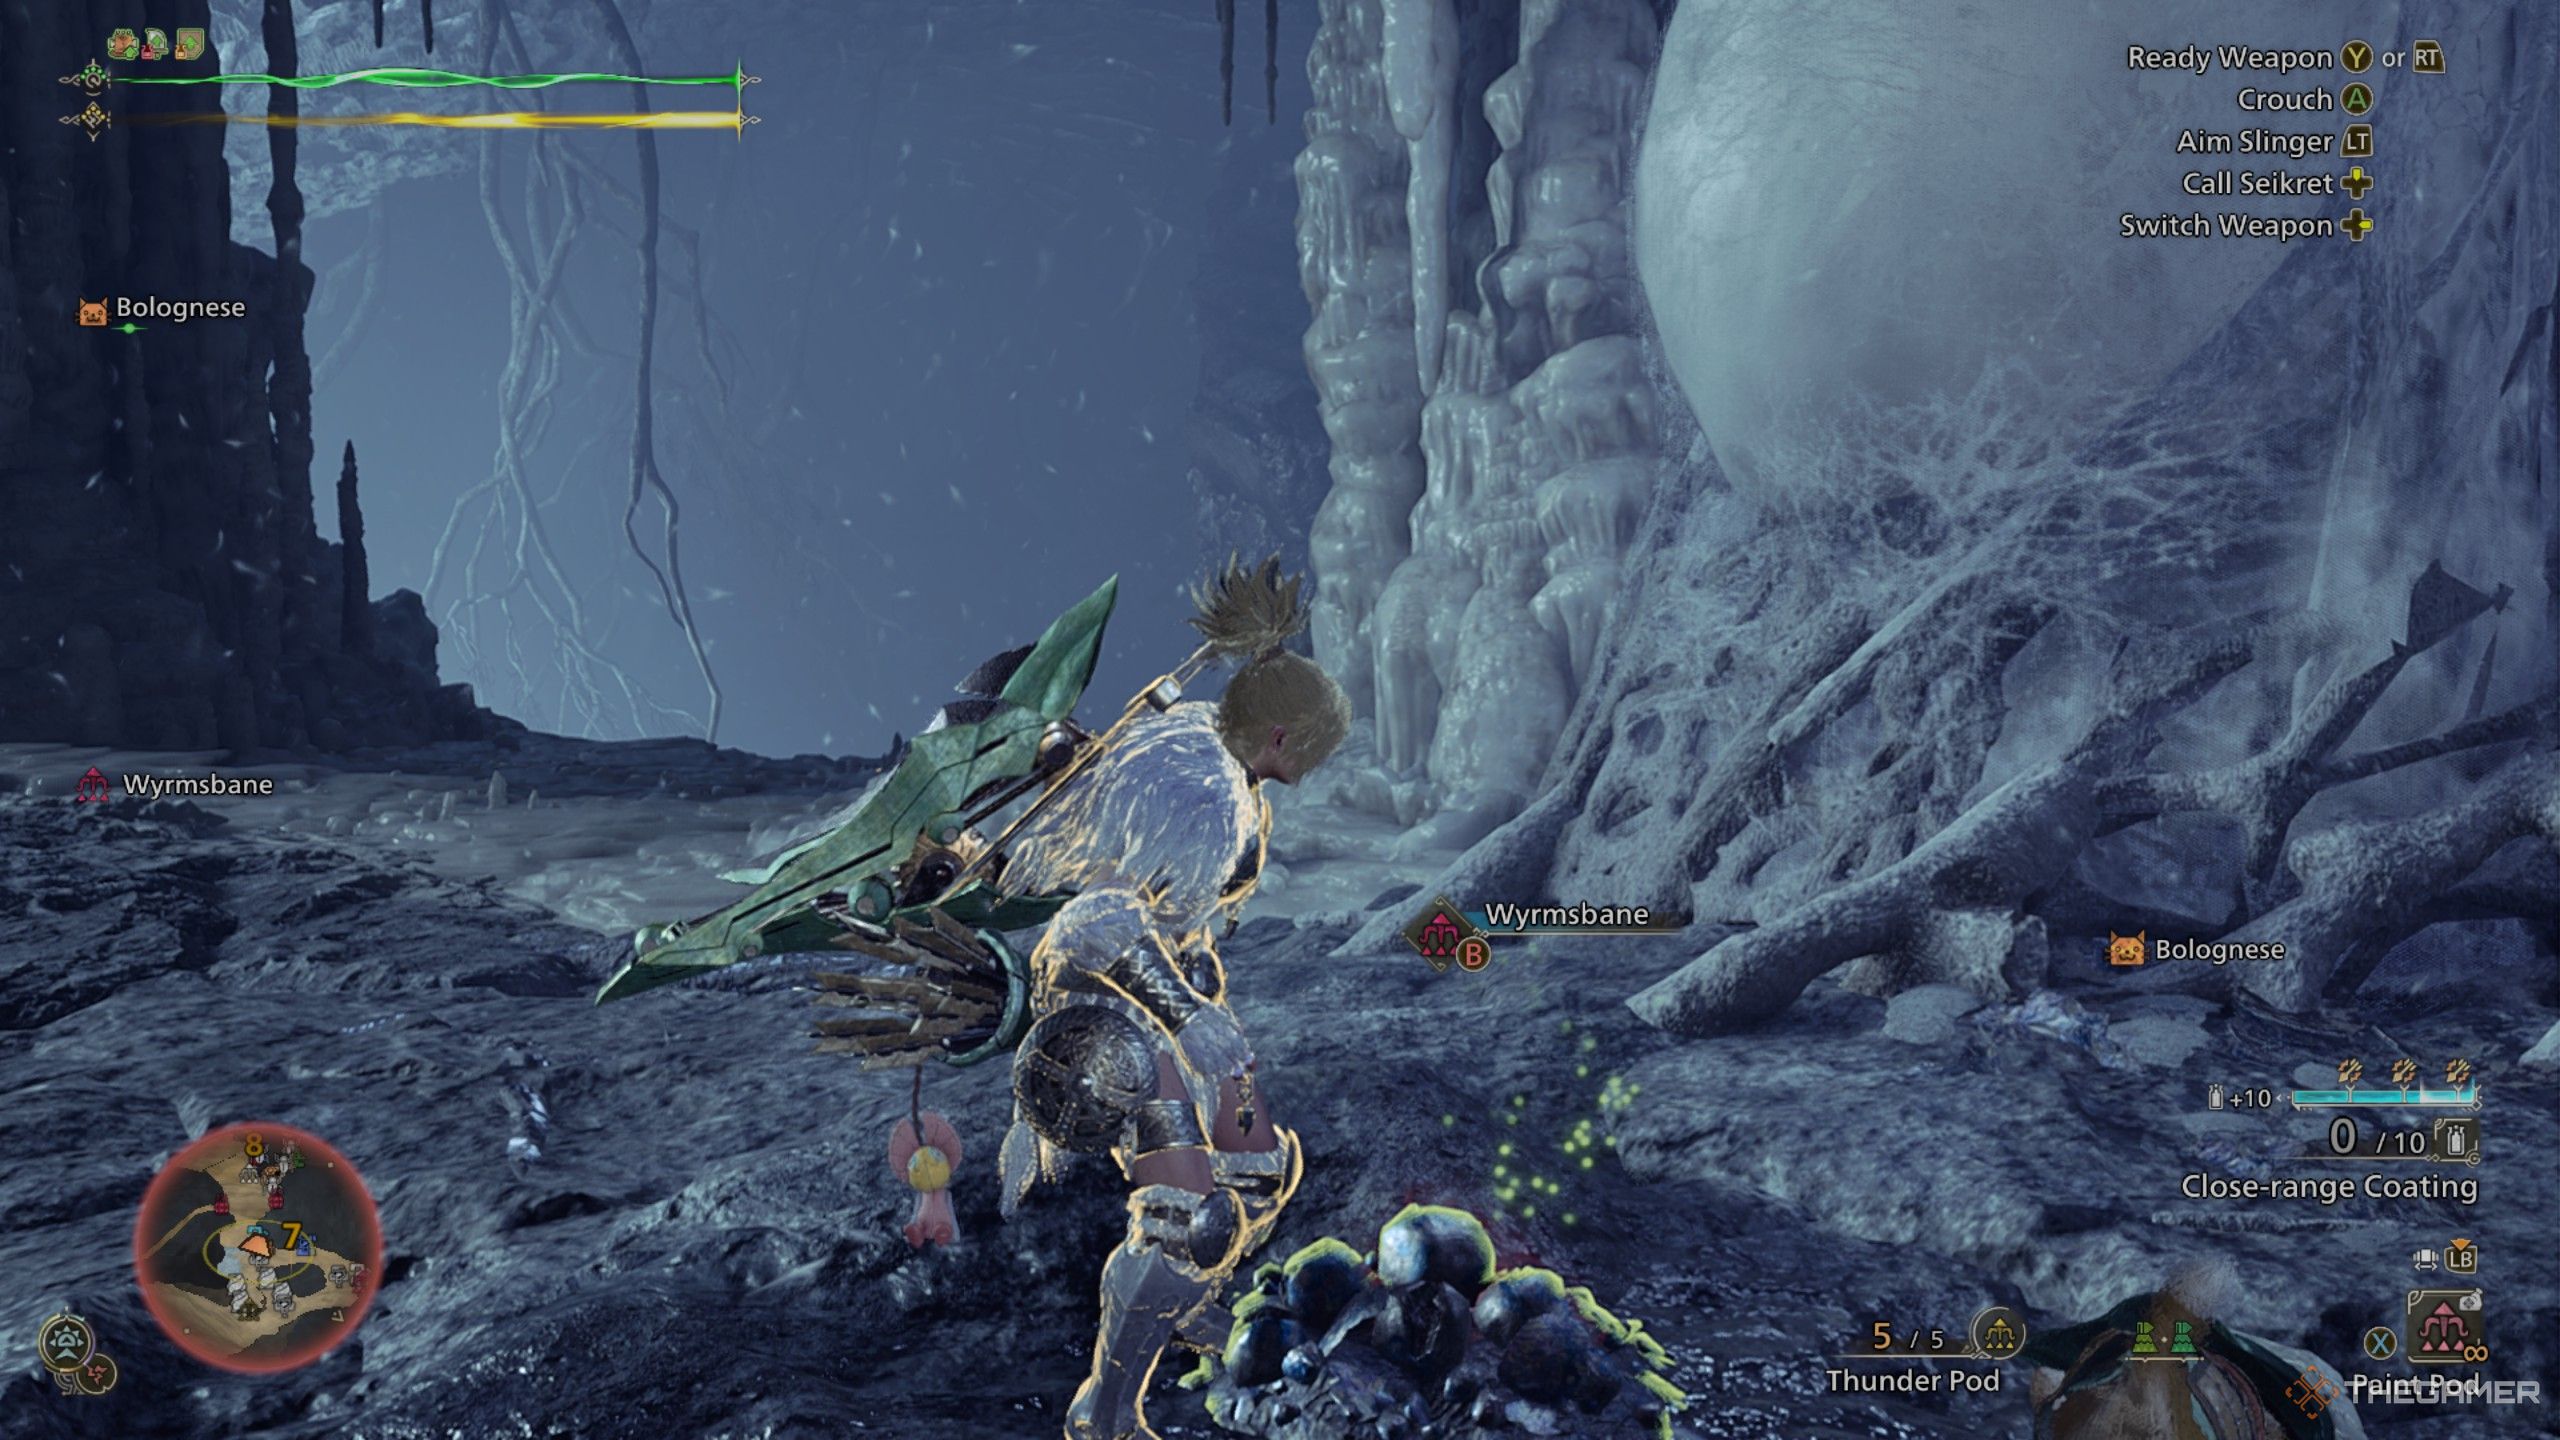
- The Slinger can be used even with your weapon drawn. While in Focus Mode, just press the left stick to fire off whatever pod you have equipped. This can be great when it would take too long to put away your weapon just to shoot.
- When gathering items in the environment, you don’t have to look at the item. Rather, you can use the D-pad to scroll through any items in range while aiming to Slinger and then press B/Circle to pick it up even without looking.
- Always bring some Dung Pods. While herds of Large Monsters are rare, they can still occur and it’s great to have these pods at hand to make them disperse. Monsters really do prefer fighting you over each other this time around.
…and there you have it! The Slinger is an excellent tool to have around, so don’t forget to fully utilize its capabilities whenever possible.
OR
…that’s all folks! The Slinger is a valuable accessory that’s always with you. Be sure to maximize its potential every chance you get.
Read More
- Apothecary Diaries Ch.81: Maomao vs Shenmei!
- Mobile MOBA Games Ranked 2025 – Options After the MLBB Ban
- Gold Rate Forecast
- Batman and Deadpool Unite: Epic DC/Marvel Crossover One-Shots Coming Soon!
- Who was Peter Kwong? Learn as Big Trouble in Little China and The Golden Child Actor Dies at 73
- Hunter Schafer Rumored to Play Princess Zelda in Live-Action Zelda Movie
- 30 Best Couple/Wife Swap Movies You Need to See
- Netflix’s ‘You’ Season 5 Release Update Has Fans Worried
- Gachiakuta Chapter 139: Rudo And Enjin Team Up Against Mymo—Recap, Release Date, Where To Read And More
- Summer Game Fest 2025 schedule and streams: all event start times
2025-03-05 17:19