Over the course of Monster Hunter’s history, a vast array of weapons has been introduced. With only occasional exceptions, this arsenal has expanded rather than shrunk. By the time we reached Monster Hunter Wilds, there were 14 unique weapon options to select, each providing a distinctive gaming experience that sets it apart from the others.
The Dual Blades are renowned for their popularity, offering exceptional speed and allowing you to swiftly traverse monsters, inflicting high damage and an exhilarating rush of adrenaline. These weapons are ideal for those seeking the sensation of being a lightning bolt. In Wilds, they function similarly, so let’s explore their mechanics.
For clarity, we are using Xbox button prompts throughout this guide.
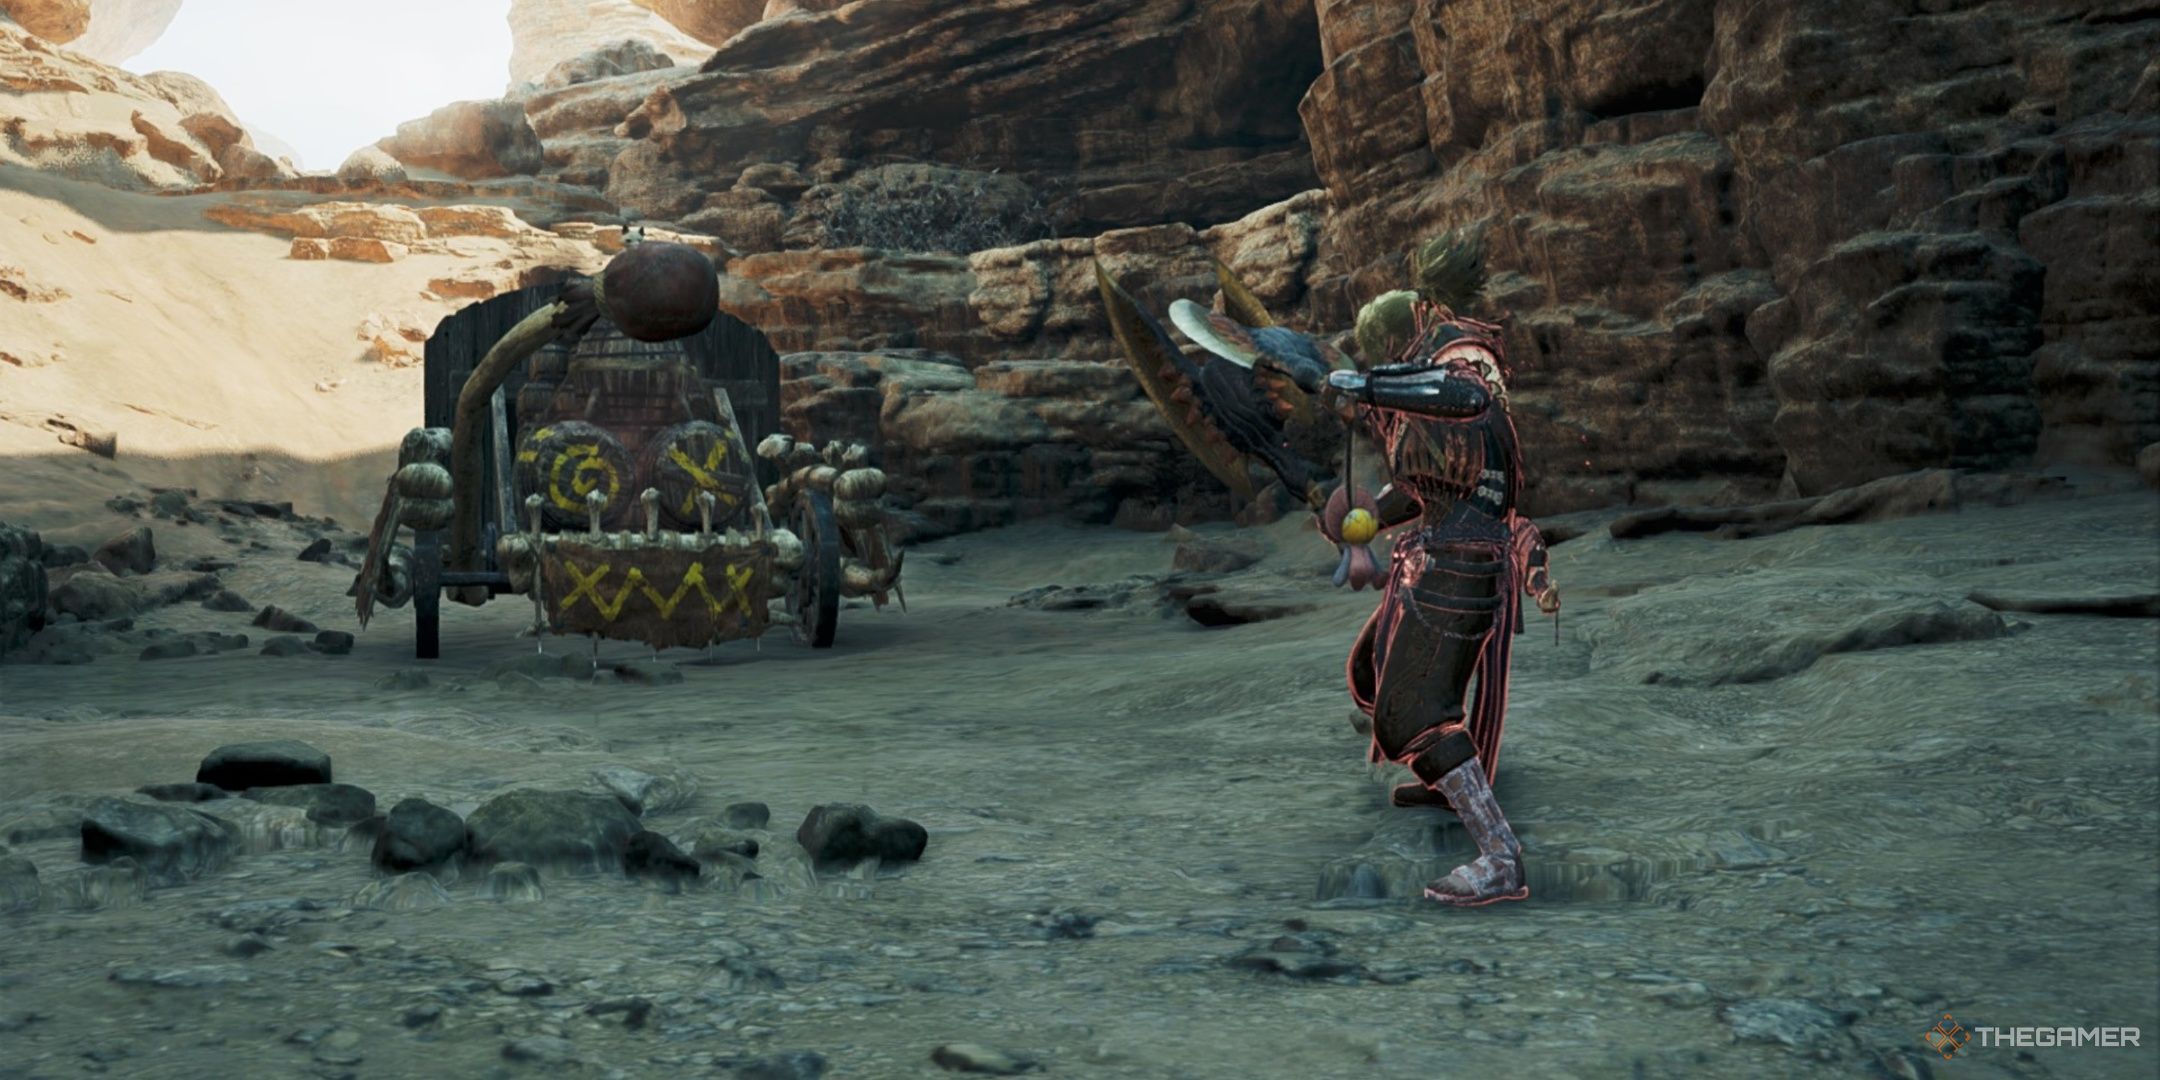
The Dual Blades
The Dual Blades primarily focus on speed rather than dealing high damage. Although they have one of the lowest damage outputs among all weapon types, their speed compensates significantly. They excel at applying status effects swiftly and can easily dodge most attacks to evade damage and reposition. Additionally, being relatively straightforward in design, let’s delve into its fundamental aspects.
Demon Mode
By standard, the swiftness of your strikes with Dual Blades is prioritized over their damage. Pressing RT triggers Demon Mode, offering several enhancements: a speed boost, heightened damage output, access to an exclusive dodge technique, and resistance to being pushed back. However, these advantages come at the cost of gradually depleting your stamina while in Demon Mode.
You hold your weapons backwards and glow red while in Demon Mode.
Here are each of the unique moves you unlock in Demon Mode:
- Demon Fangs And Demon Slash – Replaces Double Slash, locking you in place but attacking much faster and dealing more damage. You can also move left and right between Demon Slashes to reposition.
- Demon Flurry Rush – Replaces Lunging Strike, letting you advance in Demon Mode with a series of fast, damaging attacks. Can also be used outside of Archdemon Mode after the Demon Gauge has been filled.
- Blade Dance – An attack performed by pressing Y+B at the same time. Drains a chunk of the Demon Gauge with each stage, but can be performed three times in a row for massive damage.
In Demon Mode, your Demon Gauge fills up each time you launch an attack. Once it’s full, you can execute a Blade Dance and transition into Archdemon Mode.
Archdemon Mode
Once the Demon Gauge is fully charged, you can transition into Archdemon Mode by leaving Demon Mode behind. Instead of returning to your weakened state, you keep your increased speed and unique dodge ability, and receive new moves such as Demon Flurry Rush and a stronger, more damaging Double Slash. Additionally, you gain access to Archdemon Mode’s equivalent of Blade Dance called Demon Flurry.
You hold your weapons in the standard position and glow white while in Archdemon Mode.
When you activate Archdemon Mode, the Demon Gauge gradually dwindles, but decreases faster with each attack. Additionally, using the special dodge move in this mode not only reduces your Demon Gauge but also your stamina. However, managing your stamina becomes significantly simpler otherwise, allowing for easy transitions into Archdemon Mode to replenish it, and then back into Demon Mode for increased damage output and knockback resistance.
If the Demon Gauge becomes completely empty, you’ll leave Archdemon Mode and need to fill it up entirely again to re-enter it. But if you replenish the Demon Gauge before it’s fully drained, you can essentially maintain Archdemon Mode continuously. This is why it’s important to frequently switch between both modes to keep them both active.
Demon Boost Mode
In simpler terms, the Demon Boost Mode isn’t a separate mode exclusive to the Dual Blades, but rather an enhancement for all other modes. When you execute a Perfect Evade, you’ll initiate a new dodge that lasts as long as the Demon Boost Mode is active. With this boost, you’ll not only dodge farther and have more invincibility frames, but you’ll also be able to attack while dodging.
Following your evasion, you have the option to press Y for a subsequent spiral strike, which serves as another dodge. This combined dodge-attack can be utilized in both Demon and Archdemon Modes, and replaces the enhanced dodge of these modes until the Demon Boost Mode expires.
Dual Blades – Skills And Abilities
Once we’ve covered the fundamentals, let’s explore the particular techniques available to the Dual Blades. These moves revolve around quickly striking at specific points and then swiftly evading potential harm.
Blade Dance
In Demon Mode, you can activate this move by simultaneously pressing Y and B. This action initiates a sequence of spinning slices while you’re stationary. You can chain up to three consecutive instances of this, with each one delivering more blows and causing greater damage. However, be mindful that each combo consumes a portion of the Demon Gauge, so ensure you have enough for all three combos before initiating the series.
In other words, Blade Dance is an attack that’s primarily intended for immobile targets like trapped or stunned enemies. When aimed precisely at a specific area, such as a tail, it can inflict a significant blow, potentially leading to its separation.
Demon Flurry
In simpler terms, Demon Flurry serves as the Archdemon counterpart to Blade Dance. Unlike Blade Dance, it offers greater mobility during an attack, allowing you to move gracefully throughout the sequence and jump a considerable distance when transitioning to the next part of the combo. However, it inflicts less damage than Blade Dance and can only be linked together twice. The added distance covered compensates for this limitation.
You could switch between Blade Dance and another action by using the RT button rather than Y+B. This allows for a series of up to five consecutive attacks, as long as your Demon Gauge has sufficient energy to sustain it.
As a gamer, I find that initiating a combo with Blade Dance keeps it going strong for five strikes, whereas diving into Archdemon Mode shortens the combo to just four hits.
Demon Dodge
In both Demon and Archdemon Modes, the ability Demon Dodge allows for greater distance when dodging, offering extended periods of invincibility and a significantly reduced recovery time. This skill outperforms regular dodges in every aspect. Furthermore, during Archdemon Mode, it also depletes the Demon Gauge, so be mindful not to overuse it.
Following a flawless dodge, my Demon Dodge takes me further away, offers extended invincibility periods, and grants the opportunity for a swift counterattack.
Turning Tide
With this Dual Blades Focus Attack, you can swiftly execute an Aerial Whirlwind Slice, propelling yourself along a monstrous foe’s entire length and causing devastation at the attack’s conclusion, specifically targeting its vulnerable spots. This move inflicts damage on all areas of the monster it strikes, making it ideal for severing tails.
Dual Blades – Tips And Tricks
With your newfound knowledge of the Dual Blades’ functionality, it’s high time for you to hone your skills. Fortunately, this weapon is quite manageable, and maintaining your stamina is crucial. Keep in mind that there are some strategies that can significantly boost your proficiency with the Dual Blades.
Midair Spinning Blade Dance
Instead of using the Turning Tide Focus attack, you can execute it anytime you prefer, given that you’re in Demon or Archdemon Mode. To carry out this move mid-air, simply leap from a height and perform an Aerial Spinning Slash Dance during your descent. If you land on the monster at the correct angle, the attack will be similar to Turning Tide, but it won’t automatically destroy any wounds inflicted.
Get The Right Skills
In Monster Hunter, it’s your skills that truly amplify the potency of your builds. For the Dual Blades, there are two you should focus on – Power Prolonger, and Adrenaline Rush. The first one extends the duration that the Demon Gauge is fortified, effectively reducing its passive depletion, thus allowing Archdemon Mode to last significantly longer.
After successfully executing a flawless dodge maneuver, you temporarily boost your attack strength with an adrenaline surge. Since the Dual Blades are incredibly agile and equipped with their own Perfect Evade feature, the Adrenaline Rush serves as an additional advantage, amplifying the power of your already impressive actions.
Always Alternate
The objective with Dual Blades seems to be cyclically activating Demon Mode to amplify Archdemon Mode, using it until it exhausts, then repeating the process. While each mode offers unique benefits, frequently switching between them significantly enhances your abilities.
In simpler terms, Demon Mode inflicts greater damage but is less nimble, while Archdemon Mode offers increased mobility and better endurance management, but deals less damage. By switching between these modes, you can restore stamina in Demon Mode and replenish the Demon Gauge in Archdemon Mode, ensuring neither is ever weakened.
Swapping between Blade Dance and Demon Flurry indeed shifts your fighting style. Specifically, during Demon Flurry, your stamina is restored, which means you’ll have extra stamina when you resume the Blade Dance combo sequence.
Bring Dash Juice
Dash Juice functions similarly to Armorskin and Demondrug, serving as a consumable item. Upon consumption, it significantly boosts your stamina regeneration rate. Although its effects don’t persist as long as some other items, it can be incredibly beneficial during combat, extending the duration of Demon Mode and reducing the time you spend idle while using it.
Read More
- Apothecary Diaries Ch.81: Maomao vs Shenmei!
- Gold Rate Forecast
- Batman and Deadpool Unite: Epic DC/Marvel Crossover One-Shots Coming Soon!
- Who was Peter Kwong? Learn as Big Trouble in Little China and The Golden Child Actor Dies at 73
- 30 Best Couple/Wife Swap Movies You Need to See
- Gachiakuta Chapter 139: Rudo And Enjin Team Up Against Mymo—Recap, Release Date, Where To Read And More
- Every Minecraft update ranked from worst to best
- Netflix’s ‘You’ Season 5 Release Update Has Fans Worried
- Mobile MOBA Games Ranked 2025 – Options After the MLBB Ban
- Ncuti Gatwa Exits Doctor Who Amidst Controversy and Ratings Crisis!
2025-02-27 15:42