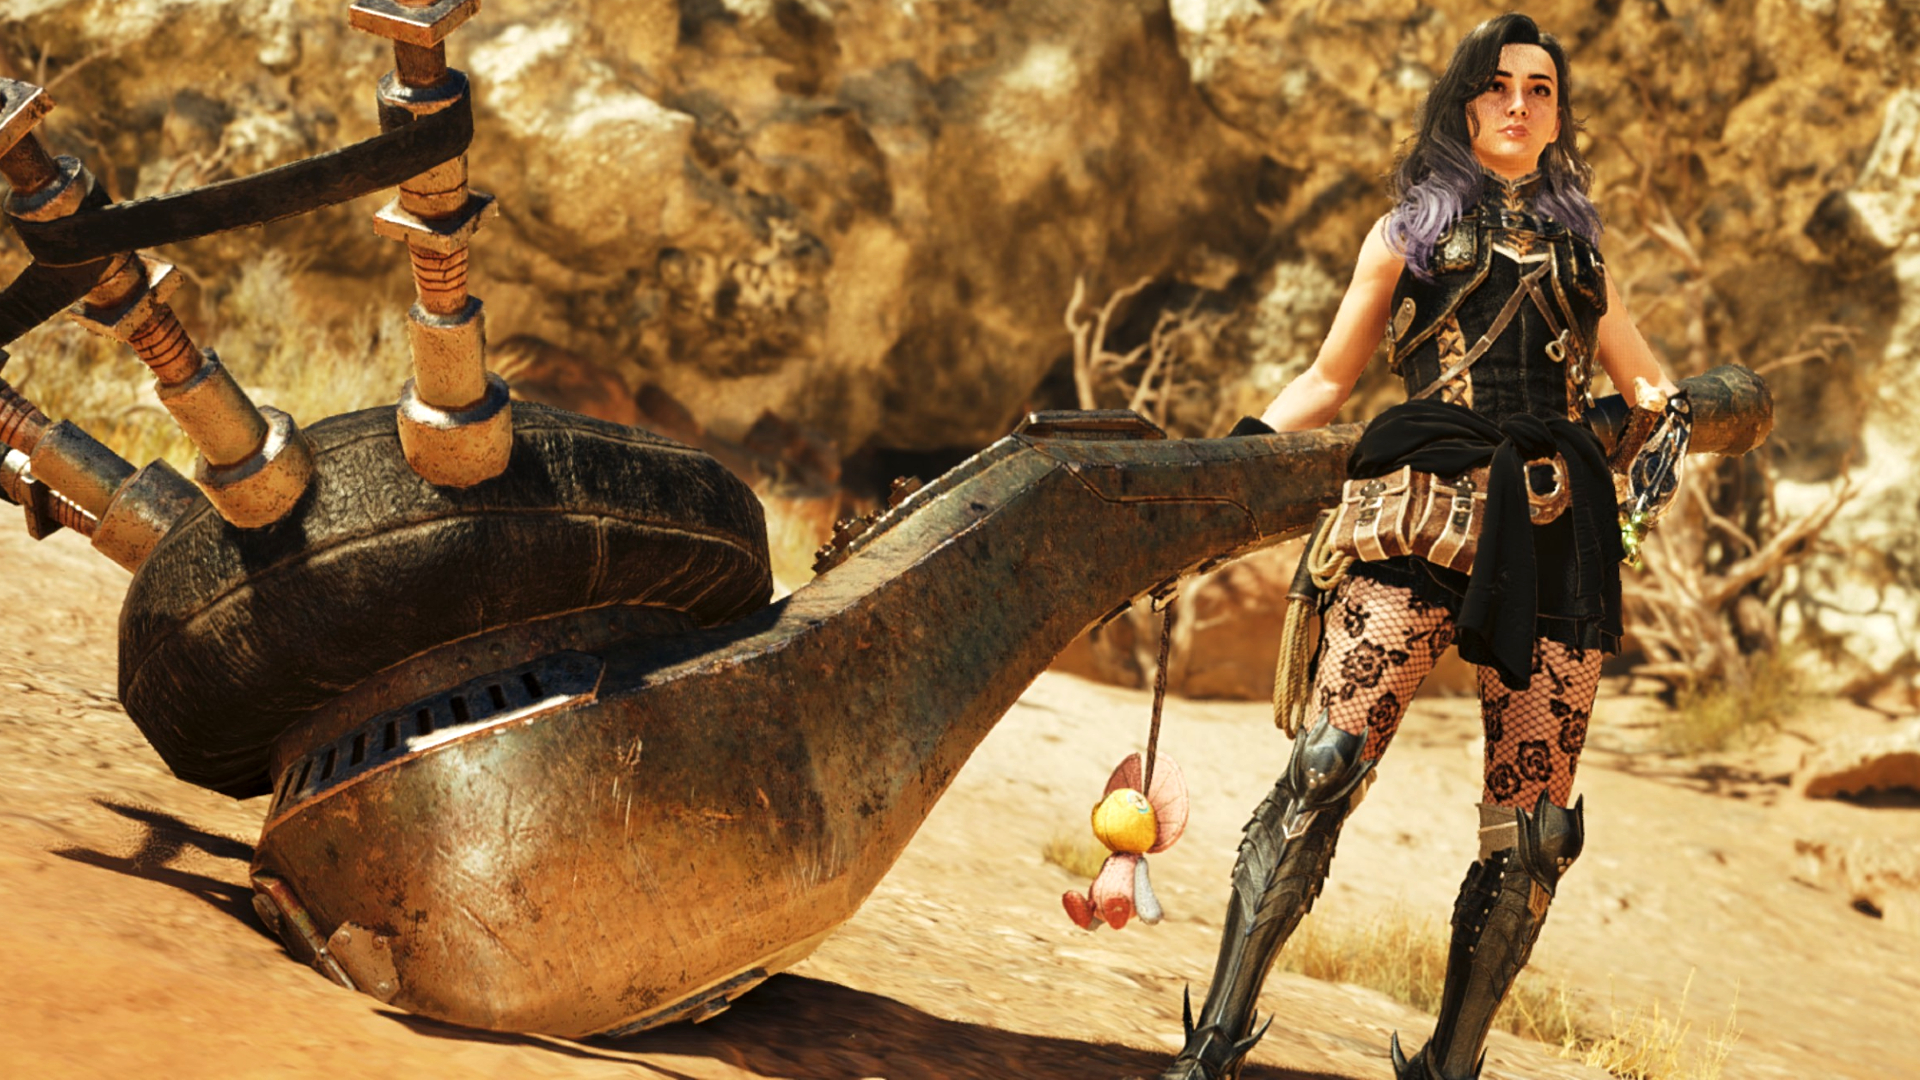
In Monster Hunter Wilds, The Hunting Horn stands out as a distinctive weapon, providing a blend of support and attack playstyles instead of focusing solely on high damage output. It’s an excellent choice, featuring multiple notes that not only harm the monster but also allow you to create songs which can later be sung to boost your teammates.
When considering the optimal Hunting Horn setup, it’s essential to look beyond just the weapon’s attack power, affinity, and elemental properties. The crucial factor that significantly influences each horn is its repertoire of songs, often referred to as its setlist. Each horn comes equipped with a unique selection of tunes; these range from broader buffs like Defense Up, Attack Up, and Stamina Reduction, to more specialized choices such as Aquatic/Oilsilt Mobility and Wind Pressure Negated.
In the game Wilds, every horn produces an echo sphere. You can deploy up to three of these spheres, and the benefits you receive from standing inside them depend on your weapon. For instance, one weapon might enable you to set down a healing bubble, while another could enhance your evasion and movement speed. Furthermore, being within the sphere increases your damage output, so it’s crucial to position them where your teammates can benefit. Additionally, you can play notes while setting up the sphere, allowing you to prepare a tune for later use.
Locating horns that strike a balance between catchy tunes, bubbles, and acceptable damage can prove tricky. While personal preference and the rhythm often play a significant role, determining which horns work well for solo gameplay or team matches in lower ranks is crucial. Fortunately, there are some user-friendly options to make your journey smoother.
How to play Hunting Horn in Monster Hunter Wilds
In Monster Hunter Wilds, the Hunting Horn differs slightly from its appearances in World and Rise, combining elements of both previous games and incorporating fresh mechanics. As a primary user of the Hunting Horn, your objective should be to target the head since its blunt damage is perfect for crushing monster skulls and inducing stuns.
Otherwise, here’s how to play horn:
- Play notes to form songs: You can check your songlist in the top right corner, and try to link songs together that share a note. For example, on the controller, Self Improvement is always Triangle, Triangle, and you can then use that last Triangle note on a song where it’s the first note, like Attack Up.
- Don’t forget to pop down an echo bubble with R2 + X, queue an extra few notes and stand in it for increased damage.
- Once you’ve queued up one to three songs, press R2 to play them and gain their buffs. Press R2 again between each song to swing your horn and deal extra damage—perfect timing will see your horn glow red and reward you with an even bigger damage boost.
- Press Triangle and Circle together at the end of the songs to play an encore and increase the potency of the buffs—you’ll know you’ve done it correctly when the songs are purple instead of yellow.
- Use Focus Strikes on wounds to play up to five notes and quickly queue up songs.
- Do a few rounds of Echo Wave—basically a damage-specific song rather than anything that offers a buff—for extra DPS before cycling through your buff songs once more.
Best Hunting Horn builds for low rank
For Hunting Horn users, the strategy lies in enhancing durability and minimizing disruptions caused by tremors or minor assaults, given that it’s a slower weapon without defensive capabilities.
In essence, when resources are scarce, don’t invest too heavily in armor production. The abilities associated with each piece will still be beneficial, but with a lower rank, there’s considerable flexibility. This allows you to create whatever appeals to you aesthetically or whatever you have the necessary materials for at the time.
- First weapon: Metal Bagpipe I
Hunting Horns from earlier periods don’t deal much elemental damage, making it more beneficial to focus on their melodies and echo bubbles instead. The Metal Bagpipe I is an excellent starting point – it comes with Horn Maestro Lv 1 as an equipment skill, which prolongs the duration of your songs without immediate refresh. Additionally, it has Critical Draw Lv 1 that enhances the affinity on your unmounted draw attacks.
Regarding its selection of songs, Metal Bagpipe I offers a versatile assortment that makes for a strong foundation. Attack Up has experienced a significant reduction in effectiveness within the Wilds, however, it remains valuable to carry this tune. Additionally, it provides Earplugs, useful for mitigating monstrous roars and maintaining uninterrupted play. Furthermore, it boasts Environmental Damage Negated, and its echo bubble grants both an evasion and movement enhancement – particularly beneficial when navigating attack patterns’ early stages.
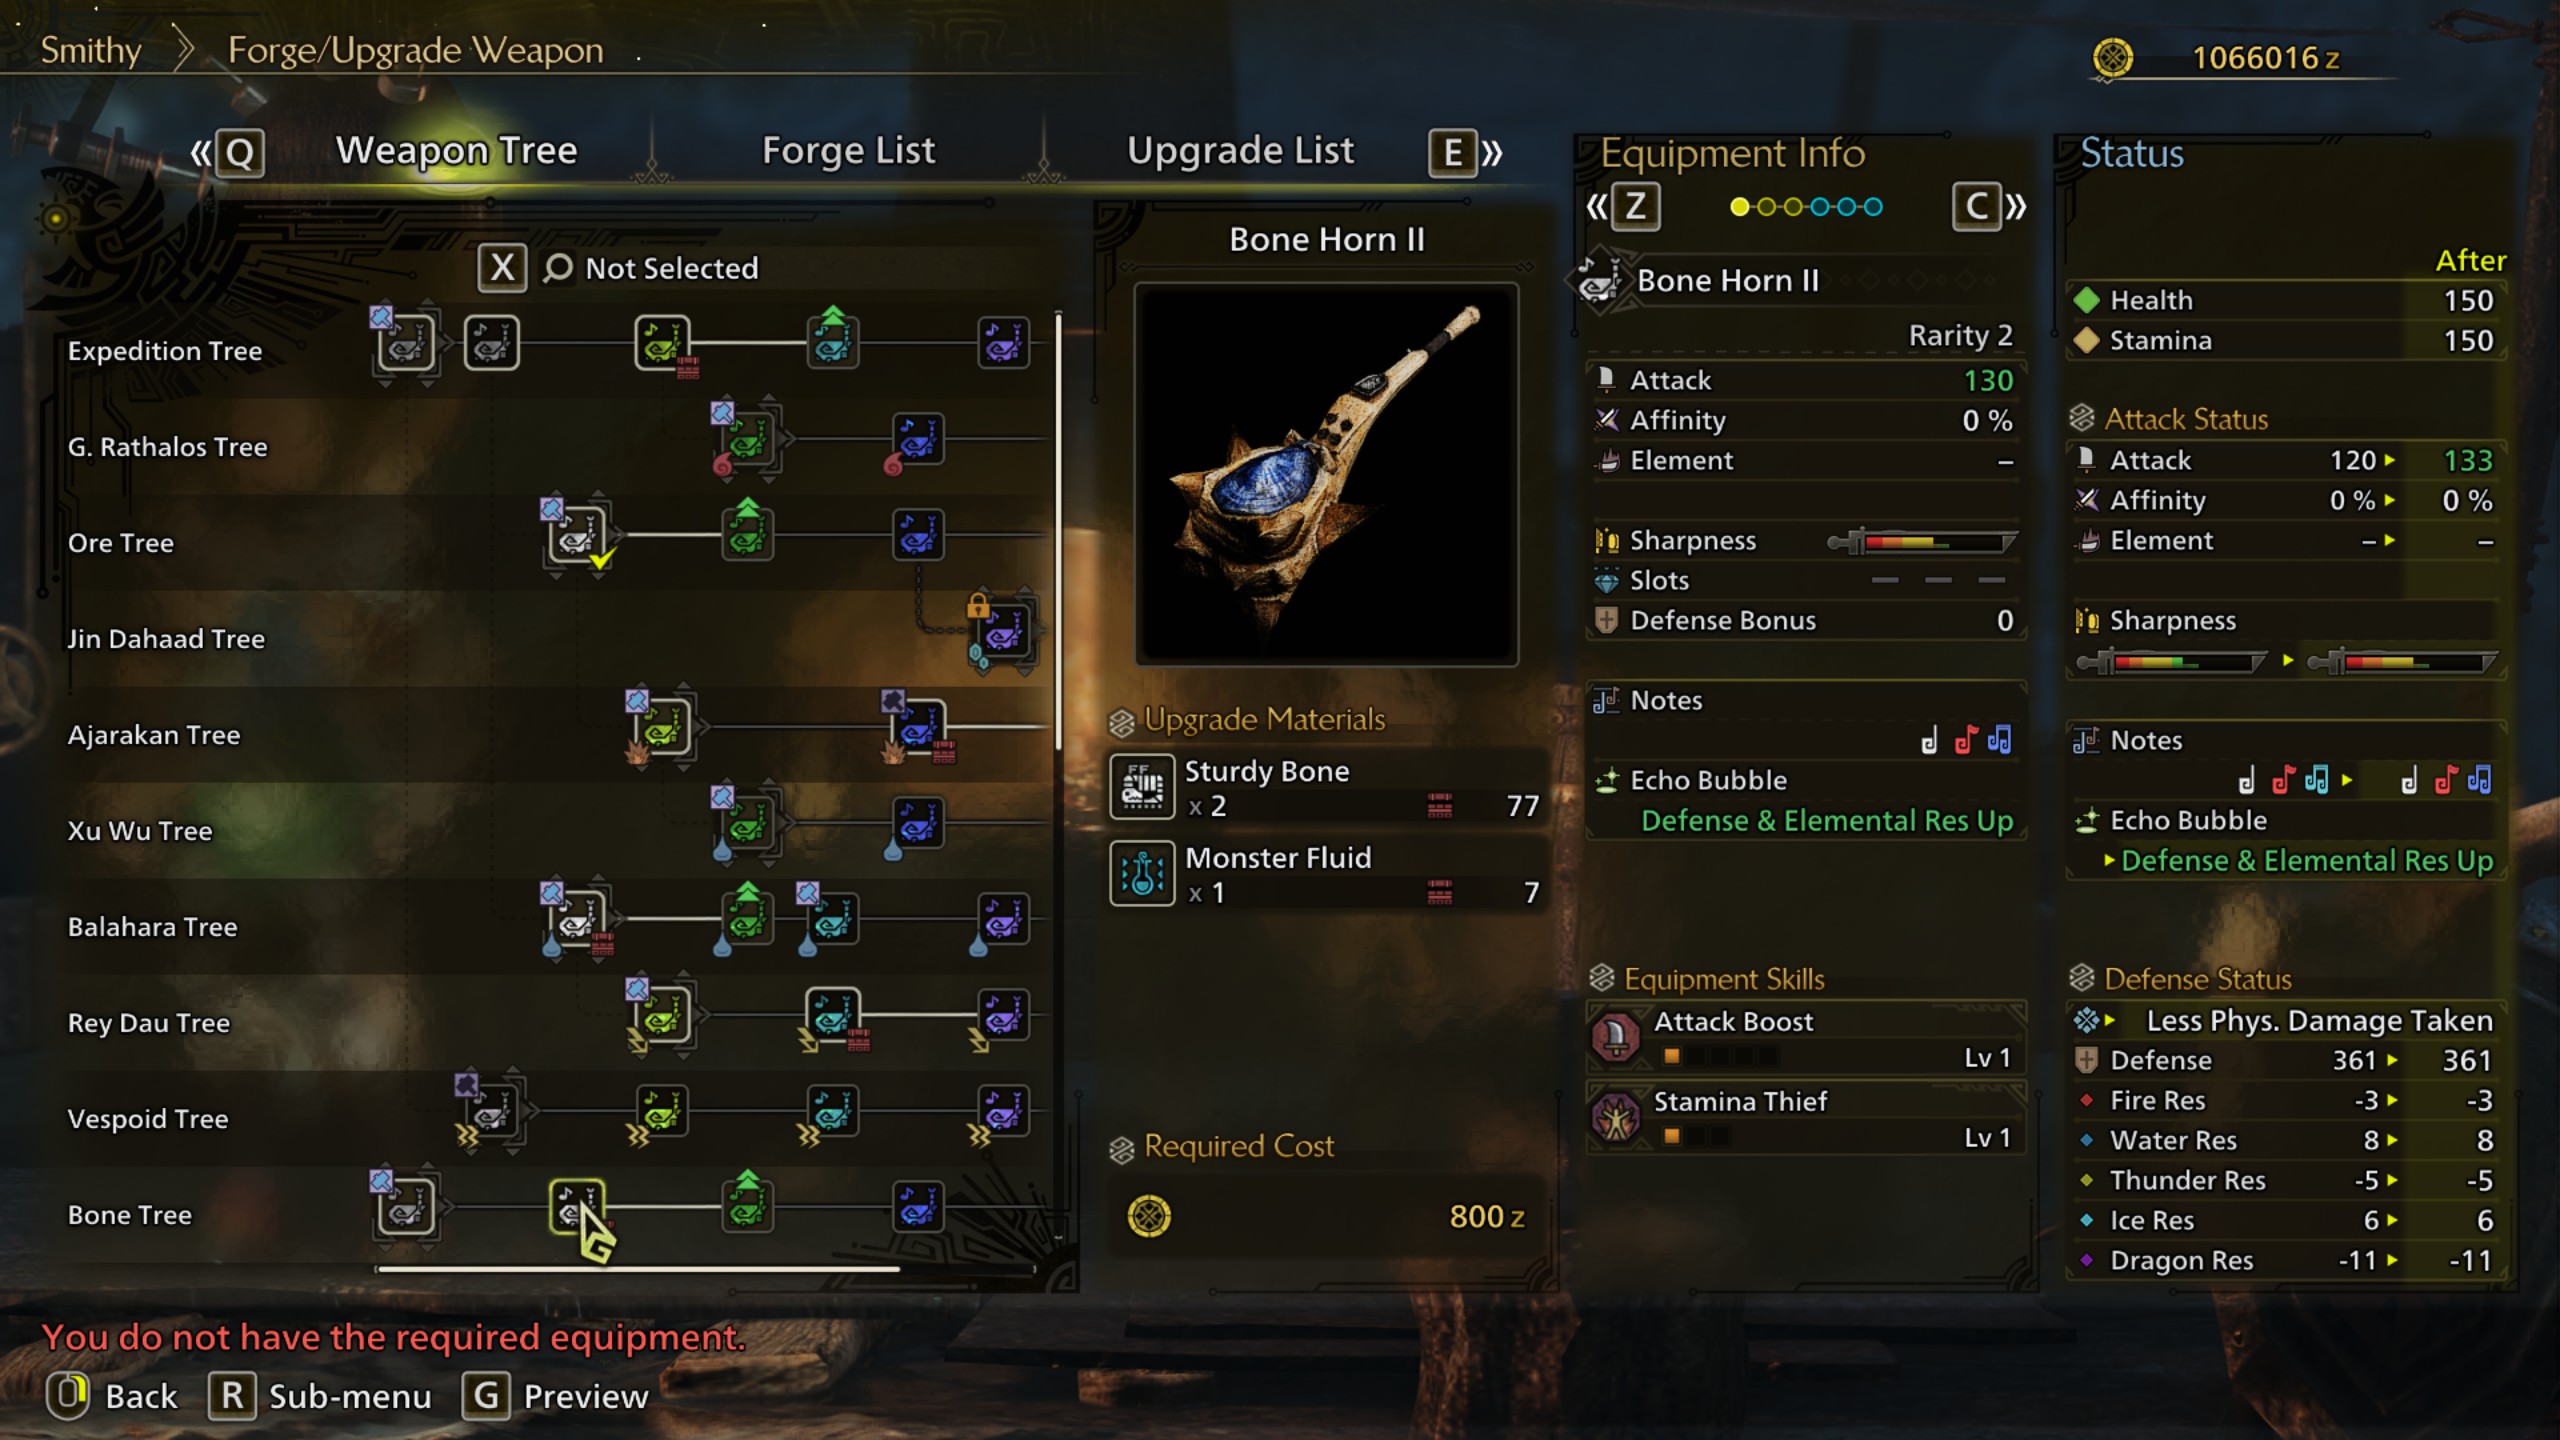
- Second weapon: Bone Horn II, War Bongo I
In no time at all, we can dive into some exciting gear such as the Bone Horn II and War Bongo I from the Congalala Tree. The Bone Horn serves as a versatile tool, providing Attack Up, Defense Up, Wind Pressure Negation, along with the impressive Sonic Barrier melody, which provides a single-use shield against sounds like roars, knockbacks, and tremors. While you’ll need to reapply it frequently, its utility is hard to overstate. Additionally, the Bone Horn’s Echo Bubble enhances your defense and elemental resistance when standing within it, essentially providing an additional layer of protection for you and your team.
Instead of dealing substantial damage, War Bongo I focuses on a 5% affinity bonus and a playlist that heavily supports others. It boasts Defense Up along with two healing songs, one providing health recovery with an extra Antidote effect. In place of the Offset Attack song, it offers Melody of Life – an exceptional offset tune that can be played separately from your standard three for a massive team-wide heal. To balance its focus on healing, the echo bubble provides both an attack and affinity enhancement.
As a gamer, if I’m cool with wielding the Hunting Horn as my main and backup weapon, it might be a smart move to bring both along for every hunt. That way, I’ve got all my bases covered!
- Third weapon: Ajara Reverberator I
Among my weapons, the Ajara Reverberator stands out as my top pick for lower ranks, and I strongly advise crafting it immediately following your encounter with Ajarakan, the fiery ape. Though it offers slightly less raw power compared to alternatives such as Metal Bagpipe II, the Ajara Reverberator excels in blast damage, making it an excellent choice for building up a versatile status effect before it detonates, delivering additional bursts of damage through tiny explosions.
Apart from its impressive features, it boasts an excellent playlist similar to Metal Bagpipe, offering buffs such as Attack Boost, Earplugs, and Aquatic/Oilsilt Mobility. The latter proves quite beneficial when navigating the Oilwell Basin, allowing you to battle monsters more effectively after wading through large oil spills. Additionally, its equipment skill is worth noting, granting Slugger Lv 2, which expedites stun applications.
Instead of opting for another backup horn, why not try getting the Dosha Grudgesounder I after defeating the Guardian Doshaguma? While it can reduce your affinity level significantly, making it less effective for critical hits, it excels at healing. It offers dual levels of Health Recovery, Earplugs, and the Melody of Life offset I mentioned before, plus a health regeneration Echo Bubble.
- First armor set: Hope Mask, Alloy Mail, Bone Vambraces, Hope Coil, Quematrice Greaves
It’s often beneficial to start playing Monster Hunter with a gearset that prioritizes defense. Specifically, I recommend the combination of the Hope Mask, Bone Vambraces, and Hope Coil. This set-up significantly boosts your Stun Resistance, ensuring you won’t be stunned at all.
I’ve added Tremor Resistance and Flinch Free features as well, ensuring your music performance is less disturbed by minor assaults. Combine this with Metal Bagpipe I’s earplugs, and you can play to your fullest potential, except for dodging significant attacks.
- Second armor set: Ingot Helm, Kranodath Mail, Balahra Vambraces, Balahara Coil, Balahara Greaves
The Balahara set is highly praised: Apart from its stylish appearance, its vambraces, coil, and greaves provide multiple layers of Evade Extender, enabling you to move farther when dodging. Given the sluggishness of Hunting Horn, it can be challenging to re-engage in combat, so being able to roll a considerable distance out and back in is crucial for maintaining your active participation in battles.
To enhance its defensive prowess, the Ingot Helm features an inherent probability of diminishing sustained damage, whereas the Kranodath Mail boasts Flinch Free Lv 2, preventing minor jolts that disrupt your actions and interfere with gameplay. Additionally, it alters trips, which might seem milder than jolts but are in fact more detrimental as they cause you to fall over, into a slight stumble instead.
- Third armor set: Hirabami Headdress, Ajarakan Mail, Hirabami Vambraces, Hirabami Coil, Ajarakan Greaves
Adhering to a defensive focus, the Hirabami Headdress, Vambraces, and Coil provide an Evade Window feature that differs from the Evade Extender. Rather than expanding the range of rolls, it enhances the duration of invincibility when dodging, offering similar utility. Additionally, the headdress boosts the regeneration rate of your red health, while the vambraces and coil offer some ice resistance for protection.
The Ajarakan Mail comes equipped with Partbreaker, an excellent tool for shattering monster limbs and boosting damage when striking vulnerabilities with a Focus Strike. Additionally, it includes a bonus Blast Resistance for added protection. You’ll find this item on the Ajarakan Greaves I’ve listed.
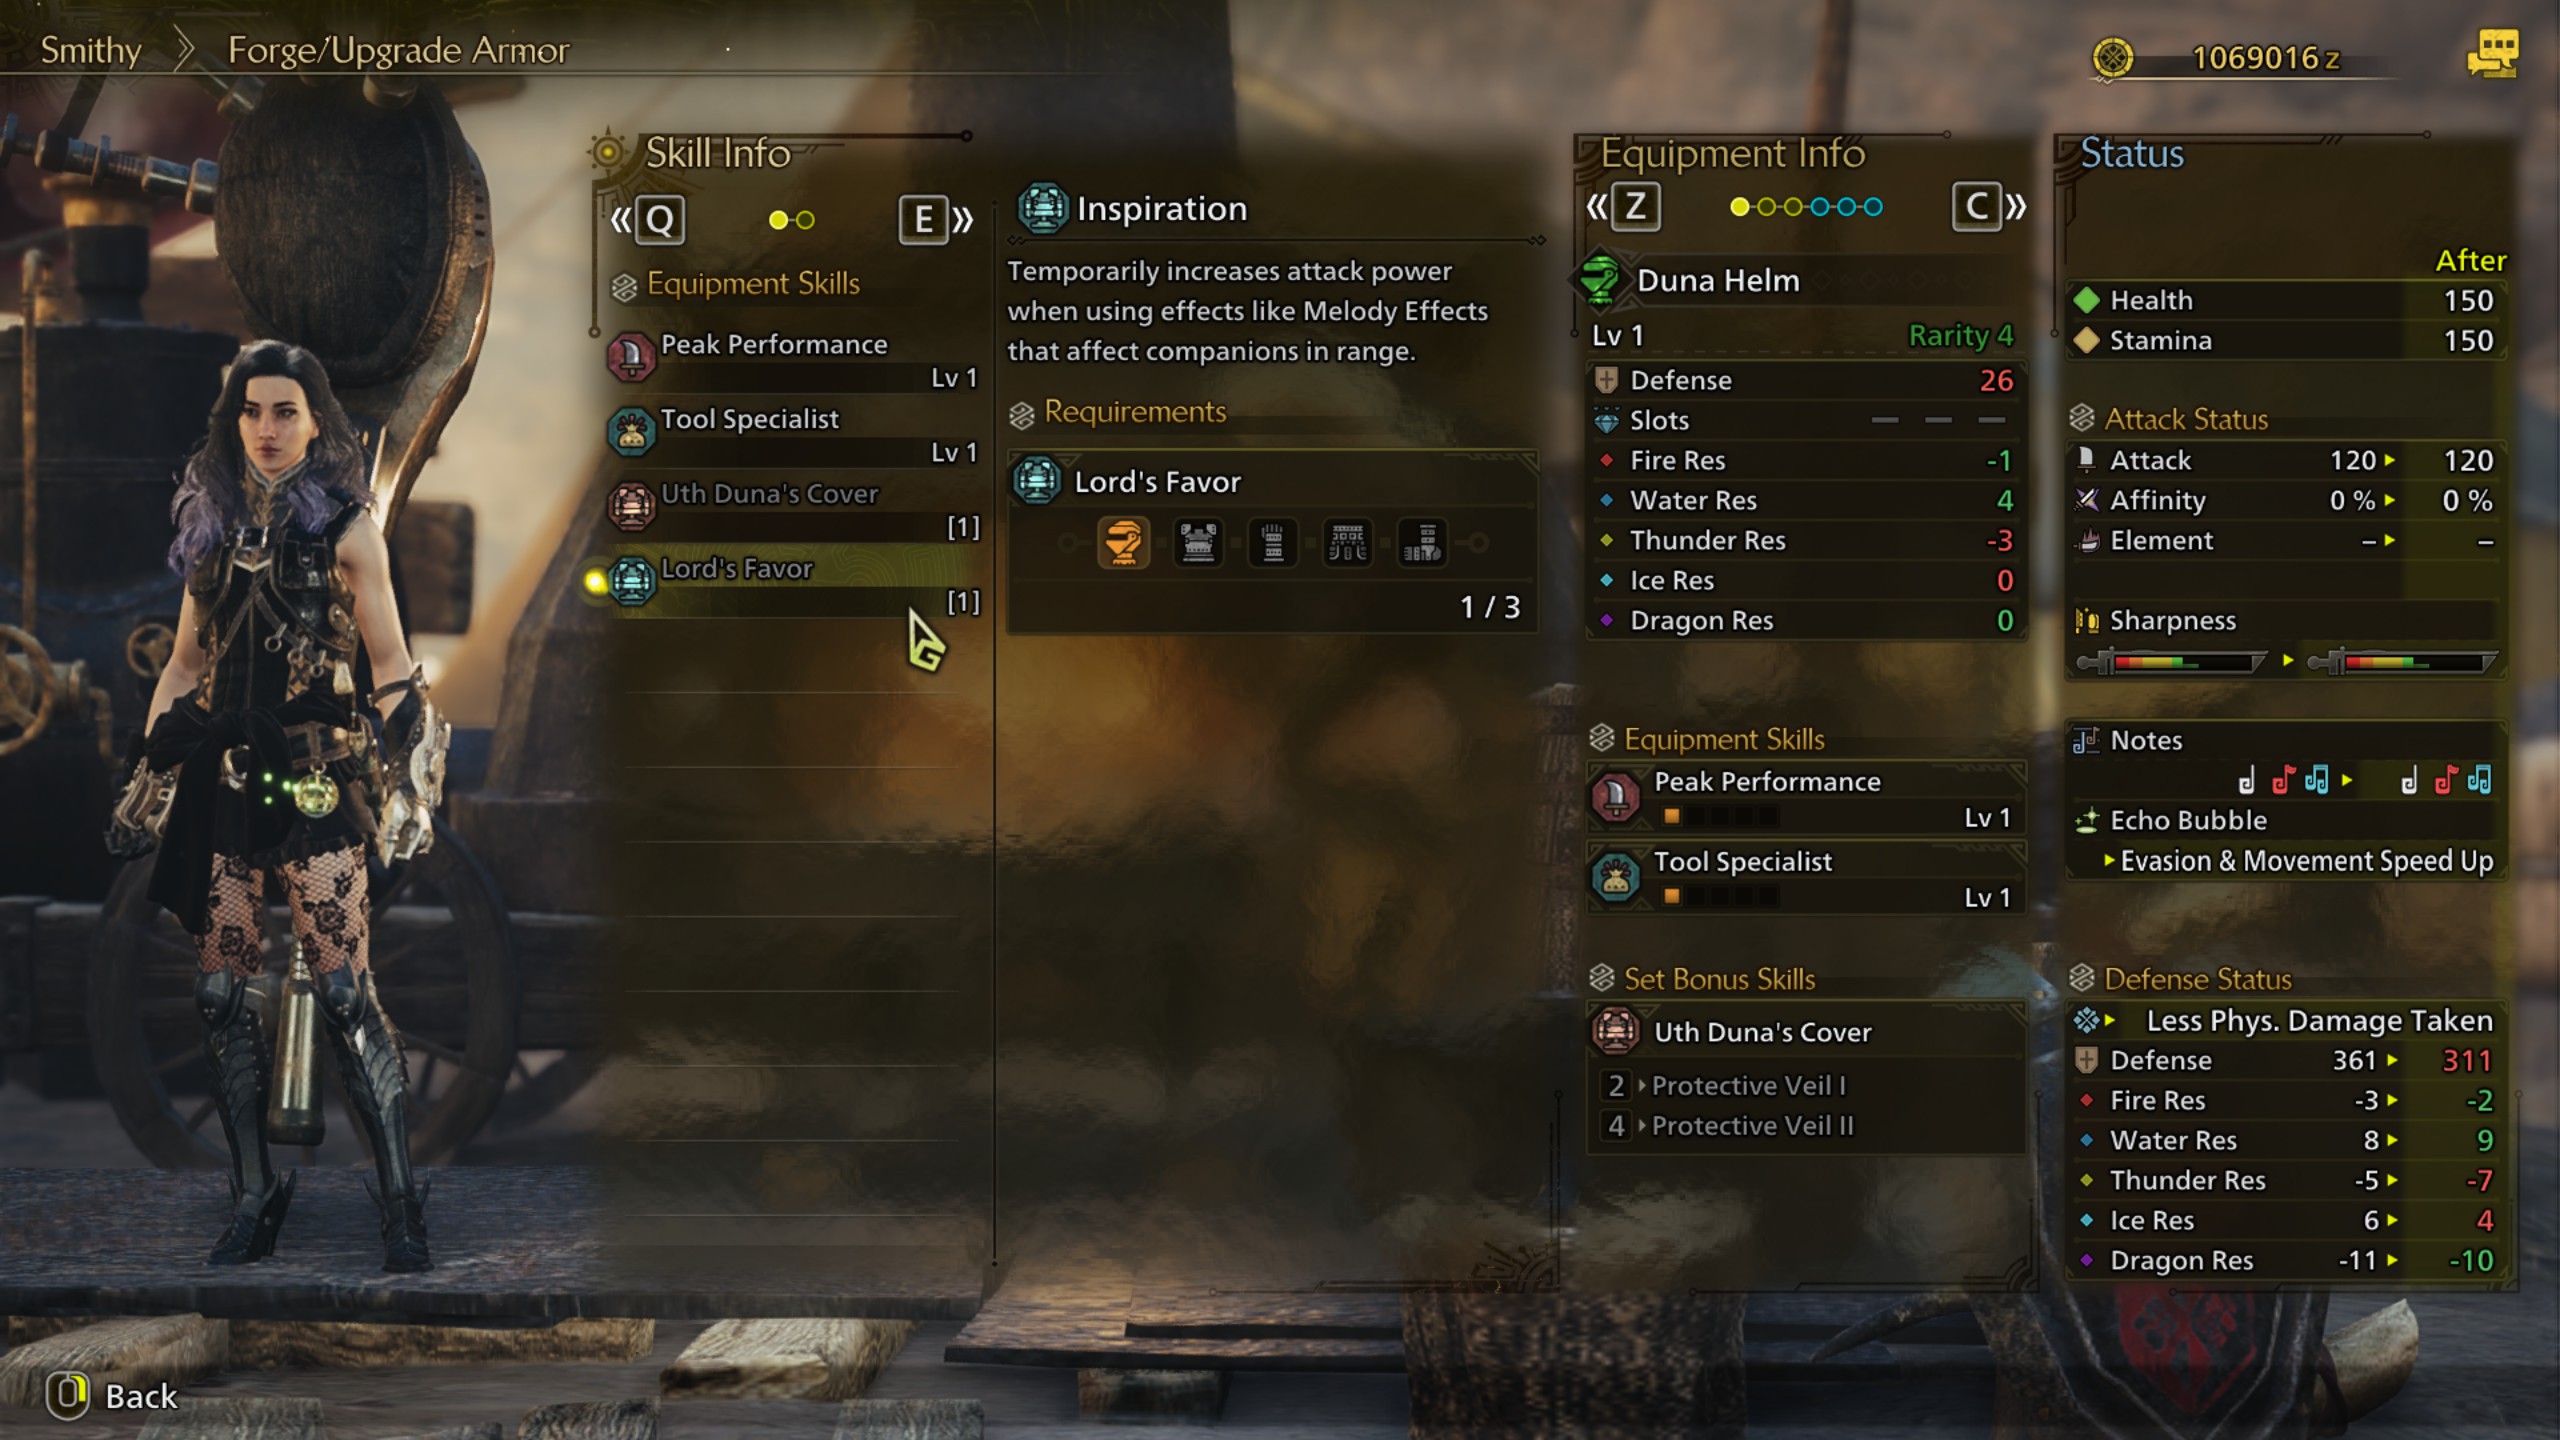
- Fourth armor set: Rey Sandhelm, Duna Mail, Rey Sandbraces, Hirabami Coil, Duna Greaves
Here’s another exciting addition for you! This new set leverages the innovative group skills feature in Monster Hunter Wilds, similar to set bonuses but with a twist: you can mix and match items from various monsters to activate their benefits.
By combining elements from sets such as Rey Dau, Uth Duna, and Nu Udra, you acquire the Lord’s Favor group ability. This skill temporarily boosts your attack power during performances. With this enhancement, your acts can become lethal. If your health is fully restored, you can maximize its effects even more by utilizing Peak Performance’s additional attack bonus from Rey Dau pieces.
Alongside the Uth Duna items, there’s an inherent energy known as Hidden Power. This power grants a beneficial affinity increase, either every 5 minutes or upon sustaining 180 points of damage. This added power will significantly aid in amplifying the blast attacks from the Ajarakan horn.
Read More
- Solo Leveling Season 2: Check Out The Release Date, Streaming Details, Expected Plot And More
- USD RUB PREDICTION
- Invincible Season 3 Episode 4 Release Time & Spoilers: Don’t Miss ‘You Were My Hero’!
- GRT PREDICTION. GRT cryptocurrency
- POL PREDICTION. POL cryptocurrency
- EUR HUF PREDICTION
- DODO PREDICTION. DODO cryptocurrency
- EUR CNY PREDICTION
- UNI PREDICTION. UNI cryptocurrency
- AI PREDICTION. AI cryptocurrency
2025-02-27 14:25