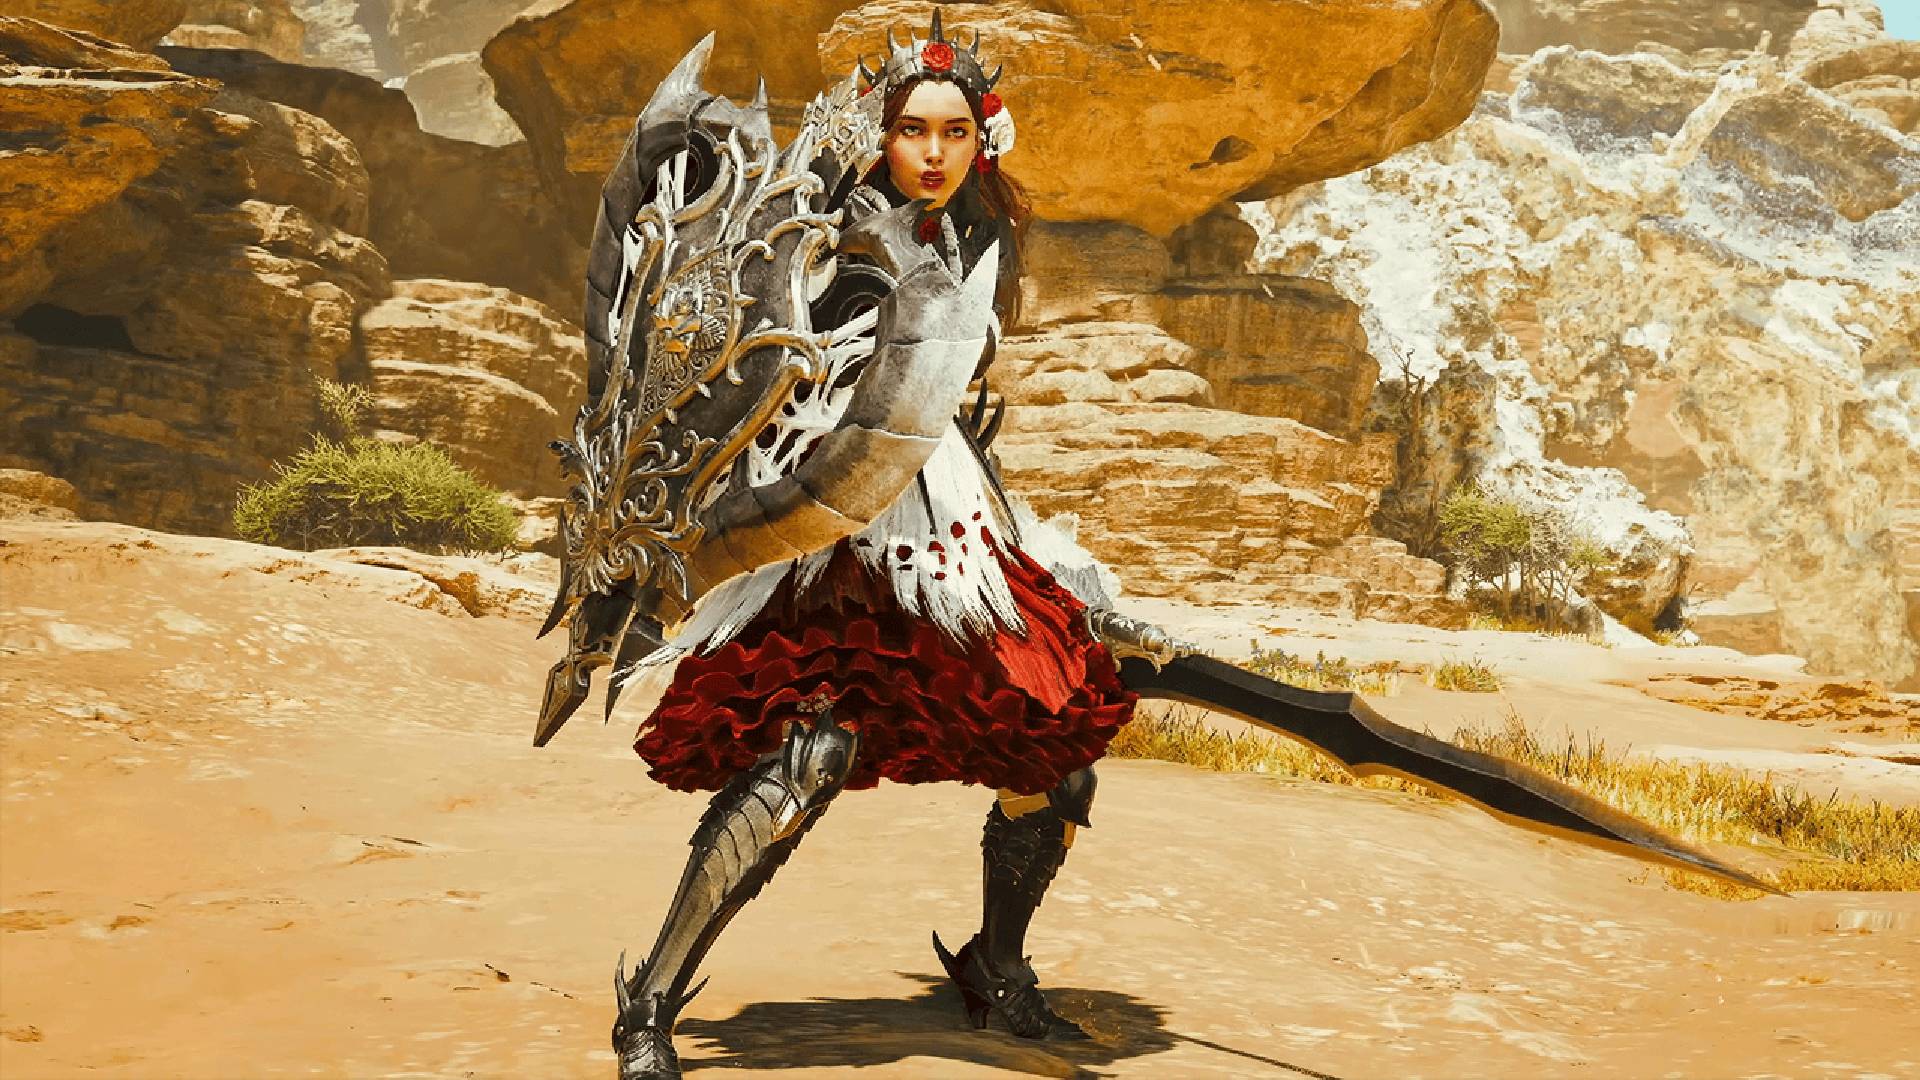
The Charge Blade, exclusive to Monster Hunter 4 on Nintendo 3DS, is often seen as the most intricate weapon in the series by many hunters. Unlike other weapons, it penalizes you for using it incorrectly and comes with a staggering four charge meters to manage. Despite its complex design, Capcom has made it reasonably easy to master. When you wield the optimal Charge Blade build in Monster Hunter Wilds, you’ll appreciate its prowess: a versatile weapon capable of dishing out heavy damage and swift attacks while providing solid defensive abilities. (If only it could fire bullets, the Charge Blade would be unstoppable).
For beginners using the Charge Blade, it’s divided into two forms: a sword-and-shield combo and an axe. In your sword-and-shield form, you build up energy in phials positioned beneath your weapon’s sharpness gauge. You can store these charges to amplify the axe with an elemental surge, enabling the use of strong elemental discharge moves. Afterward, you can enhance your shield, sword, and axe using these phials to make them even more potent.
How to play Charge Blade in Monster Hunter Wilds
In your opening battle stance, you’ll use a standard slash sequence by pressing Y, and for a powerful charge slash, hold down B then release it at the right moment. As you wield this weapon, the phial outlines will change from white to yellow, then red. When they are yellow or red, you can store the phials using RT + B, which will fill up as three yellows or all five with red as elemental charges.
- If you go too long without storing the weapon will become overcharged (illustrated by glowing red phials) and your slashes will bounce off the enemy, leaving you unable to combo.
- While the phials are stored you can still earn a charge, and if you store a second batch your charges will become powered up, dealing more damage.
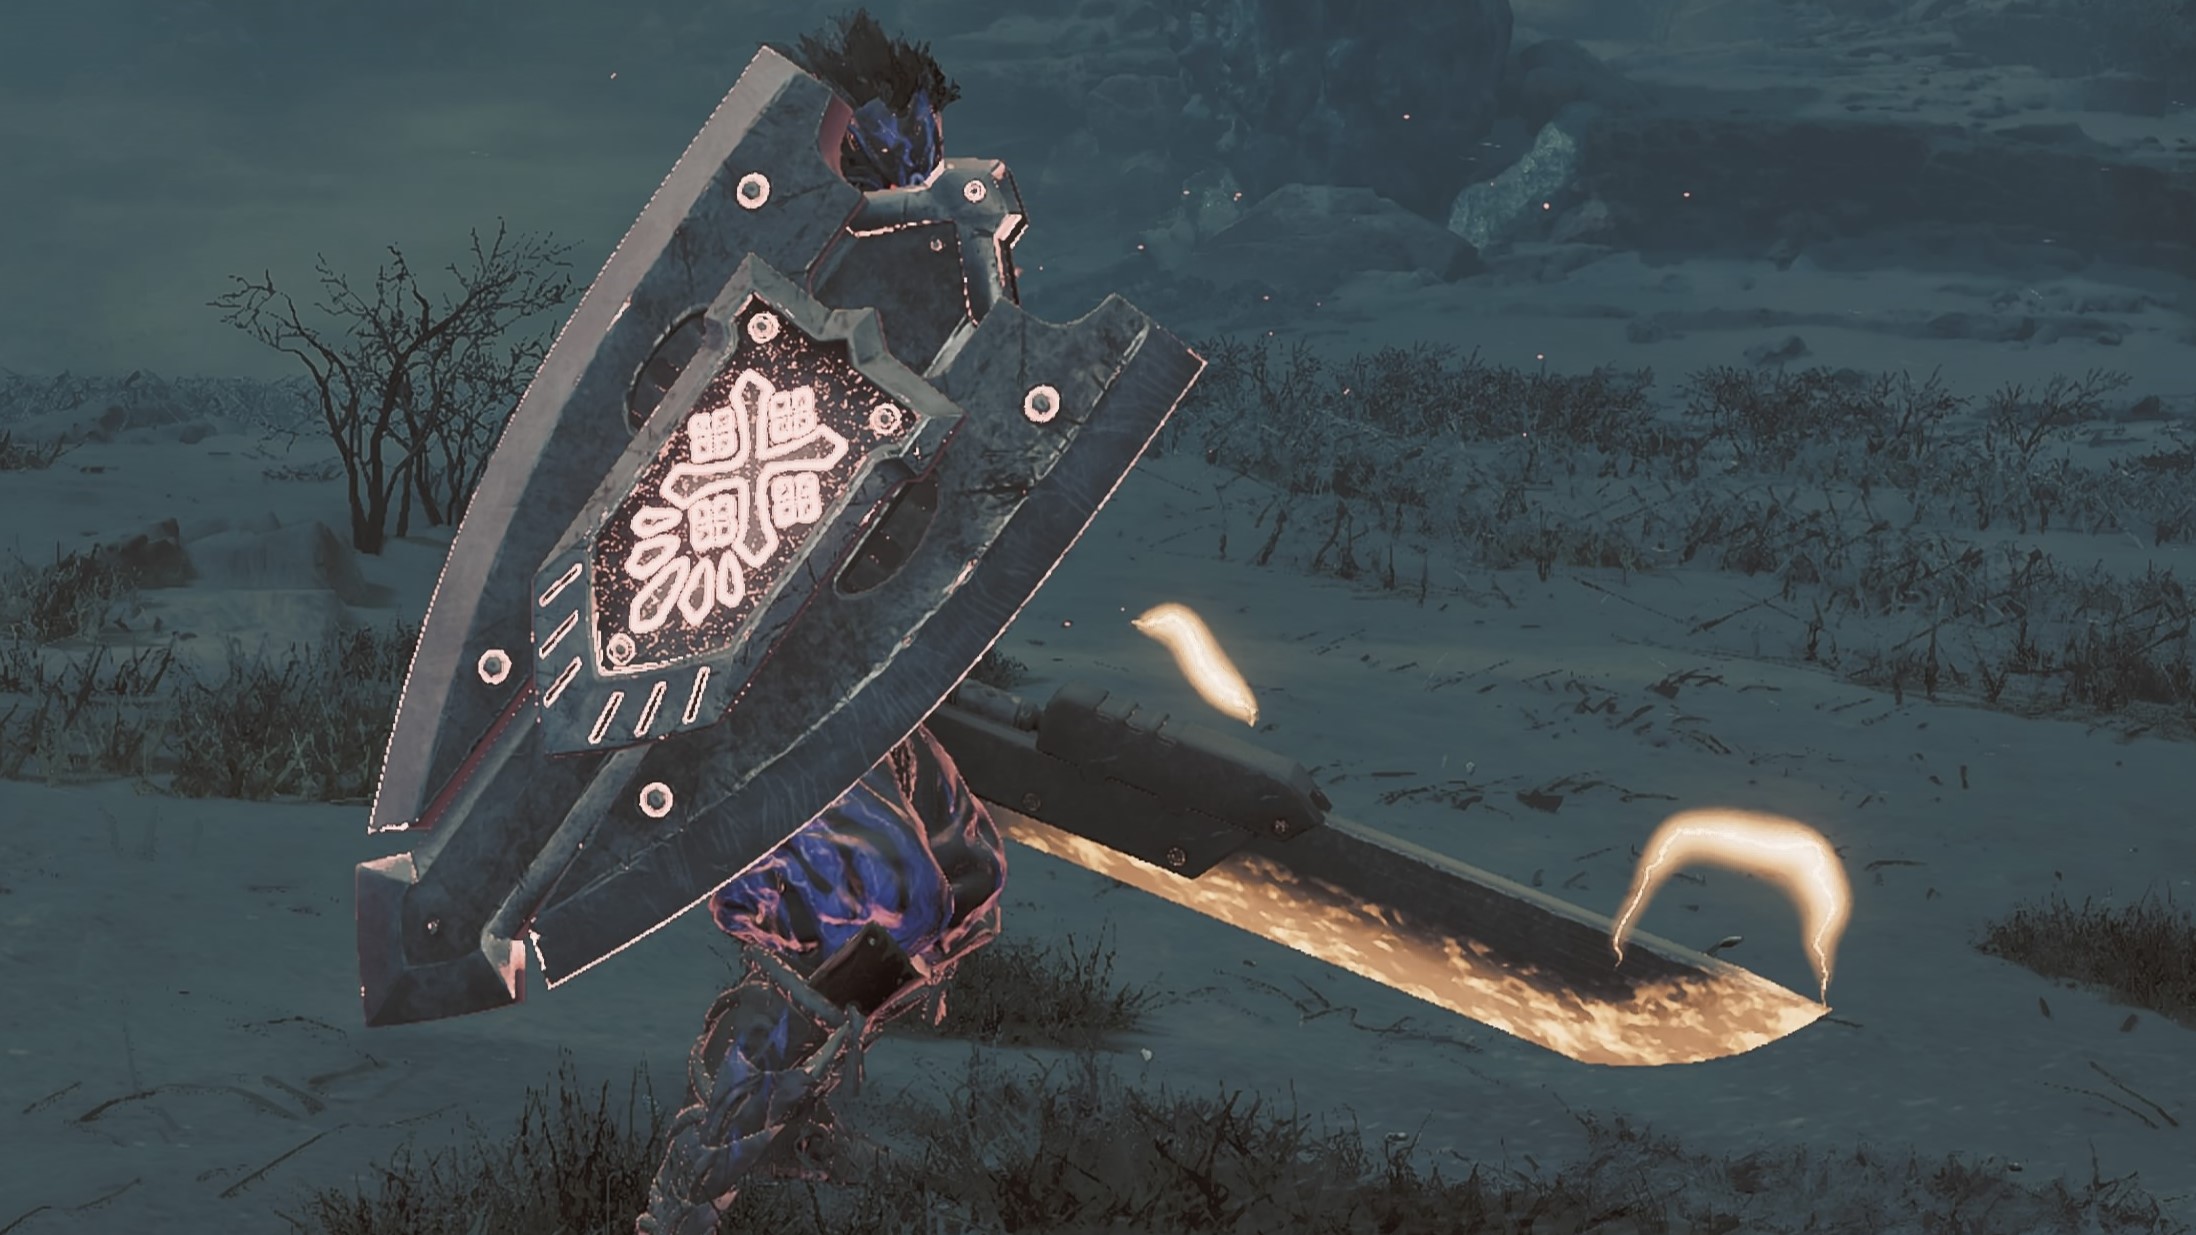
Storing phials will power up your axe form. You can enter axe form in a few ways:
- When sheathed press RT to go straight into axe mode with an attack
- Press RT + Y to do the Morph Slash attack
- Use the Y + B attack three times in a row to use the Amped Element Discharge combo
- When guarding an attack press Y (this powers up your axe upon a Perfect Guard)
- When storing phials (RT + B) press B to do Element Discharge I
In Axe mode, you’ll find that it emphasizes slower, powerful strikes, with the actions assigned to both buttons. The maneuvers linked to ‘Y’ are standard axe techniques that don’t require phials or elements, whereas the moves associated with ‘B’ will consume your phials for more impactful attacks.
- Charged-up attacks will follow each basic hit with a second that does elemental damage, and each B button press uses up one phial.
- You can do the B button moves without charges, but they will be regular axe moves without the follow-up elemental damage.
The peak strike using the axe is the Amped Elemental Release, a potent swipe causing extensive and elemental harm. You can continue with another Amped Elemental Release. Once your shield is fully loaded, you’ll be able to unleash the incredibly powerful Mega Amped Elemental Release (performed by pressing Y+B after an Amped Elemental Release), which inflicts massive damage but depletes all five phials at once.

1. Monster Hunter Wilds Handbook: All our tips compiled here
2. Co-op Hunting in Monster Hunter Wilds: A Guide to Multiplayer
3. Strengthen Yourself with the Best Armor in Monster Hunter Wilds
4. Crafting Effective Longsword Builds in Monster Hunter Wilds: A Slashing Good Time
5. Enhance Your Gear in Monster Hunter Wilds with Armor Spheres: Upgrade Tips
Charging your weapon
In addition to filling up your vials, you’ll also be powering up the separate components of your weapon. The options to empower your sword and axe, which were featured in Monster Hunter Rise, have now become permanent features in your arsenal, replacing the previous selectable choices.
As a devoted player, prioritizing the charging of my shield is non-negotiable. This crucial step not only reduces my stamina drain during defense and lessens the impact from attacks, but it also unlocks the sword charge and the axe’s Super Amped Element Discharge attack – two powerful moves that can turn the tide of battle in my favor!
- To charge the shield, press RT at the start of an Amped Element Discharge attack, which will empty your phials into your shield.
Charging your blade imbues it with qualities akin to an elemental axe strike, resulting in a stronger impact during normal attacks and dealing somewhat more damage. The advantage here is that these strikes do not require phials, allowing you to unleash them freely and without restraint.
- To charge the sword, hold Y while storing phials (RT + B) after your shield is already charged which performs the Condensed Element Slash attack.
– Recharging your axe enables you to execute B attacks without consuming phials, and Amped Element Discharge will consume only half a phial, thereby doubling its uses. Furthermore, by holding down the Y button, your axe gains a saw effect, dishing out multiple smaller strikes with each attack.
- You can charge your axe in two ways: By pressing Y after performing a Perfect Guard, or by using a Focus attack on a monster’s wound.
Best Insect Glaive Low Rank build
This construction emphasizes the Power Prolonger ability, extending the duration your Charge Blade equipment remains activated beyond normal limits. The armor sets prioritize skills from the Doshaguma’s Might group, offering attack enhancements upon successful execution of a Power Clash (a defensive move where you block multiple monster attacks, culminating in a quick time event that knocks them over).
- First Weapon: Bone Strongarm
In Monster Hunter Wilds, you won’t have to concern yourself much with creating a Charge Blade at the beginning, but swap out the Hope Strongarm for a Bone Strongarm immediately. The Bone Strongarm’s Load Shells skill is very beneficial for the Charge Blade. At level 1, this skill will boost the reloading speed of your Charge Blade, and if you upgrade your Bone Strongarm to one with the Load Shells level 2, it will provide you with five charges from yellow phials. Use this until you encounter Uth Duna.
- Second Weapon: Uth Valeroje I
In Lower Rank, Uth Valeroje, your second and likely final weapon of choice, stands out as a robust Charge Blade with an attack power of 576. What sets it apart is its Water Element, which proves beneficial against enemies such as Rompopolo, Rey Dau, and Ajarakan. However, the true appeal lies in its Power Prolonger skill. This skill extends the duration of your Shield, Sword, and Axe charges, allowing for prolonged periods of higher damage output without needing to frequently recharge.
1. MH Wilds: Longsword strategies – Victory through slashing
2. MH Wilds: Greatsword strategies – Powerful sword techniques
3. MH Wilds: Bow strategies – Aim for the target
4. MH Wilds: Dual Blades strategies – Rapid and intense
5. MH Wilds: Hunting Horn strategies – Beep boop
6. MH Wilds: Light Bowgun strategies – More lethal, less stationary turret
- First armor set: Hope Mask, Hope Mail, Hope Braces, Hope Coil, Hope Greaves
Choosing the Hope armor set is a smart choice for Charge Blade users, as it offers beneficial skills like Stun Resistance and Divine Blessing. The Stun Resistance skill minimizes the duration of the Stun status effect, which is particularly useful given that you might get hit during Axe mode due to its slower attacks. Additionally, Divine Blessing provides an opportunity to lessen the damage taken from incoming attacks. Use this armor set until you encounter the Alpha Doshaguma.
- Second armor set: Ingot Helm, Doshaguma Mail, Doshaguma Braces, Doshaguma Coil, Doshaguma Greaves
As a gamer, I’ve come to admire the Doshaguma armor set for its unique perk – Doshaguma’s Might. This group skill kicks in when I pull off a successful Power Clash or Offset Attack, granting me a significant +10 attack boost! However, my Charge Blade doesn’t support an Offset Attack (which is quite the bummer). The Power Clash, on the other hand, can be executed by blocking certain powerful incoming attacks.
Once you defeat Uth Duna, Rompopolo, and the formidable Guardian Doshaguma in battle, you’ll gain entry to the Ingot set. Initially, I’d suggest grabbing the Ingot Helmet for its ability to restore Divine Blessing, though it’s not an essential upgrade at this point. However, a more significant upgrade will present itself later on in your journey.
- Third armor set: Ingot Helm, G. Doshaguma Mail, G. Doshaguma Braces, G. Doshaguma Coil, G. Doshaguma Greaves
Essentially, the Enhanced Doshaguma Collection is an improved version of the standard one. Just like before, it includes the Doshaguma’s Power bonus, a feature that remains highly beneficial. Additionally, this new set introduces a skill called Heroics. This skill boosts your attack and defense when your health falls below 35%, making it particularly effective when combined with Doshaguma’s Power. Furthermore, this set offers a minor decoration space on the helmet and braces, enabling you to insert a decoration such as the Brace Jewel, which prevents being pushed back.
To progress to a higher rank in this collection, focus on mastering the Power Clash moves from strategic block timings, and familiarize yourself with the mechanics of using the Charge Blade weapon. Sounds simple enough, doesn’t it?
Read More
- Solo Leveling Season 2: Check Out The Release Date, Streaming Details, Expected Plot And More
- USD RUB PREDICTION
- Invincible Season 3 Episode 4 Release Time & Spoilers: Don’t Miss ‘You Were My Hero’!
- GRT PREDICTION. GRT cryptocurrency
- POL PREDICTION. POL cryptocurrency
- EUR HUF PREDICTION
- DODO PREDICTION. DODO cryptocurrency
- EUR CNY PREDICTION
- UNI PREDICTION. UNI cryptocurrency
- AI PREDICTION. AI cryptocurrency
2025-02-27 14:22