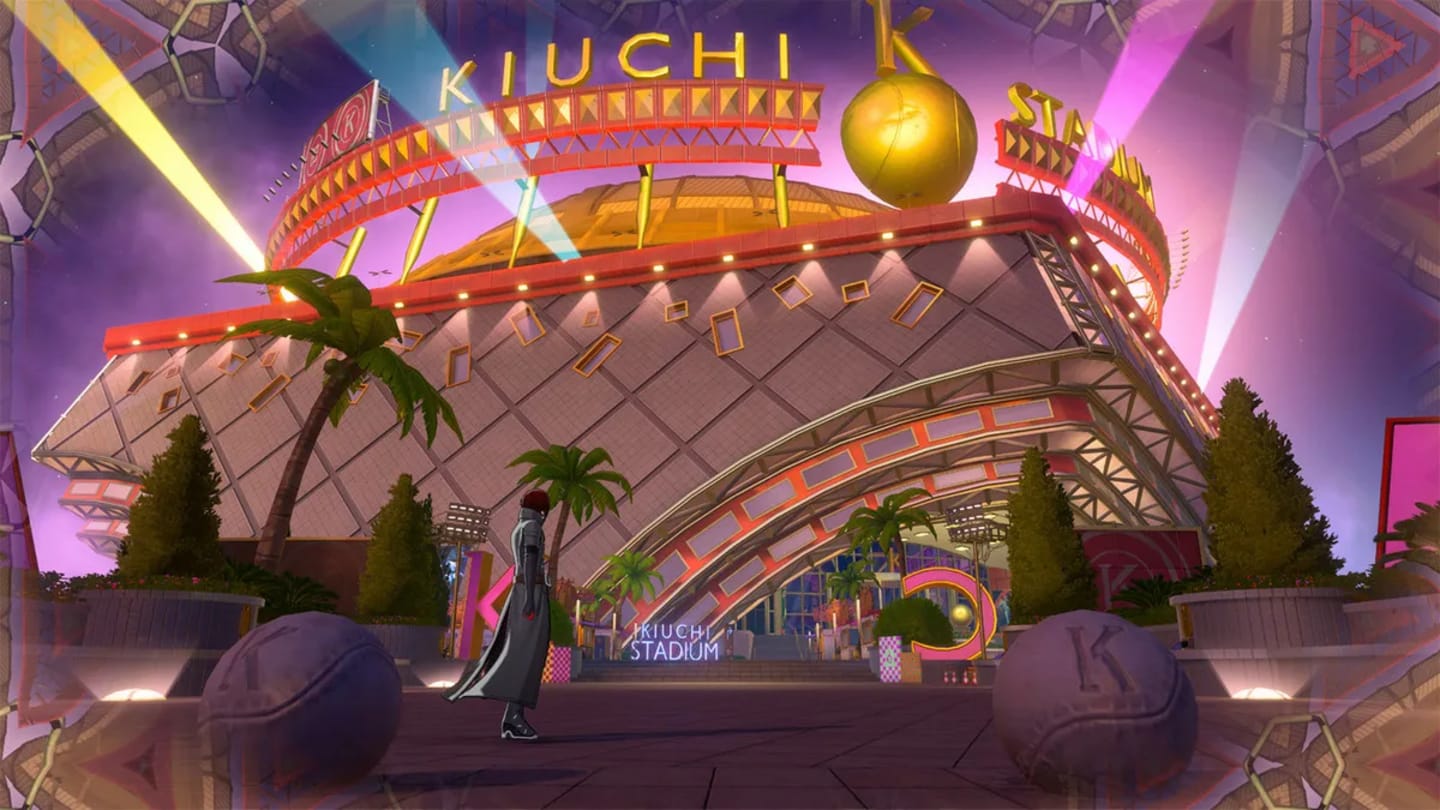
In the game P5X, Kiuchi’s Palace is the initial palace you’ll infiltrate. What might surprise you is the abundance of optional content it offers. It’s highly recommended to complete all of it, not just for the additional rewards it provides, but also because doing so gives you exclusive weapons and upgrades with higher percentages. A significant portion of this optional content revolves around puzzles with mechanisms that can be a bit perplexing since they aren’t clearly explained. This makes solving them on your own a bit challenging.
To assist you in completing Kiuchi’s Palace, we’ve compiled a comprehensive guide that tackles each puzzle within. This guide should help you achieve a perfect completion of the first Palace. For an enhanced experience while navigating this Palace, be sure to review our P5X Rerolls guide for optimal starting selections.
Exhibition Hall puzzles
Scoreboard puzzle
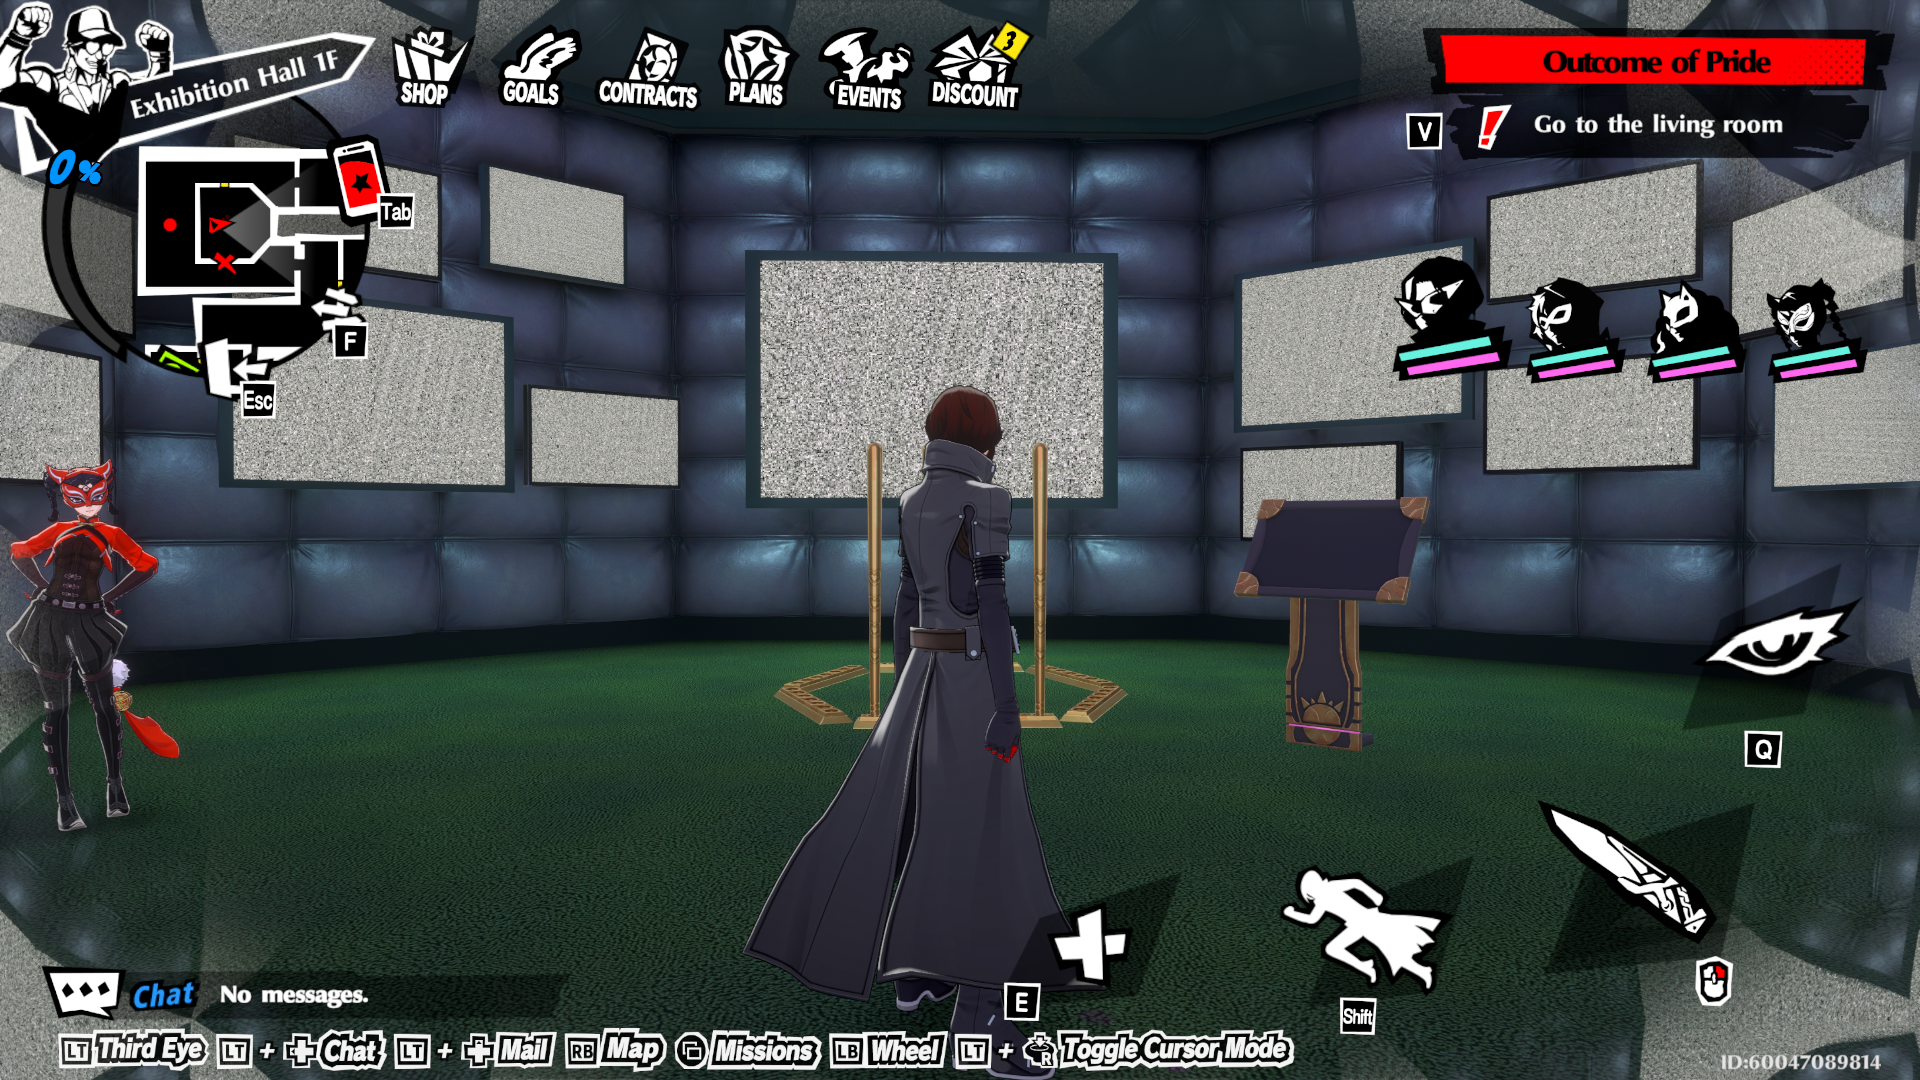
After making sufficient progress in the Palace to obtain the C-Tier fan card, you’re able to revisit the Exhibition Hall section of the Palace to explore the rest of that level. In the eastern wing, you’ll come across a hallway containing a computer that will open the door if you can display a high score from Kiuchi’s impressive scoreboard.
To advance, gaze along the hallway where you’ll find four screens emitting static noise. Activate solely the screen nearest to your left and the one farthest to your right. This will display two images of scoreboards, enabling you to proceed further.
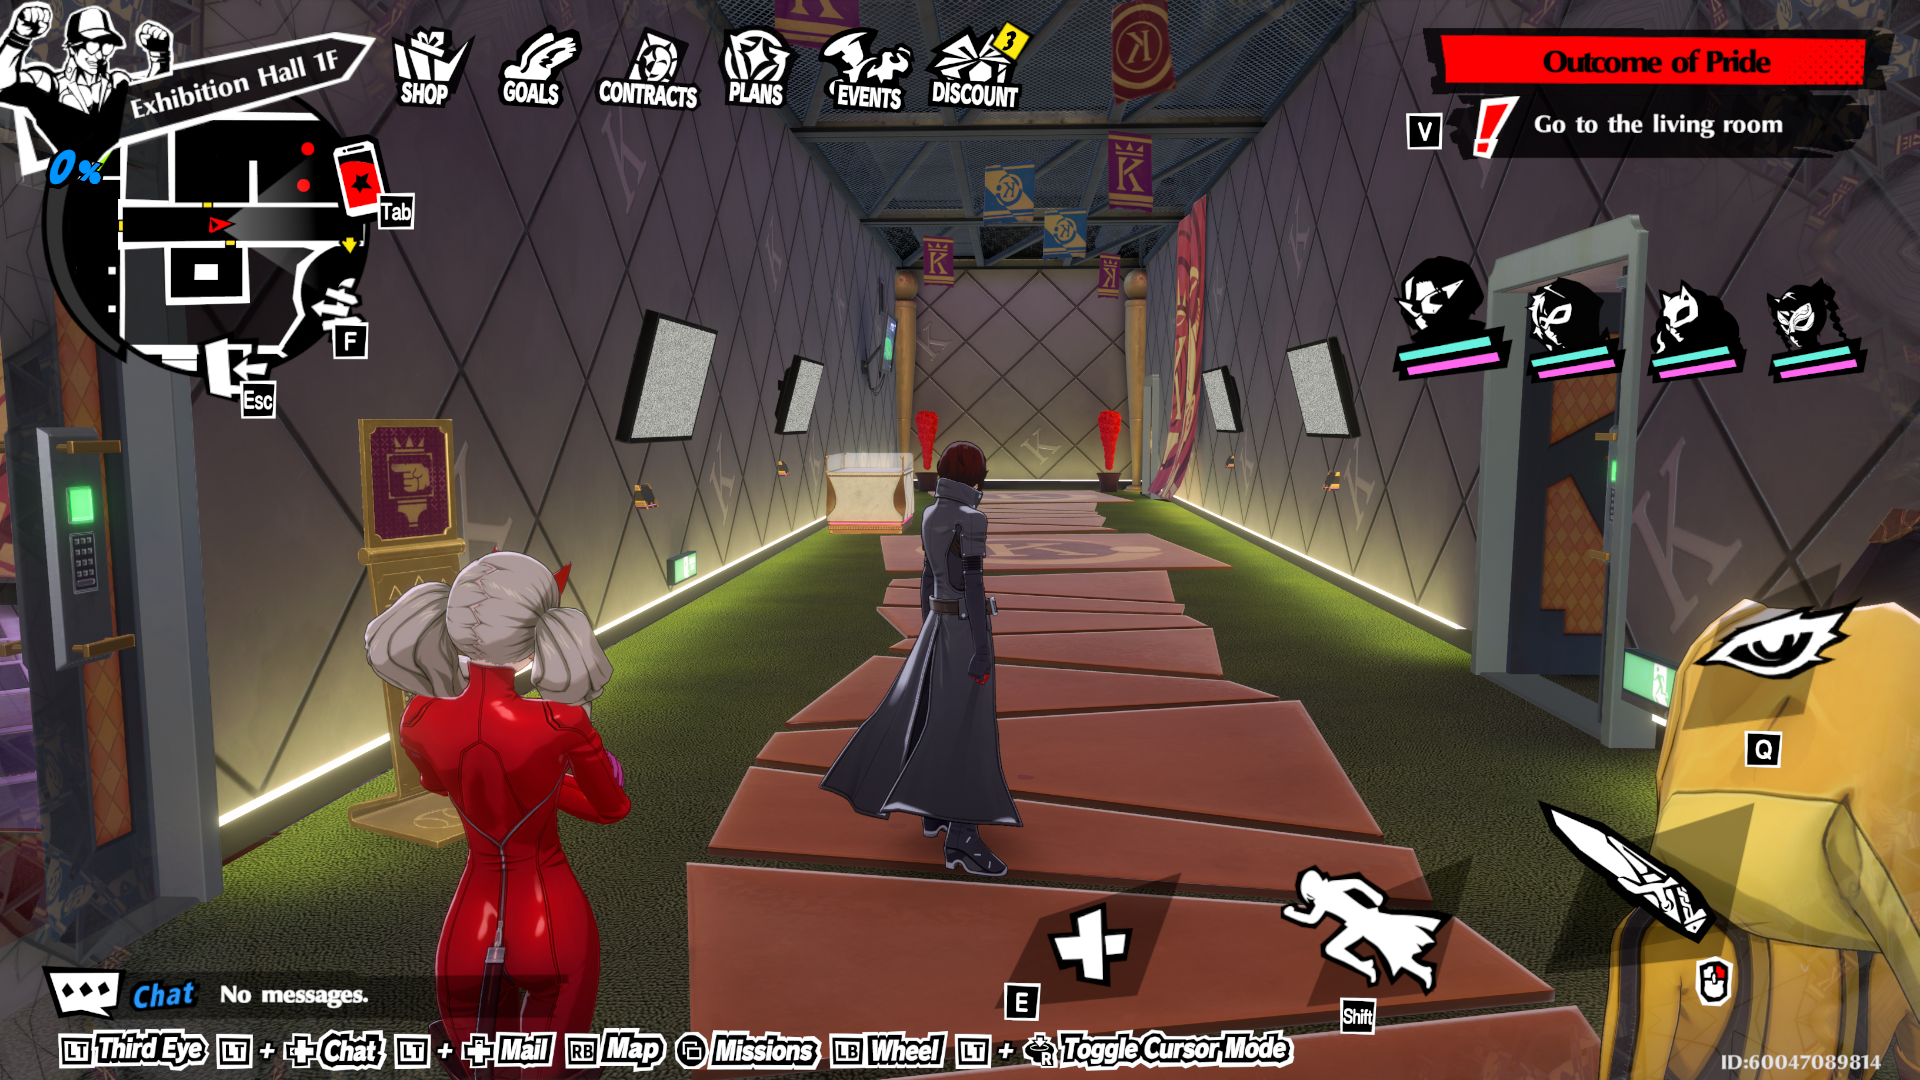
Baseball code puzzle
Once you’ve successfully vanquished the Savage Shadow appearing post-story events within the Exhibition Hall, you’ll be informed that the nearby monitor’s code is 31320. By examining the central statue, you’ll discover four display cases, each holding a distinct number of baseballs. The quantity of baseballs mirrors the digits in the code – for instance, the case with three balls corresponds to the ‘3’ in the code, and so forth. Therefore, you need to interact with each case according to the sequence shown by the numbers.
Guarding valuables puzzle
In the western part of the Exhibition Hall, your task will be to assist in guarding certain exhibits, as they are currently being watched over by a Shadow. To determine which objects you should focus on, you can either observe the Shadow’s routine movements or defeat the Shadow, then use your Third-Eye ability to follow its footprints instead.
TV room puzzle
For the Exhibition Hall’s western wing, there’s a room filled with TVs on the walls and a Golden Contract chest inside a cage. To solve this puzzle, you should turn on the central console once all screens display ‘K’ emblems. You’ll need to do this in three rounds to be successful and access the path to the chest.
Training Hall baseball field puzzles
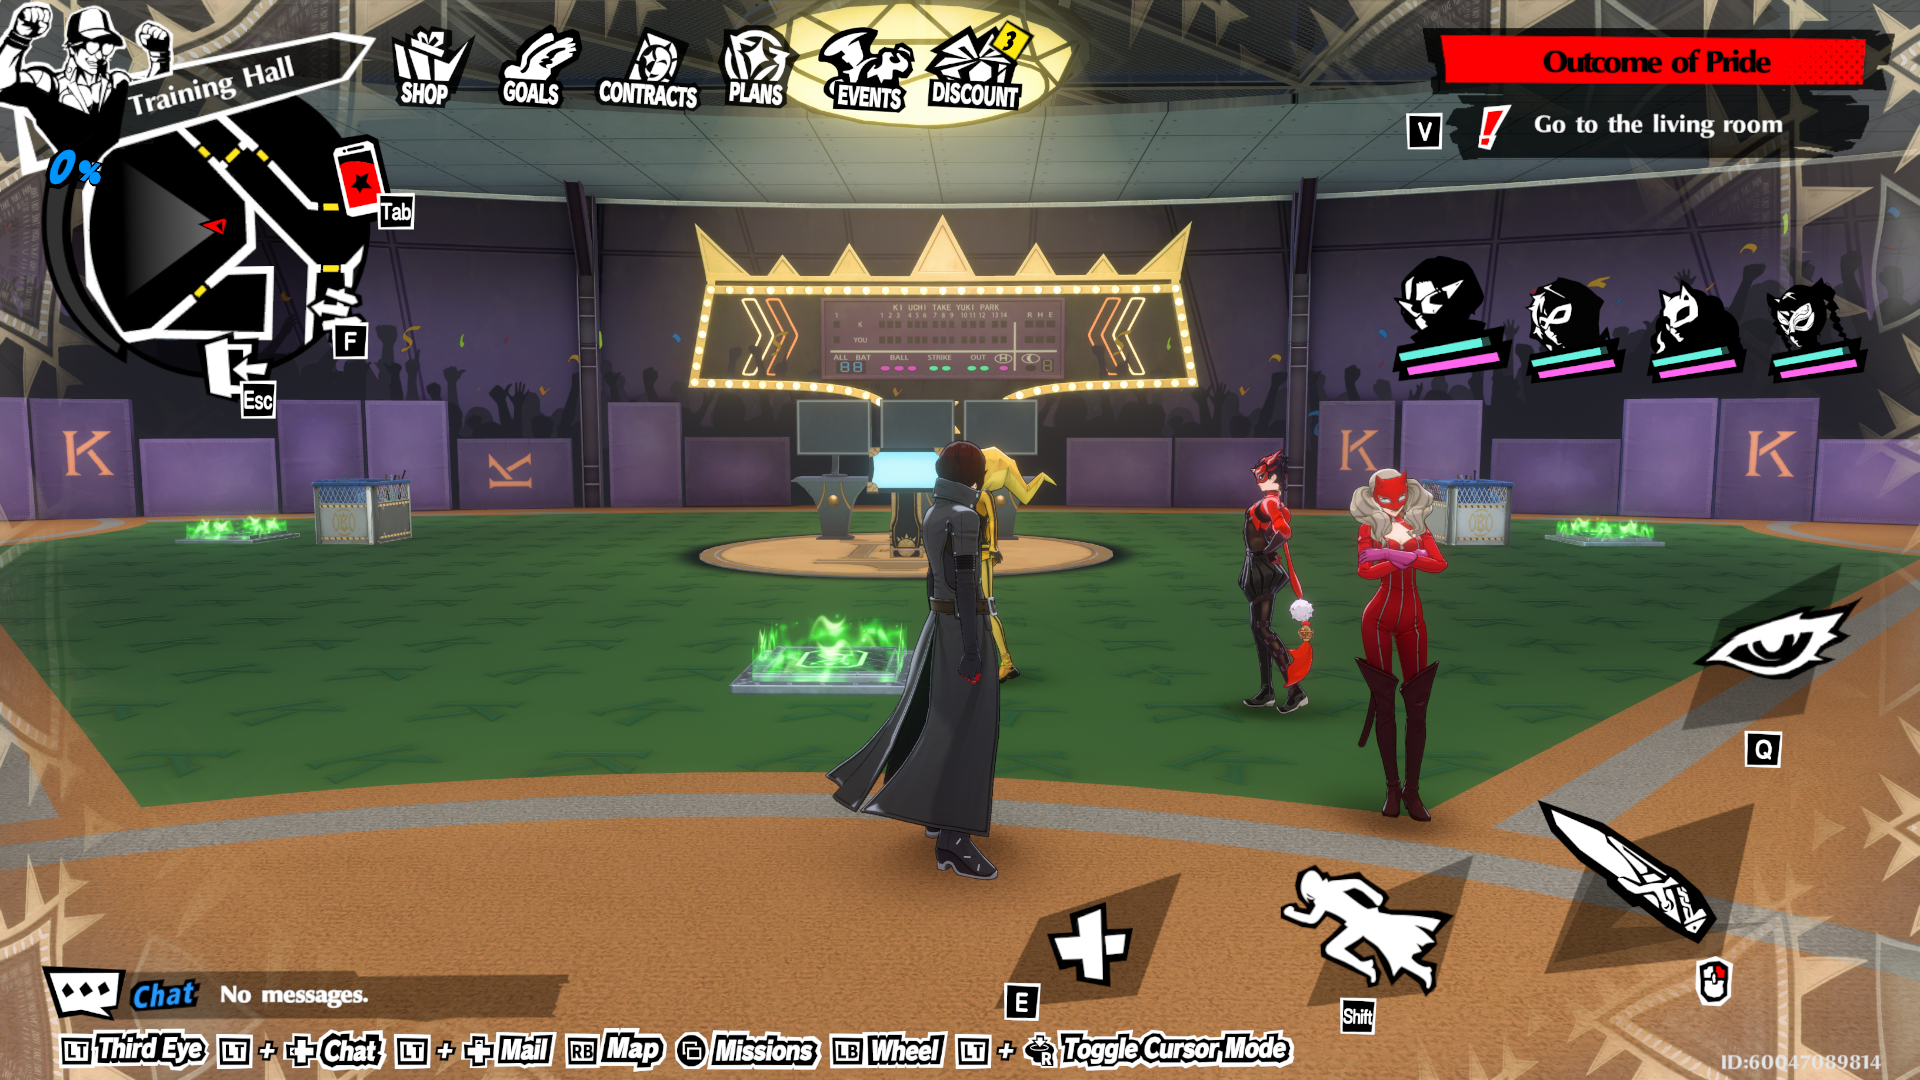
In this space, you’ll discover elevated stages with containers and chests that must be lowered using the pressure pads scattered throughout each room. You’ll observe a TV screen on every stage displaying a baseball game with figures positioned at various bases. The arrangement of players signifies which pressure plates should be depressed, either by you or the moving boxes within the room. Do remember that the home plate, the one nearest to the door, is always easily identifiable.
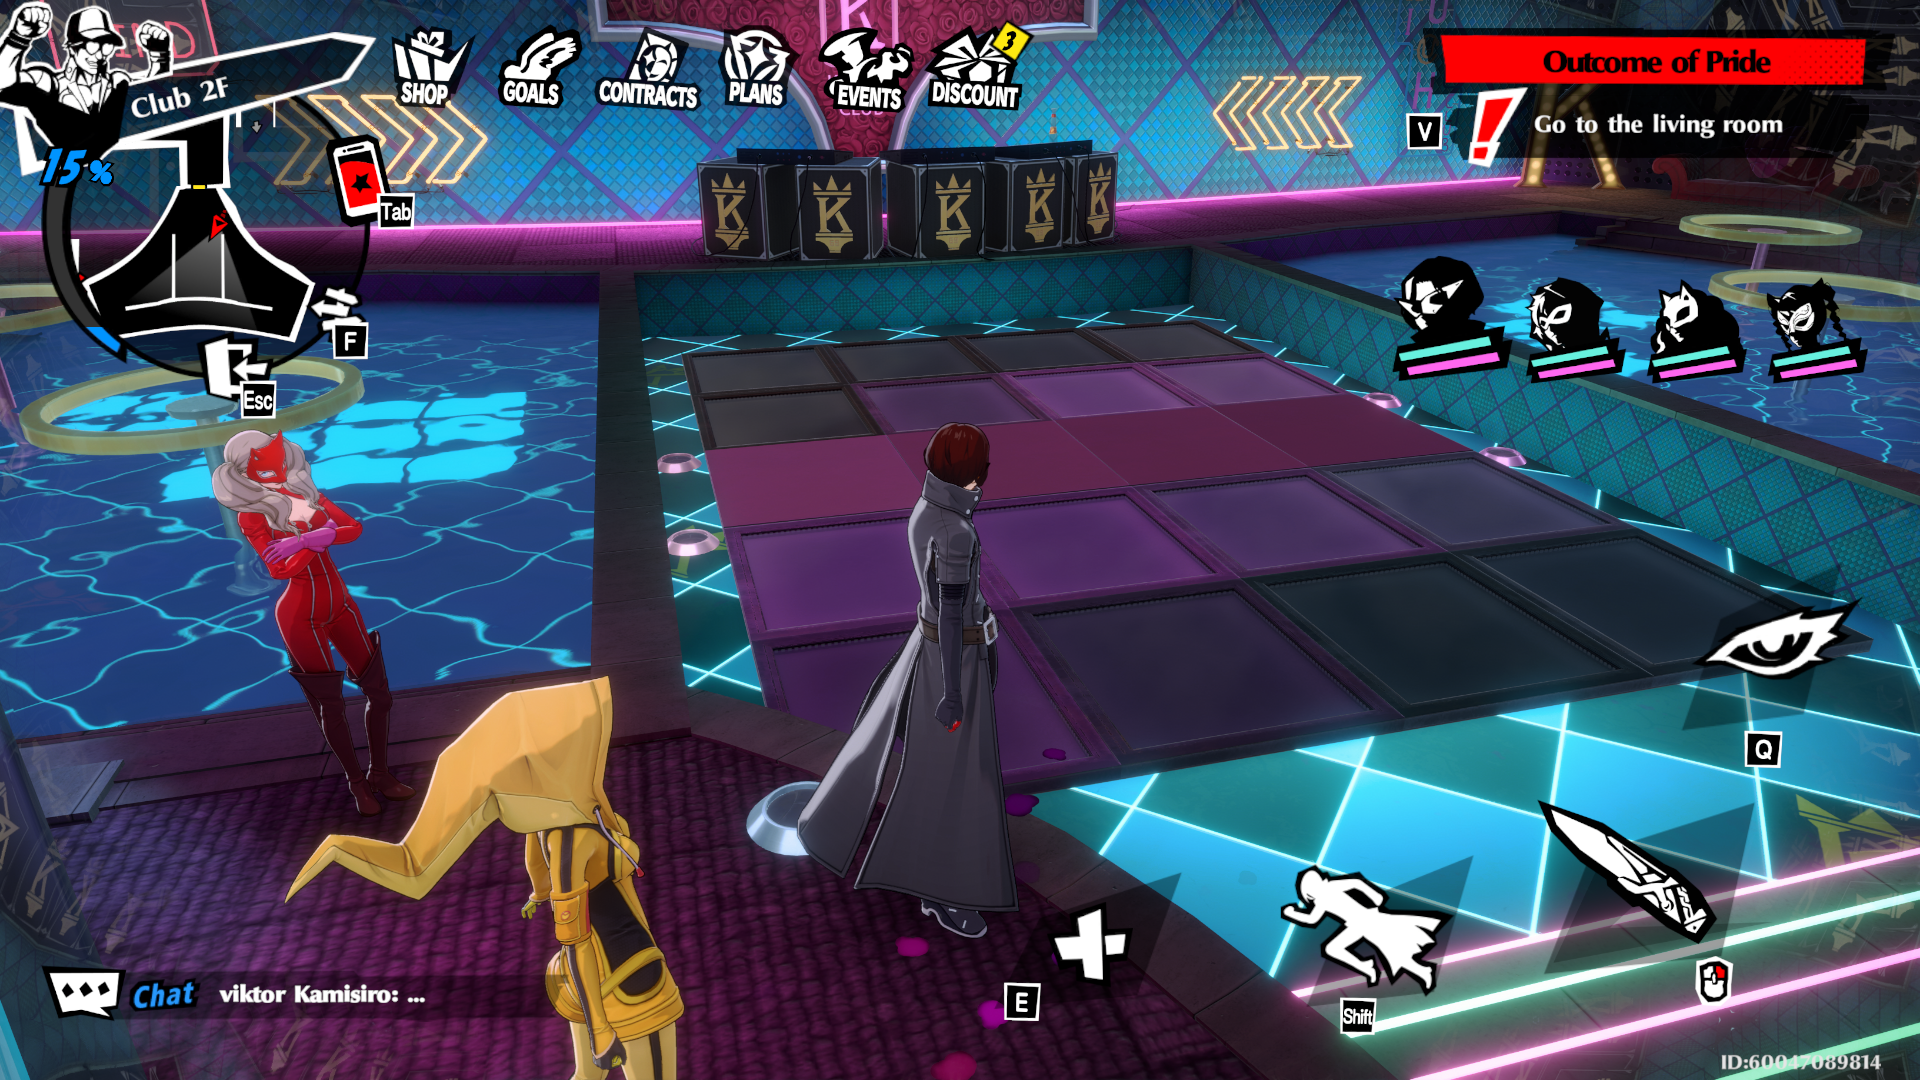
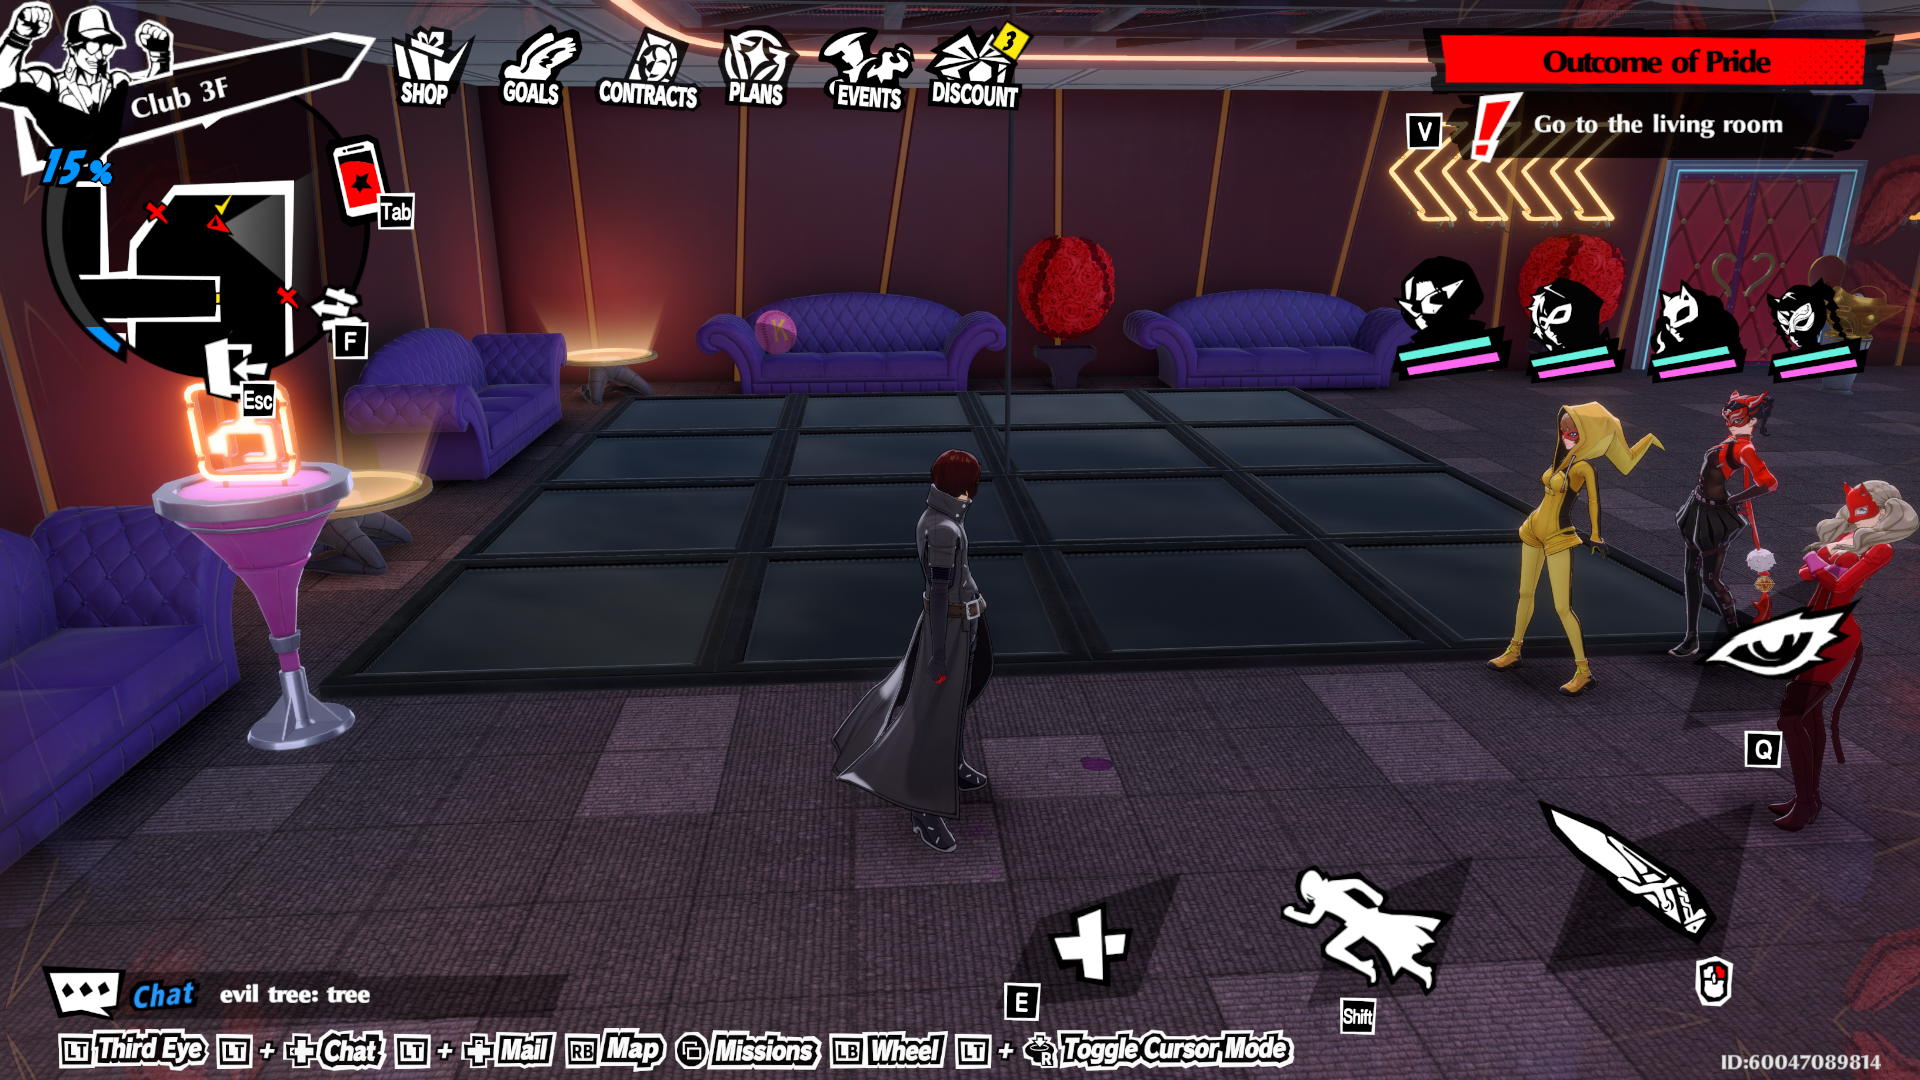
Club puzzles
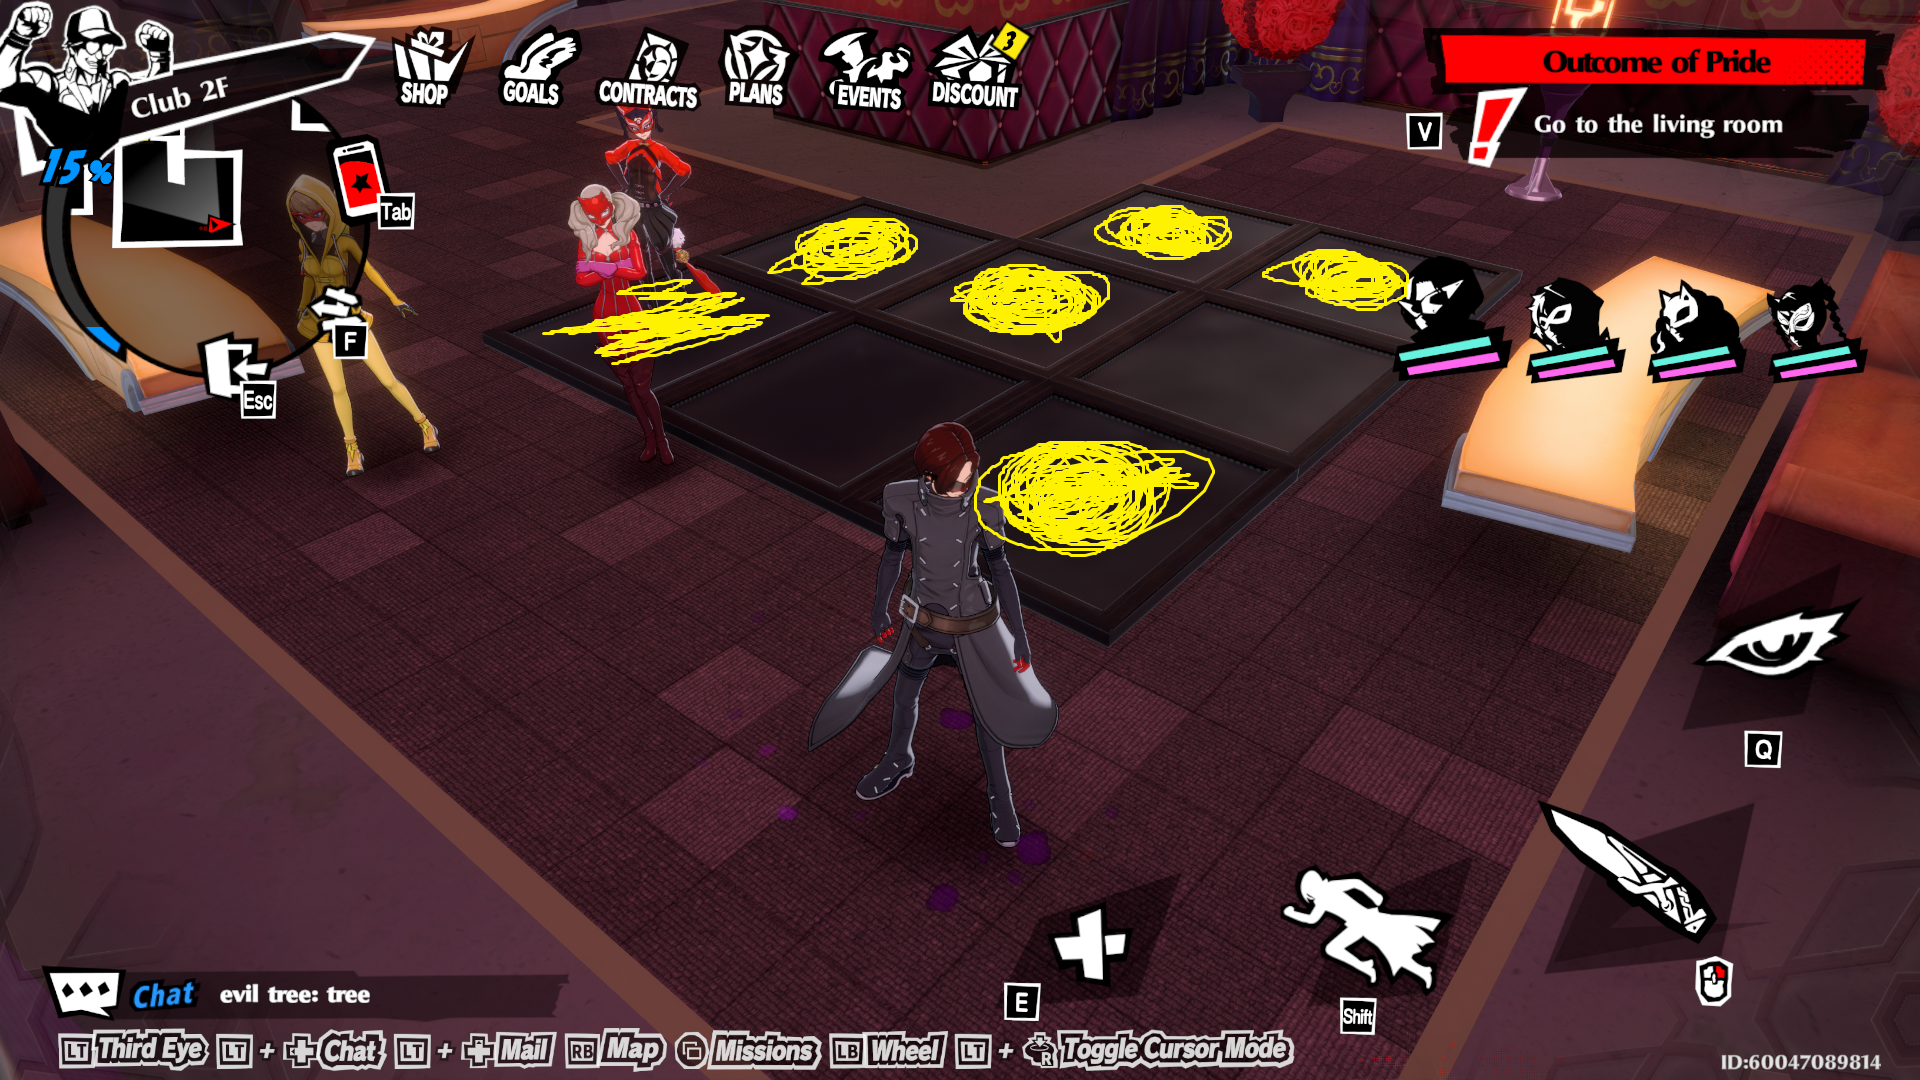
2F electrified grid puzzle
As a devoted enthusiast, I can’t help but share an intriguing experience I had while exploring the Club on its second floor. There, I stumbled upon a familiar grid puzzle, which is integral to the Palace’s narrative we’ve been following so far. However, this time there’s a catch: some parts of the grid are electrified!
Lufel offered a hint suggesting I should leave and return later, but I found that advice misleading. In fact, it was possible to navigate and solve the puzzle even with the electrified sections. A thrilling challenge indeed for someone like me who can’t resist the allure of a good mystery!
In simpler terms, the two sections of the grid are linked. If the ‘Go’ square is located at the lower left corner in one half and the ‘Goal’ square is positioned at the upper right corner in the other half, you just need to follow the path indicated on the top half by moving your body across the bottom half. This is demonstrated in the example provided above.
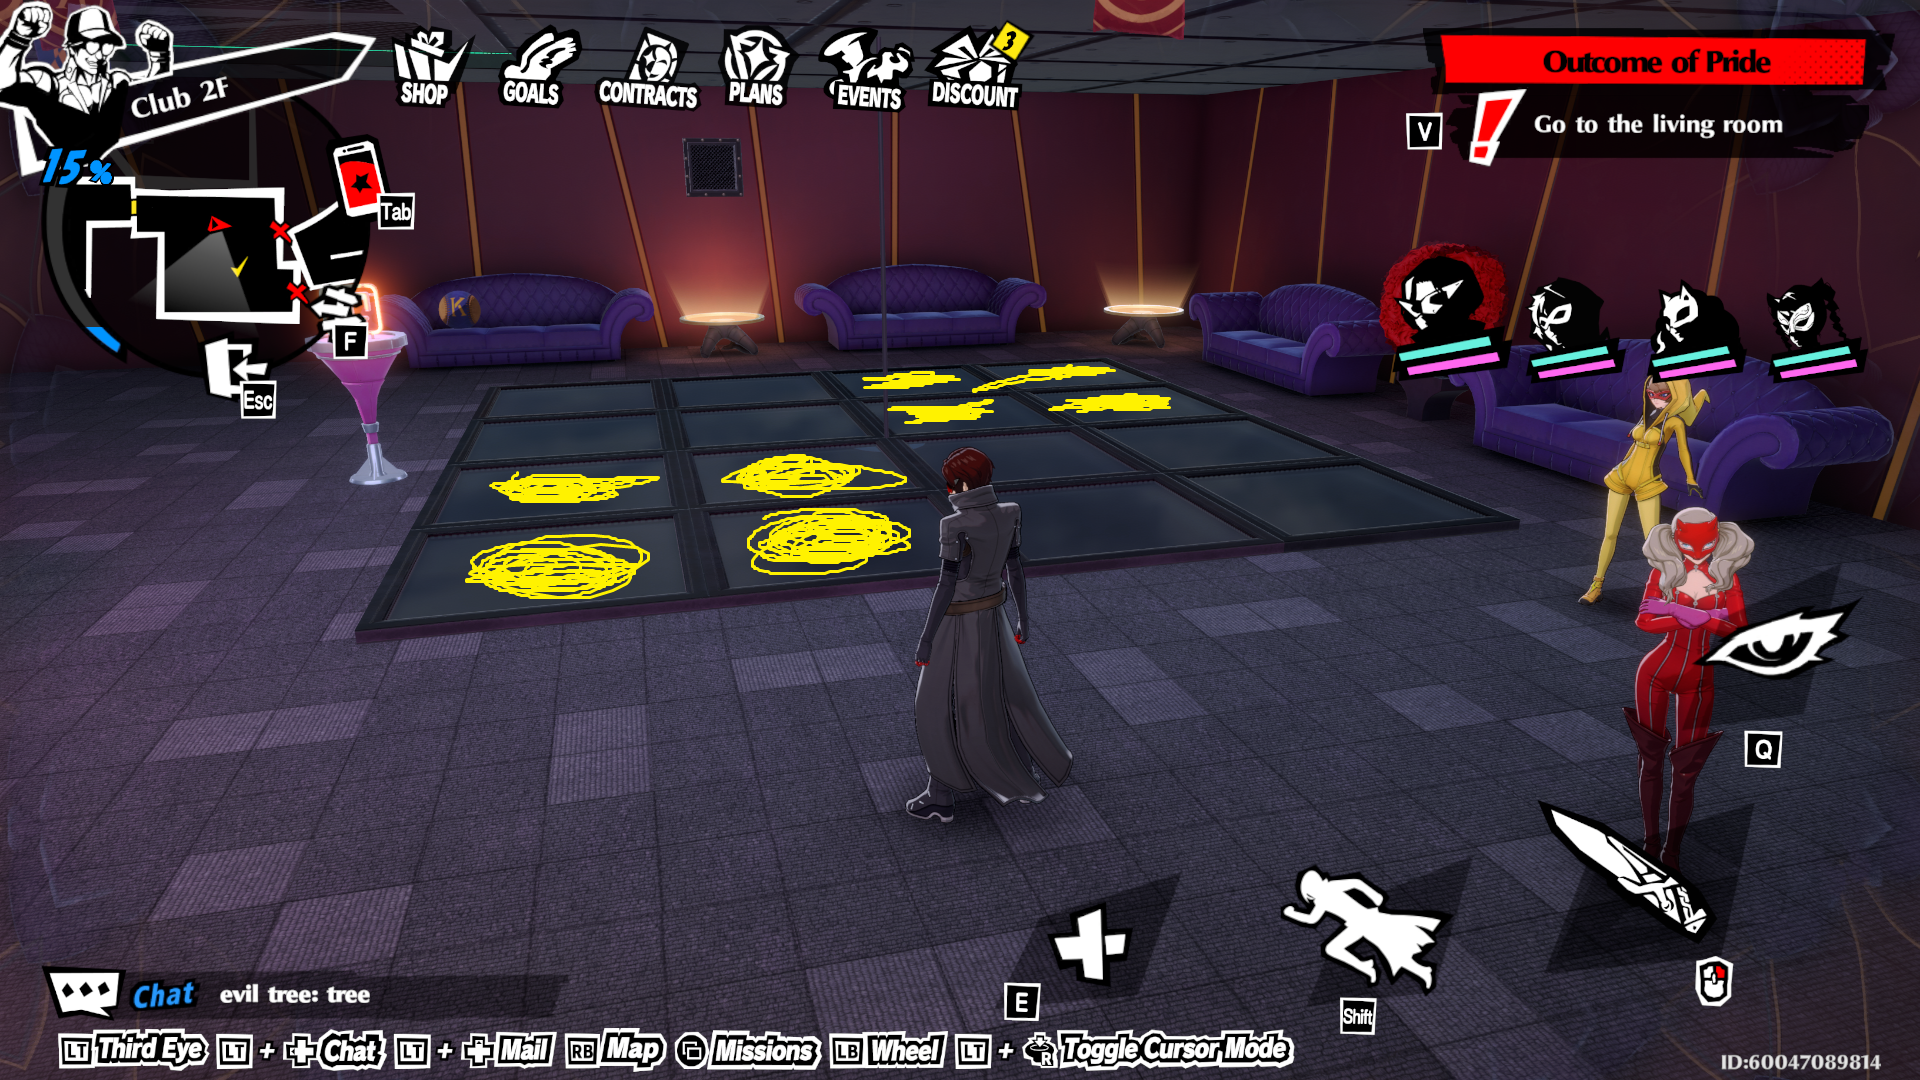
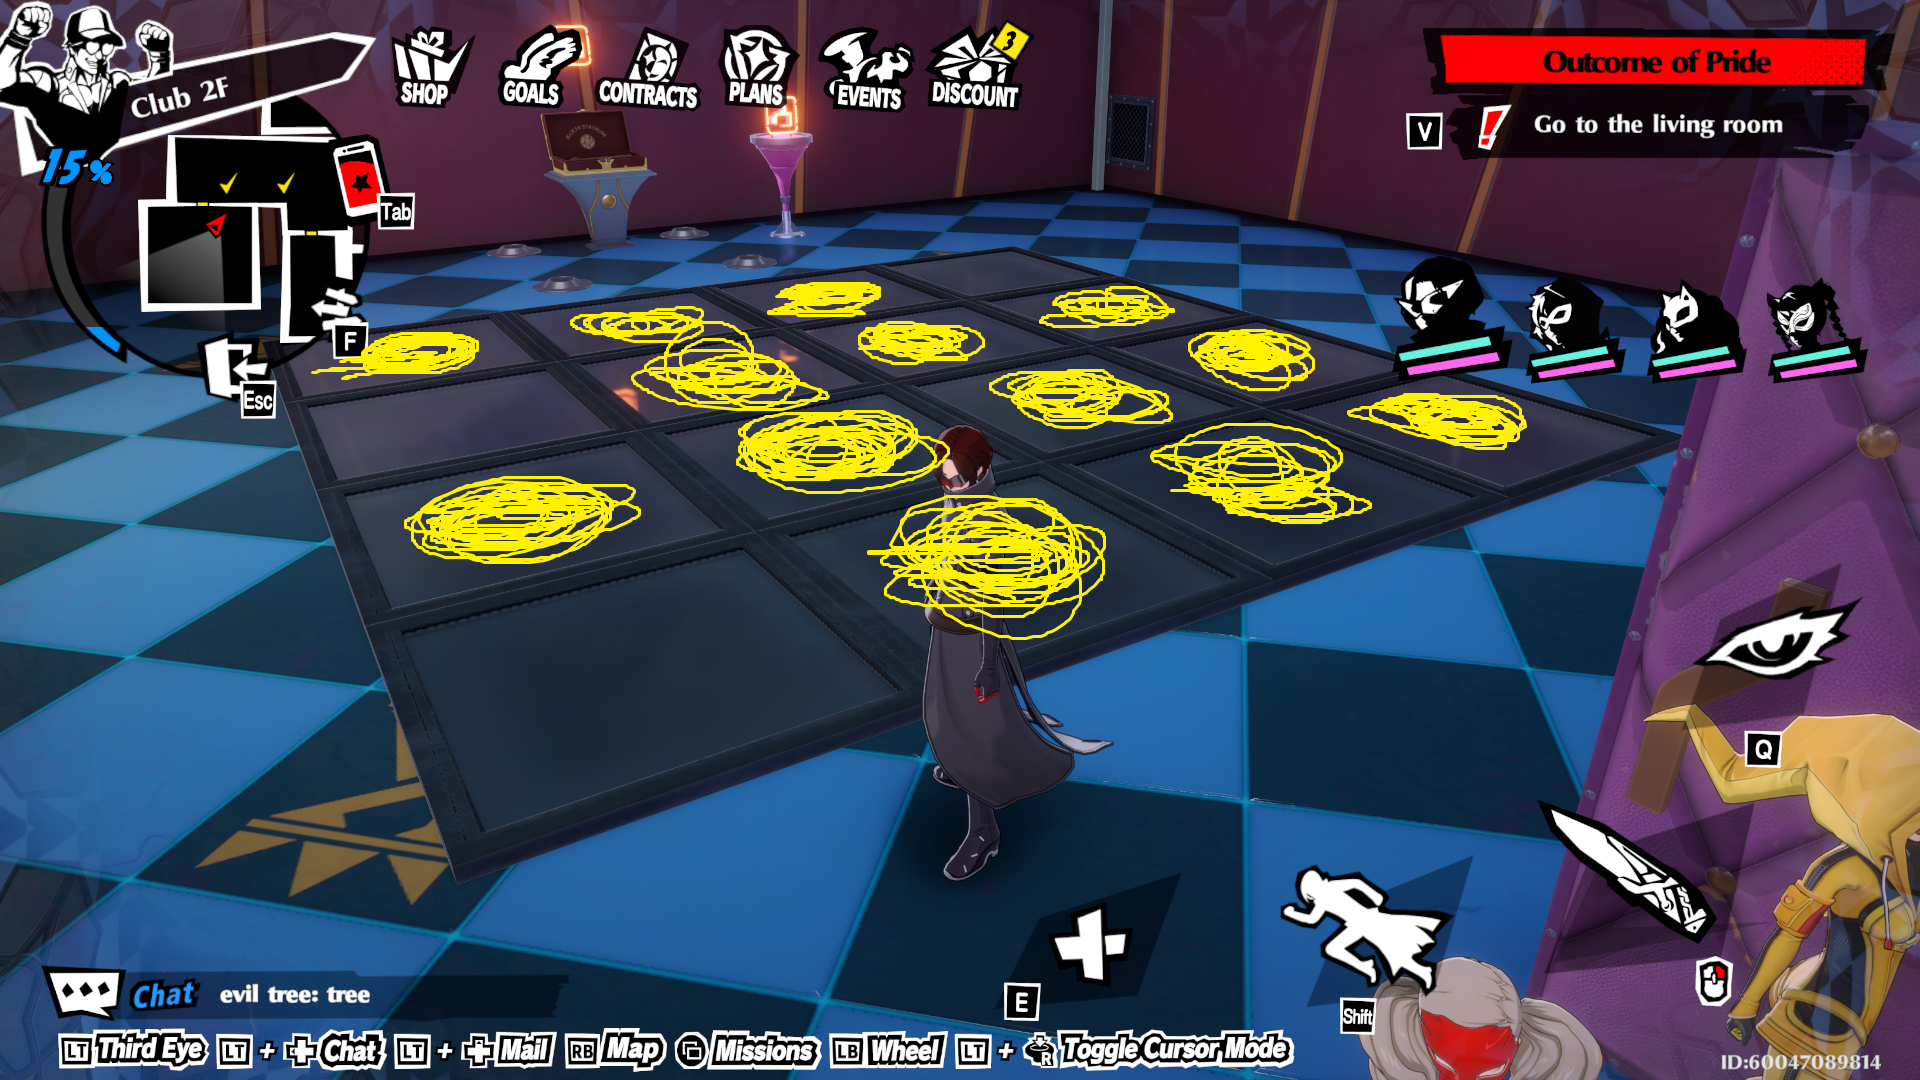
2F Thumb grid puzzles
Working through these puzzles can be incredibly perplexing at first, as the solutions don’t immediately jump out at you. You’ll notice a thumb icon associated with a grid filled with tiles that illuminate when stepped on, and there will be partially completed patterns within them that you must complete to open the nearby chest(s).
If you locate a surrounding area, you’ll discover a complete layout decorated with all three thumb icons. This setup serves as an example of how the finished patterns should appear. Below, you’ll find illustrations demonstrating the solutions for each puzzle.
Thumbs-left room
Simply mirror that half-completed pattern diagonally on the grid.
Thumbs-down room
Fill in all but the two squares adjacent to the bottom-right corner.
Thumbs-up room
Leave unmarked all squares except for those located in the bottom-left corner, the top-right corner, the one immediately beneath the top-left corner, and those in between.
3F thumb board puzzle
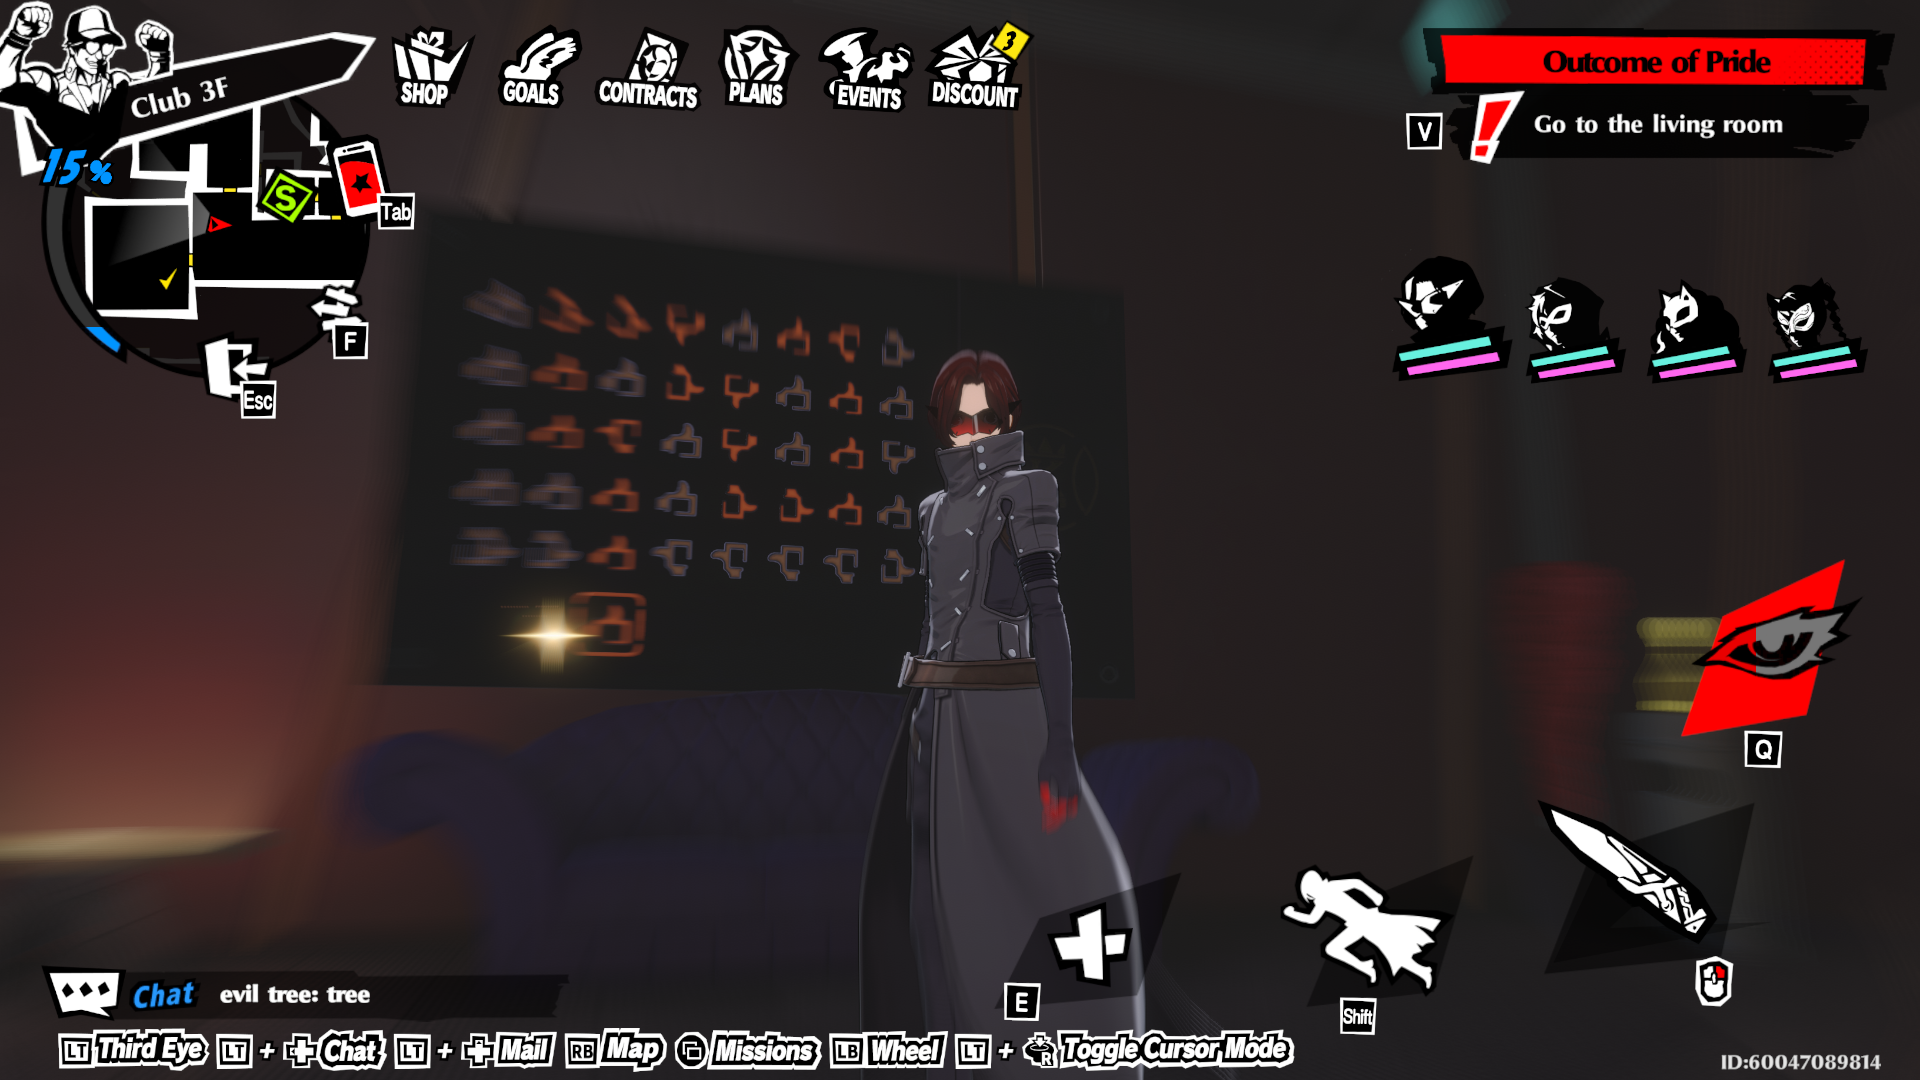
To solve this riddle, you’ll come across a large grid in the room, along with an external board displaying various thumb symbols outside. Beginning from the thumb statue in the room, your task is to traverse the symbols on the board as if they were steps of a path. Essentially, if the thumb symbol points upwards, move to the tile directly above it, if it’s pointing right, move right, and so forth. The provided image shows the correct sequence to follow.
3F thumb door puzzle
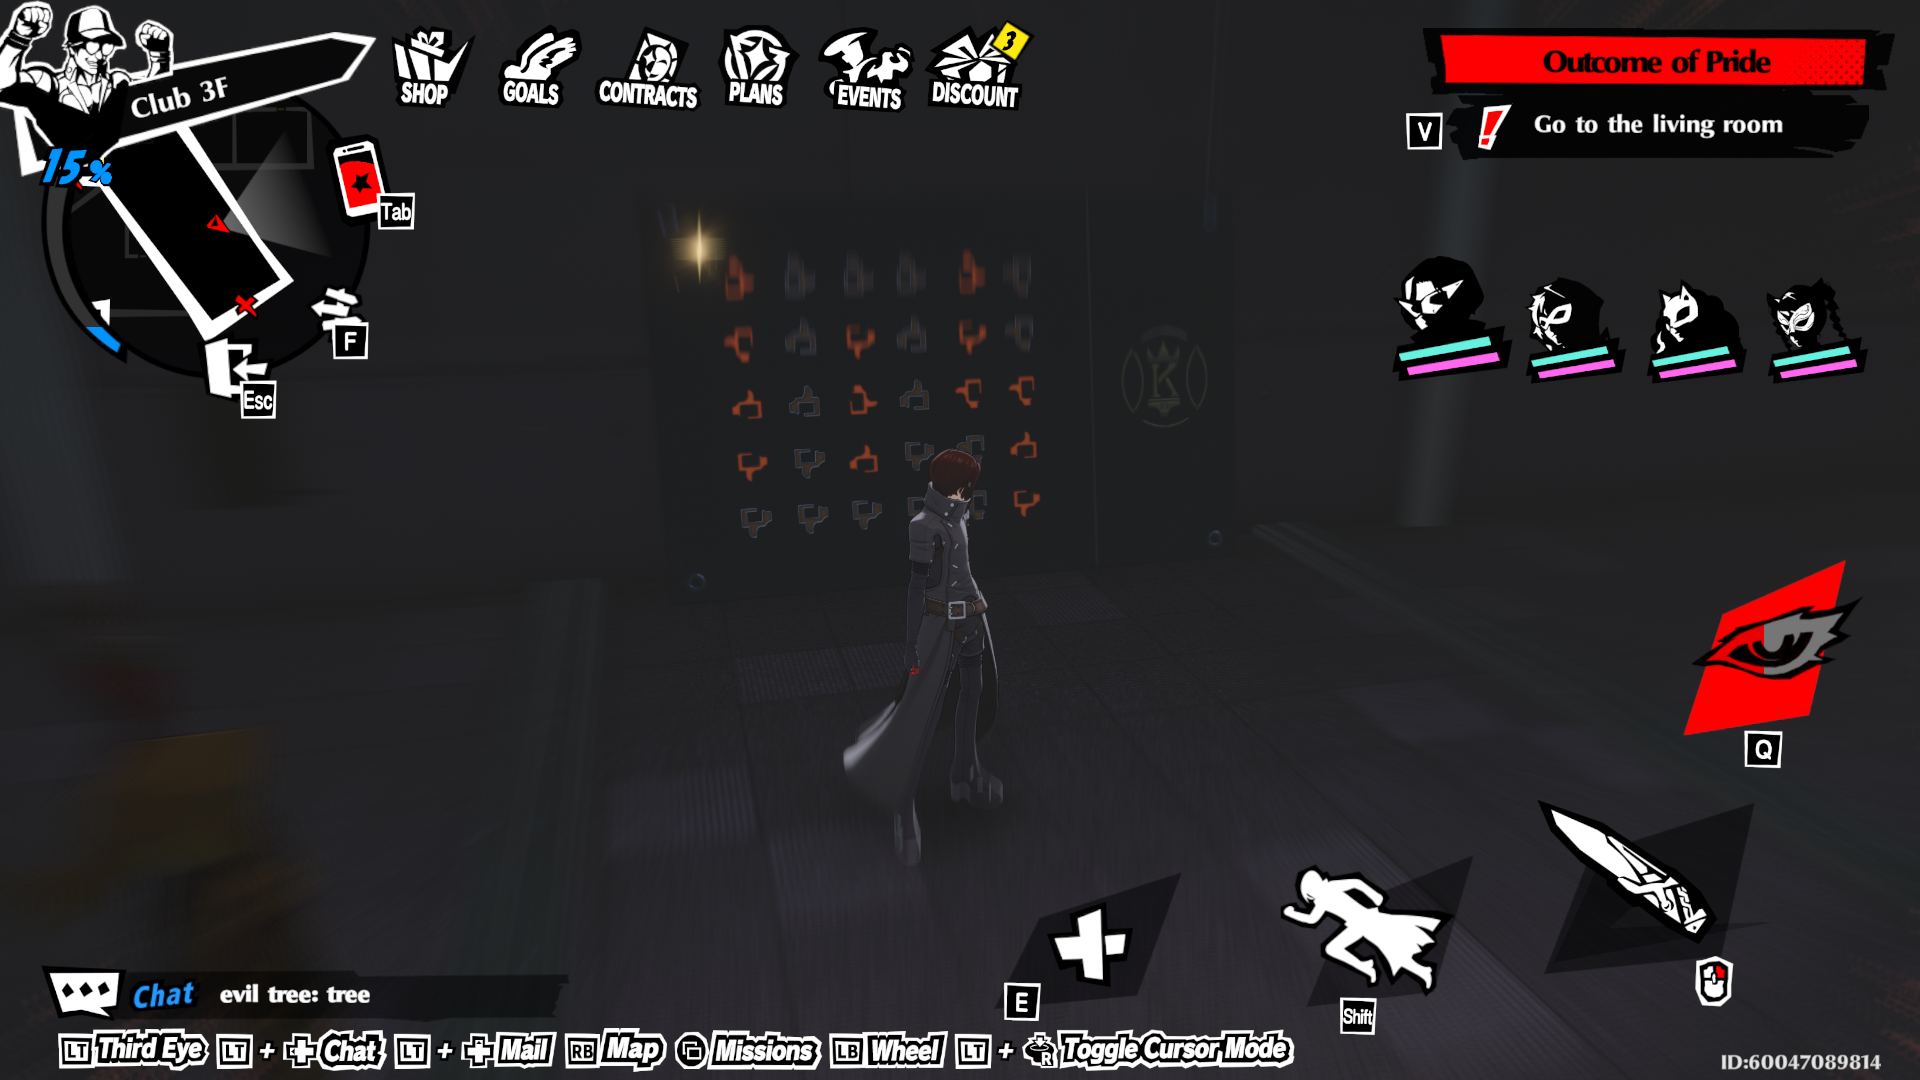
In this riddle, you’ll notice a strong resemblance to the ‘thumb doors’ often found within stories. However, here some of the symbols are absent. Although it isn’t overly challenging to solve it by trying every possibility, you can uncover the answers by locating the thumb board in an adjacent room. Once your Third-Eye is activated, you’ll observe four glowing columns. The solutions are clearly depicted in the image provided above.
3F red tiles puzzle
In the last optional puzzle within this palace, you find yourself confronted with two small grids situated at opposite ends of the room. One will display red squares while the other remains empty and illuminates pink labels as you step on them. Your objective is to reverse the red-square pattern on the opposite grid. To achieve this, you should leave blank spaces wherever the grid shows red, thereby causing all other tiles to light up on the opposite grid instead.
Read More
- 2025 Crypto Wallets: Secure, Smart, and Surprisingly Simple!
- Gold Rate Forecast
- Brown Dust 2 Mirror Wars (PvP) Tier List – July 2025
- HSR 3.7 story ending explained: What happened to the Chrysos Heirs?
- Gay Actors Who Are Notoriously Private About Their Lives
- ETH PREDICTION. ETH cryptocurrency
- Games That Faced Bans in Countries Over Political Themes
- Uncovering Hidden Groups: A New Approach to Social Network Analysis
- The Best Actors Who Have Played Hamlet, Ranked
- The 10 Most Beautiful Women in the World for 2026, According to the Golden Ratio
2025-07-07 17:46