As a huge anime fan, especially of ‘One Piece‘, I can tell you those cliffhangers are amazing. When the episode ends on a real edge-of-your-seat moment and then you get that title card… it just hits you! You’re instantly desperate for the next one. ‘One Piece’ is a master at stopping at exactly the right time – whether it’s someone begging, a huge announcement, or right before a battle starts. It’s not just about being shocking; it really makes you feel the tension, clearly shows where the story is going, and makes waiting for the next episode almost unbearable. I’ve been thinking about some of the best, and here are ten ‘To Be Continued’ moments that really delivered.
Nami Asks For Help At Arlong Park
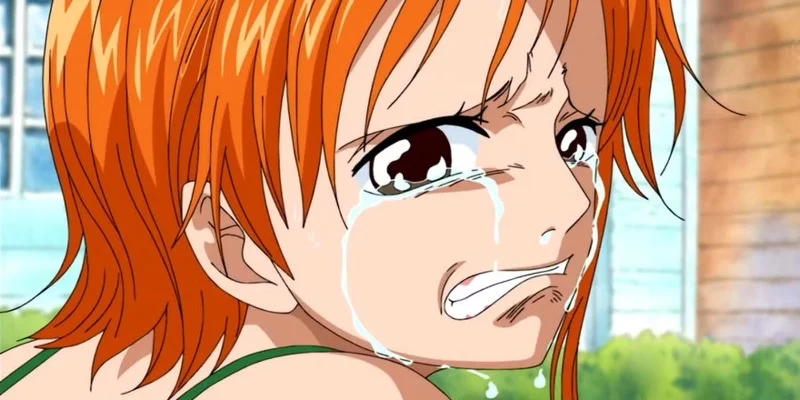
During the Arlong Park story arc, Nami reaches her limit and desperately asks Luffy for assistance. He places his hat on her head, and together with Zoro, Sanji, and Usopp, they head towards Arlong Park – marked by the iconic title card reveal. This clearly signals the crew’s plan of action. The next episode immediately jumps into the Straw Hats battling and destroying Arlong’s forces and base.
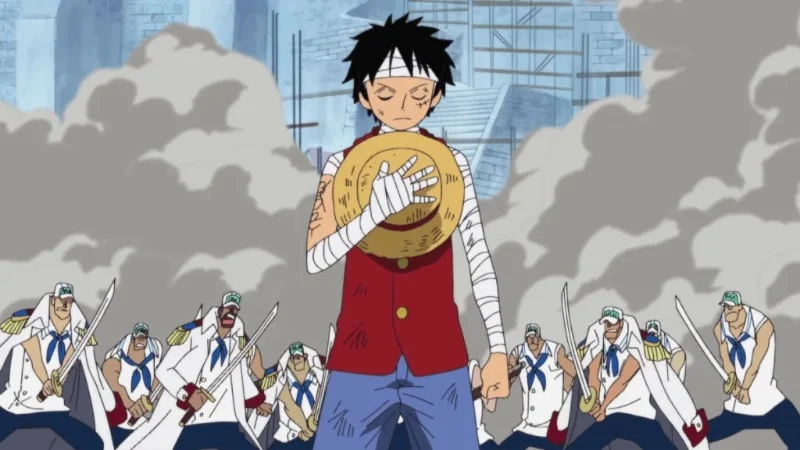
Luffy’s First Loss To Crocodile
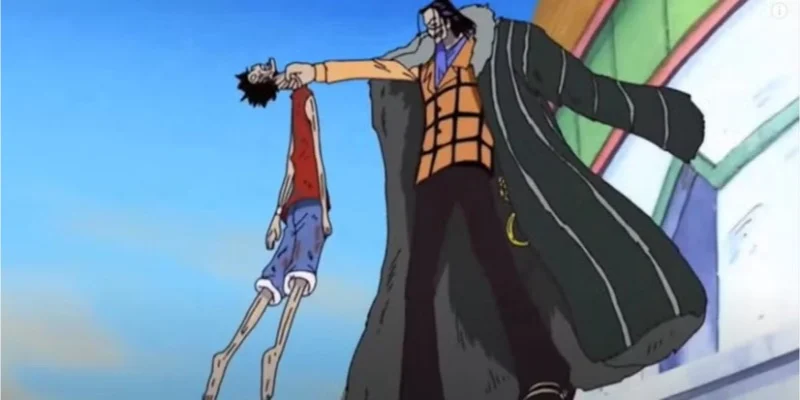
The battle between Luffy and Crocodile in Alubarna’s underground reaches a critical point, with Luffy struggling against both Crocodile’s attack and the harsh desert environment. The episode ends dramatically with Luffy seemingly defeated and falling into the ruins, while Crocodile walks away victorious. This moment marks the lowest point for Luffy and his crew in this story arc. The following episode shows how they are saved and begin to find a way to fight against Crocodile’s sand abilities.
“Shoot Down That Flag” At Enies Lobby
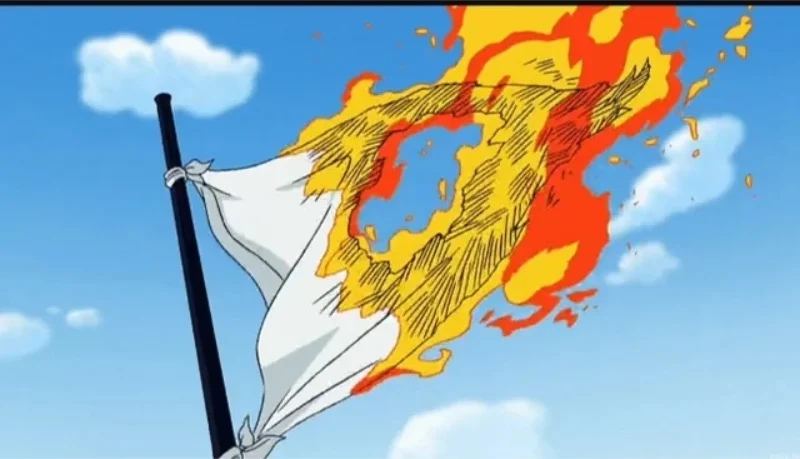
After Robin reveals her past to CP9 at the Tower of Justice, Luffy tells Sogeking to shoot down the World Government flag. As the flag burns, the words “To Be Continued” appear, signaling that this rescue mission has become a full-blown declaration of war against the world government. This powerful image makes the Straw Hats’ opposition to the established world order crystal clear. The story then immediately jumps into the intense standoff on the bridge and the crew’s race to reach the courthouse.
The Going Merry Appears In The Judicial Sea
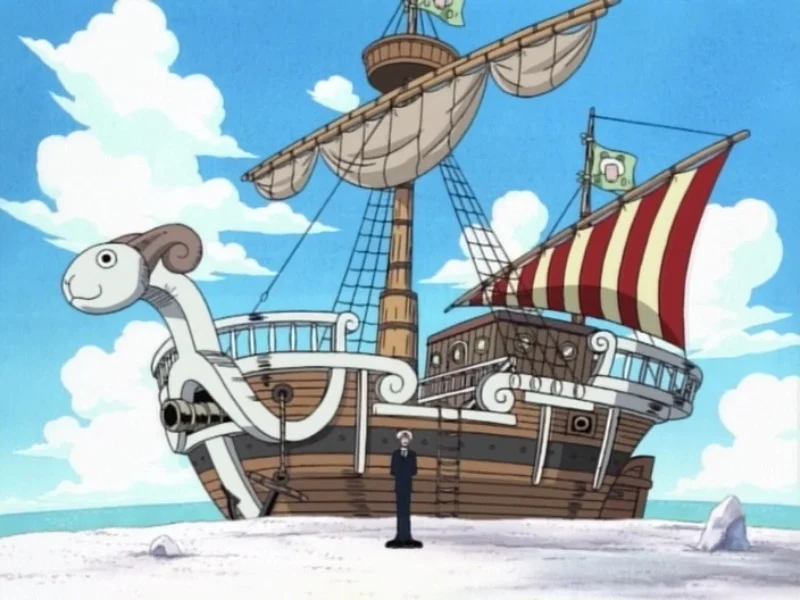
Just when things look hopeless for the Straw Hats, trapped on the Bridge of Hesitation as Buster Call approaches, a welcome sight appears through the fog – a familiar ship! The episode ends with its arrival, hinting at a miraculous rescue without revealing how it happens. The next episode then shows the crew’s dangerous escape from Enies Lobby, battling through enemy fire as they make their final getaway from the pursuing fleet.
Kuma Starts Erasing The Crew At Sabaody
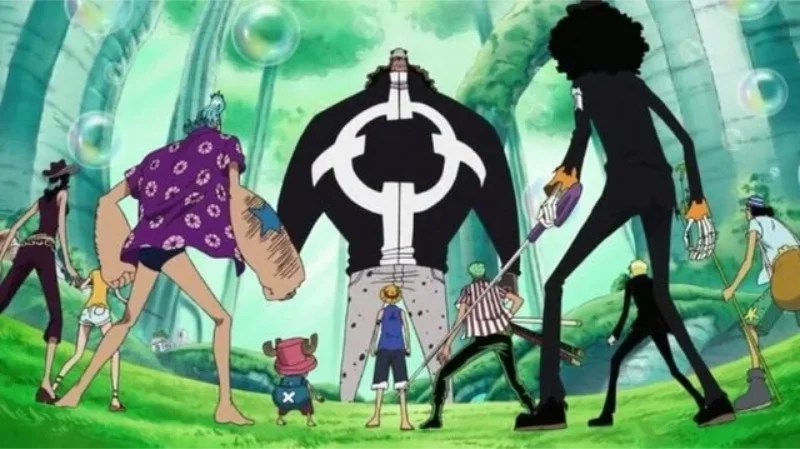
Following the confusion at the auction, Bartholomew Kuma touches Zoro, and he instantly disappears. The opening credits show the Straw Hat crew in a state of panic, realizing they’re facing a danger unlike any they’ve seen before. This event marks a shift in the story, indicating the crew will be separated rather than fighting together as a group. The next episode will show more of the Straw Hats disappearing across the islands.
The 3D2Y Message Reaches The Crew
Following the battle at Paramount War, Luffy and Rayleigh send out a special newspaper signal, changing the usual “3D” to “2Y.” The episode concludes with this message spreading to their friends and allies worldwide, hinting that the crew won’t reunite right away. Instead, everyone will train and prepare before continuing their adventure, and the next episode shows how each Straw Hat member reacts to the signal and starts getting ready.
Luffy Bursts Into Marineford’s Center Stage

Luffy unexpectedly arrives right in the middle of the battle between the Marines and Whitebeard’s crew. The scene cuts to black, leaving everyone – viewers, admirals, and pirates alike – wondering what he’s planning. It’s immediately clear that Luffy’s only goal is to rescue Ace. The following episode will show Luffy trying to reach the execution platform, with fighting breaking out all around.
Sabo Reveals Himself In Dressrosa
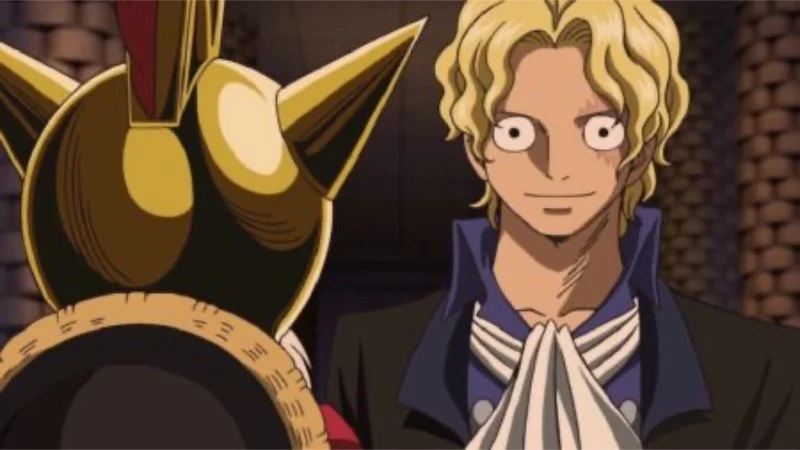
During the Corrida Colosseum battle, Sabo’s true identity is revealed at the episode’s climax. This shocking reveal confirms his relationship with Luffy and explains his interest in the flare-flare fruit. It shifts the focus of the D Block storyline from a general plot to a personal family story. The next episode then shows Sabo taking control and influencing the tournament’s results.
Sanji Leaves With Germa On Whole Cake Island
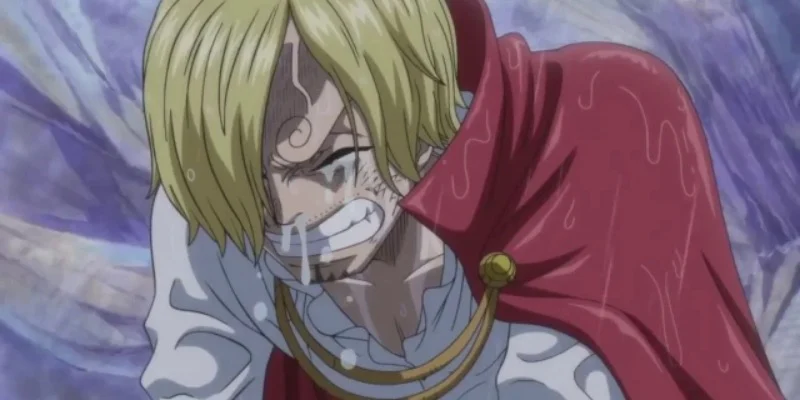
Just outside the Seducing Woods, Sanji hits Luffy and joins the group heading to the tea party. The episode closes with Luffy promising to stay put and wait for Sanji’s return, and to not eat anything until he does. This promise sets the stage for the next few episodes, dictating where the story goes and how quickly it moves forward, as the story focuses on a standstill, Big Mom’s schemes, and the delayed reunion.
The Heartbeat Before Gear Fifth In Wano

After Luffy falls to Kaido on Onigashima, his heartbeat shifts and drumbeats start, hinting at a change. A brief glimpse of his silhouette and a smile appear right before the episode’s title, suggesting a transformation is coming without showing it. This clever editing builds anticipation, making the reveal of his new form the focus of the next episode’s opening, and the fight quickly picks back up on the rooftop.
Tell us about the most shocking cliffhangers in ‘One Piece’ – which ‘To Be Continued’ moments left you reeling?
Read More
- Invincible Season 4 Gender Swaps Tech Jacket As Fans Question Major Comic Change
- Building Agents That Learn and Improve Themselves
- Gold Rate Forecast
- Games That Faced Bans in Countries Over Political Themes
- Silver Rate Forecast
- Trading Crypto with AI: A New Approach to Portfolio Management
- 15 Films That Were Shot Entirely on Phones
- Why Won’t It Just *Do* What You Ask? Unpacking the Quirks of AI Language
- 20 Movies Where the Black Villain Was Secretly the Most Popular Character
- Unveiling the Schwab U.S. Dividend Equity ETF: A Portent of Financial Growth
2025-11-12 19:18